
This Doom 3 walkthrough is divided into 27 total pages.
You can jump to nearby pages of the game using the links above.
Monorail
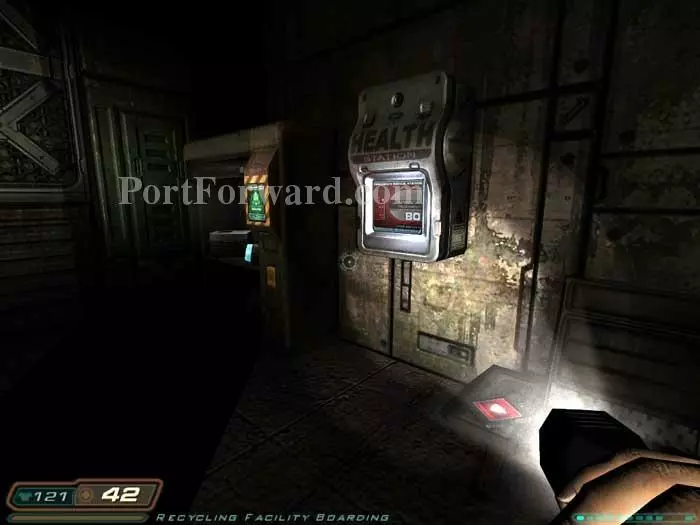
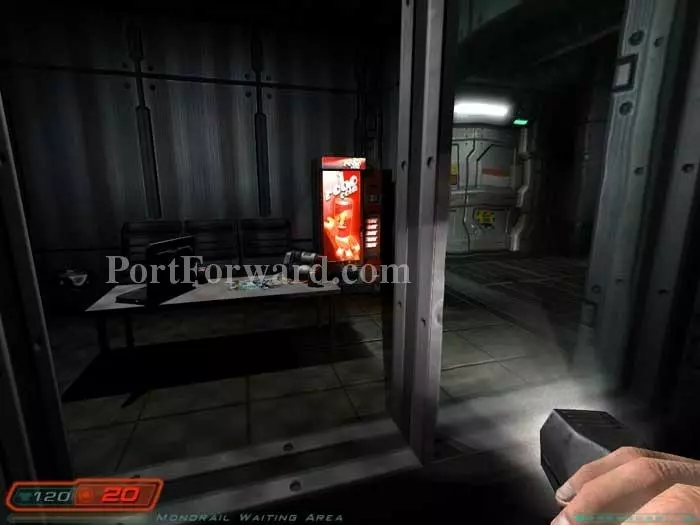
To your right is health and ammo. Read Harding's PDA for some background.
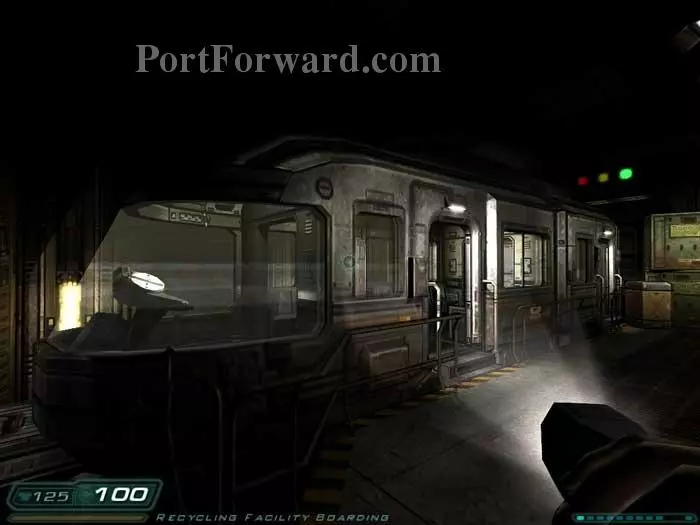
Step onto the train.
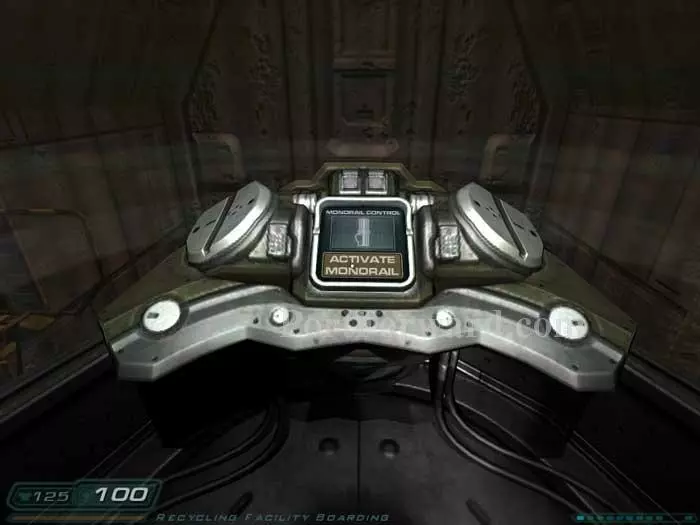
Use this console and the train embarks.

Take some time to enjoy the view.

You discover another passenger on board. Talk to Ryan for some background.

Your destination nears as you round this last bend.
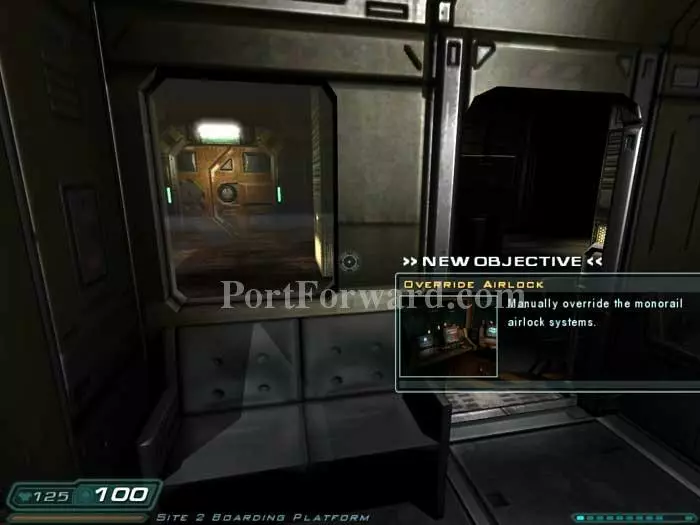
The train finally comes to a rest and your objectives are updated.
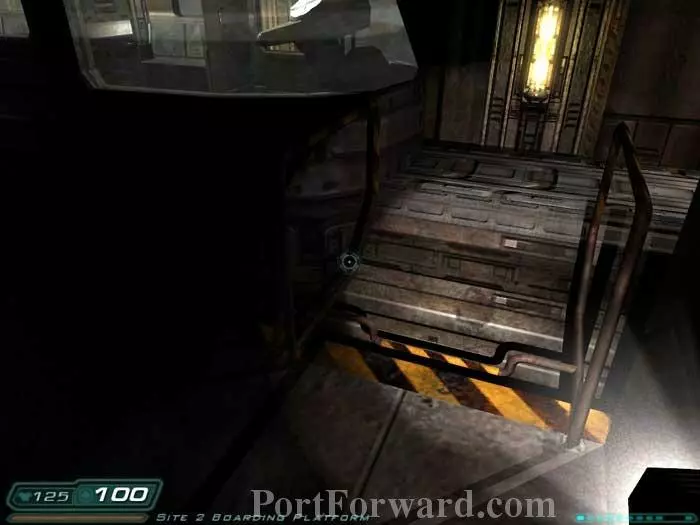
Step off the train and descend one of these ladders at either end of the train.
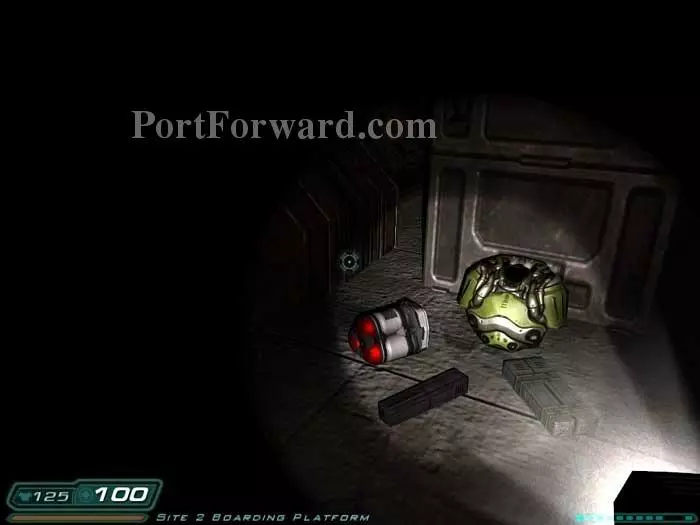
Below you'll find a medkit, an armor vest and clips.
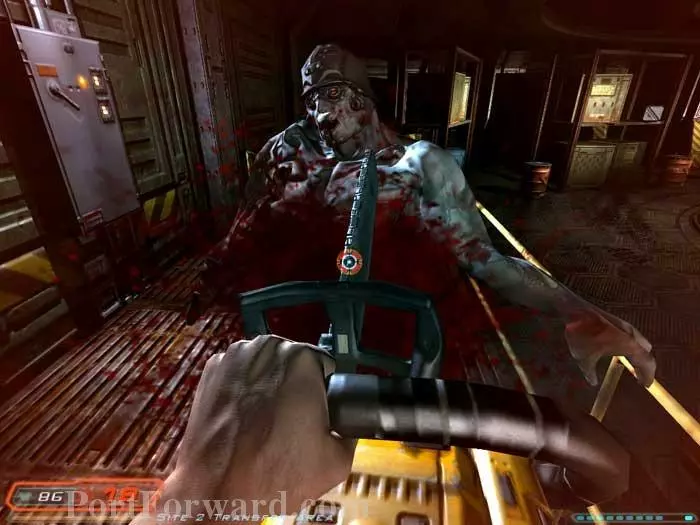
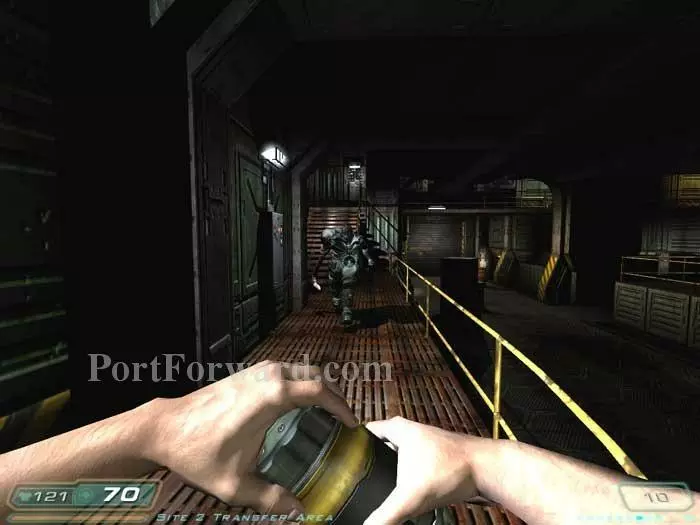
Return above and find a medkit and a machine gun here. Ready your chainsaw before opening the door ahead.
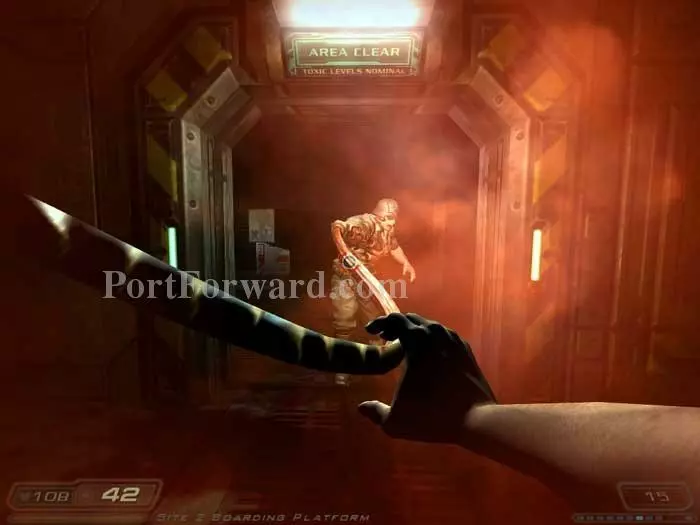
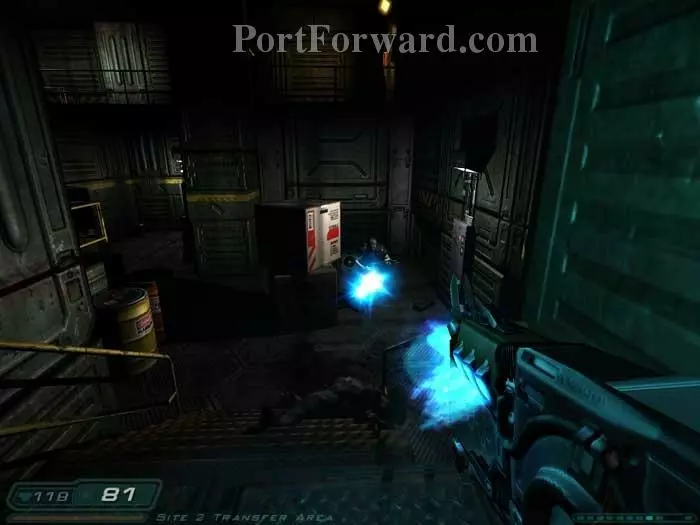
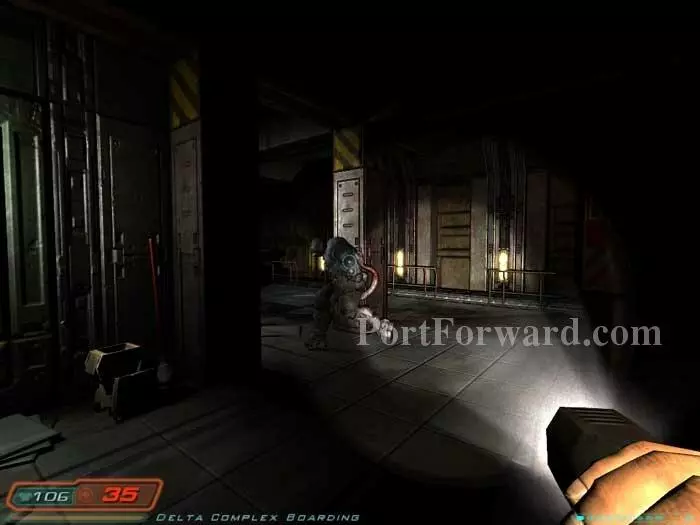
Yowza! This variety of commando zombie has a whip for an arm and is exceptionally aggressive. Here I'm throwing a grenade his way but I found the chainsaw to be a better choice.
Your reception here is less-than welcoming. A Z-Sector is right behind the commando, and more are here to the right. Don't descend these stairs just yet.
This medkit can be found to the left.
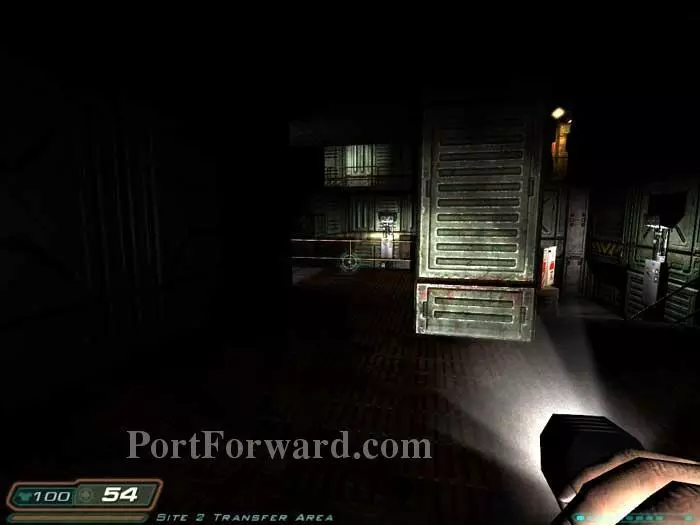
Continue to the overlook on the left.
A pair of Z-Sectors are around the corner.

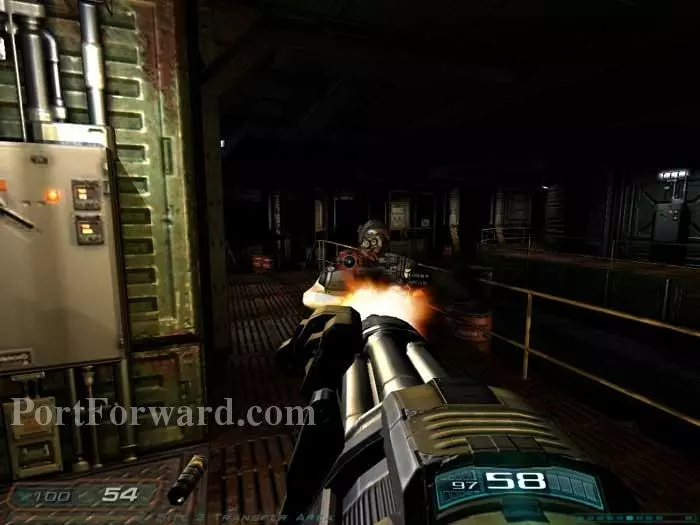
This commando attacks from behind.
And then another attacks from the front. Whew!

If you backtrack to the train area for supplies, you'll be attacked by Trites.

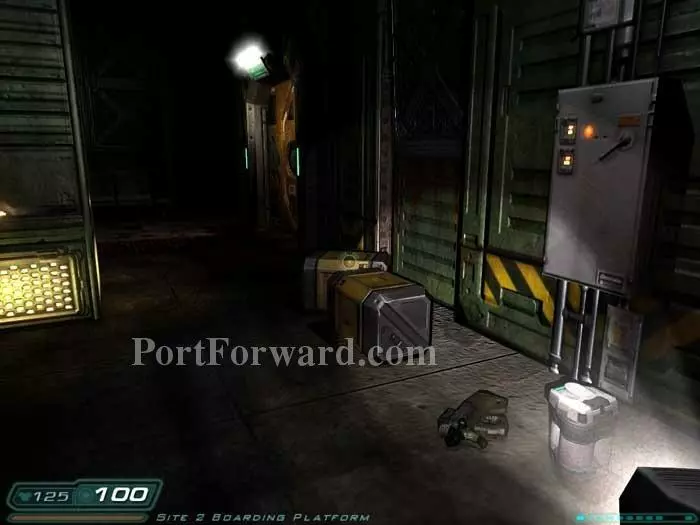
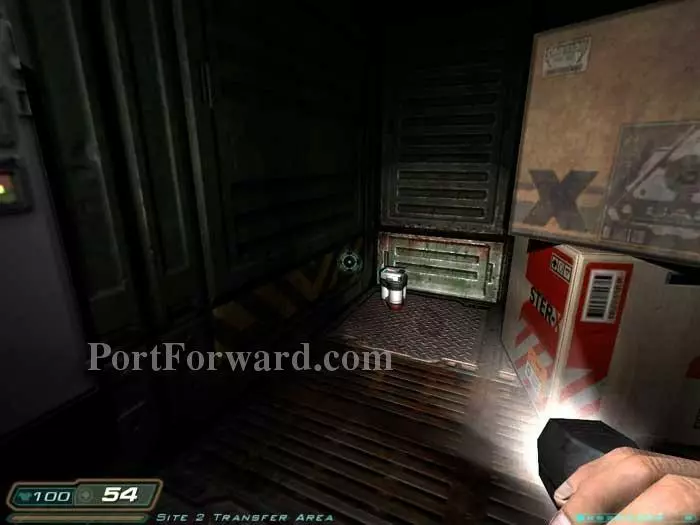
Descend these stairs you bypassed a moment ago. Grab Gary Ross' PDA to update your security clearance and learn the junction 5, site 2 airlock code 826. Clips are to the right of the boxes.
Search farther ahead and to the right to find this medkit and armor.
Continue through this large open area to battle a Z-Sector and spawn more Imps. Find a medkit and armor here. An armor vest is on the nearby shelves.
Climb the stairs to this second overlook and two Imps spawn. Quickly toss a grenade at each.
Another Imp and this commando spawn. Before ascending those stairs ahead search beneath for a medkit and armor.
Another commando charges at you from the door ahead. Take him out with your chaingun then continue into the room beyond.

Heal at the station on the left and read Charles Hollies' PDA to learn the code 142 for the storage cabinet in the back, which holds rockets, shells and armor. Unlock the airlock with the terminal ahead using the code 826.

Return to the train, battling Trites along the way.
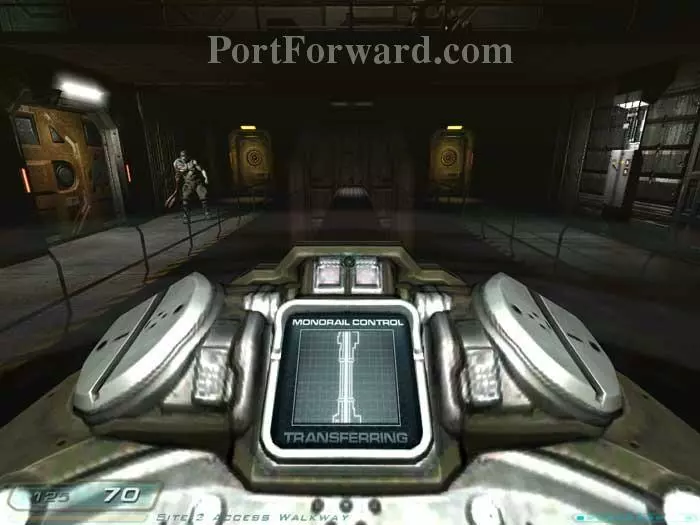
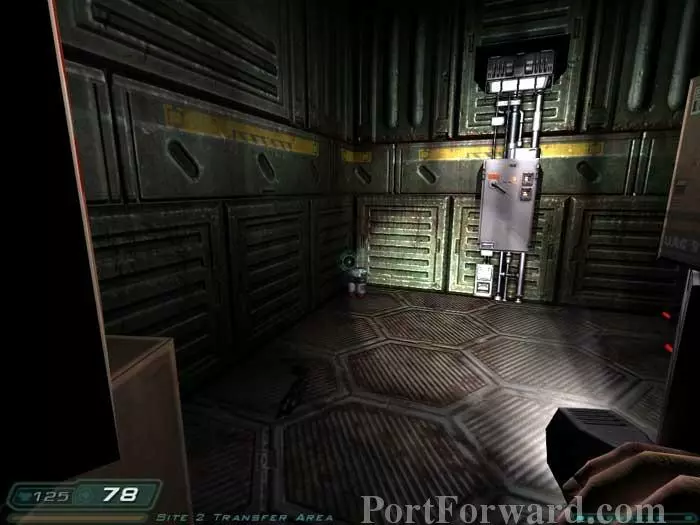
Inside you'll find the train empty - not a good sign for Mr. Ryan. Activate this panel to send the train on its way again. After a short journey (you do not return outside) the train crashes.
A brief cutscene introduces you to your new surroundings. Climb that ladder ahead.

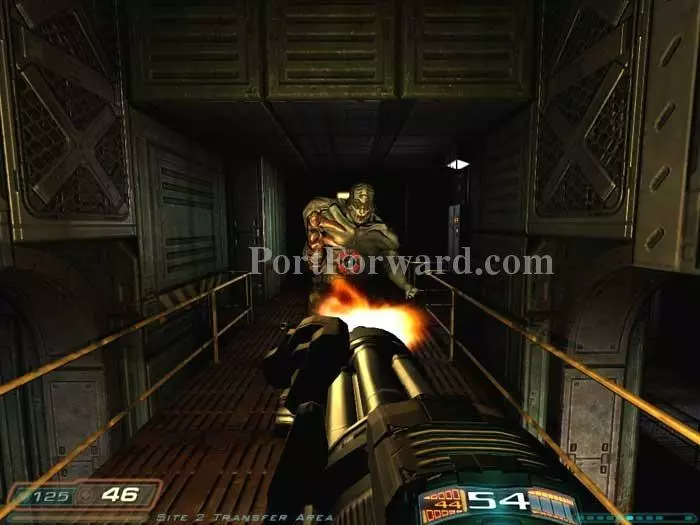
Immediately ready your chaingun for this charging commando. A medkit is at the far end of the walkway.

To the right is this door. Ready your machine as you enter -- Trites await.
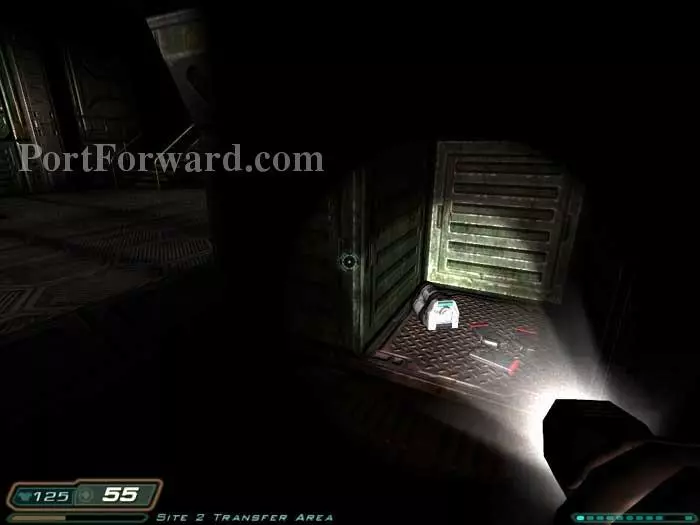
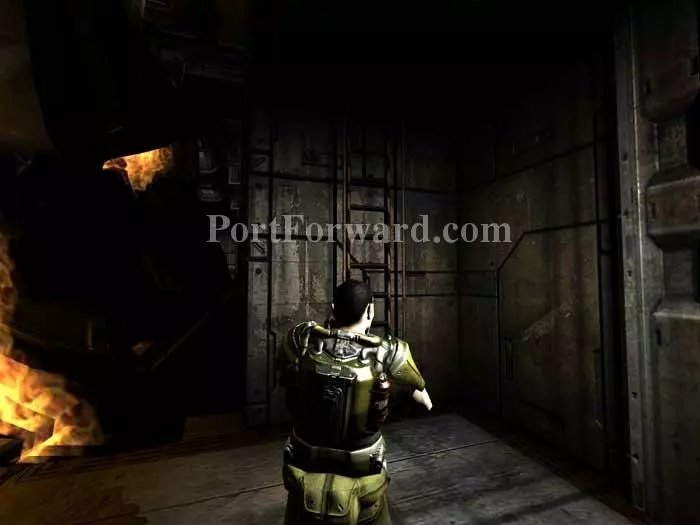
Through another door you'll spot this commando running away. Don't be in such a hurry to chase him that you miss the cells and armor down the ladder to the right.

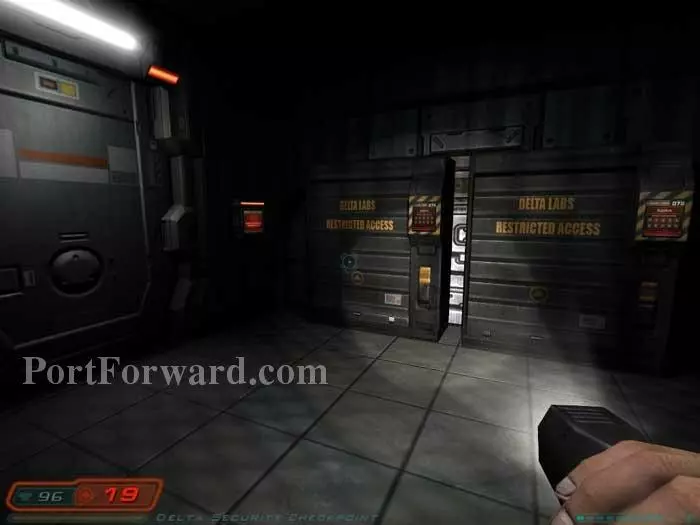
Unholster your chaingun before opening this Delta Labs door. Inside is this commando, plus a zombie and an Imp. After defeating this initial wave, two more commandos spawn.
Grab the medkit before readying your chaingun and opening the door seen on the right -- to find another commando.
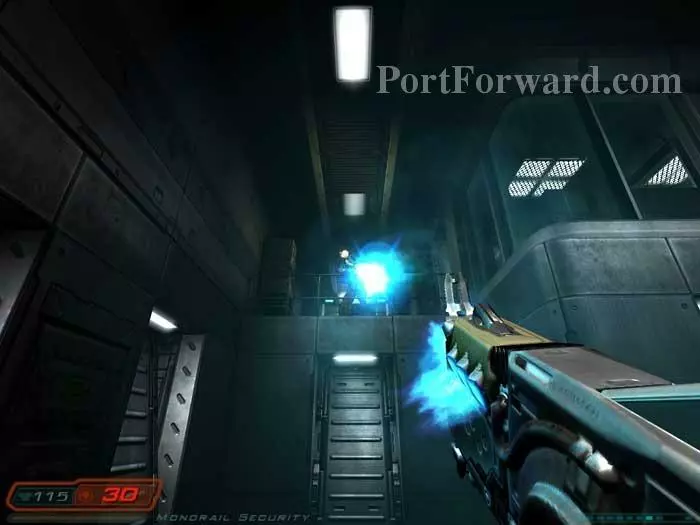
You'll find two Z-Sectors in here -- the one that I'm firing on plus another on the stairs to the right. Ascend the stairs to the glass office upper-right.
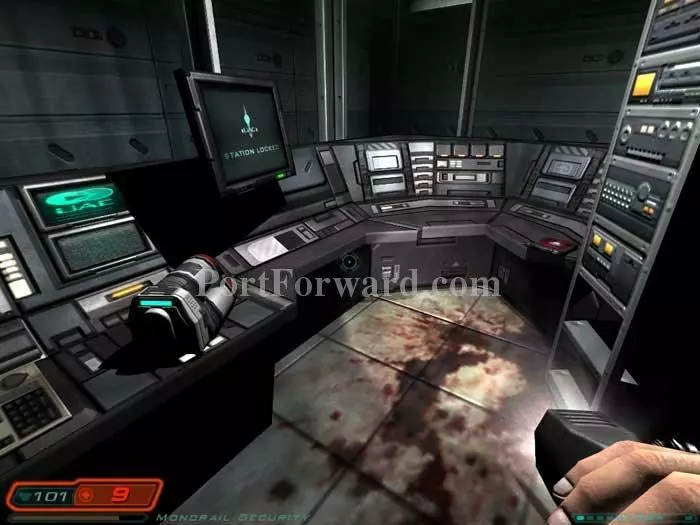
Grab the medkit on the left. Karl Cullen's PDA on the right updates your security clearance and reveals the storage cabinet code for two cabinets - 364.

Betruger's disembodied voice commands, "Destroy him!" Imps spawn front and rear. Farther along the walkway another commando attacks.

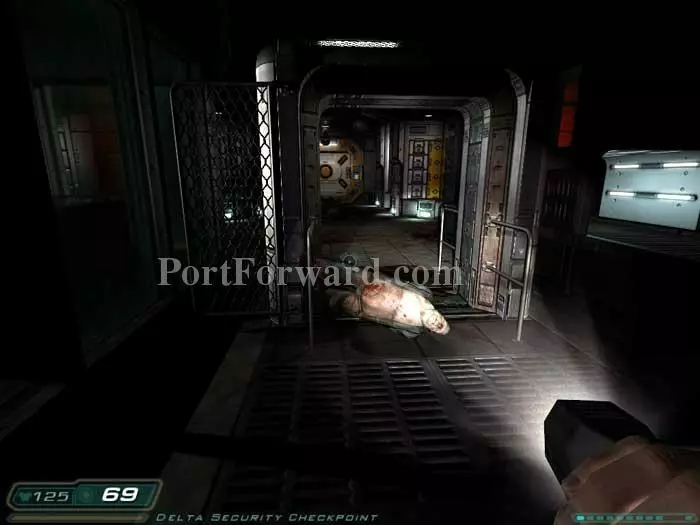
You'll come to this security checkpoint, defended by a commando and a fat zombie. Defeat them then rush quickly through the broken window of the office ahead.
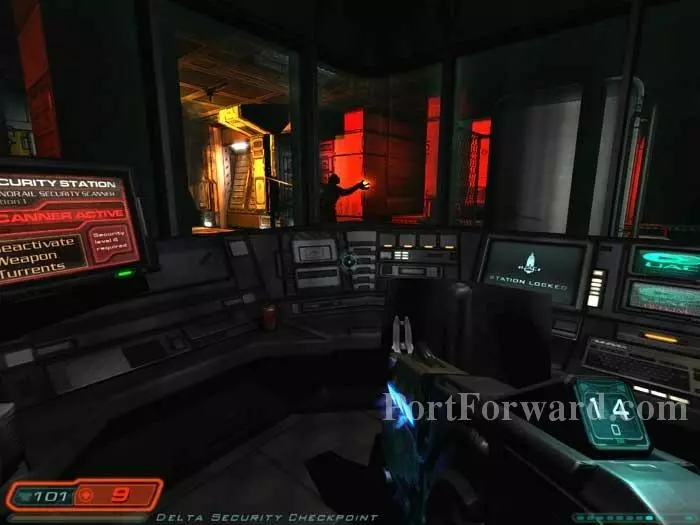
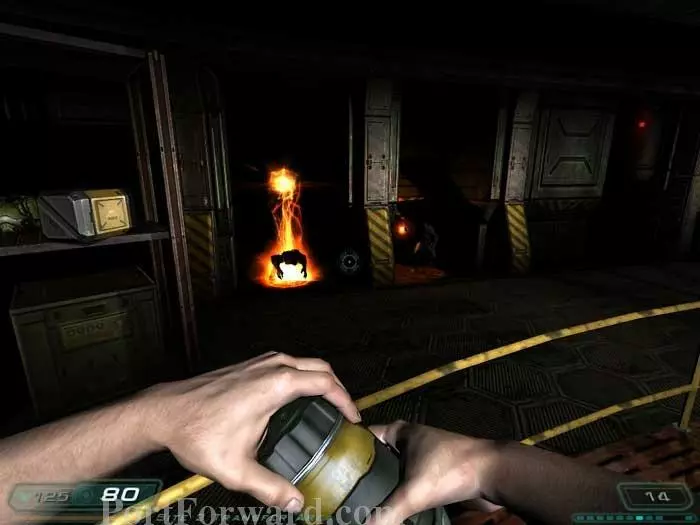
Karl Cullen's PDA gives you access to disable the automated turret at this security station, but you should wait until the turret rips through the spawning hellforces. This is most entertaining.
This neighboring room holds the two cabinets opened with code 364. Inside you'll find armor and ammo. Karl Kullen's PDA also grants you access to unlock the door on the left.
Pass through the deactivated security checkpoint to the transfer bay door ahead.
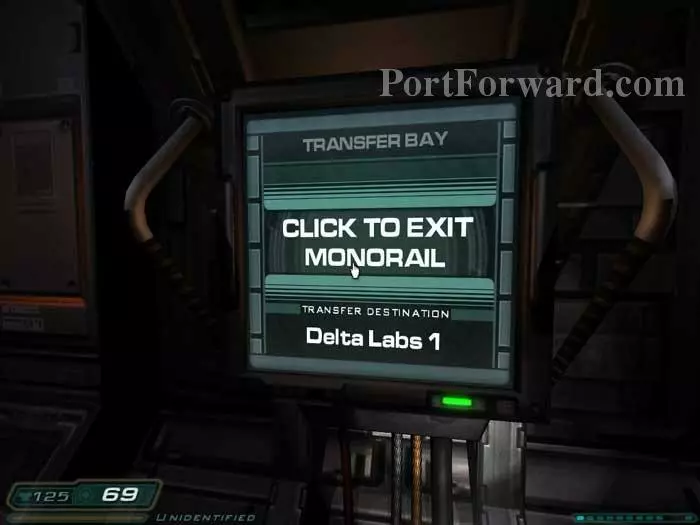
Activate the panel to load Delta Labs Sector 1.
More Doom 3 Walkthroughs
This Doom 3 walkthrough is divided into 27 total pages.


