This Doom 3 walkthrough is divided into 27 total pages.
You can jump to nearby pages of the game using the links above.
Recycling Sector
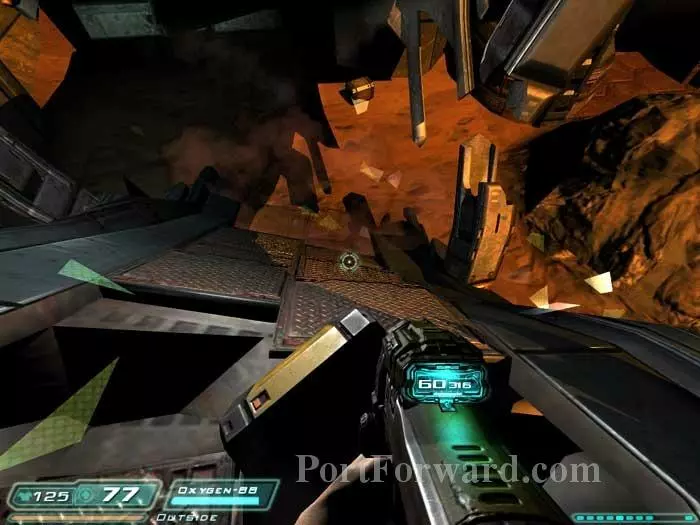
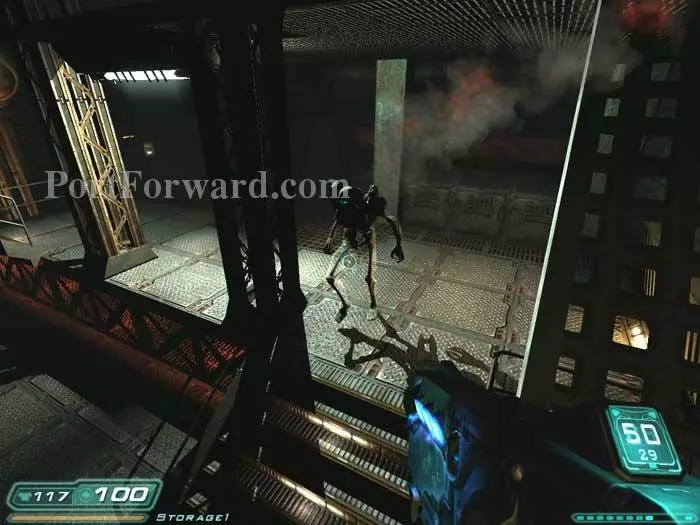
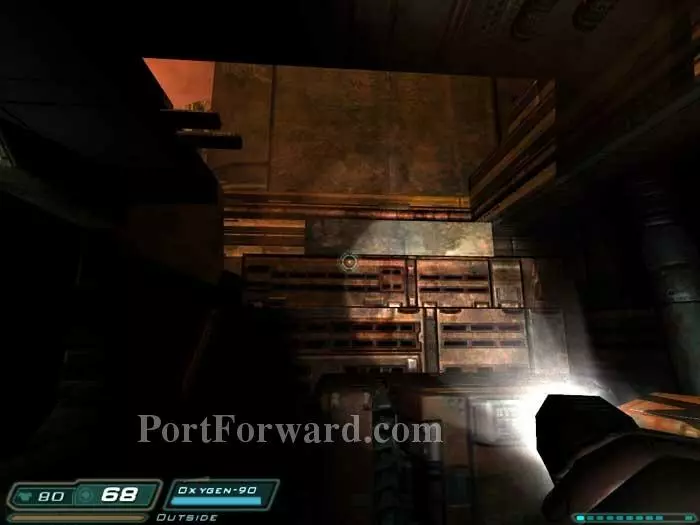
The autosave calls this level "Recycling Sector 1" but the loading screen identifies it as "Monorail Skybridge." Go figure. The walkway collapses and you find yourself suddenly outdoors without air. Carefully drop to the ground below. Keep right.

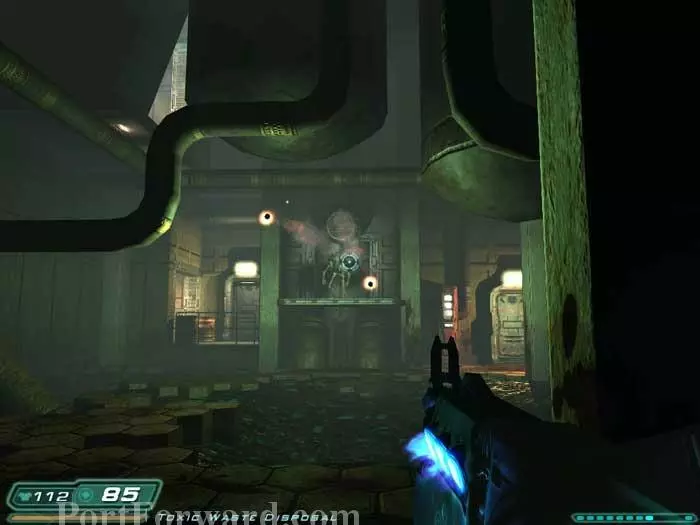
Two Cacodemons patrol the area. Ignore them and rush around these rocks to the right.

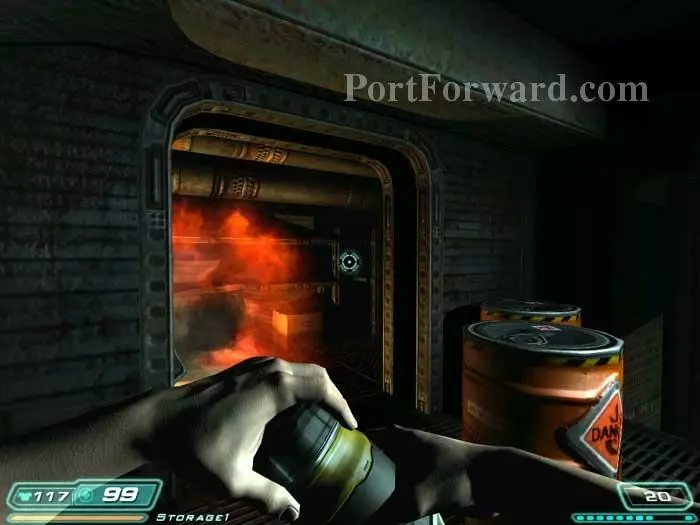
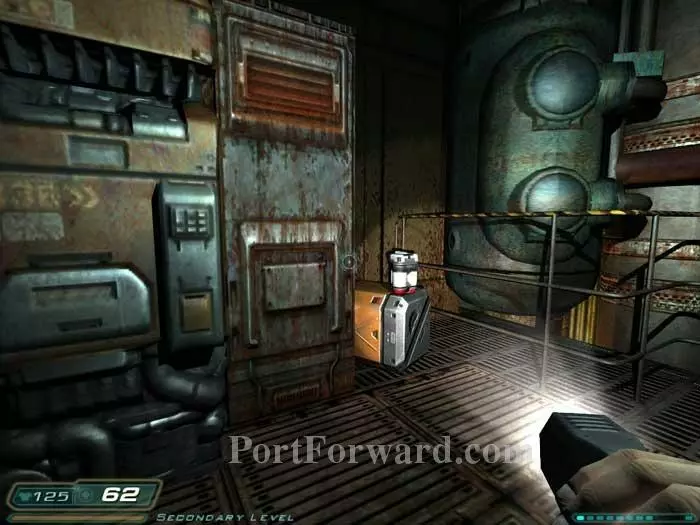
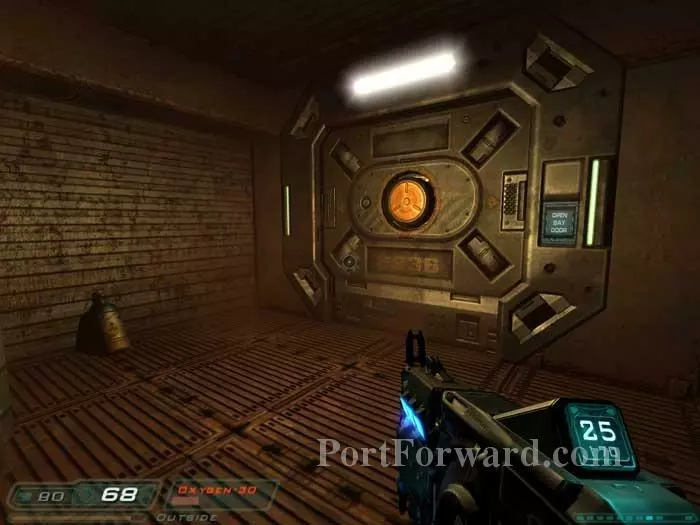
Grab the air canister seen here on the right and recycle the airlock on the left.
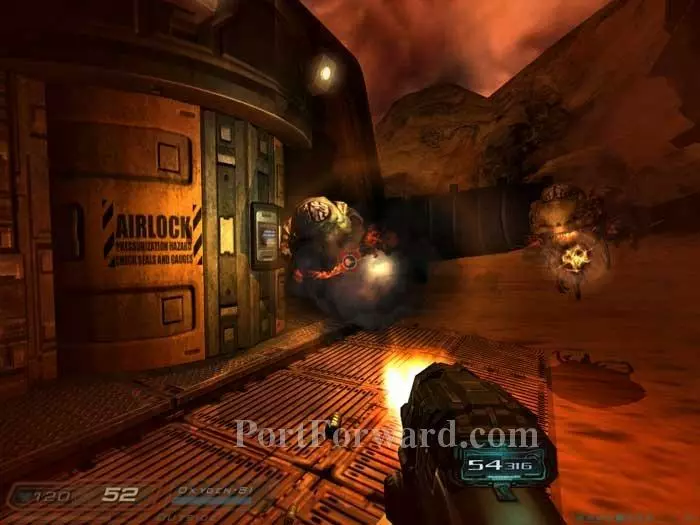
Fend off the Cacodemons while you wait for the airlock.

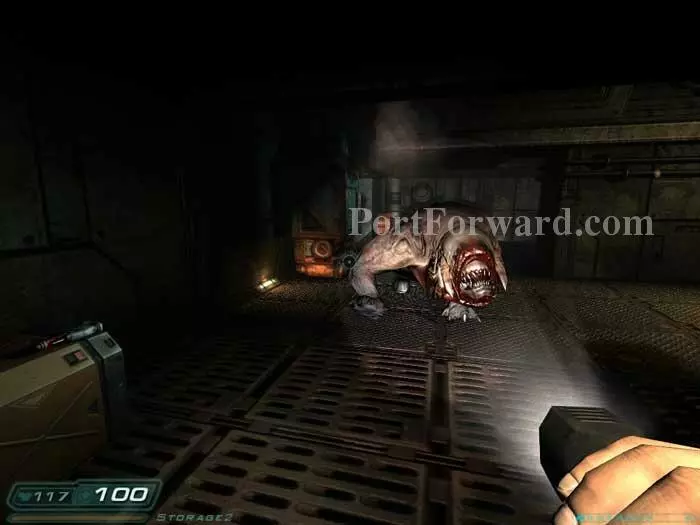
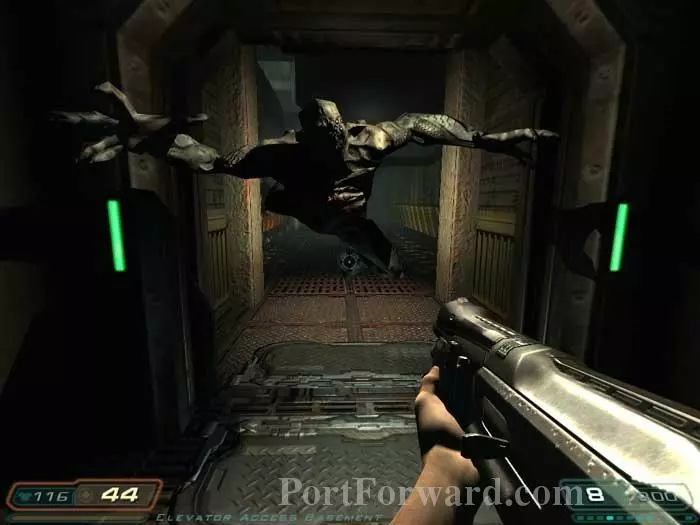
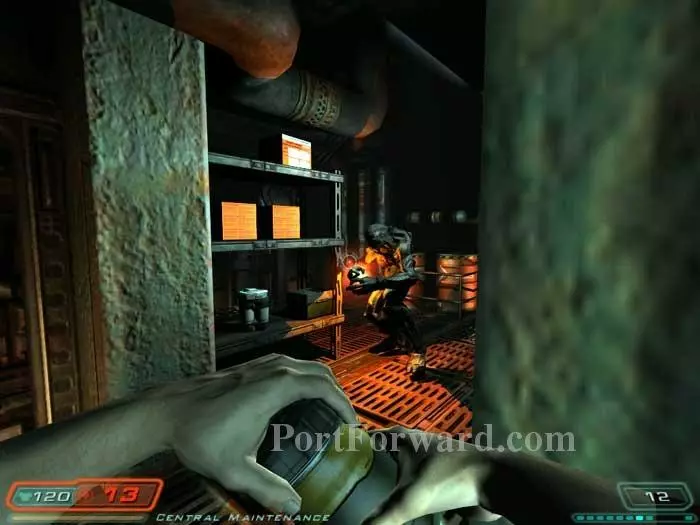
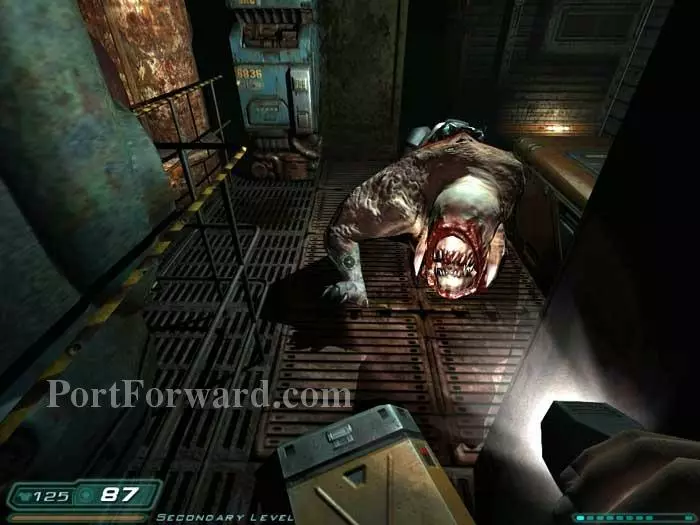
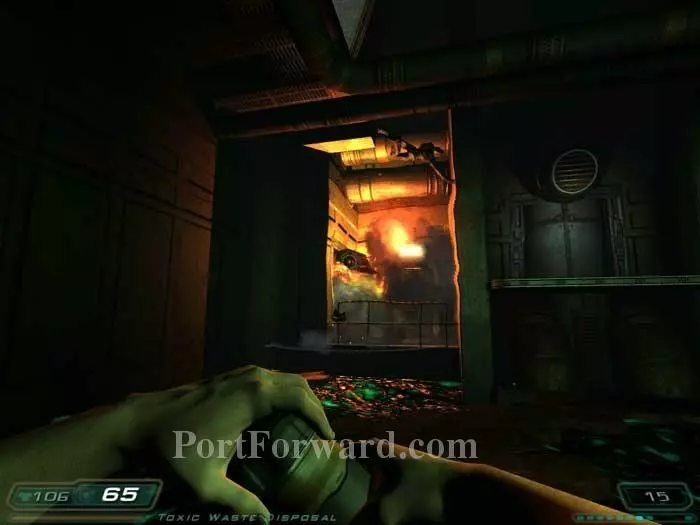
Proceed down the corridor to trigger this Pinky, then backtrack and toss two grenades to send him flying.

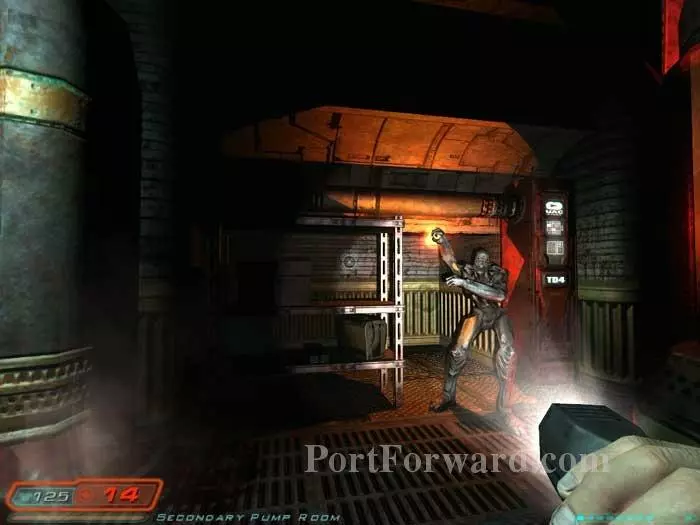
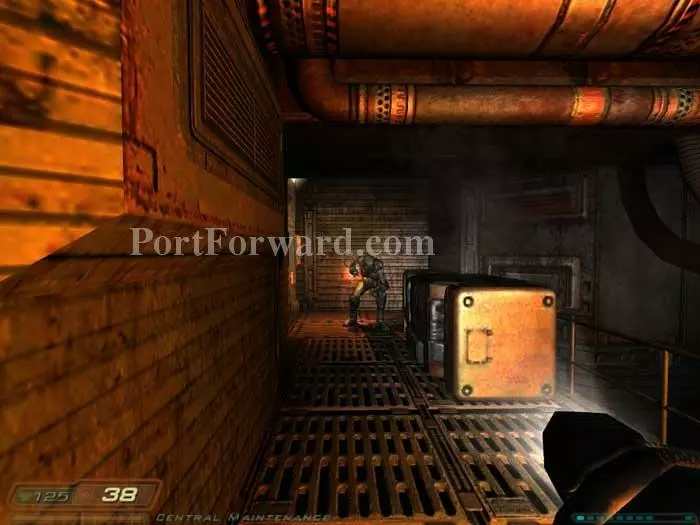
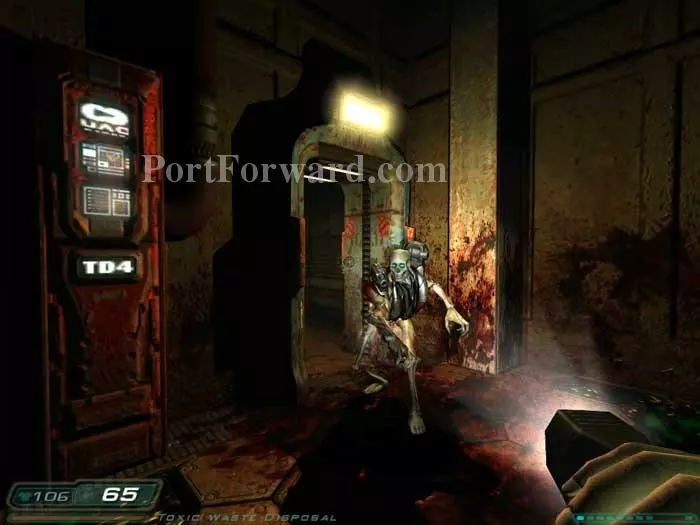
This zombie attacks from the right. Defeat him then grab the shells and armor.

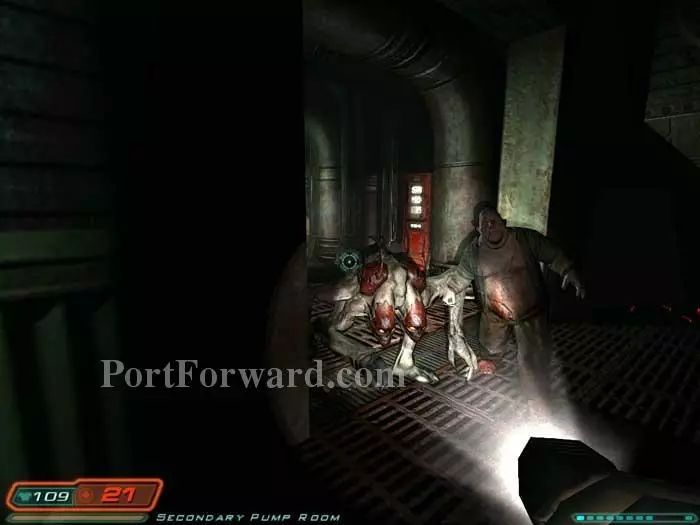
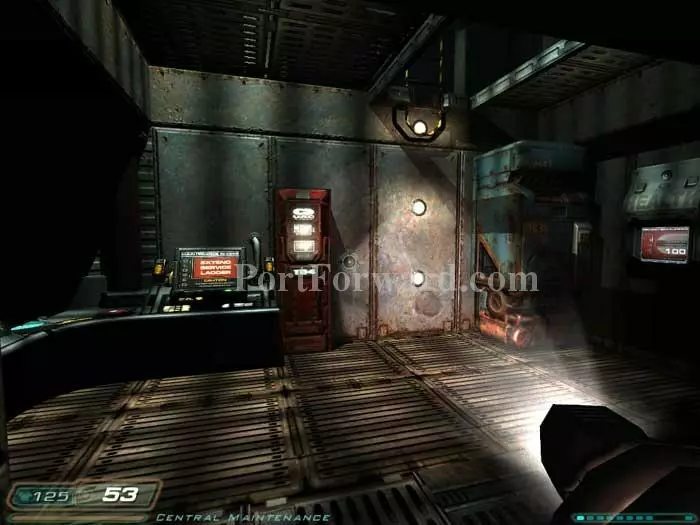
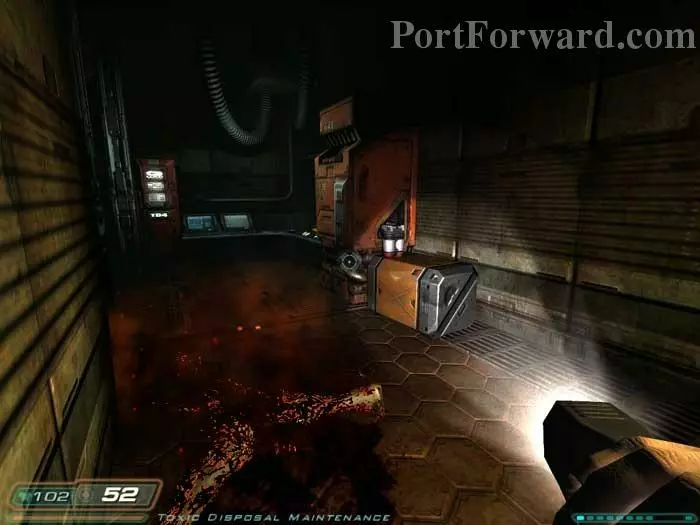
As you approach the health terminal, this fat zombie attacks from the left, followed by a maggot behind you. Two clips are in the near-left corner. Proceed through the door ahead.

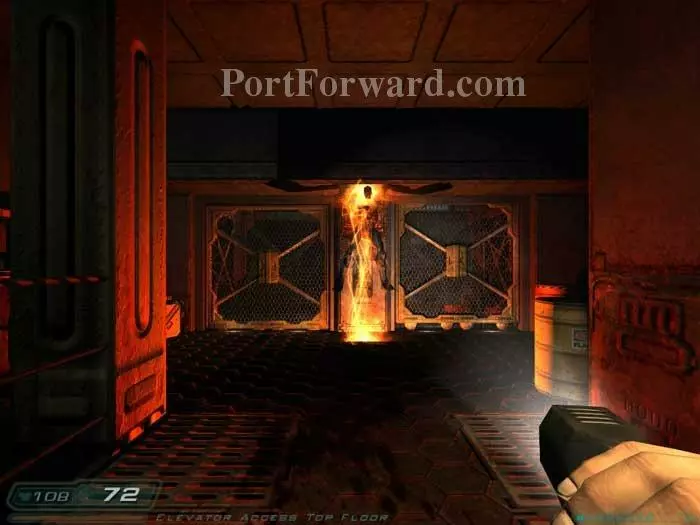
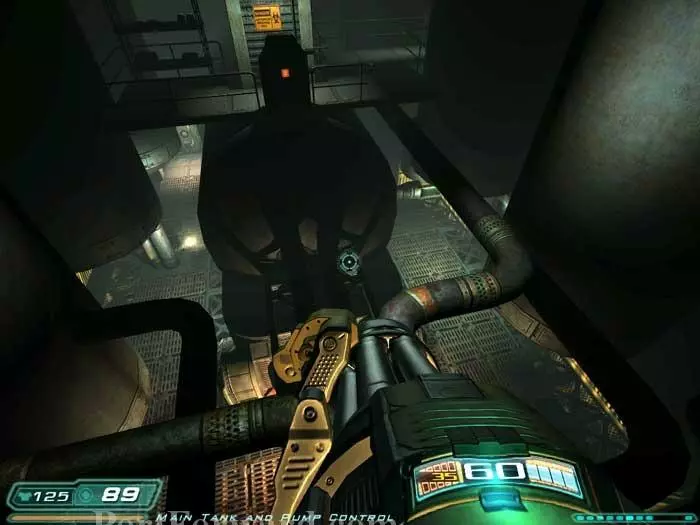
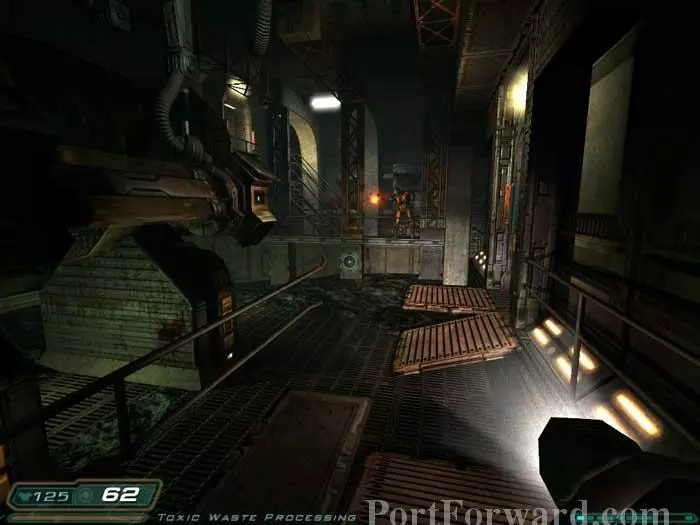
A brief cutscene introduces this missile-launching enemy, the Revenant.

Do your best to dodge his guided missiles and fire away.
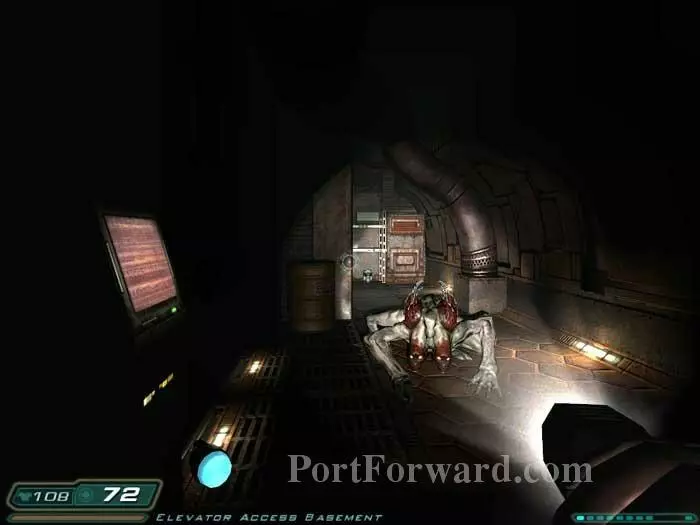
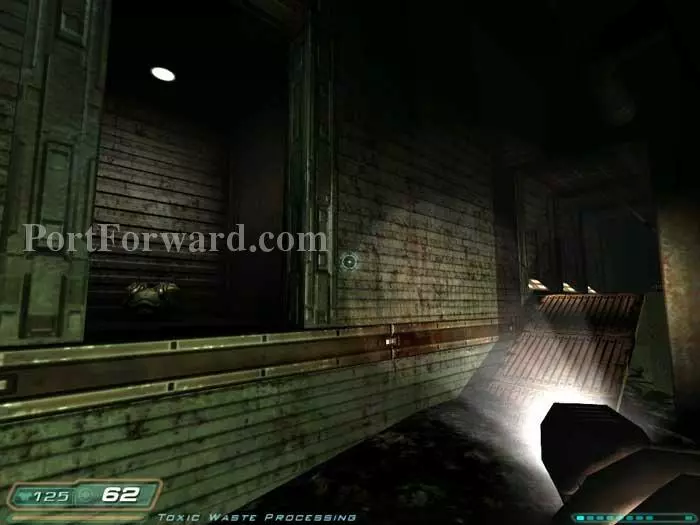
This medkit is around the left corner.
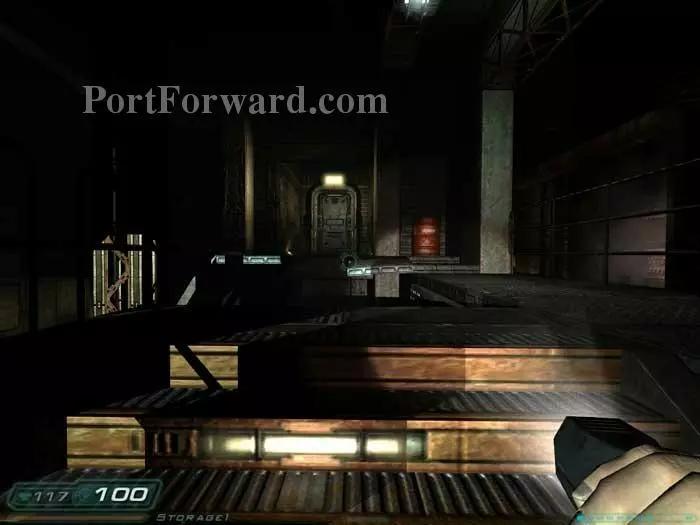
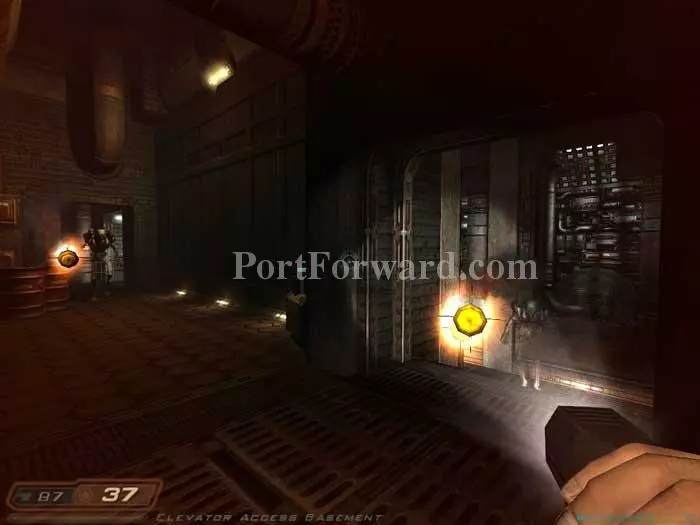
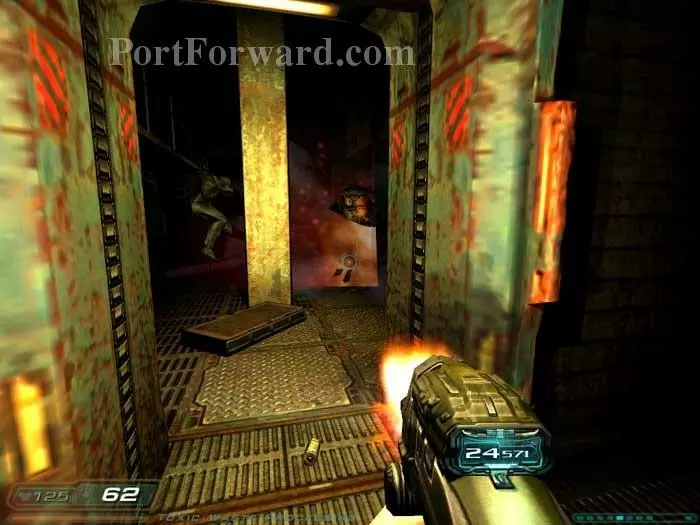
Ignore the stairs for the moment. Instead, ramp up the fallen catwalk on the right.
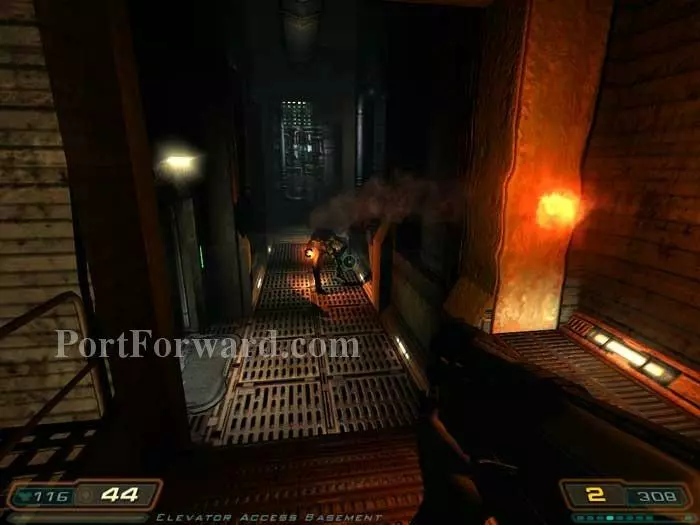
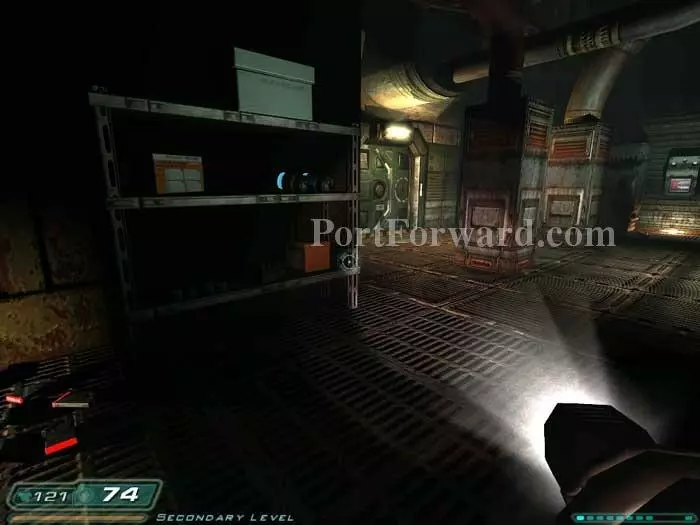
Toss a grenade into this room to clear out an Imp. Inside you'll find an ammo belt, a medkit, cells and a clip.
Return to the stairs you passed a moment ago and battle another Revenant.
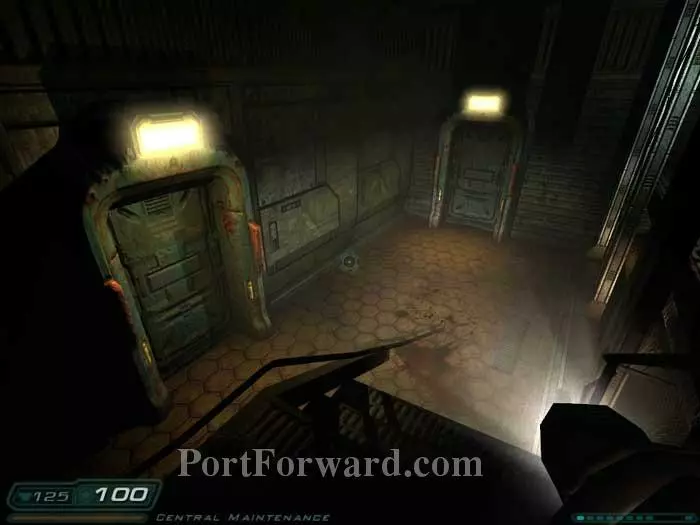
Follow the stairs to this door ahead.
Grab the adrenaline hypo on the left then pump two shotgun blasts into the Pinky. A fat zombie attacks from the right. Far-right is an Imp guarding cells and clips. Continue through the door on the right.
A micro-mini cutscene plays before this Imp spawns, followed by a maggot plus two more Imps. Grab some clips from shelves on the left before calling the lift ahead.
Ride the lift down and defeat three maggots. Grab the cells on the left and the medkit/grenades on the shelves ahead.
Uh oh. Revenants are waiting in each of these corridors. Toss grenades their way then grab the cells from the left corridor.
Continue down the corridor on the left to find armor, a medkit, shells and a clip, spawning a total of four Imps. Ready your shotgun before opening the door seen here on the left.
Pop that Imp but good!

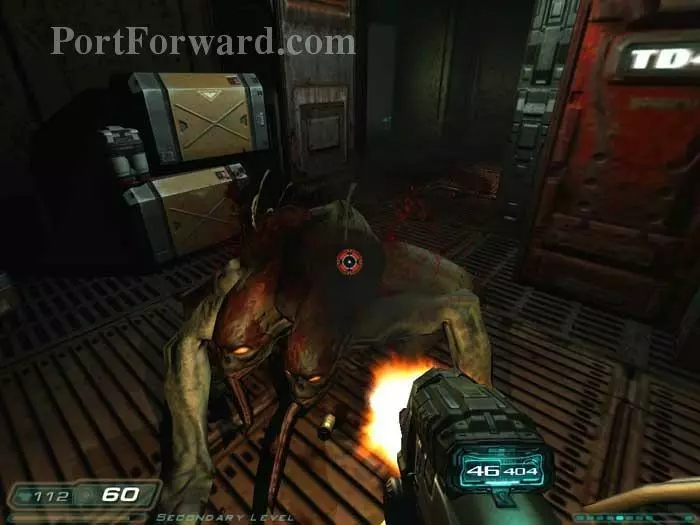
Next up are a pair of Pinky Demons. Toss grenades their way and introduce them to the ceiling.
A third Pinky spawns by the door. If you're this close, switch to the shotgun.
Continue to this fat zombie and maggot. Another fat zombie attacks from behind. Note the armor on the right.
This Imp is guarding shells, cells, an ammo belt and clips on these shelves.

This is a busy room. Three more zombies are hiding back here.
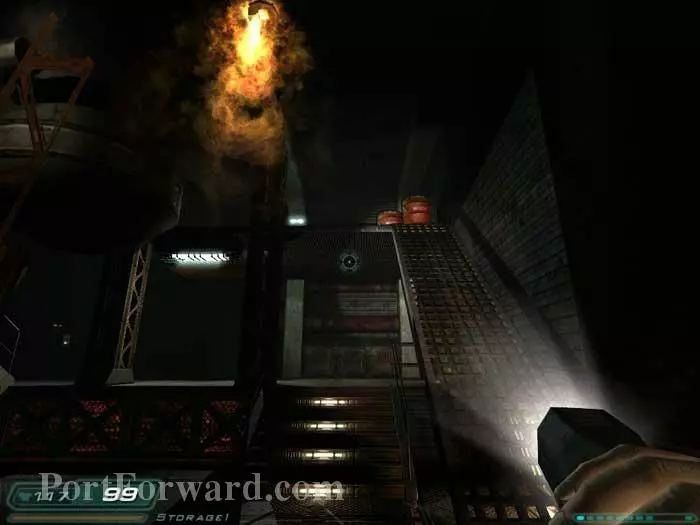
Before climbing these stairs, snatch the shells underneath. You'll battle an Imp at the top.
Follow the catwalk to trigger this maggot. Note the medkit on the right.
Before taking the medkit, toss a couple grenades into this corner alcove to destroy a lurking Revenant.
Follow the walkway to find some cells in a corner to your right, then this armor vest and clips are perched on a pipe to your left. Proceed cautiously as two Imps spawn if you take them.
Approach this door -- don't go through it immediately. Instead, hold back and pummel the Revenant waiting beyond, using the doorway as a choke point for his missiles. Once you enter the doorway, an Imp pounces from the left.
This maggot is waiting on the other side of the next door.
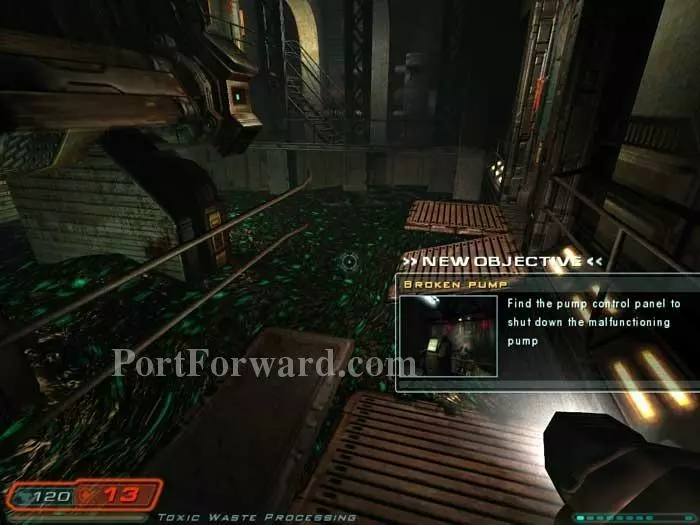
Your objectives are updated. Hop across the broken catwalk through the doorway on the right.
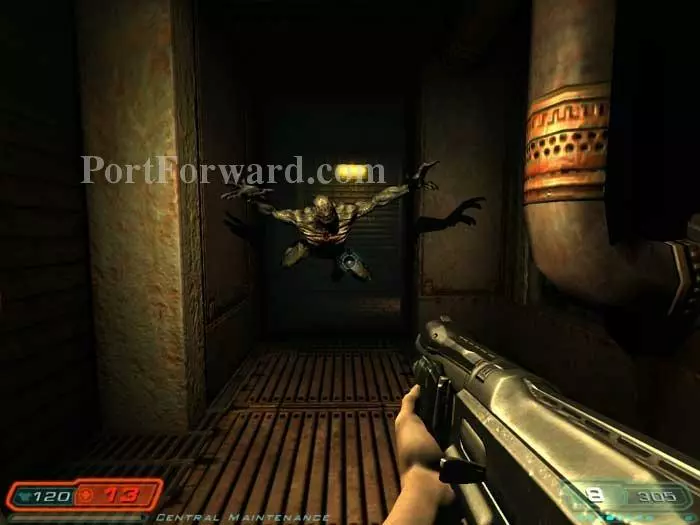
Ready your shotgun for this leaping Imp, plus another to his left.
Toss a grenade to those explosive barrels before this Imp comes around the shelves. A maggot attack follows. On the shelves are a medkit, shells and grenades. An armor vest is in the far corner.
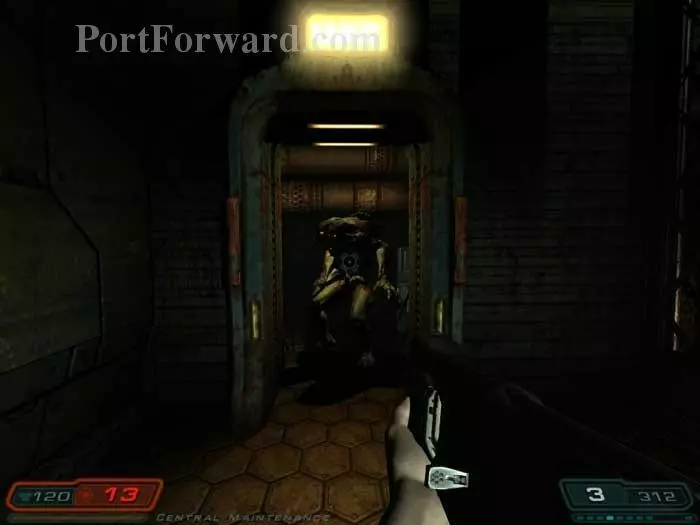
Up the stairs, this Imp pops out from behind the crate. A medkit is in the corner behind you. Continue through the door on the left to yet another Imp.
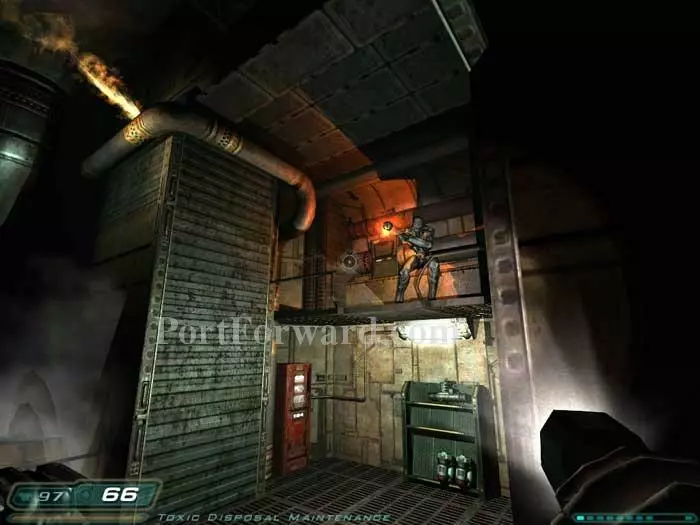
The maintenance safety video on the left is a must-see. Read Nick Sadowayj's PDA to learn the code 483 for a storage cabinet by the monorail airlock. Use the terminal to extend the service ladder on the right. Heal at the medical station further right before ascending the service ladder to a pair of awaiting Imps.
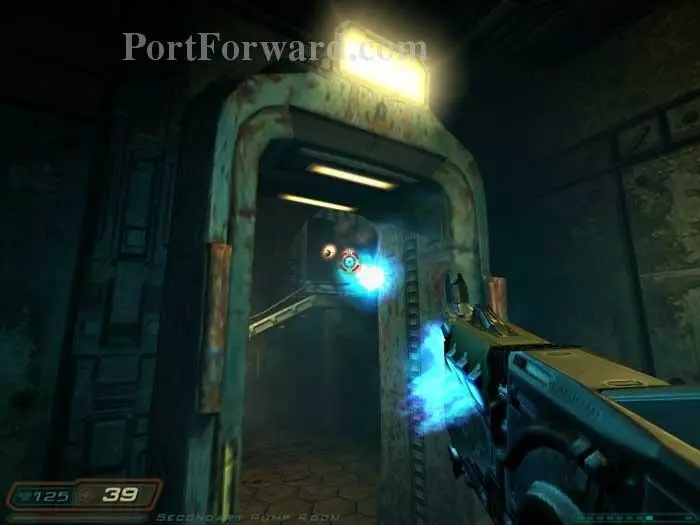
Ready your chaingun at this juncture to battle a Cacodemon as you follow the pipe to the opposite walkway far-right. Note the shelves far-left, where you'll find clips, shells, cells and a medkit.

Use this terminal to shutdown the broken pump and complete the objective. Ascend the ladder to the left.
Backtrack to this position. The door on the left returns you to this room and should only get you some armor and clips you may have left behind. Plus, you'll have to fight three Imps and a maggot. I recommend you proceed directly through the door on the right -- be ready for an Imp on the other side.
Battle another Imp in this previously-flooded room.
Note the armor vest in the alcove on the left. Ramp up to stairs and a doorway ahead.
An Imp spawns. Unfortunately for him right next to some explosive barrels. Climb the ladder far-left.
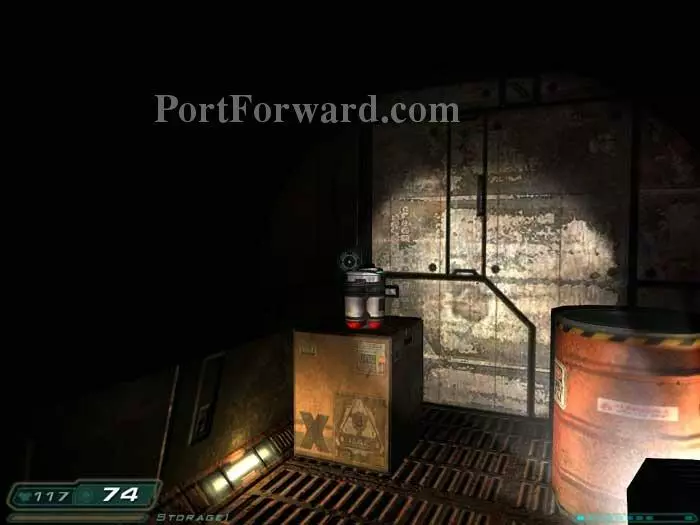
Grab this medkit from the crate -- you'll be back in a moment.
Continue down the hallway to trigger two Pinky Demons. Rush back to the crate and jump on top. From this position of relative safety you can pummel the Pinkies.
Armor, cells, clips and shells are on the left. More armor is by the health station on the right. Continue through the door straight ahead.

Trites attack, front and rear. Plus an Imp spawns as you reach this position.
Reach this medkit and cells on the left and a Maggot attacks from the front while a Trite sneaks up behind you.
This Revenant is waiting up ahead. Follow the stepping stones to reach the doorway on the right.
After your first steps an Imp attacks from this area on the left. Toss a grenade his way.
Another Revenant attacks before you reach the doorway -- the Chaingun works well against him.
Defeat a Maggot and grab the medkit on the right. Anthony Garza's PDA on the counter ahead hints that a rocket launcher is to be found.
Another Maggot and this Imp are ahead -- but the important thing to note is on the shelf below - the rocket launcher! Two medkits are beneath, and more rockets are in an alcove to the right. Continue through a door on the left.
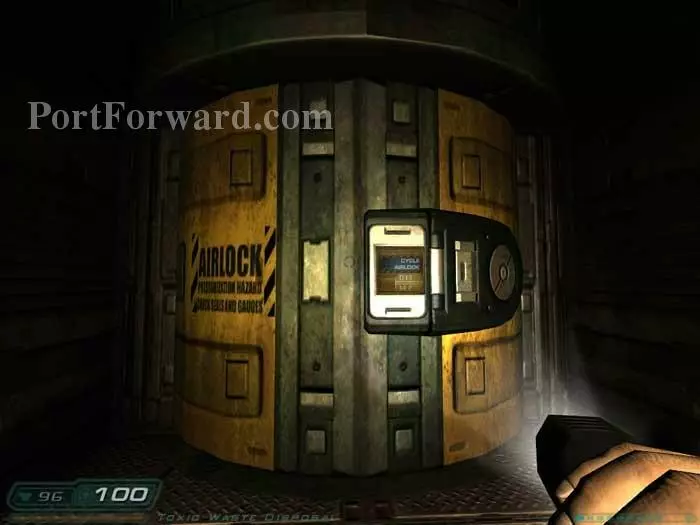
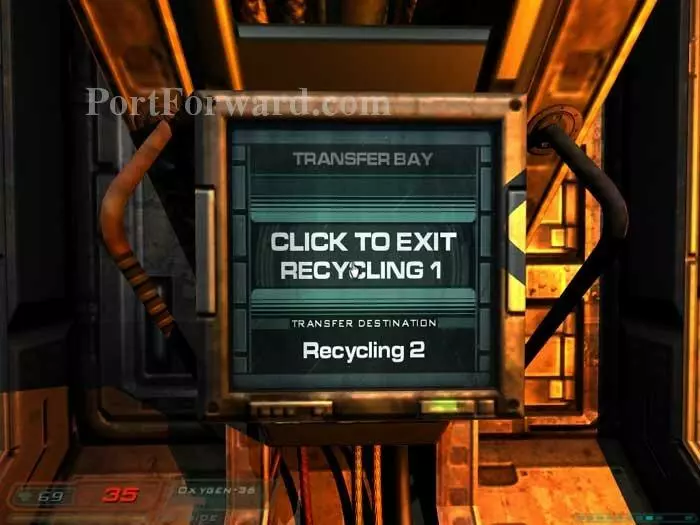
Cycle this airlock to return to the Martian surface once again.
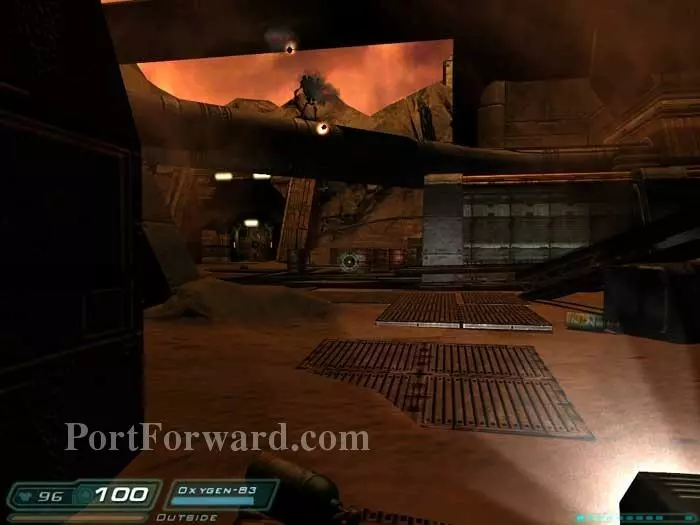
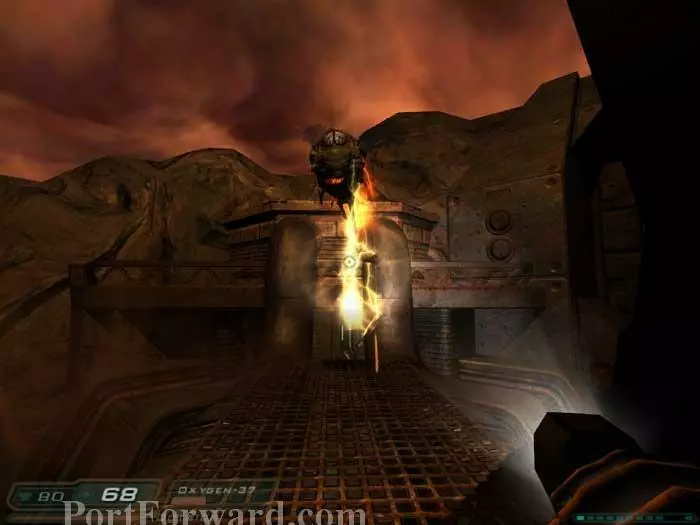
A Revenant is firing at you from above - a great time to try out your shiny new rocket launcher! Note the two oxygen tanks visible here. The door far-left is non-functional. Instead, approach that bunker straight ahead.
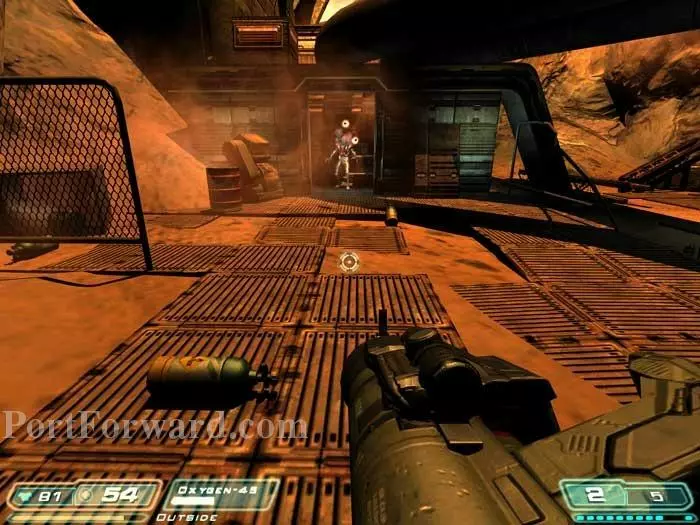
Another Revenant is firing at you from inside. Note a third oxygen canister here. Defeat the Revenant then head inside to find a medkit and more air.
Hop up to the walkway above.
Cacodemons spawn. Ignore them for now. Run straight between those pipes and fall to the doorway ahead.
Grab the oxygen canister on the left and open the door with the panel on the right.
Fend off the Cacodemons as you rush inside and activate this panel to load the next level.
More Doom 3 Walkthroughs
This Doom 3 walkthrough is divided into 27 total pages.