This Doom 3 walkthrough is divided into 27 total pages.
You can jump to nearby pages of the game using the links above.
EnPro Plant

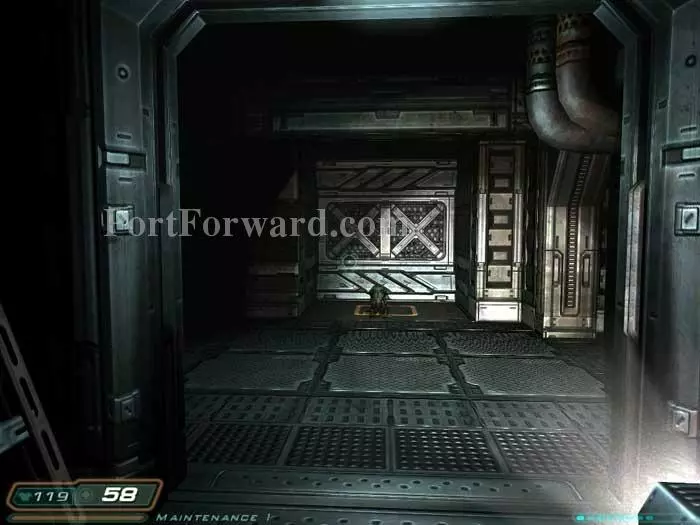
Step off the elevator and Sarge updates your objectives. Armor is behind the crate on the left. Heal at the station on the right before heading through the door.
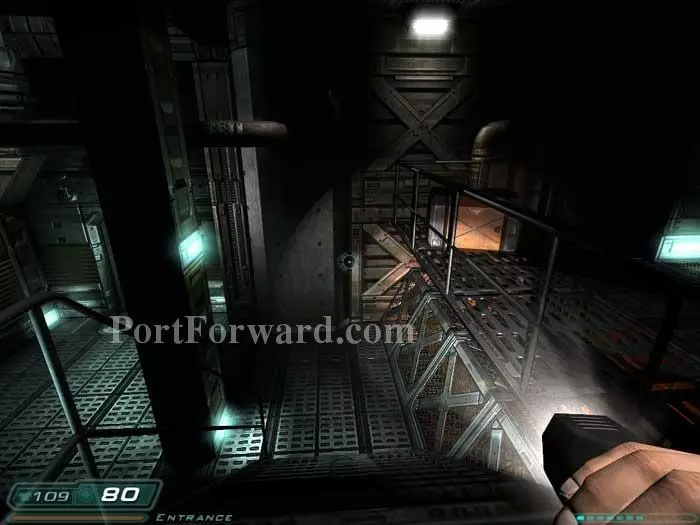
Grab the clip behind that orange crate on the right, then descend these stairs.
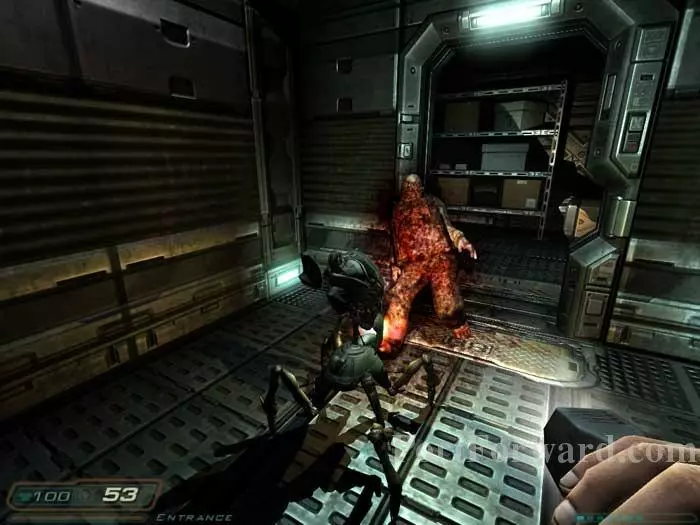
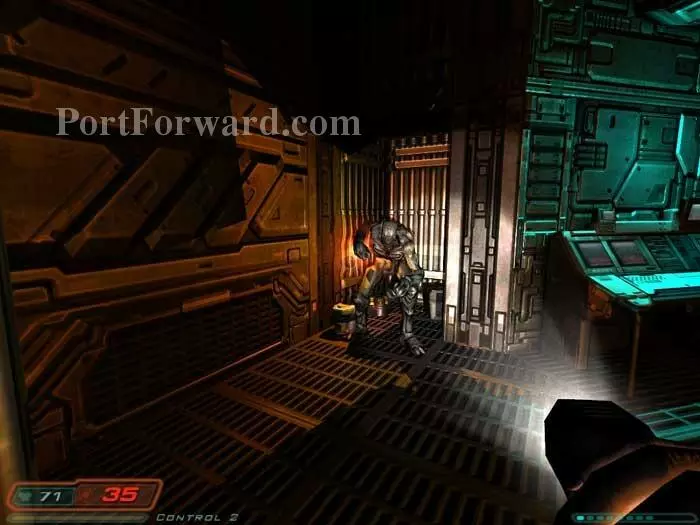
An Imp and a fat zombie attack from this storage room. You'll get backup from this security bot. Grab the shells from the storage room.
Follow the bot, allowing it to clear out enemies ahead. On a desk in this room is some armor and Paul Raad's PDA which provides some background.

A medkit and two clips are here.
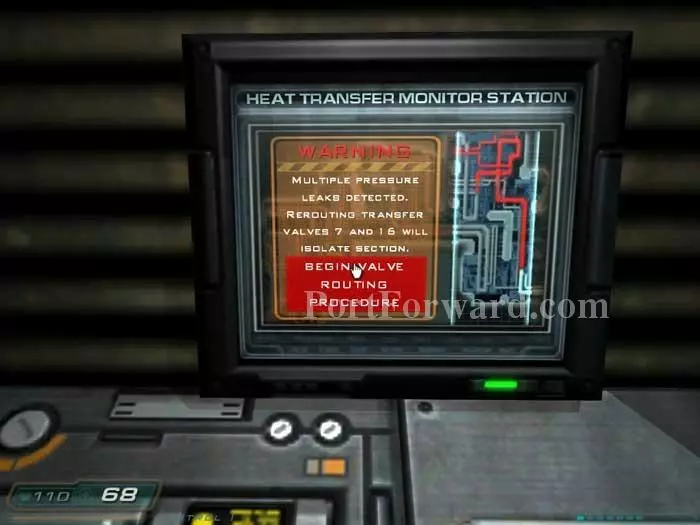
This panel will stop a gas leak and extinguish a fire around the corner.
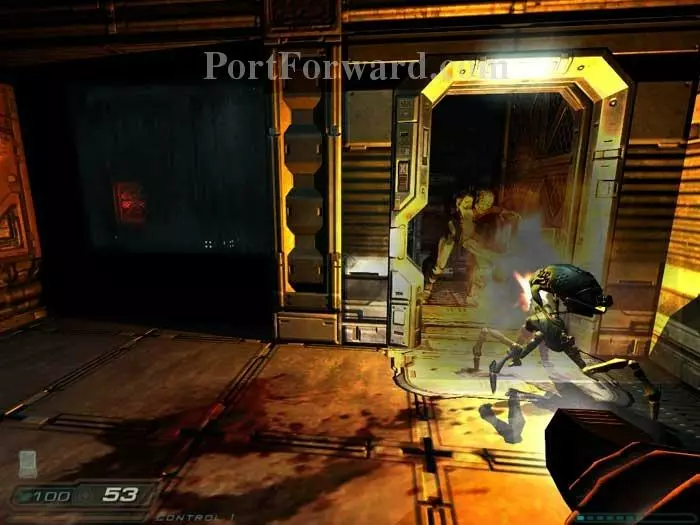
Continue to follow the bot, helping him out as he battles many Imps. It is possible for the bot to be destroyed.

Explore the area and find another Imp behind these shelves. In this room you'll find a medkit, a clip, an ammo belt and cells.
Most important is this room where you'll have your first chance to get a plasma gun if you missed it in the last level. Also here is a medkit.

Pick up the plasma gun and this maggot spawns behind you.
The bot will lead you through these double doors and then shut down. You hear the distant sounds of a woman crying. A medkit and armor are to the left.

Climb this ladder to the right.

The crying grows louder, and you see a woman in this office.

Enter the office to initiate a cutscene. The woman pleads, "Help me."

Her face becomes hideously deformed.

And then her head and spinal cord rip out and begin attacking you! Jesus F. Kennedy!

Meet your next enemy - the lost soul. Fast but weak, your best bet on these is your machine gun or chaingun at distance, the shotgun up close.

Extend the outside service bridge with this terminal.

Listen to Theresa Chasar's audio log to learn that the code is 972 for nearby storage cabinet 063. Inside are cells, a medkit and a plasma gun. This is the first "non-hidden" plasma gun in case you missed it here or here.

Step outside and battle a flock of lost souls.

Approach the right ledge and the service bridge extends.

Advance farther down the corridor and battle another flock of lost souls.
Follow the catwalk to this unlocked door. Inside you'll find cells, a clip and a medkit.

This Imp is waiting for you in the next room.

Defeat the Imp then vanquish the next flock of lost souls.

More Imps attack, front and rear. Armor and a medkit are on the right.
Lastly, defeat this maggot before descending the lift visible far-right.

Step off the lift and battle more lost souls. You can just spot the cells lower-left. Farther ahead are two medkits.
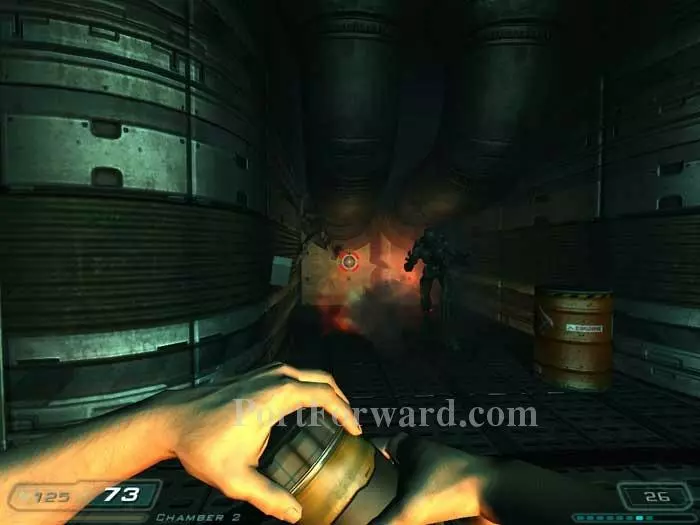
Two Imps are hiding in this alcove to the right. Bounce them with a grenade and you'll find some armor.

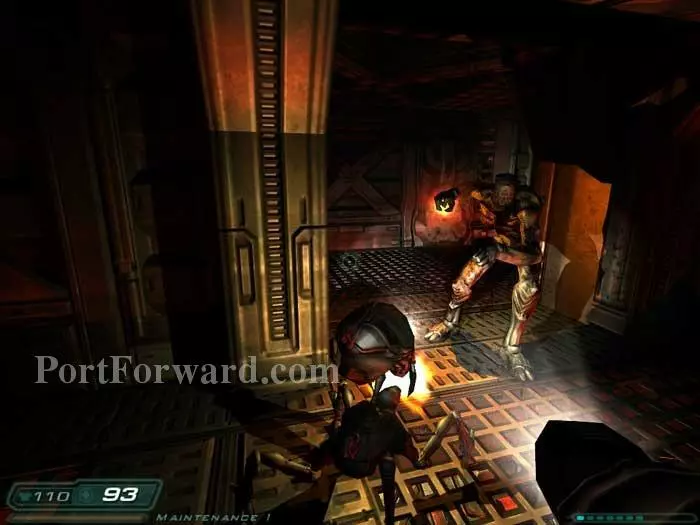
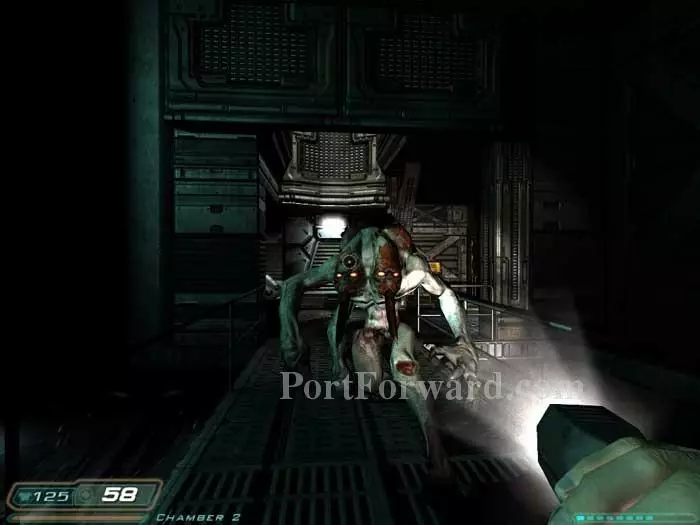
In the next room you'll encounter an Imp and this creature, the Wraith. Wraiths are melee-only but they can be deadly when they get this close.

Grab the medkit and cells, spawning this Imp and two others behind you. Advance to the main room seen beyond.

The computer warns that the reactor has overheated to 900 degrees Celsius.

The catwalk leads to this room on the left. Defeat this solitary Imp before entering. Inside are cells, clips, a plasma gun and a health station.

Activate the console to replace rod 2 and initiate a cutscene.

Swann and Campbell haven't found the card either. They enter this vehicle -- no you don't get to drive it.

More lost souls and this Imp attack as you leave. Retreat to the health station and battle them as they enter the doorway.
Backtrack to the lift, battling an Imp, this maggot and a Wraith along the way.

Ride the lift up then battle more lost souls as you retrace your steps.

Defeat this maggot and another Imp.
The reactor, no longer overheating, is now blue.
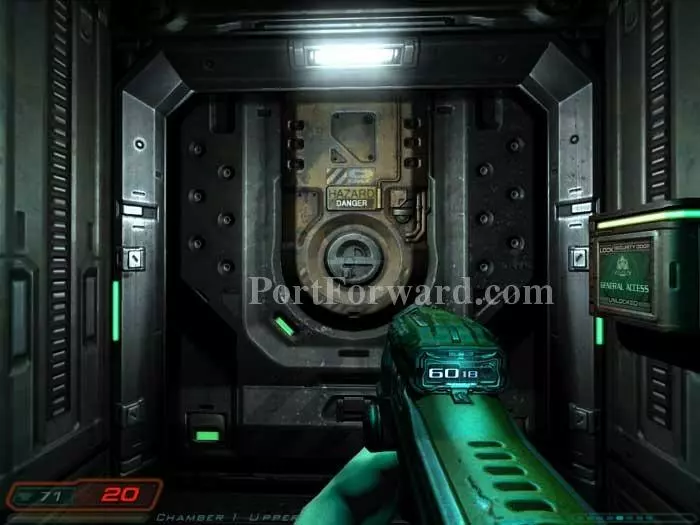
Follow the catwalk to the now-open hazard door. Shells and a medkit will be to your left.

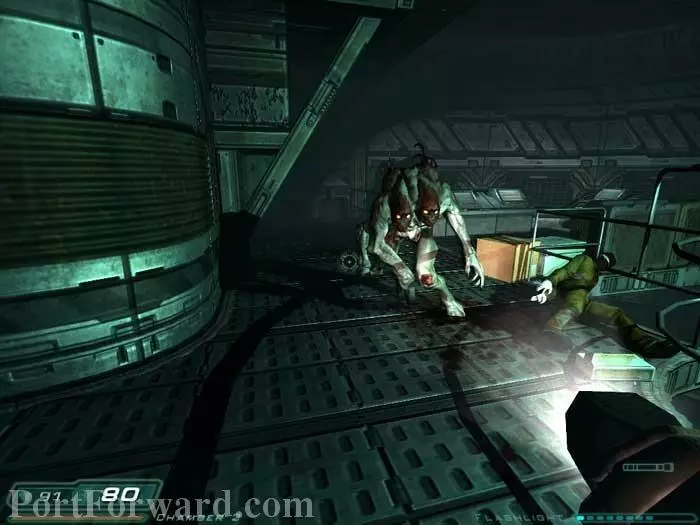
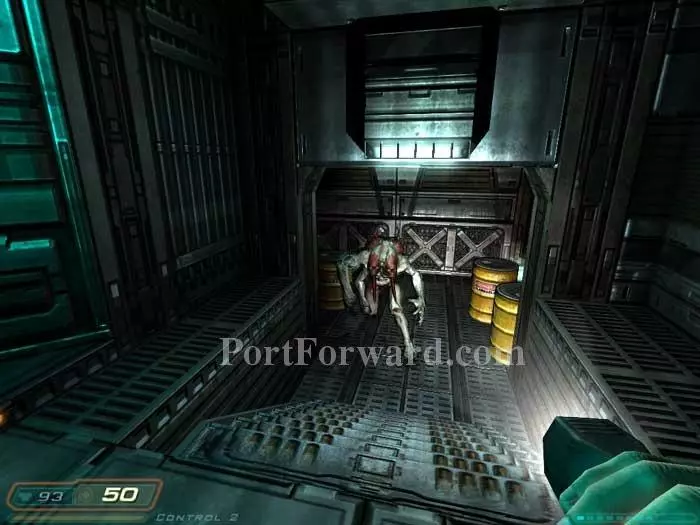
This maggot greets you as you move into the room beyond.
Battle two Wraiths, then this Imp guarding a medkit, grenades and an ammo belt. Search the nearby shelves for armor.
Down these stairs this maggot attacks.

You'll find armor around the left corner. Approach and another maggot emerges from a secret compartment.

Break out your plasma gun and take down another maggot/Imp combo. Explore the alcove ahead and find a maggot guarding a medkit and two clips. Climb the stairs.

Two fat zombies await in the next room. Grab the medkit and armor on the left before exiting through the door.

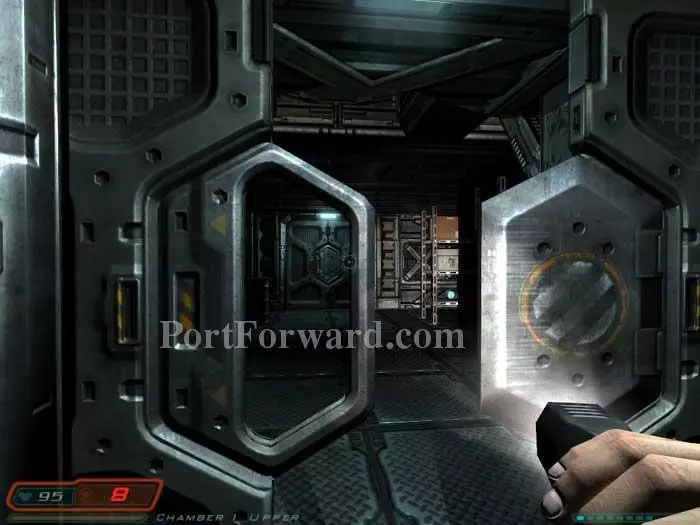
Battle your way past more Imps, Wraiths and lost souls. The plasma storage room ahead is inaccessible for the moment. Search the crawlspace underneath for armor.

Before heading through this door, search the area to the right for a clip and medkit.

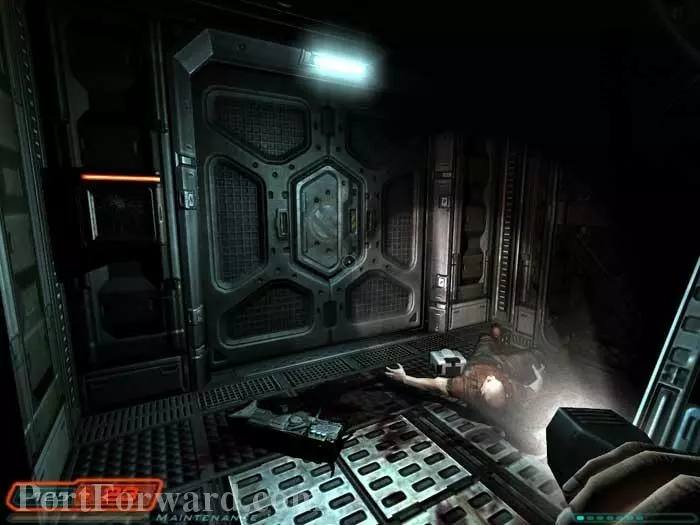
This cutscene shows a soldier giving you the communications card. And a Wraith is slithering in for the kill!

Yowza! That's a lotta mouth!

Defeat more Wraiths and find Steve Hammer's PDA here. Listen to his audio log to learn the plasma room storage code - 734. The airlock is here but first we want to backtrack to plasma storage.
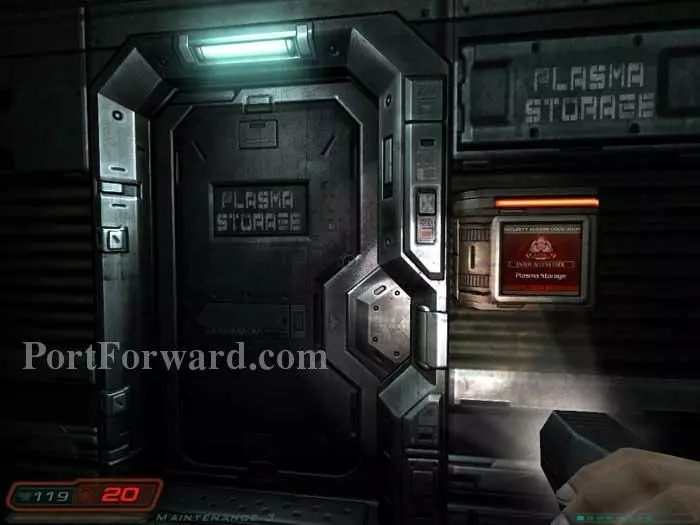
Return to plasma storage and enter the code 734. Defeat the zombie inside and grab armor, two medkits, and a boatload of plasma cells.
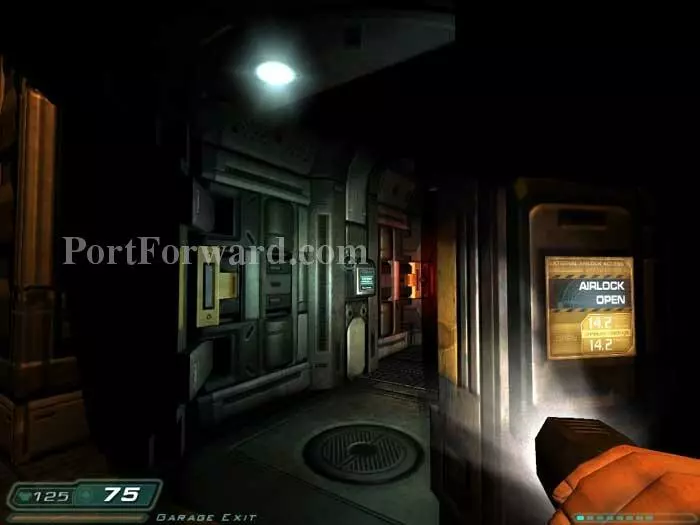
Now you can leave. Return to the airlock and activate the panel inside to end the level.
More Doom 3 Walkthroughs
This Doom 3 walkthrough is divided into 27 total pages.