This Doom 3 walkthrough is divided into 27 total pages.
You can jump to nearby pages of the game using the links above.
Alpha Labs Sector 1
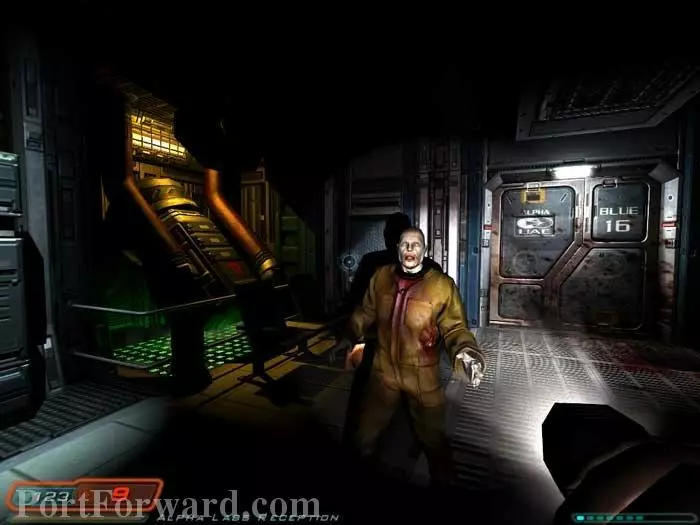
Sarge urges you to move faster. Use the panel on the right to open the transfer doors. This zombie wakes up and comes after you. A clip and a medkit are to the left.
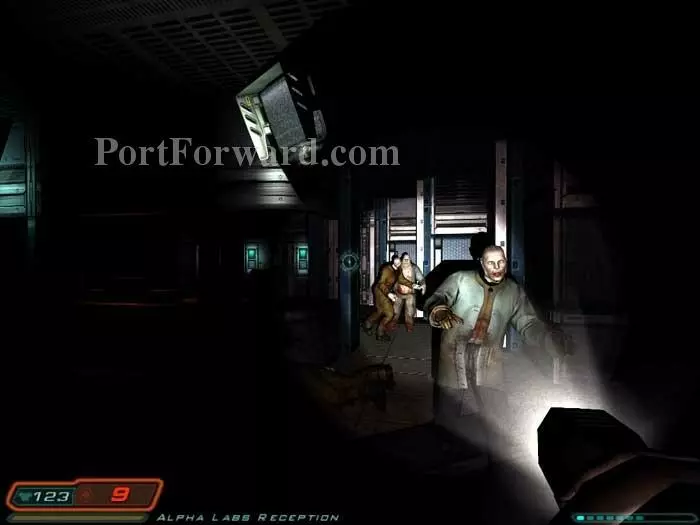
Three more come after you from the right.
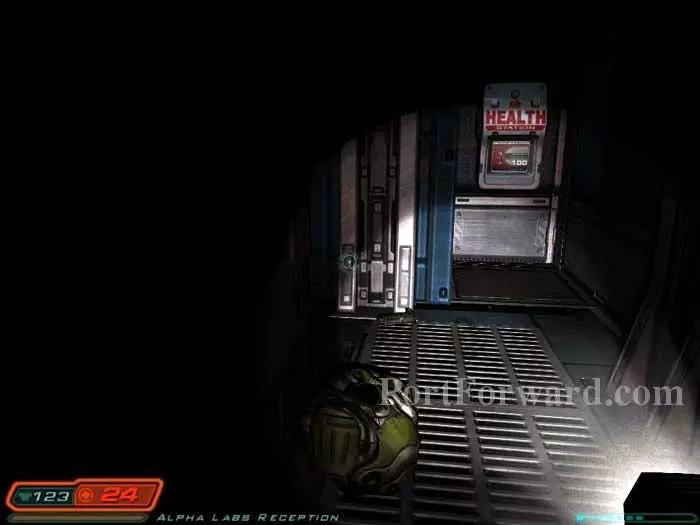
Armor and a health station are found along the right wall.
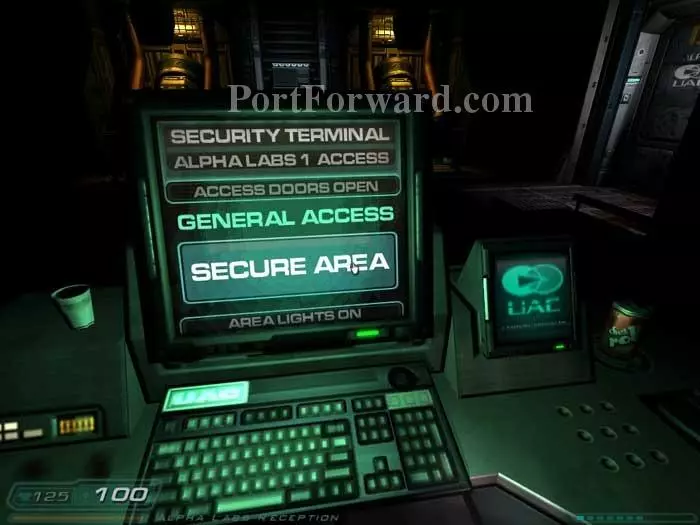
This terminal, previously red, unlocks the doors on the right.
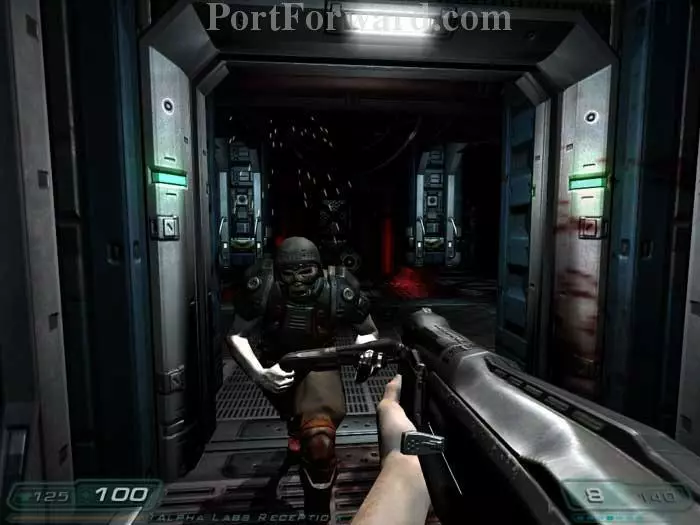
Battle three Z-Sectors in the next room. Armor and ammo can be found in the right corner.

Advance down the corridor and be met by this zombie.
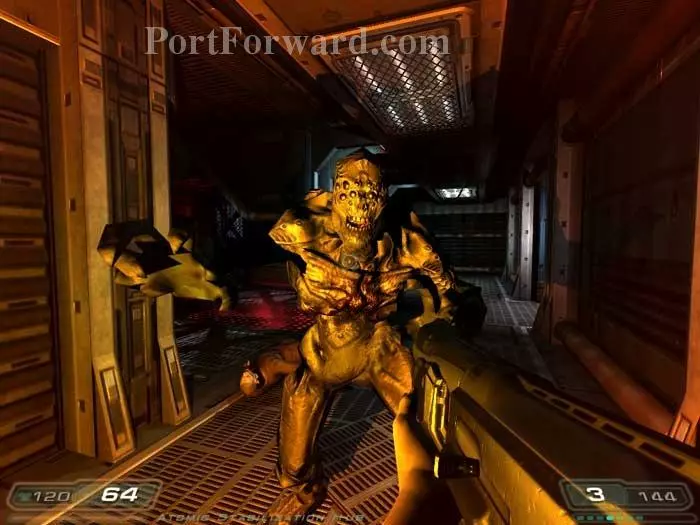
Defeat the zombie and this Imp spawns behind you.
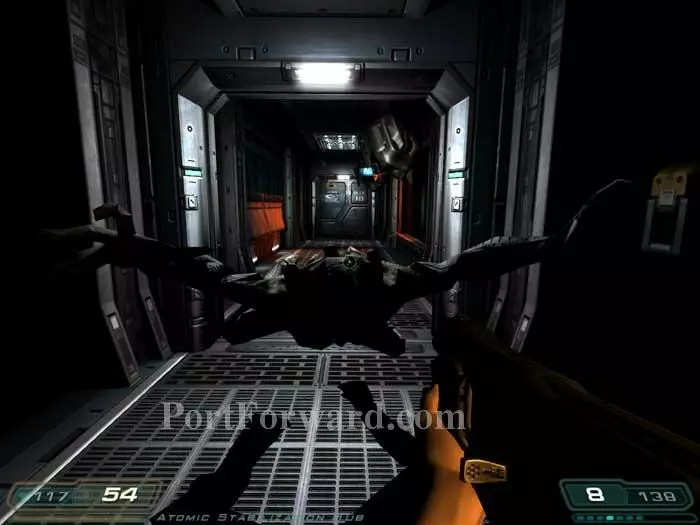
Mother! Ready your shotgun before opening this door -- an Imp is ready to pop out! Two Z-Sectors follow.
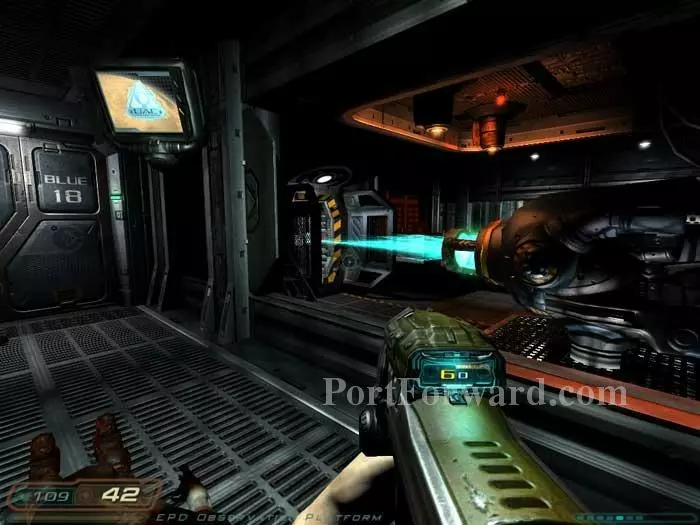
Watch this UAC video to learn about the Elemental Phase Deconstructor. Hop through the broken window.
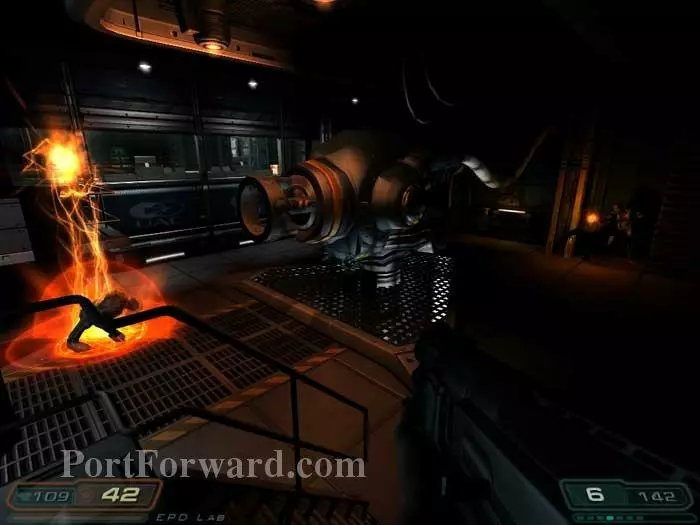
Two Imps spawn. Defeat them and grab a medkit and shells beneath these stairs. A third Imp spawns after you retrieve the medkit.
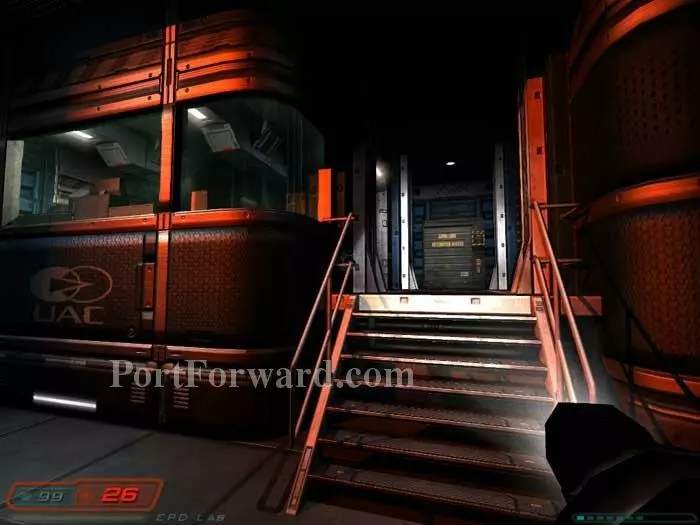
Ready your shotgun before entering that room on the left.

This zombie and Z-Sector are waiting inside.
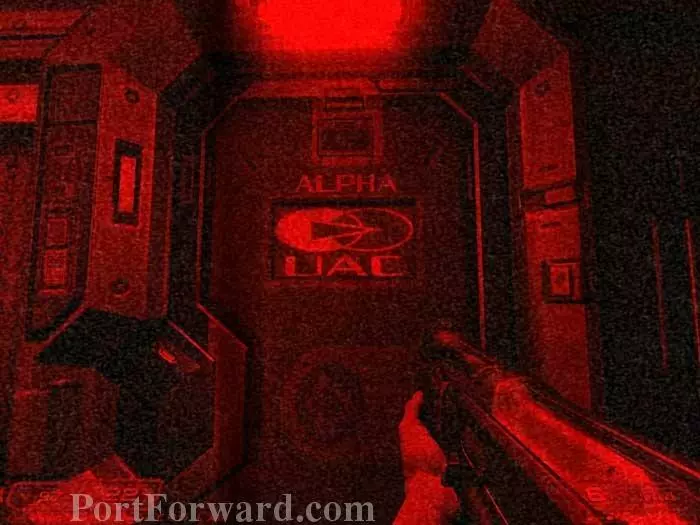
Approach this opposite door and everything goes red again -- I think these are failed attempts by the hellforces to turn you into a zombie.
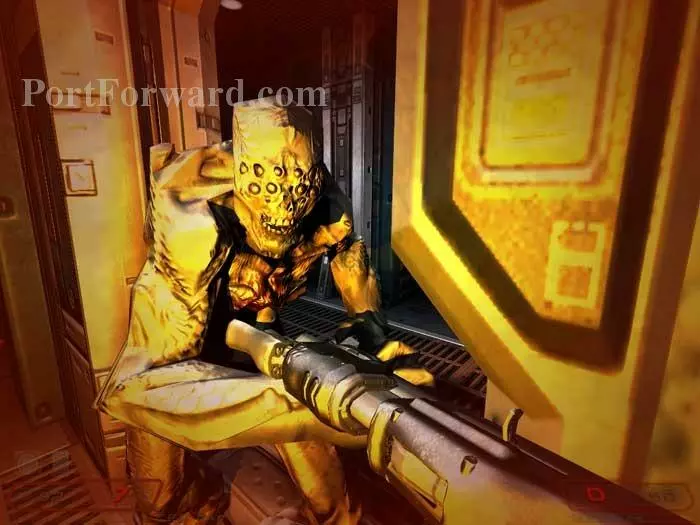
This Imp spawns at the other door. Here he is taking a big chunk out of me.
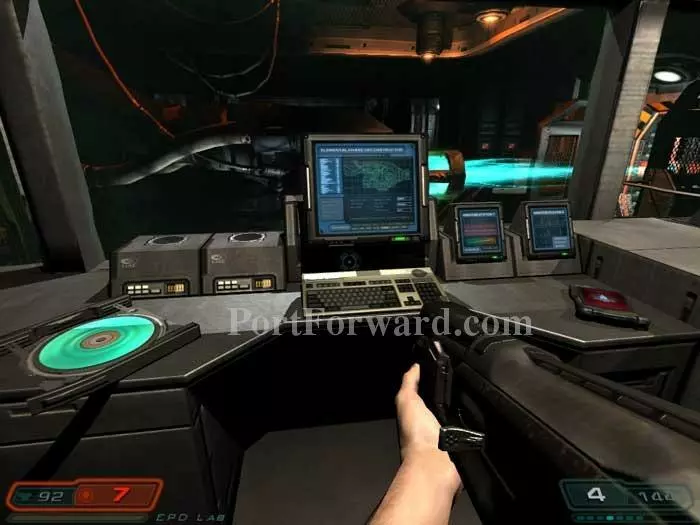
Over here you'll find the EPD video and Kyle Berger's PDA, revealing the storage locker code 752.
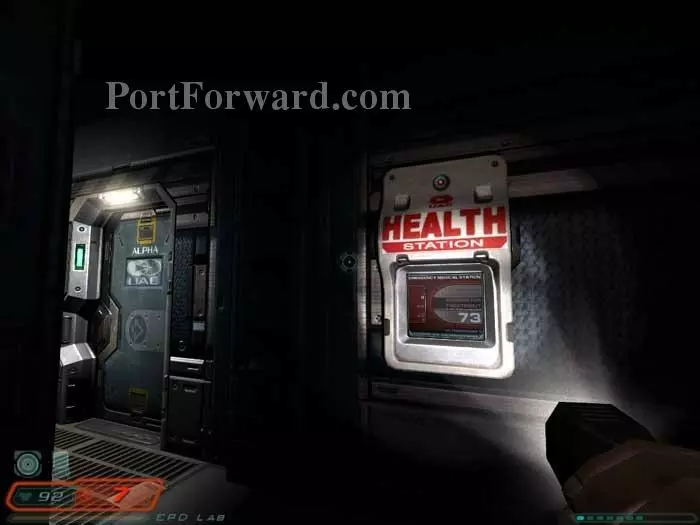
Heal at this health station.
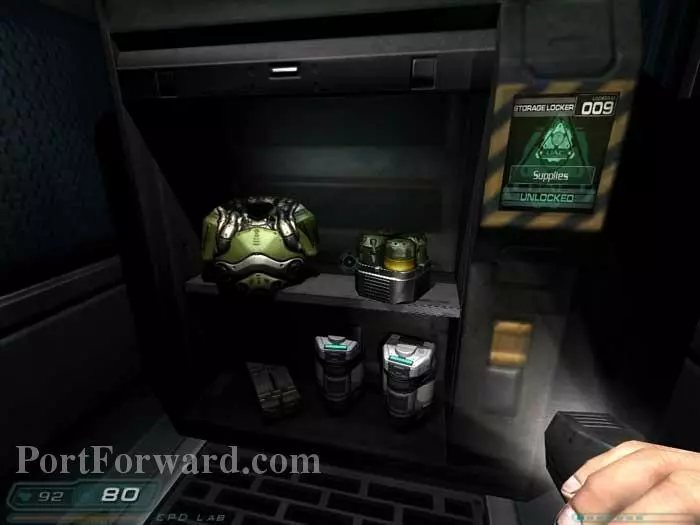
Use the code 752 to unlock this locker in the hallway. Inside are armor, two medkits, grenades and a clip.
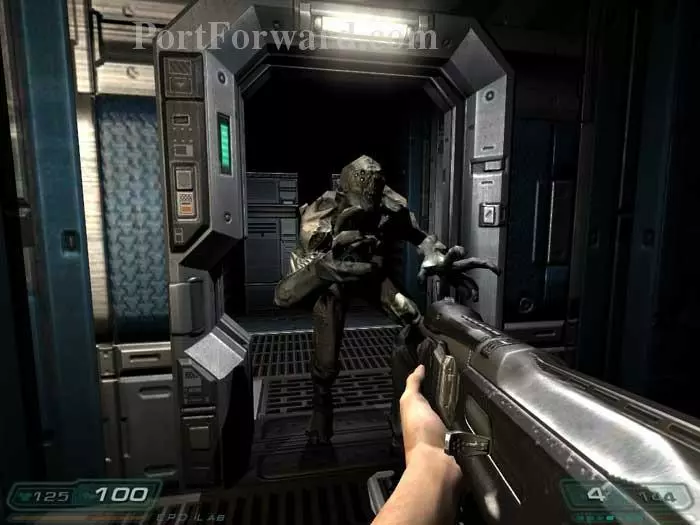
Approach the door that caused the room to turn red earlier and defeat this Imp.
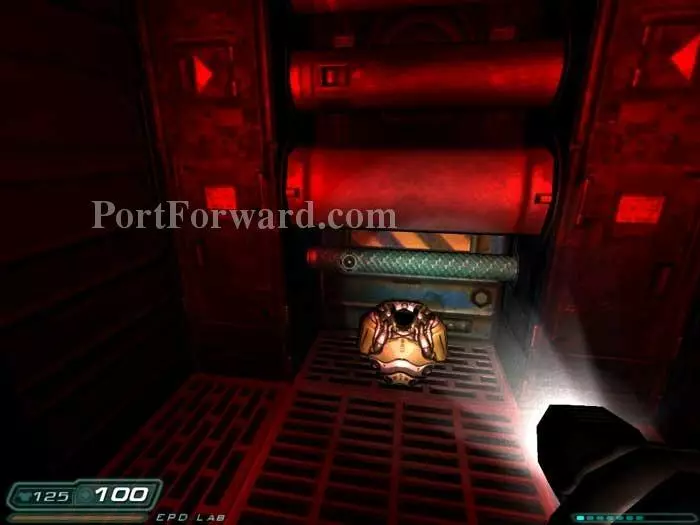
A voice to your right beckons, "Follow me." Do so and you'll find this armor.
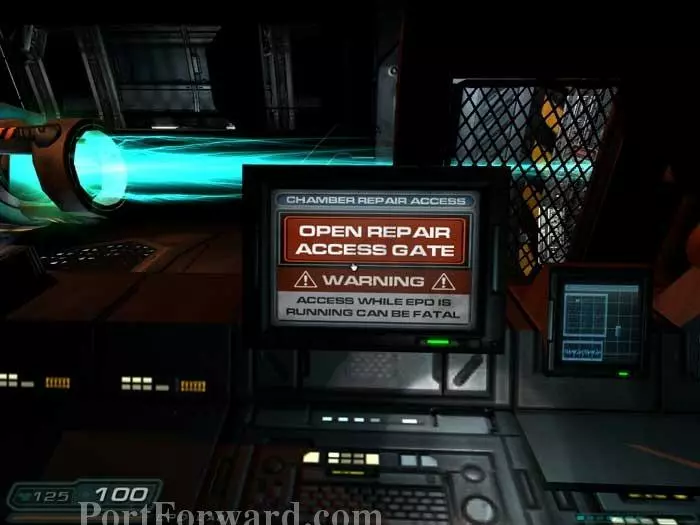
To the left is this "Chamber Repair Access Panel." Ready your machine gun before activating it -- a Z-Sector will spawn at the window beyond.
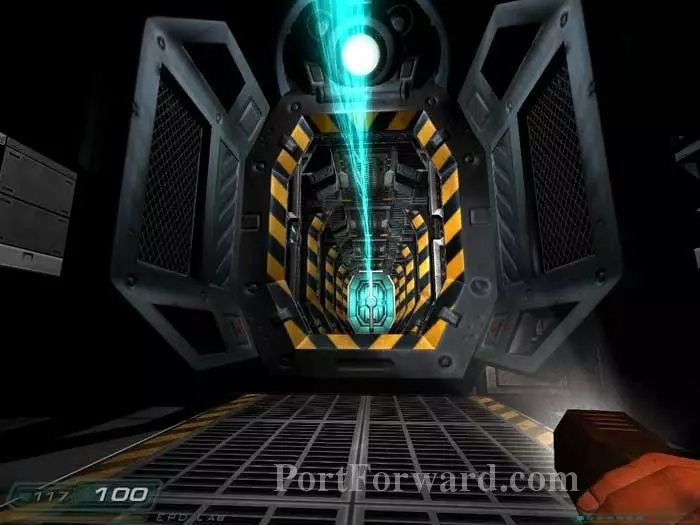
Duck and cover. Enter the chamber - crouched.
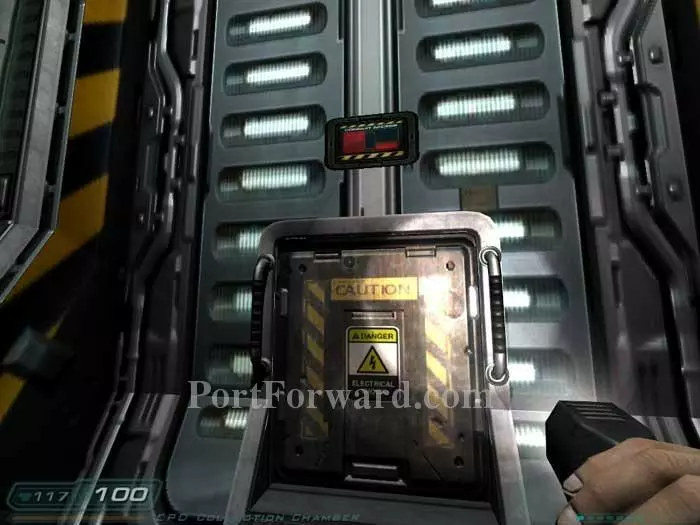
An ethereal voice says, "Help me." When the beam is not firing, stand up and press the red pad above the access panel.
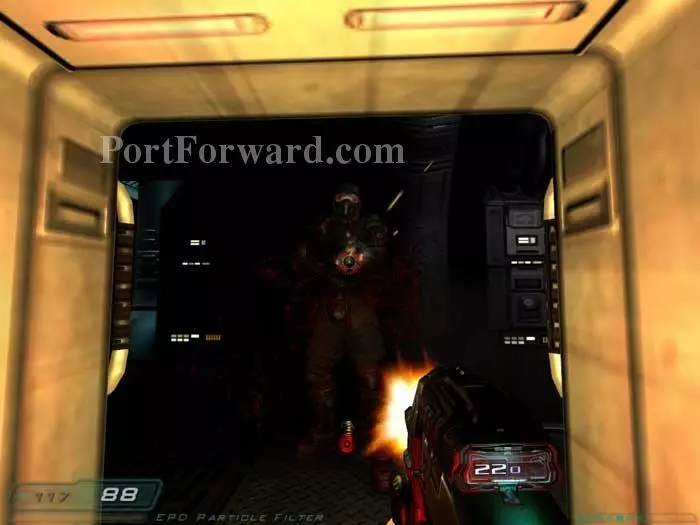
Crawl into the conduit and take out this Z-Sector, plus a zombie to the left.
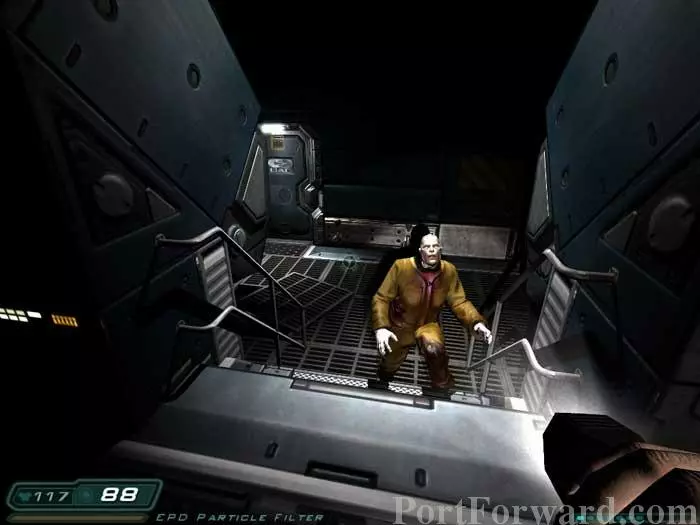
Defeat this second zombie. Grab armor from the right and continue through that door on the left.
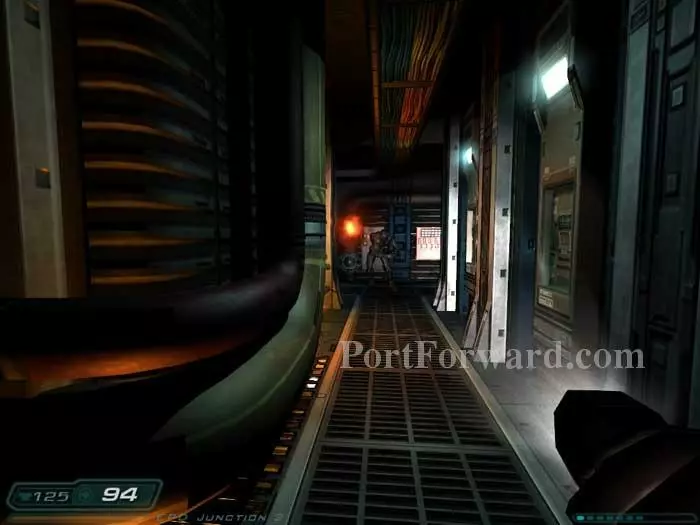
After passing through the door, you'll find a medkit to the left. In this corridor to the right you'll find this Imp. Toss a grenade his way.
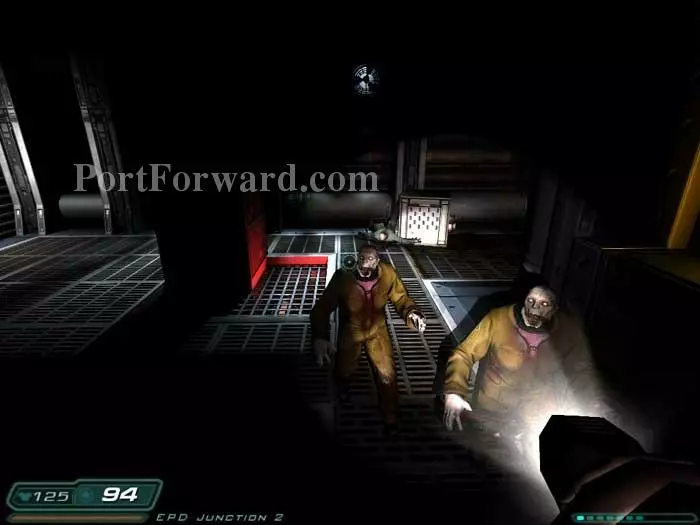
It's awfully dark in here. Your pistol will take out these two but you'll be firing blind. You might prefer the shotgun.
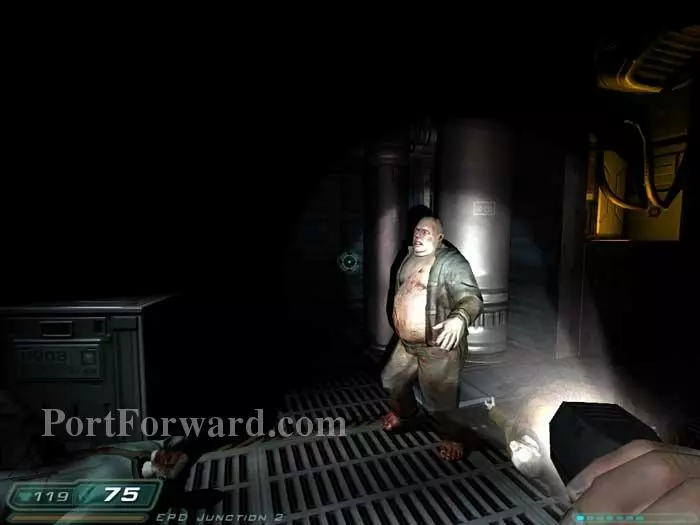
Repeat on this fat zombie to the right. A medkit can be found behind that crate on the left.
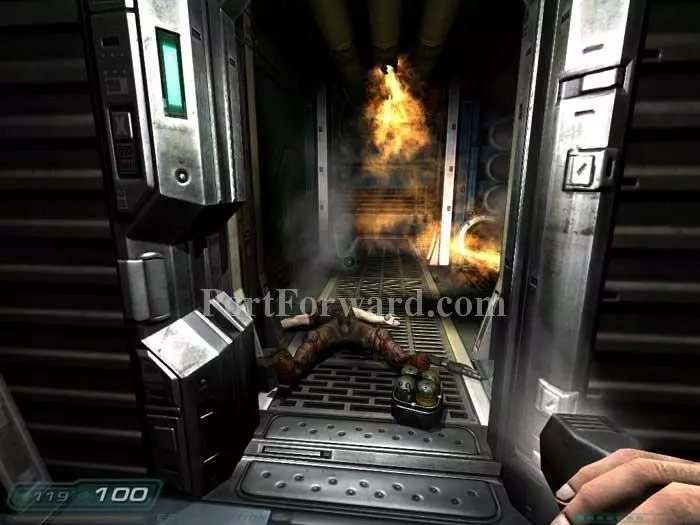
Grab the grenades and shells through this door on the opposite side of the room.

Continue past where the fat zombie was and defeat three more zombies in these corridors.
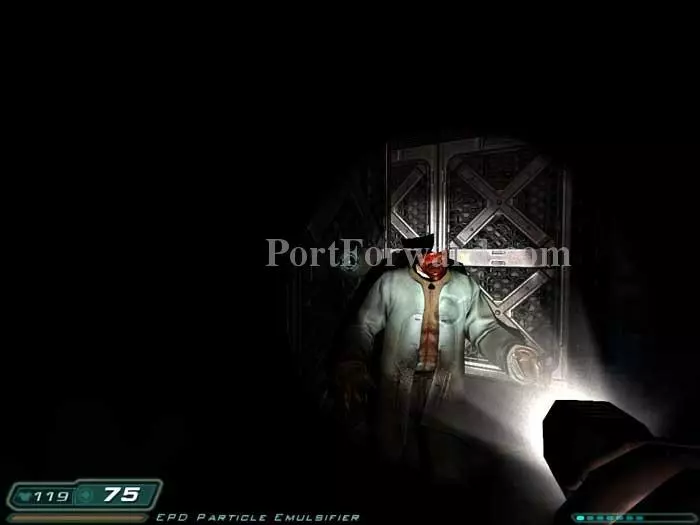
This is one of the creepiest areas of the game -- and that's saying something. The banging sound effect plus the darkness plus the many zombies are almost too much. Explore to find this headless zombie on the left, guarding some shotgun shells.
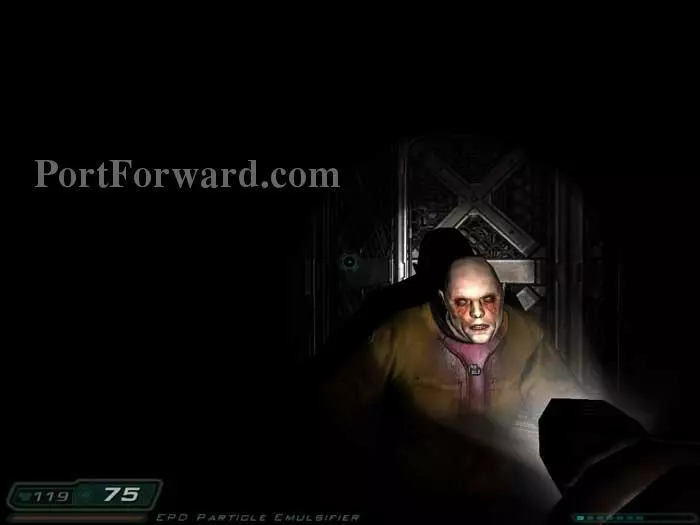
Yikes. If this doesn't make you jump, you aren't alive. He's to the right of the previous zombie and doesn't have any goodies in his alcove.
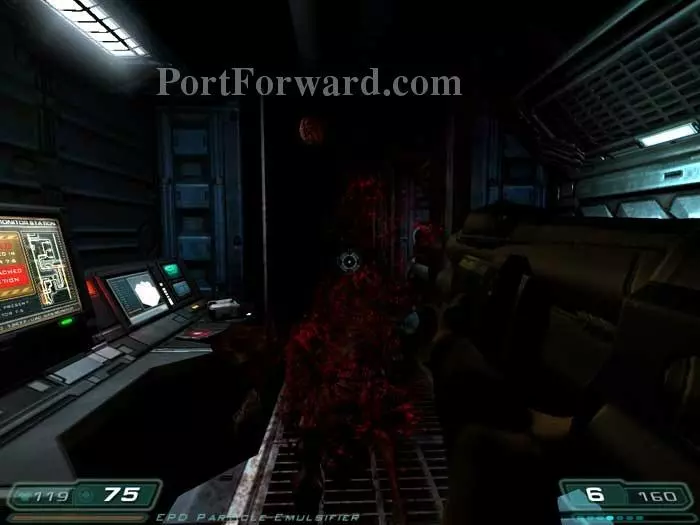
Up some stairs is another zombie, the PDA of Jack Smith, a medkit and a clip. Use the terminal on the left to extinguish a pipe leak fire.
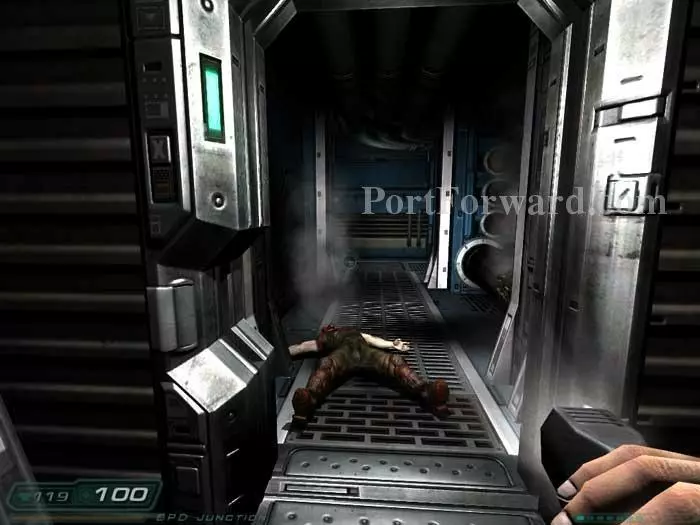
Return to this door to find it now passable.
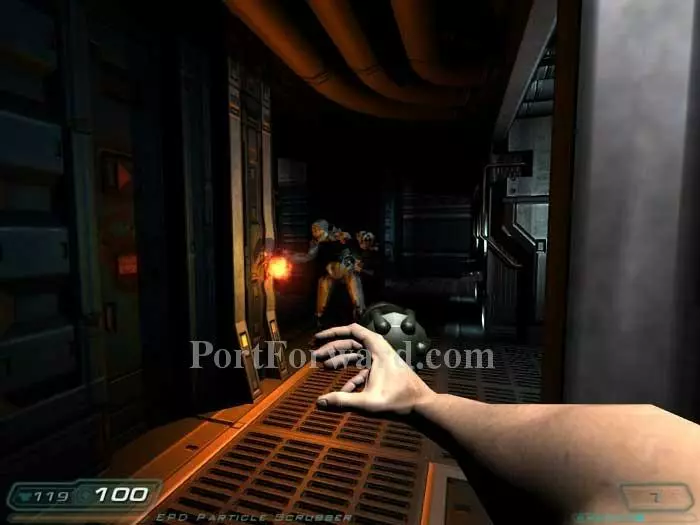
A Z-Sector and this Imp attack. Toss a grenade or two their way. A medkit, shells and clips are in the room to the left.
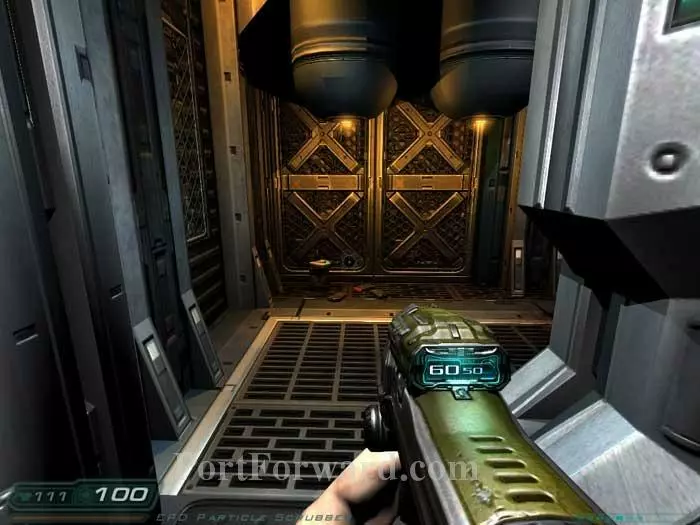
Ready your machine gun then pass through this door. A medkit and armor are visible ahead.
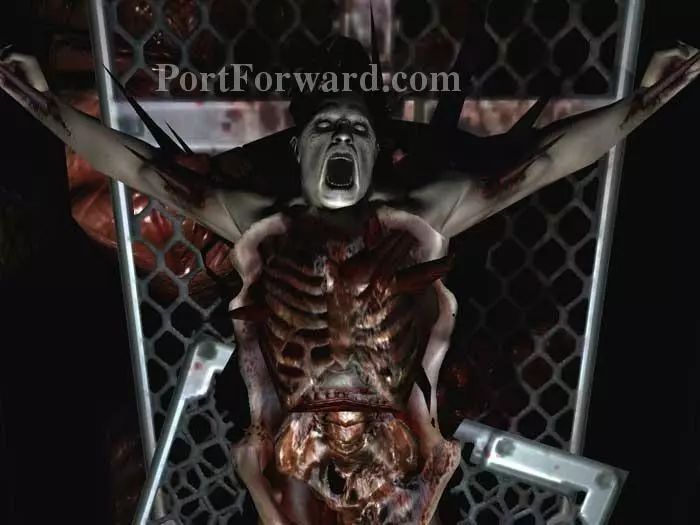
This disturbing cutscene follows -- that's just not right.
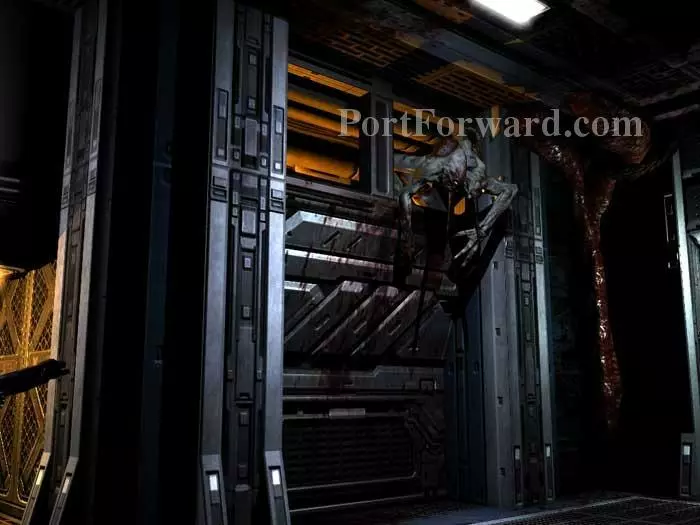
The cutscene also shows a new enemy, the maggot.
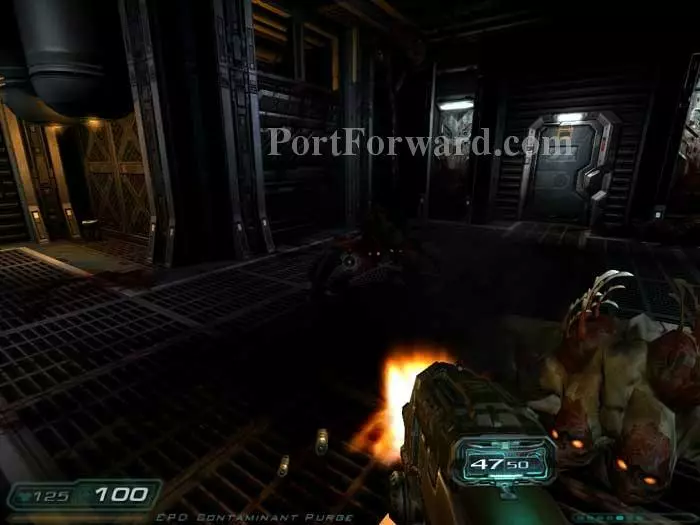
The maggot's glowing eyes and dual heads are extremely creepy. They aren't that hard to take out individually, but they attack in groups and you do not want to get pinned against a wall.
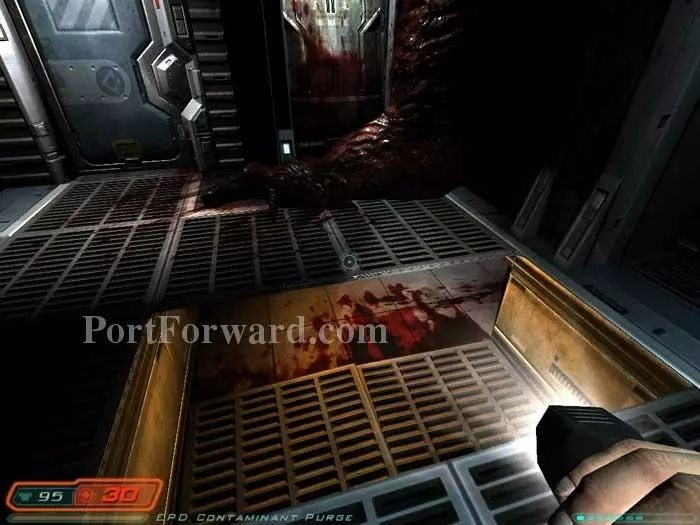
Drop into this crawlspace.
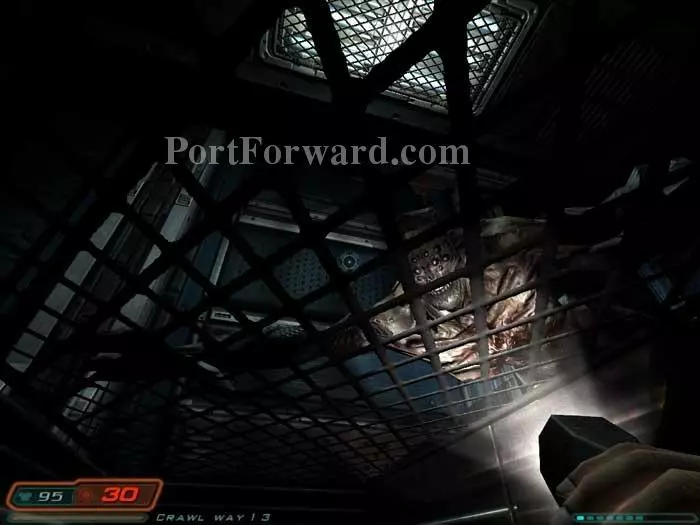
This Imp swiftly crawls away.
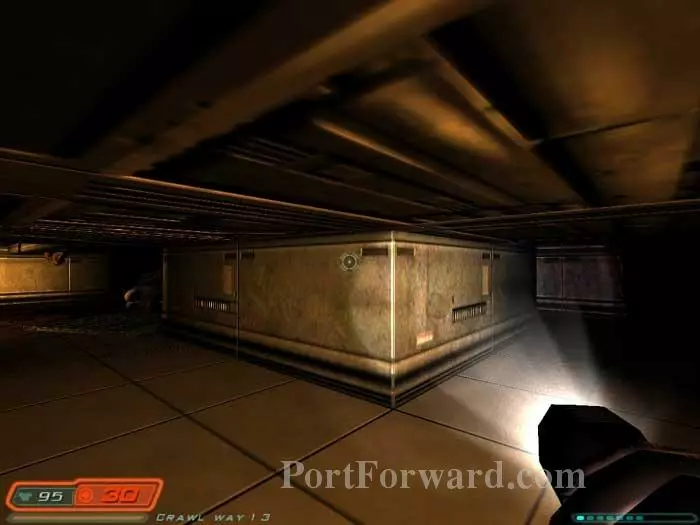
There are two exits from the crawlspace. Take the one on the right first. You'll find a medkit and armor. Return here and exit to the left. Grab shotgun shells just before exiting.
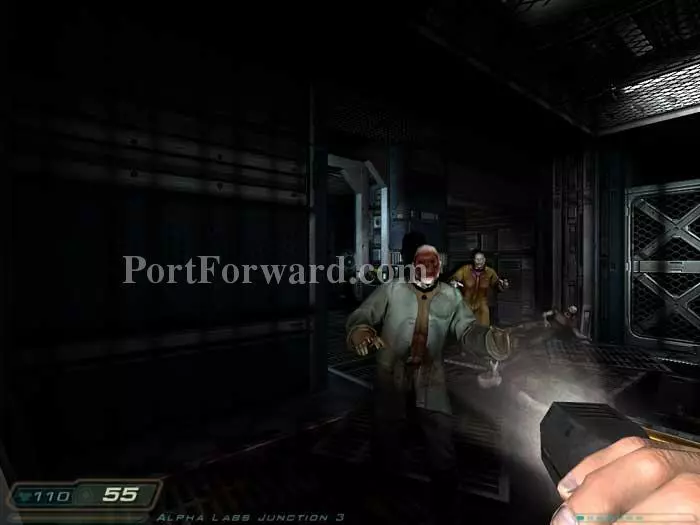
You'll be met by these two zombies. Armor and a medkit are behind the zombie on the right.
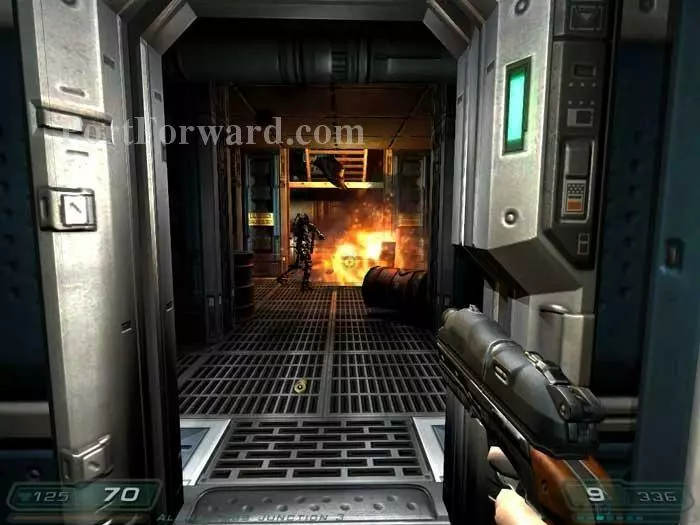
Down a corridor to the left is this door. Shoot the explosive barrels to incinerate the patrolling Z-Sector. Continue right and defeat another Z-Sector.
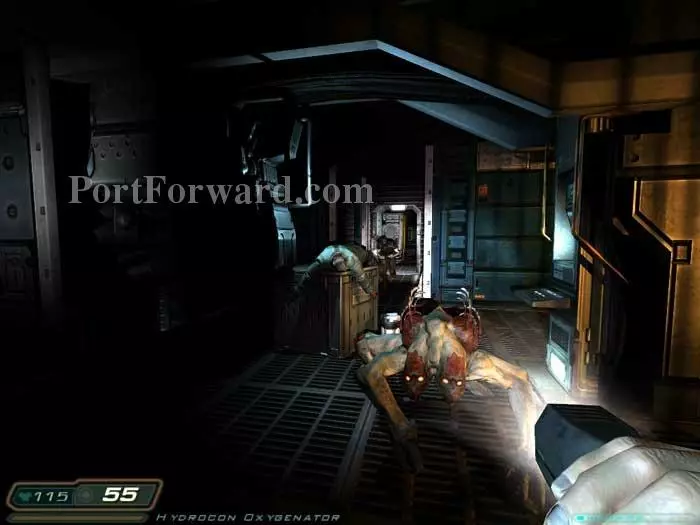
Up some stairs you'll be met by this maggot and Z-Sector. Pick up a medkit left of the crate. Continue through the door ahead.
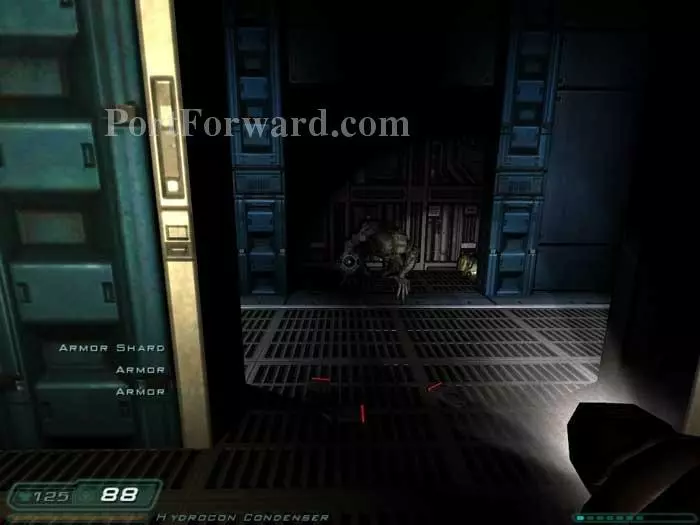
Up some more stairs and you'll find this armor. Approach and a secret panel opens, releasing this Imp. Another spawns behind you. Additional armor can be seen to the right of the Imp. Continue through a door to the left.
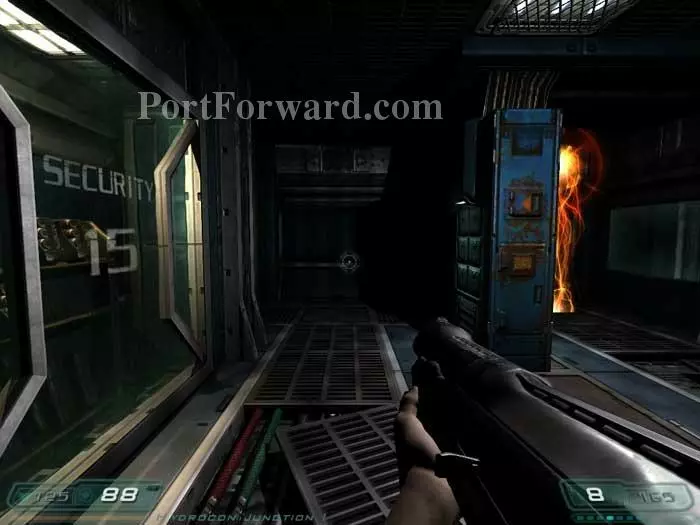
Everything turns red once again. Ready your shotgun. An Imp spawns ahead of you and behind you. Advance through the opposite door and take out a zombie to the left.
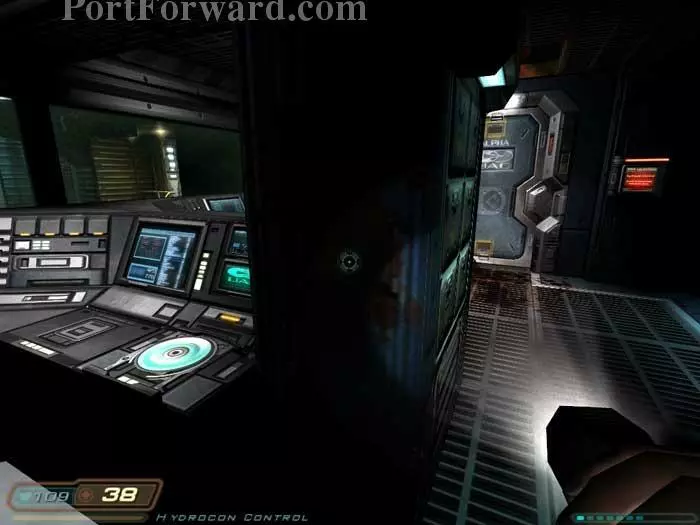
Grab the Hydrocon video disk. The door on the right is locked - for now. Continue through the door on the left, ready for combat.
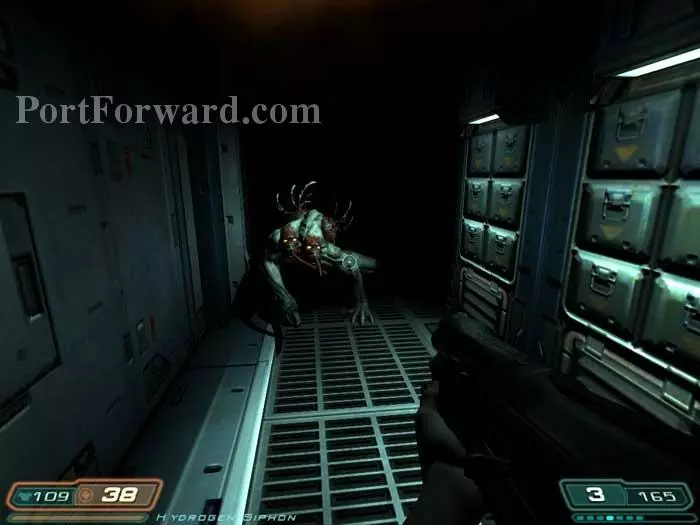
A zombie and this maggot are waiting for you inside, plus an Imp comes charging through the opposite door. A medkit is on the counter.
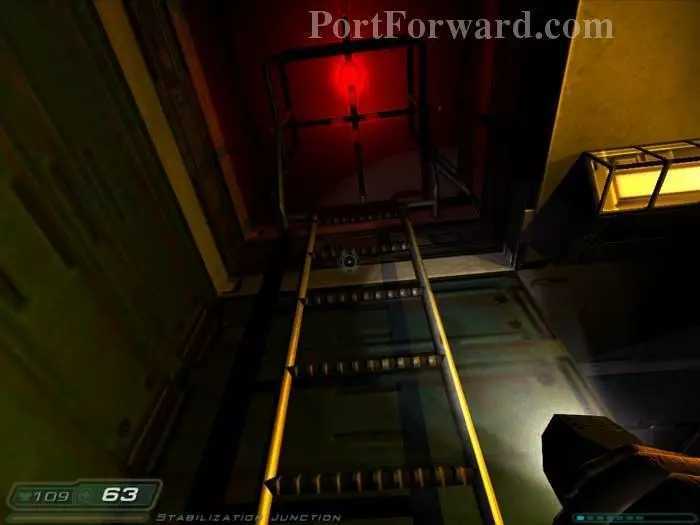
Climb this ladder.
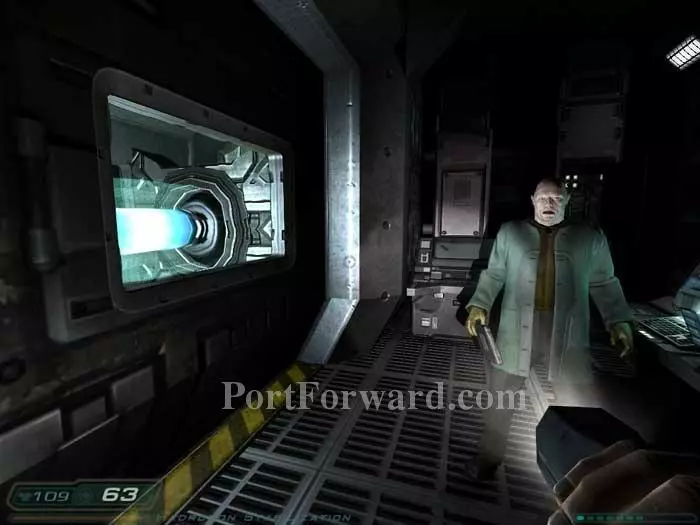
Follow the tight corridor and listen to Kreitman. Slip through the rapidly raising/lowering "door" on the left.
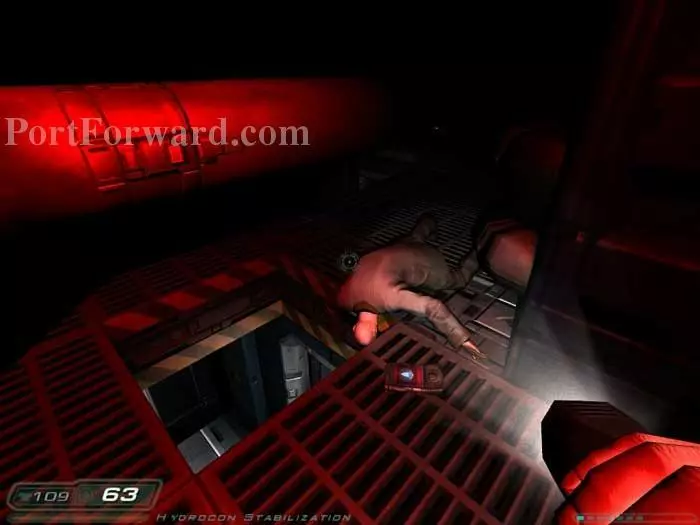
Grab Bernie Lipsitz's PDA, plus two medkits and armor in the far corner. Drop through the floor opening seen here.
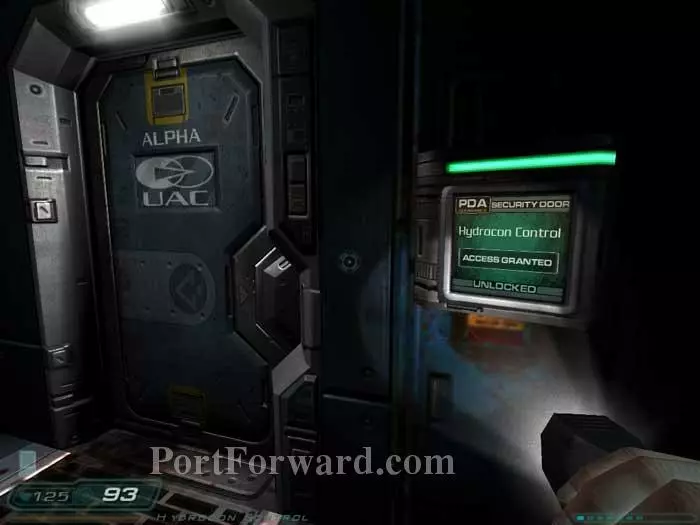
You're back in this room, but Bernie Lipsitz's PDA has given you clearance to open the door.
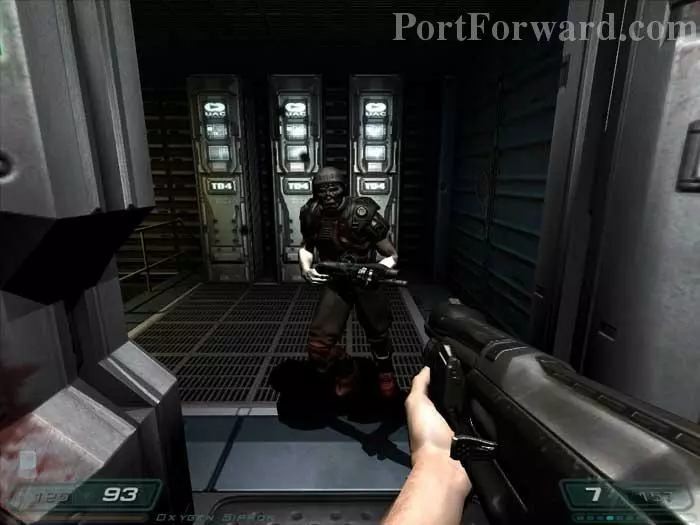
Proceed through this door, defeating a zombie and this Z-Sector.
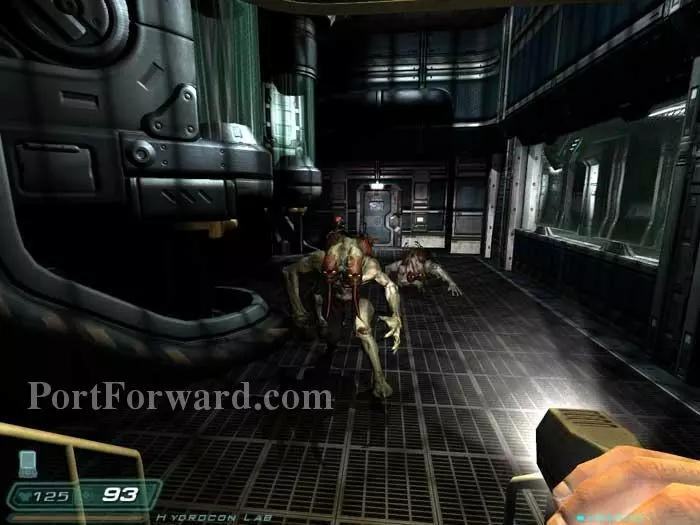
Three maggots attack in this next area. A fourth is in the room ahead. You machine gun can handle them all with relative ease.
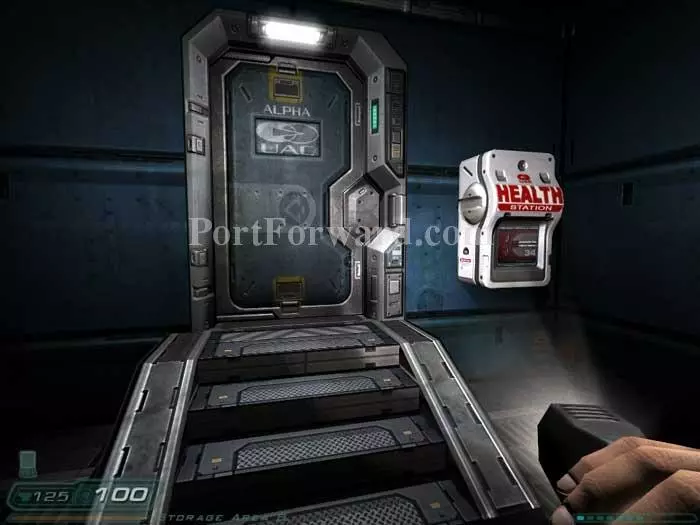
Grenades, armor and this health station are in the next room. Continue through that door and through another door to the right.
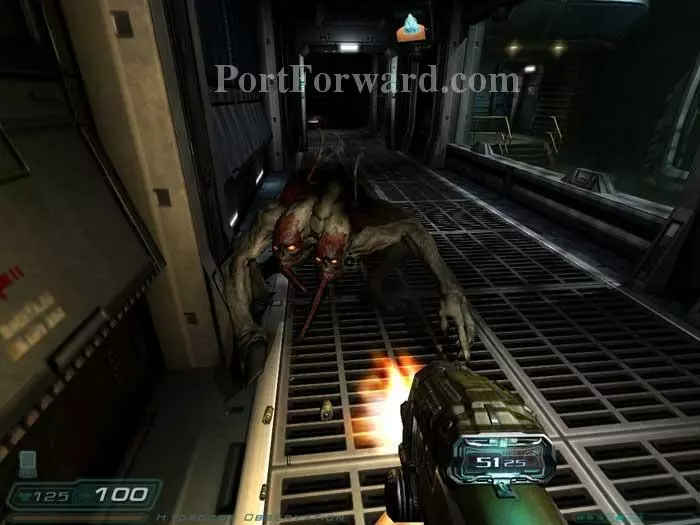
The Hydrocon video plays in this room. Advance to the room beyond and this maggot attacks. Two Z-Sectors come up behind you. Reload your machine gun and save your game before advancing.
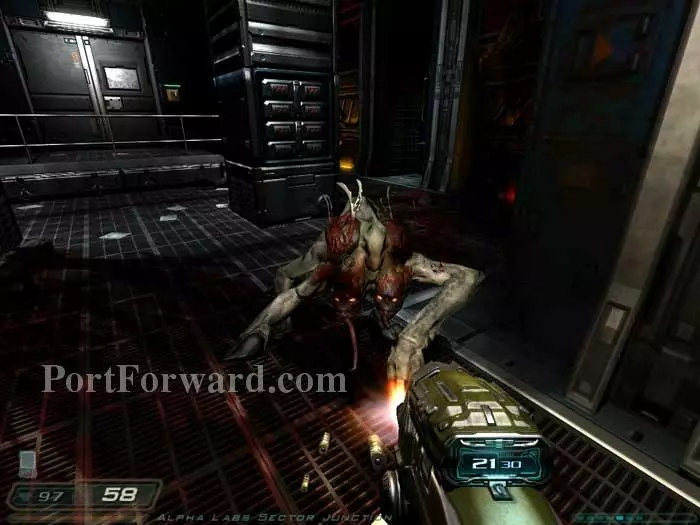
When you get to this room, rush to that railing up ahead and jump on as quickly as you can -- a swarm of maggots is about to attack!
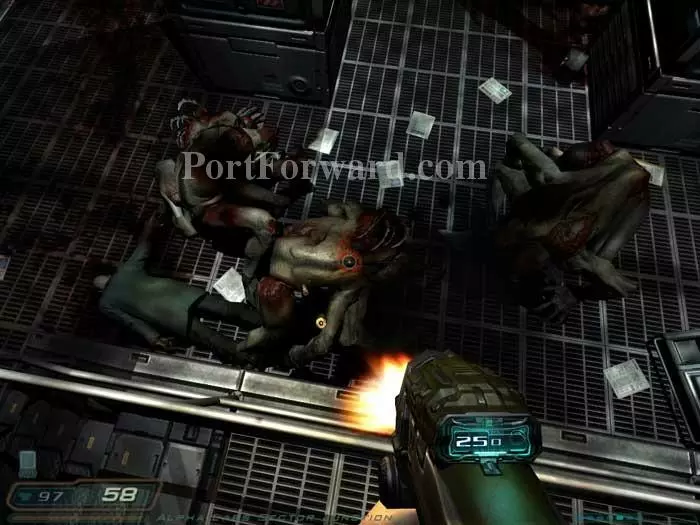
From high on this vantage point you are free to reign destruction below. You'll almost feel sorry for the maggots.
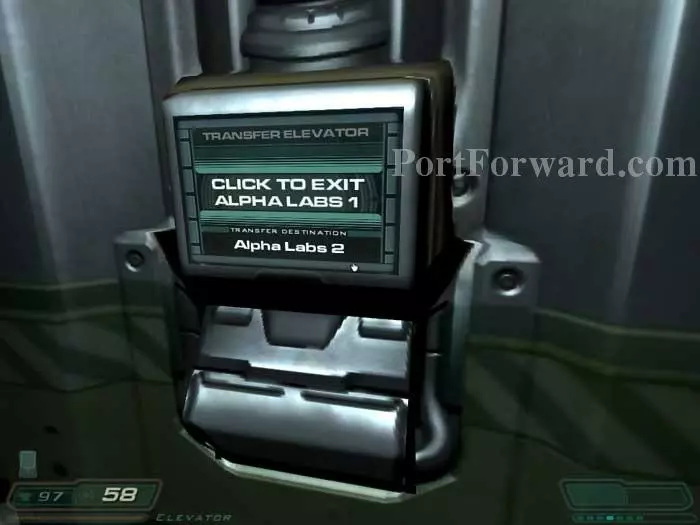
Call the elevator behind you. Activate this panel to move on to Alpha Labs Sector 2.
More Doom 3 Walkthroughs
This Doom 3 walkthrough is divided into 27 total pages.


