
This Doom 3 walkthrough is divided into 27 total pages.
You can jump to nearby pages of the game using the links above.
Mars City Underground
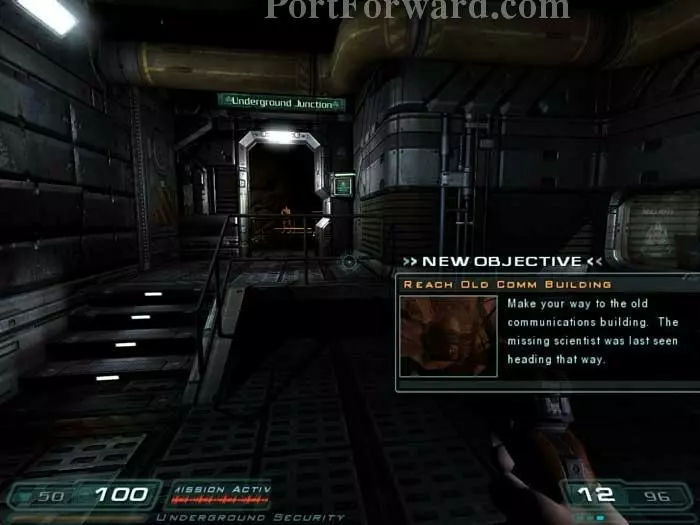
This guard will unlock the cabinets on the right. Approach them to pick up your gear - bullets, armor and a flashlight. Next, he'll check your radio and unlock this door to the underground junction. Head through.

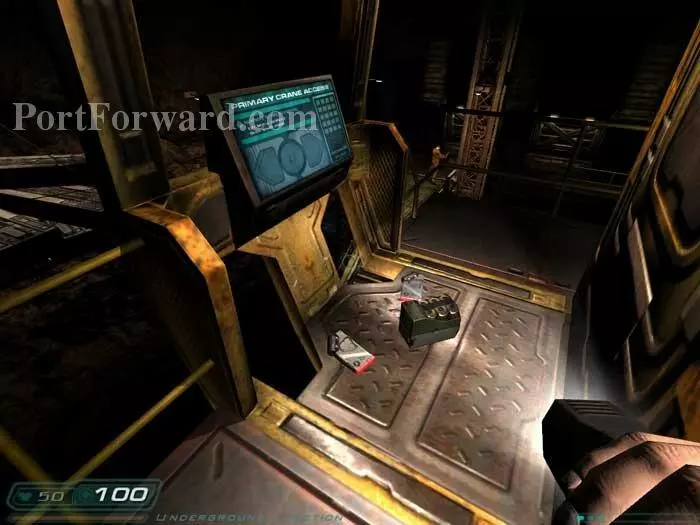
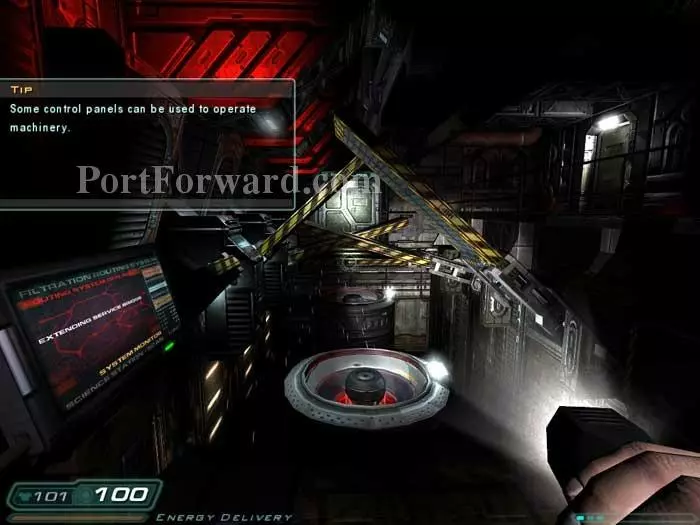
Follow the stairs down, pausing for a brief hello from Young. Use the right arrow on the blue panel to move the crane.

Descend the stairs and step over the railing to the guy wire visible here -- time to play Flying Wallenda!
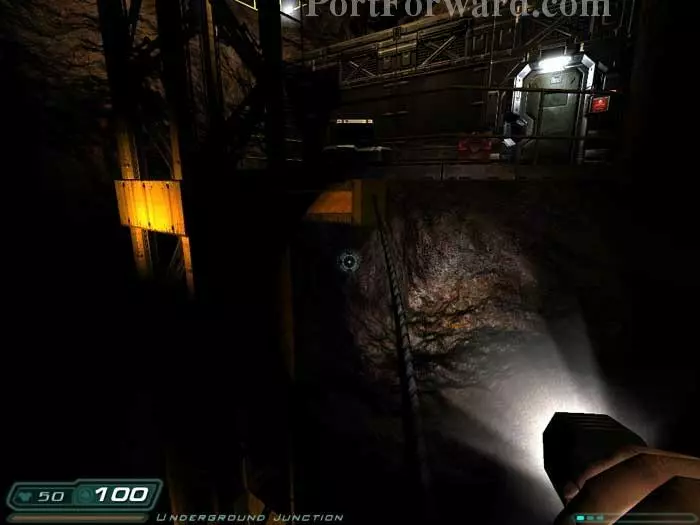
Carefully step along the wire to the ledge. Note the red panel to the right of the door indicating the shed is locked - for now. You'll find armor on the crates to the left.
Climb the crane ladder to the cab, where you'll find armor and shells. If you hadn't moved the crane, the top of the ladder would be blocked. Return below and cross the guy wire to the stairs.

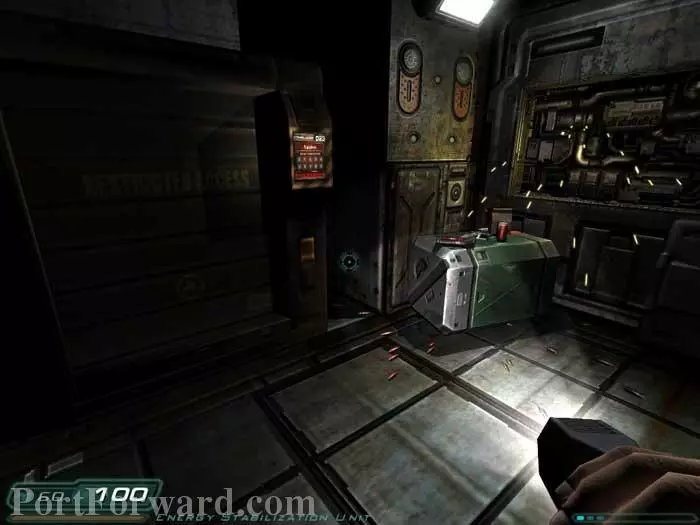
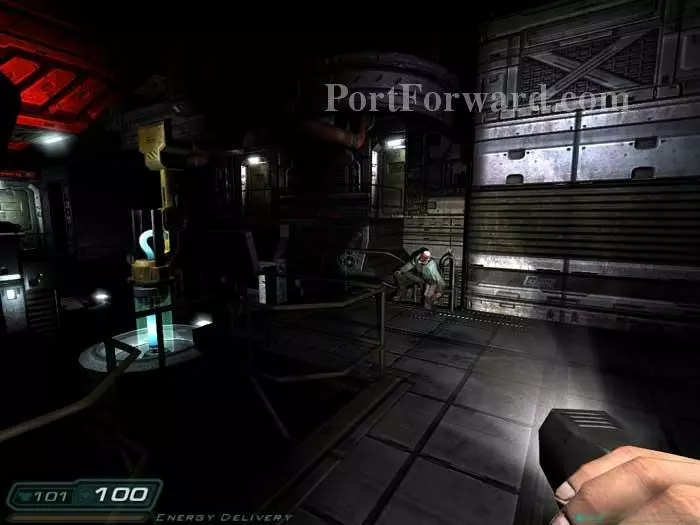
At the bottom of the stairs you'll pass through a door marked "Energy Stabilization." Beyond is this creepy guy. At first he warns that you don't want to find the scientist. He then thinks better of it and keeps mum. Grab two armor pieces under the stairs before continuing through the next doorway.

Farther along the corridor you'll encounter Fry. Like most of the workers in Mars City, he's busy and doesn't want to be bothered.
Here on the left is storage locker 23. The code is found on Grant Baston's PDA, 531. That's the PDA just above the scurrying bugs.
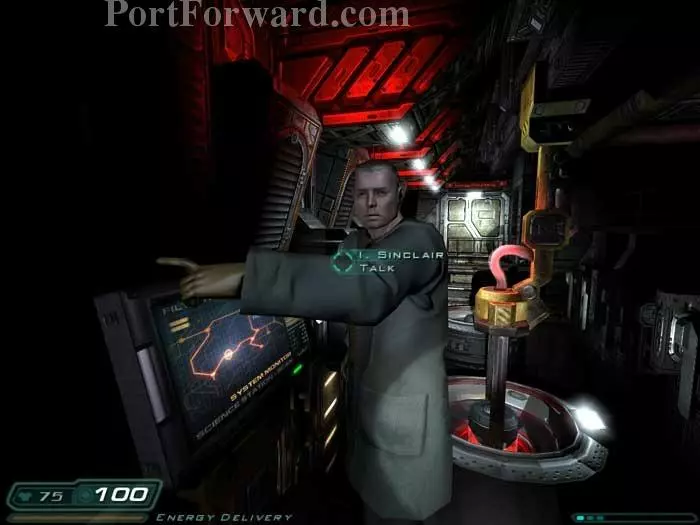
Continue and startle Sinclair, who points your way to the garage area.
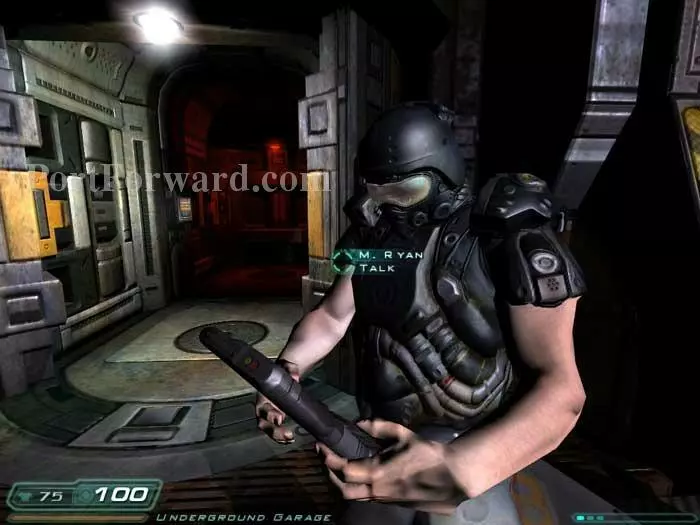
Down the stairs and through another door you'll find Ryan, who informs that you'll need to pass through this airlock to the Martian surface. Enter the airlock then use the panel to depressurize.

Your oxygen level counts down lower-left. An oxygen tank can be seen leaning on the bridge to the left -- it will extend your supply.
Cycle through the airlock on the other side and you'll come to this room. A medkit is on the left and more supplies are just visible on the shelf to the right. Jump onto the crate behind the shelves to reach armor, and a medkit is available as well. Continue up the stairs and ride the elevator to level 2 as Sarge orders you to speed up.
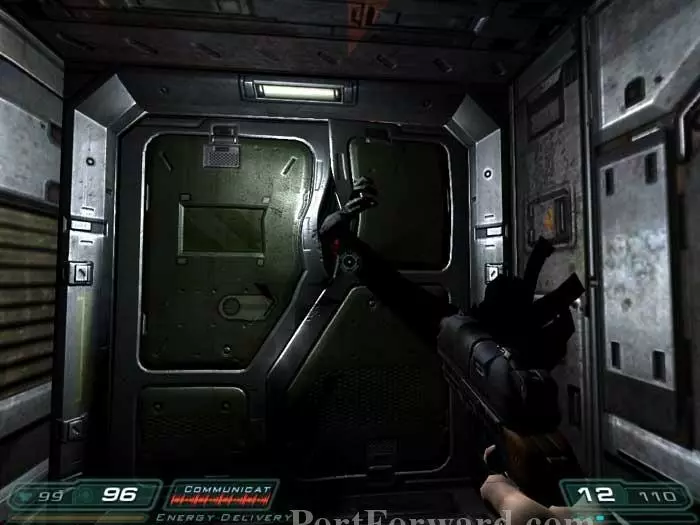
Exit the elevator and follow the corridor around to this position. Ready your weapon before opening the door. The ride is about to begin!

A cutscene initiates. You've found the missing scientist. Mission accomplished? Not quite.
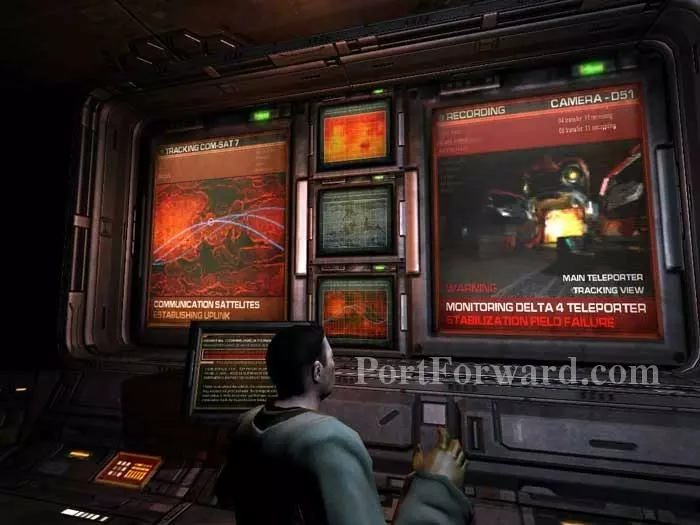
Dr. Ishii is monitoring the Delta 4 teleporter when something goes horribly wrong.

The chaos spills into the communications room. Maniacal laughter echoes between the walls.

And Dr. Ishii is transformed into a hideous ghoul. Fire! Aim for the head!
No time to rest. Turn around and you're met by this Z-Sector zombie. Sarge orders everyone back to Marine HQ to regroup and your objectives are updated -- return to the security checkpoint.

Before heading through the door, search the counters for two bullet clips and use this comm terminal to witness a zombie attack. Your radio relays the cries of your fellow marines as the chaos sweeps the base.

Zombie time. This is the only zombie remaining between you and the airlock.
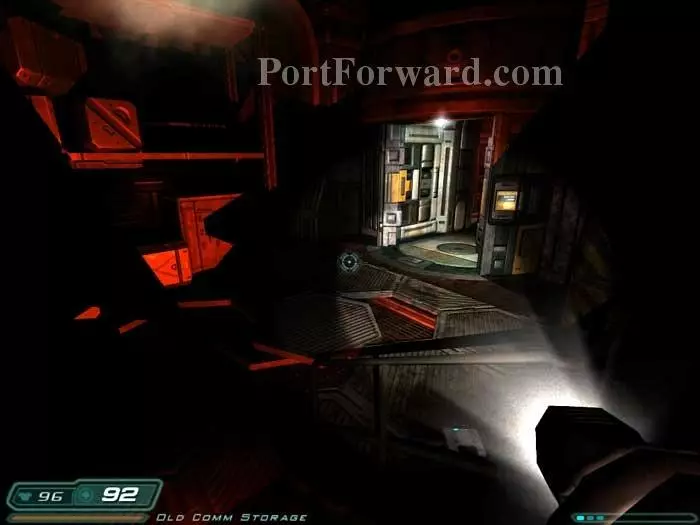
Ride the elevator back down and the lights go dark as you step off. Grab any remaining supplies you missed during your initial pass through this room. Head to the airlock dead ahead.

Before returning to the opposite airlock, you'll find oxygen and armor here to the left.
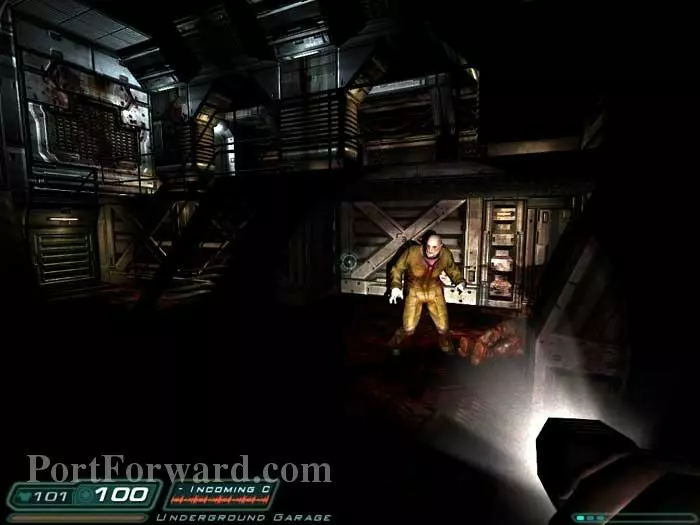
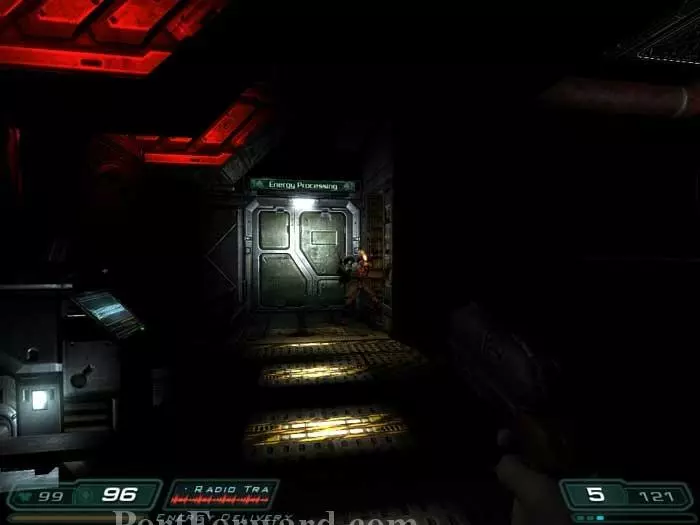
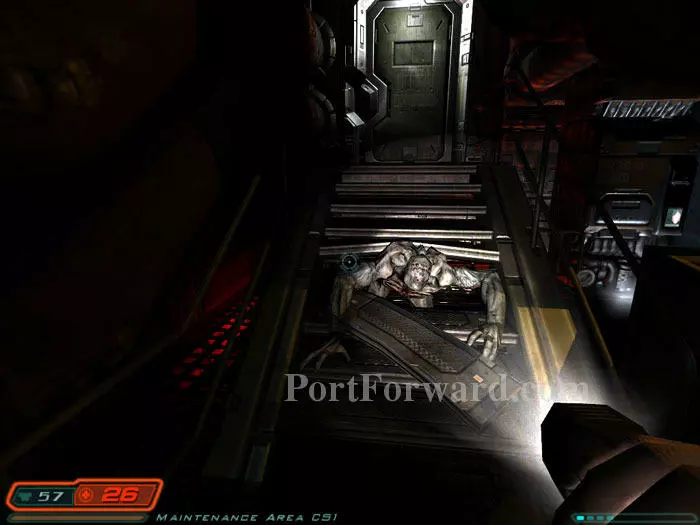
Once through the airlock, you'll find this feeding zombie to the right. On the left are some bullets on a crate. Continue up the stairs.

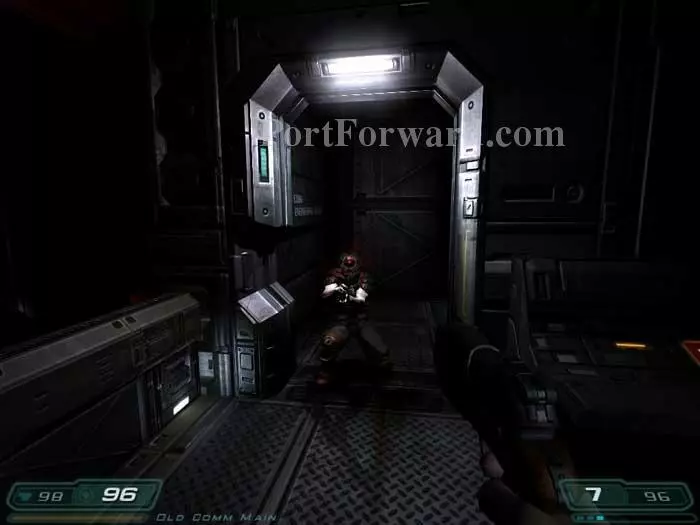
Another zombie is waiting for you through this doorway at the top of the stairs.
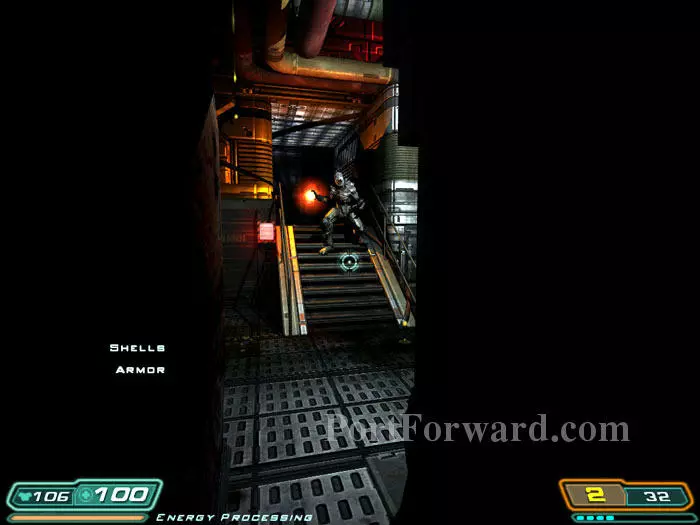
Up some more stairs and through another doorway. Spot this zombie climbing over the ledge ahead. Again, aim for the head. He's left armor and bullets below.
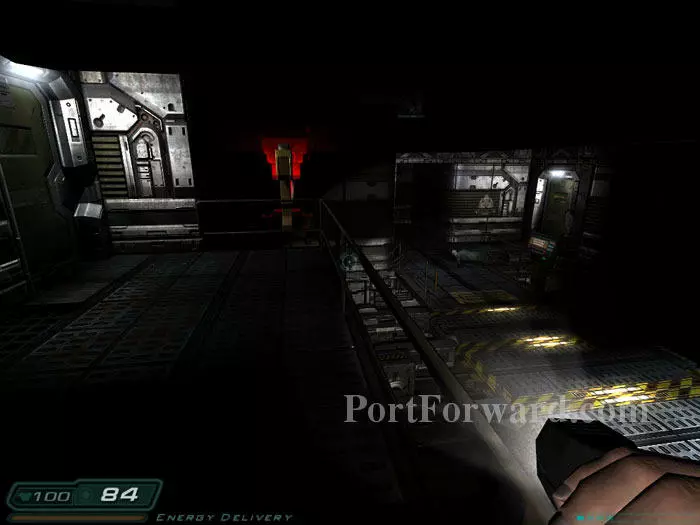
The door on the right is now blocked shut. An Imp arm comes bursting through. Yikes!
Use the panel on the left to extend the service bridge.
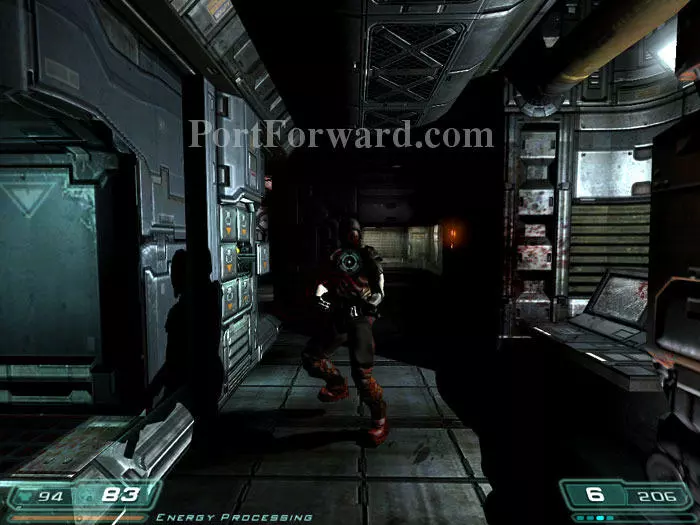
This Z-Sector attacks. Defeat him then grab armor, bullets and a medkit on the right. Continue through the door ahead.
Battle another Z-Sector then check his body for bullets before descending the stairs.

Grab Frank Delahue's PDA and some bullets here.
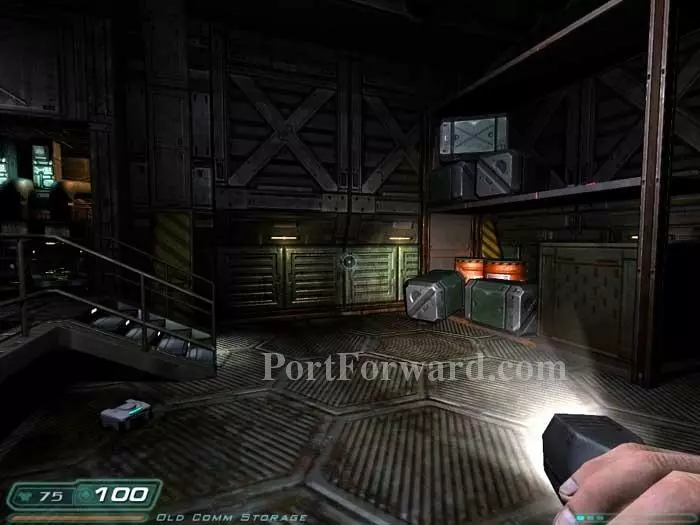
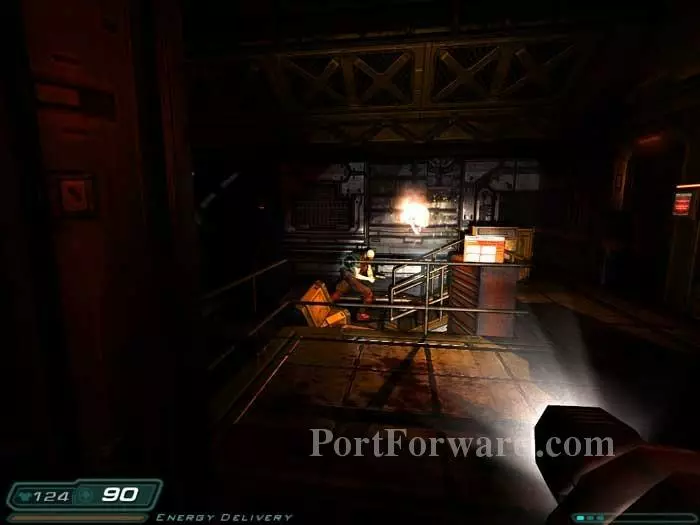
Push a small crate over here to hoist yourself onto that ledge. You'll find armor, bullets and a medkit. More supplies are on a ledge to the left. The audio in here is exceptional. The muffled cries of the distant marines really sound like they're coming through the walls.
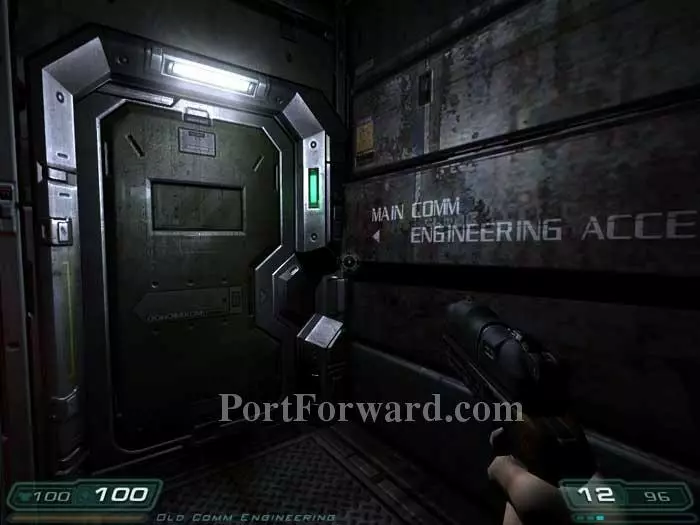
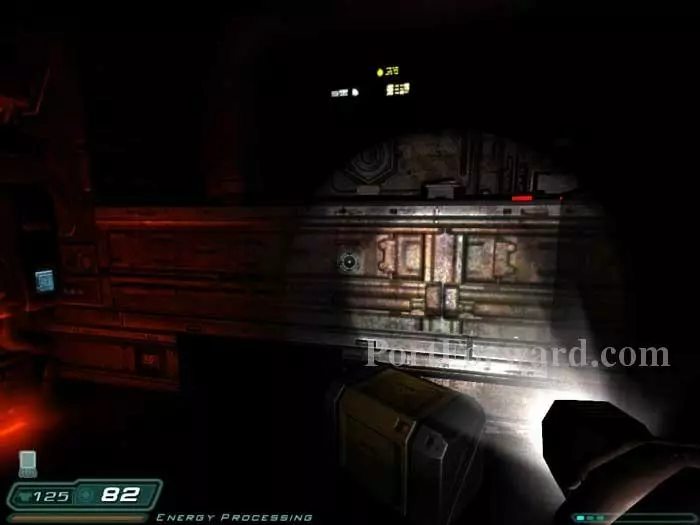
You now have clearance through this door, where you'll witness a zombie attack above. Menace writes that a well-aimed pistol shot will save the man being attacked. He'll thank you and then unlock an upcoming storage cabinet.
Ouch. This zombie attacks farther down the corridor from the right. Continue through the door on the left.
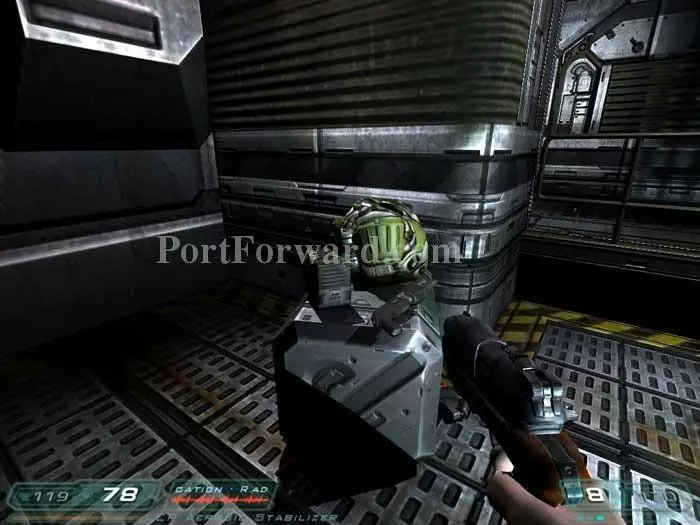
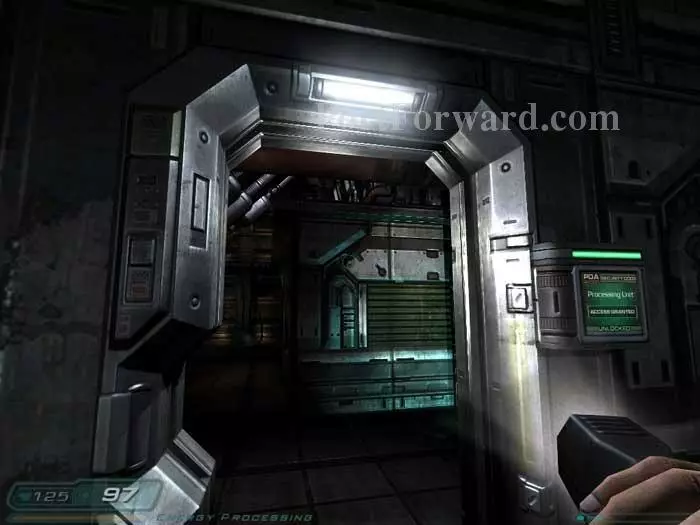
Prepare for an ambush as you approach this weapons cache.
The floor drops and you are surrounded by zombies. Fortunately, you now have the shotgun! Search for supplies, including two medkits, before climbing the ladder back out.

Continue through the next door and grab the shotgun shells on the right.

Proceed along the walkway and the lights go dark. A Z-Sector and two zombies attack down these stairs. Note the ladder on the left -- descend beneath the walkway to find shells and a medkit.

Ascend the stairs and this zombie attacks from a hidden alcove on the left. A second zombie attacks from the right.
Grab the shells and bullets from this shelf on the left. Heal at the health terminal on the right. Head through the door ahead, then ready your shotgun before continuing through a door to the right.

A brief cutscene introduces you to your first Imp.
This Imp and another zombie await in the corridor ahead. You can enter the code 842 (from Frank Delaue's audio log "Fire Precautions") to the left of the first panel. Now you can backtrack to where you first saw the Imp and find supplies. By clicking on the third panel, you'll unlock the mantinence valve and you can jump off the broken railing onto the pipes. Follow it to the now-unlocked valve which contains a healthpack and some shells.

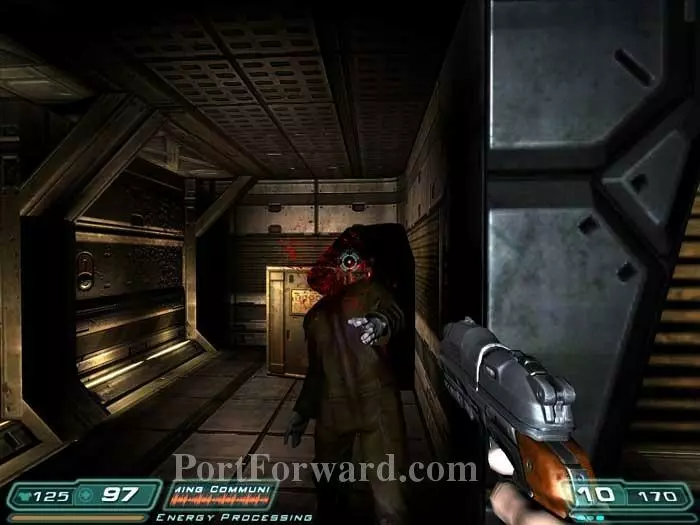
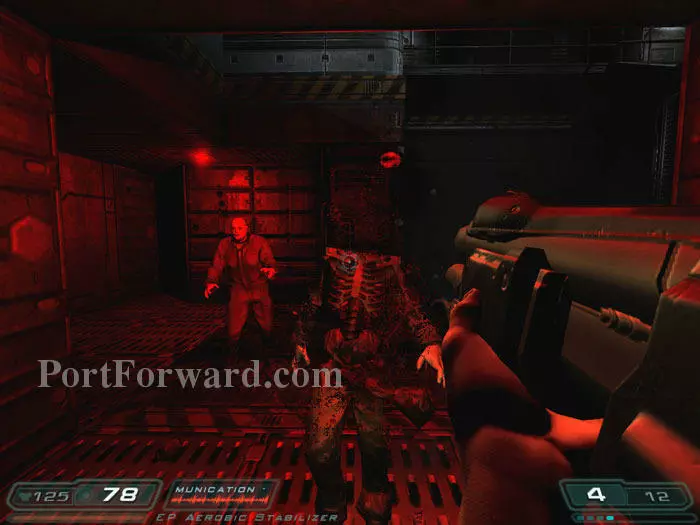
Here's a classic screenie of zombie brains popping out after a clean head shot. This guy was waiting in ambush alongside the medkit and armor seen behind him.
Duck behind the crates after grabbing the supplies as this Imp is hot on your tail. An armor vest and a small medkit will be found in the storage locker ahead/left of the stairs (locked in this photo, but unlocked if you saved the man from the earlier zombie attack.) Continue through the door on the left.
You're now overlooking the service bridge you extended earlier. Continue through that door on the left, where you'll find a health terminal just inside.
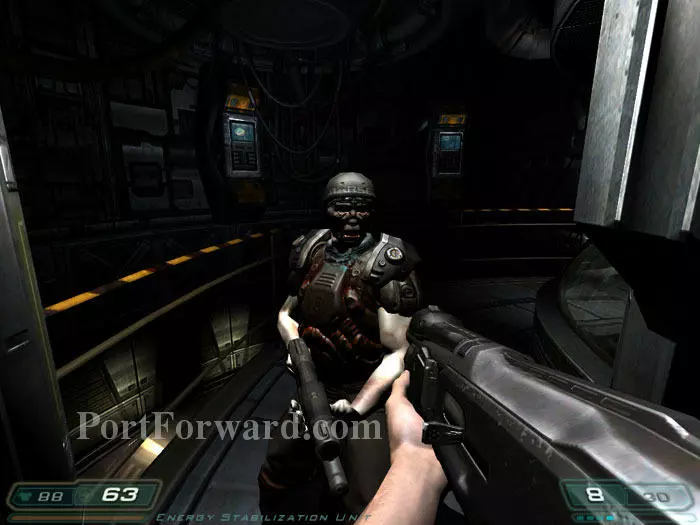
Next up is another Imp and this Z-Sector, who is most dangerous at long range. Hold back here so that he can't fire until he's up close.
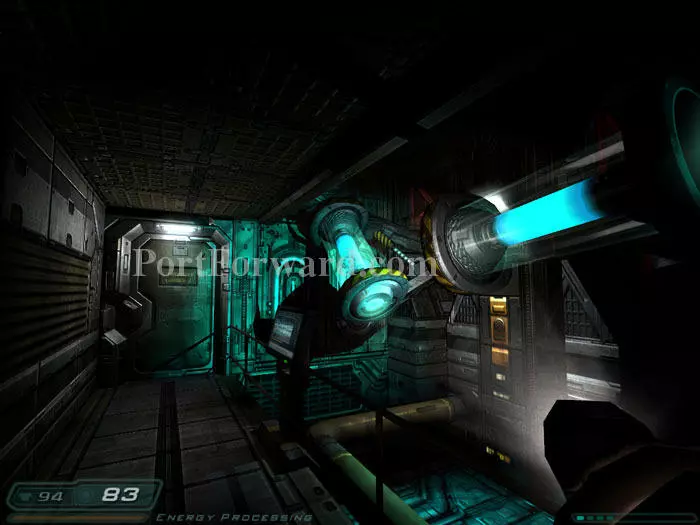
Another zombie attacks and then you get to backtrack past these pretty blue things.
Ready your shotgun before advancing through this door -- an Imp is waiting on the other side.
Blast the Imp then turn around to catch this Z-Sector trying to nail you from behind.
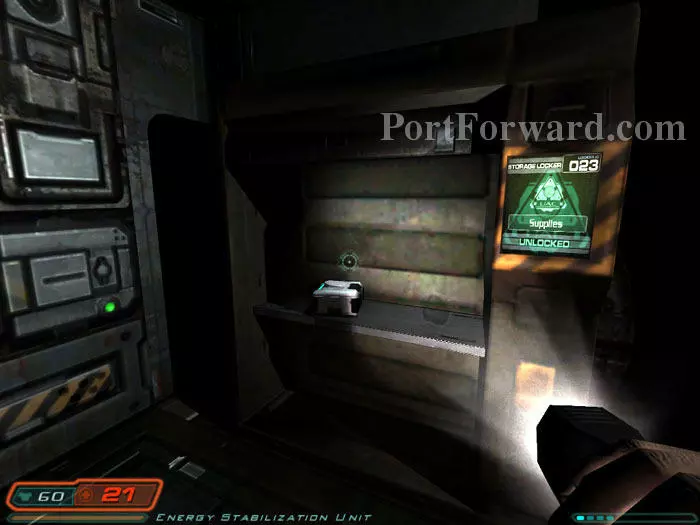
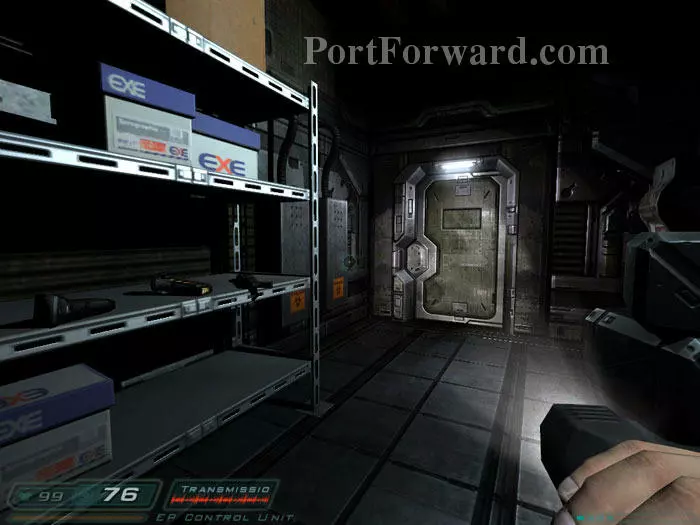
Take this medkit from the open storage locker 023.

If you approach this service duct, previously tended to by Fry, you'll be met by an Imp.
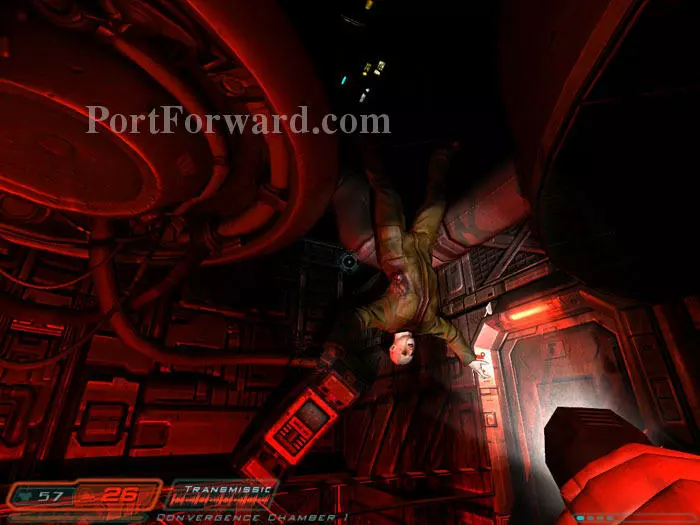
Through the next door is a harmless scare -- this poor soul drops from the pipes above.
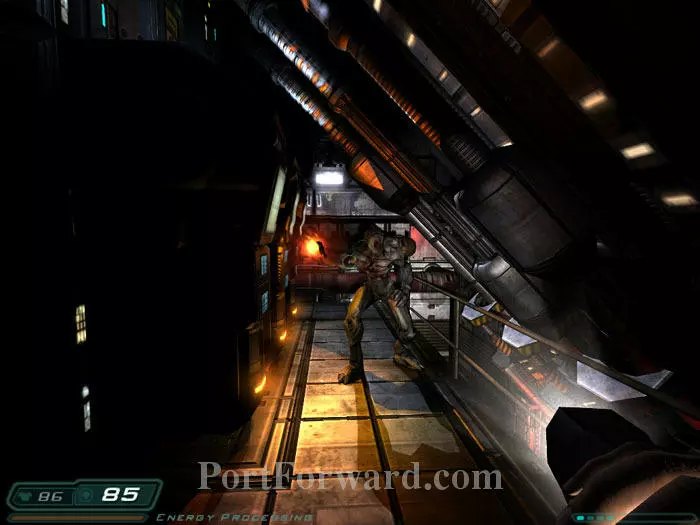
Be careful as you approach this next set of stairs -- an Imp comes climbing through!
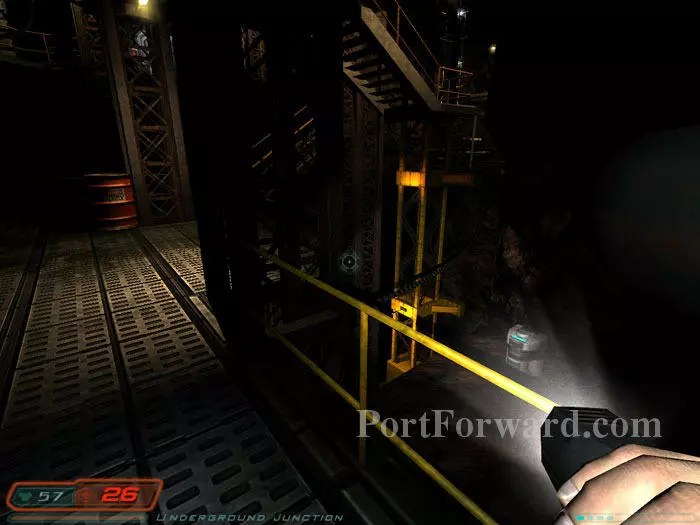
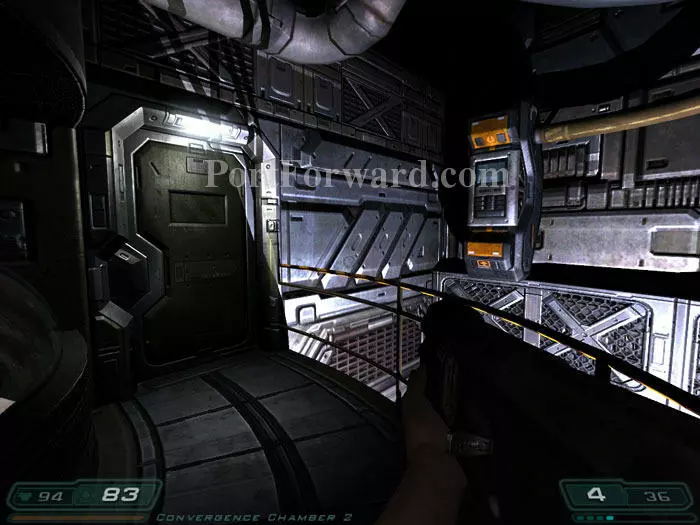
Shoot the explosive barrel seen on the left to take out another Imp waiting in ambush. Grab the medkit seen on the right. This is the guy wire area we visited earlier. We'll be back once more.

As you head up the stairs a load of metal comes crashing down. Climb over the debris and up the stairs to be met by this Imp. Continue through the door ahead. Note the locked Security Check Point door to the right.

Try to catch this Z-Sector asleep. Use the health terminal and search the area for supplies, including armor and shells. The red terminal on the right unlocks the security check point door and also contains a hidden menu (inset). Choose "Mars City Sublevel Access" followed by "Entrance Lockers" and then "Locker 1" to unlock the weapons locker in the hall.
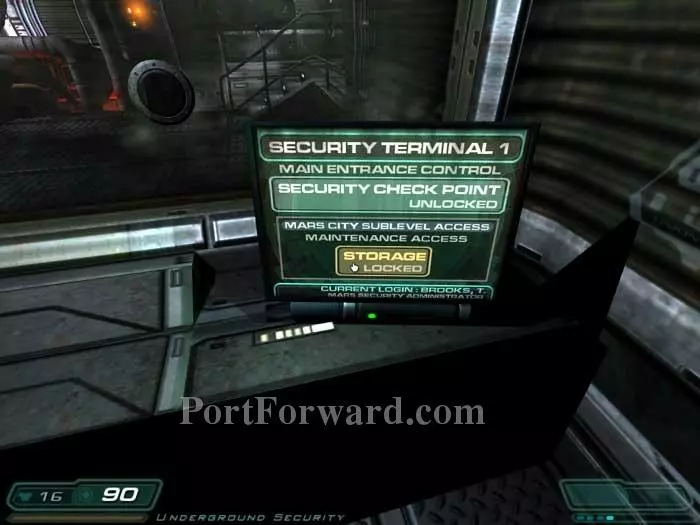
Go back a menu and choose "Maintenance Access" then "Storage" to unlock the maintenance shed outside.
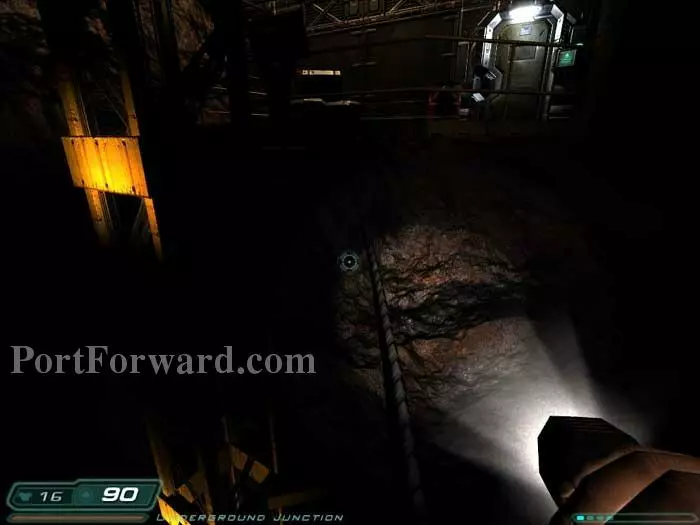
Return outside and descend to the guy wire you traversed at the beginning of the level. Once again step along the wire to the ledge. Note the green access panel indicating the shed is now unlocked.
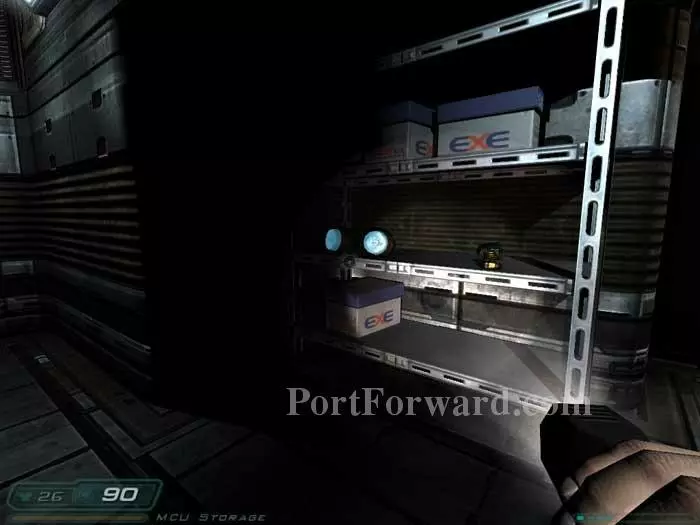
Inside the shed you'll find a health station plus these shelves with cells and bullets.
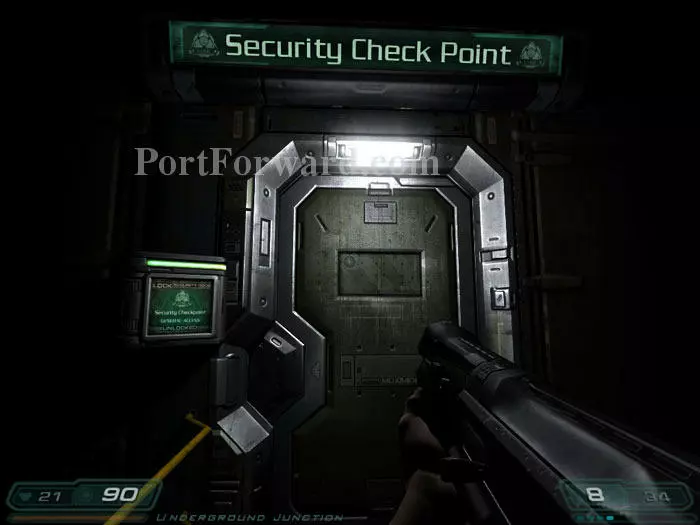
Return across the wire, up the stairs and continue through the now-unlocked Security Check Point.
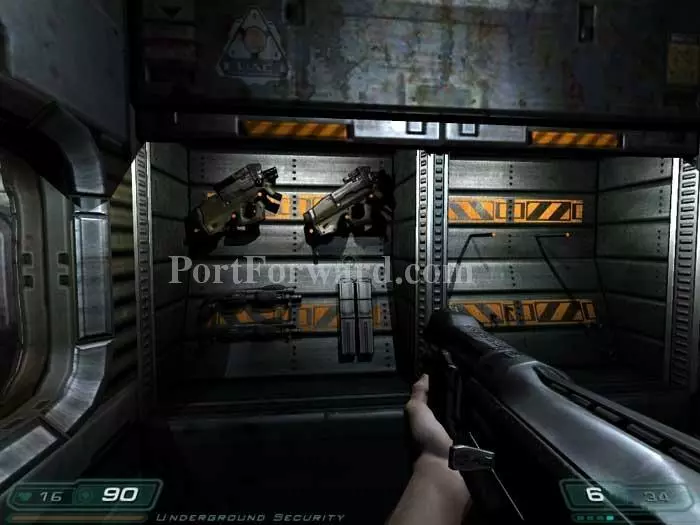
Battle an Imp and grab a medkit on the shelf plus all the goodies seen here, including shells, two clips - and the machine gun! Another Imp spawns behind you.
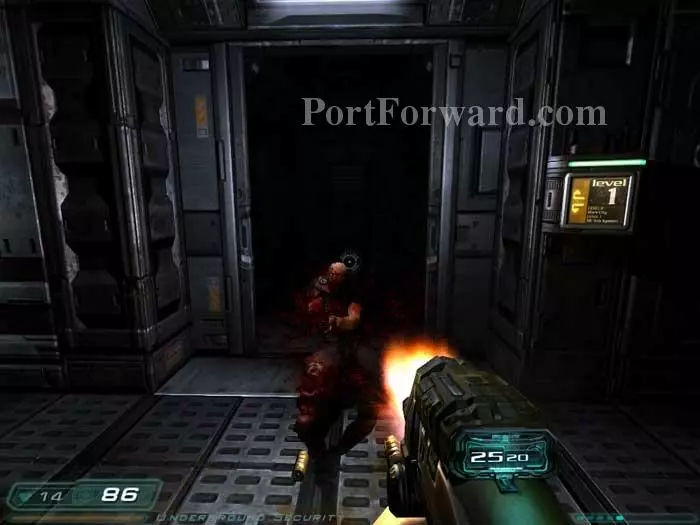
Ready your machine gun before opening the elevator doors -- inside is this Z-Sector.

Activate the transfer elevator to end the level.
More Doom 3 Walkthroughs
This Doom 3 walkthrough is divided into 27 total pages.


