
This Doom 3 walkthrough is divided into 27 total pages.
You can jump to nearby pages of the game using the links above.
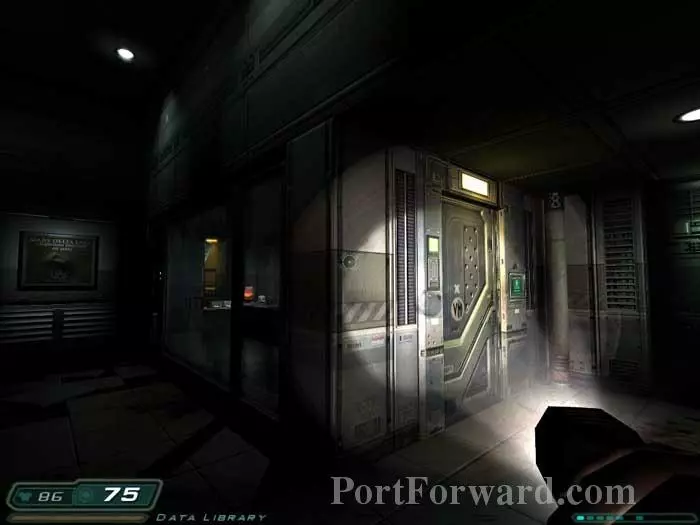
UAC Administration

Step off the elevator to initiate this cutscene. Swann is unsuccessful at gaining Betruger's cooperation. Campbell opens his weapons case -- time for "Plan B."

This Z-Sector attacks from the left. Grab the medkit and armor on the bench.

Watch this video to learn about Alpha Labs. A medkit is on the reception desk and a clip is on the floor in front of the desk.

Approach the Alpha Labs door and awaken this zombie, previously sleeping on the bench. Ammo can be found under the stairs to the right. Head through the Alpha Labs door ahead.

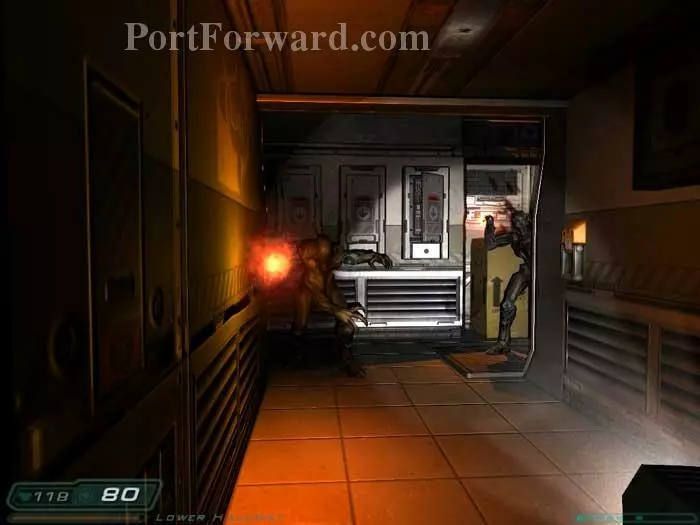
Battle this Imp plus two Z-Sectors.

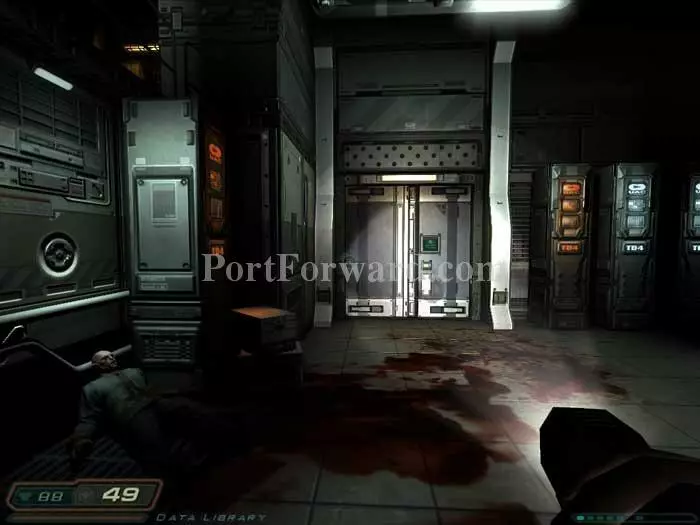
Mmmm, brains. Enter the room on the right and take out this zombie. Note the health station on the right.

Grab the Alpha Labs video on the right and Alan Dorweiler's PDA on the left.
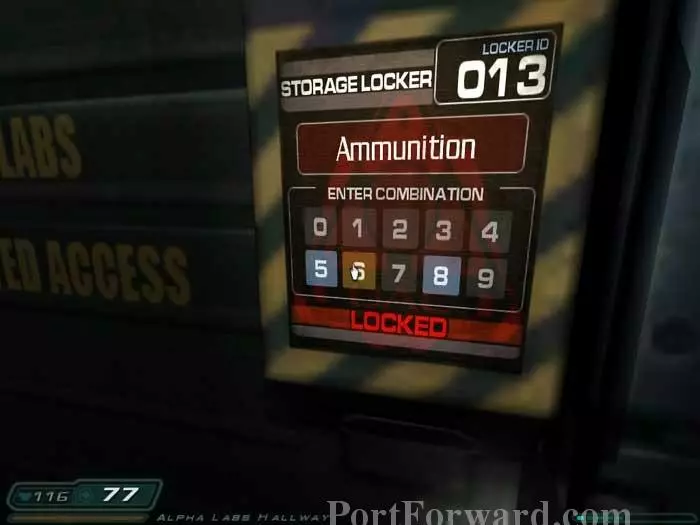
The PDA gives you this locker code - 586. Inside you'll find a clip, shells, armor, and your next weapon - grenades. More ammo is in the corner to the right.

Spot the armor in the right corner. Ready your shotgun before opening this Alpha Labs door -- an Imp is crouched on the other side.

Press on and this fat zombie throws a barrel at you. Who knew?

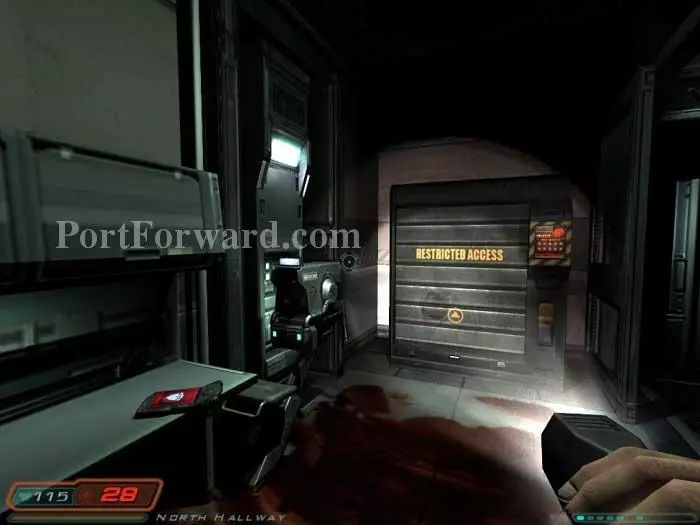
Talk to Webb before he expires. Access the red panel visible upper-left to update your objectives: find the PDA of William Banks for Alpha Labs clearance.

Backtrack to find an Imp in this corner. Toss a grenade and send him flying.

Two Imps tear through this section of wall, creating a new path. Again, grenades finish them off well.

When you see this clip, ready for an ambush.
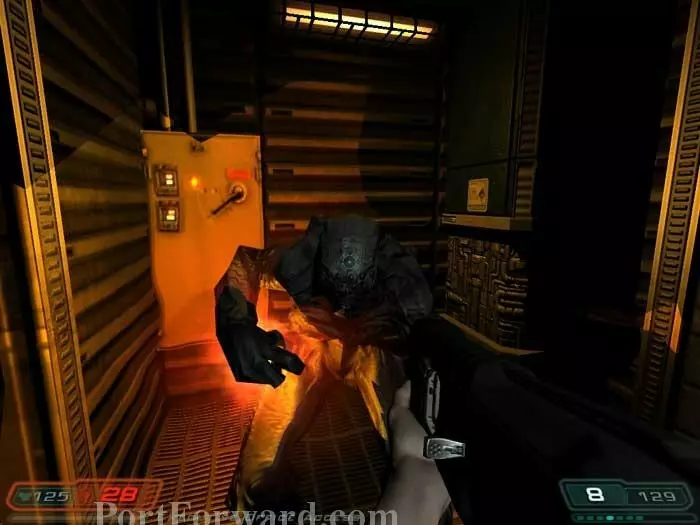
A few steps past the clip, the lights cut out and this Imp climbs down from the ceiling. Another Imp descends from the ceiling behind you.
My preferred tactic is to retreat to this position once the lights cut out. Toss grenades to blow up both Imps.

Grab a medkit along the left wall then battle two Z-Sectors through the next door. Proceed to the room ahead.

You'll find another medkit on the left and two clips on the right. An Imp will attack from the hallway.
Press on down the corridor, battling this Z-Sector along the way.
Enter this room, and ready for a thrill.

Snatch the armor and shells from the counter, then save your game before pressing this security override.

A brief cutscene shows your first mini-boss, the Pinky Demon.

Equip your shotgun. After the Pinky realizes that he can't break the door down he bursts through the window. Be ready to exit through the broken glass ASAP.

This is a tough battle. Circle backwards, trying not to become pinned against the wall. Keep firing your shotgun and try to take cover behind the pillars.

Once Pinky goes down, this Imp charges in.
Exit out this door.

And here comes another Pinky Demon! A couple well-placed shotgun blasts will bring him down.

Defeat the Pinky and a Z-Sector charges in. As if that weren't bad enough, this Imp emerges from a secret panel behind you.

And this zombie staggers out from behind a similar hidden panel on the left. Check all the hidden areas for supplies.
You'll find this room on the right. Pick up Jonathan Moses' PDA to learn that the cabinet is from Martian Buddy. Access their Web site to learn the code 0508.

Inside is armor, ammo, and your next weapon - the chaingun!

Ascend the stairs and find armor and shells here. Sarge warns of a strange growth taking over the base. Continue through the door on the right. Ready your shotgun.
After a few steps, this Imp pounces from his hidden alcove.

Ignore the stairs on the left for now. Instead, head into the executive offices.

Watch Campbell and Swann below.

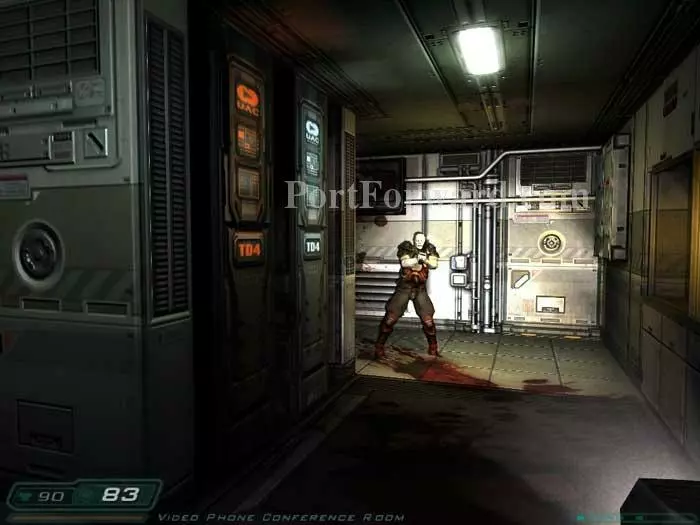
Battle this zombie and another Z-Sector through the next door. That's William Banks' office on the right. You won't find his PDA in there, though -- just shotgun shells and a clip.

The PDA you need is here in Malcolm Betruger's office. A voice whispers, "Save me." Ready your chaingun before retrieving the PDA.

After retrieving the PDA, a series of Imps attacks.

More will spawn as you step into the hallway. Retreat back into Betruger's office and pummel the Imps as they enter the doorway.

Descend the stairs you bypassed earlier, defeating this zombie waiting for you.

You're back where you began the level. Enter the Alpha Labs door and this Imp spawns.

Defeat the Imp, and this second one spawns behind you.

Press on and confront these Z-Sectors.

This Imp spawns as you approach the next Alpha Labs door. Defeat him and another spawns in the office behind you.
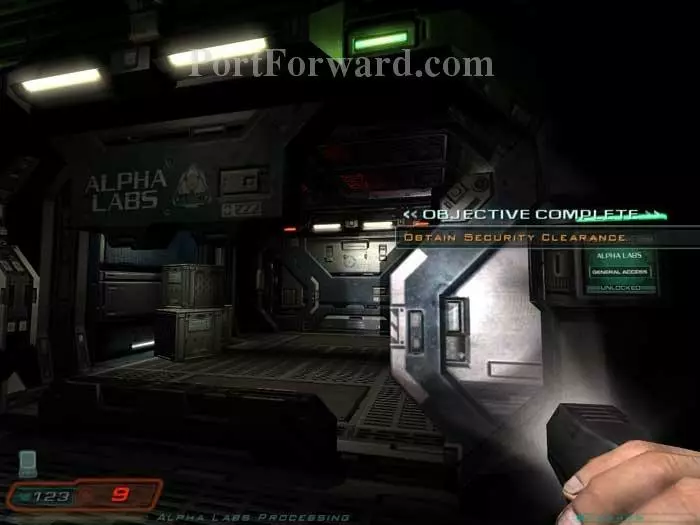
William Banks' PDA will allow you to open the Alpha Labs doors.
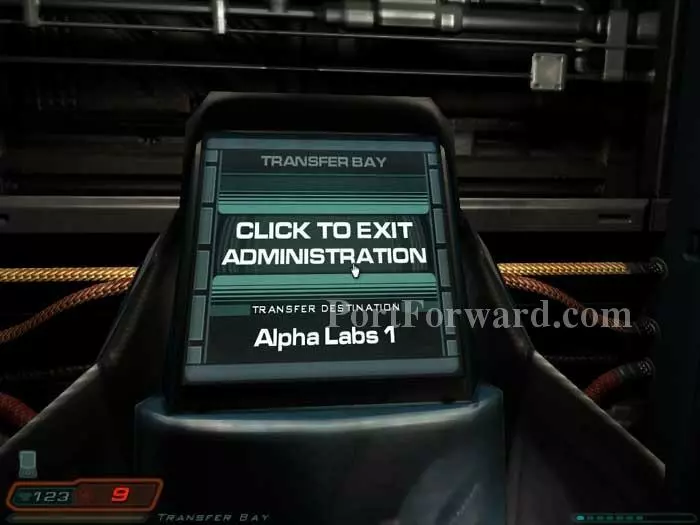
Activate the Alpha Labs 1 transfer bay to end the level.
More Doom 3 Walkthroughs
This Doom 3 walkthrough is divided into 27 total pages.


