This Doom 3 walkthrough is divided into 27 total pages.
You can jump to nearby pages of the game using the links above.
Mars City
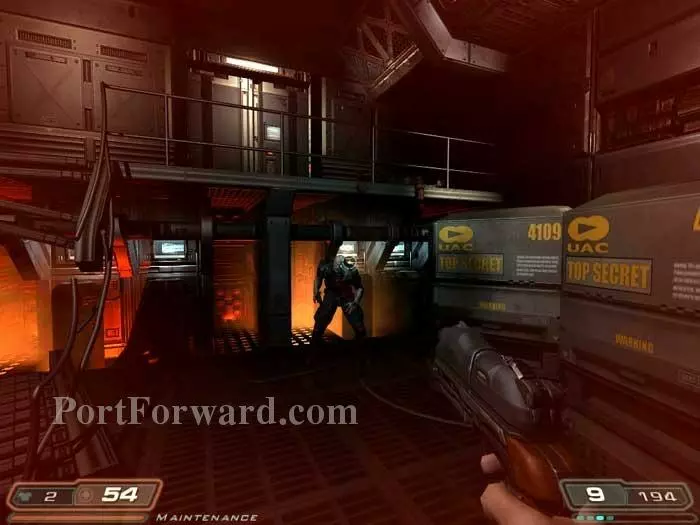
Sergeant Kelly updates your objectives as you step off the elevator. Defeat this Z-Sector lurking behind the crates.
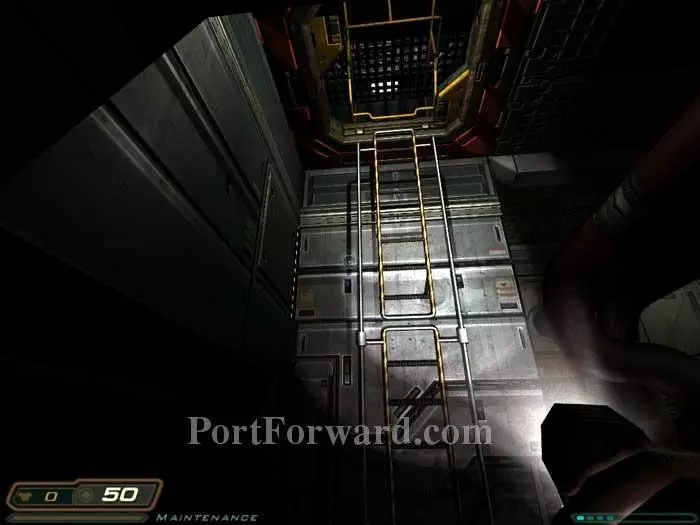
Head left and a voice summons you from above. This ladder lowers.

Climb the ladder to find Roland. He asks you to go for help and insists on staying put.
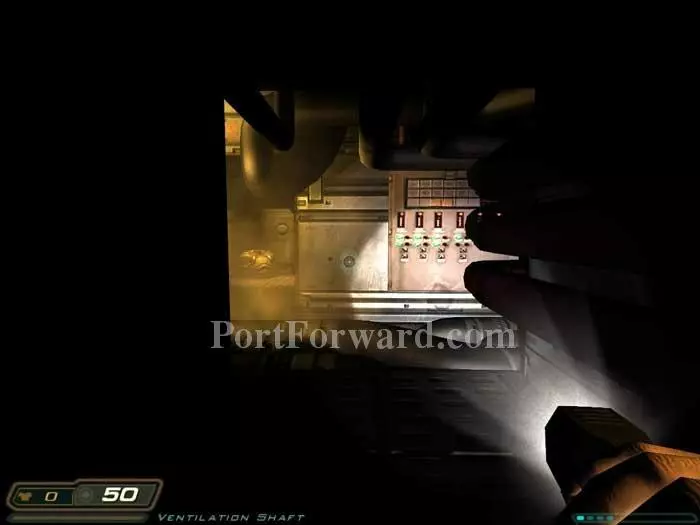
Crawl into these shafts. Grab the armor on the left then head right.
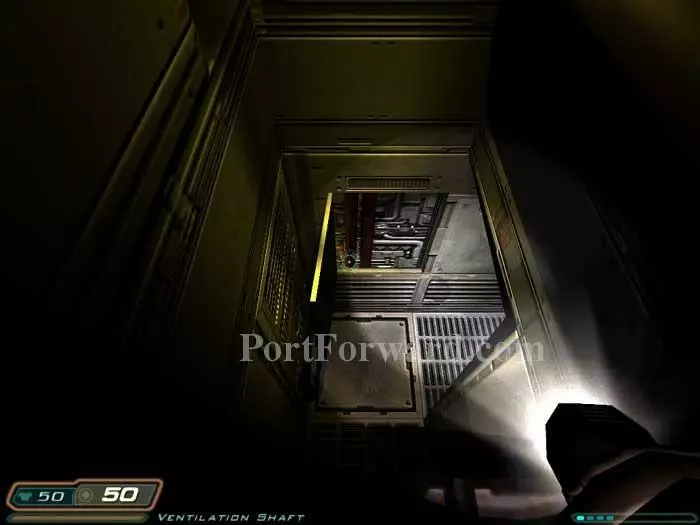
Drop into the room below.
As you advance into the room, this zombie emerges behind you.

A second zombie comes at you from the front. Once both are defeated, grab some armor from where the first zombie emerged.
Grab Marcus Stanton's PDA here for some background. You'll learn that a shipment of jackhammers has mistakenly been replaced with a shipment of...chainsaws!
Armor can be found to the left. Grab the medkit seen here on the right before heading through that door ahead. Ready your shotgun.
Two Z-Sectors charge through this door. Defeat them and recover the machine gun in case you misssed it in the last level.
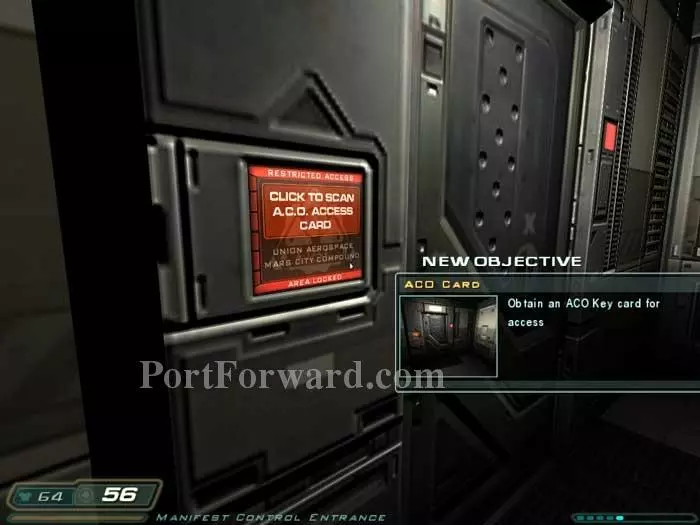
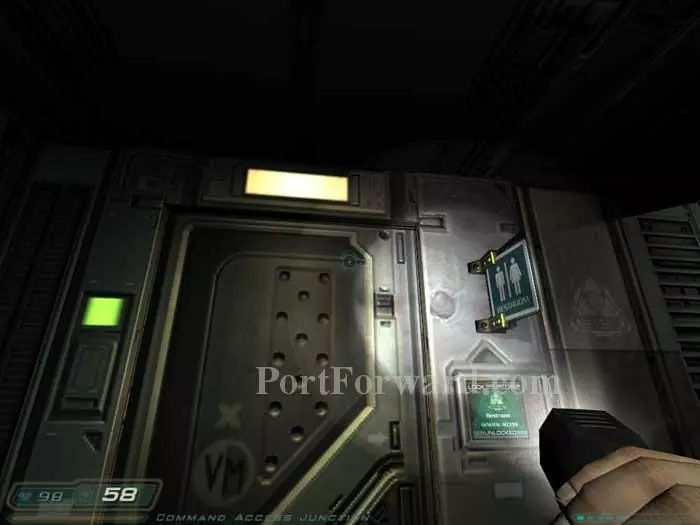
Try to access this door on the left and receive a new objective.

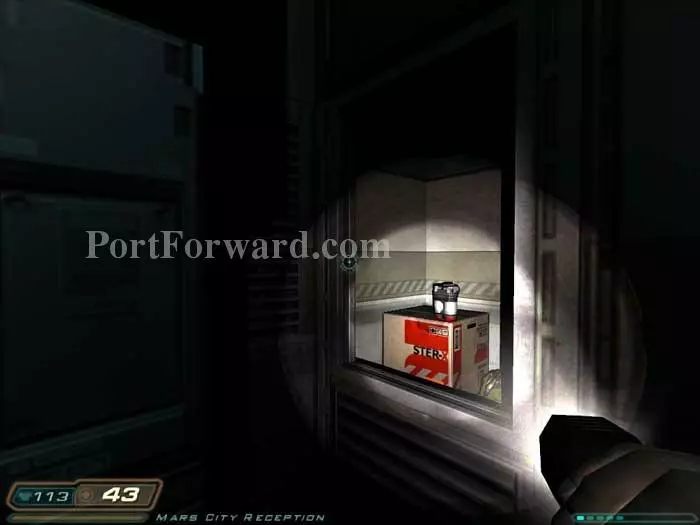
Bam! Pass into the next hallway and this Imp pounces onto the window.
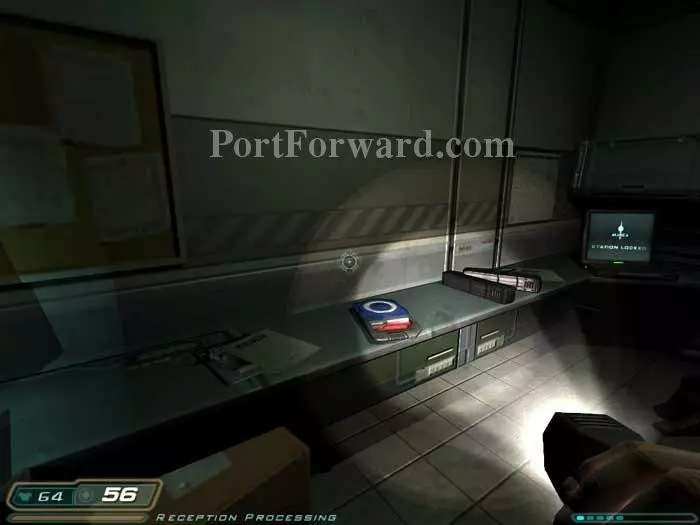
There's the keycard you need, along with two clips.

Return to this door and ready your machine gun. Open the door and battle two Z-Sectors waiting on the other side.
Advance to this window for a medkit and to witness a bot taking out these two Z-Sectors.
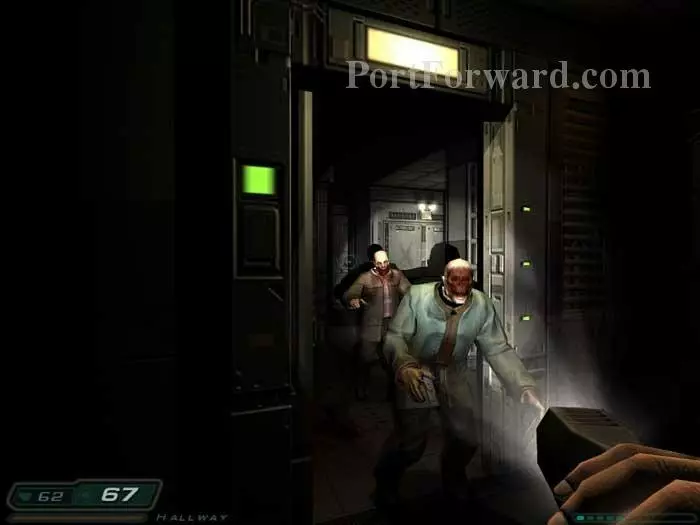
Pass through a pair of doors on the left and be greeted by this pair of zombies.
Search the area for armor and ammo - and another pair of zombies.

Pass through a set of double-doors and battle your first flaming zombie. Listen to a man radio for help on the other side of this wall -- only to hear him fall victim to one of "them." Creep factor on max for this one. Grab the medkit seen on the left.

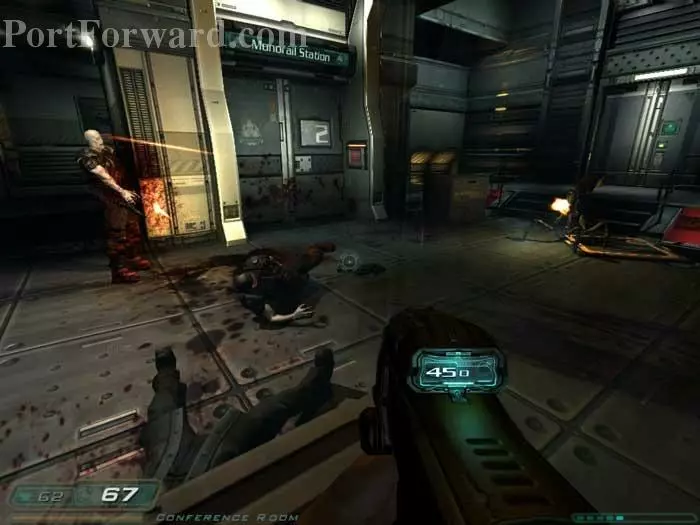
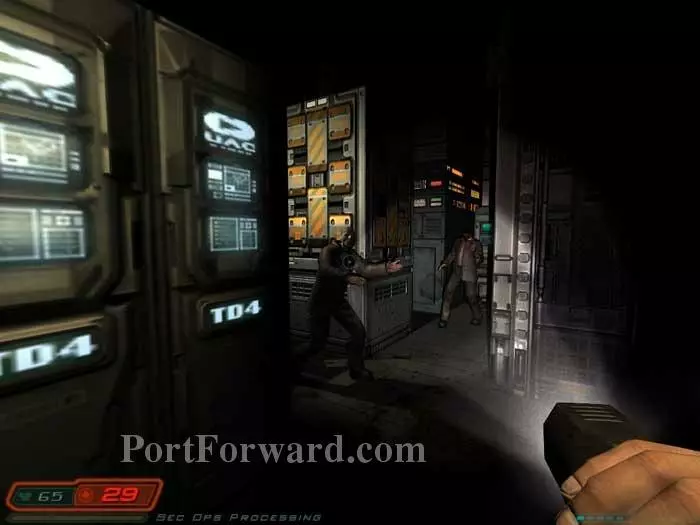
Ready your machine gun before passing through the door on the right, where you'll find a trio of Z-Sectors.
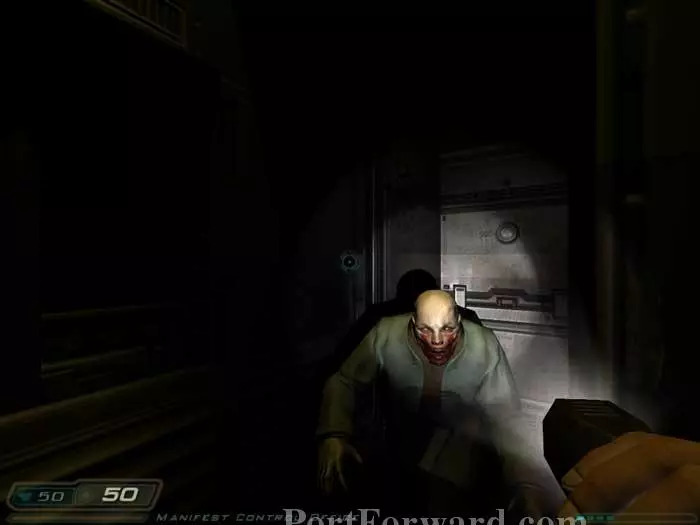
Behind you emerges the famous wrench-wielding fat zombie. You'll find armor in the alcove behind him.
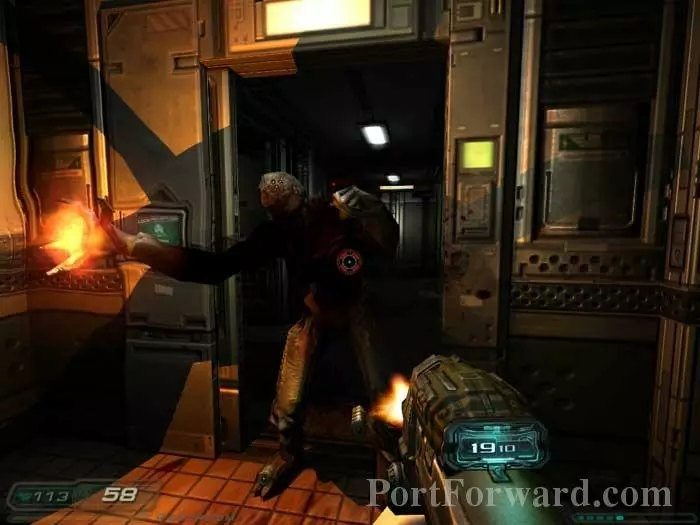
Say, "cheese!" Grab the armor from where the Z-Sectors were positioned and this Imp will pop out at you.

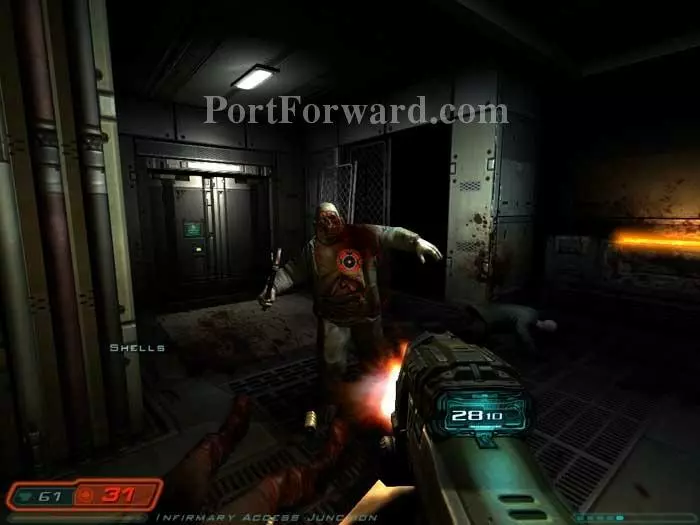
Advance farther down the hall and battle two Imps. One emerges from the ceiling, and the other from the room on the right. Dodge their fireballs then rush up for a close blast from your shotgun. Grab a clip from the room on the right then head into the infirmary on the left.
Pick up the PDA of Dr. Mark Caseon. Listen to his audio log, "Patient Attack" to learn the code 347 for storage cabinet 017 seen here on the right. Inside you'll find a clip, armor, a medkit and shells. Note the health terminal on the left wall.
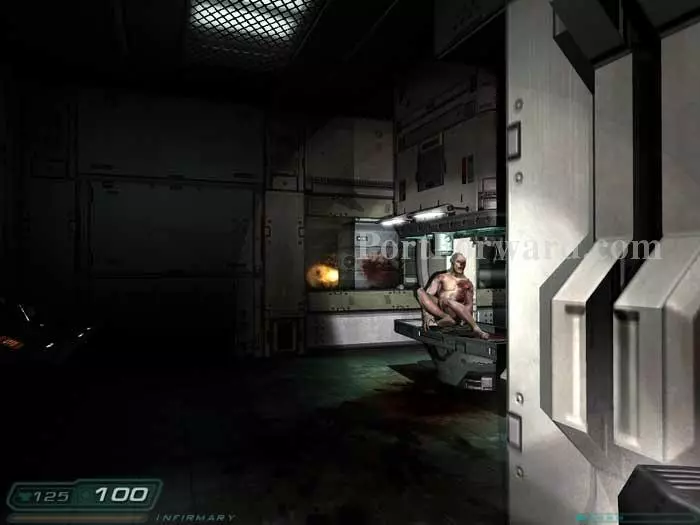
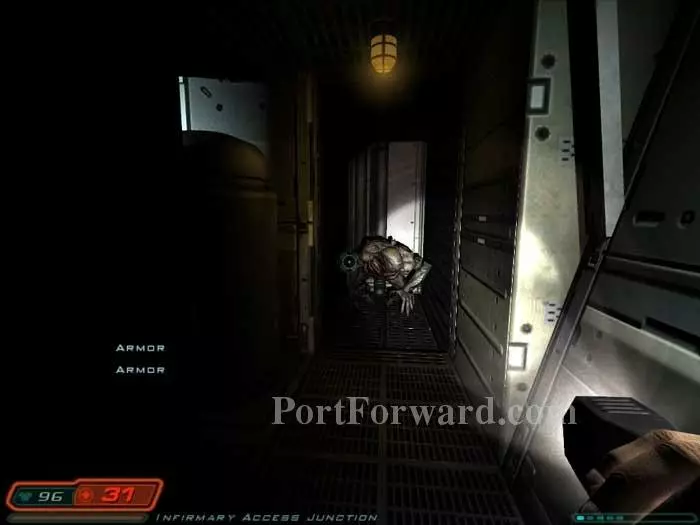
Enter the next room and awaken the crazed patient mentioned in Dr. Caseon's audio log.

Pull back and battle a pair of Z-Sectors.

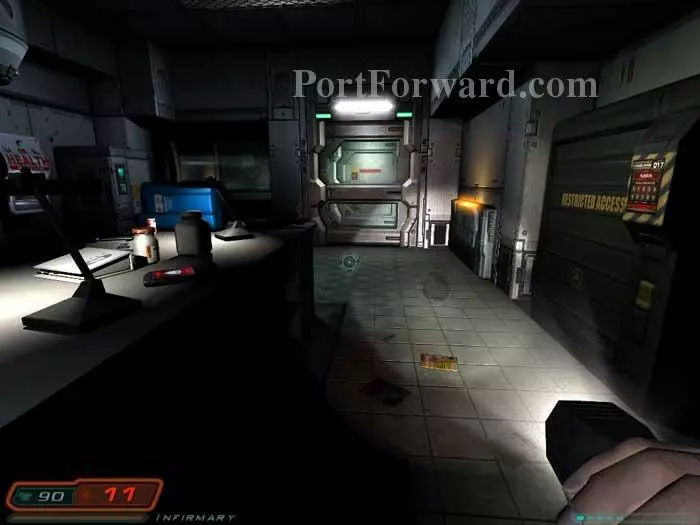
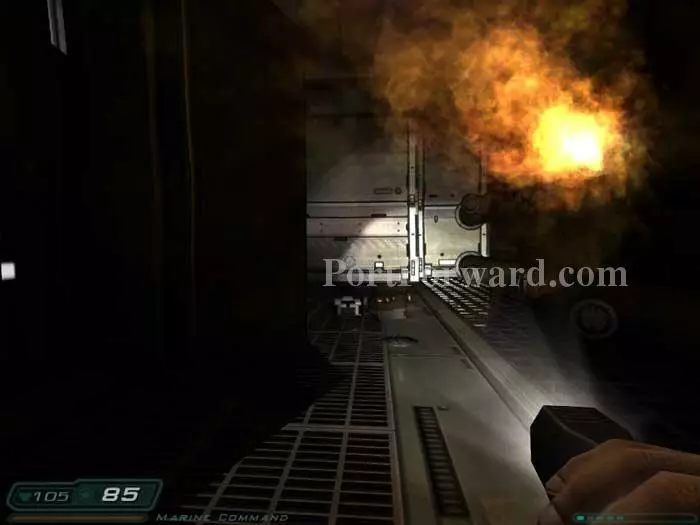
Enter the room beyond and this flaming zombie will attack as you approach the opposite window. A medkit and an adrenalin hypo are available here. Exit through the door visible behind the zombie and head left. I love the droning music through here.
Duck under the flame and grab the bullets, medkit and shells.
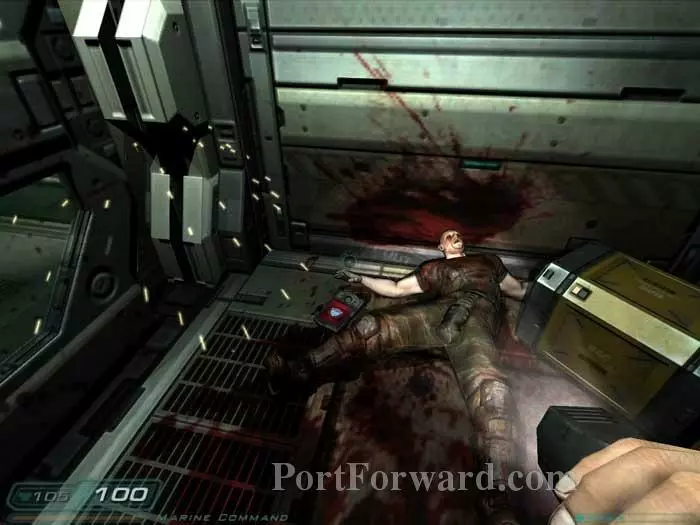
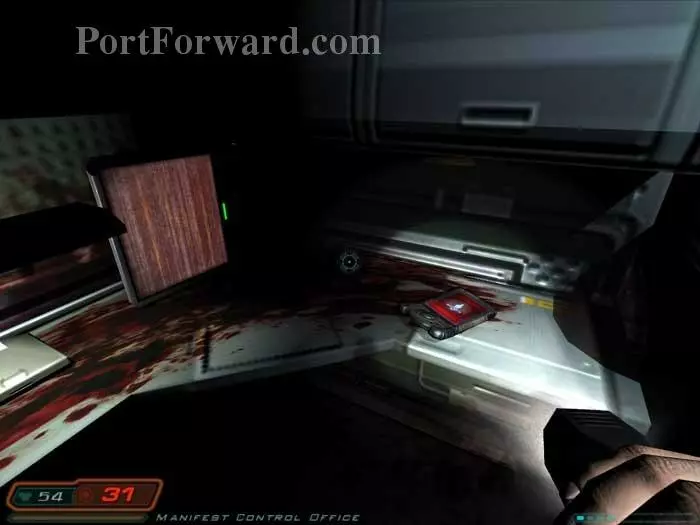
Follow the corridor to this position to find Bill Tyson's PDA and learn the code 584 for the storage locker in Marine Command.
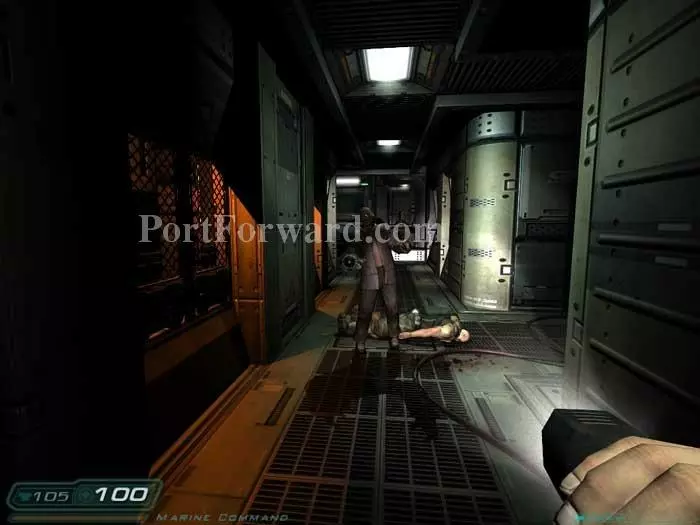
Backtrack past the infirmary and witness this zombie attack.
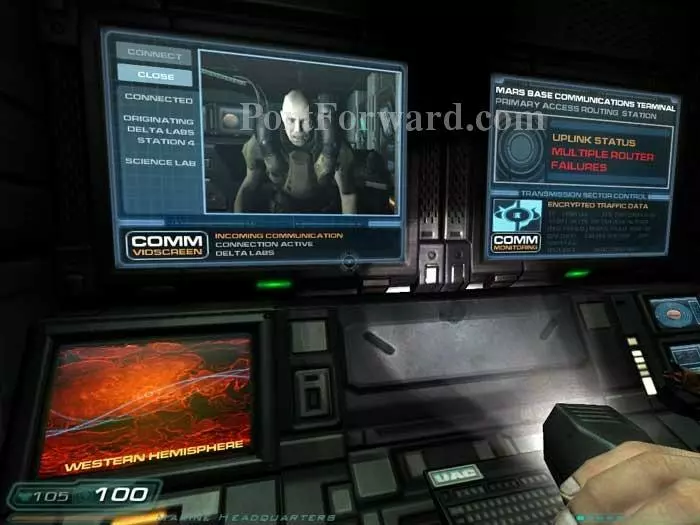
Advance to the Marine Comm Center for a video linkup with Sergeant Kelly. He updates your security clearance and gives you a new objective: head to Alpha Labs Administration.
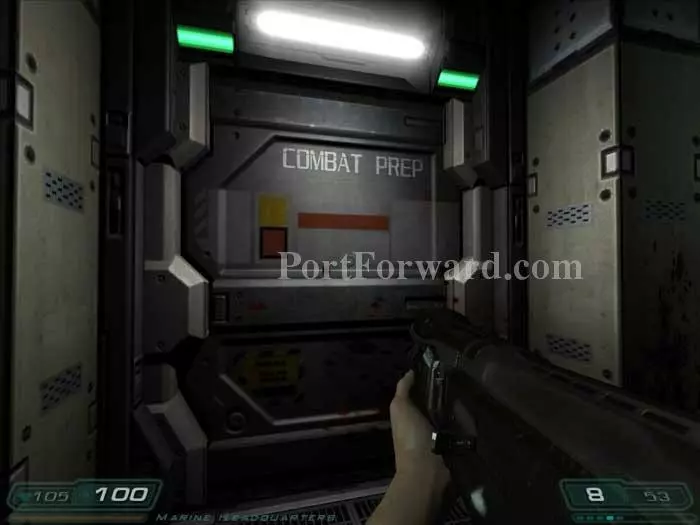
Ready your shotgun and head through here.
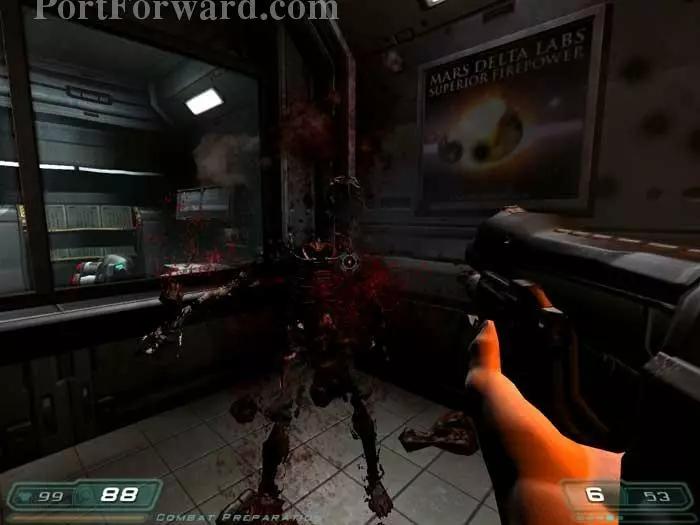
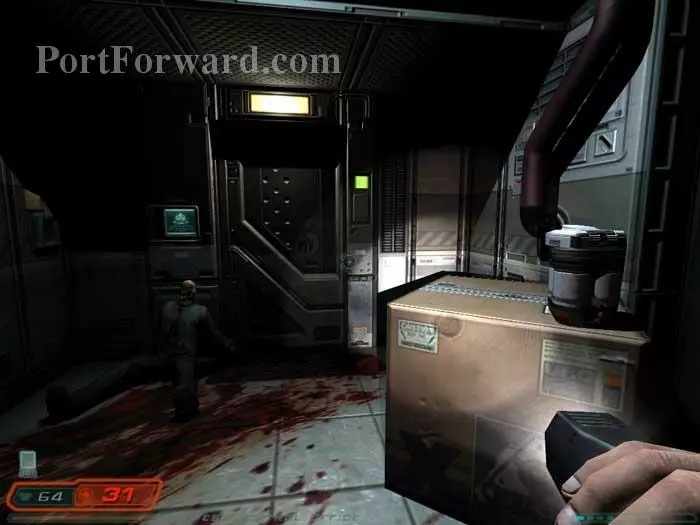
Blast this Z-Sector guarding the storage locker.
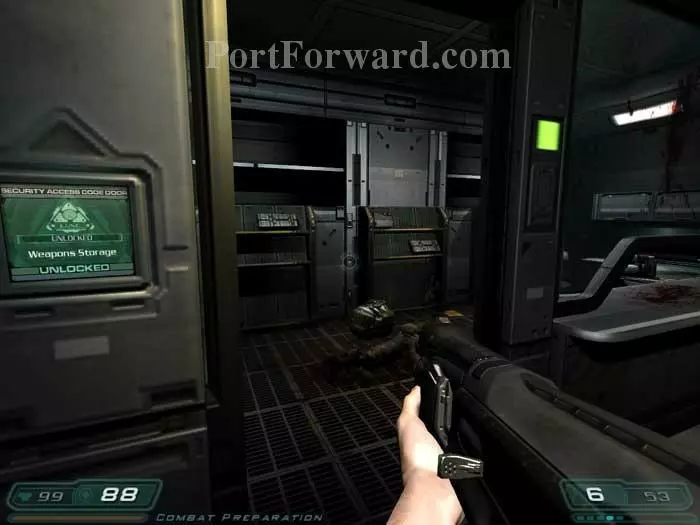
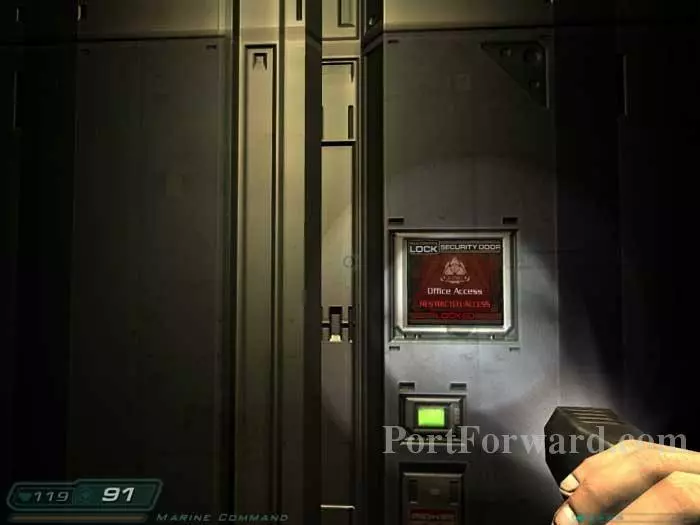
Unlock the door with the code 584.

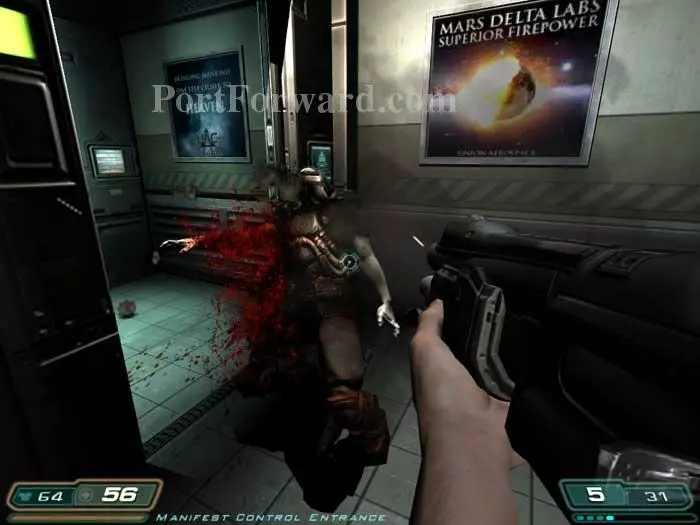
Backtrack down the hall, battling this Z-Sector and turning left here.
Your updated security clearance gets you through this door.
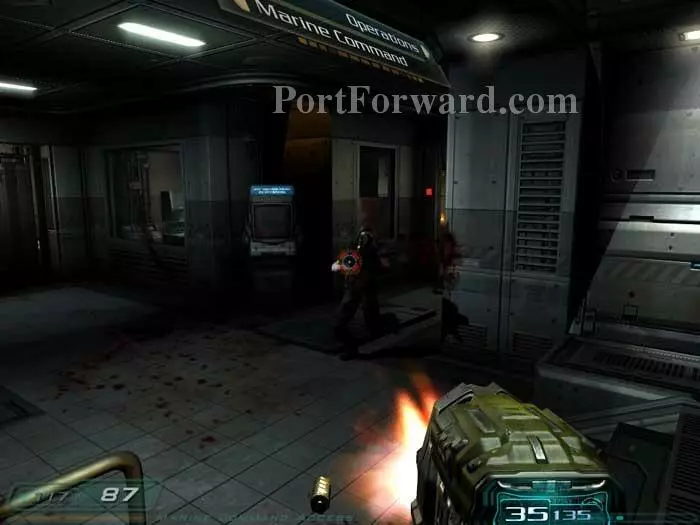
Battle more Z-Sectors inside. Step toward operations to find a medkit in the far corner. Return and approach the kitchen door just visible here on the left.
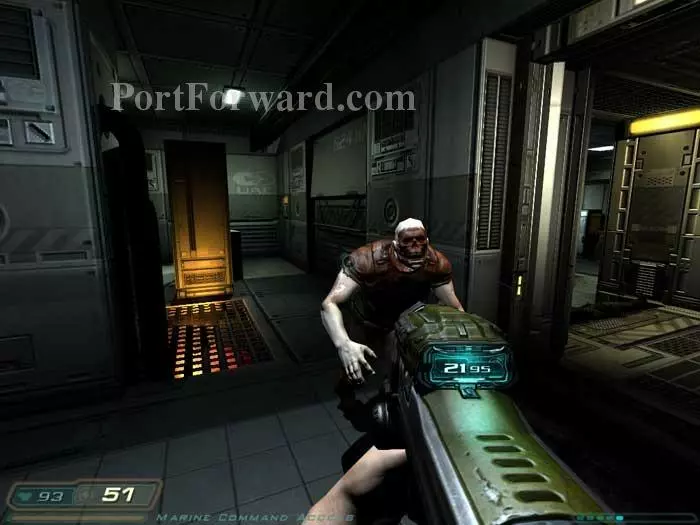
More Z-Sectors are through the kitchen door now seen here on the right, and this Zombie attacks from the alcove visible straight ahead. There's also a medkit at the rear of the alcove.

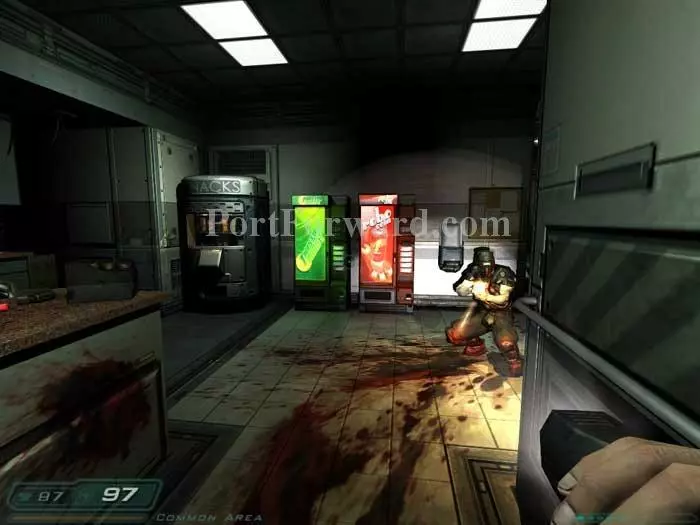
Enter the kitchen. This zombie is waiting for you by the Super Turkey Turbo Puncher. You can just see the green light of a medkit behind him. Sarge urges you to avail yourself of any sentry bots you find.
More Z-Sectors attack. You'll find armor and ammo to the left.
Exit the kitchen and head left into the restroom.

Brace yourself and take a look in the mirror.
Show the Imp your Marine hospitality. Check the toilets for grossness, if you're so inclined. (Sorry, no screenies.)
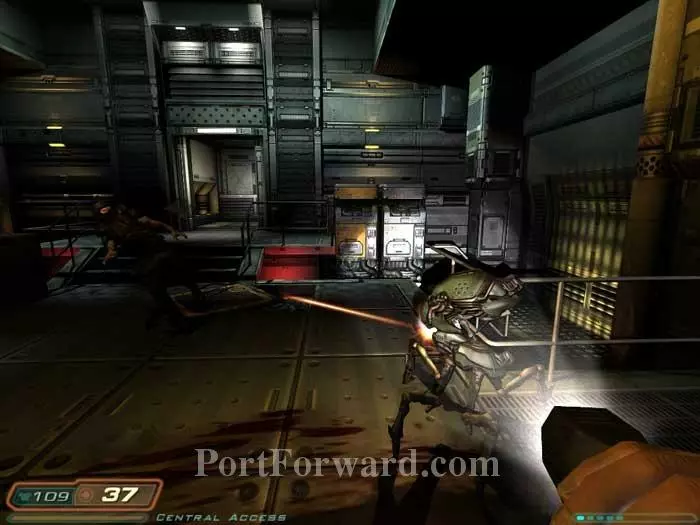
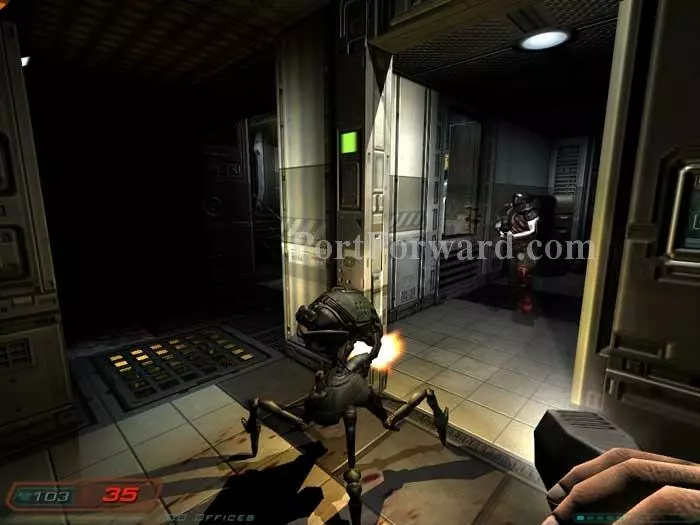
Battle another Z-Sector up the hallway to the left, then witness this sentry bot taking out another Z-Sector.
Don't follow the bot just yet. Instead, head right and he'll follow you, taking out this fat zombie.
Hop through this broken window to your left for armor and health. Sarge urges you to hurry.
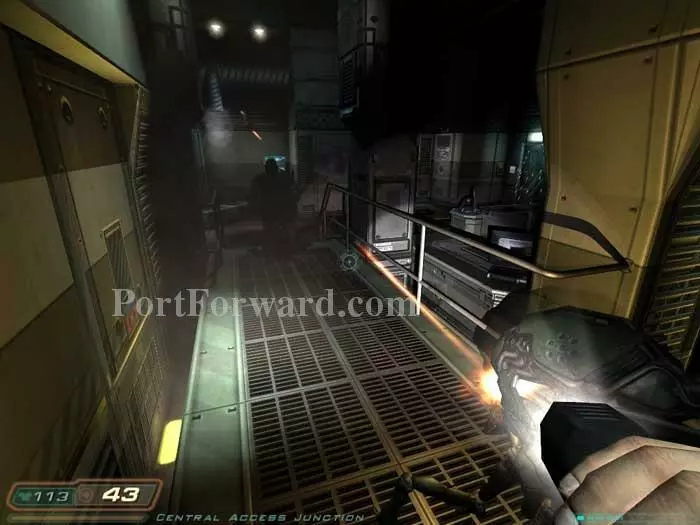
Now it's time to follow the bot. Don't be in a rush to keep up with him, though. He'll clear out the area ahead of you and return if you stray. Plus, there's plenty of supplies to be had along the way, including a medkit in this room.
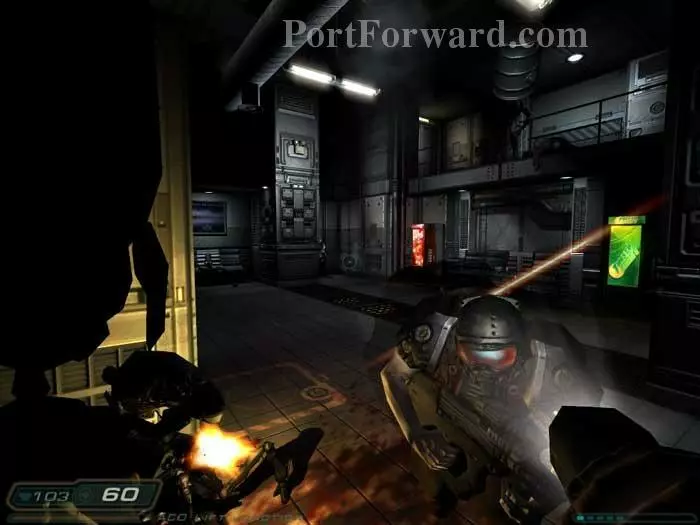
Follow the bot to this large battle. Note the airborne barrel just thrown by the Imp on the balcony.

Check your six as more Imps come charging in behind you.
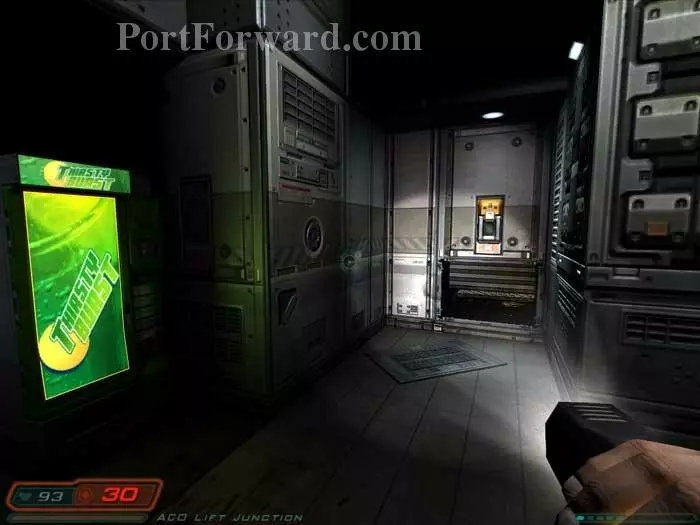
The bot shuts down -- you've arrived at the Administration elevator. Don't head into the lift just yet, though. Instead, crawl into that shaft ahead and climb the ladder beyond.
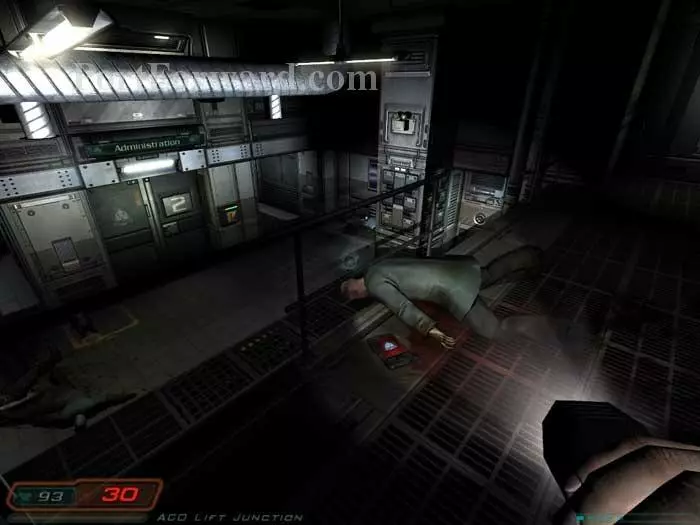
You'll find armor and shells to the right as you emerge. Pick up Duncan Mathews' PDA and update your security clearance. Return below and enter the Administration elevator visible here.
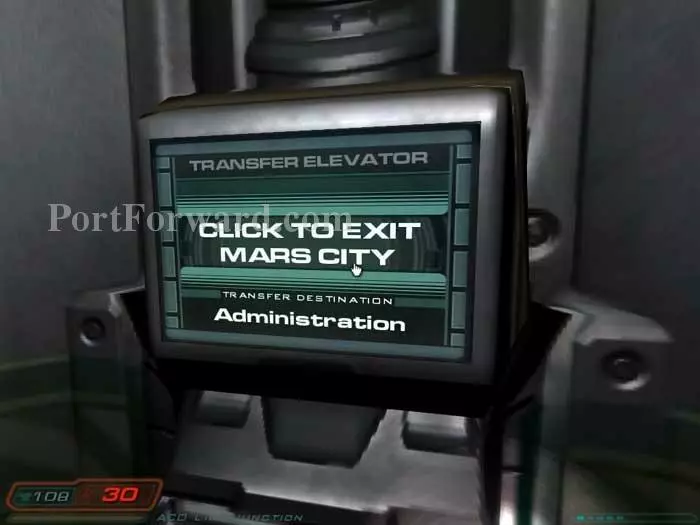
Activate this panel to end the level.
More Doom 3 Walkthroughs
This Doom 3 walkthrough is divided into 27 total pages.