This Doom 3 walkthrough is divided into 27 total pages.
You can jump to nearby pages of the game using the links above.
Delta Labs Sector 3

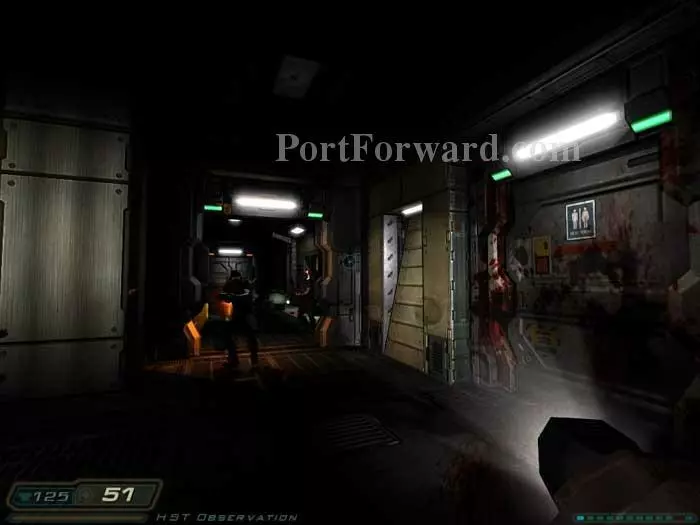
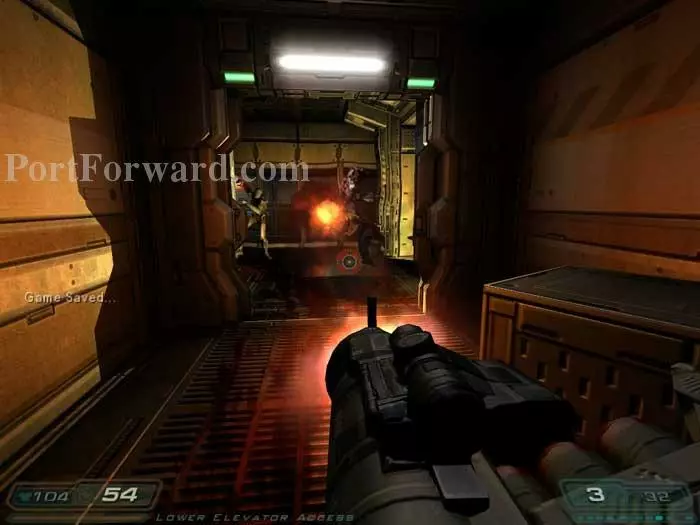
Exit the lift then look through this window on the left to spy Betruger and his demons below. Three Z-Sectors and a commando are through the first door. Cells, armor and a machine gun can be found to the left of this Z-Sector.
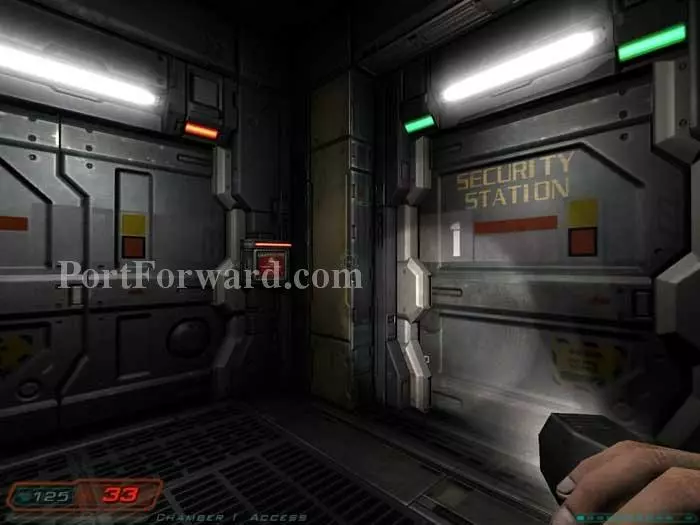
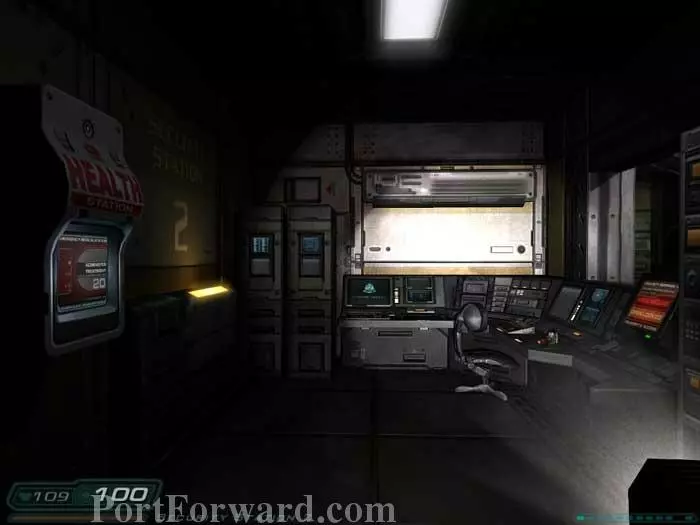
The Chamber 1 access door on the left is locked for the moment. Enter the security station on the right.
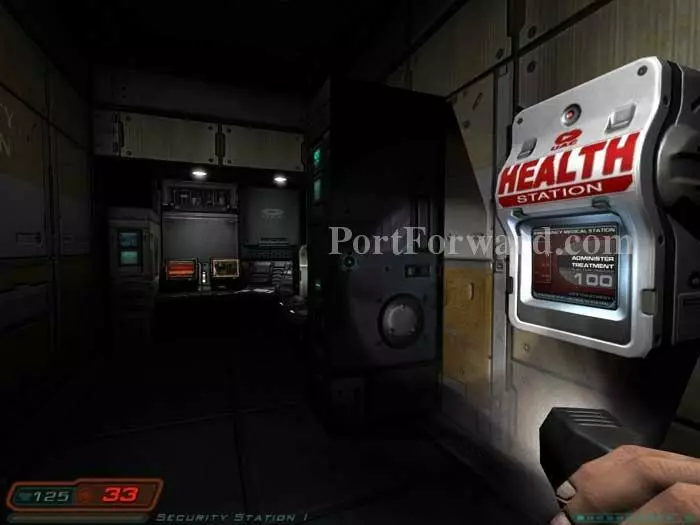
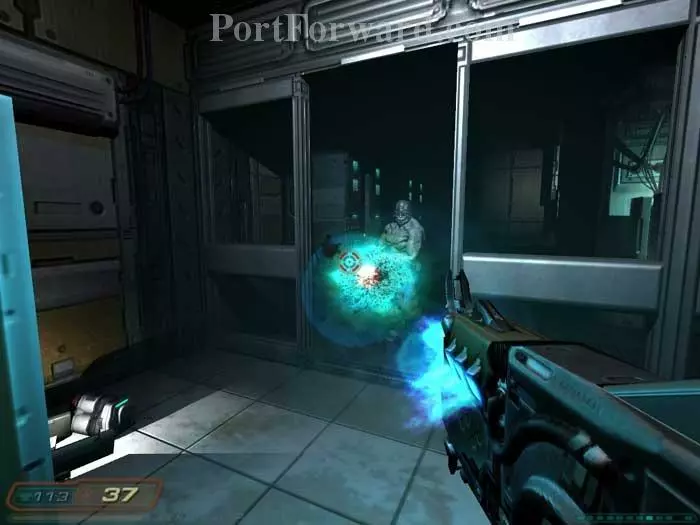
Heal at the health station on the right. Ready your shotgun before unlocking the outside door with the red terminal far-left, as a whip commando will charge in.
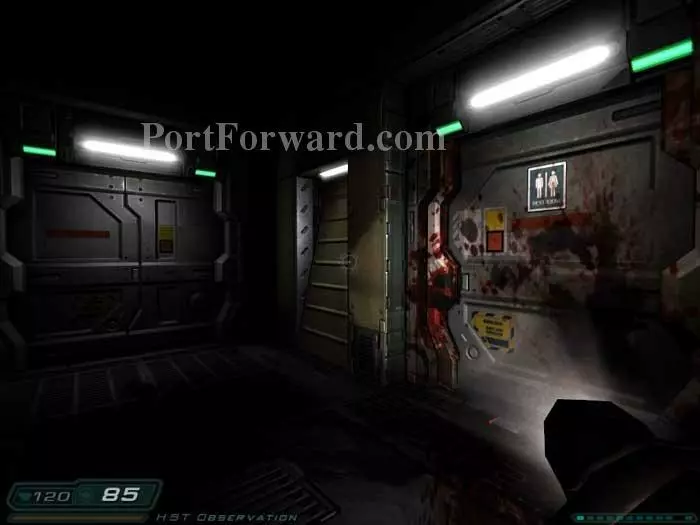
Continue through the now-unlocked Chamber 1 access door then enter the restroom on the right. Note the armor at the foot of the door.
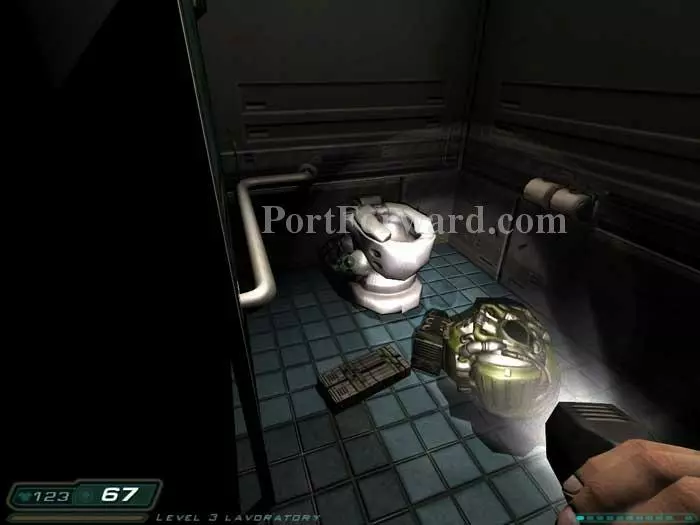
A Z-Sector is inside, and after defeating him a whip commando will charge in. This corner stall has armor, shells and a clip.

This Imp greets you upon exiting the restroom.
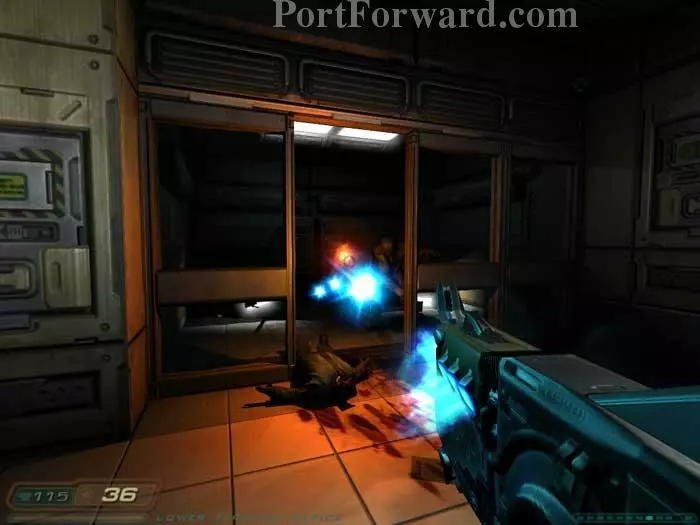
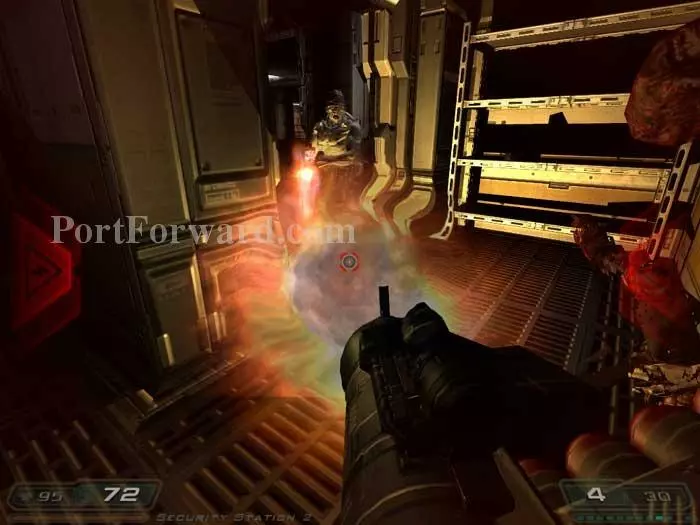
Upon entering the door ahead, an Imp spawns and a Z-Sector charges. Retreat to this position and pummel them with the rocket launcher.
Head right to find another Z-Sector. An Imp spawns in this office.
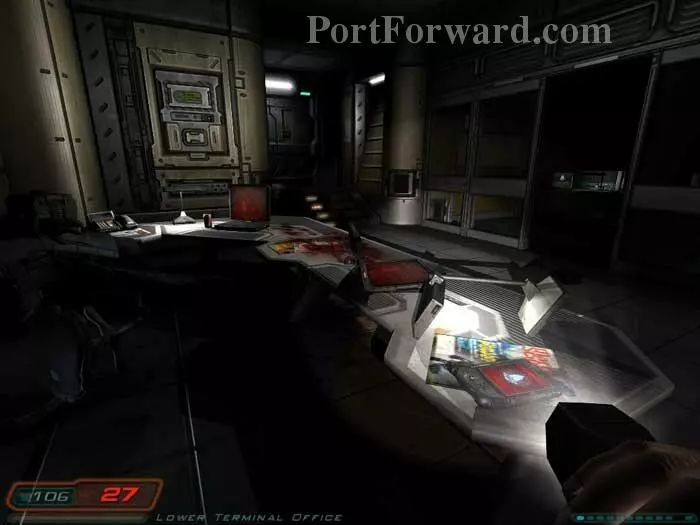
Frank Cerano's PDA contains the code 841 for cabinet 317. An ammo belt is to the left. A medkit and clips can be found in the office on the right. Continue through the door ahead.
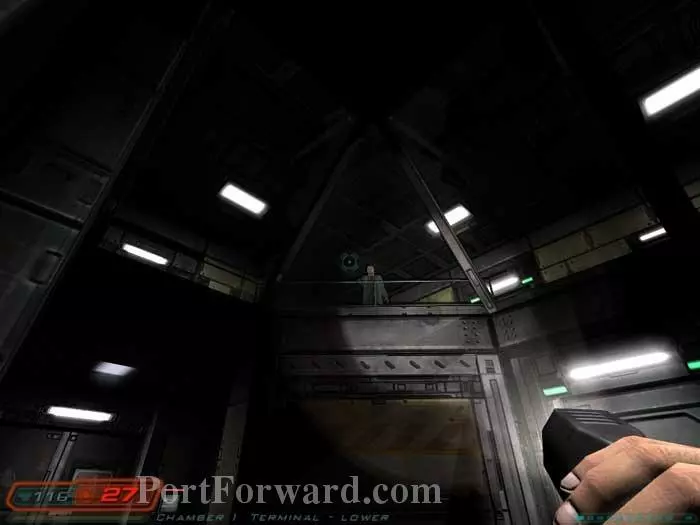
Betruger can be seen on the balcony above, beckoning his minions, "Destroy him!"
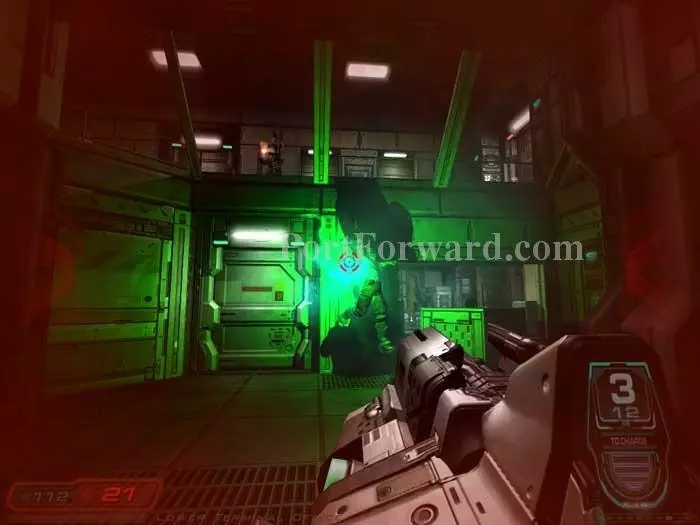
Two commandos attack. One jumps over the railing, and the other remains on the balcony above. I found the BFG and rocket launcher to be the best bets for taking out the commando above. Continue through the door ahead.
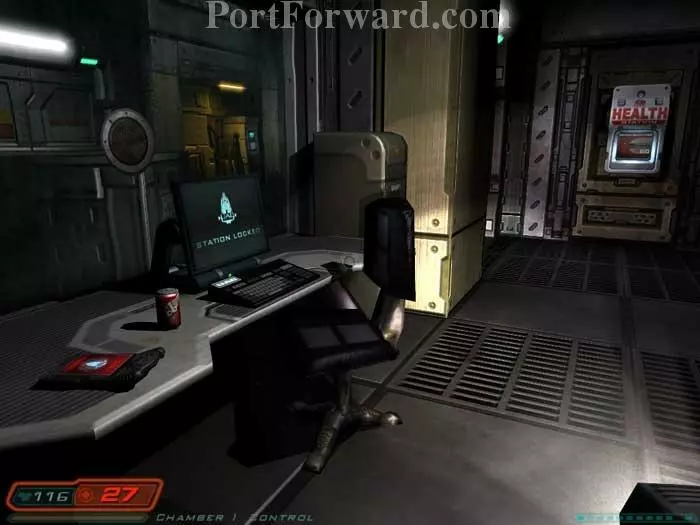
Han Lee's PDA reveals the code 836 for cabinets 386 and 387. Note the health station on the right.
Also here is this terminal, which unlocks the door to the decontamination chamber.

An Imp spawns, followed by this commando.

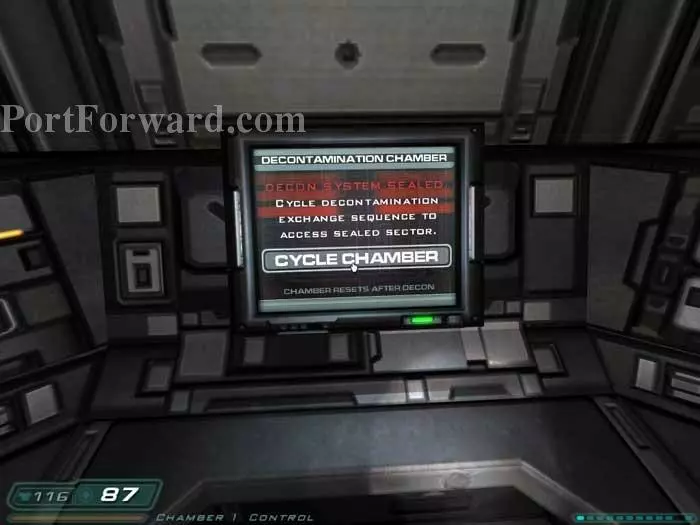
Enter the now-unlocked decontamination chamber.

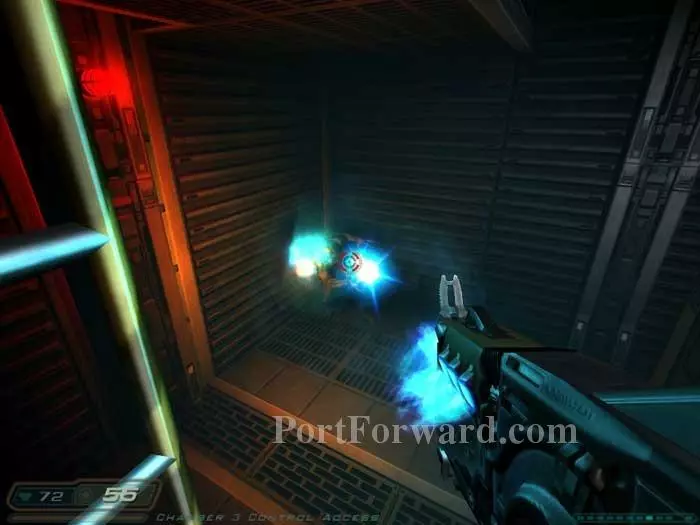
Wait for the decon process to complete then proceed to the next room where this Imp and a commando attack. Continue through the door ahead.

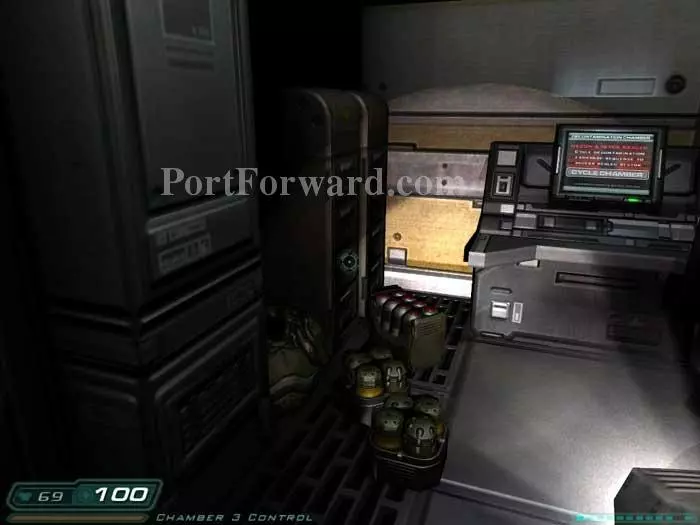
Han Lee's PDA reveals the code 836 for both of these storage lockers. Inside you'll find plenty of supplies. Continue through the door ahead.
A whip commando attacks, plus a chaingun commando entrenched above.
An Imp spawns as you retrieve the shells through this door. An ammo belt is to your immediate left.
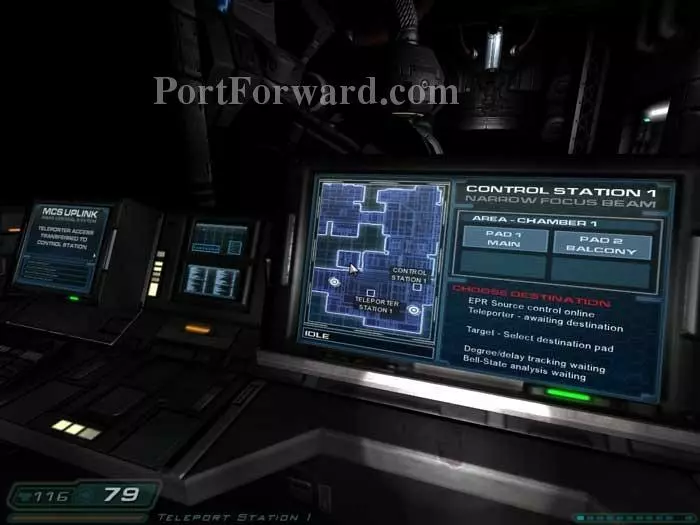
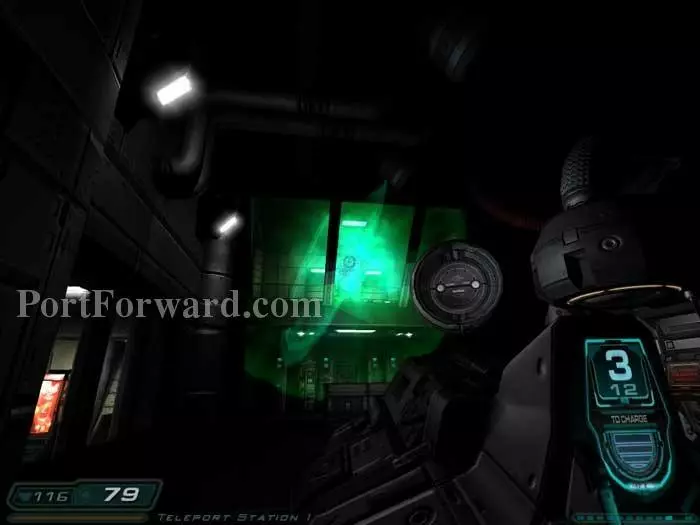
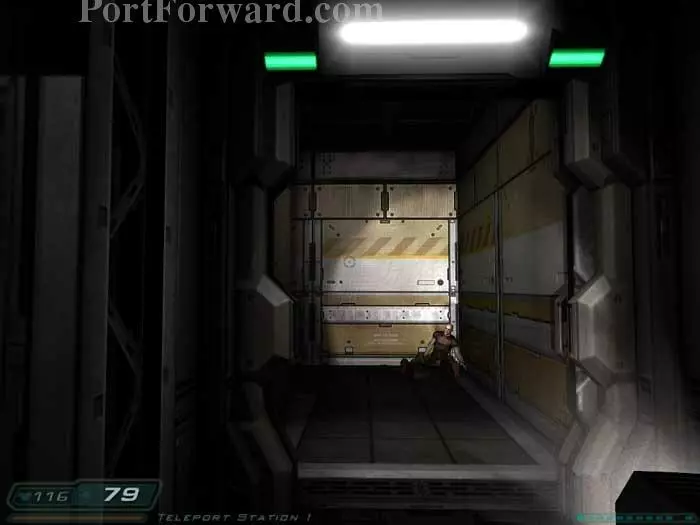
The terminal on the left activates the display on the right, where you can choose the teleporter destination. "PAD 1 MAIN" sends you to the other side of the room. Select "PAD 2 BALCONY" then proceed to the teleporter in the center of the room.
Step onto the pad and activate the teleporter.

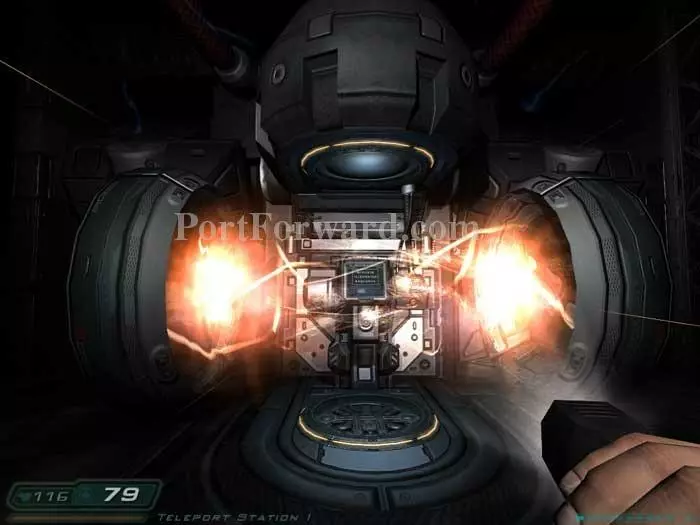
Ride through the meat grinder.

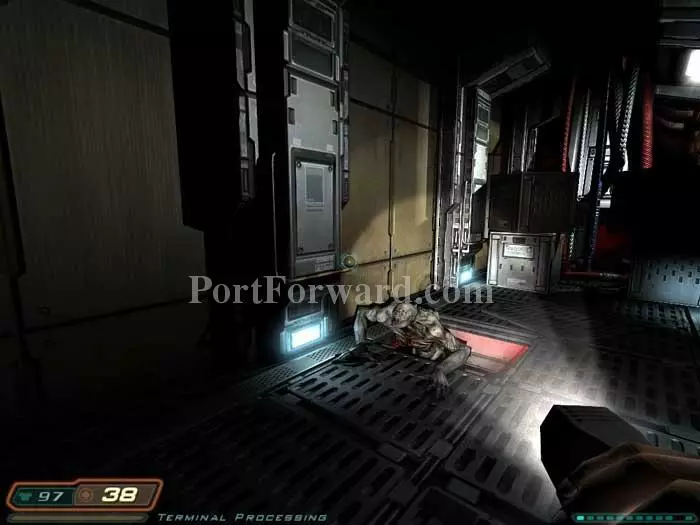
Pick up the chaingun from the fallen commando then battle this Revenant. Grab the medkit seen far-right then pass through the door to decontamination.
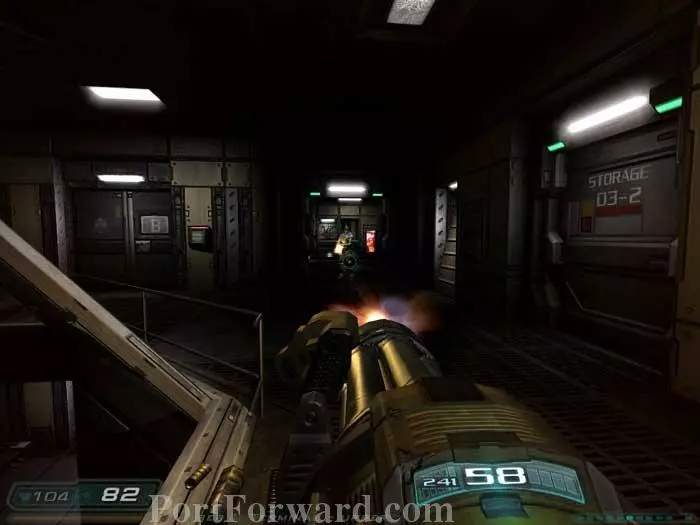
Defeat this chaingun commando then toss a grenade into Storage 03-2 on the right to take out a Z-Sector. Inside the storage area are cells, armor, a health station, plus a spawning Imp. Continue through the door ahead.

A Z-Sector attacks from your right, followed by this Revenant and then a pair of Imps. Continue through the Security Station 2 door ahead.
Shells and clips are on the shelves as you enter. Heal at the health station on the left and grab the adrenaline hypo on the right. Also on the right is a terminal to unlock the teleport 2 access door.
Two commandos attack as you leave.
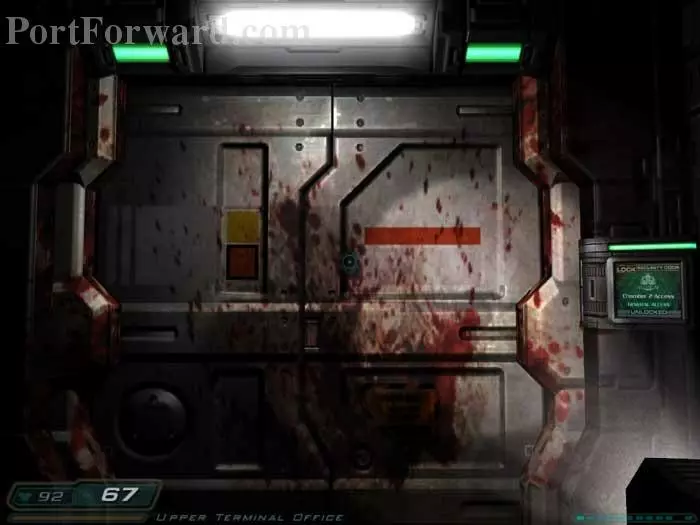
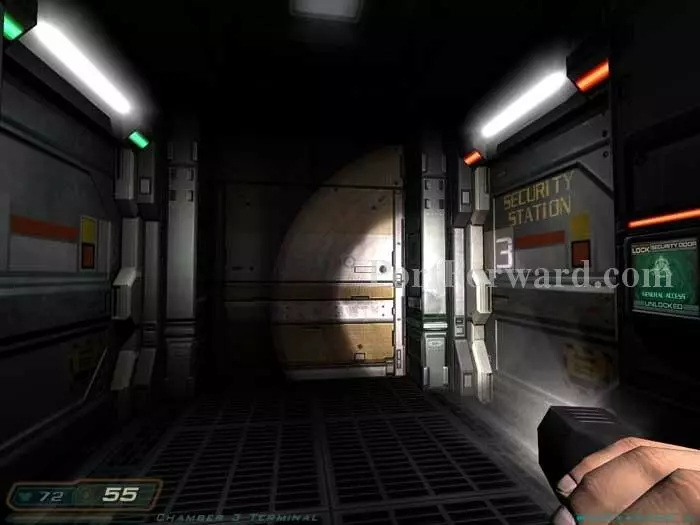
Make your way to this now-unlocked door.
Defeat the Imp and Z-Sector in the office on the right, where you'll find an armor vest. Continue through the door on the left.

The door locks behind you - no turning back. Two Imps spawn. Defeat them then search the left office for grenades and cells. Continue farther down the hall and three more Imps attack.
Enter the corner office and this chaingun zombie attacks. Note the medkit on the left.
Farther ahead this Imp climbs out of an opening in the floor. Defeat him then climb in.

Keep left and you'll come to this opening.
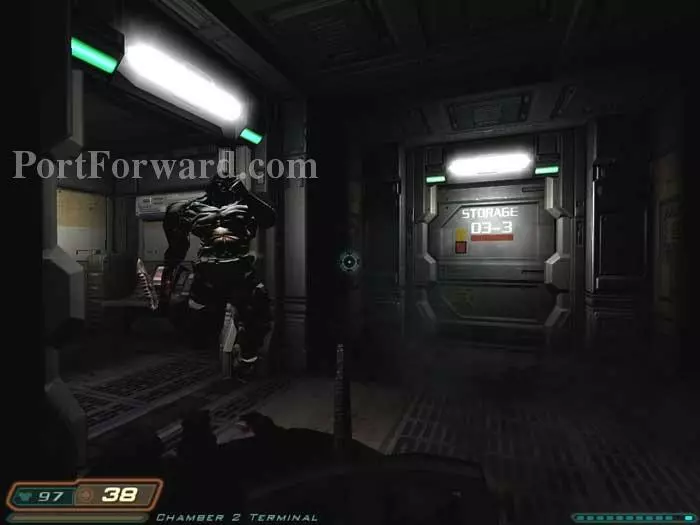
Use your chainsaw on the whip commando who emerges from the left door. A malfunctioning door control is also to the left.

Inside Storage 03-3 you'll hear a commando but he never appears. Rather, if you shoot the explosive barrels in the corner, this Imp spawns. Inside you'll find a health station, armor, cells, rockets, clips and shells.
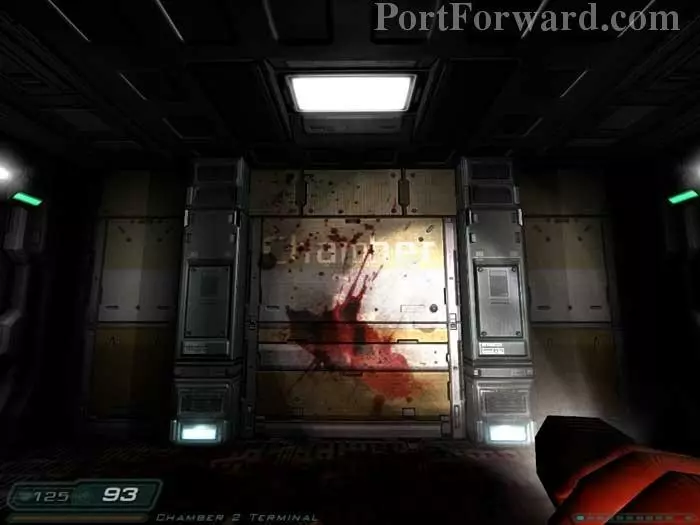
Continue down the hall to this position. Doors are left and right. Start with the door on the left.

Defeat an Imp inside then stay close to the door. Two Revenants will enter, the sound of their footsteps giving you plenty of warning to ready your rocket launcher.
Grab the medkit, bullets and armor in this corner.
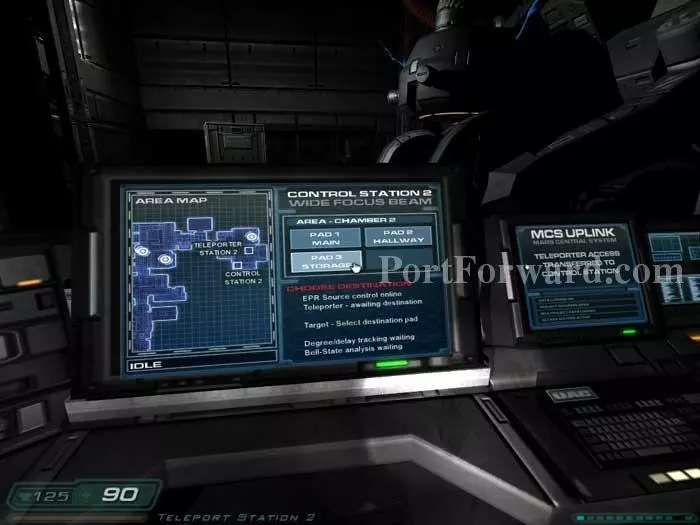
Backtrack, this time taking the door on the right. Access the terminal on the right to activate this display on the left. PAD 1 MAIN sends you to the room you were just in. PAD 2 HALLWAY and PAD 3 STORAGE place you in close proximity to one another, with PAD 3 giving you slightly better placement. Choose it then step onto the pad and activate the teleporter.
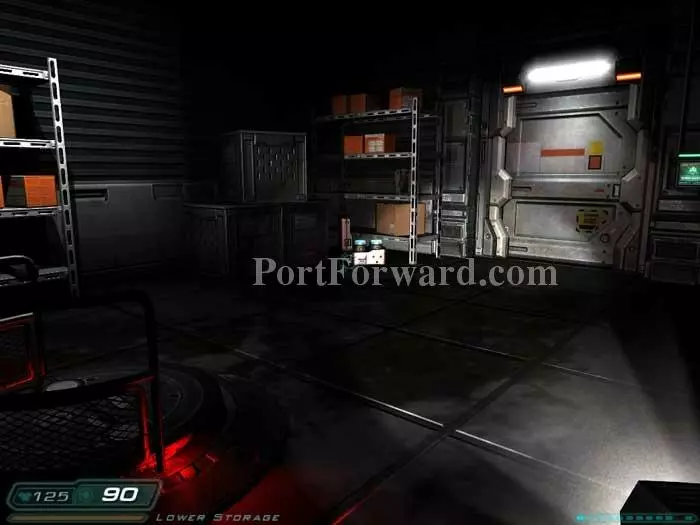
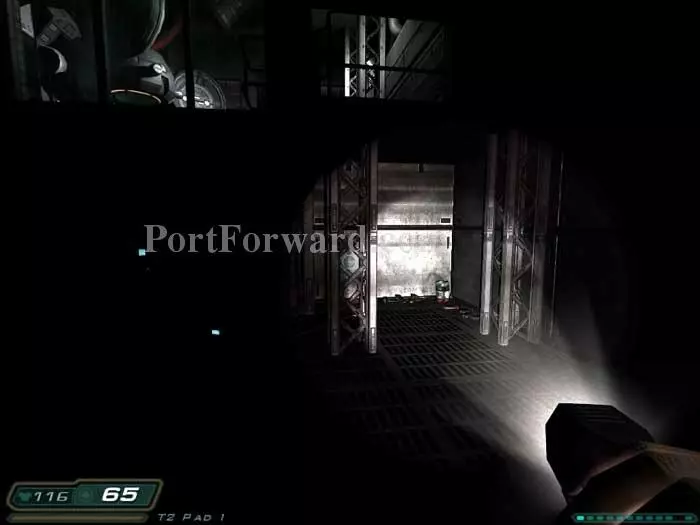
You arrive in this storage room where you'll find an ammo belt, cells, armor and clips. Continue through the door ahead.
That's PAD 2 on the right. You can just make out the green light of a medkit on the left. Ready your rocket launcher then approach the door ahead.
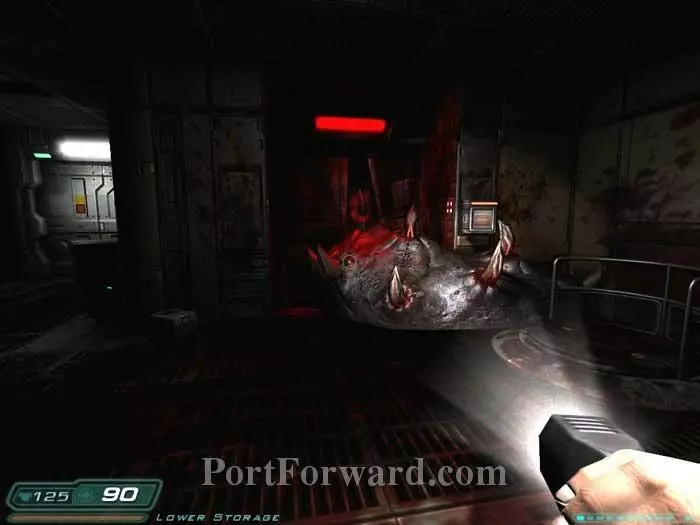
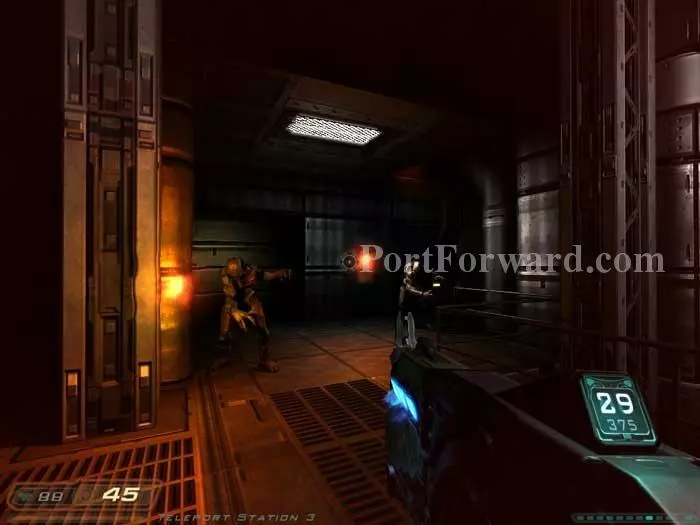
Lots of bad guys in here, including several commandos, Imps, a Revenant and a Z-Sector. Your best bet is to lure them back to this doorway then hit them with rockets. A chaingun commando is entrenched to the left and will not be pulled.
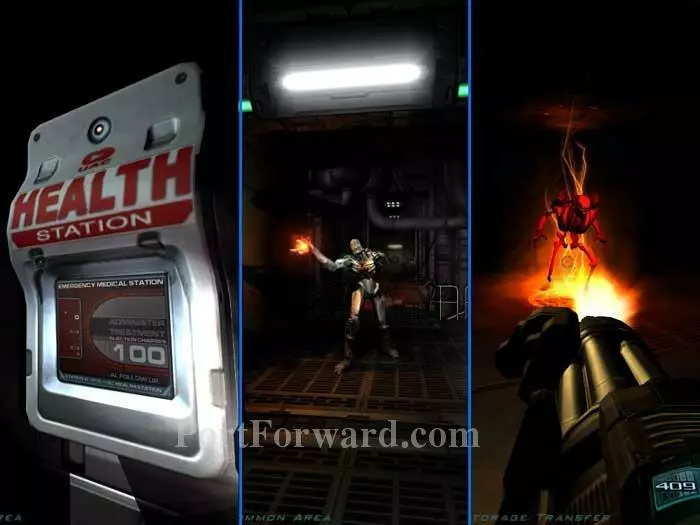
Left-to-right: Heal at the health station. Defeat an Imp through the next door. Defeat a revenant before the following door.
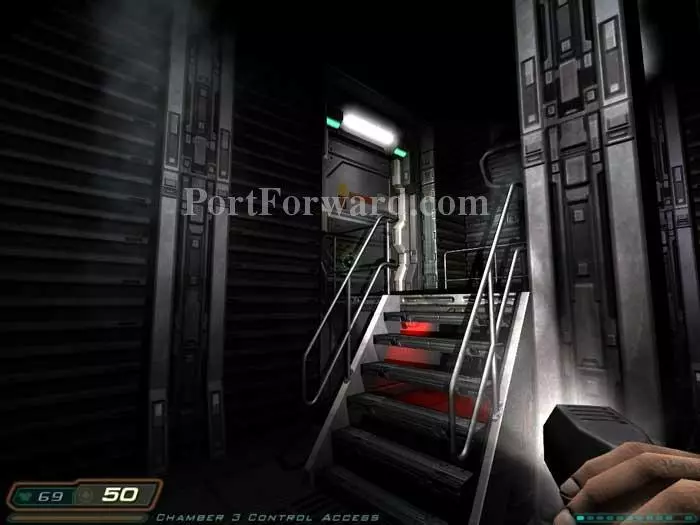
Another Imp waits through a set of double doors, then this Imp awaits down the stairs on the right. If you descend these stairs two more Imps will spawn behind you.
The door on the right is green yet locked. Proceed through the door on the left.
Descend the ladder and defeat an Imp.
Head up these stairs and go through the door.
Grab the supplies on the left and activate the terminal on the right to unlock another decontamination chamber.

Return down these stairs, battling a Revenant and an Imp along the way. Enter the now-unlocked decontamination chamber.

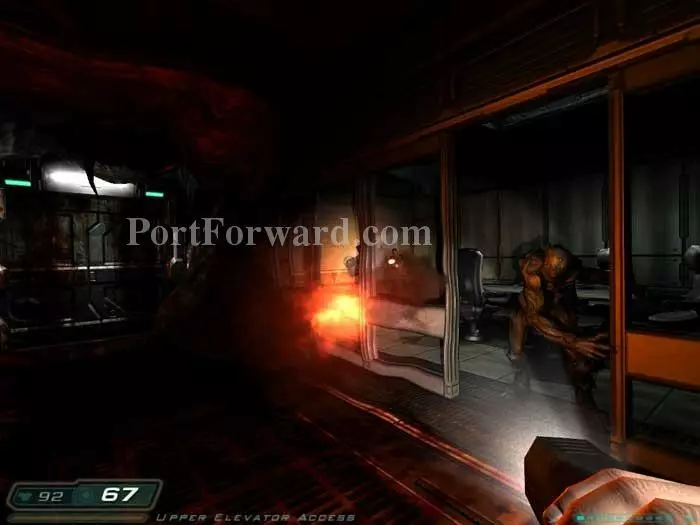
Betruger enters this teleporter after commanding his demons to stop you. Two commandos attack. A medkit and cells are in the right corner.
Approach the teleporter and a Revenant attacks, followed by these two Imps behind you.
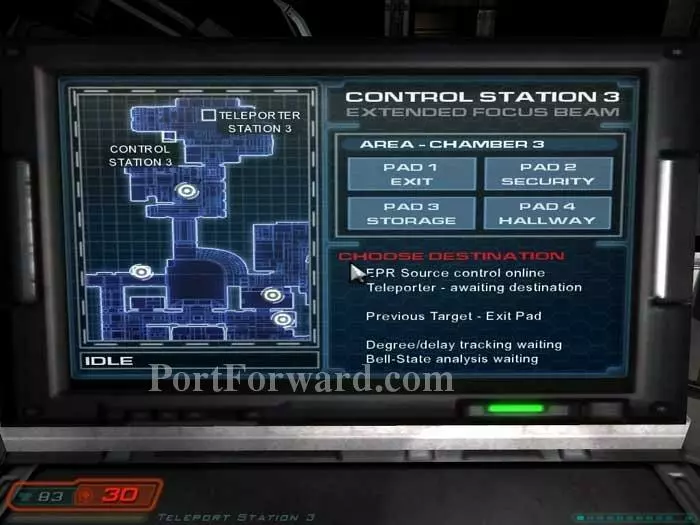
Approach the control station. "PAD 1 EXIT" is the way out. You can leave now, but if you don't mind some backtracking we have some stops to make first. Select, "PAD 2 SECURITY."
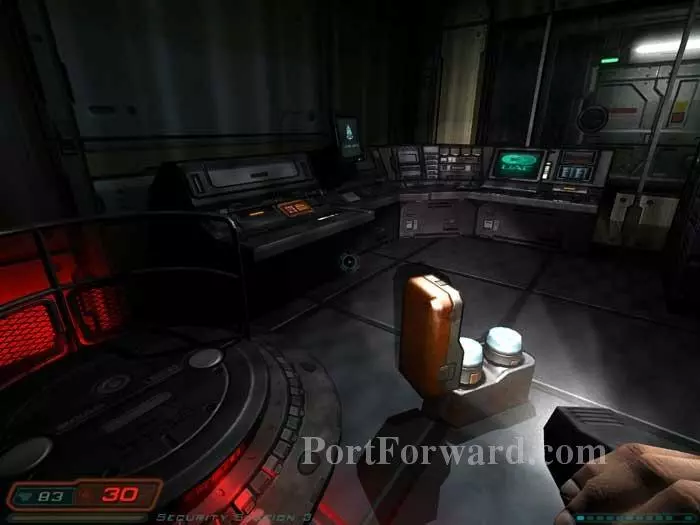
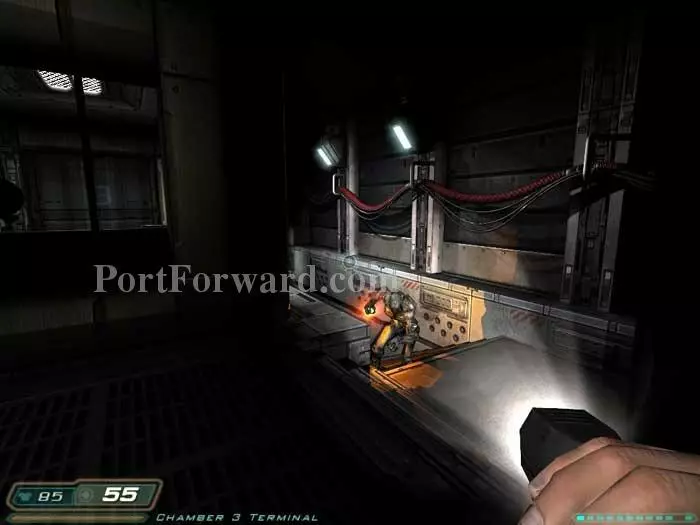
You're now in Security Station 3. Grab the cells on the floor and Marten Shultz's PDA from the counter ahead, which has some background and allows you to open the door.
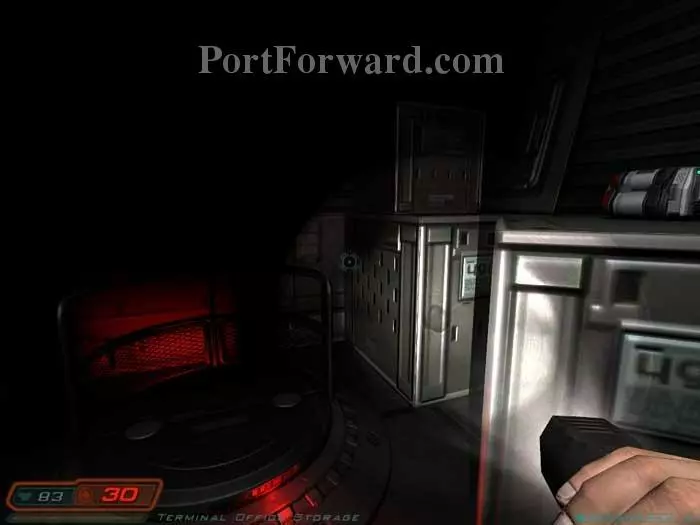
Return to the teleporter control and choose "PAD 3 STORAGE." You'll arrive here -- note the medkit to the right of the pad.

Frank Cerano's PDA has the code 841 for this storage locker.
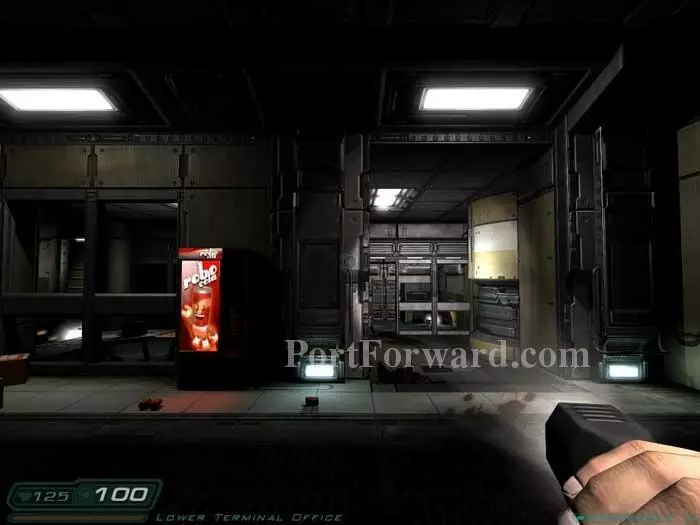
Head across the hall and backtrack to the teleporter from here.
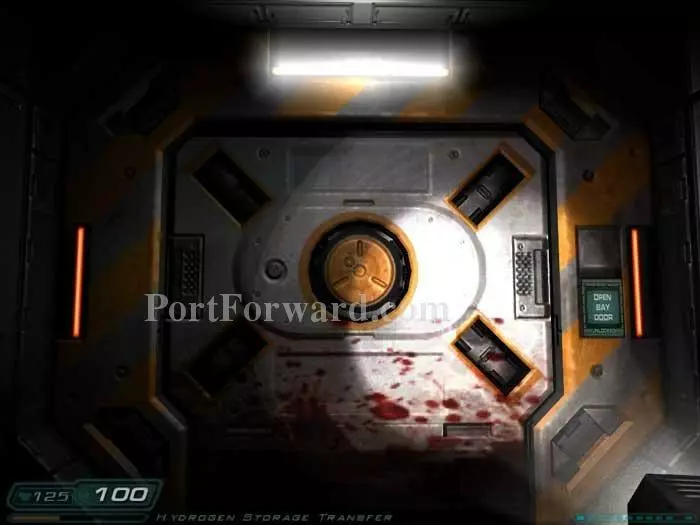
Select "PAD 1 EXIT." ("PAD 4 HALLWAY" puts you back near Pad 3.) Step into the transfer bay.
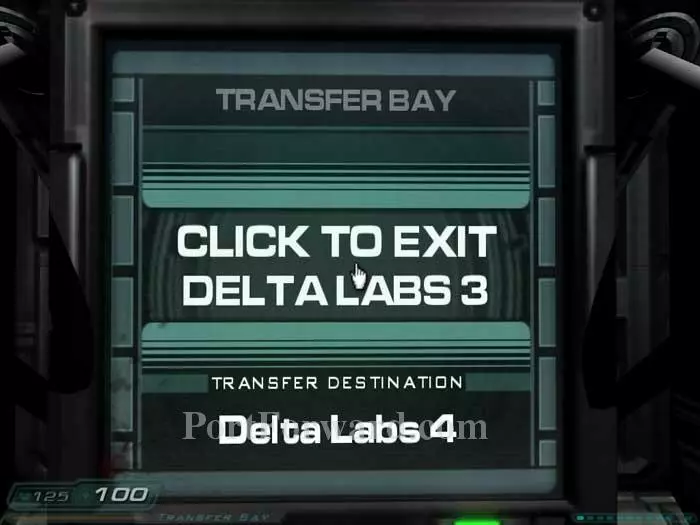
Activate the panel to load Delta Labs Sector 4.
More Doom 3 Walkthroughs
This Doom 3 walkthrough is divided into 27 total pages.