This Doom 3 walkthrough is divided into 27 total pages.
You can jump to nearby pages of the game using the links above.
Delta Labs Sector 5
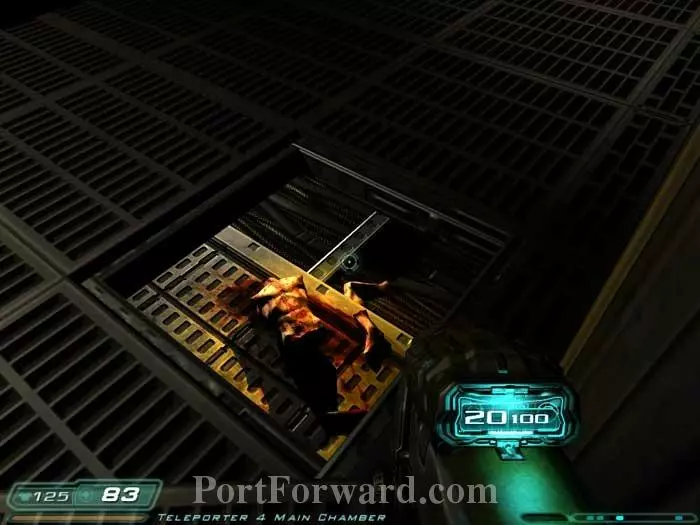
You return with only the soul cube. Thankfully, these supplies are on the right, including a medkit, clips, bullets, a pistol and the machine gun. Drop through this opening in the floor to find your flashlight. Woot!

Continue through the crawlspace to find armor, clips and grenades. Pop up from the exit and toss some grenades at this commando. Grab his chaingun and the nearby ammo belt but don't open the door ahead just yet.

Rather, proceed through this door to battle another commando and find a chainsaw, an ammo belt and armor.

Now you can open the previous door. A very long series of Ticks attacks. Every five kills the soul cube implores, "Use us."

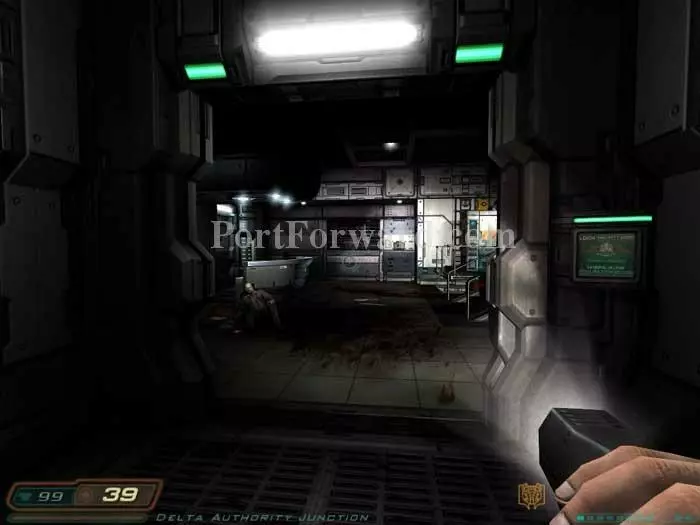
A whip commando spawns down this corridor on the right.

A secret panel pops open on your right revealing hand grenades, cells, clips, a medkit and the plasma gun. Simultaneously this whip commando spawns behind you.

Enter this elevator shaft and climb the ladder on the right. As you climb a voice whispers, "Help me." An armor vest is at the top.
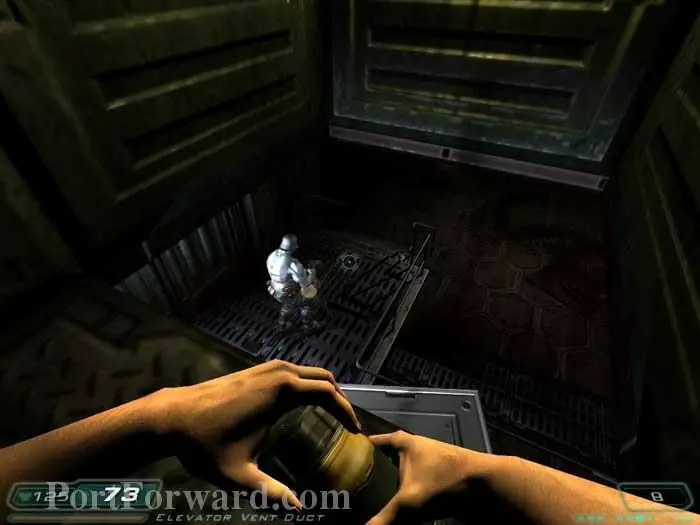
Crawl through the shaft then toss a couple grenades to the commando below.

Snatch his chaingun and this whip commando attacks. Just don't linger trying to get the perfect screenshot.
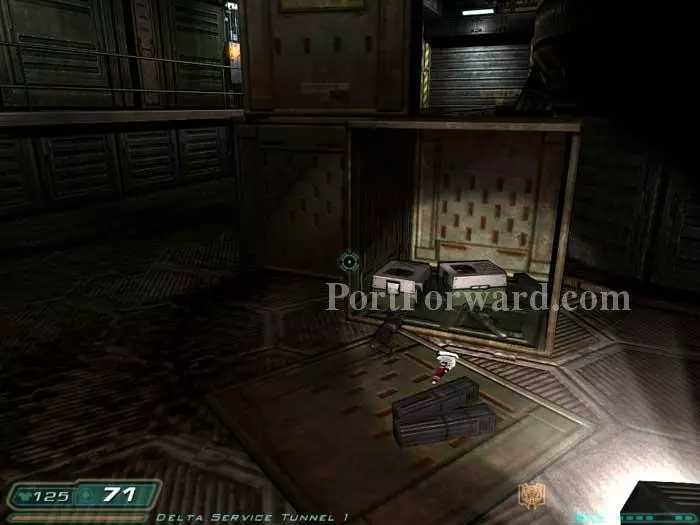
Grab these supplies, including adrenaline, shells, clips and the shotgun.
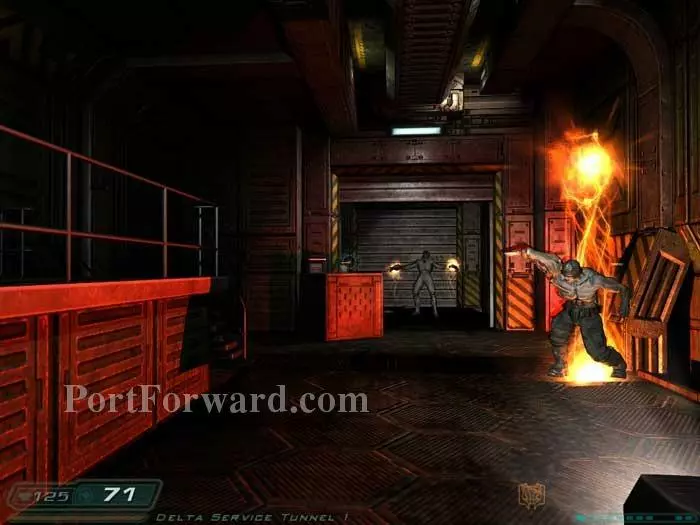
The door ahead rises, revealing a commando-summoning Archvile. This is a good time to use the soul cube if it's ready. The soul cube will transfer health from your enemies to you. Armor and cells are in the Archvile's alcove. Ascend the stairs to the walkway on the left.

This Archvile summons a commando as you approach this door.

The Archvile is vulnerable while summoning his pets. Rush him with your chainsaw then turn around and do the same to the commando.

Call this lift then ride it down.

A chaingun commando is waiting through this door.

Once inside the door, this Revenant attacks from the left. Continue up the stairs and through the door on the left.

The health terminal is spent. Ride the elevator up to level 2 - Delta Authority.
Walk around to this door and approach Counselor Swann.

The ailing Swann explains that Sarge is no longer human and has been working for Betruger. Take his PDA then continue through the door behind him.

Drop through the subfloor opening on the left.

Climb the ladder then turn around and hop into the mid-level access opposite the ladder.

Grab the supplies on the right then activate the terminal on the left to open a panel in the floor.

Descend below and this Archvile spawns straight ahead. Charge him with your chainsaw.

Quickly turn around and maul the commando he summoned while another Archvile spawns to your left.

Repeat on the second Archvile and the commando he spawns with the chainsaw or the soul cube if available.

A medkit and clip are available in this corner.

An armor vest can be had here.

Bruce Jackson's PDA is in the corner ahead. It reveals the code 571 for an upcoming storage locker.
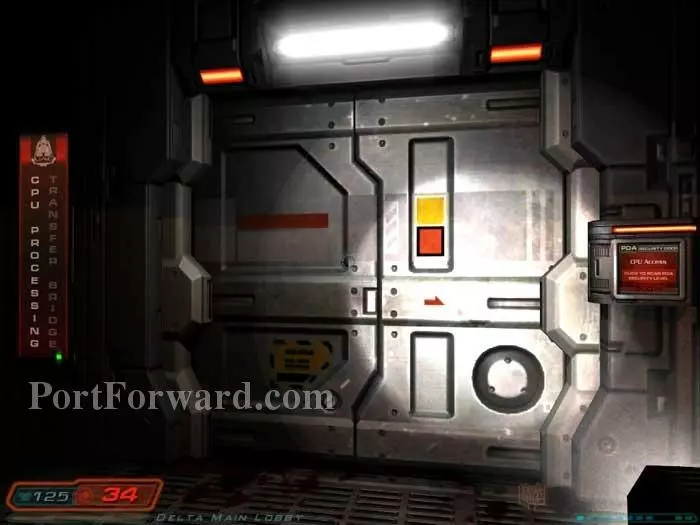
Elliot Swann's PDA will get you through this door.

A revenant stands between you and the exit -- here I take him out with the soul cube. Armor and clips are to the right.
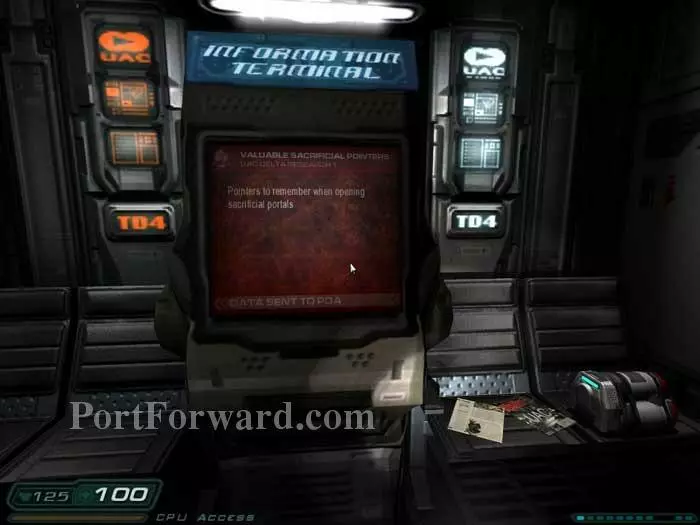
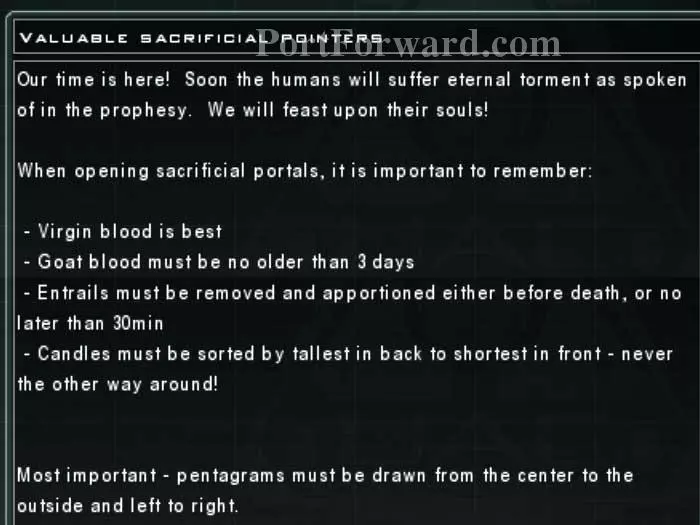
A medkit and this information terminal are on the left. Download "Valuable Sacrificial Pointers" to your PDA.
Humor is the opposite of evil. The contrast itself is humorous.

Enter the transfer bay and activate this terminal to load the next level.
More Doom 3 Walkthroughs
This Doom 3 walkthrough is divided into 27 total pages.