This Doom 3 walkthrough is divided into 27 total pages.
You can jump to nearby pages of the game using the links above.
Site 3

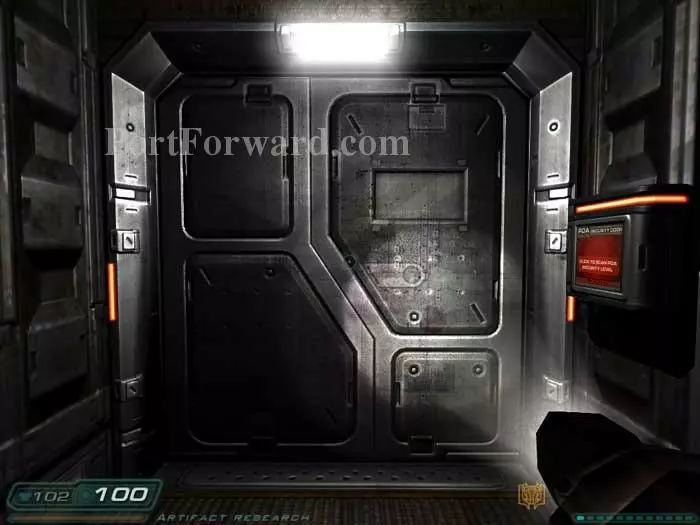
A Hell Knight, Wraiths, and Imps attack as you exit the lift. Note the health station on the left. Approach this door on the right to receive a new objective.
Continue through this unlocked door to the left and Cacodemons attack. An Imp spawns behind you.
This Hell Knight spawns around the next corner. Clips and an armor vest are to the left and a health station is to the right. Cells can be seen behind the Knight.
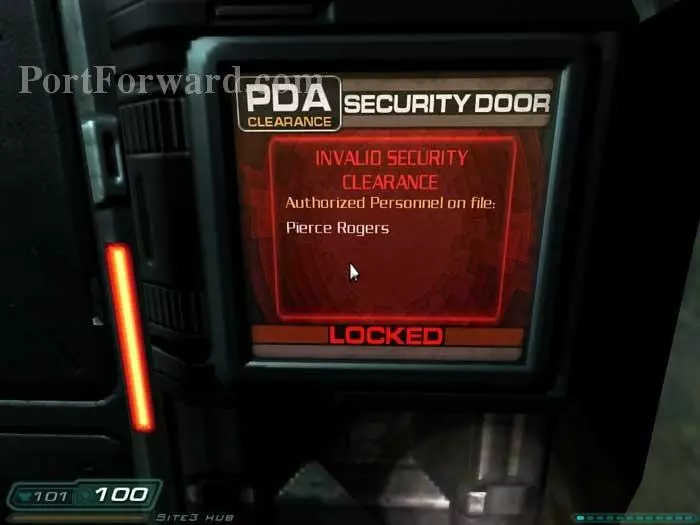
You do not yet have access to the door on the left.
Backtrack a bit to this door.

A Cacodemon and Wraiths attack. Retreat to the hallway if you need cover.
This health station is to the left.

This Hell Knight spawns as you approach the door on the right. The Soul Cube takes him out easily.
Before heading out the door grab these supplies tucked behind the stairs. You'll find shells, armor and cells.
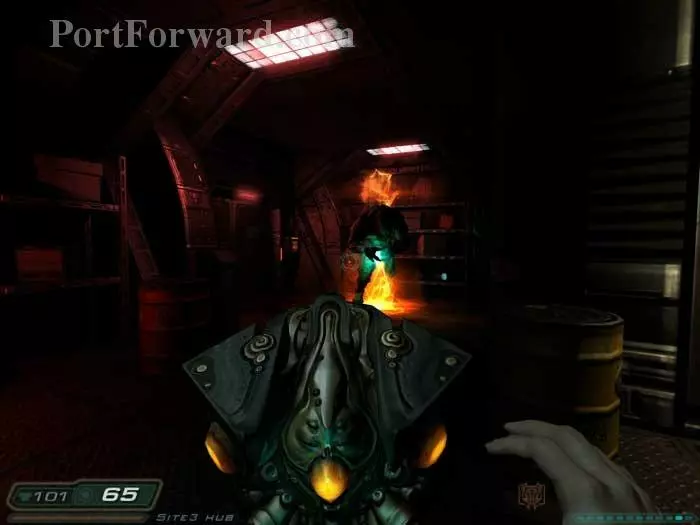
An Archvile and his Imps oppose you in the next room. The BFG cleans up this mess easily.
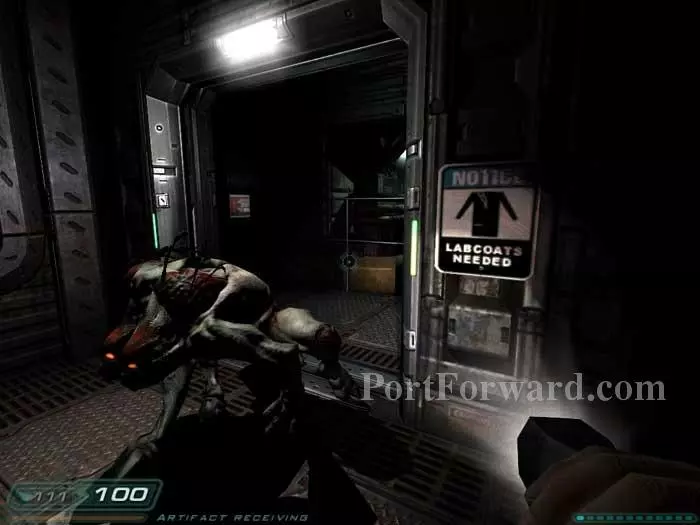
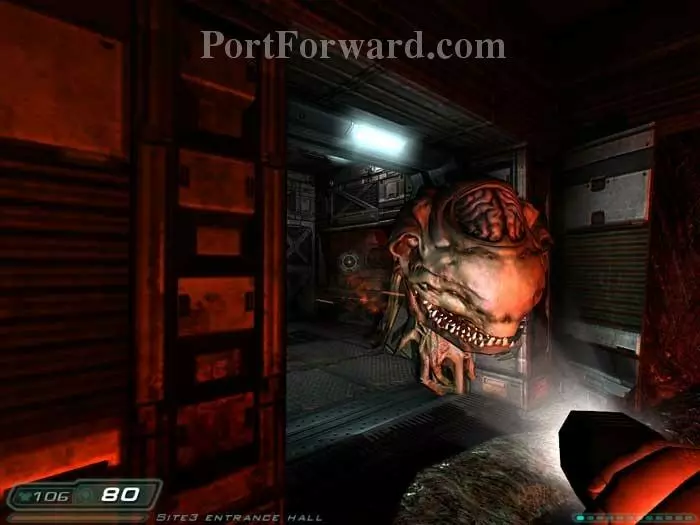
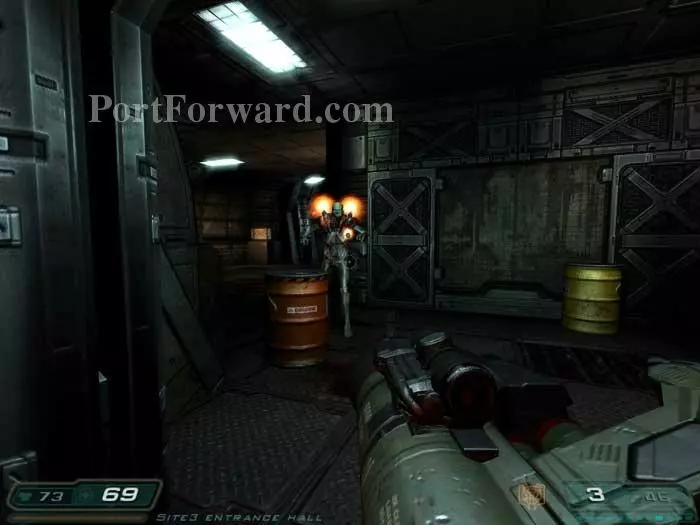
Through this next door you'll take out a Revenant and this Maggot. Note the health terminal on the left.
An ammo belt and clip are under the stairs. Climb the stairs and an Imp attacks.

This Wraith is waiting on the other side of the door.

Climb down a short ladder to defeat another Wraith plus this Imp.
Around the bend two more Imps attack. Listen to an audio log on Richard Davis' PDA seen here on the left. Davis agrees with Richard Hoagland -- we're Martians! The shelves ahead hold shells, a medkit and an ammo belt.
Head through the next door and a Revenant and three Imps attack down the corridor, while this Maggot spawns behind you. Lots of enemies -- but try to keep your Soul Cube charged for an upcoming Hell Knight.
Keep left to find armor and medkits. Climb the ladder.
Drop to the other side and find armor and grenades.
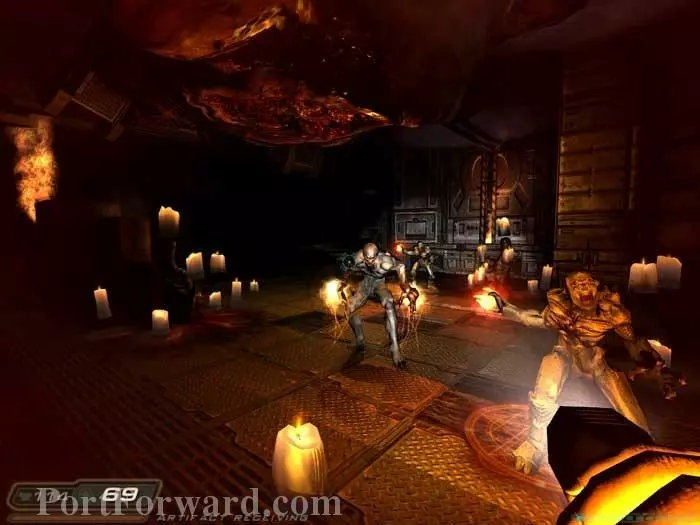
Approach the room ahead and a Hell Knight spawns, followed by Maggots. Time for the Soul Cube. Take a moment to listen to the narration and learn about the tablets on the left before entering the room ahead.
Pierce Rogers is still alive! Take his PDA on the right to update your clearance. View the video disk ahead to learn about the ancient civilization. Heal at the health station and take the cells on the left.
You receive a new objective as you leave the room. Ready your plasma gun.

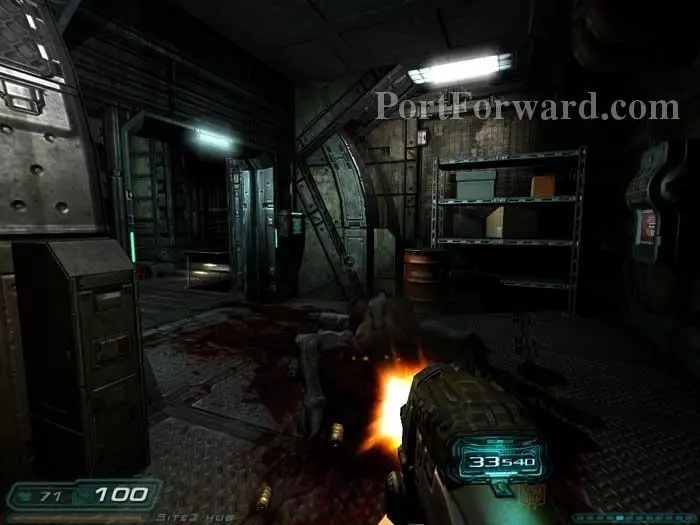
Wraiths and Imps attack. I'm using the shotgun here but found the plasma gun to be better.
Pierce Rogers' PDA grants access through this door, returning you here.

Take down this Revenant blocking your path to another door opened with Pierce Rogers' PDA.

Two Imps attack. You've just come through this previously-locked door. The health station is to your left. Continue through the door ahead.
This Revenant blocks your path. A rocket and the explosive barrels take him down quickly.
Pierce Rogers' PDA opens the door on the left (previously seen here). This Wraith is waiting inside. Note the health station on the right.

Beware this Imp just inside the door, upper-left.
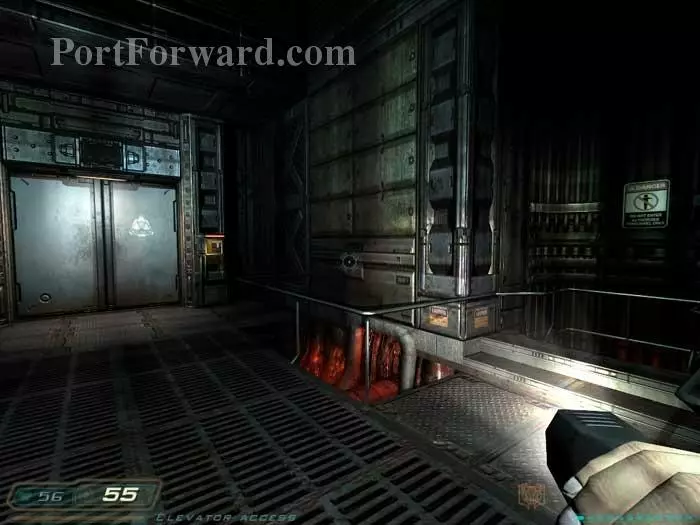
Descend the ladder on the right for armor, an ammo belt and shells before riding the lift on the left up to level 2 - Maintenance.

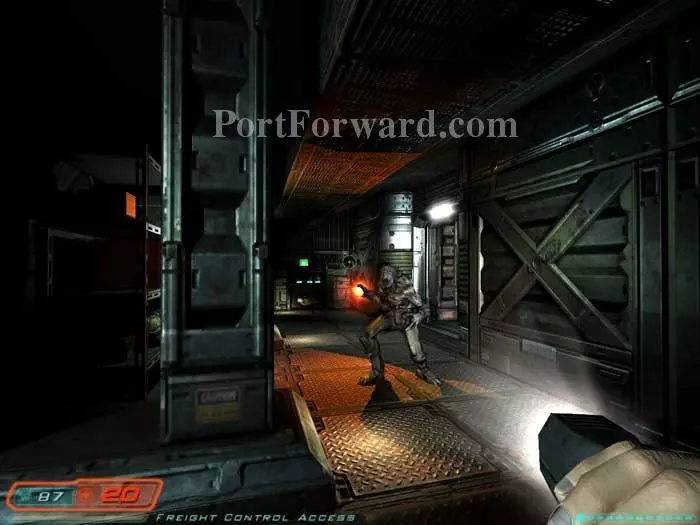
Ready your chainsaw before exiting the lift. Two Wraiths attack. Armor is to the left, the next door is to the right.
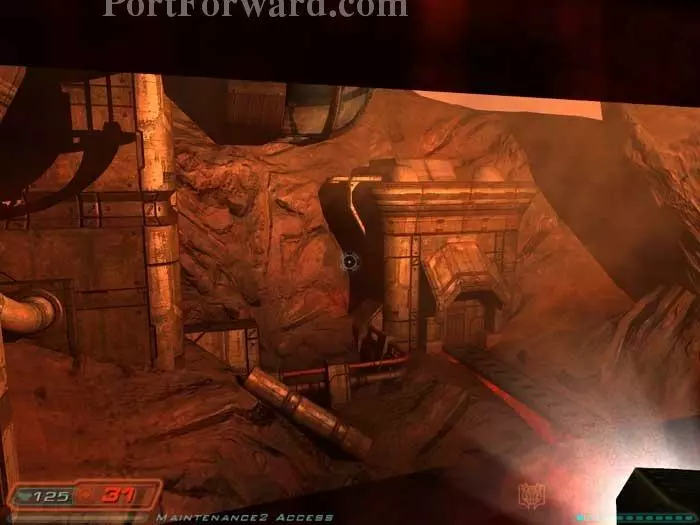
Don't miss the cool view out the windows.
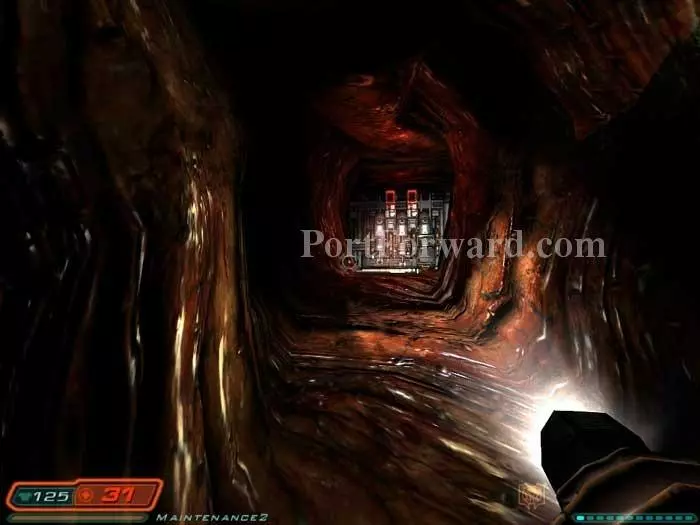
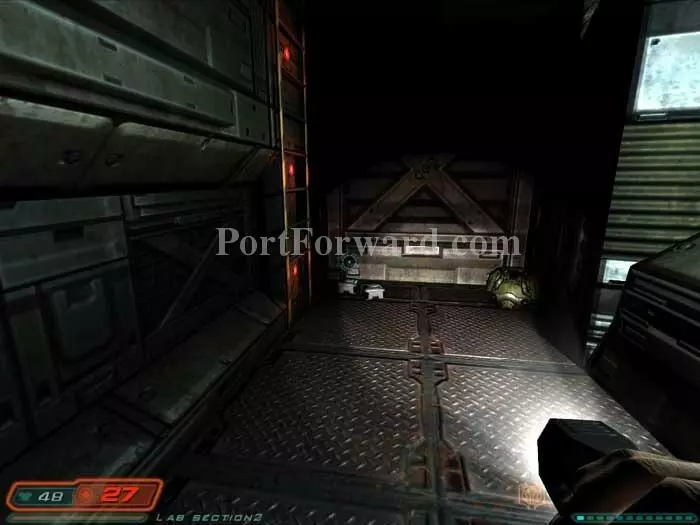
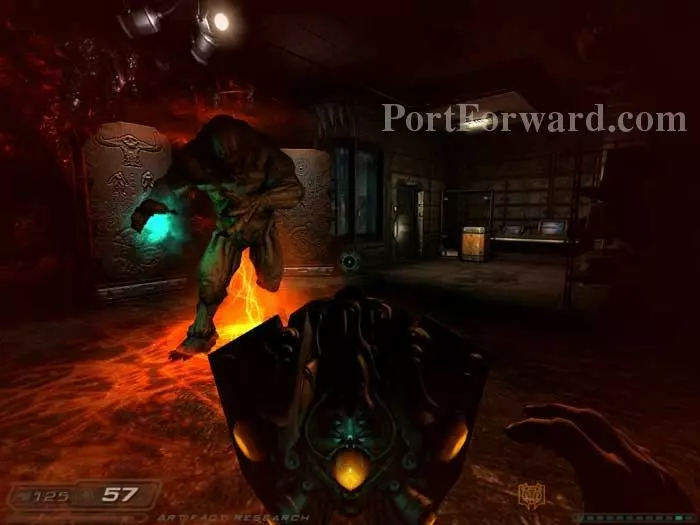
Follow this nasty tunnel then ready a weapon - preferably your Soul Cube or chainsaw - before dropping to the corridor below.
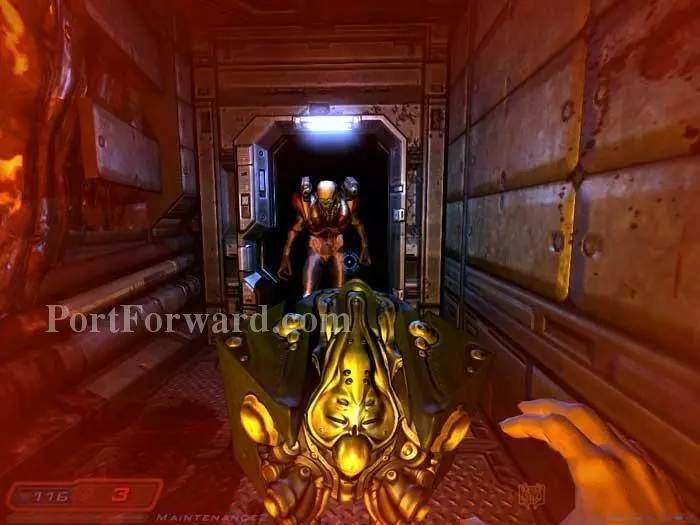
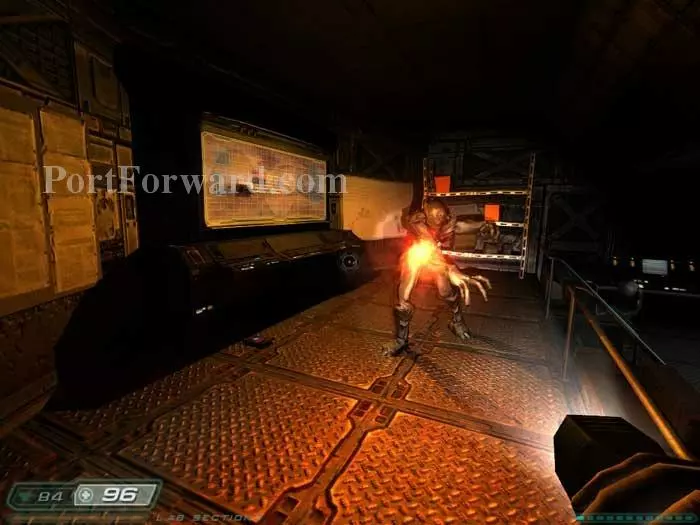
This was a close call for me. It's tight quarters in here and a Revenant plus an Imp are waiting. Cells and a medkit are through the door ahead.
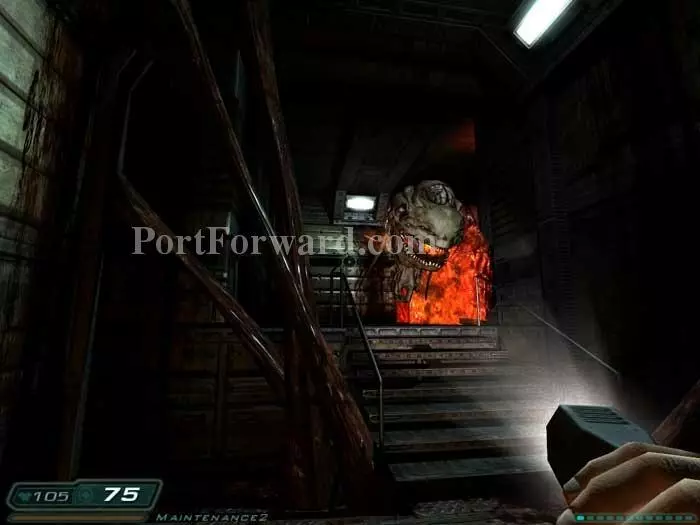
Follow these stairs to defeat a Cacodemon.

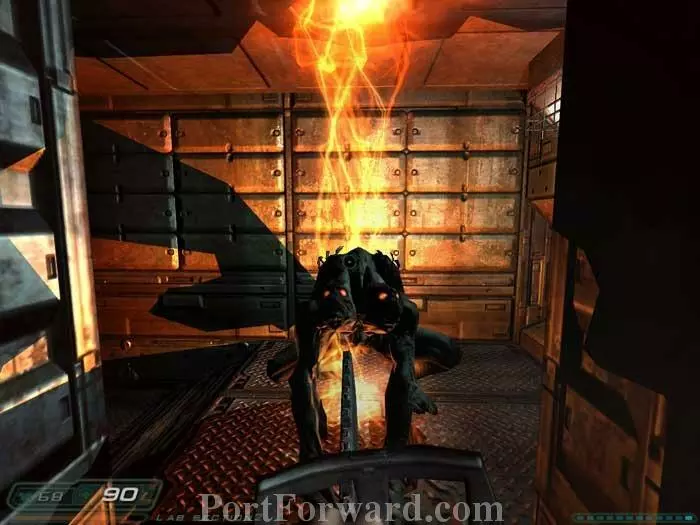
An Imp hides behind this door. Another Cacodemon attacks from behind.
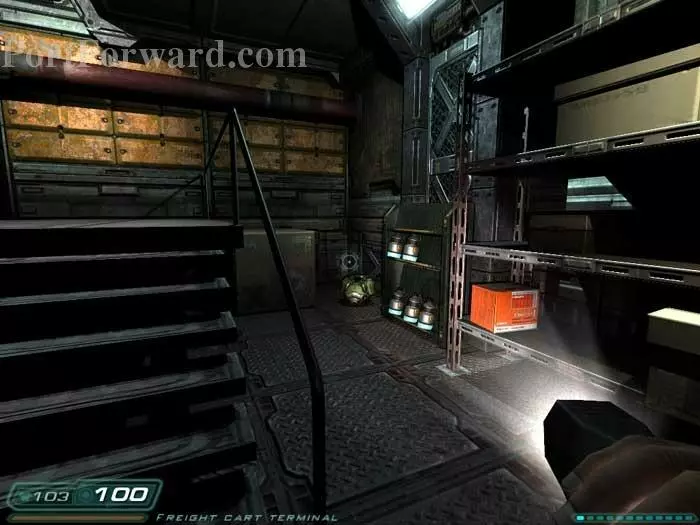
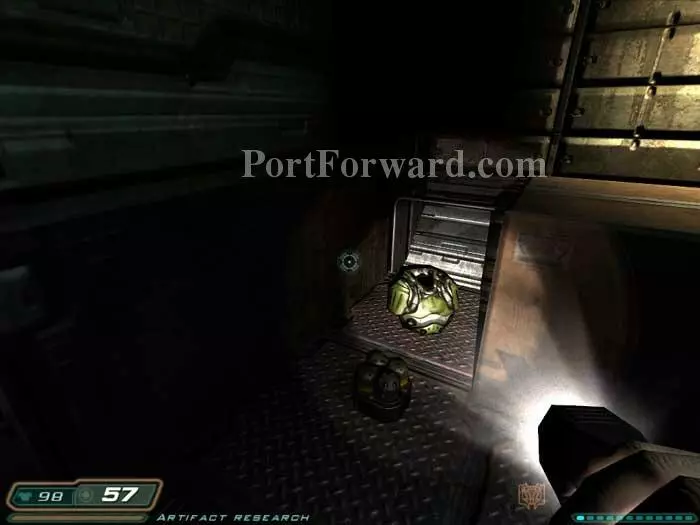
Another Imp is waiting inside. Grab armor, cells, BFG cells and shells from the shelves before heading through the door on the right.

Very cool. Descend the ladder.

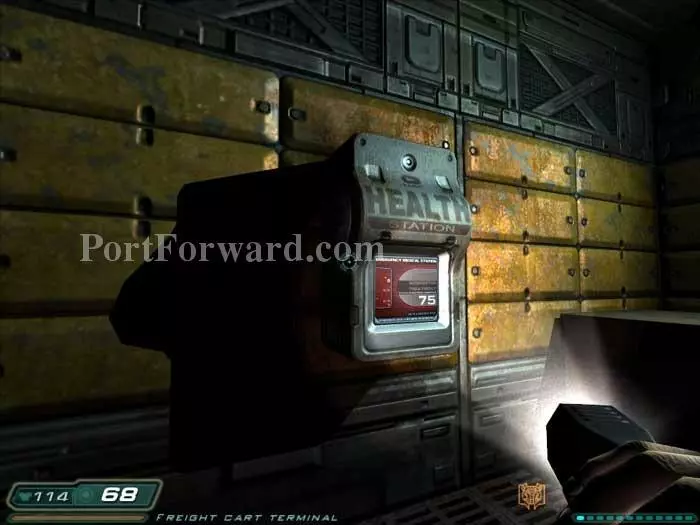
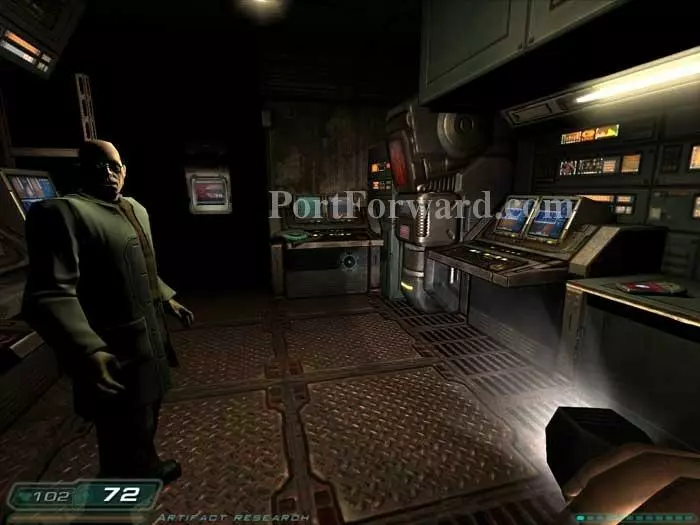
Use this terminal to unlock the freight loader.
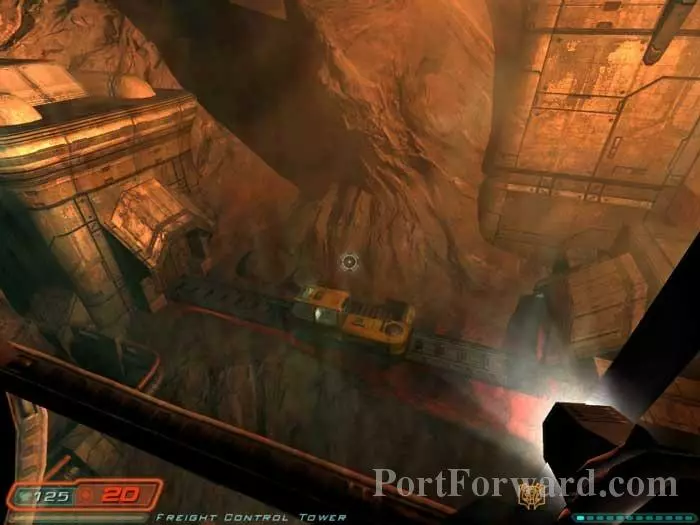
Look out the window to see the freight loader returning to the station.
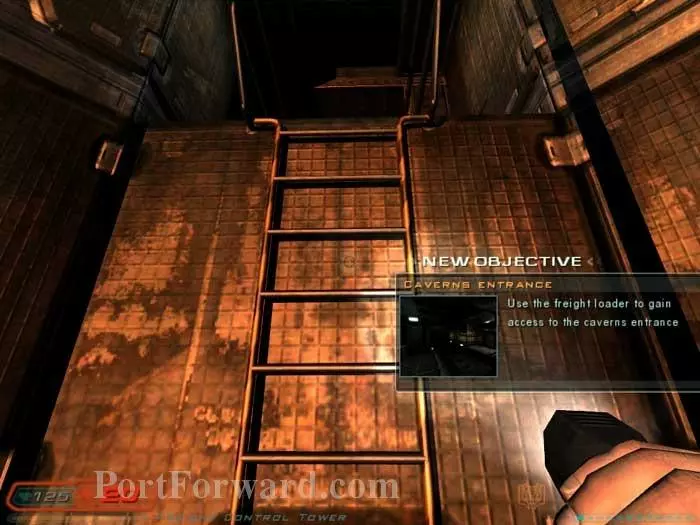
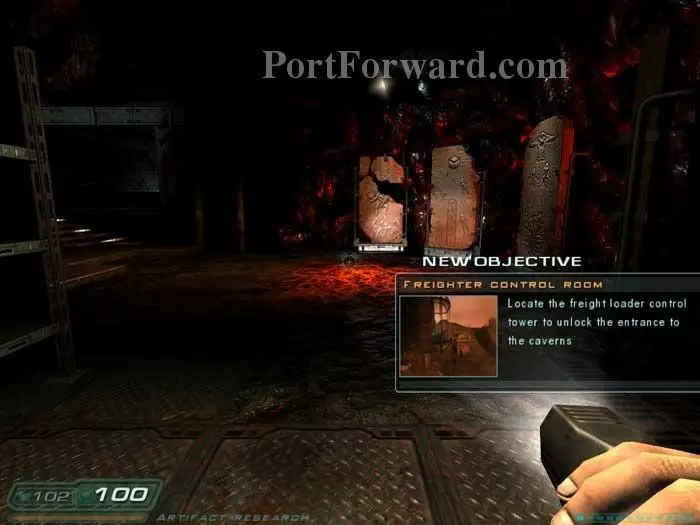
You receive a new objective. Return up the ladder.
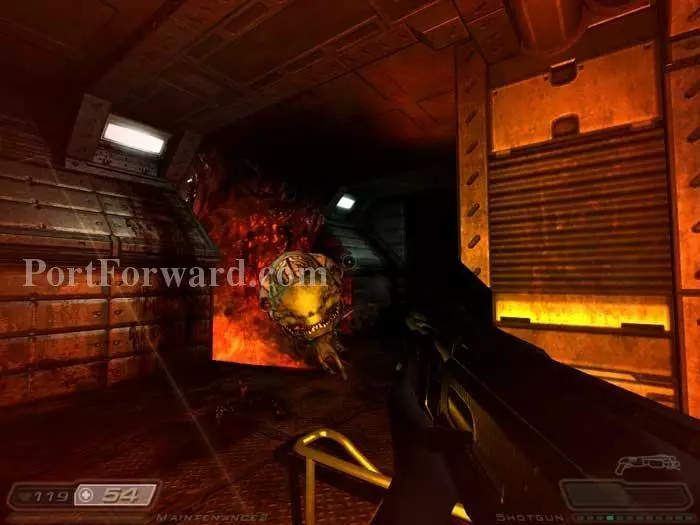
Retrace your steps, battling Cacodemons along the way.
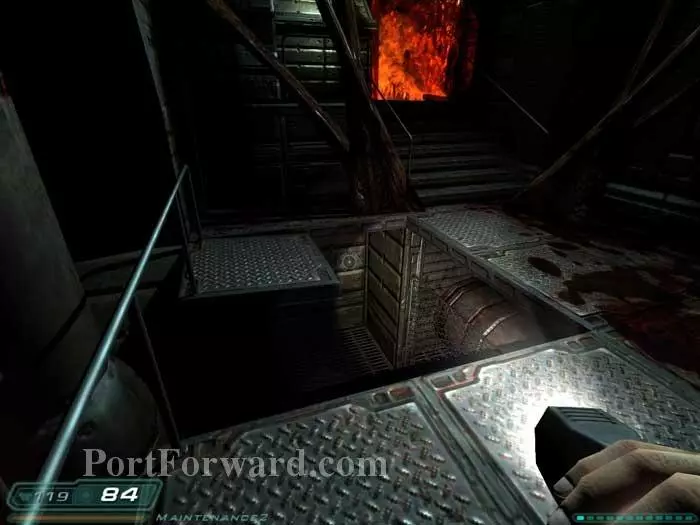
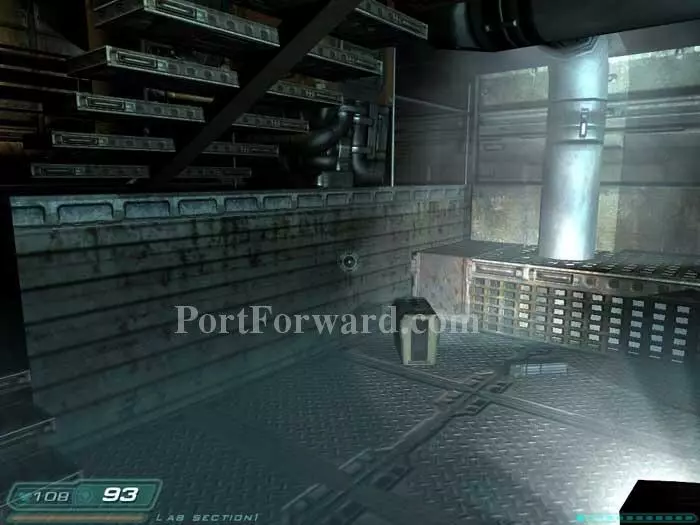
This is where lots of folks get stuck. A small explosion knocks out these floor plates and it's difficult to notice. Drop below and descend the ladder.

Ready your chainsaw. A Wraith and an Imp are in the corridor.
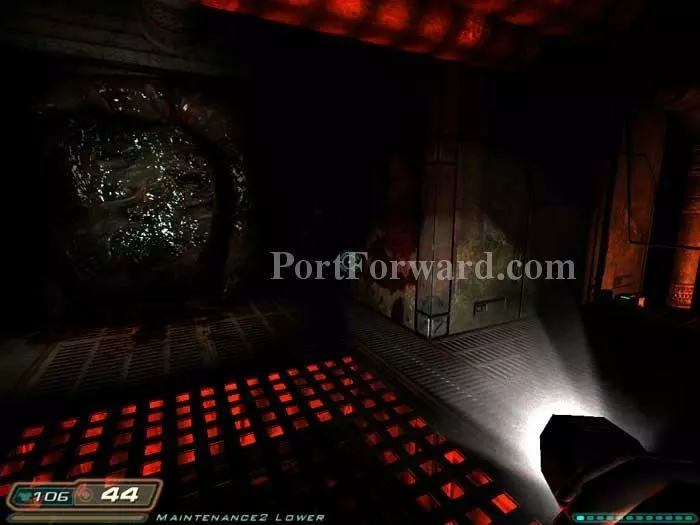
Grab the medkit on the right before entering the mucous-filled tunnel on the left. Ewww.
Drop below -- it's this corridor you've seen before. Continue through the door on the right.
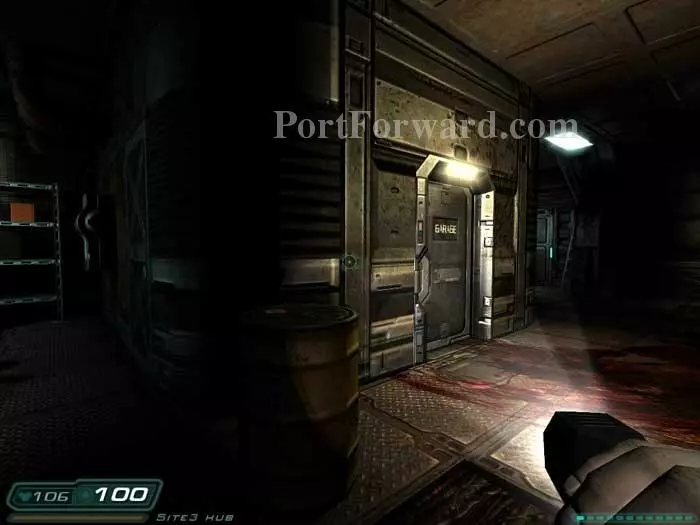
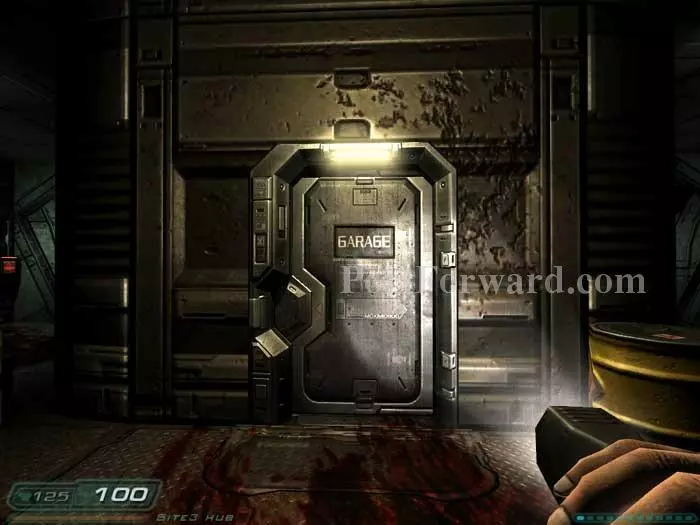
Heal at the health station just visible on the left. Return through the garage door on the right.
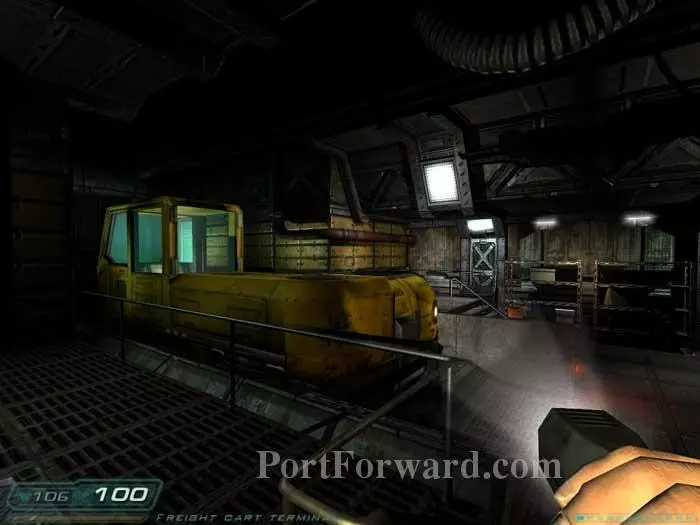
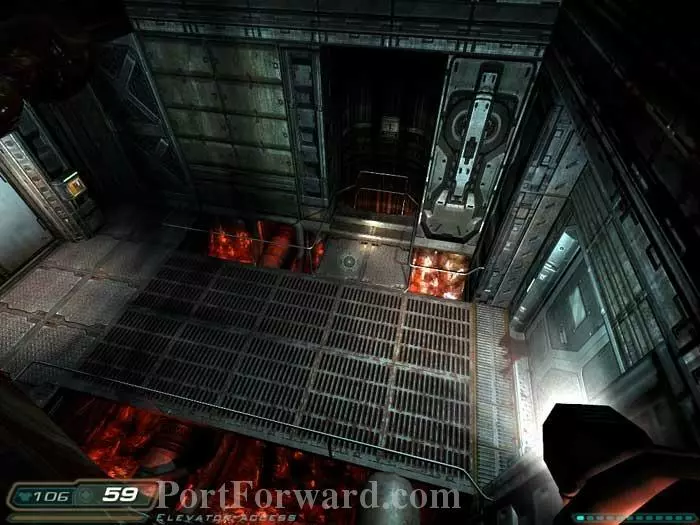
The freight loader is now inside the garage. Hop in.
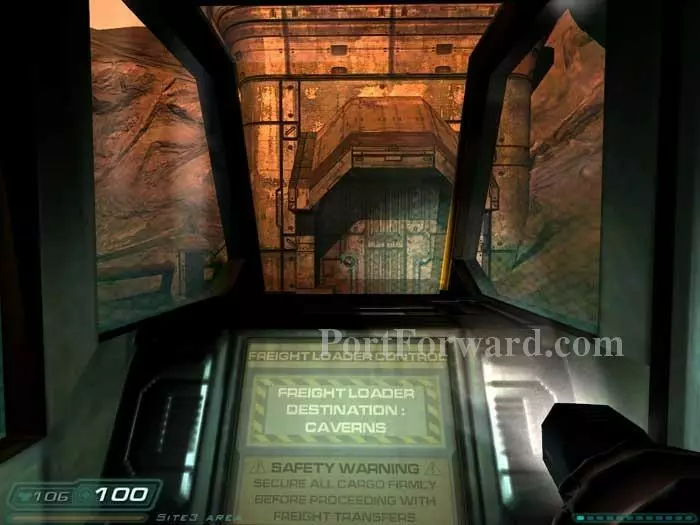
Activate the console to ride the freight loader to the caverns.
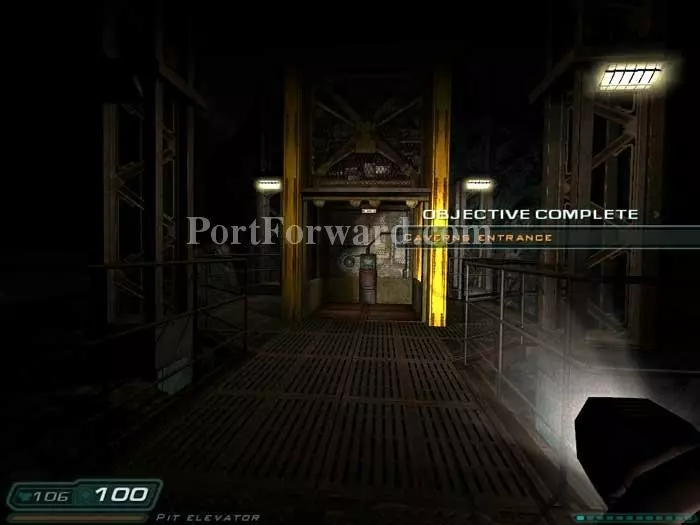
Hop out and your objectives are updated. Don't run into the transfer lift just yet. Instead, head around behind it.
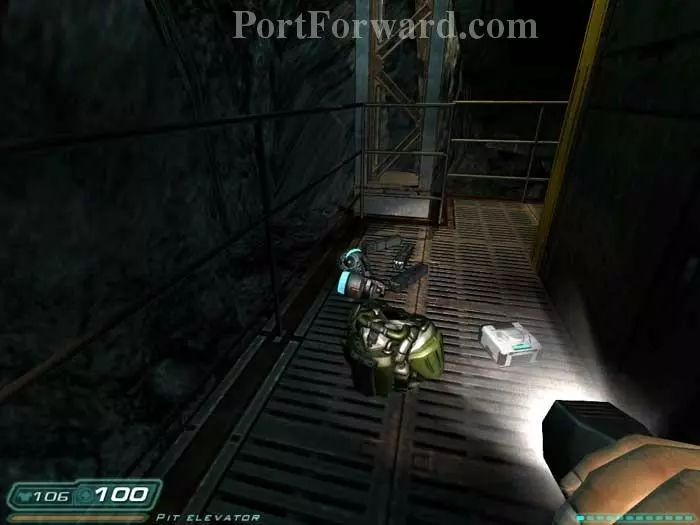
You'll find cells, clips, armor and a medkit.
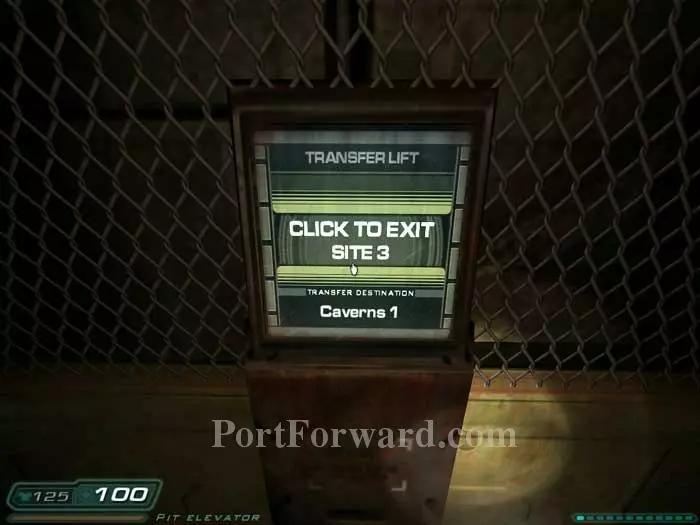
Enter the transfer lift and activate the console to load the next level.
More Doom 3 Walkthroughs
This Doom 3 walkthrough is divided into 27 total pages.