
This Doom 3 walkthrough is divided into 27 total pages.
You can jump to nearby pages of the game using the links above.
Caverns Area 1
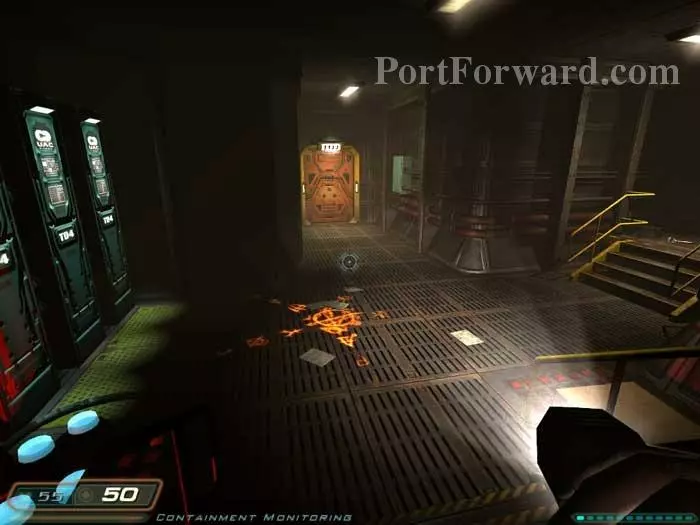
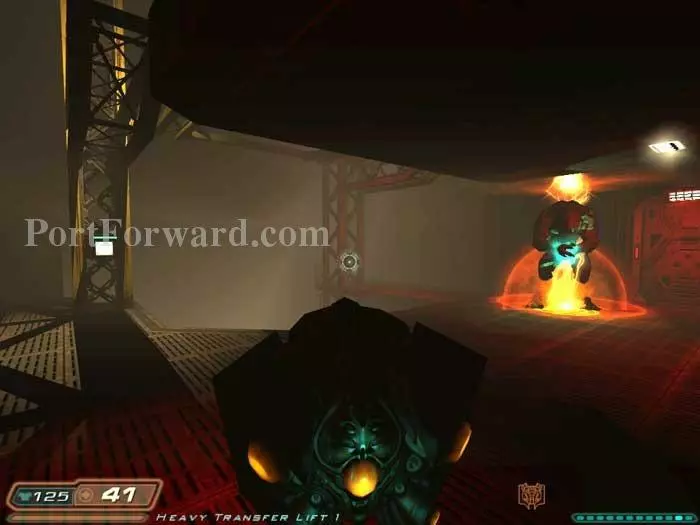
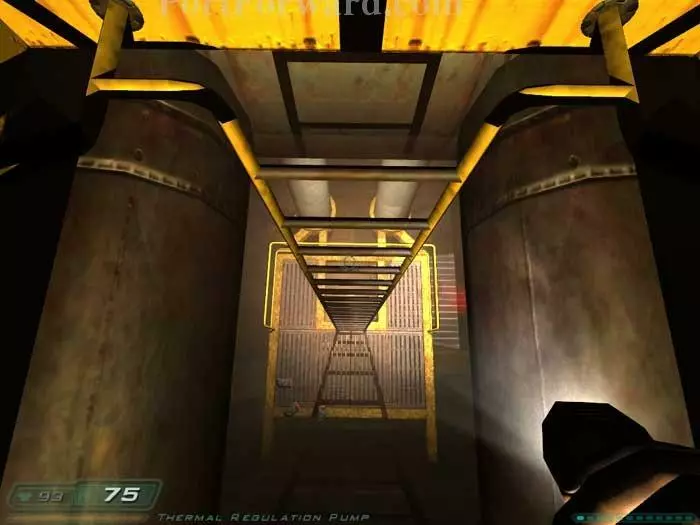
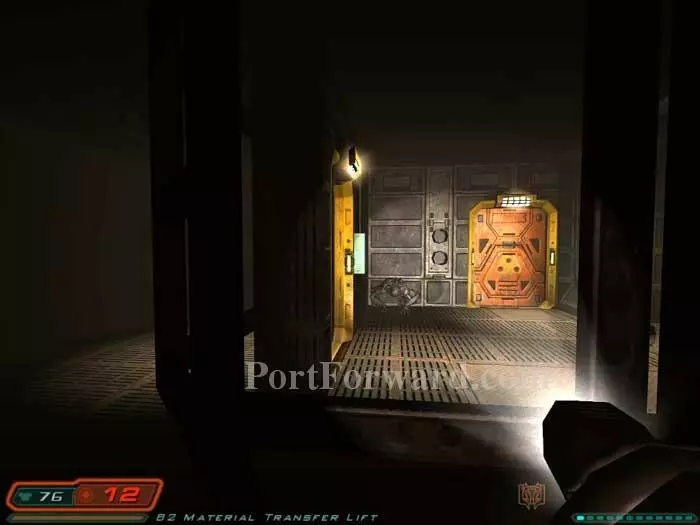
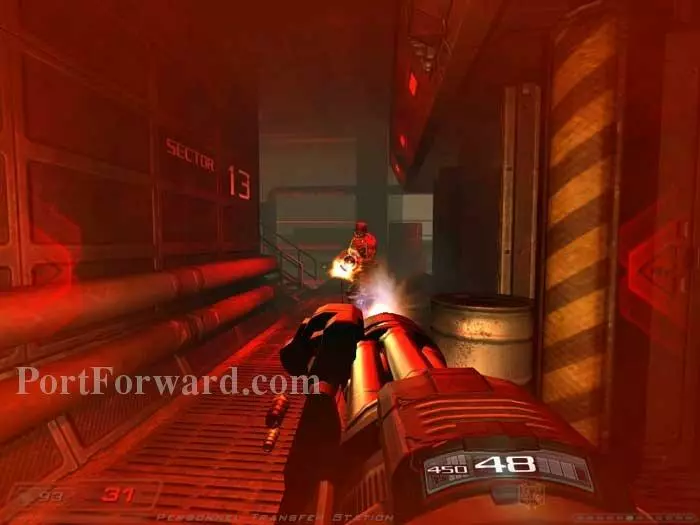
Trites attack as you exit the lift. Short bursts from your machine gun make easy work of them. A clip, armor and a medkit are ahead. Find grenades and armor under the floor plates before climbing the stairs.
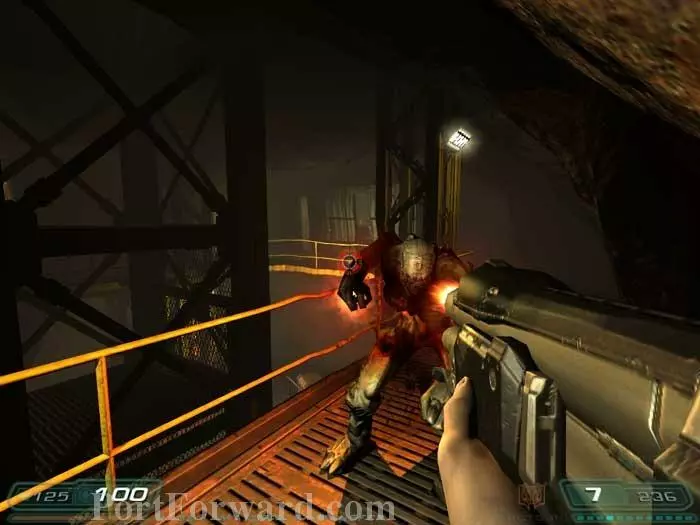
Defeat this Imp at the top of the stairs.
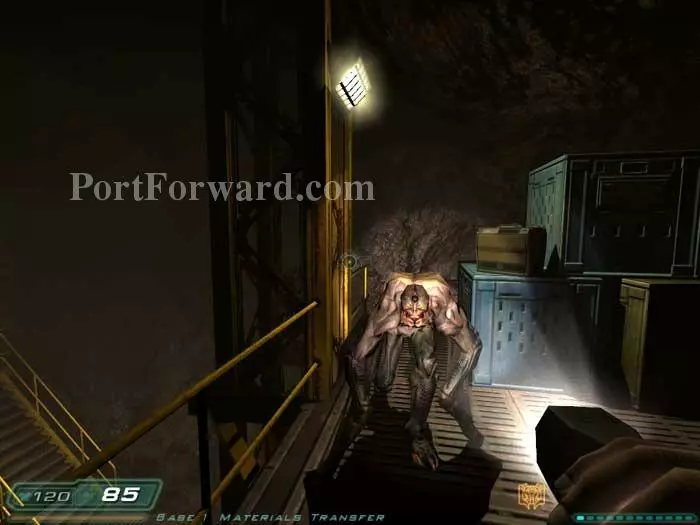
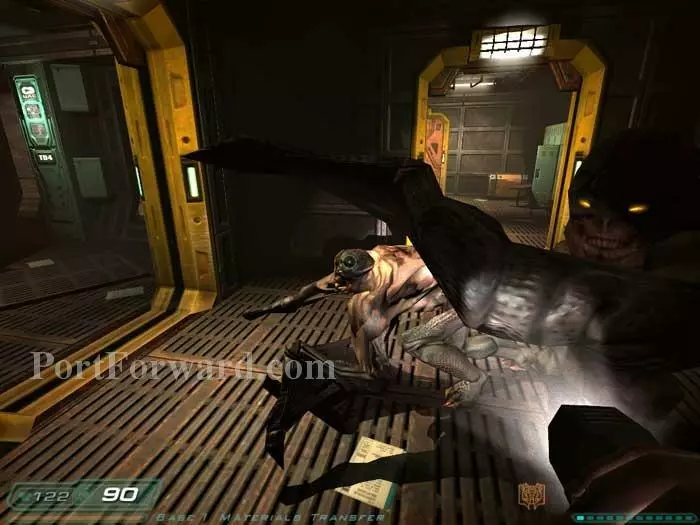
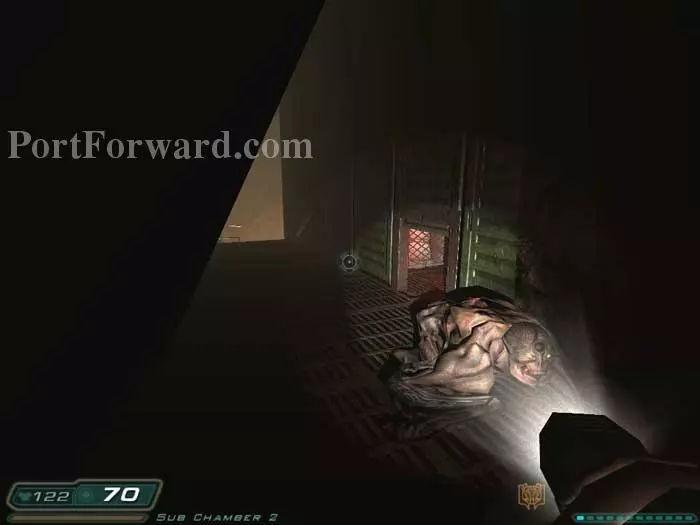
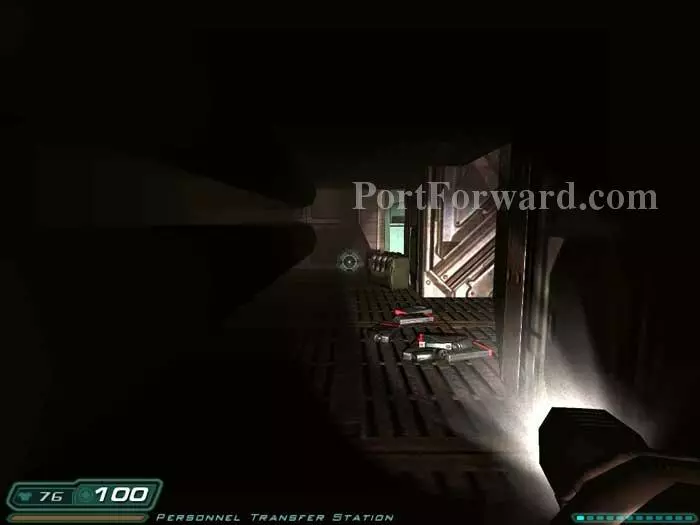
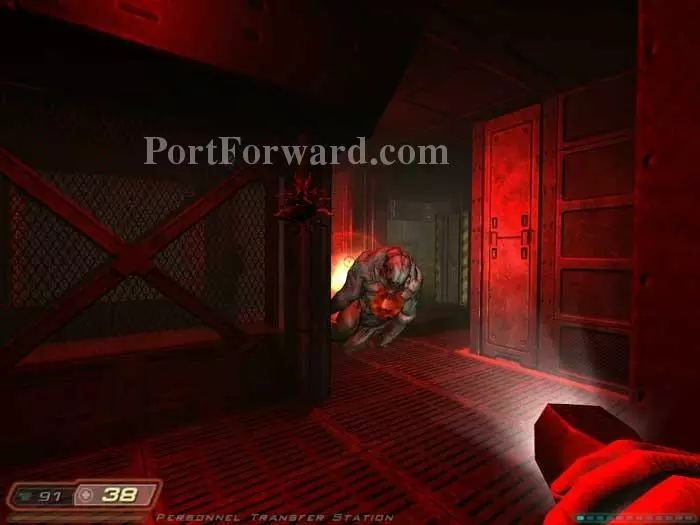
This Wraith was hiding behind the crates. Grab the ammo belt and more Wraiths attack. Armor is behind the crates. Brandon writes that there is a BFG cell behind some crates to the left of this screenshot.
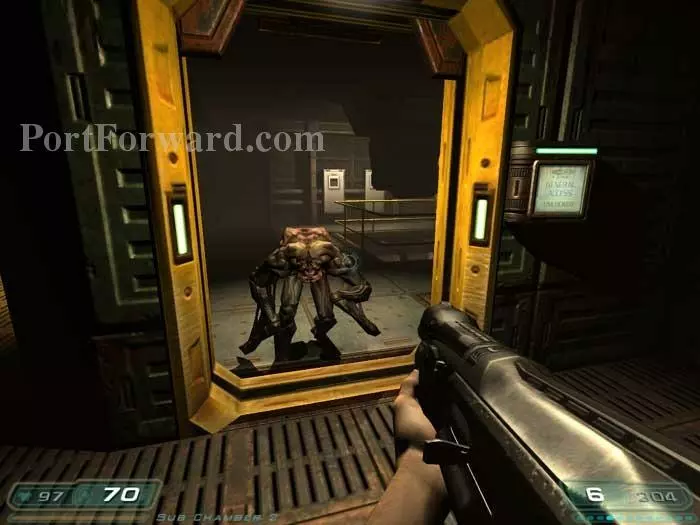
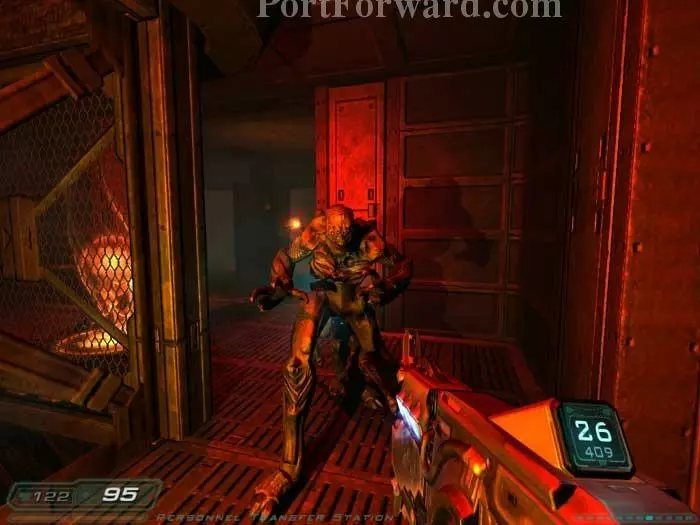
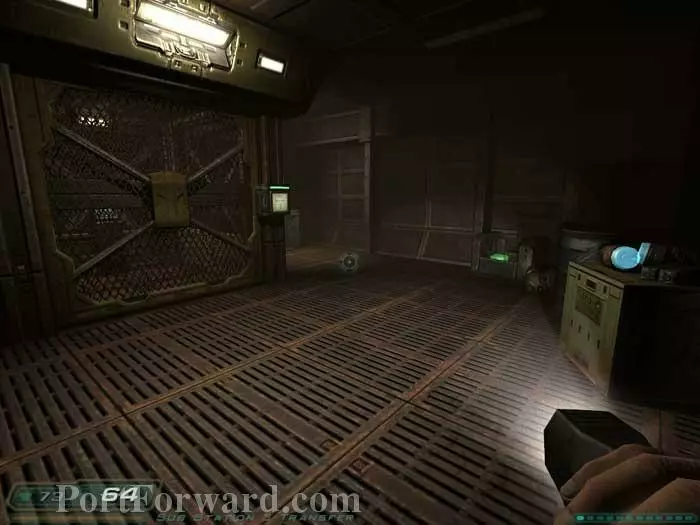
Enter an empty room, then this Imp spawns through the next door. Cells, rockets, shells a clip and a health station are in here.
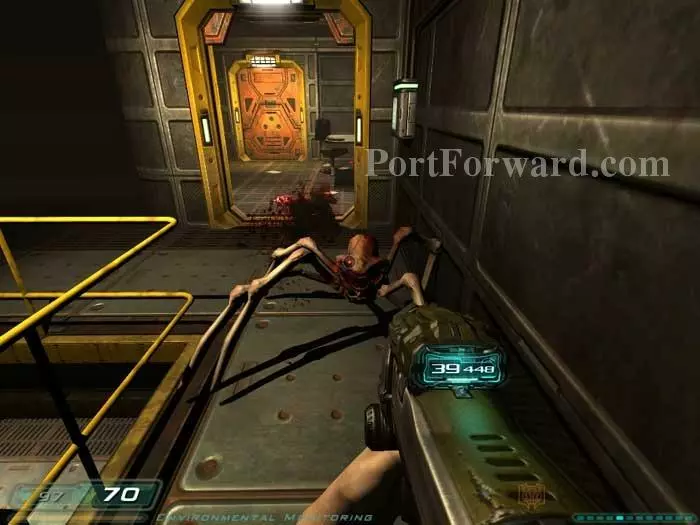
Enter a third room and two Wraiths spawn behind you.
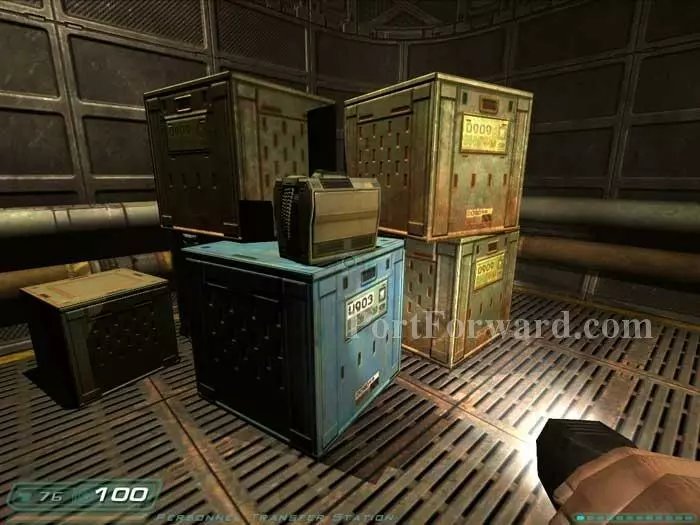
Grab the BFG cell, ready your chaingun then head through the door on the right.

Four Wraiths and a chaingun commando are in the corridor. You may want to take the commando out at range first then chainsaw the Wraiths. Shells are on the corridor floor and the floor of the rocky area behind you. Continue through the door ahead and then another door to the right.
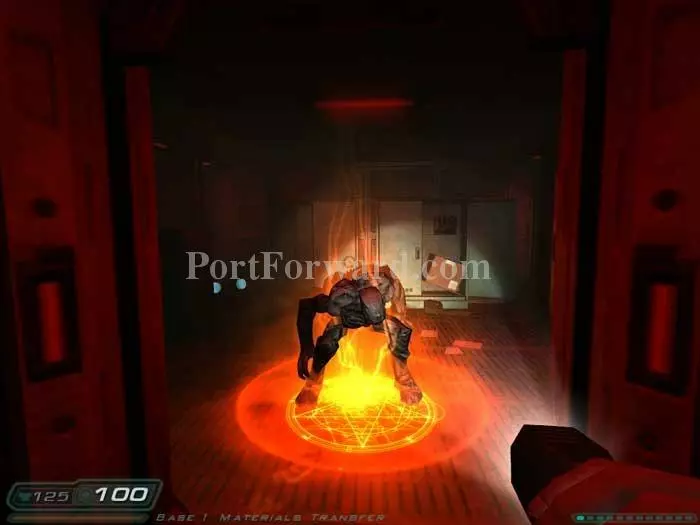
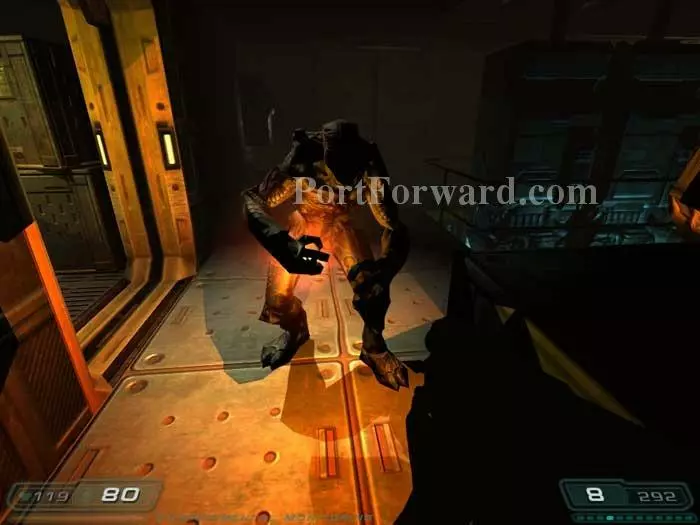
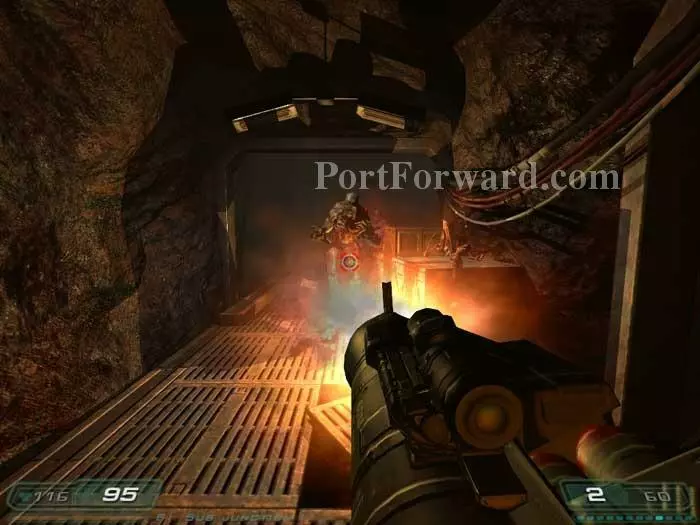
Ready your Soul Cube or chainsaw to take out the Archvile that spawns. He summons Wraiths and Imps. A medkit is behind the Archvile.
After defeating the Archvile and his minions, two chaingun commandos spawn behind you. Rockets send them flying.
Cells are on the left. Shells and adrenaline can be seen above the steps on the right.

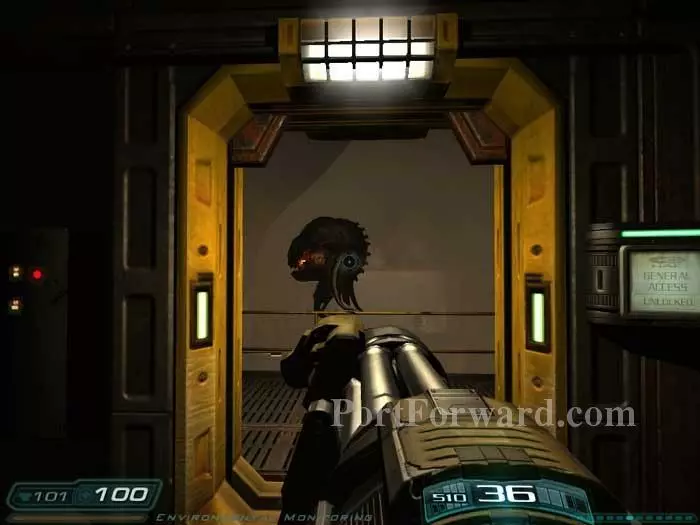
Trites and an Imp are through the door ahead. A health station is to the left and an armor vest is by the Imp. Continue through a door to the left.
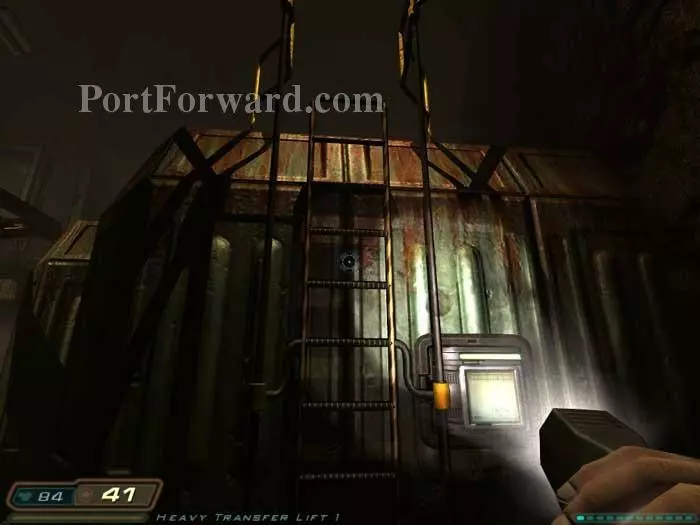
Activate the panel on the right to lower the ladder.
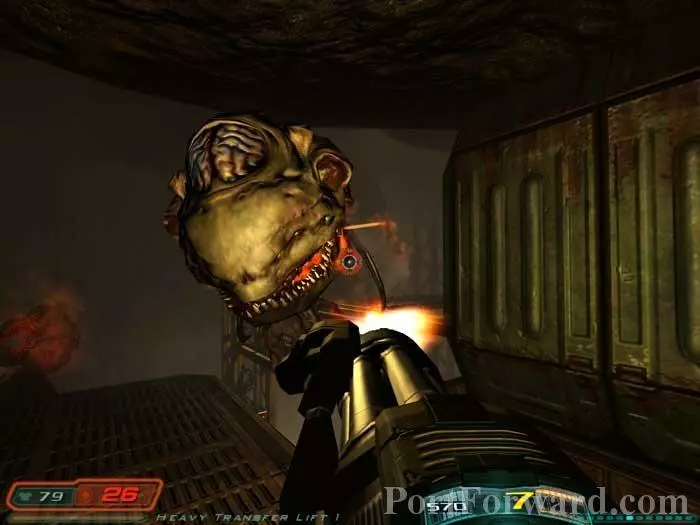
Climb the ladder and two Cacodemons attack.
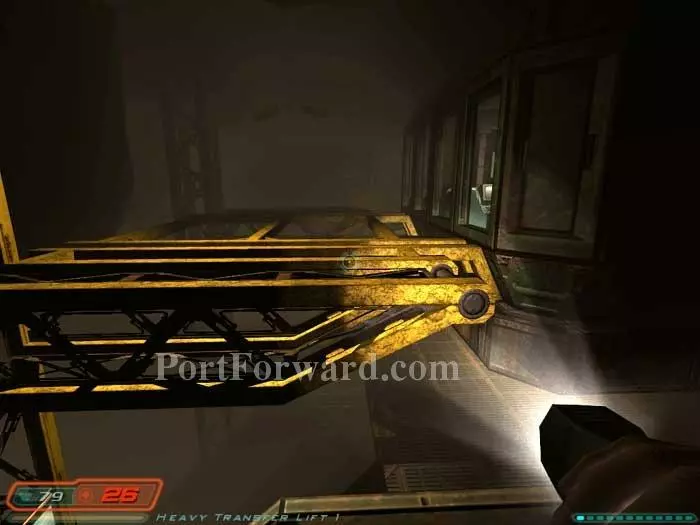
Hop across and enter through the glassless window on the right.
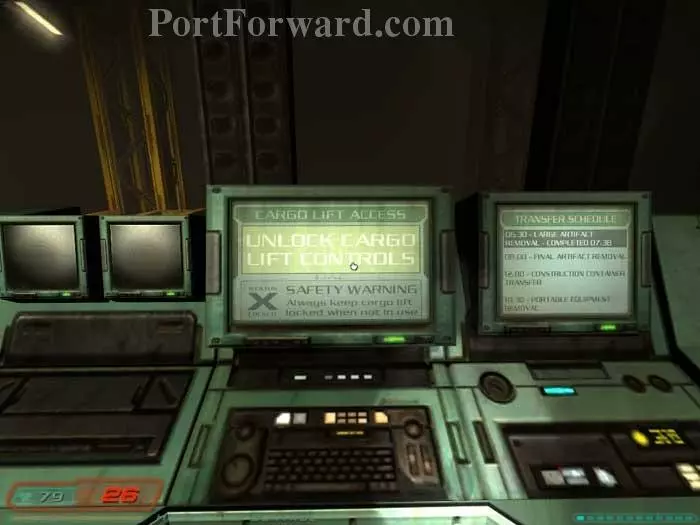
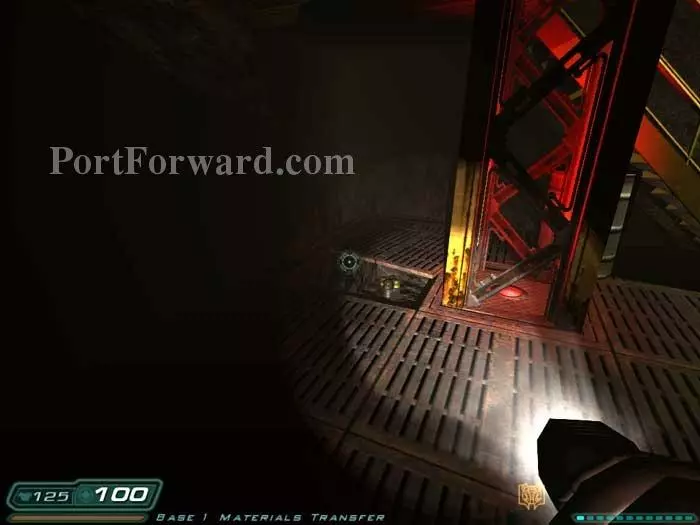
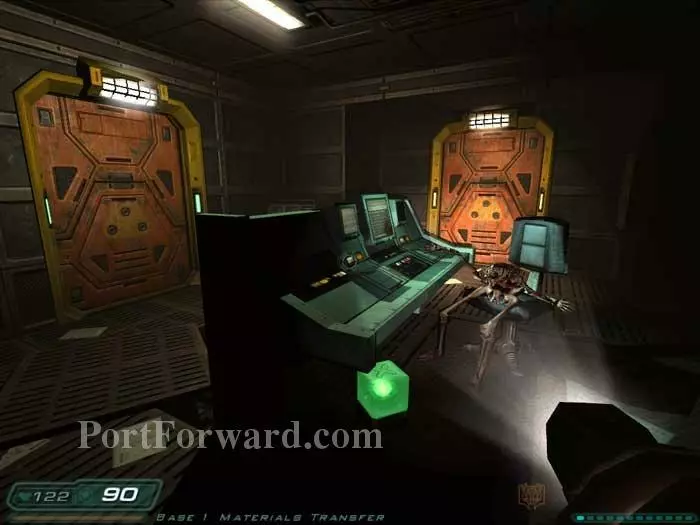
Activate this console to unlock the cargo lift outside
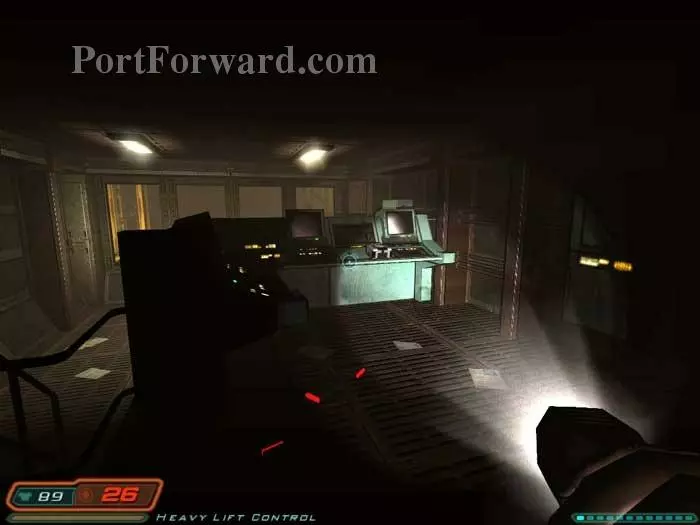
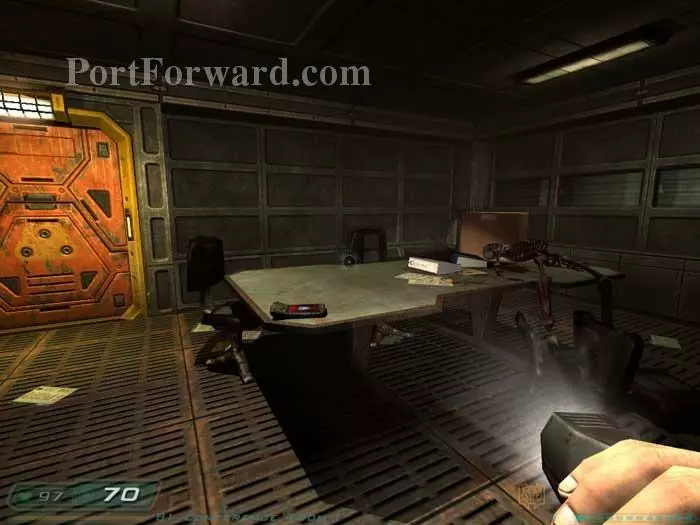
Armor is on the floor and a medkit is on the desk ahead. Continue through a door to the left.
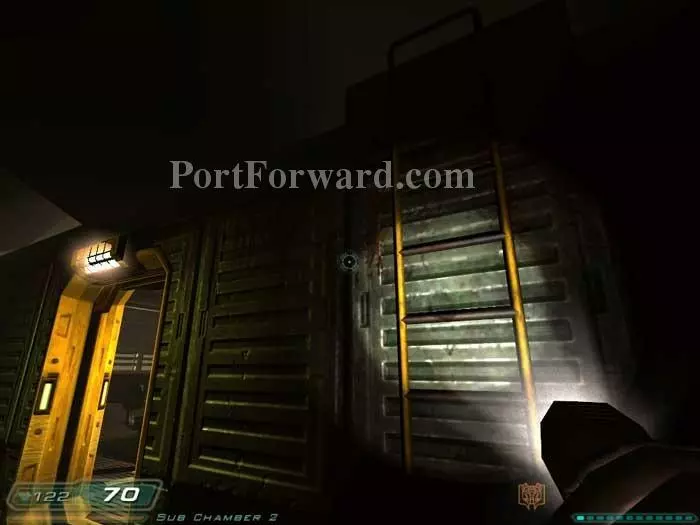
Shells and a BFG cell are to the right. Call a lift just off-camera with the panel on the left.
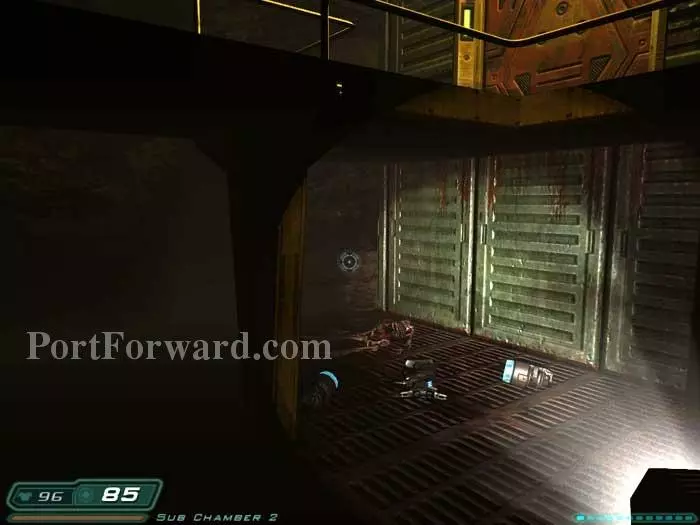
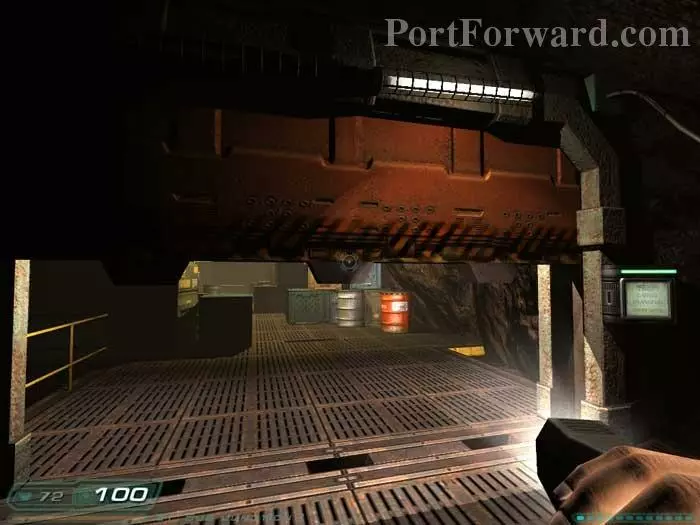
Ride the lift down and find the cells seen here on the right. Rockets and armor ahead trigger a swarm of Trites. Continue through the door on the right.
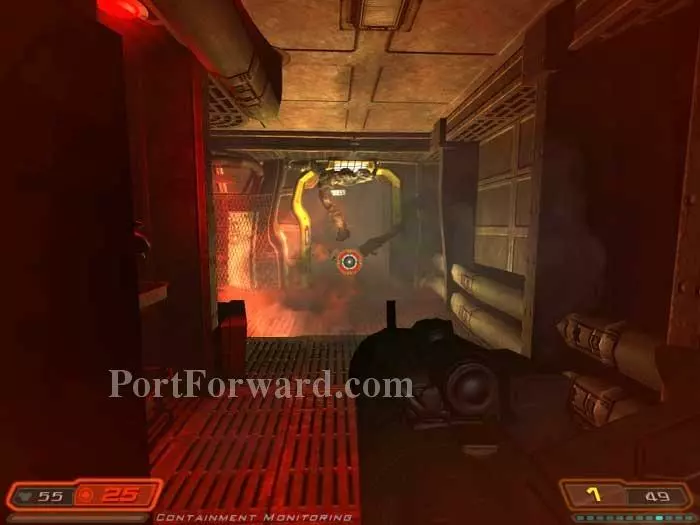
Call the lift with the panel on the left. A Hell Knight and three Imps spawn. Redkite82 writes, "...at the far right corner of the lift (where your reticle is), descend a stair and enter a crawlspace with a chain gun, an ammo belt and an armor vest."
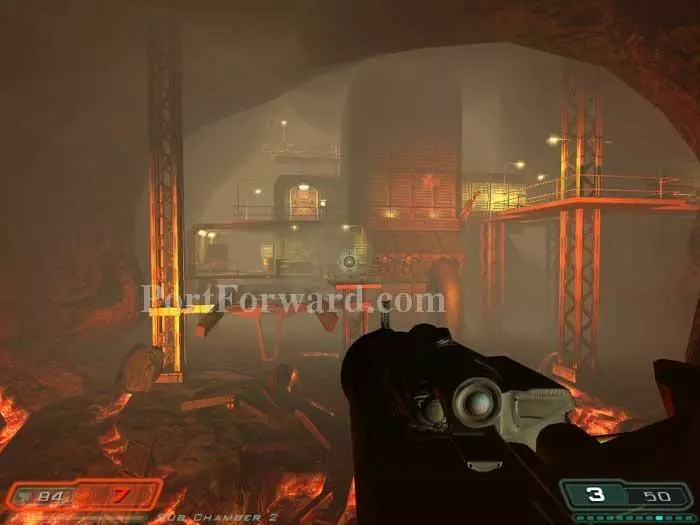
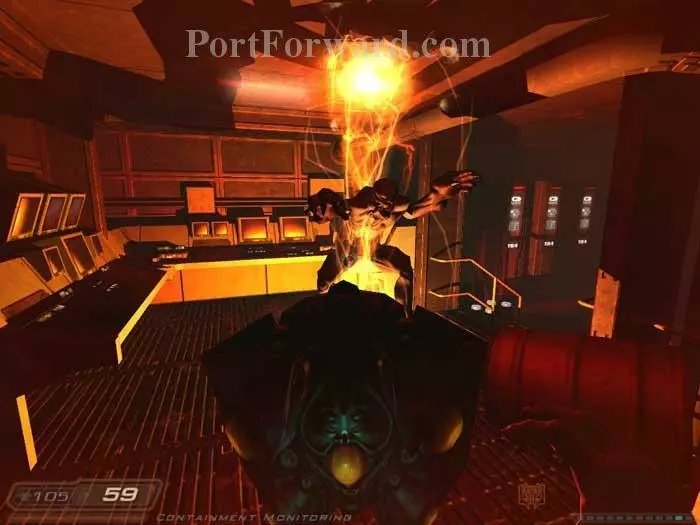
Ride the lift down to be met by a chaingun commando. He was where my reticle is, but you can see him flying upper-right after being hit by a rocket.

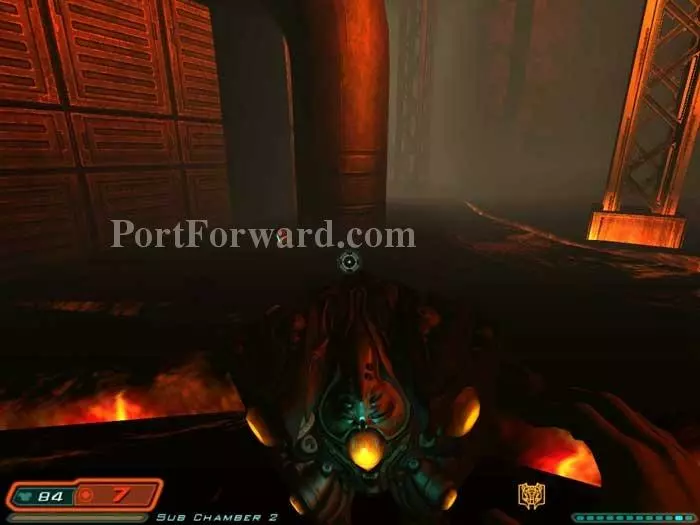
Carefully drop to the ground below, avoiding the magma. An Archvile spawns ahead, summoning a Hell Knight and Imps. A quick double-dose of your BFG will prevent the Archvile from summoning his pets. Note the medkit on the left.
Another medkit can be seen here.

Next up are a pair of Cacodemons. Note the armor vest on the right.

Activate the panel to lower the ladder and open the hatch above.
Climb up and battle this Wraith. Shells and a BFG cell are behind the crates ahead. Grab the commando's chaingun before heading through the door ahead.
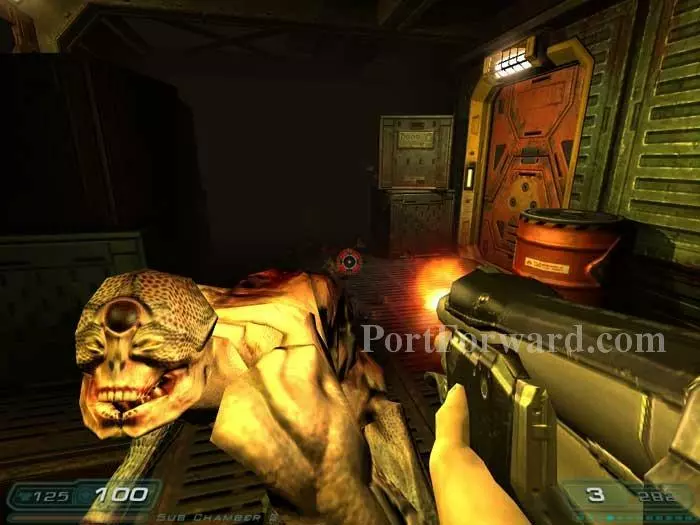
An Imp is to the left of the door as you enter. Defeat him plus a Wraith. An armor vest is partially visible to the right and a health station can be seen directly ahead.

Ride the nearby lift up to battle two Imps and a Trite. Approach the door on the left to update your objectives -- Locate the security card to gain access to the dig site.
You'll battle two Cacodemons through this next door.

Climb this ladder. Before continuing through the upper door, hop over the railing to the middle level.
Cells and a plasma gun can be found here. Drop below and once again climb the ladder to the door above. An Imp is crouched on the other side.
Defeat the Imp and grab the nearby bullets. Descend three ladders, this is the third. Note the armor below.
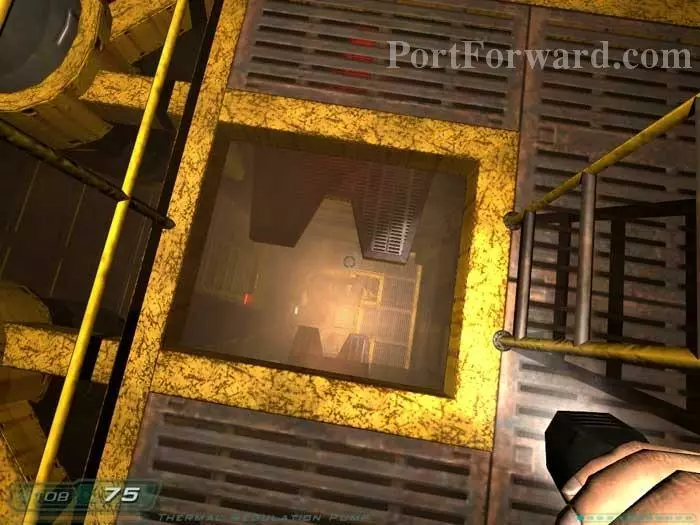
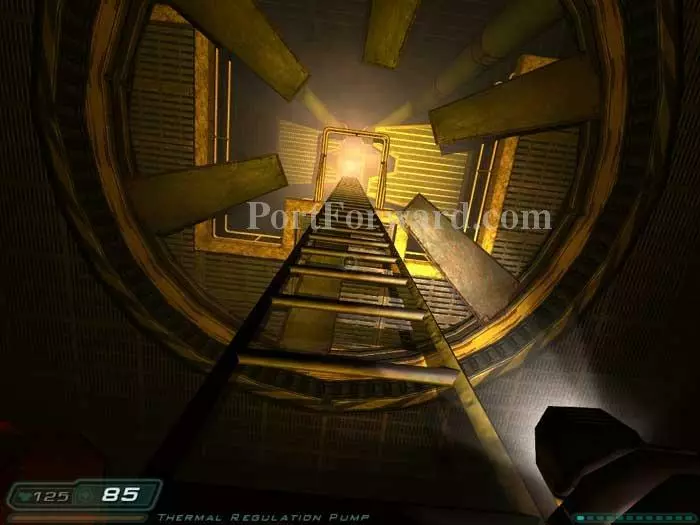
Definitely not an OSHA-approved workspace. Drop to the top panel while it is extended as seen here, then hop to the other panels in a clockwise manner (to your left). As the panel you are on retracts, the next will extend.
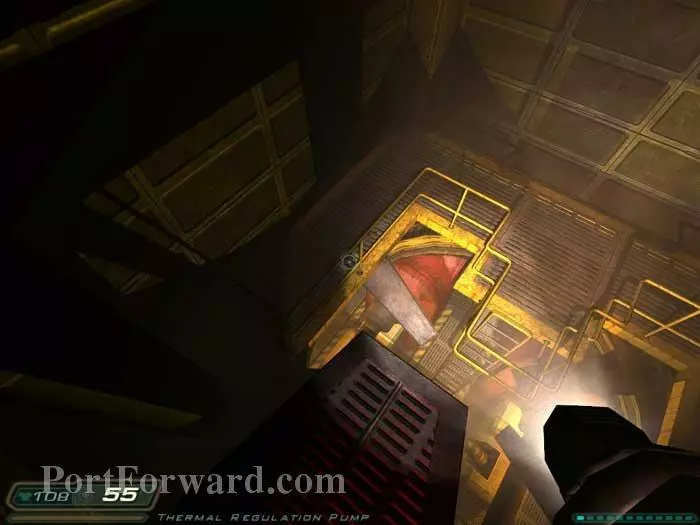
Lastly, hop to the railing below. You can skip a panel and sustain minor damage. Descend the ladder.

Armor shards are on a pipe and the floor near the ladder's base. Grenades, rockets and an ammo belt are in this corner.
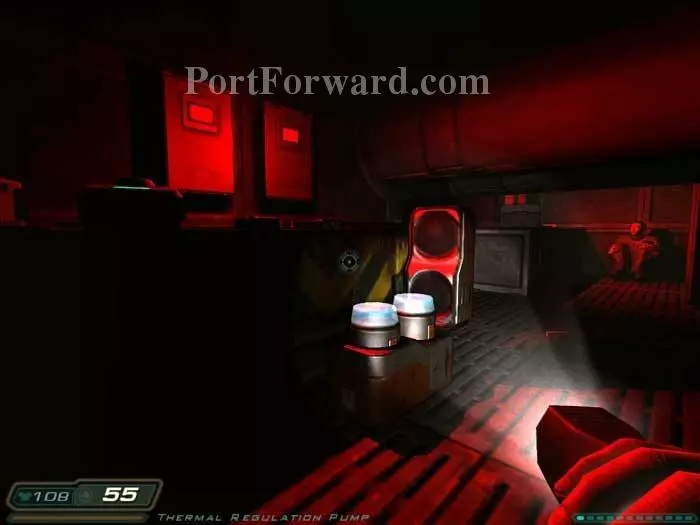
Hop over the pipes to find cells, medkits and armor -- plus a man crouched in the corner.
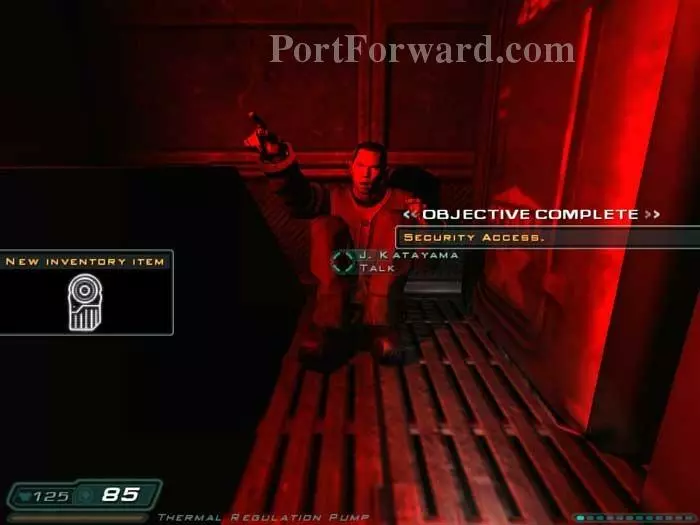
Listen to Katayama and take his card on the left to update your objectives.
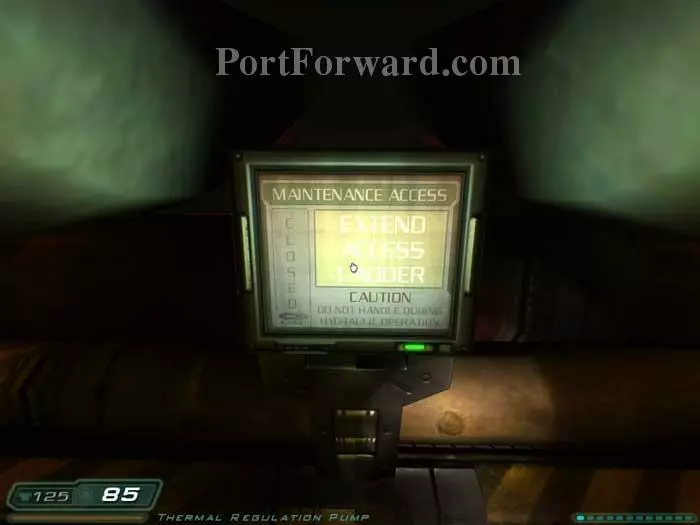
Use this panel to raise the ladder behind you.
Climb the ladder up, past the panels you jump down earlier.
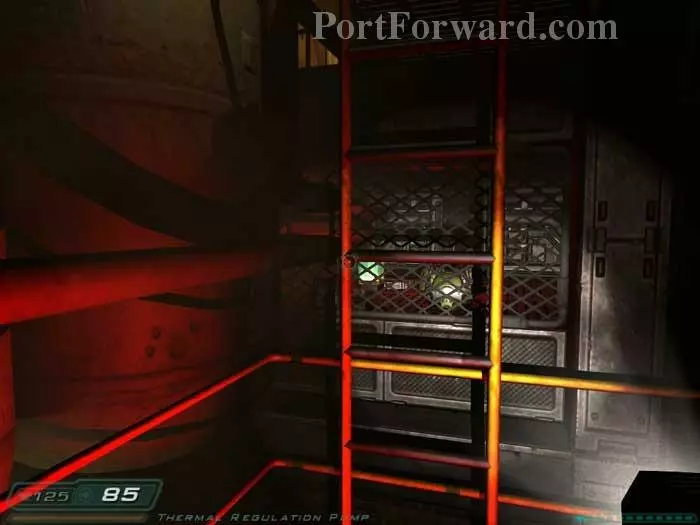
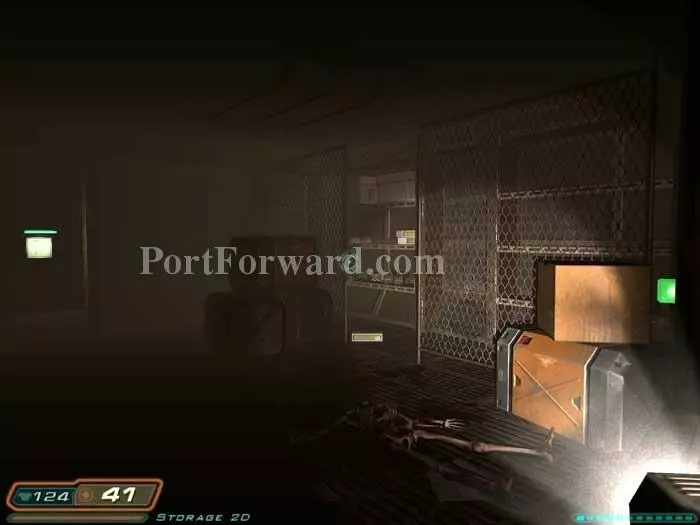
Climb up the three ladders you climbed down before. Note the armor and BFG cell behind the wire mesh -- we'll be back for those later.
Return outside to battle more Cacodemons.
Backtrack through this next door, battling a Wraith inside.
Return here and scan Katayama's card to open the door ahead. Trites attack.
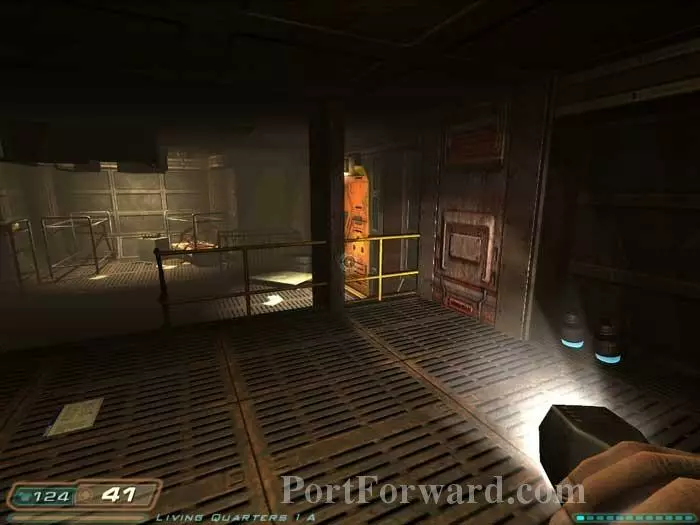
Grab Robert Cody's PDA for some background. Armor is on the floor, clips are on the left, and a shutters control on the right lets in some light. Continue through the door ahead and turn left.
Climb this ladder.
Defeat the Wraith and enter the crawlspace behind him.

It's the supplies you spotted earlier. Inside is an armor vest, a BFG Cell, clips, grenades and rockets.

Drop below and battle this Imp plus three Wraiths. Continue through the door on the left.
Fight through a Wraith, Imps and chaingun commandos. Find medkits, rockets and shells by crates along the catwalk.
Activate the panel on the right to open the door.

An Imp is hiding behind these crates, protecting cells, clips, and machine guns.

An armor vest, adrenaline and a medkit can be found here.
Ready your chaingun before approaching this ladder, as it triggers the spawn of two chaingun commandos. Take them out and they are followed by a large flock of Cacodemons. Climb the ladder.
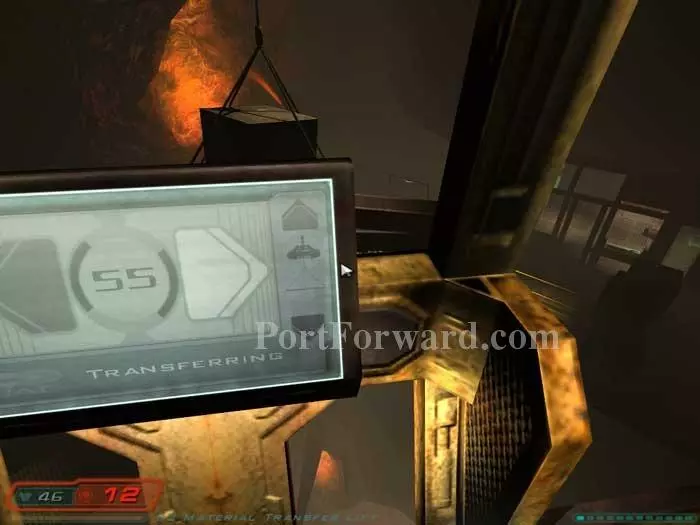
Rotate the crane so that it lines up with the office on the other side of the cavern.
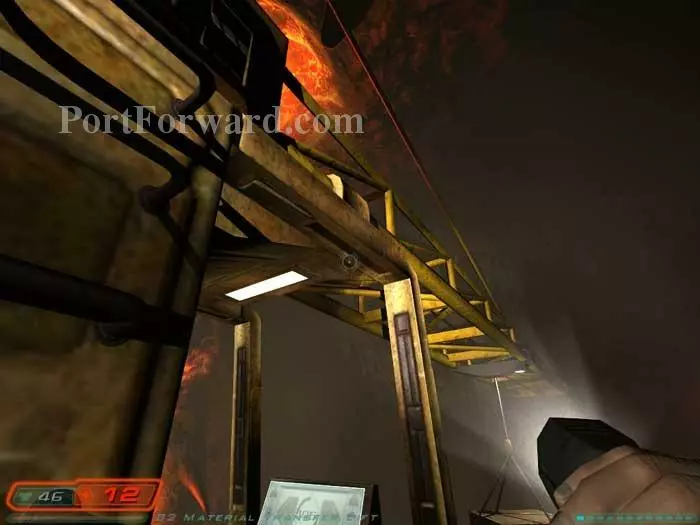
Climb the ladder and walk out onto the boom.
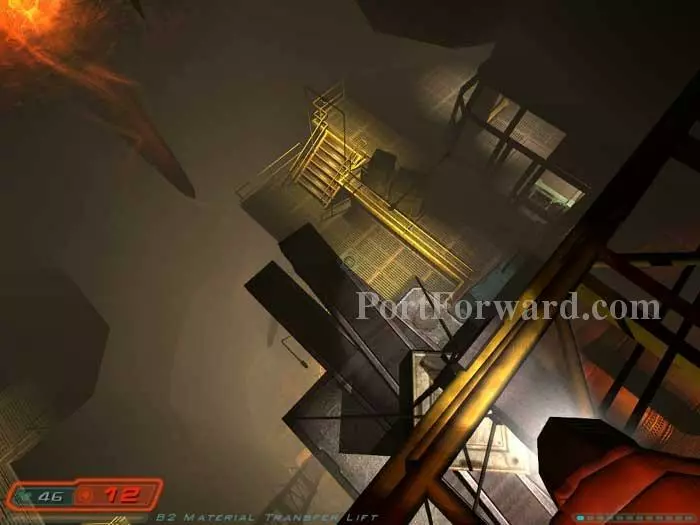
Drop to the suspended crate below.
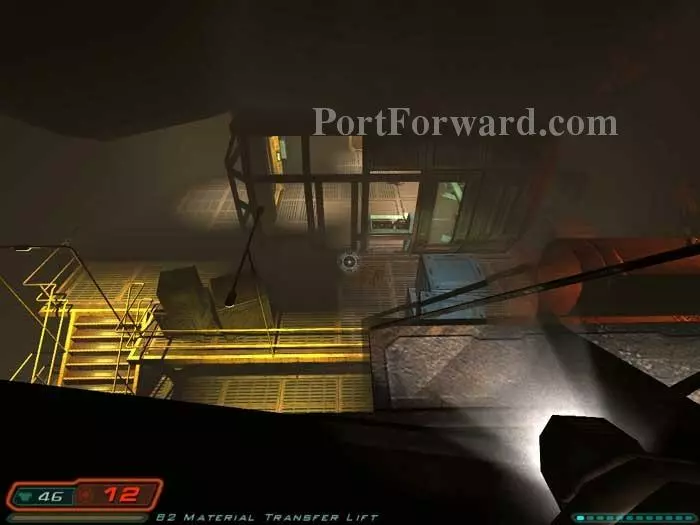
From here, jump to the lamp post straight ahead, then to the floor below. This way you won't lose any health.

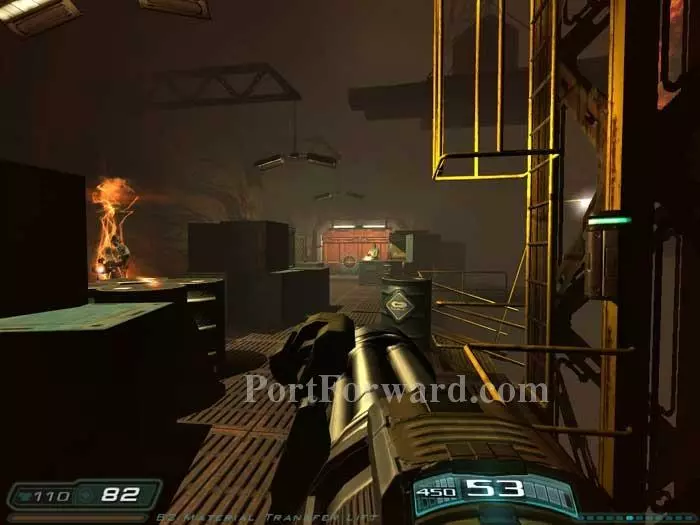
Defeat this Imp then some Cacodemons. Inside the pipes you'll find cells and armor.
Enter the office carefully -- note the crouched Imp to the left of the door. Grab grenades from the console on the right before continuing through the door ahead.
Search for supplies first. Rockets and armor are under the catwalk.
Grab this ammo belt. An armor vest is behind the crates.

Shells and a clip are to the left of this elevator. Ready your plasma gun before activating the panel to the right.
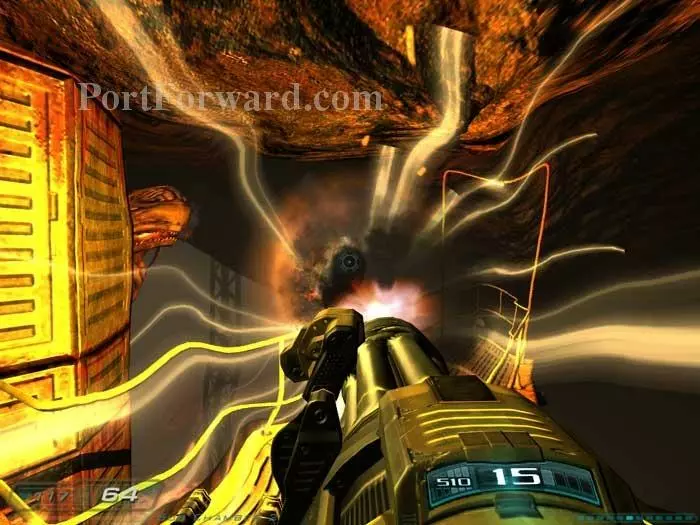
The lights go dark and then a large group of Imps and Wraiths attacks...
..followed by a pair of chaingun commandos. Try to save your Soul Cube.

Once the commandos go down, ready your Soul Cube and call this lift.
Move around to the side while the lift rises. A Hell Knight is aboard. Toss your Soul Cube once he emerges from the lift, then ride it down.

Ready your chainsaw then hop over the railing to defeat this Archvile. Defeat any minions he had time to summon. Search behind crates for two medkits and an ammo belt.

This Imp attacks from the left; a Wraith attacks behind you. Armor is in the Imp's alcove. Continue through the door ahead.

Cacodemons and a chaingun commando attack. Defeat them then follow the broken bridge to the door on the opposite side of the cavern.
BFG cells, plasma cells and armor are on the right. Call the lift ahead.
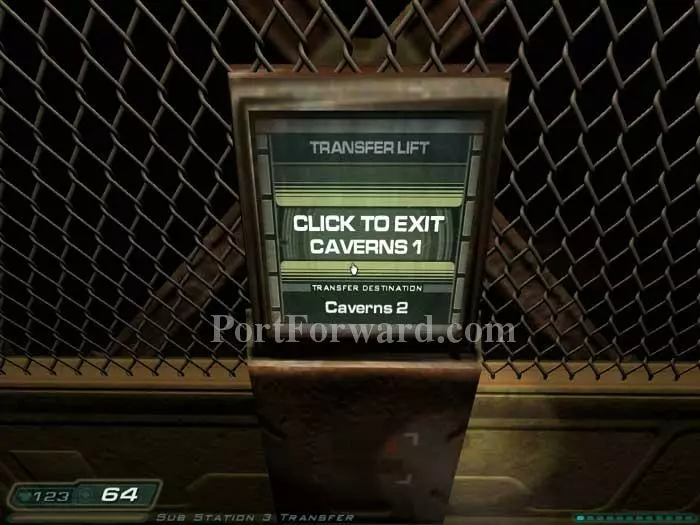
Click to load the next level, Caverns 2.
More Doom 3 Walkthroughs
This Doom 3 walkthrough is divided into 27 total pages.


