This Doom 3 walkthrough is divided into 27 total pages.
You can jump to nearby pages of the game using the links above.
Central Server Banks
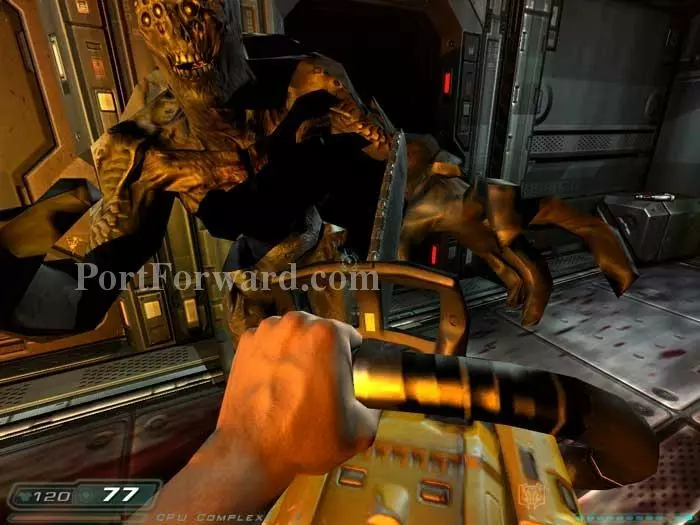
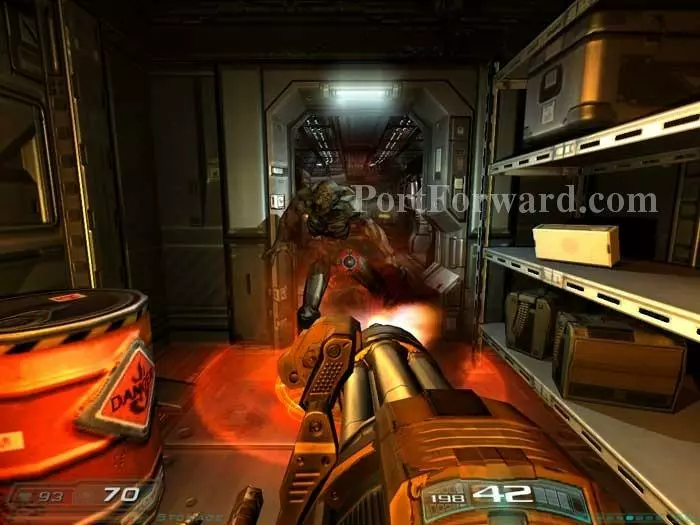
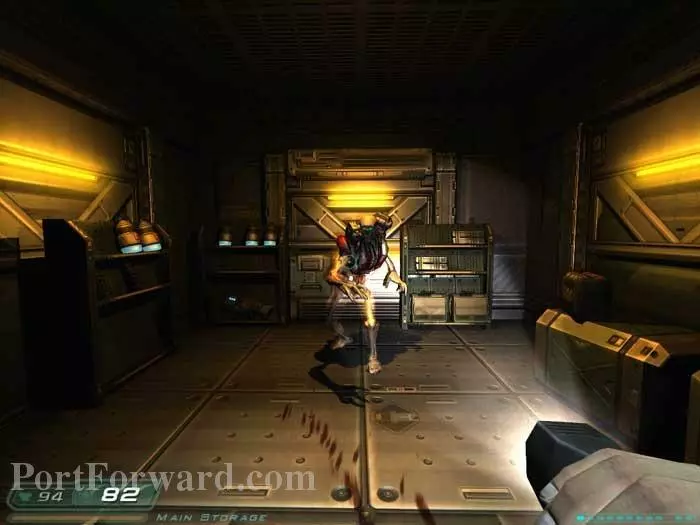
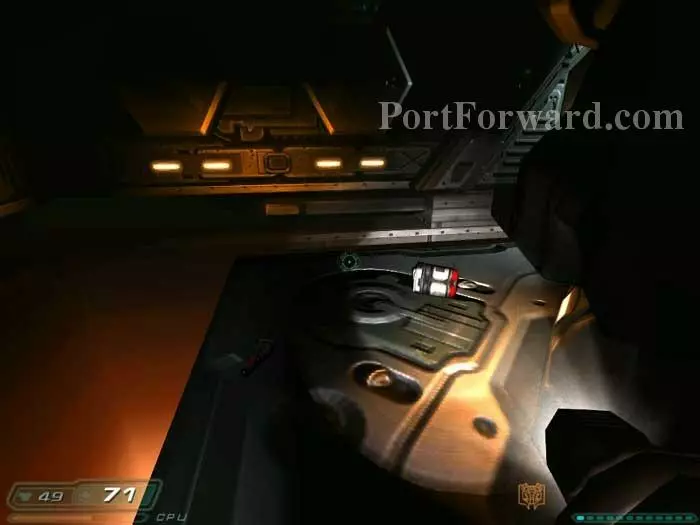
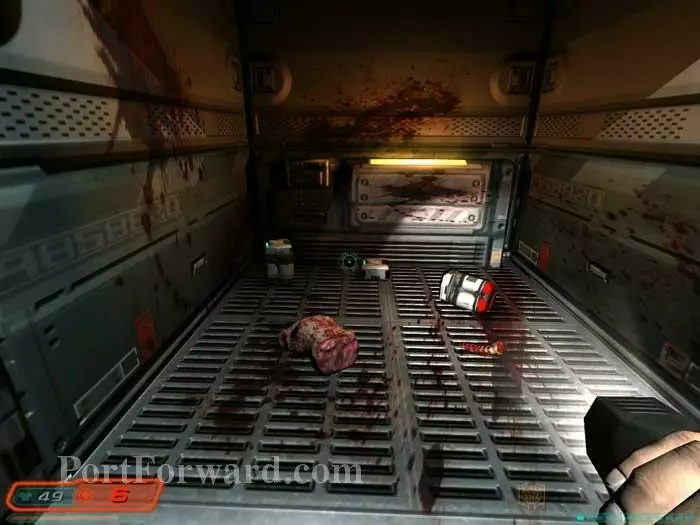
A health station is to your left as you exit the bay door. Armor and a rocket launcher are straight ahead. You come to a "T" where you can go left or right. Either way you've got you're work cut out for you. Imps, Trites, Commandos, Archviles, Wraiths and Revenants attack. It's very hectic and I largely recommend picking up the two adrenaline hypos (one can be seen on the right here) and just going to town with the chainsaw.
Use your Soul Cube or return to the health station to replenish your health. Follow the corridor around to the opposite room. Grab this armor vest and these grenades.

To the left is another adrenaline hypo, a medkit and an ammo belt.
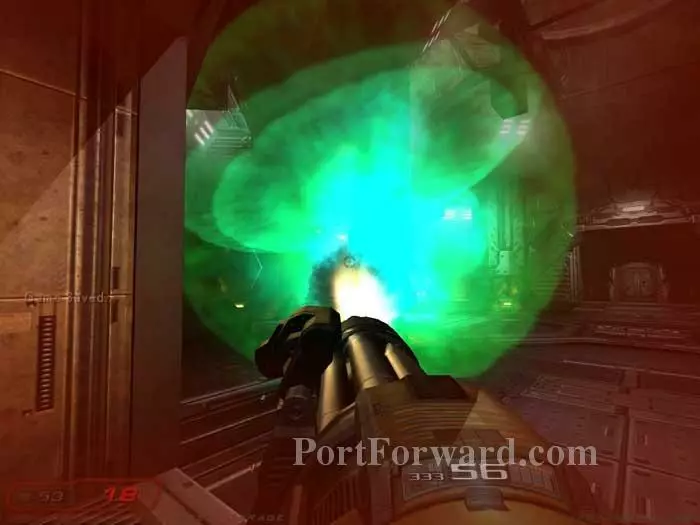
Use rockets or your Soul Cube to defeat foes at range such as this Archvile.
Don't miss the medkit in this corner.
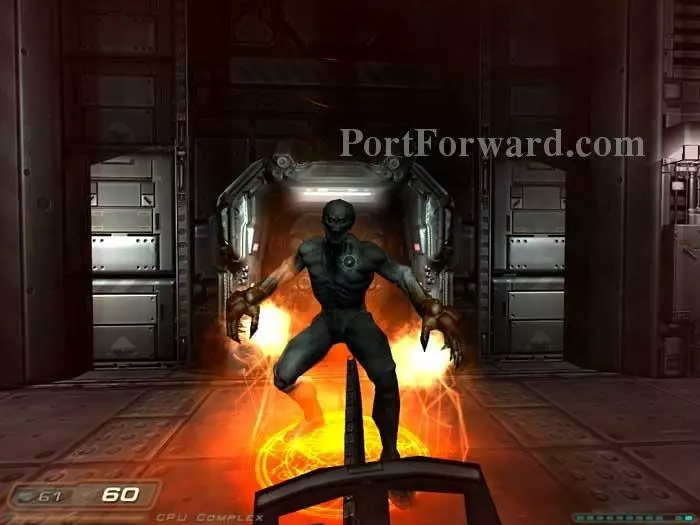
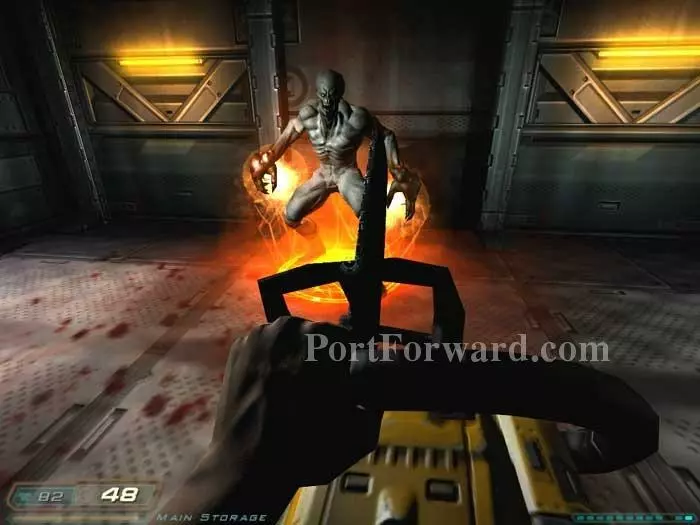
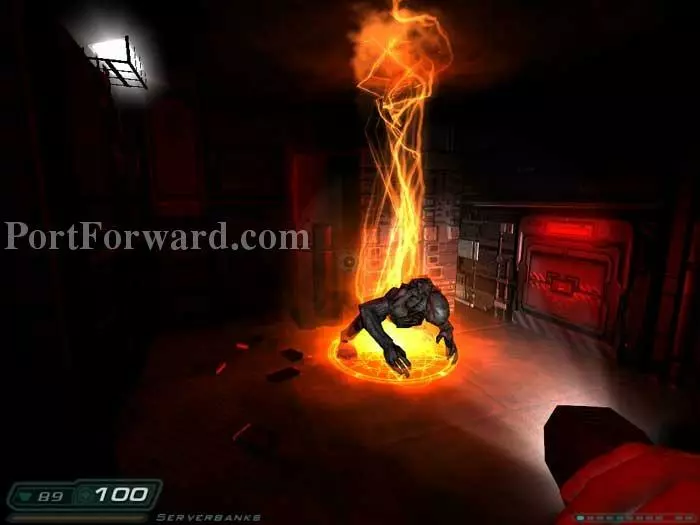
This Wraith-summoning Archvile spawns directly in front of the exit. Rush him with your chainsaw to take him out before he has time to summon too many Wraiths. Once the Archvile is defeated you can proceed through the door ahead.
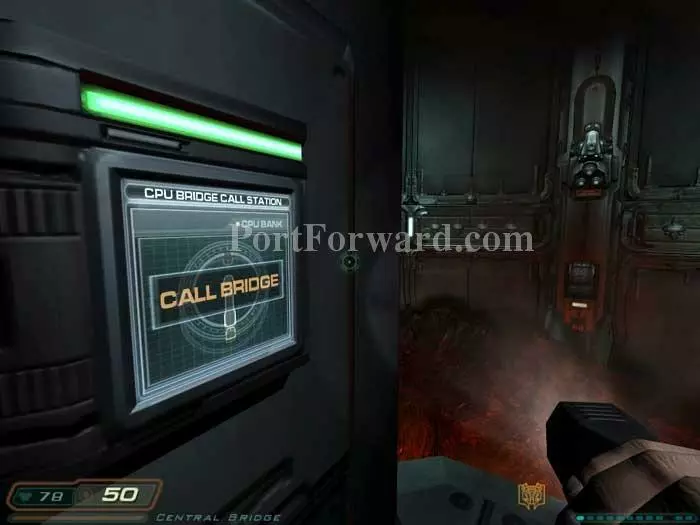
Grab the armor on the floor then call the bridge with this panel on the left.
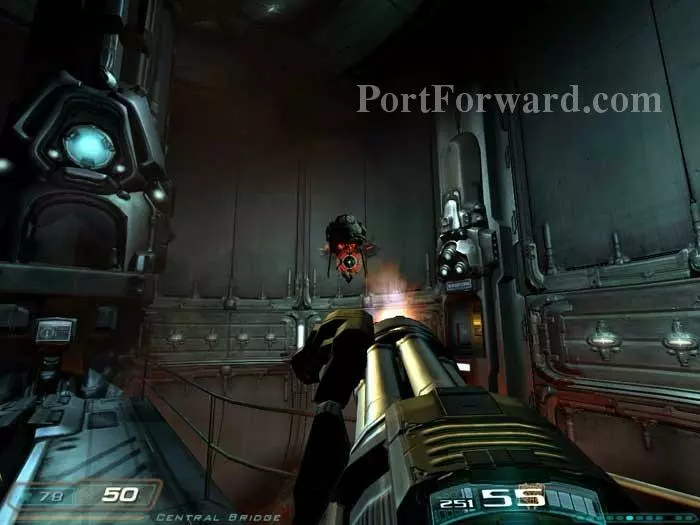
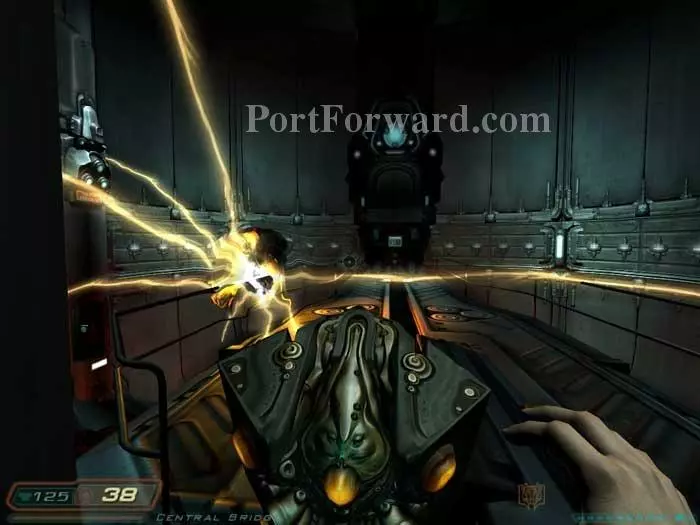
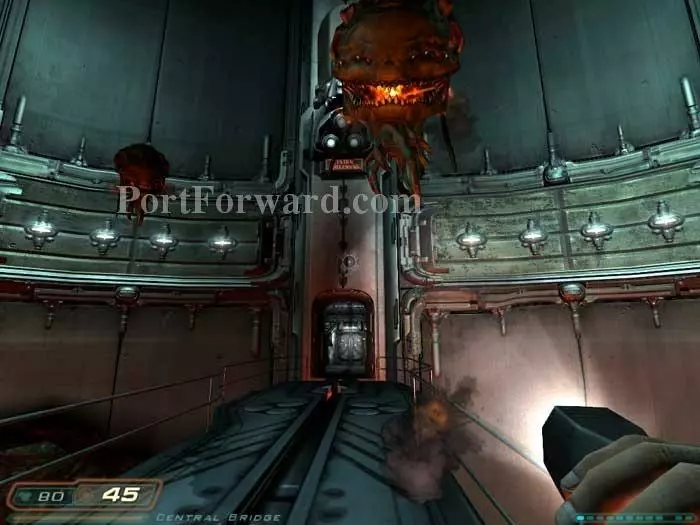
Ready your chaingun before proceeding across the bridge. Cacodemons spawn. Retreat to the hallway if you need cover.
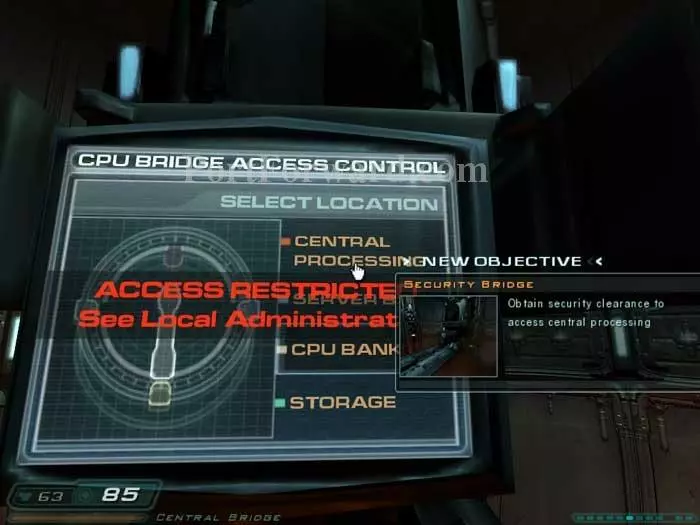
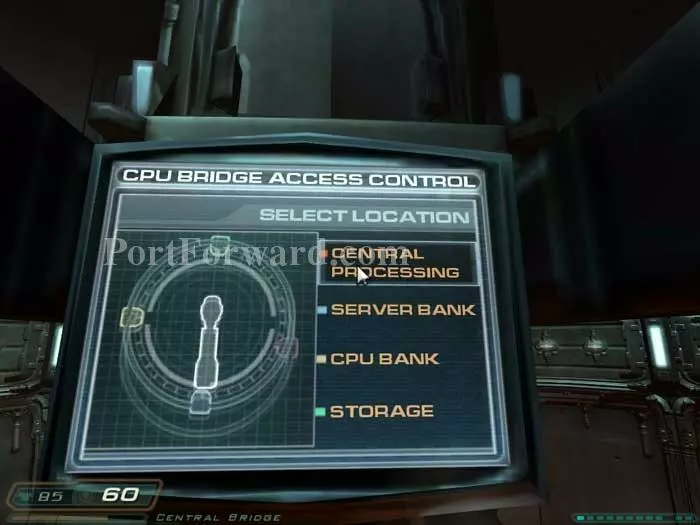
Approach the bridge control. Select "Central Processing" to update your objectives. If you're in a hurry, you can proceed to "Server Bank" to get clearance. Otherwise, select "Storage." "CPU Bank" is your current location.

Cross the bridge to Storage. Head left.
Two Imps attack after you enter the room. Inside you'll find armor and ammo.
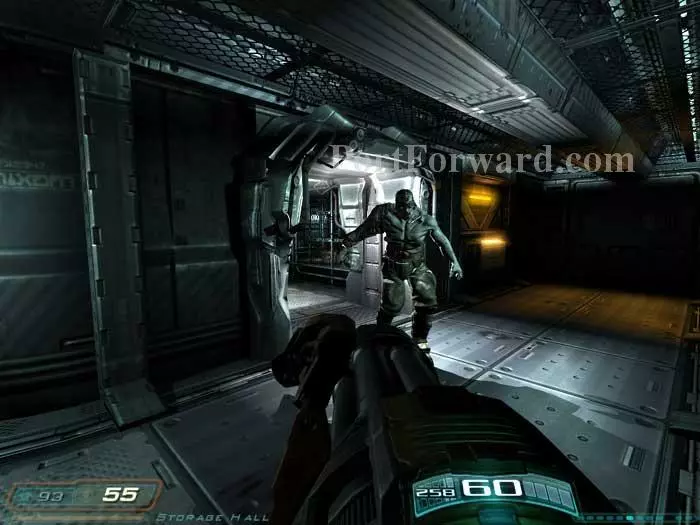
Exit the left room and continue down the corridor. You'll battle three Commandos before proceeding through the door seen here. Shells can be found at the end of the hall on the right.
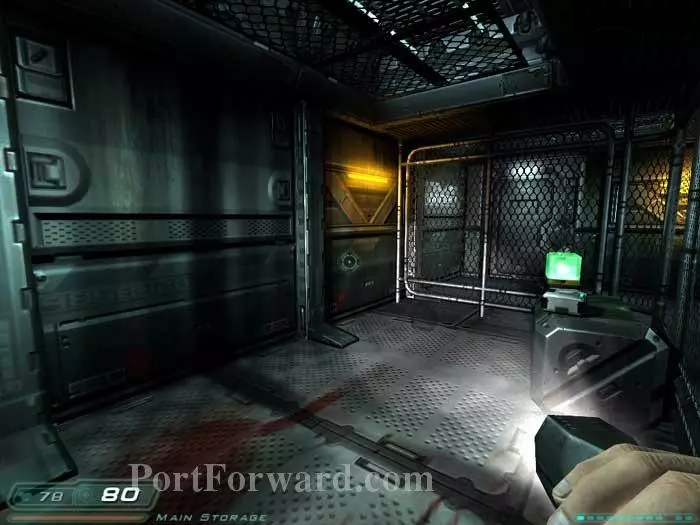
A medkit and BFG cell are on the right. Grabbing the medkit raises the wall panel on the left -- ready your chainsaw first.
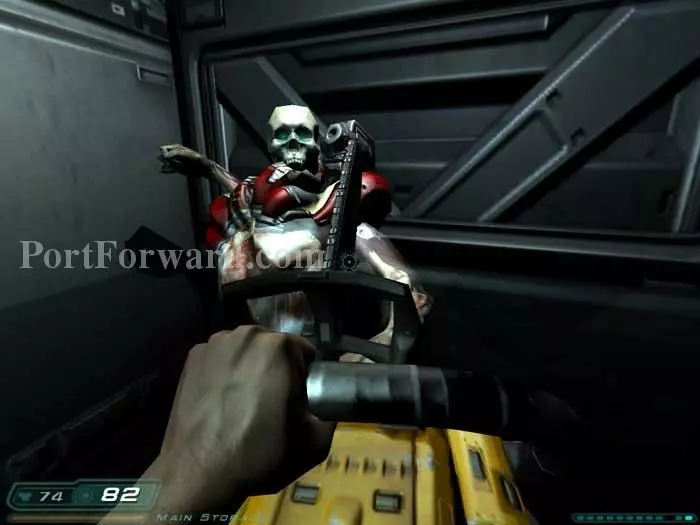
Rush the Revenant hiding inside with your chainsaw immediately after grabbing the medkit.
Another Revenant is here inside the Armory. All this ammunition should clue you in that a boss battle is coming up. Grab everything you can carry.
Defeat the Revenant and this Archvile spawns. Mow him down as well as any Wraiths he summons with your chainsaw.
Return to the bridge and defeat a Cacodemon.

Select "Server Bank."
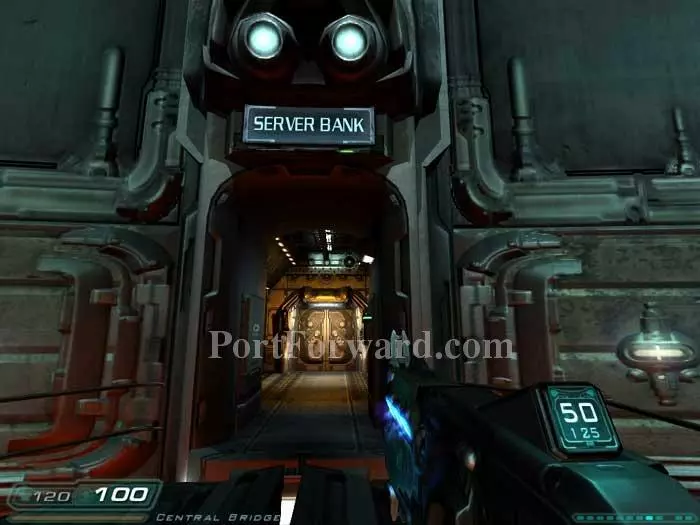
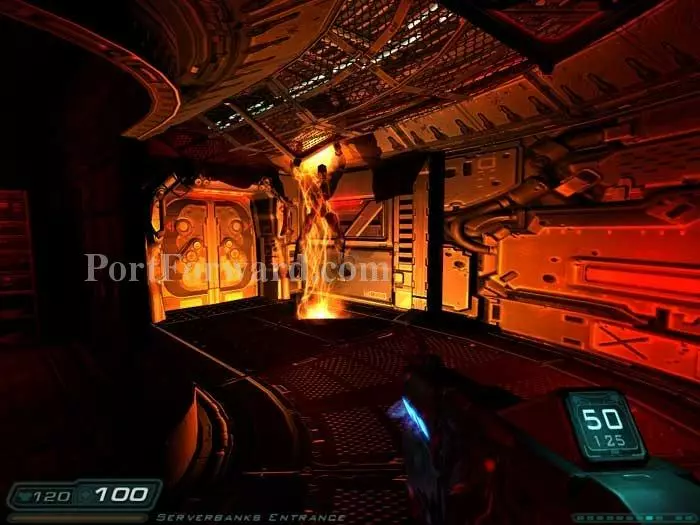
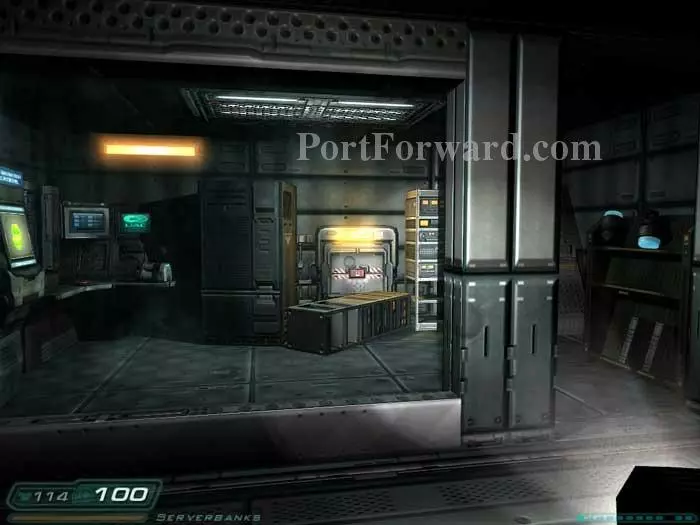
Cross the bridge into the Server Bank entrance.
Two Imps attack. Rockets and a clip can be found in the room on the left.

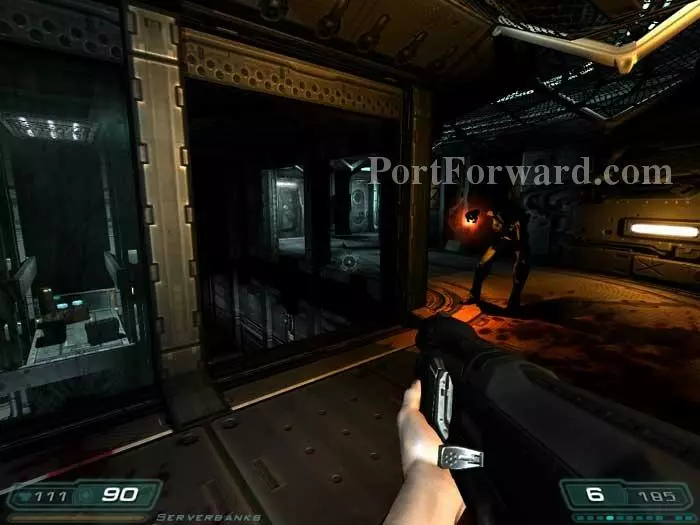
Through the next door a commando attacks. Note the medkit on the left. Another Imp and commando attack as you enter the corridor.
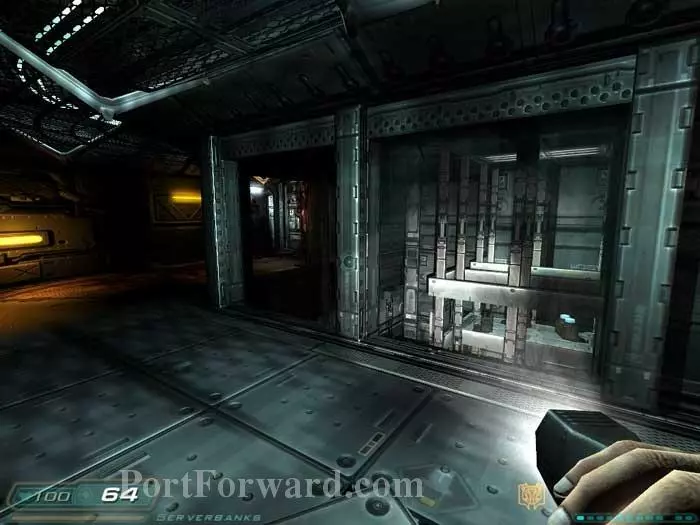
Proceed to the door far-left.
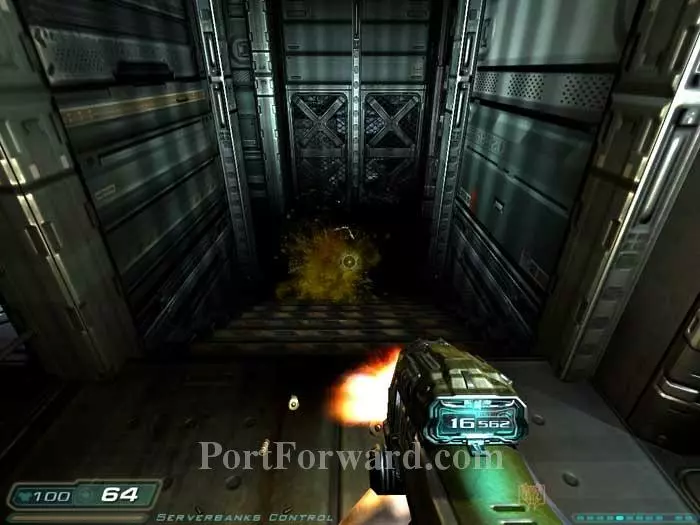
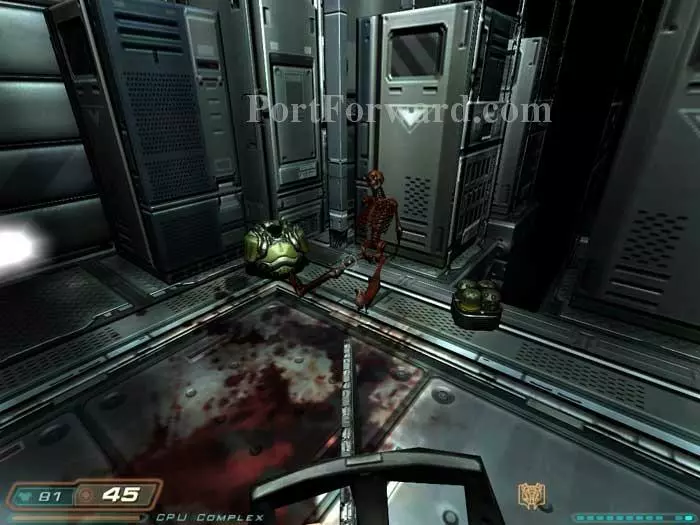
Pop a few Trites on your way down the stairs.
An Imp spawns as you round this bend. The room on the right holds shells and clips. Taking them triggers more Trites.

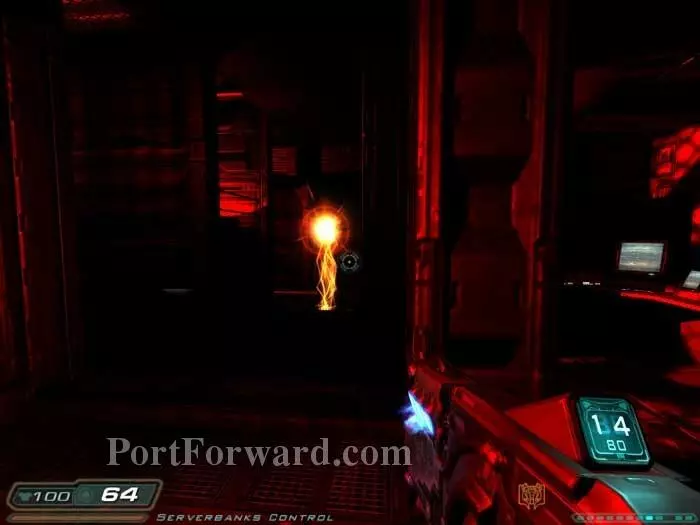
Down more stairs to this Imp hiding on the right. A medkit can be found in his alcove.
Through another door and this Imp spawns to the left. Take the armor on the floor and another Imp spawns around the corner.
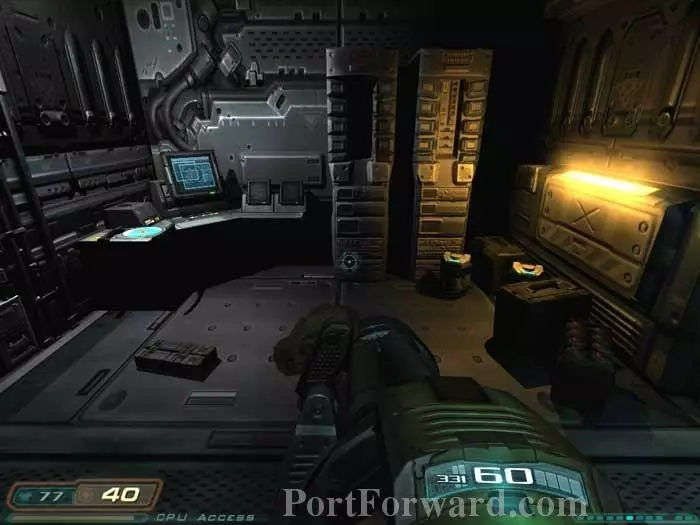
Cells and clips are on the right. A medkit is on the left along with Steve Tooloose's PDA, which updates your clearance.
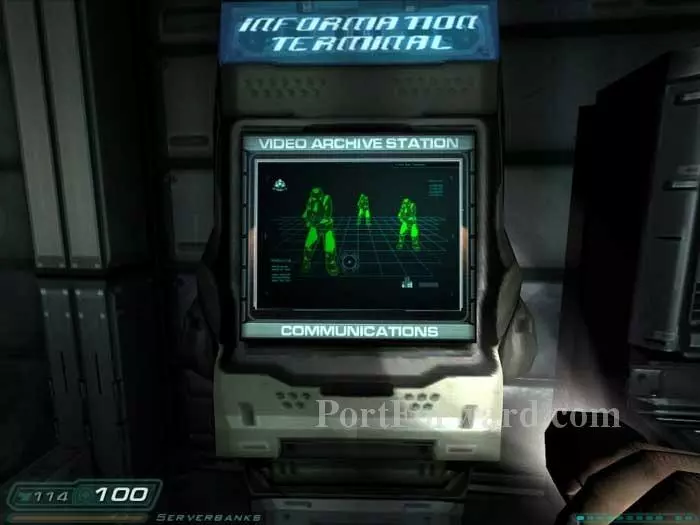
View the BFG 9000 video to learn about its auto-targeting system and its weakness -- small arms ballistics fired against the main projectile.
Return upstairs and battle two Imps. A well-timed running jump through the window will land you at the supplies beyond. Cells, rockets and an ammo belt are your reward.
Backtrack to the bridge control. Your new security clearance gives you access to Central Processing.
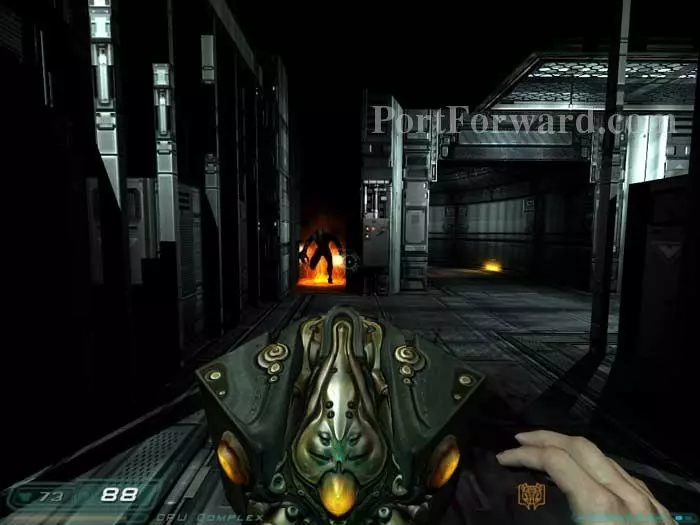
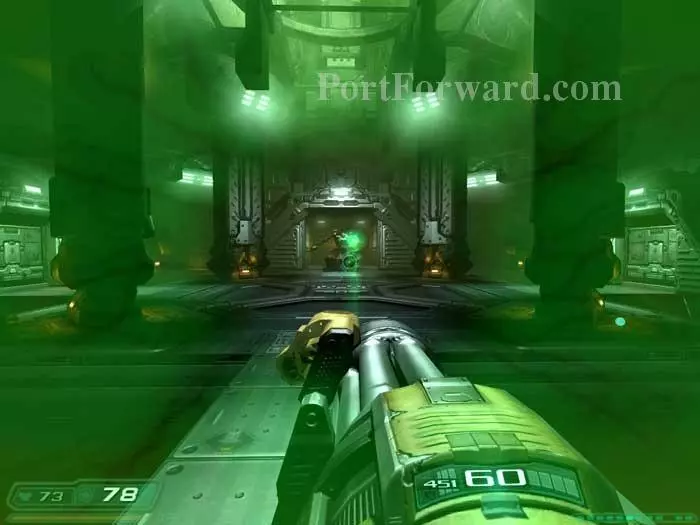
Approach the Central Processing entrance and Cacodemons attack.
Once inside, medkits, clips, ammo belts, rockets and the BFG video are on the right.
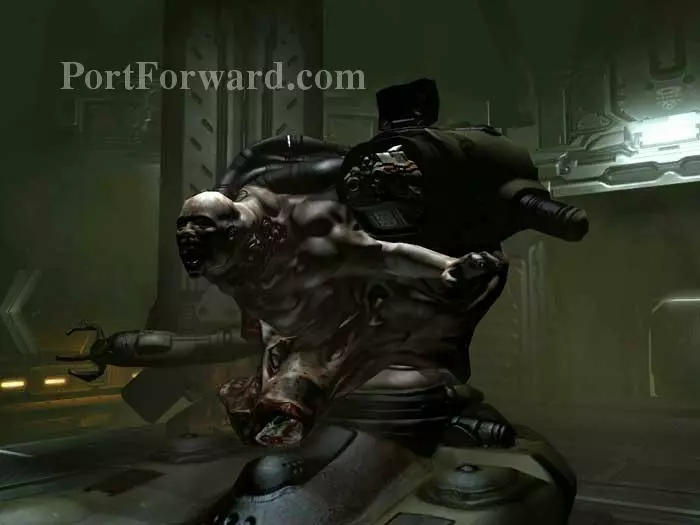
Continue through the next door -- time to battle Sarge. He's been transformed into a Sabaoth, your next boss.
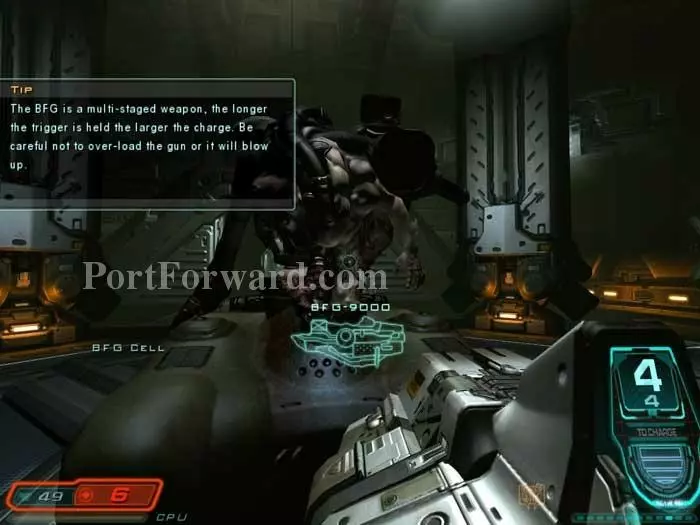
Sarge is armed with the BFG. Remember from the video that small arms fire can stop the projectile. My favorite weapon for this battle is the Chaingun. It works well against the BFG projectile and the Sabaoth. Of course if you have the Soul Cube ready you'll want to use that as well.

Do your best to keep your distance and keep painting Sarge with chaingun fire. Ammo and medkits can be found around the pillars and behind the doors.
A medkit and adrenaline hypo can be found here.
The Sabaoth is strong offensively but weak defensively. Keep him lit up and he'll go down before long.
Approach the defeated Sabaoth to retrieve the BFG 9000.
Search the area for any remaining supplies.
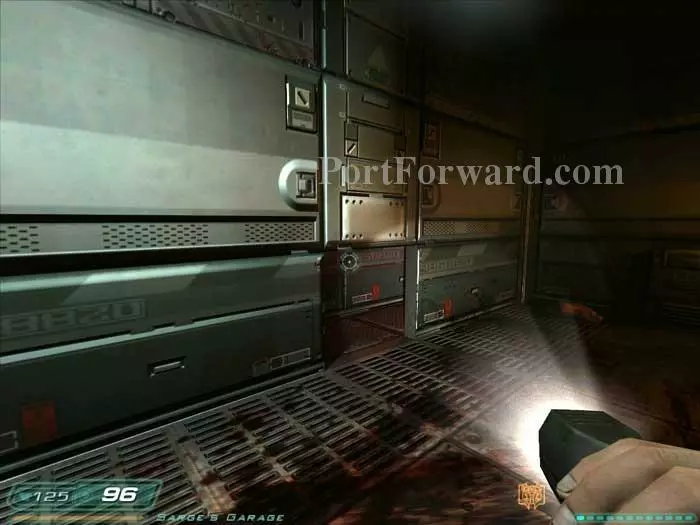
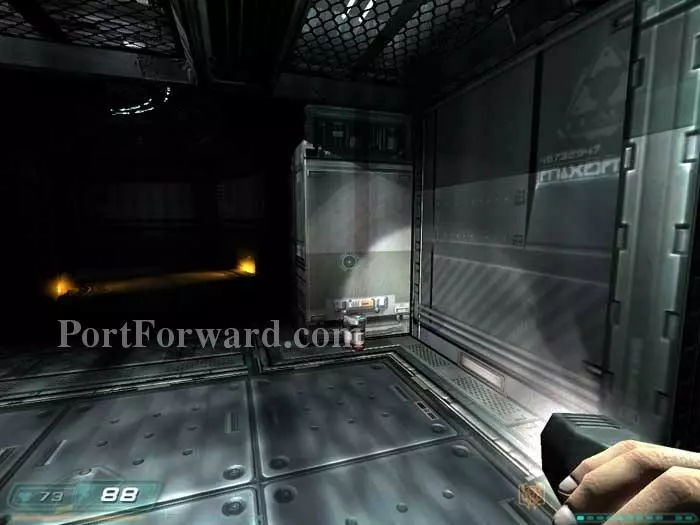
Duck into this crawlspace.
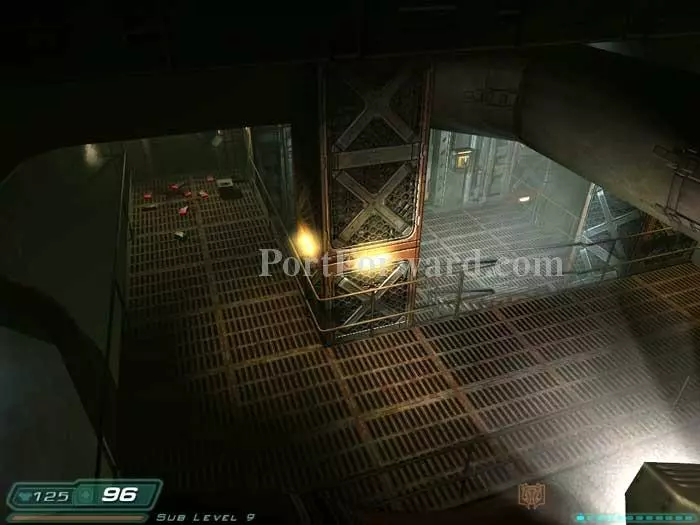
Grab the supplies on the left before entering the lift on the right.
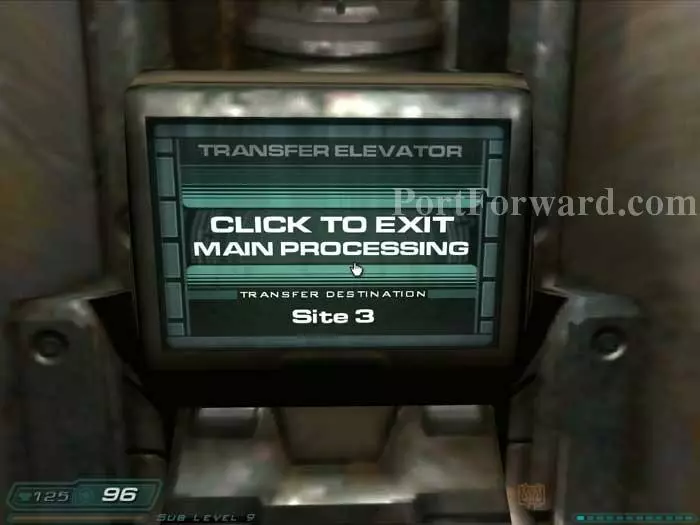
Click to end the level.
More Doom 3 Walkthroughs
This Doom 3 walkthrough is divided into 27 total pages.