
This Grand Theft Auto V walkthrough is divided into 83 total pages.
You can jump to nearby pages of the game using the links above.
Monkey Business
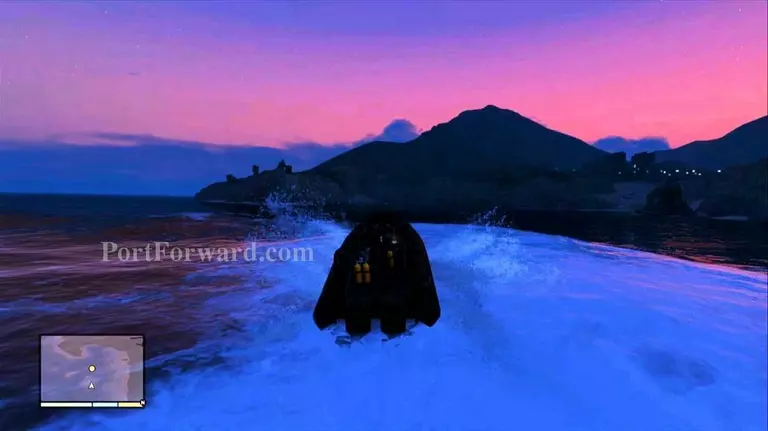
When the mission begins, drive the dinghy toward the facility.
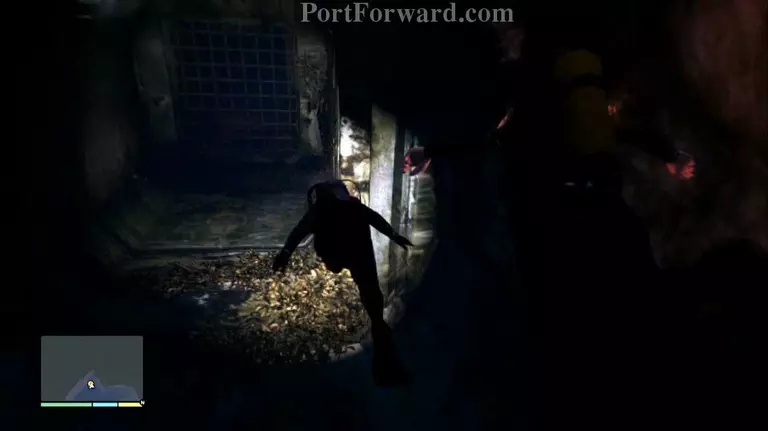
After you arrive, dive into the water and swim towards the underwater tunnel entrance.
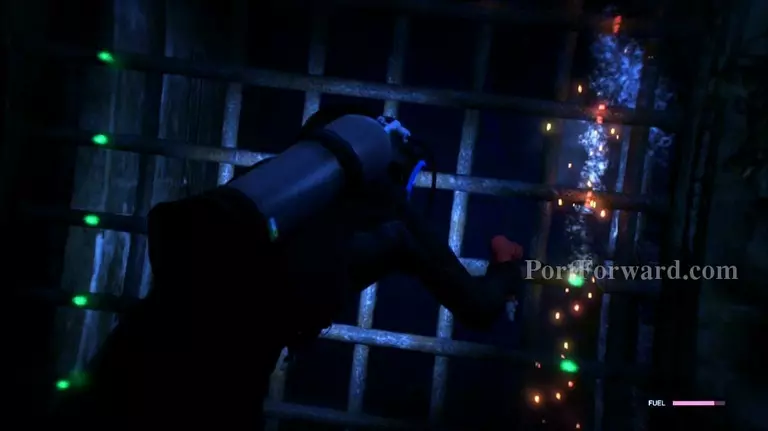
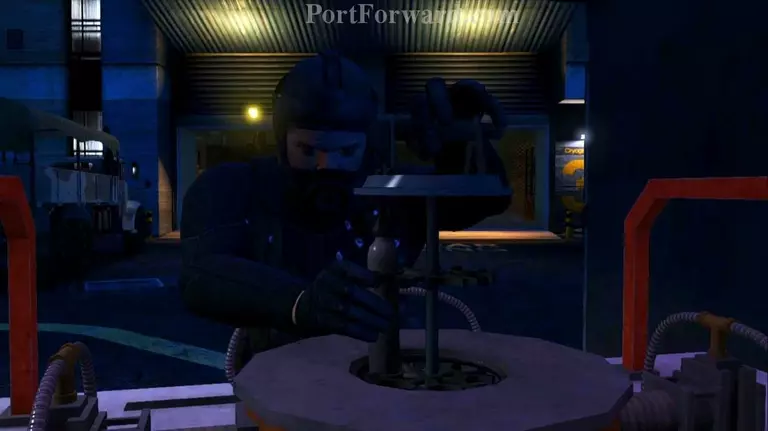
Use the hydro-cutter on each of the burn points to cut open the steel cage. Only use fuel when cutting each burn point!
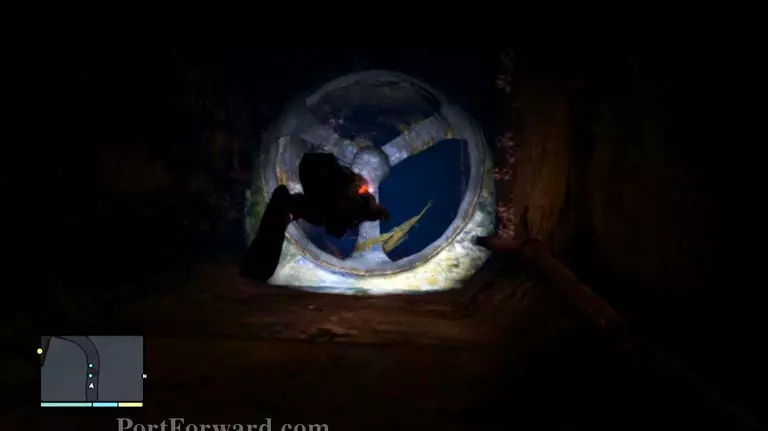
After the cage is cut open, swim thru the lengthy tunnel to the laboratory.
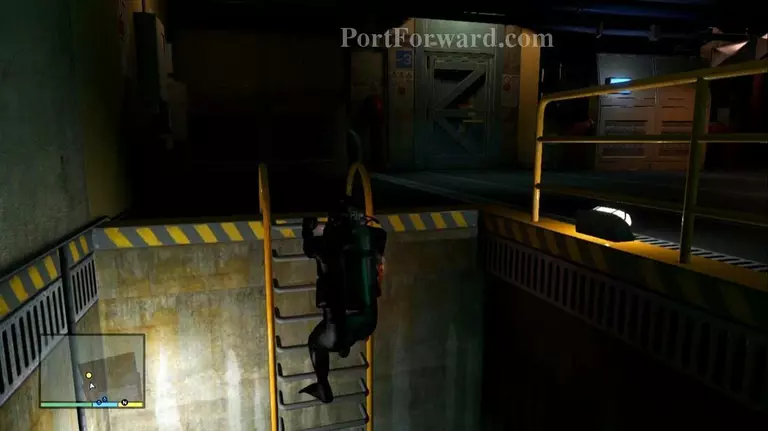
Ascend to the top and take the ladder to the entrance.
GOLD MEDAL REQUIREMENTS: "STUNNER
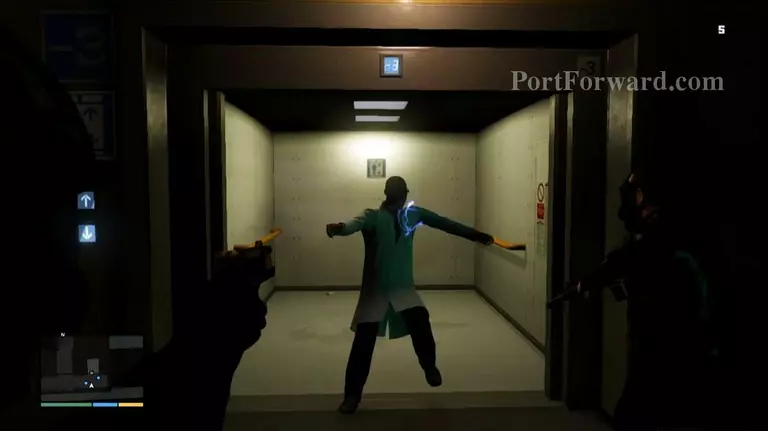
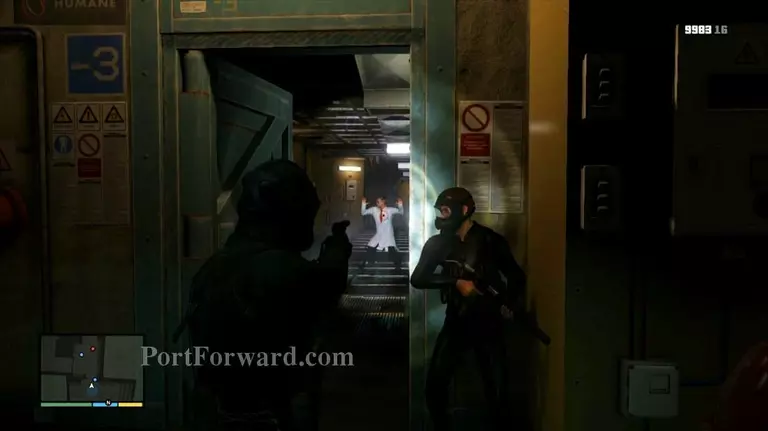
Zap the lab rat inside the elevator and take his security card and take a ride to the next floor.
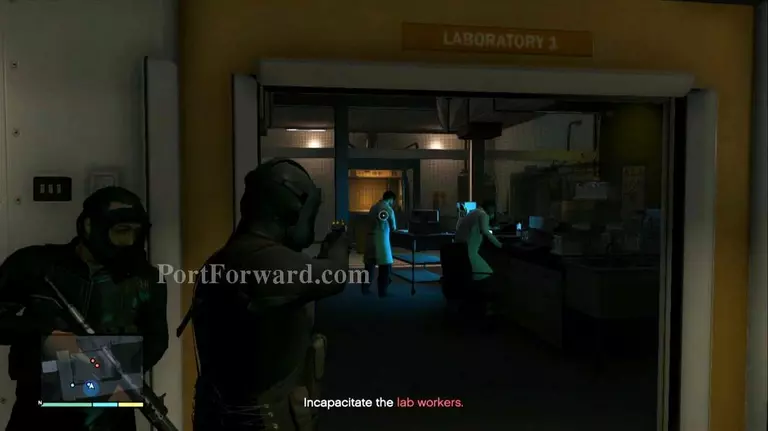
Exit the elevator and zap the two lab rats in the adjacent lab.
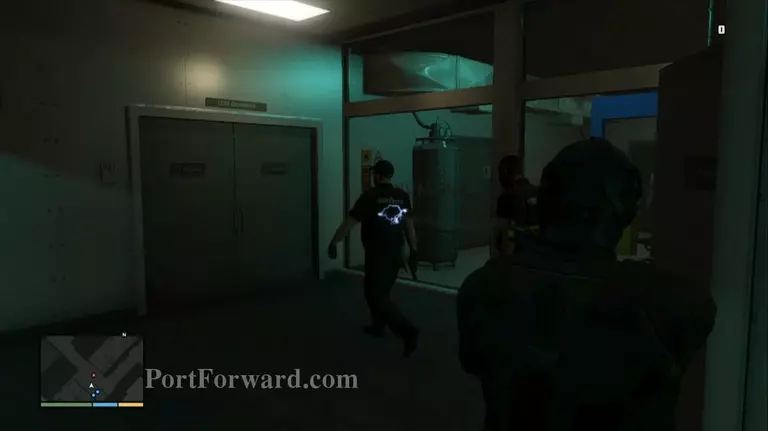
Continue ascending the lab halls and corridors until you reach the security doors. Take cover and wait for the two guards to walk out.
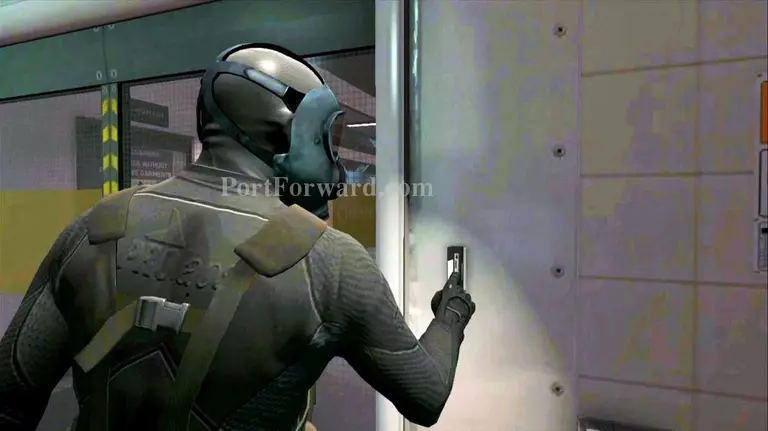
Zap them when they exit and then enter the next corridor towards the door with the security lock.
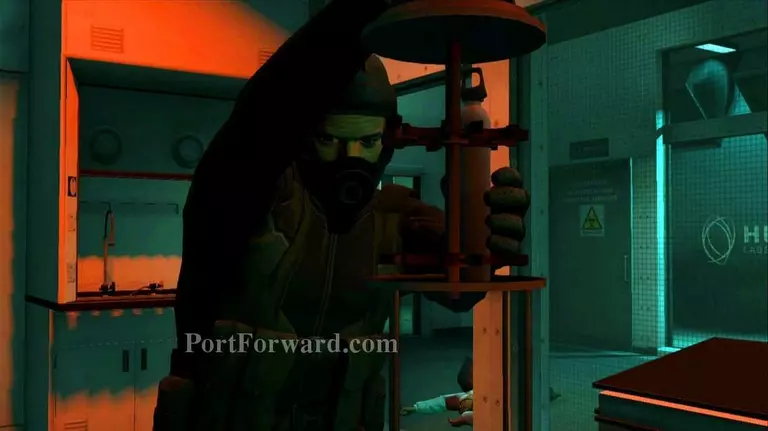
The lab rat with the nerve toxin is locked inside his lab and won't open the door. From here, Steve will find another lab rat and this will encourage the locked lab rat to open the door. Zap both lab rats and then enter the lab to grab the toxin.

Once you have the nerve toxin, the alarm will sound.

From this point, you won't need the Stun Gun so draw a short-ranged weapon (preferably the Assault Shotgun) and fight your way out of the lab.
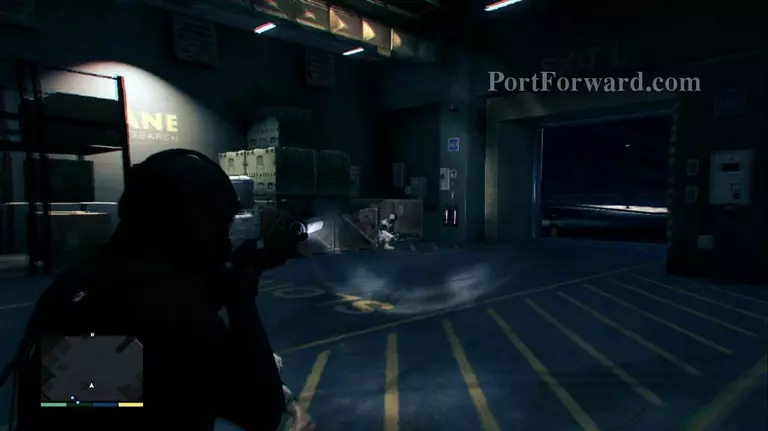
Be very conservative when taking cover. A number of heavily armed and armored mercs are hiding at the edge of your field of vision and you have to keep watch for them. Shoot your way towards the loading docks and clear out the remaining guards and Dave wi
Run towards the refrigeration unit and place the toxin inside.
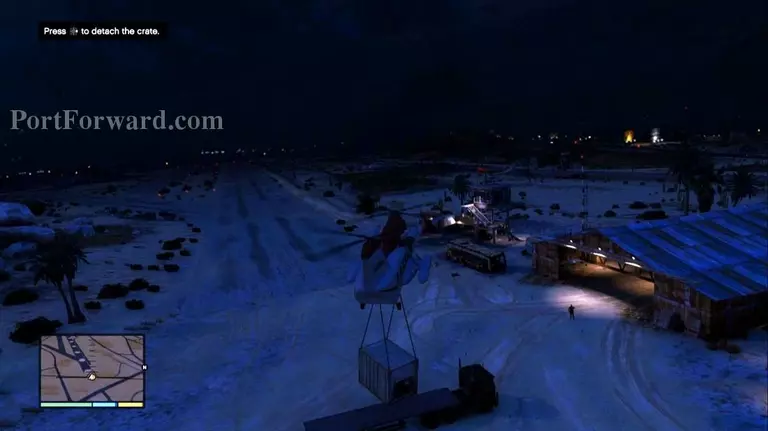
From here, switch to Trevor and pick up the container and fly it back to the Sandy Shores airfield.
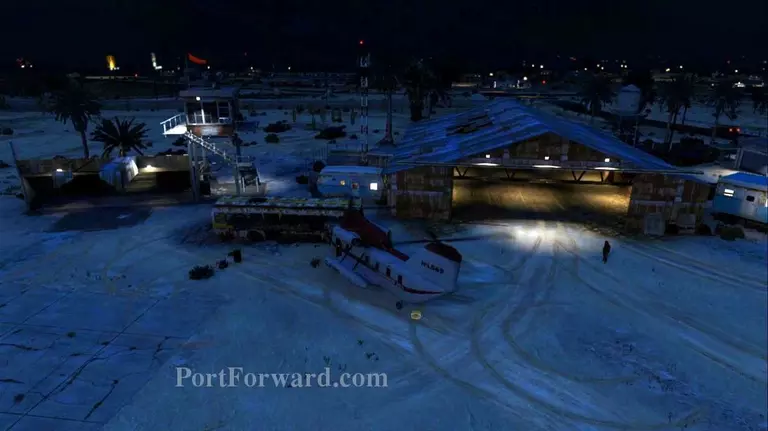
Drop the container onto the flatbed truck and then land the chopper to trigger a cutscene.
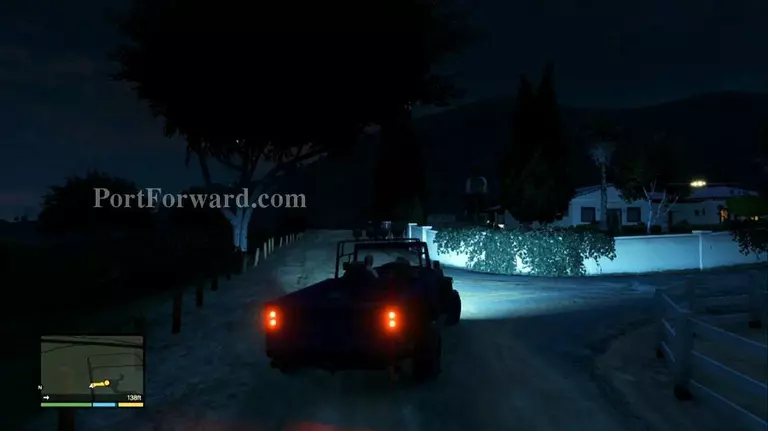
Once the main mission is done, the game switches to Trevor and Patricia.
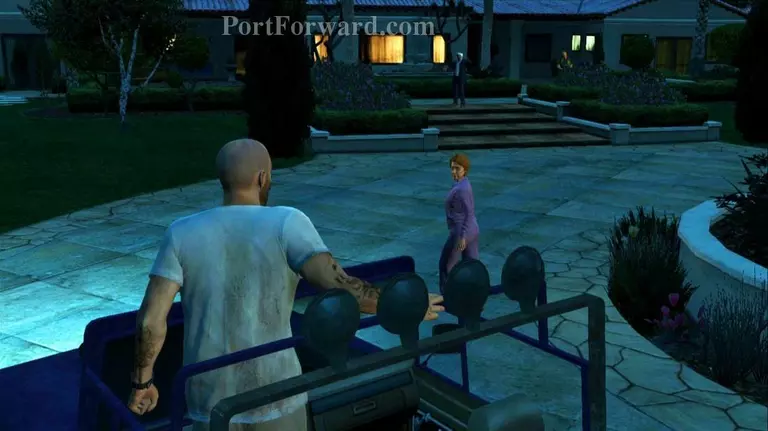
Drop off Patricia back to Madrazo's house to complete the mission.
More Grand Theft Auto V Walkthroughs
This Grand Theft Auto V walkthrough is divided into 83 total pages.


