
This Half-Life 2 walkthrough is divided into 14 total pages.
You can jump to nearby pages of the game using the links above.
Chapter 4 - Water Hazard
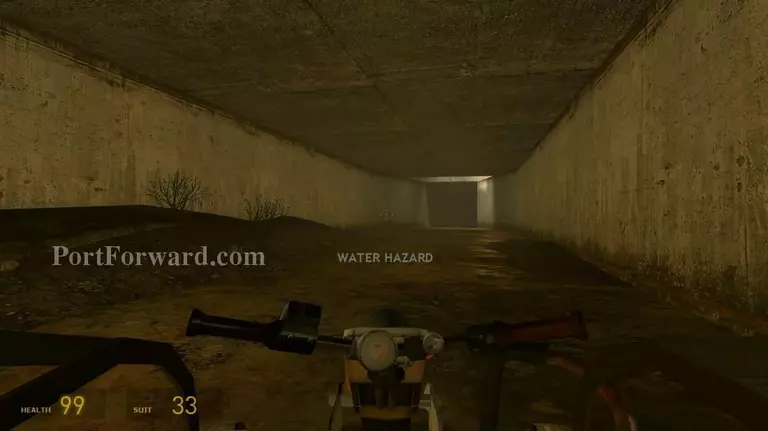
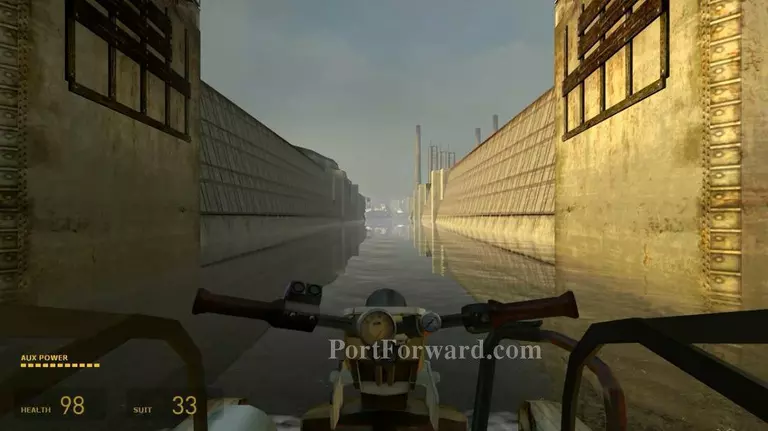
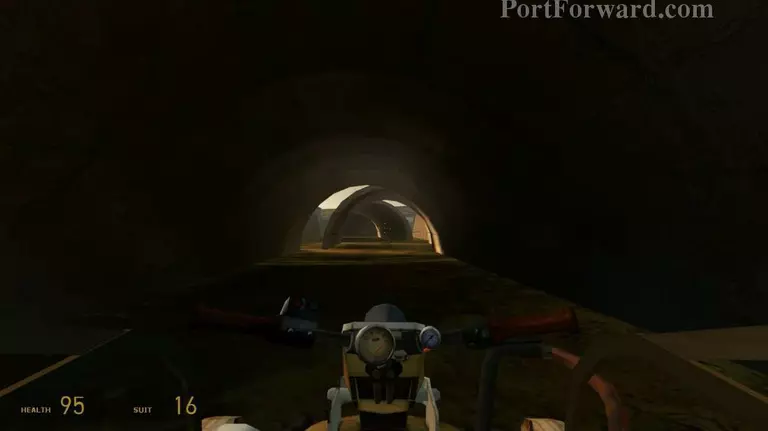
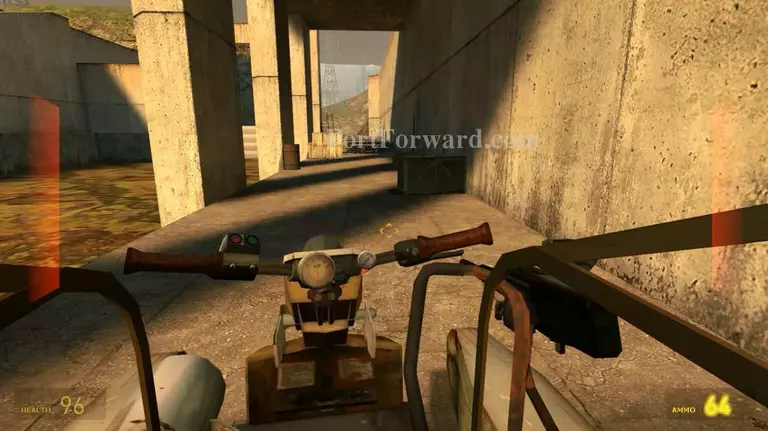
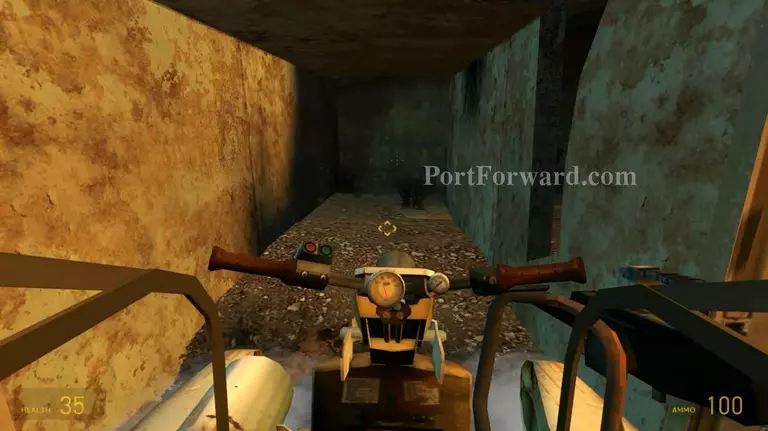
In this chapter, most of your journey using this hovercraft. Only at certain points where you have to stop. But now, keep going.
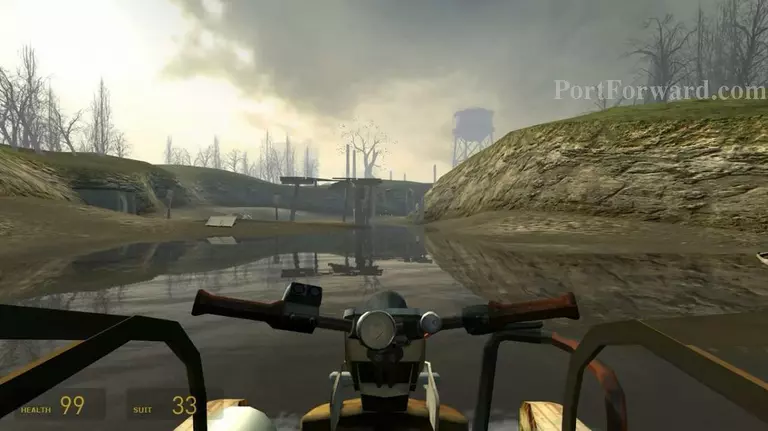
Go go...
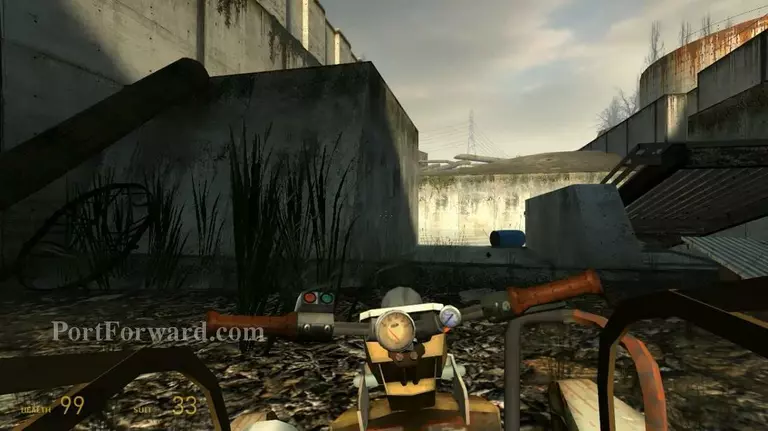
Stop here. Get out.
Enter this path.
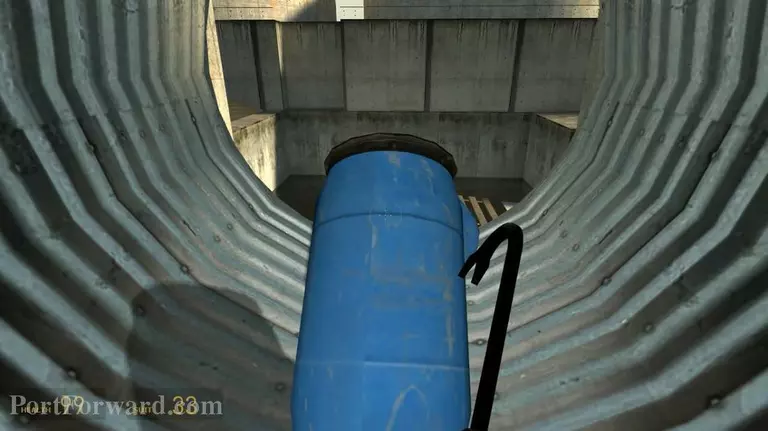
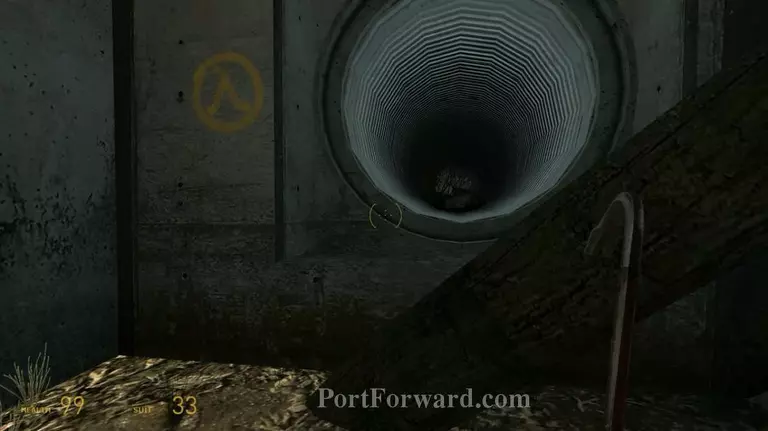
Push these into the water.
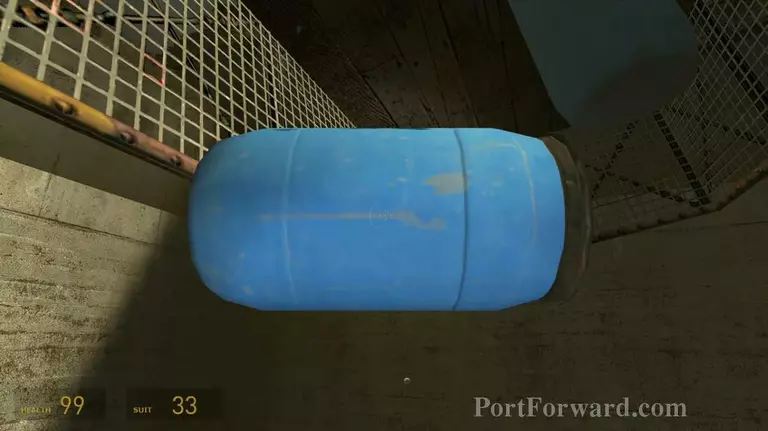
Now grab the blue barrel and put it under this.

Repeat this two times more.
Now, you're good to go.
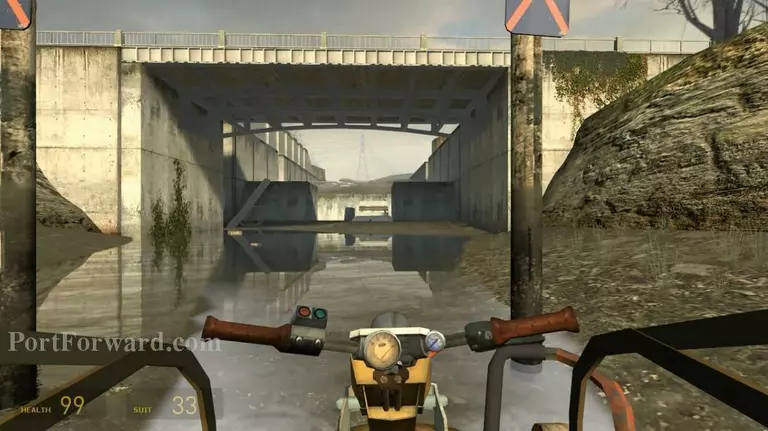
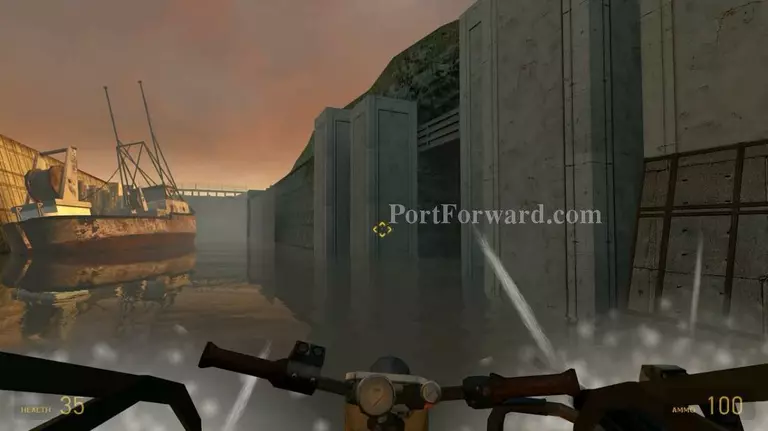
Take the left path.
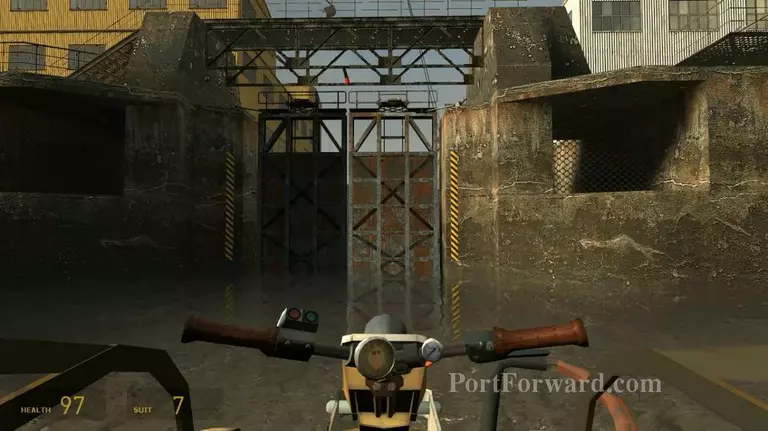
Stop! The gate must be open first. Turn back now.
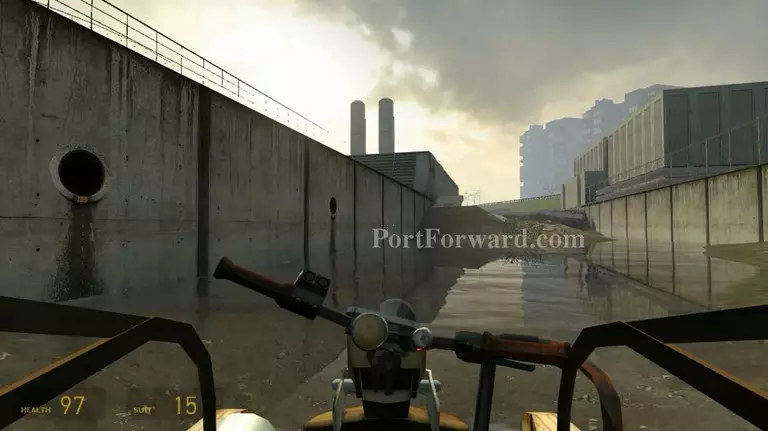
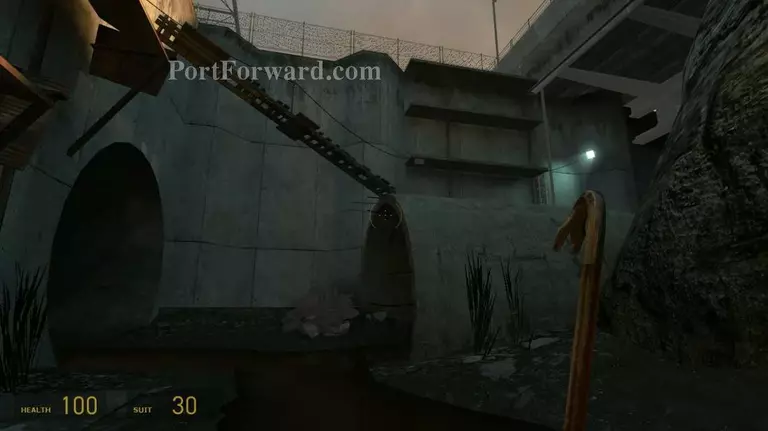
Get out from here.
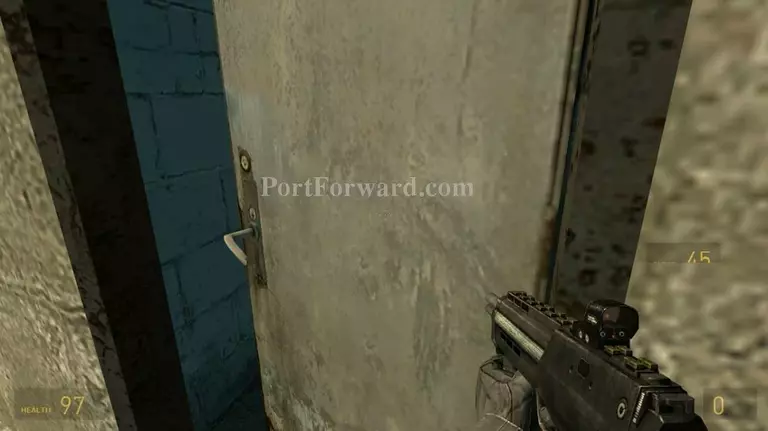
Open this door and get inside.
Be careful now.
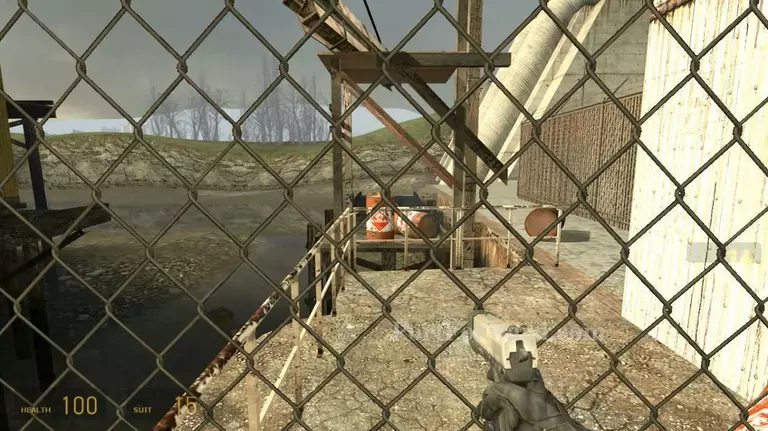
Shoot this barrel. The explosion cause the door to be opened. When that occur, turn back and get in your hovercraft.
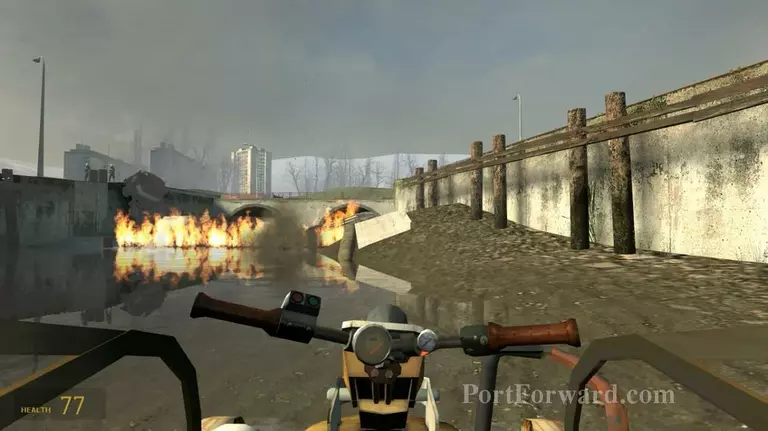
Watch out.
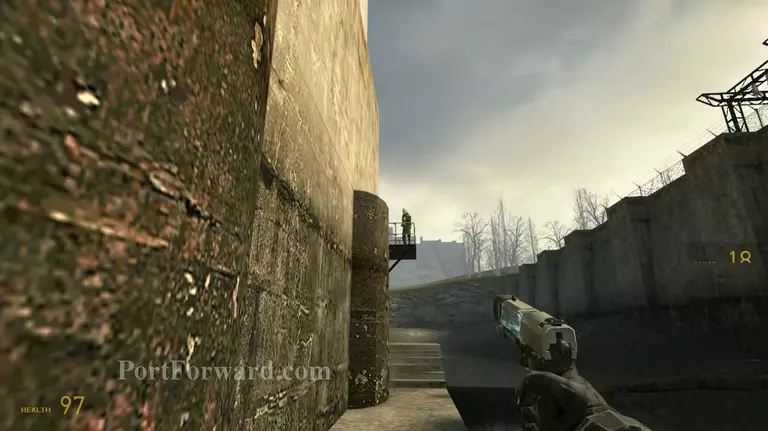
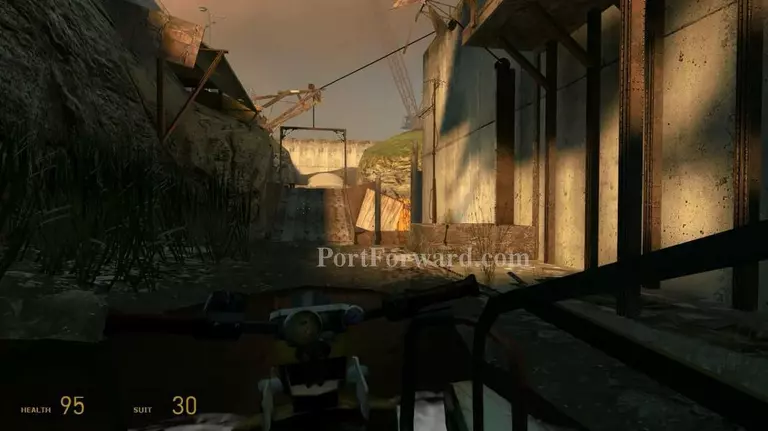
Better take the left path which is more safe.
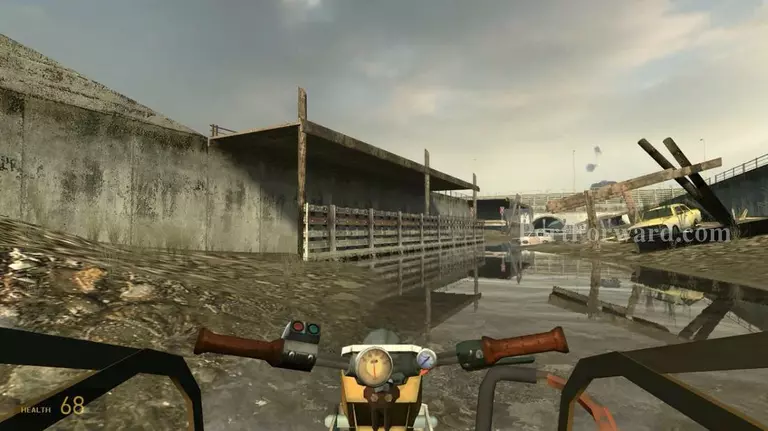
Quickly turn right. There's a small path.

The gate is closing. Darn it. Again, turn right and find some place to get out.
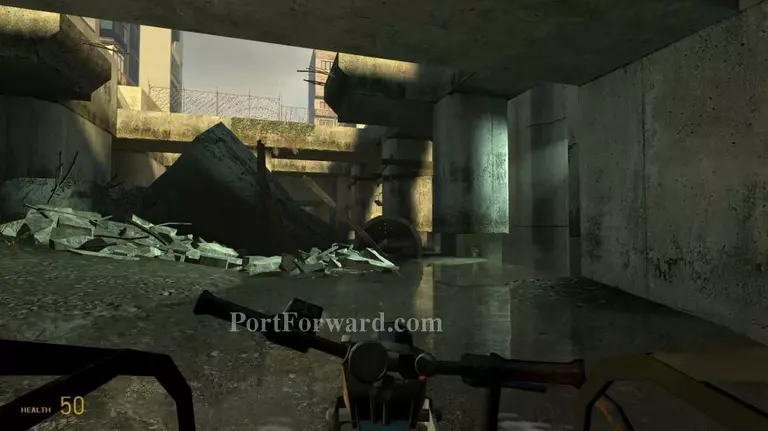
This looks like a good place to ststart
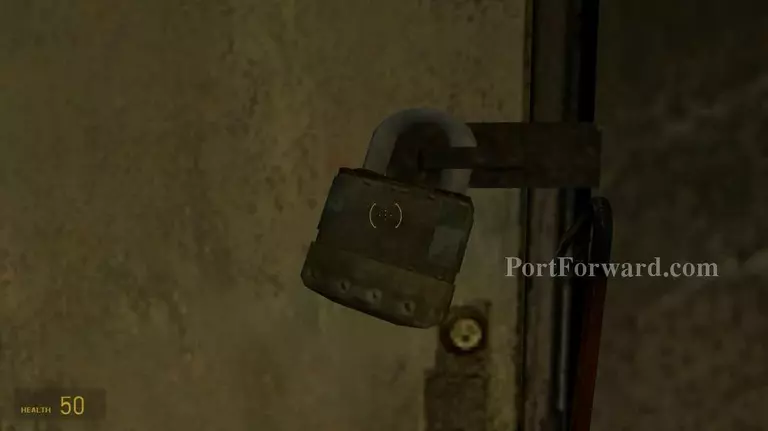
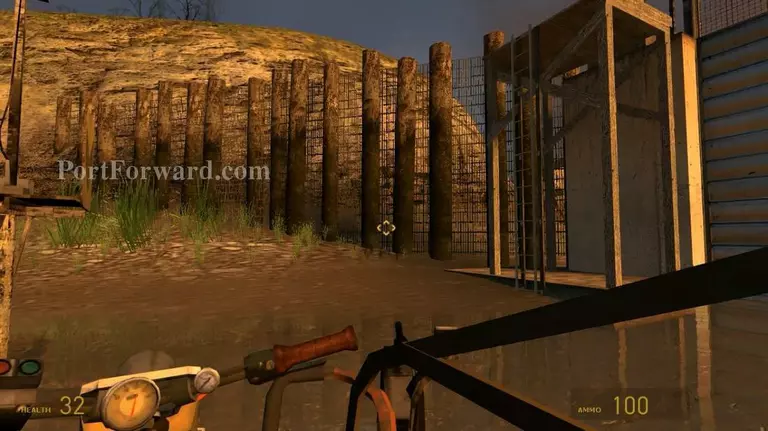
Break this lock and go on.
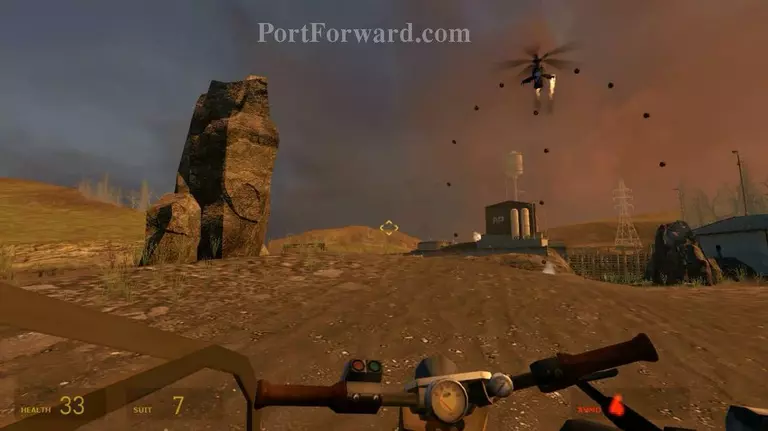
Act fast. There's a helicopter chasing you.
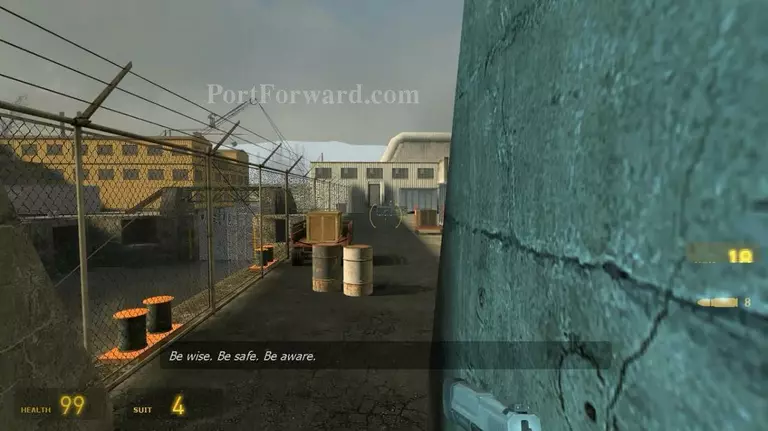
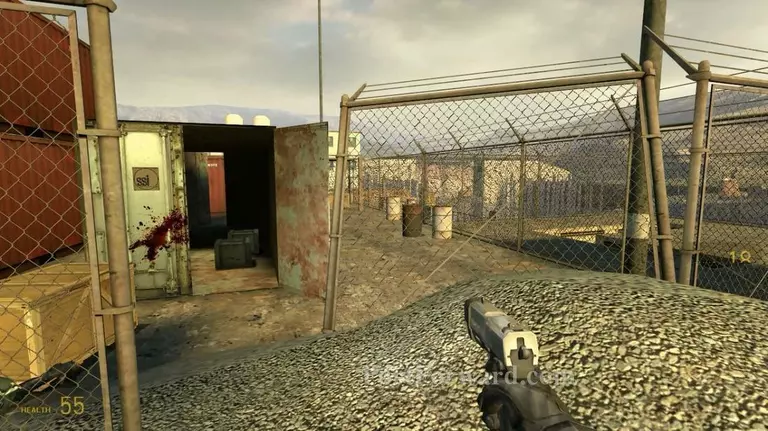
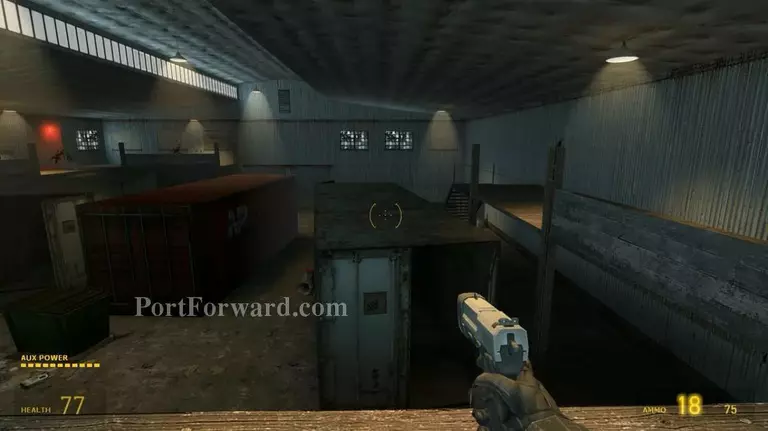
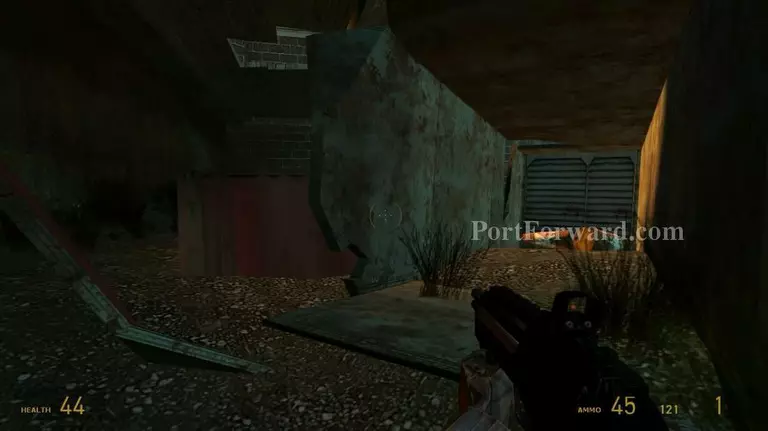
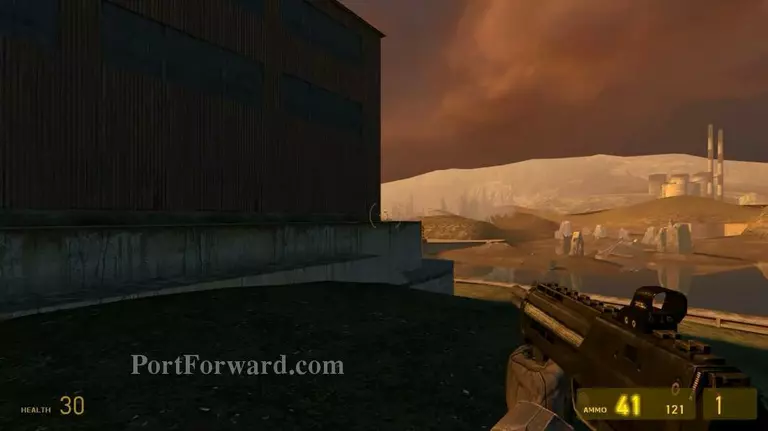
You should be in this building right now.

Go up.
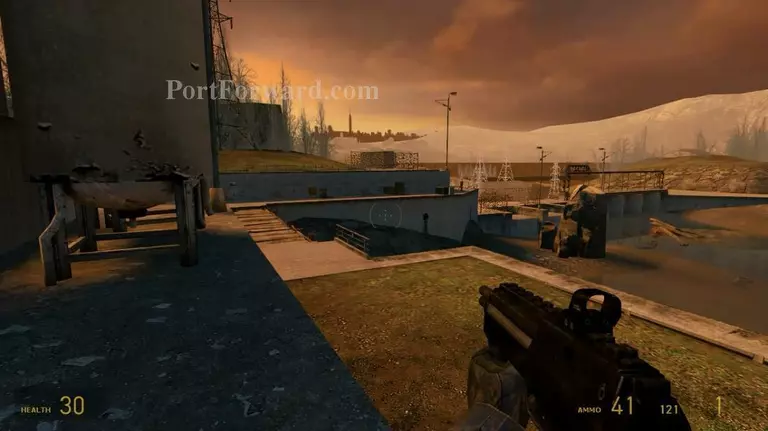
Go to other side by jumping on top of these.
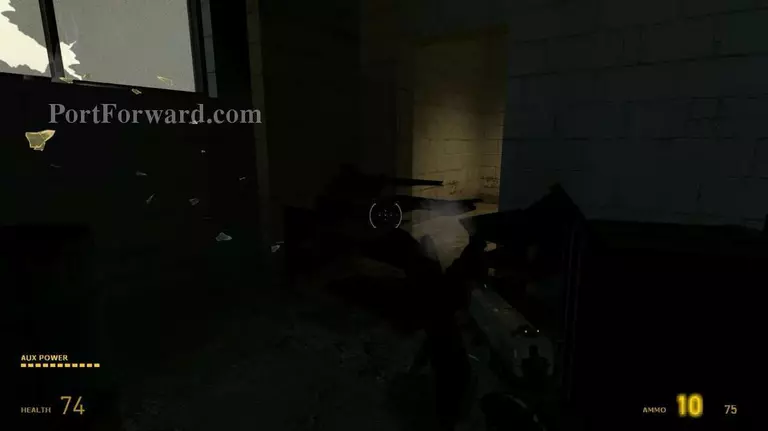
Break the boxes and go through it.
Go on...
Don't miss this ladder. Climb it.
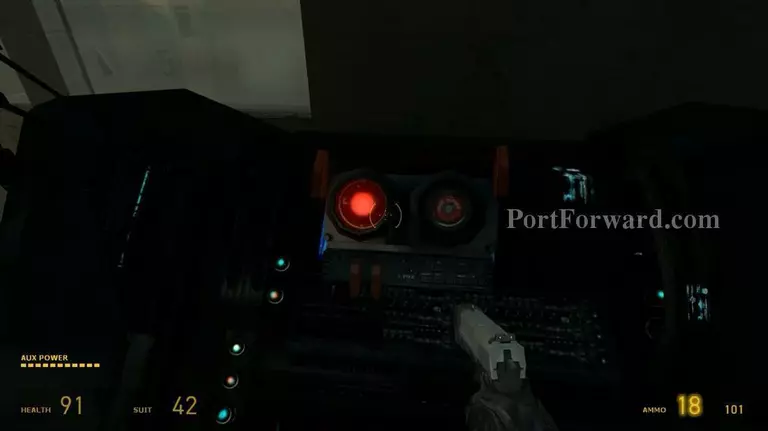
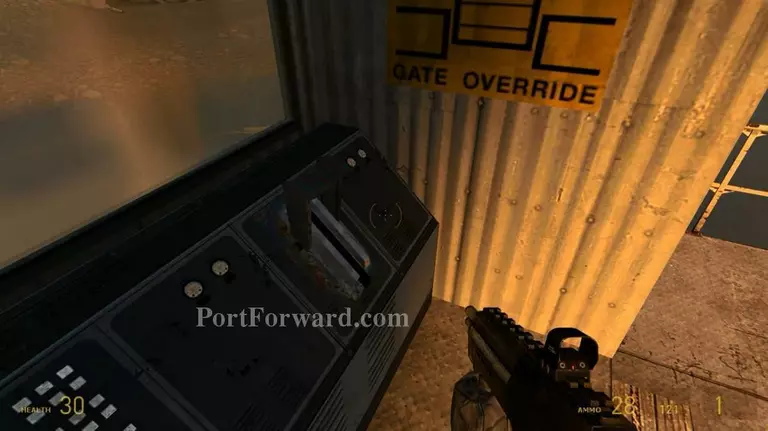
Now use this button.
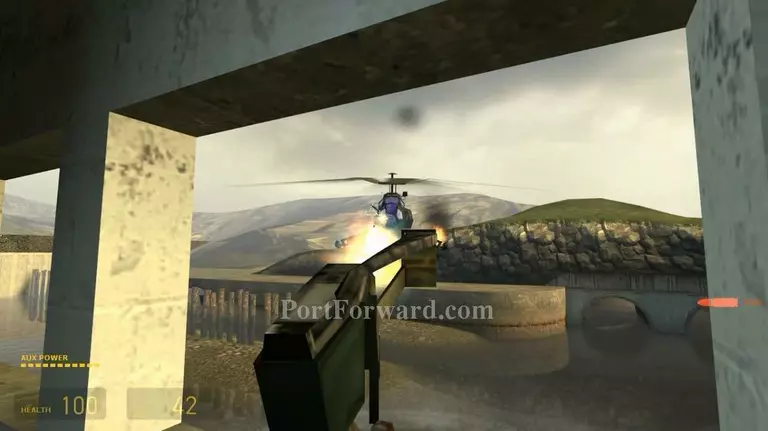
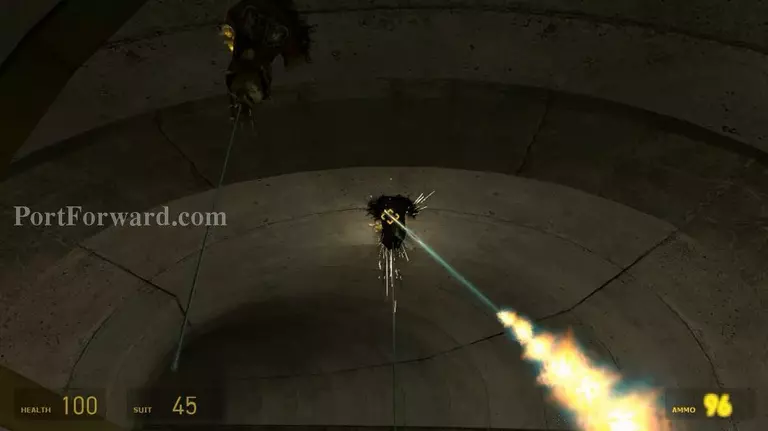
Use nearby machinegun to destroy the helicopter.
To make your life easier, just jump straight down and head back to your hovercraft.
Great. Let's get going...
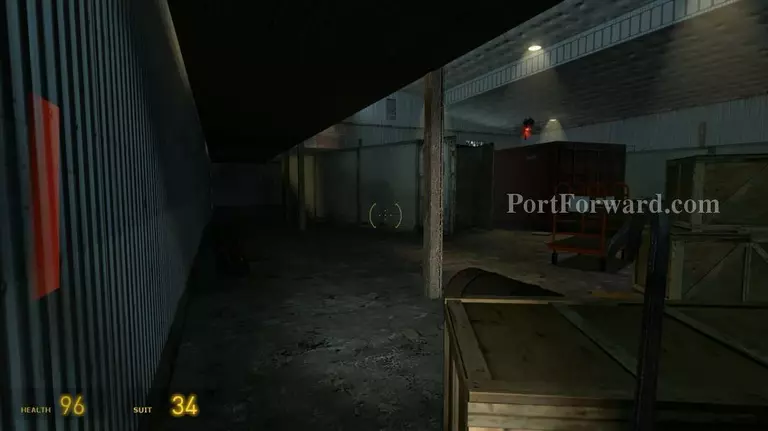
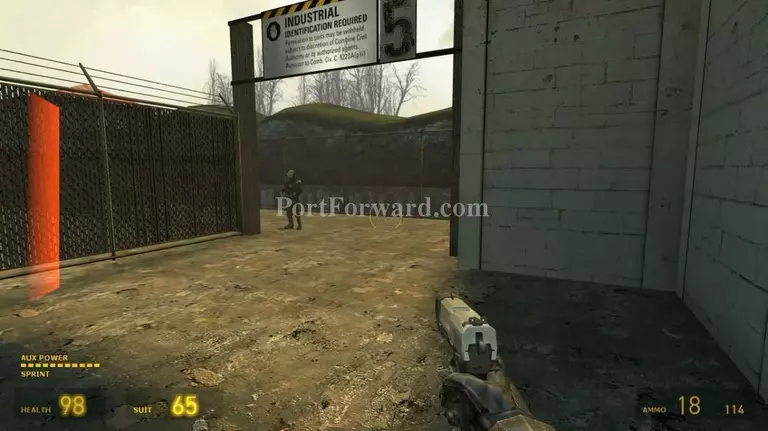
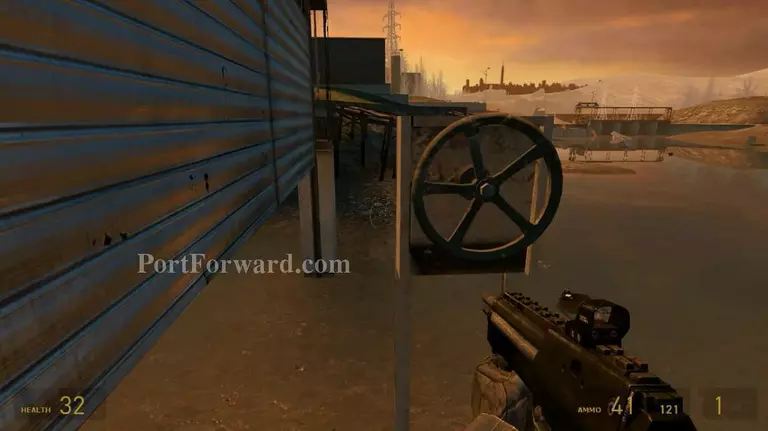
Are you here yet? No? Then find a way to get here. It won't be hard.
Careful...
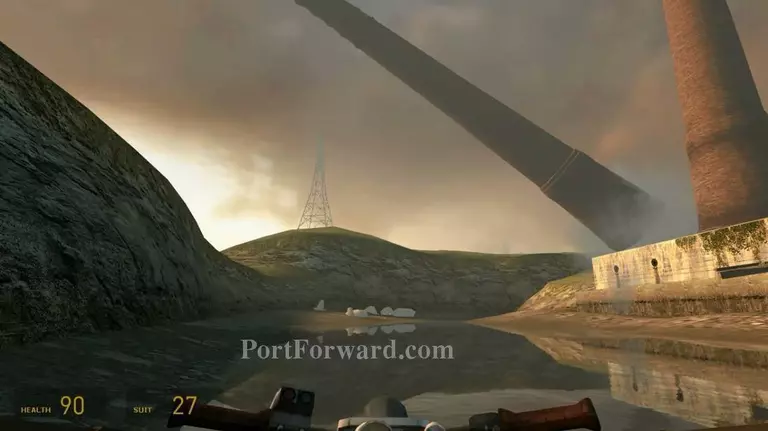
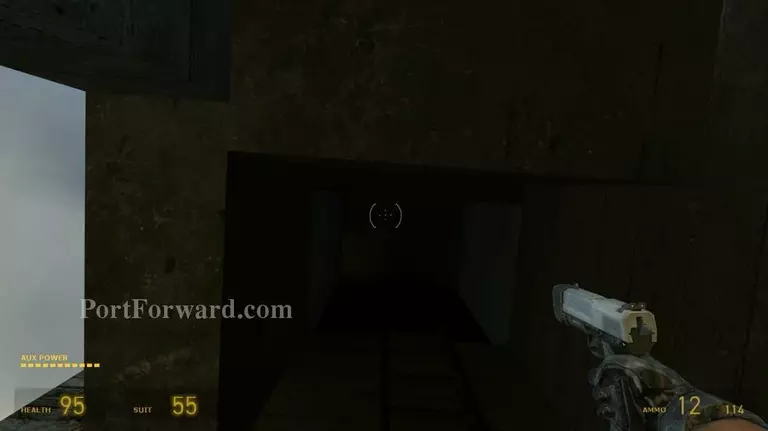
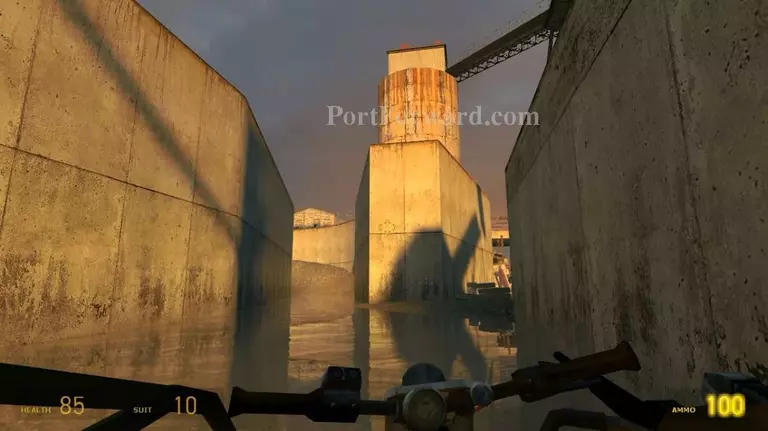
Don't go underneath it. Wait until the tower fall and break. There'll be a path.
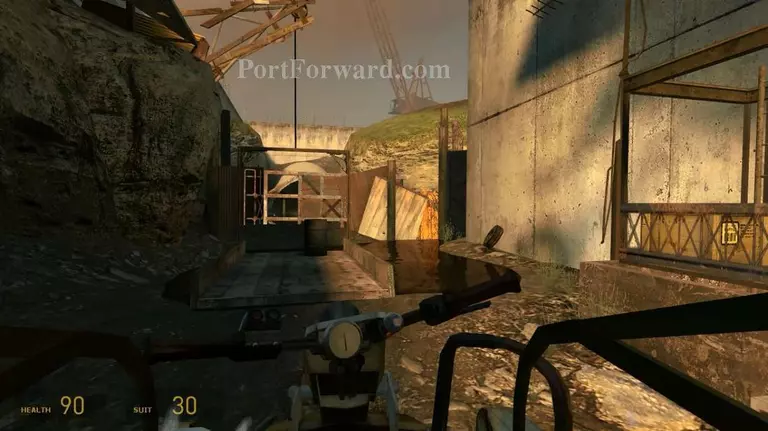
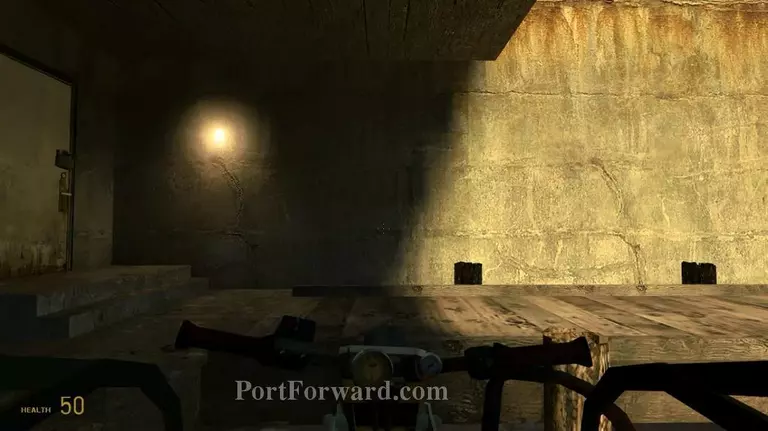
You''ll have to stop here. Find something heavy to make path.
Turn back and you'll see some unknown path lead place above you. Now go find a ladder behind there.

Push it to the ground.
Good.. Now go.
Upgraded hovercraft. Nice.
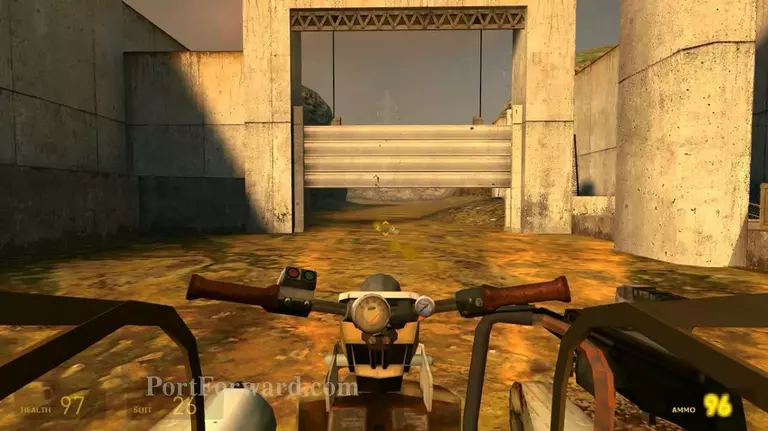
The gate is closing. No worry. Just turn back. There's a path behind.
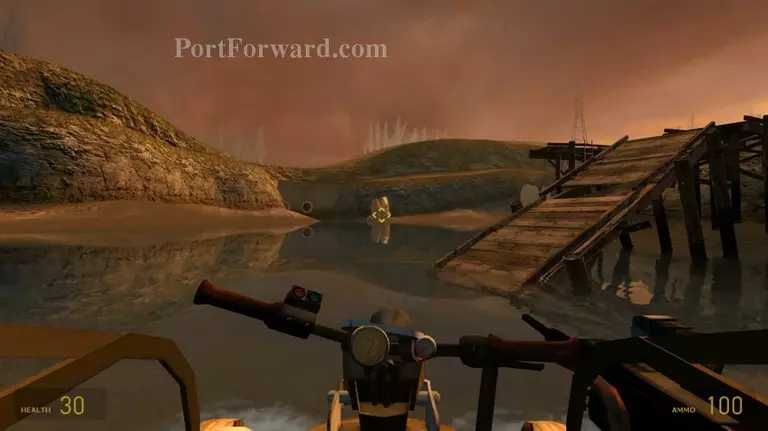
This is it. Keep going.
Now take left.
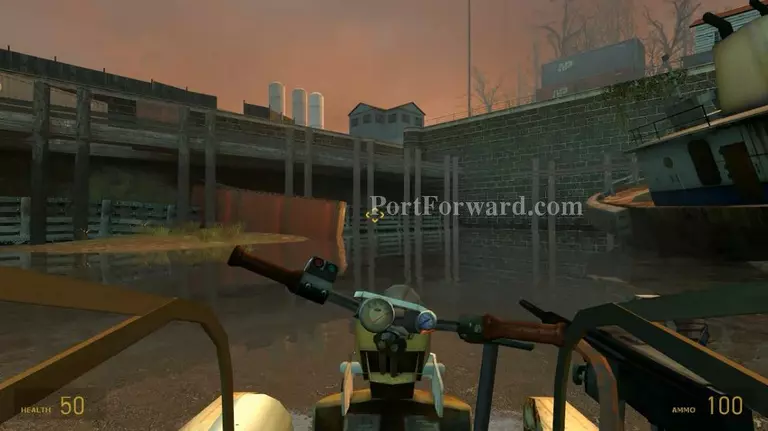
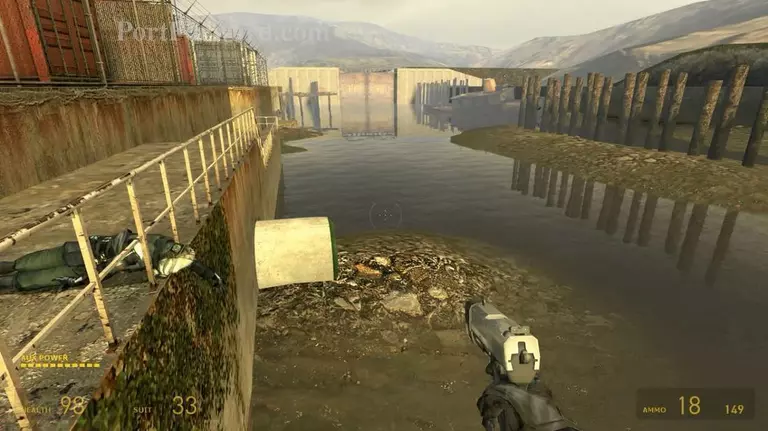
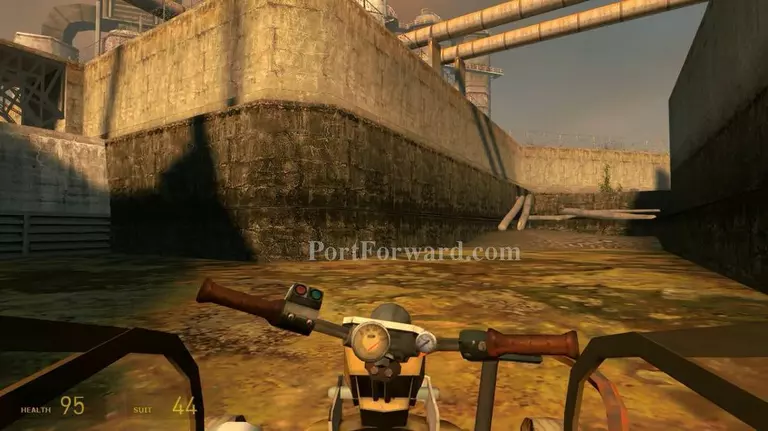
Find a safe place to stop.

You can get through this.
Turn around it and there're few explosive barrels inside. Shoot it and the door will open.
Get in your hovercraft and go through the path.
Wait. Now turn right. Dont go straight.
Now, you have to fight the heli.
When it destroyed. Go here. Climb up the ladder.
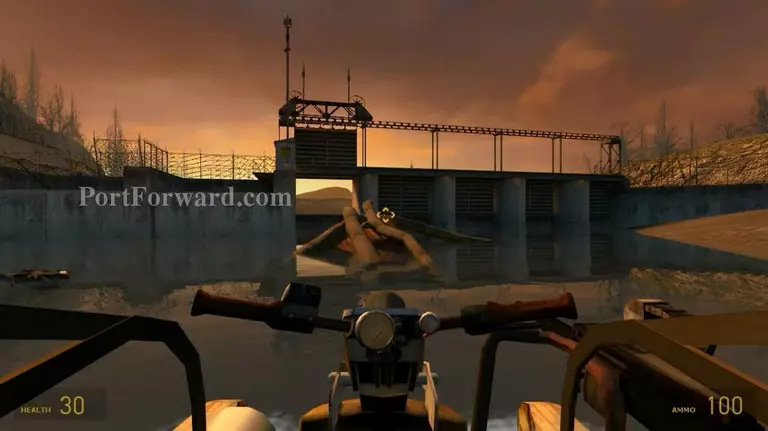
Open the gate.
Go up using your hovercraft. No need to get out.
Now you can get out or use the hovercraft.
Go to the other side.
Use this switch. Then head back to your hovercraft.
Go through the logs to pass the barrier.Do it carefully. So the chapter ends here. [END OF CHAPTER 4]
More Half-Life 2 Walkthroughs
This Half-Life 2 walkthrough is divided into 14 total pages.


