
This Murdered: Soul Suspect walkthrough is divided into 14 total pages.
You can jump to nearby pages of the game using the links above.
4th Floor Apartment Crime Scene
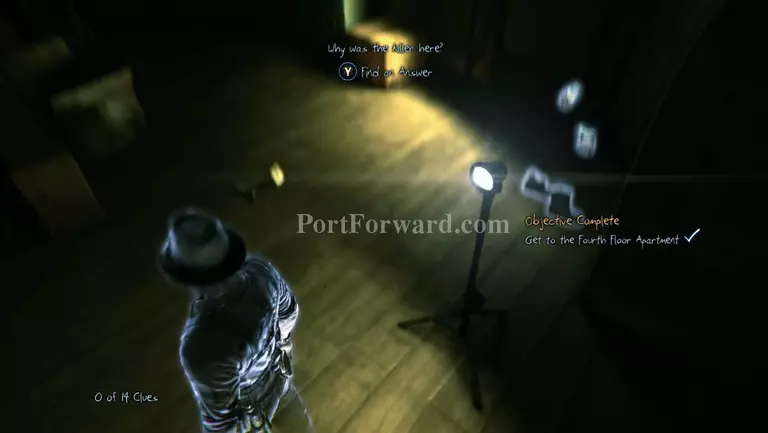
As soon as you enter you get 1 clue right off the bat. Now look to your right and you'll see your gun and a residue that was left behind.
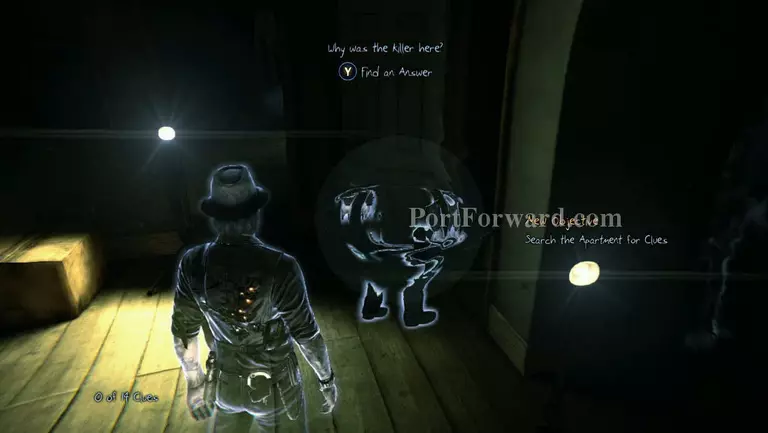
Look at the gun, then turn your attention to the residue of the Bell Killer. Focus on him, then press RT to reveal the whole image.
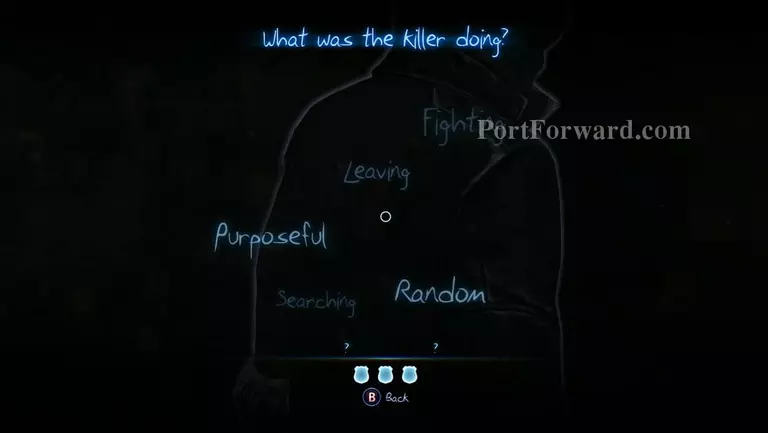
Examine the residue and you'll be given a set of words. Basically you have to pick whichever applies to the photo currently being shown. The answer is: Searching and Purposeful.
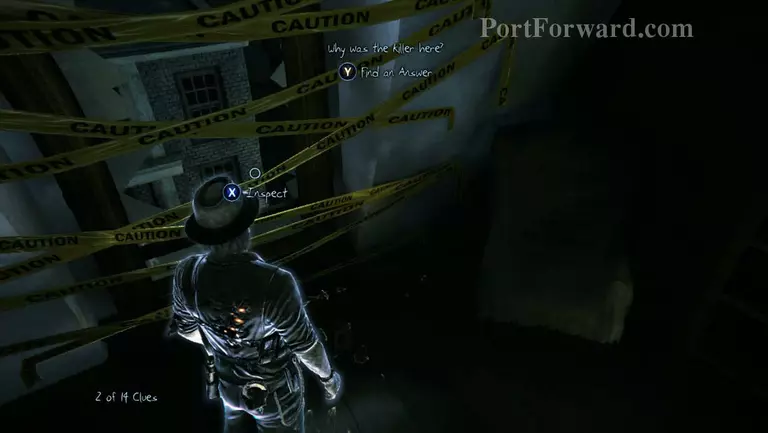
Head for the window with a lot of Caution tapes and examine it to gain another clue.
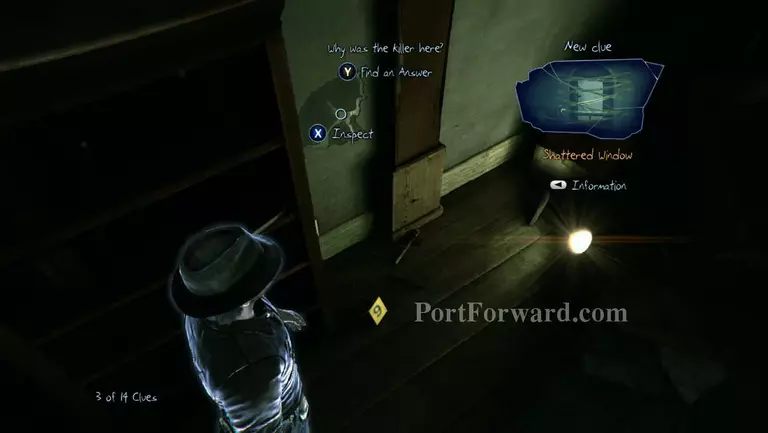
To the right of the window examine the part of the wall that's cracked.
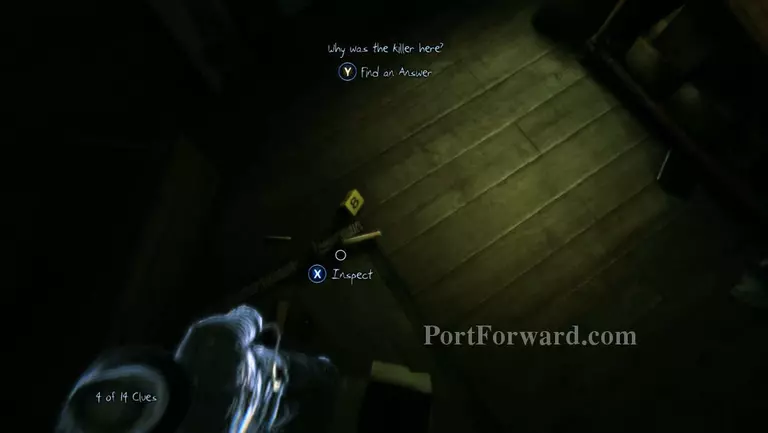
Across the room you'll find some knocked over candle sticks beside the evidence marker #8.
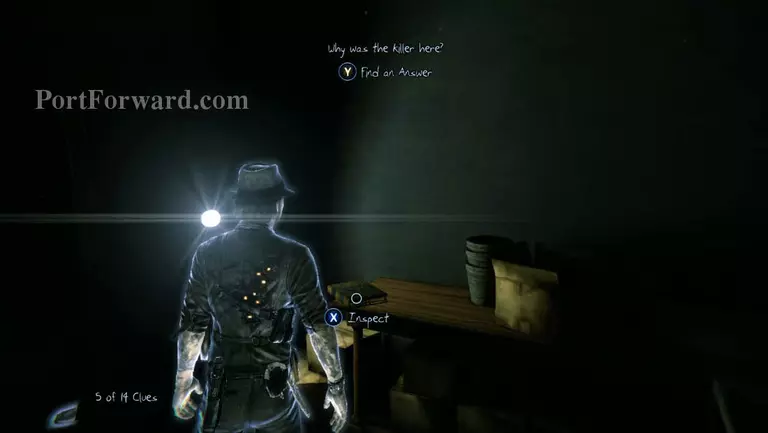
There's a book about spiritualism on top of the table near where the candle's are. Examine it to find another clue.
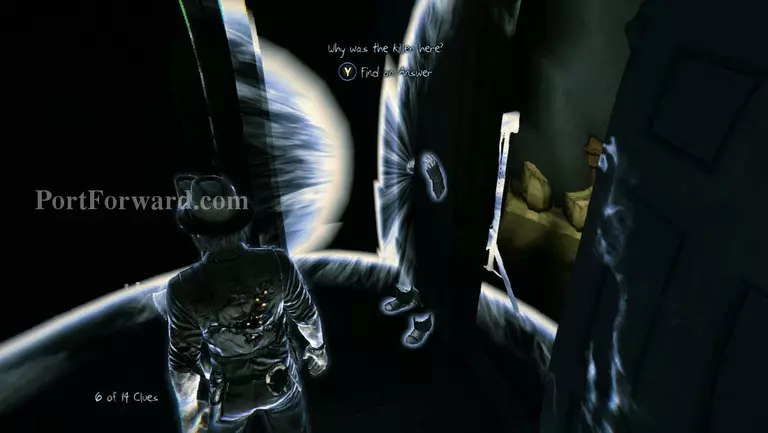
Now head inside the room right next to the table with the book and you'll find a residue right beside the door. Reveal it then examine the whole memory.
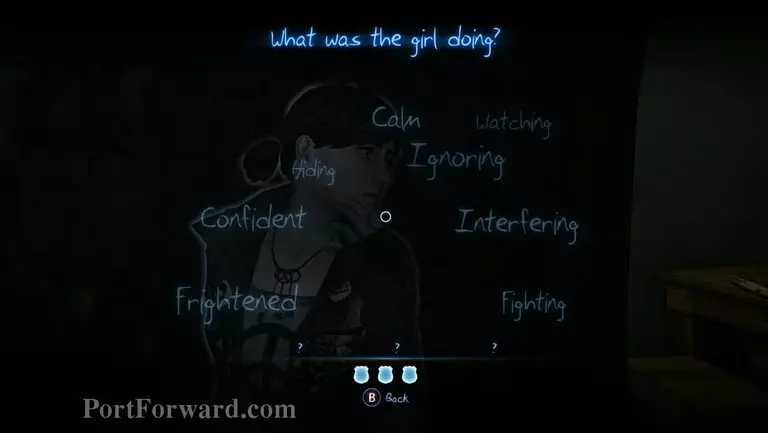
Once again you'll be given a bunch of words to choose from. Choose: Hiding, Frightened and Watching.
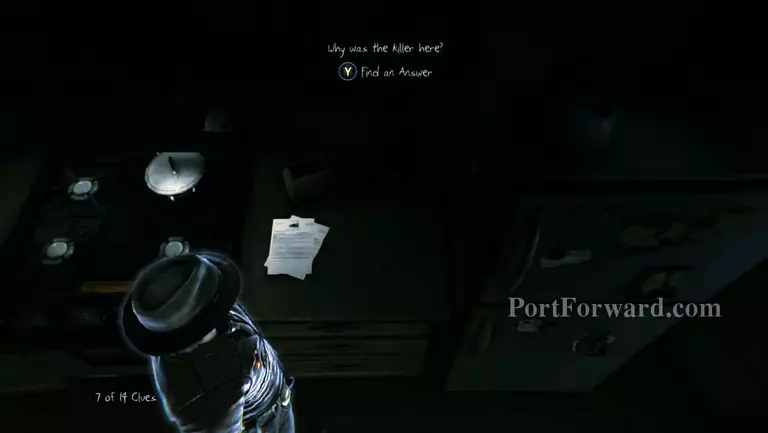
Head back into the kitchen and approach the stove. There's a pile of paper on top of the counter marked as a missing person's report.
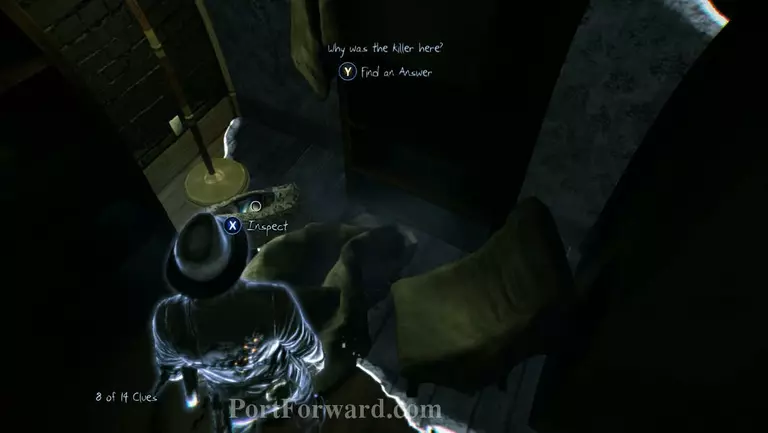
In the room to the right of the Bell Killer residue, you'll find a bag that's lying near the lamp. I tried viewing this item at the very beginning and I couldn't. I'm not sure if that was because there's a trigger for it or it just bugged on my machine. Either ways I'm listing clues in the order I found them as to not cause people grief in not being able to examine something that was supposed to be examine-able.

While in the same room as where the bag is, head over to the other end and you'll find some paper with drawings on the floor.
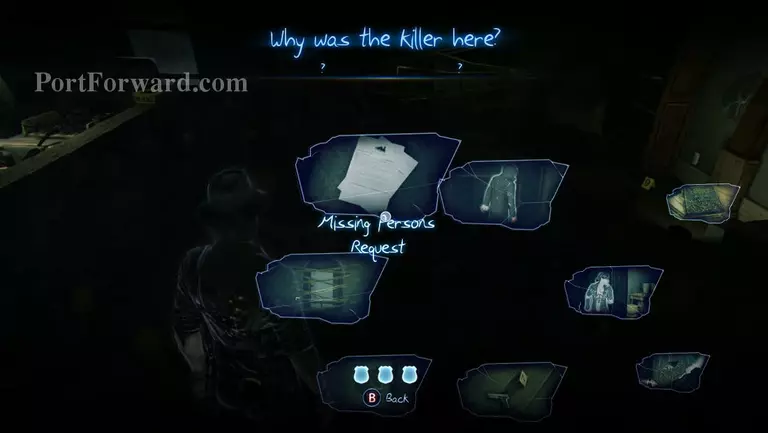
Once you've gotten all of the 10 clues available. Press Y and you'll be prompted to piece the events together. (the first clue doesn't add to this scene, so you actually get 11). The answer is: The Searching Killer and Hiding Witness.
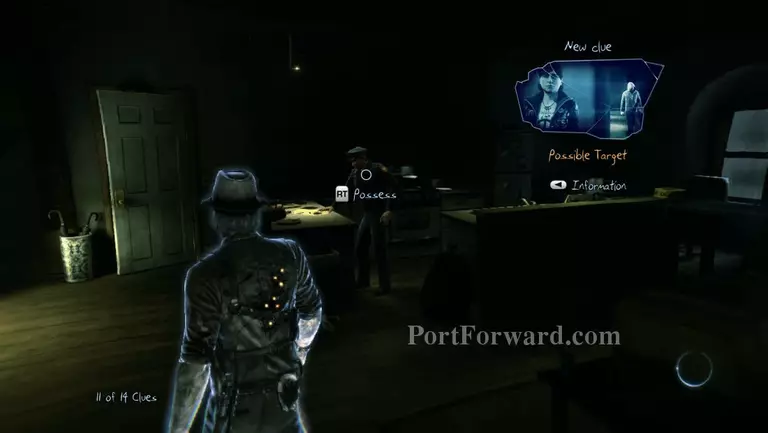
Look over to the police officer by the counter. Don't possess him yet, just approach him and look at the folders under his hand to gain another clue.
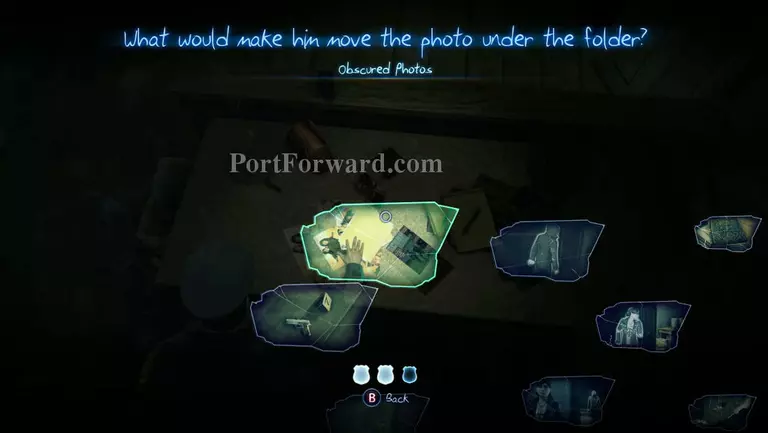
Now possess and influence him. Choose the "Obscured Photos" clue to get him to remove the folder and reveal the photos underneath.
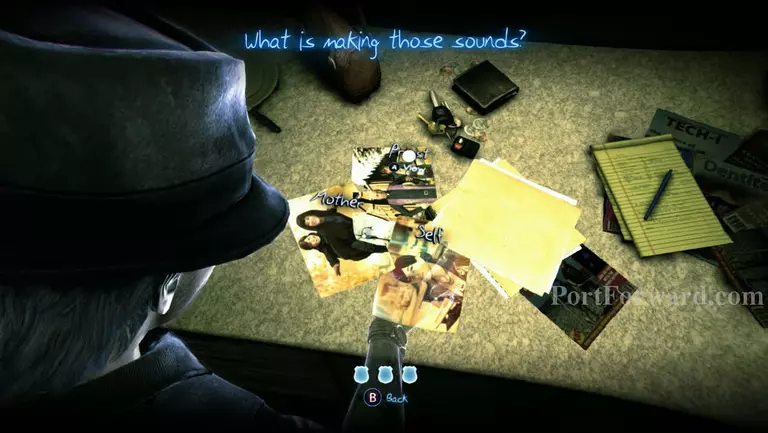
Dispossess the officer and examine the photos on the counter. You'll be prompted to choose which one you need to look at. Choose the photo of the priest.
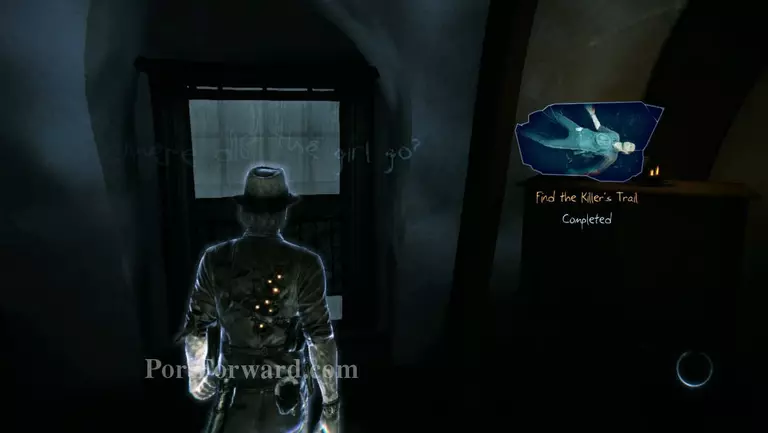
You'll automatically be taken in front of the open bedroom window after the cutscene. Exit the building through the window.
More Murdered: Soul Suspect Walkthroughs
This Murdered: Soul Suspect walkthrough is divided into 14 total pages.


