
This Murdered: Soul Suspect walkthrough is divided into 14 total pages.
You can jump to nearby pages of the game using the links above.
Police Station - Baxter's Office - Exit
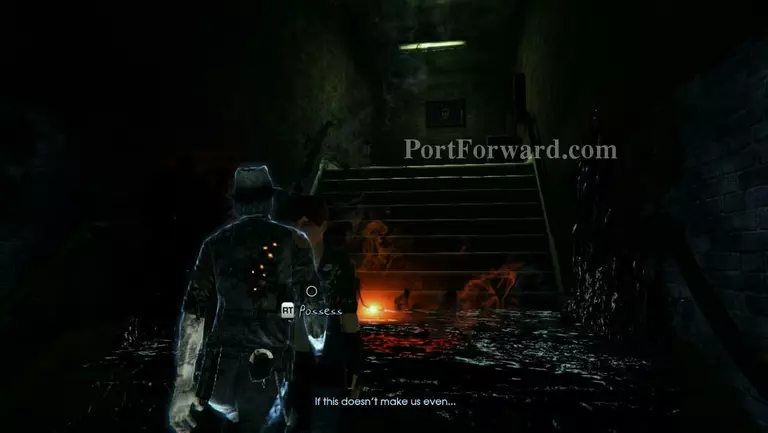
Approach Joy and possess her. She'll then help you get through the demon portal that's blocking the floor. Leave Joy's body as soon as she gets past the portal.
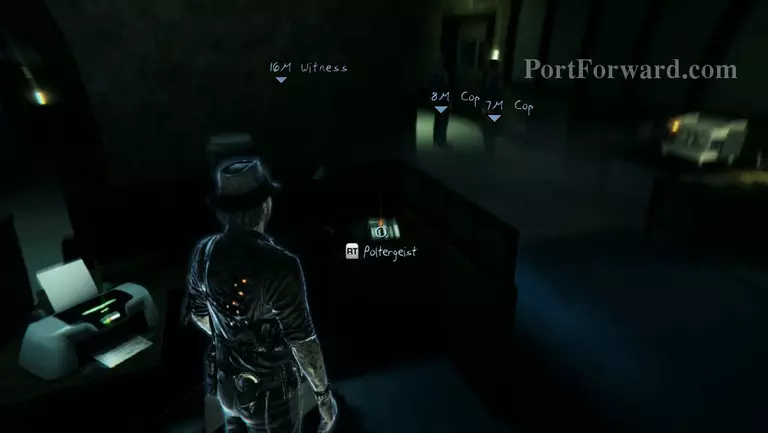
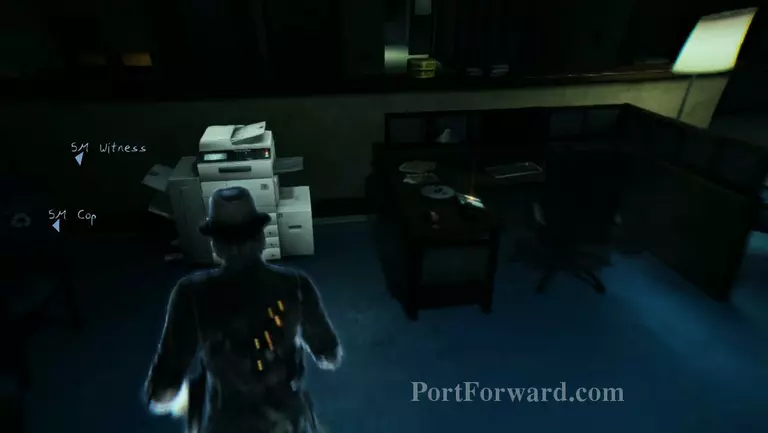
Move past the cops and poltergeist both the printer on the first table and the coffee machine near the door that Joy needs to get to. You need to do this quickly or else one of the cops will return and you'll have to start pressing stuff again.
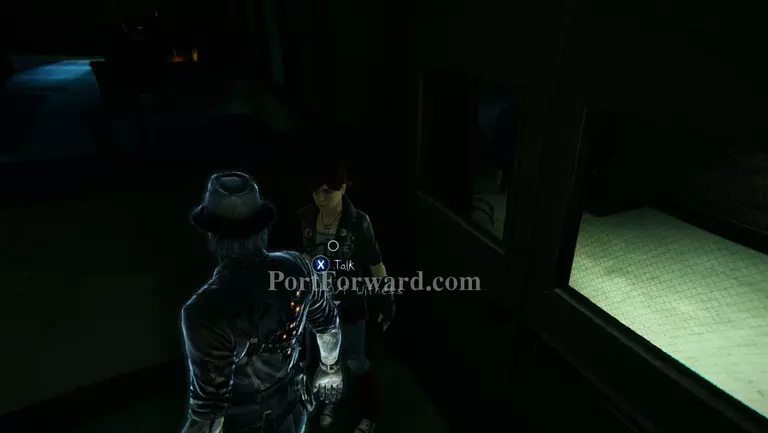
Once inside, talk to Joy and follow her into Baxter's office.
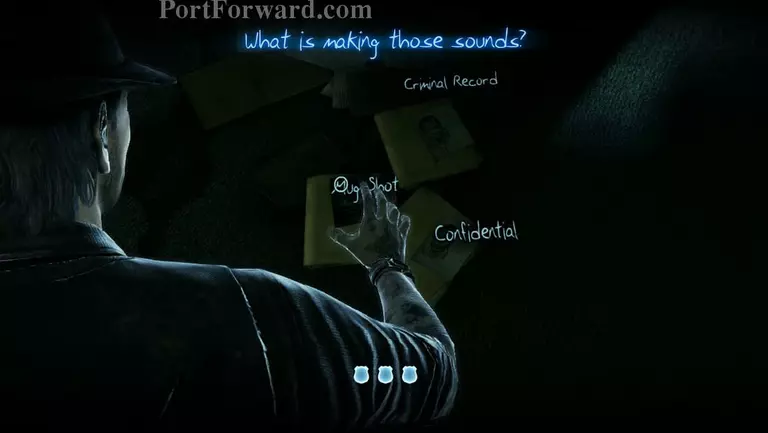
You'll immediately be given a question when you get in Baxter's office. Choose the mug shot when it appears on the screen.
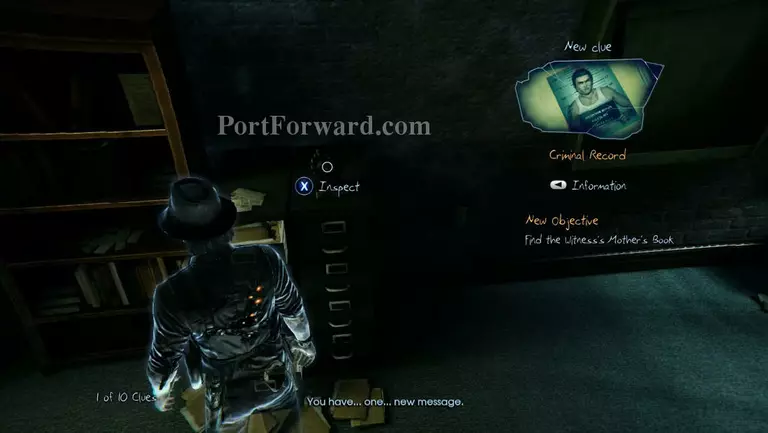
Okay, now to find some clues. First head to the left side of the room and examine the bowling trophy sitting on the file cabinet.
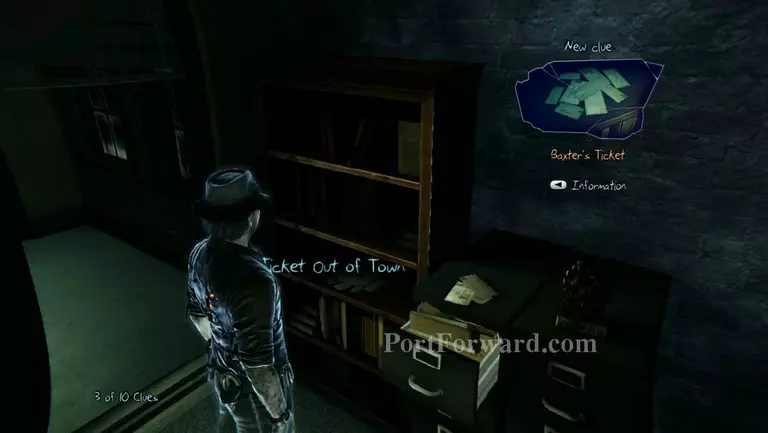
Then examine the tickets sitting on the shelf right next to the file cabinet. It's those scraps of paper on the third shelf from the bottom.
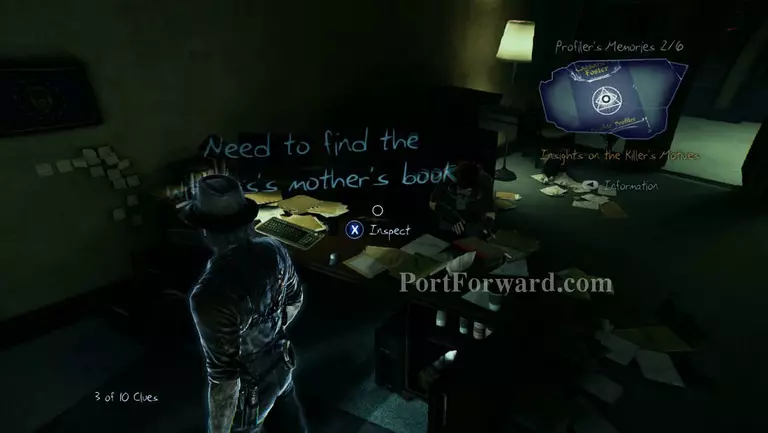
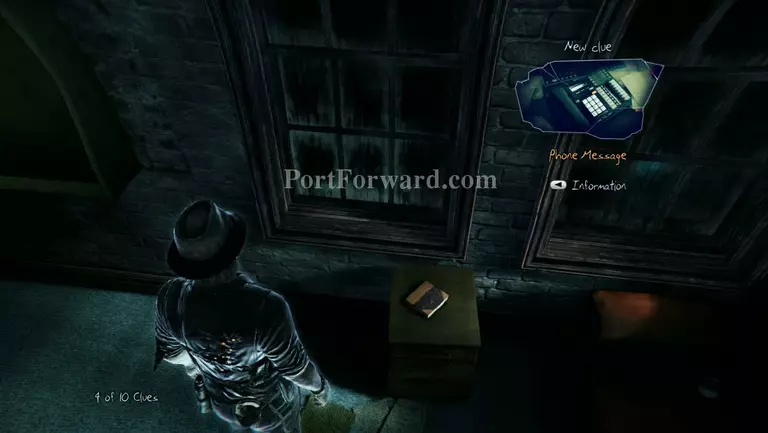
On the Baxter's desk there's a phone with a new message in it. Examine it, then talk to Joy and ask her to press the button for you.
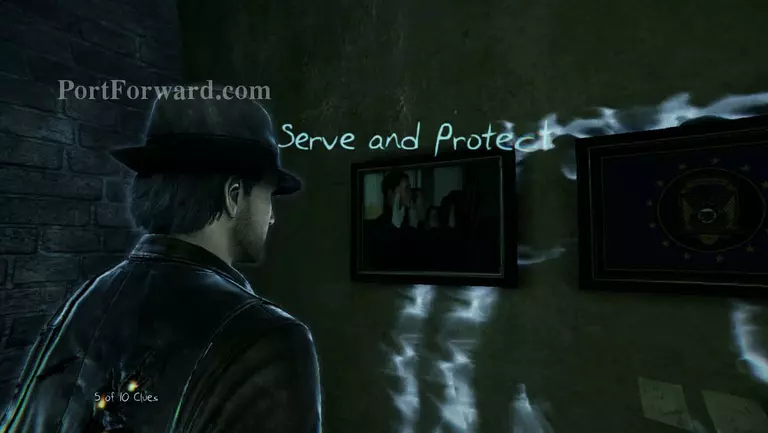
There are two frames hanging on the wall at the side of Baxter's desk. Examine both of them for clues.
Near the window there's a small nightstand. You'll find a Salem history book on top of it.
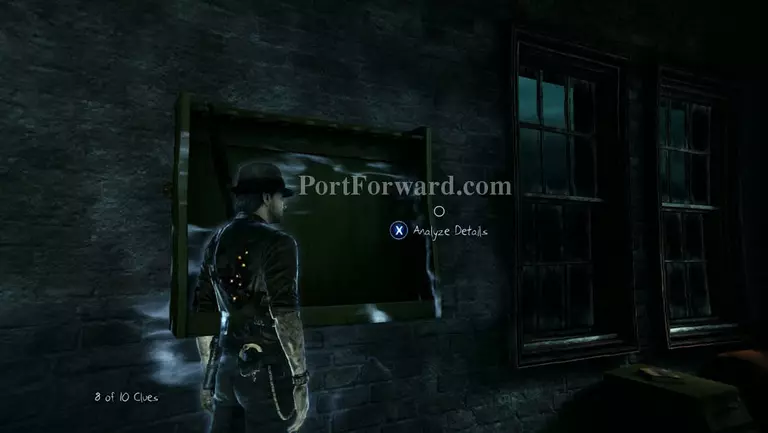
Now approach the gun rack near the window and examine the right side of it.
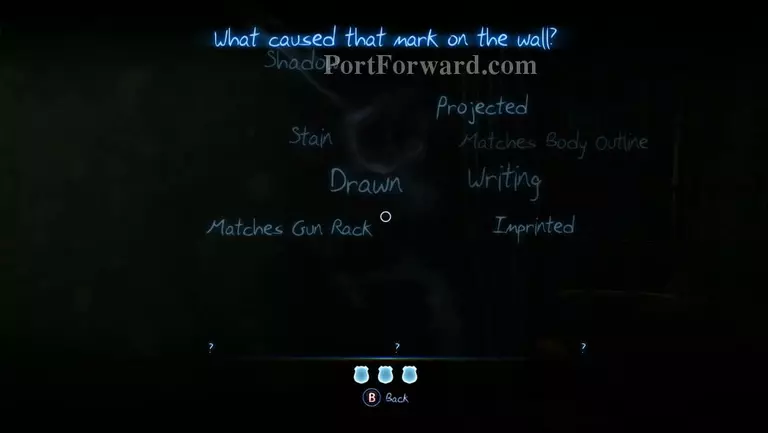
Words will pop-up as soon as you do. The answers are: Matches Gun Rack, Stain and Imprinted.
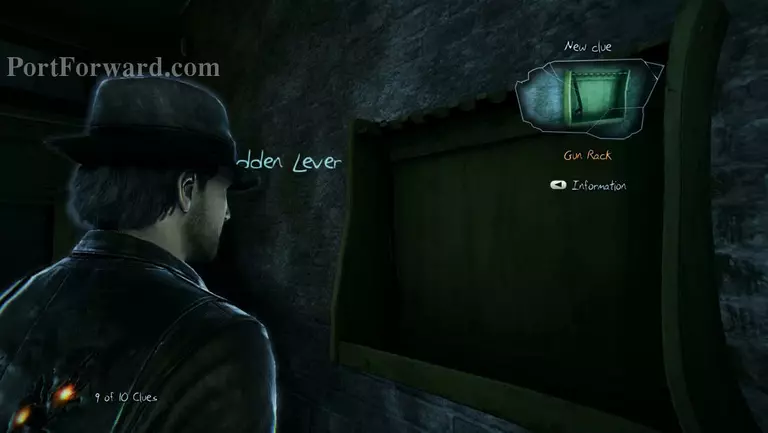
Examine the left side of the gun rack and you'll find a hidden lever. Go talk to Joy and ask her to open the hidden compartment for you.
You'll now have to make it out of the police office. Approach the paper copying machine at the end of the desks and poltergeist it. Joy will then move down the stairs.
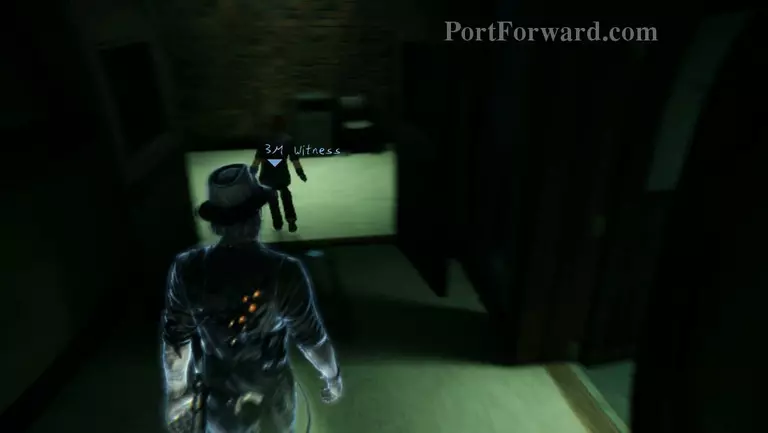
Follow Joy down the stairs and talk to her after she stops moving. Then follow her into the room that she's going to head towards.
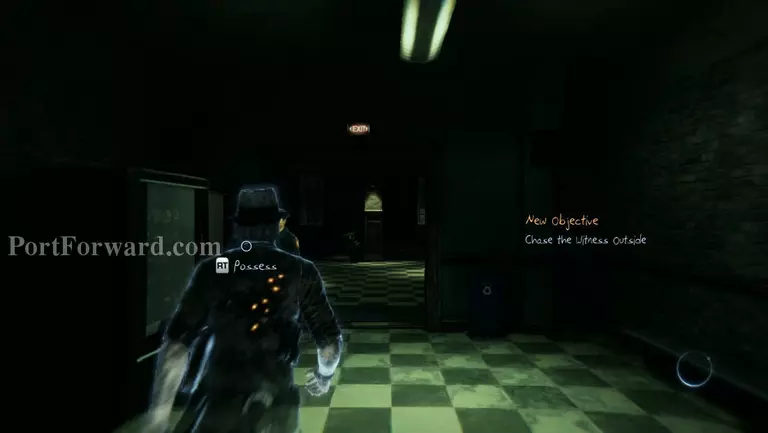
And so you get ditched again. Head over to the main entrance and leave the building.

Outside a cutscene will automatically start and you'll be prompted about which clue could convince Joy to help you. Choose the clue "Witness's Mother's Note."
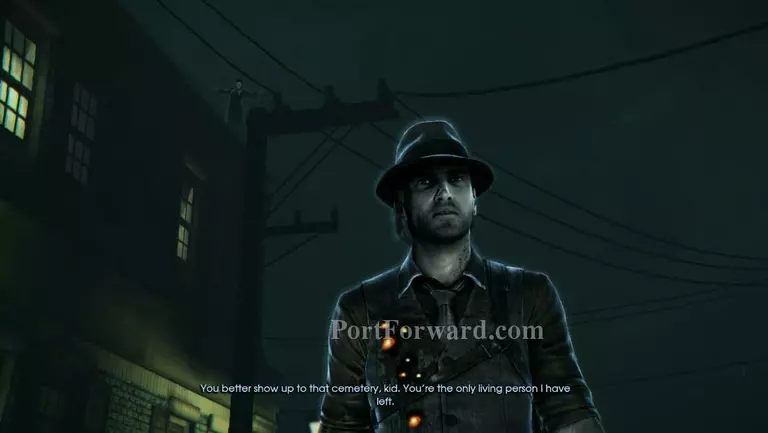
Creepy kid doing creepy stuff at roof alert. Now that you've gotten the clue to where you need to be, follow the marker and head over to the cemetery.
More Murdered: Soul Suspect Walkthroughs
This Murdered: Soul Suspect walkthrough is divided into 14 total pages.


