
This Murdered: Soul Suspect walkthrough is divided into 14 total pages.
You can jump to nearby pages of the game using the links above.
Cemetery
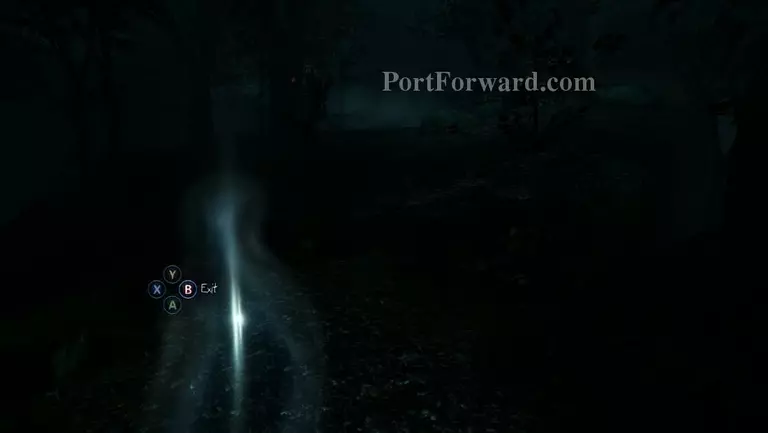
Inside the cemetary head across the bridge and you'll find Joy walking around the graves with a flashlight.
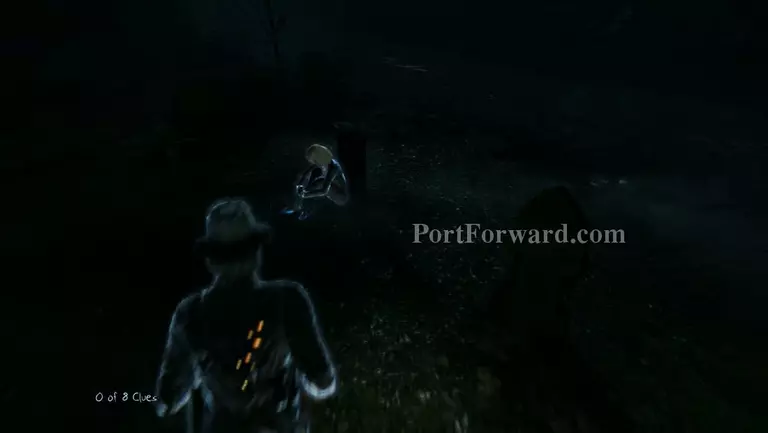
After speaking with Joy, head over to the woman sitting with her back against a tombstone. She'll inform you of what she saw.
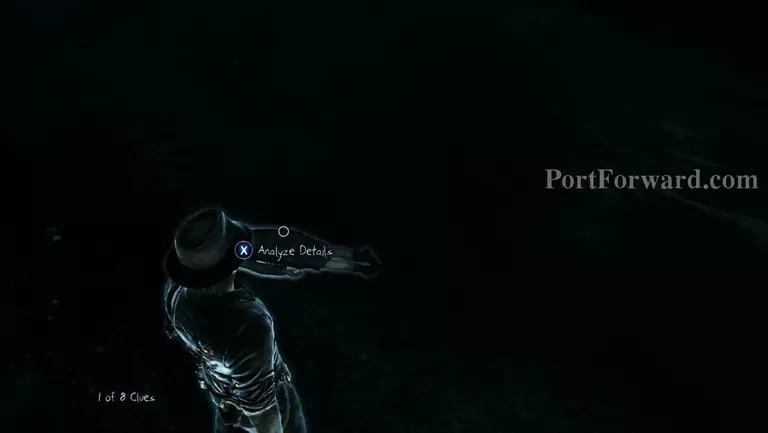
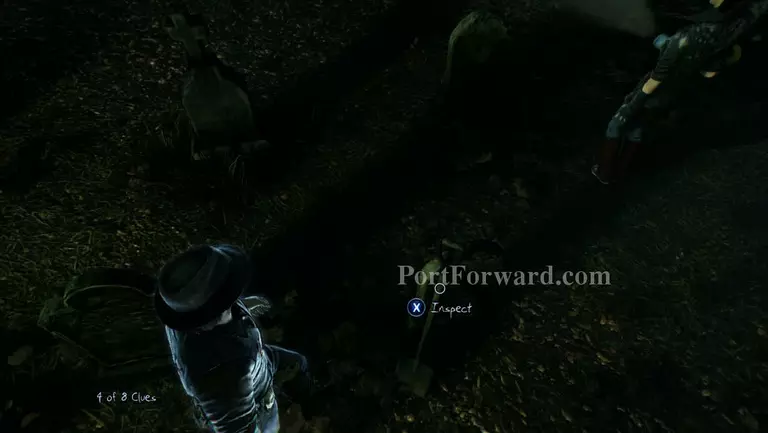
Now head for the side of the steam right behind her and reveal the residue, then examine it. There are also some shoe print near the side of the steam.
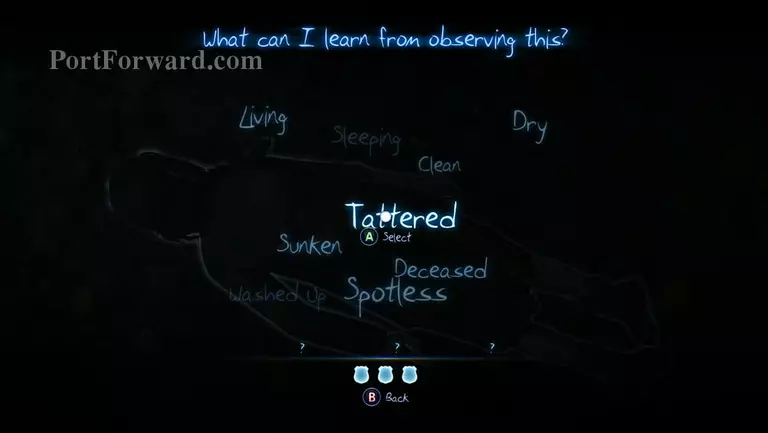
Words will come up in your screen. Choose: Tattered, Washed up and Deceased at the word selection to progress with the clues.

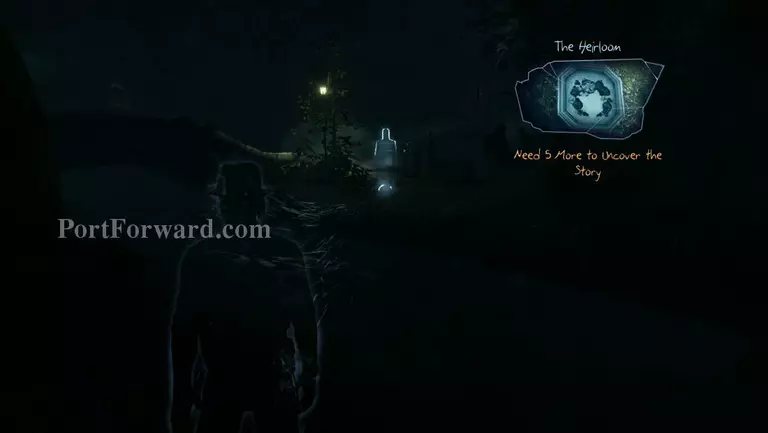
Head over to the right side of the bridge and you'll see the man that you saw in the vision. Speak to him and he'll tell you that he saw something in the bushes.
Examine the tombstone near Joy to find a shovel leaning over one of the graves.
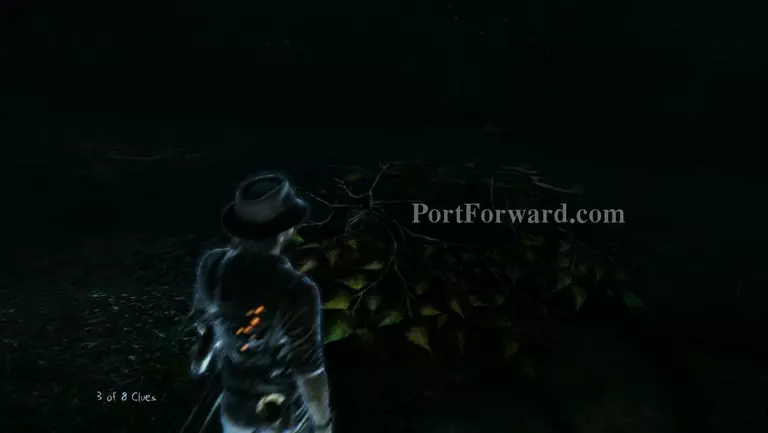
Inspect the tree with the police tape on it, examine the bushes right next to it to find that it's too dark for you to see anything.

Speak to Joy and she'll drag a rope out from under the bush. Examine it and choose "Pattern of Victim Deaths" from the clues.
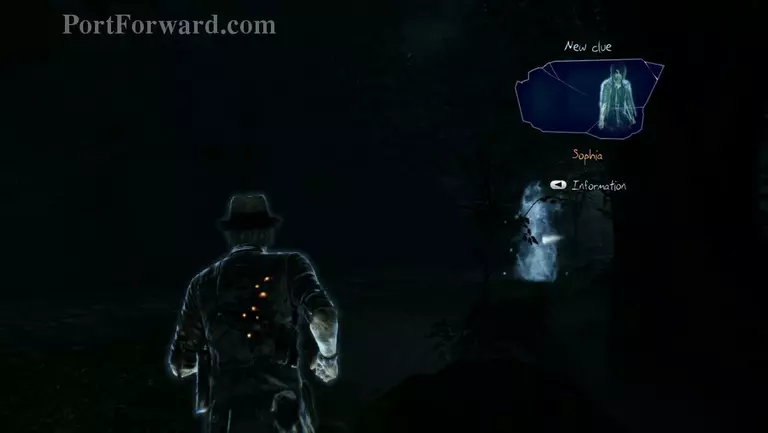
Speak to Joy again and ghosts will crash in your talk, which will then also be crashed into by demons. After the cutscene, follow Sophia around the path until you see demons.
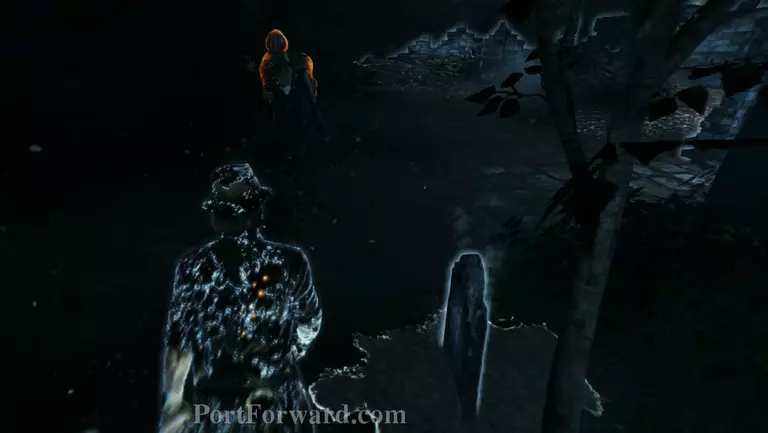
Hide inside the residue right behind the first demon. Wait for it to turn its back on you, then kill it.
The other 2 demons are optional since you won't be passing by these guys. But it's still best if you kill them anyways.
Go down the hill and turn right. You'll find Sophia climbing up on the hill that connects to that road. Continue following her.
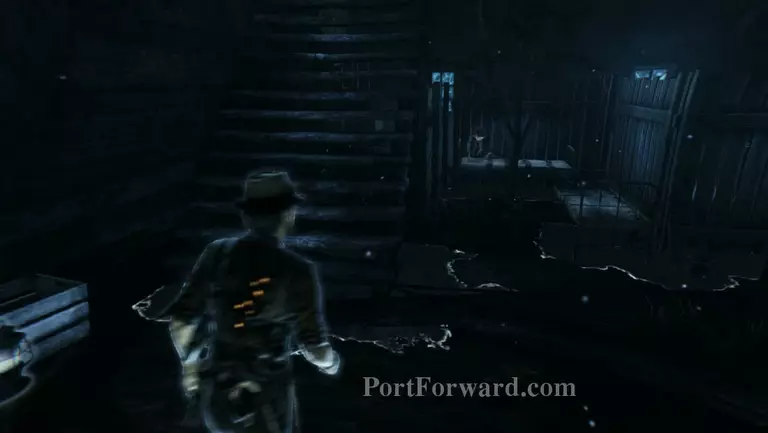
Climb up the stone steps and you'll find yourself inside a makeshift hospital. Turn right and climb up the set of stairs. At the top of the stairs you'll find Sophia.
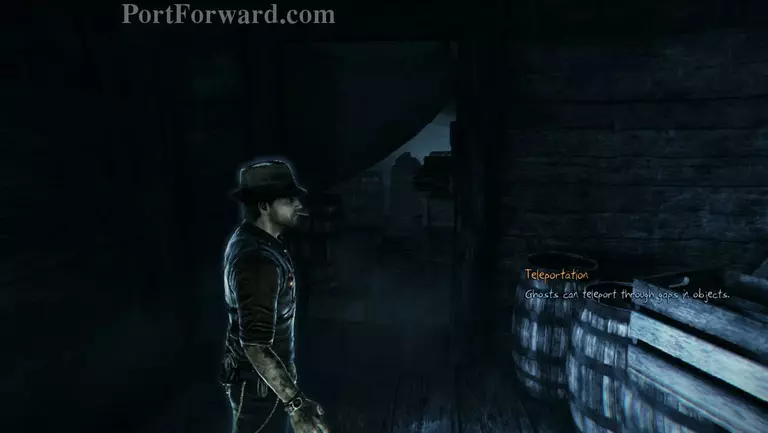
At this point you'll be able to teleport. Press LB and point your cursor to the floor on the opposite side, then let go and you'll be able to teleport.
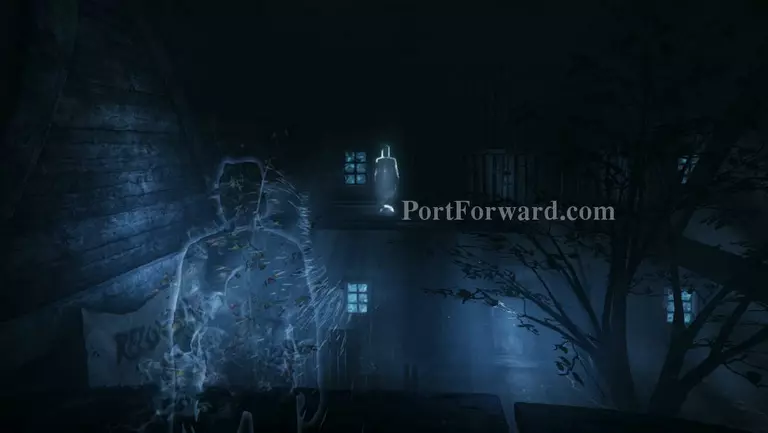
Now that you can teleport you'll be able to follow Sophia through the hospital. Keep following her until you get back outside.
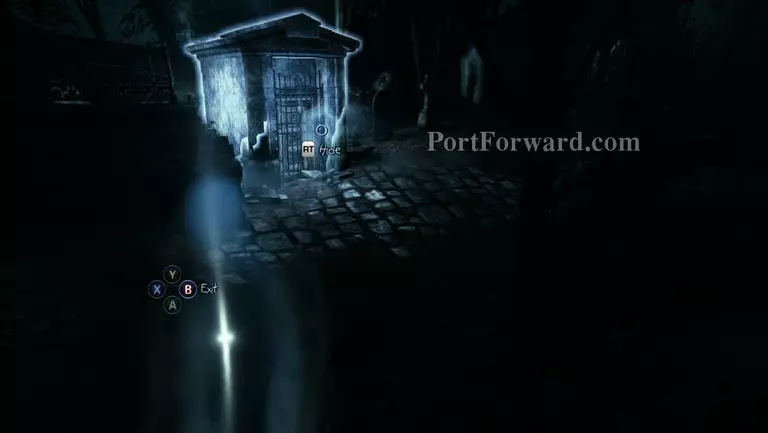
Outside, follow Sophia up the path and teleport through the ghost wall past the TV crew and you'll find yourself against 3 demons.
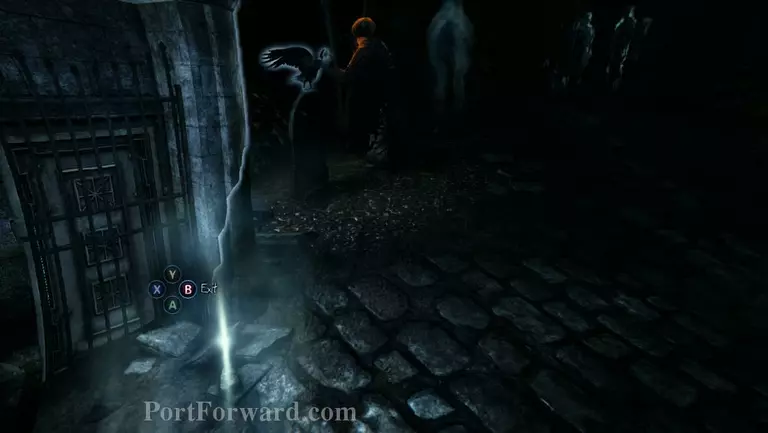
Hide inside the residue near the gazebo-type grave and use the crow to distract the demon. Once it takes the bait, get behind it and kill it.

Make your way towards the left side and hide inside the second large grave. Hide inside it and press RB. Wait for the demon to get close enough, then kill it.

For the last one you'll need to head back out and use the residues to get back to the right side. Hide behind the small wall and wait for it to turn towards the grave on the left side, then kill it.
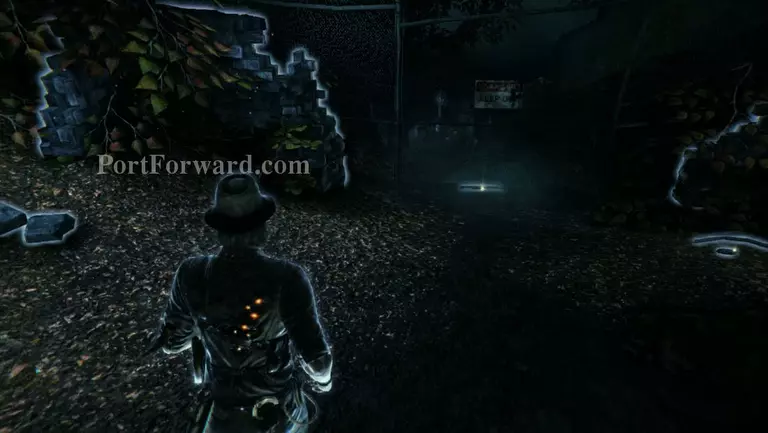
Now head down the road, past the Keep Out sign and down the hill. From here on you'll just have to follow the linear path until you reach Sophia.
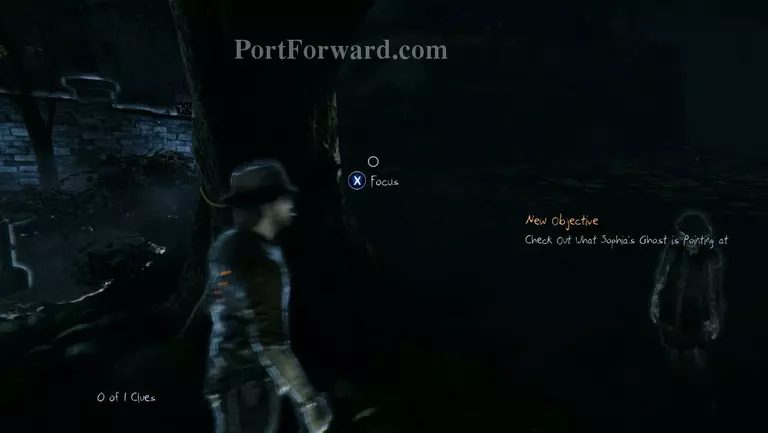
When she points at the tree, head around it and focus on the trunk. 3 choices will then come up, choose the cracks on the tree to proceed.
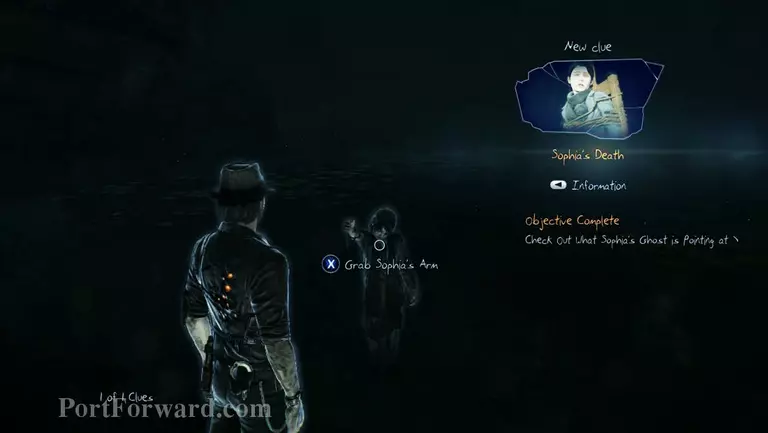
She'll reach out to you. Go ahead and touch her hand. You're gonna have to do this twice before you can finish the cutscene completely.
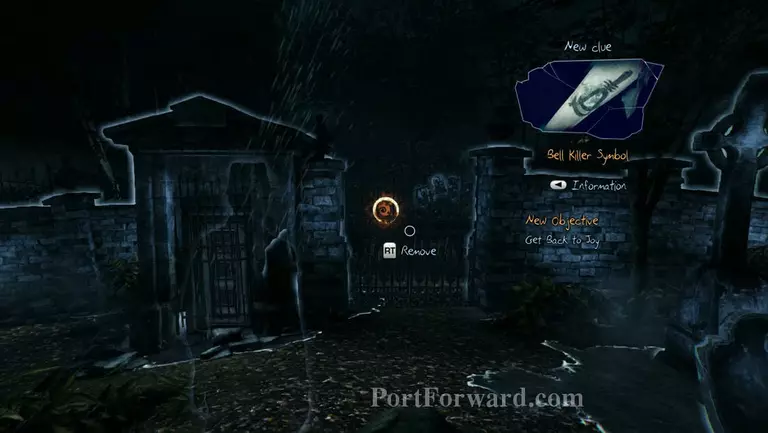
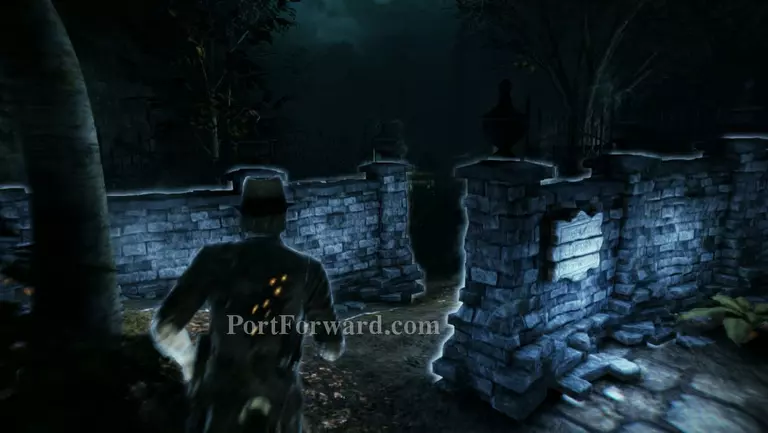
After the cutscene head for the gate that's near the tree where Sophia was killed. Focus on the gate and press RT to remove it so you can pass through.
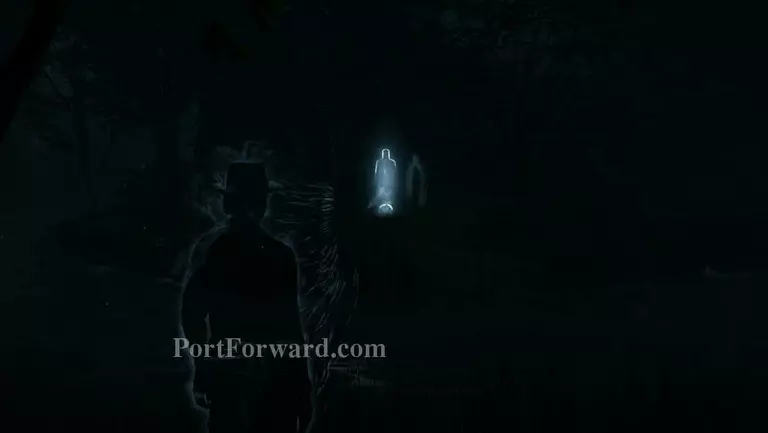
Then use your teleportation ability to pass through the water and teleport on the other side until you get back to the bridge.
Joy will be near the bridge, still looking around with her flashlight. Teleport near her to start another cutscene. You will automatically leave the cemetary after the cutscene.
More Murdered: Soul Suspect Walkthroughs
This Murdered: Soul Suspect walkthrough is divided into 14 total pages.


