
This Murdered: Soul Suspect walkthrough is divided into 14 total pages.
You can jump to nearby pages of the game using the links above.
Mental Hospital
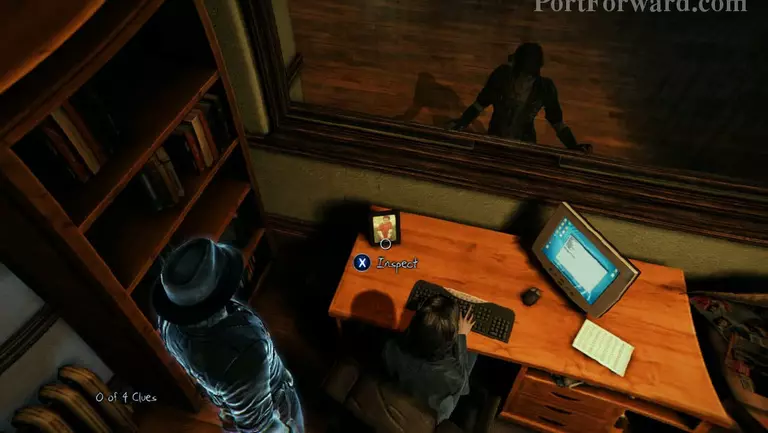
You need to find a way to get the room number. Check the photo of a young boy and the documents by the monitor that the lady is using.
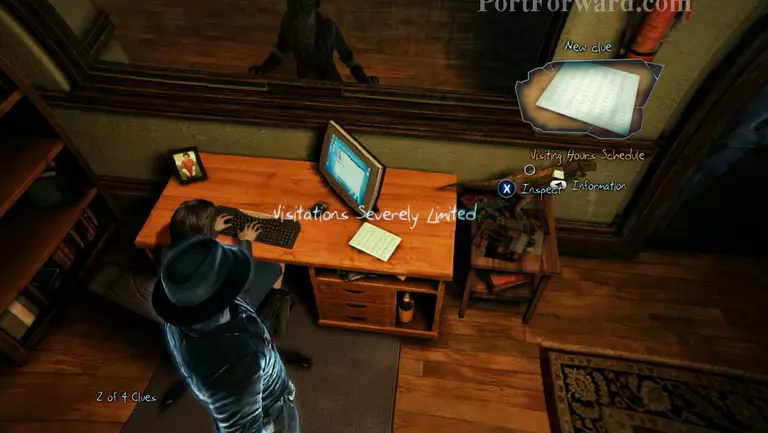
To the right side of the table there's a T-rex toy standing on top of some photos. Examine it.
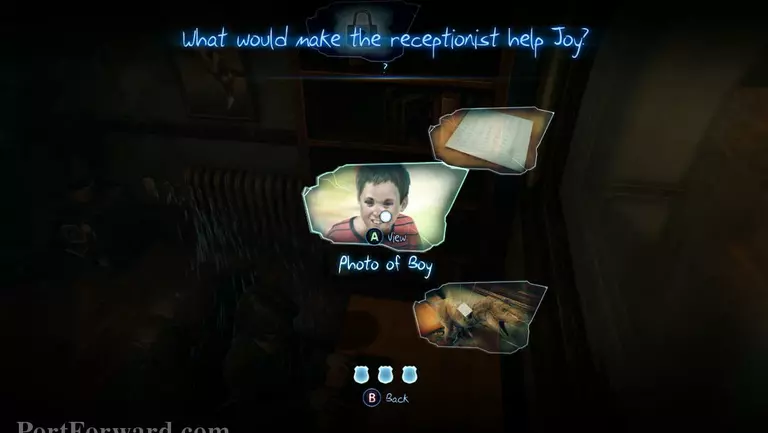
Now influence the lady and choose the Photo of Boy clue to get her to bring up Iris' file on the computer.
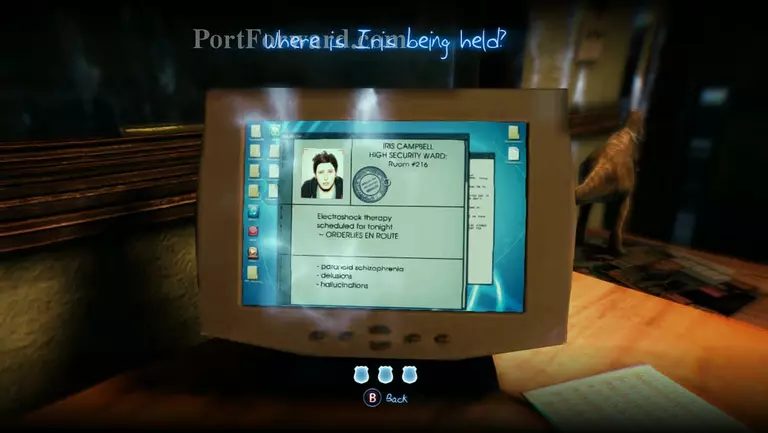
When she does, press A to peek on the monitor. Now click on the room number near the top of the page to get your destination.

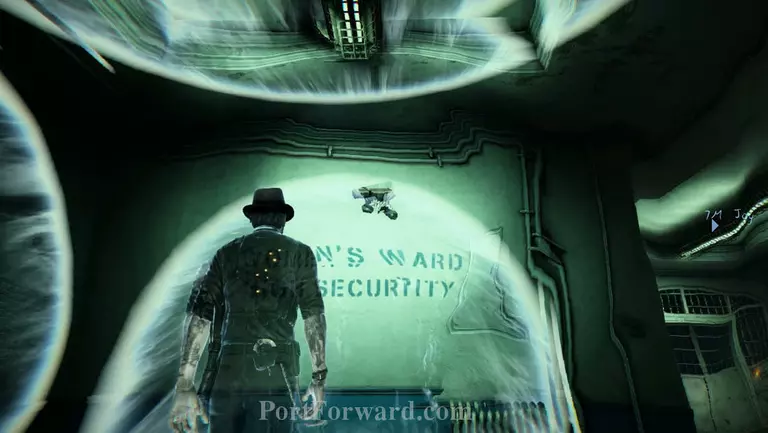
Joy will now sneak past the reception office. Follow her up the stairs and to the door that leads to the women's ward. Poltergeist the camera that's inside he first room so Joy can continue.
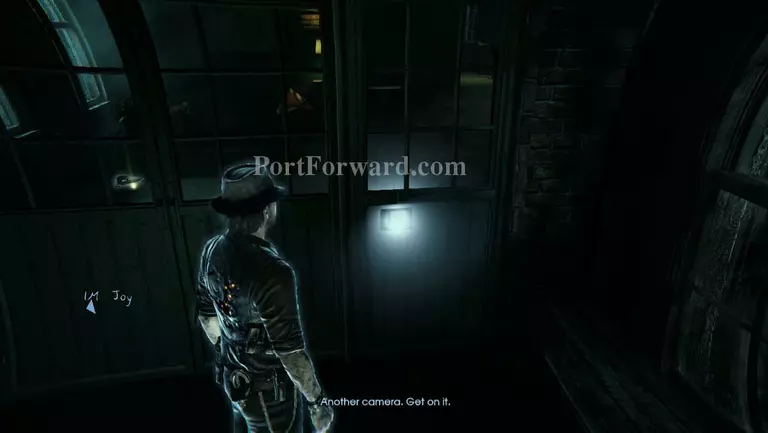
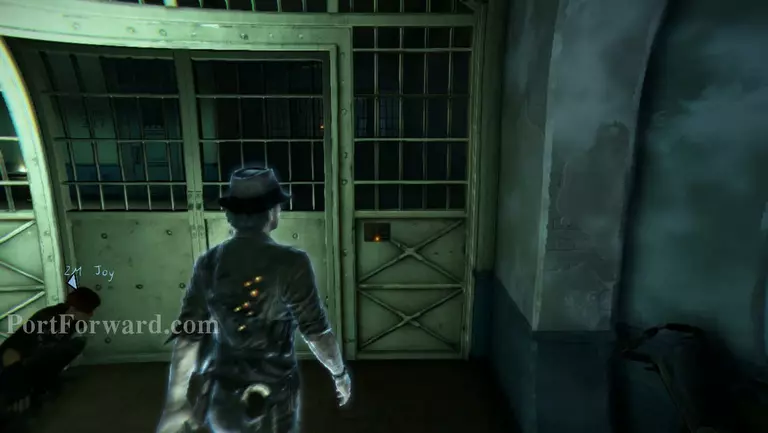
Now follow her to the main door that leads to the women's ward and poltergeist the electronic door as well as the camera just in front of that door.
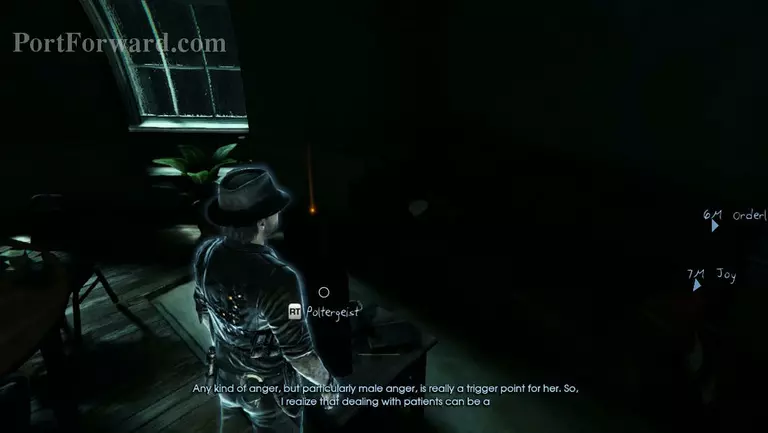
You have to get the orderly out of the way so that Joy can pass through. To the right of the hallway, right in front of the orderly, there's a TV. Poltergeist the TV to make him leave his post.
There's also a camera right on top of the wall near the vending machine. Poltergeist it and Joy will start moving towards the hallway.
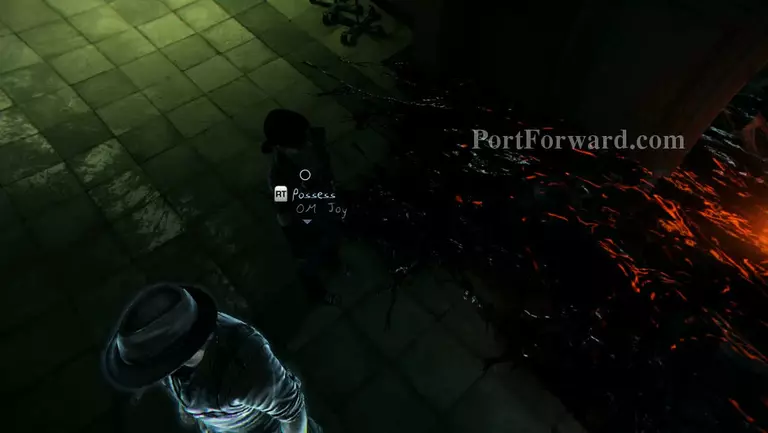
Keep following Joy until you get to the demon portal again. Possess her to make it through the portal unharmed.
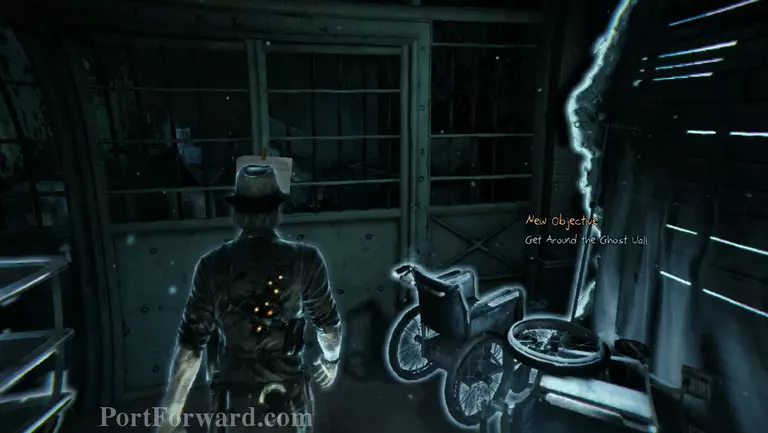
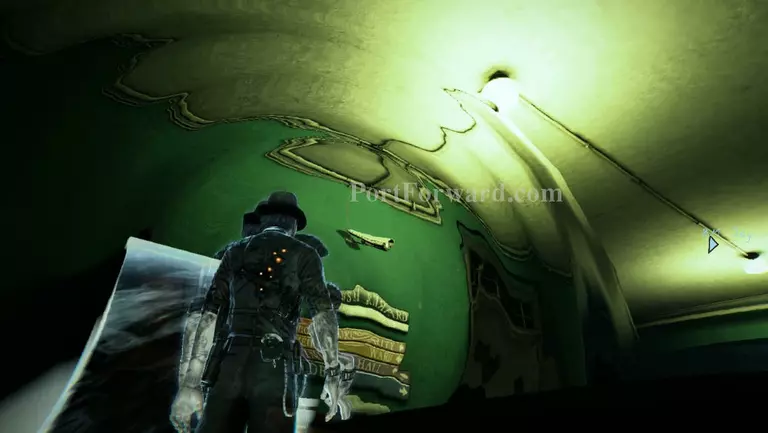
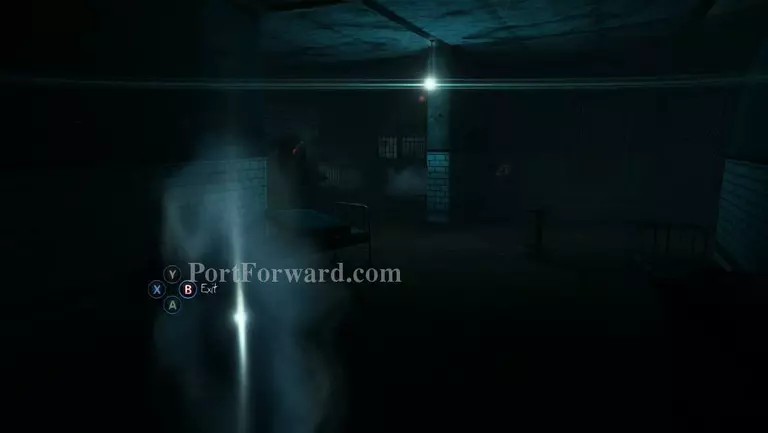
You'll have to split up with Joy, since there's the huge ass ghost door blocking your access to the high security ward. Take a left and you'll find a closed off section of the ward.
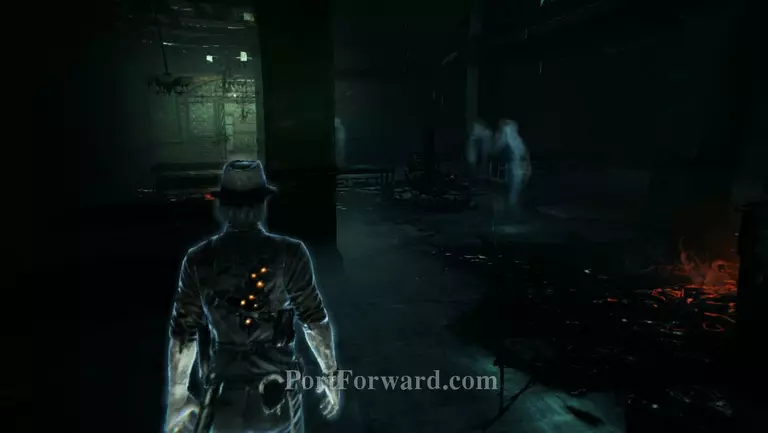
Head in through the only door in that room and you'll find yourself in an area where there are 2 demon portals. Now it's important to remember that you won't get away with teleporting to the other side of these. Just walk your way across, cause teleporting won't work. The hands will catch you.
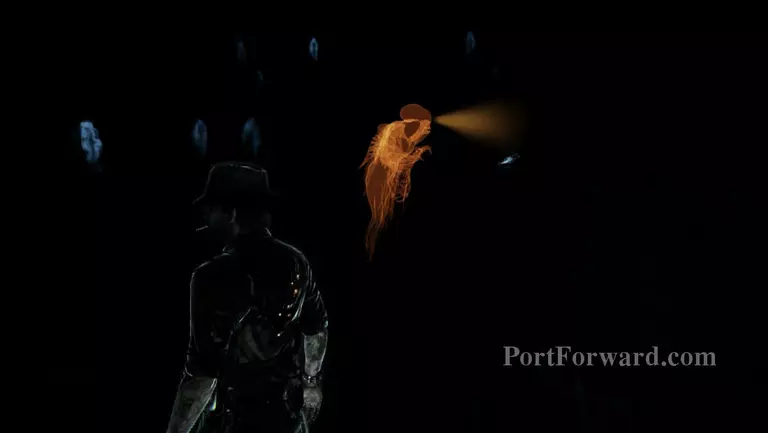
At the bottom of the hole on the opposite end of the room there's a black cat sitting on the ledge. Possess it and climb up the fallen parts of the floor and into the vent.
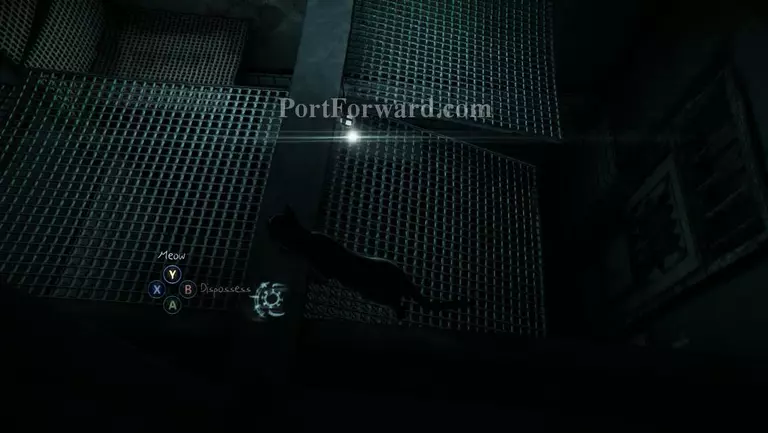
Make your way through the vent. It's linear so you won't get lost. Drop down at the end of it and you'll hear demons scream. Now drop down to the floor below and dispossess the cat.

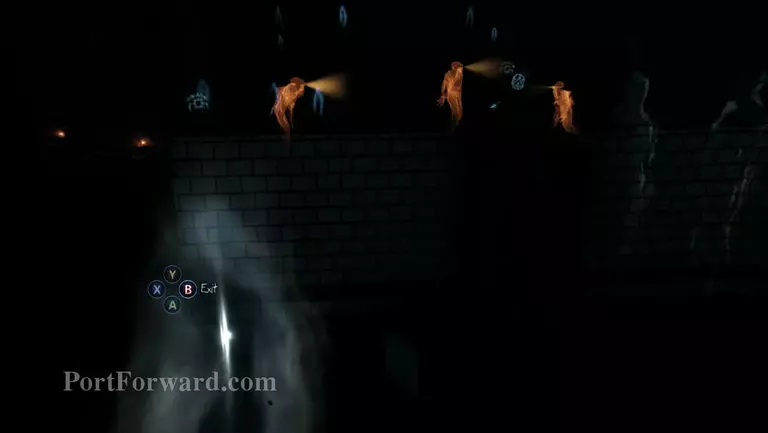
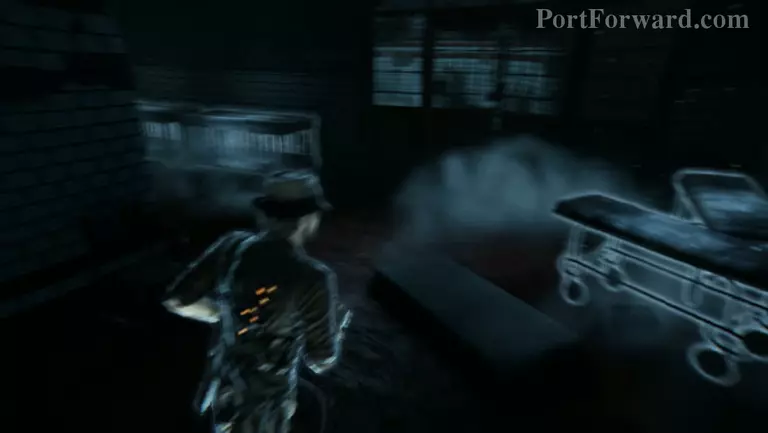
This stealth kill is probably the hardest I've ever encountered in this game. Okay, so first of all don't go after the one that's closest to you. Make your way to the back of the room via the residues.
When you get to the last residue, press RB and look at the demons movements. You're gonna kill the one to the left most of this picture.
Now leave the residue and hide inside the room to the right of it. Press RB and wait for the demon to get close and turn around, then leave the room and kill it.
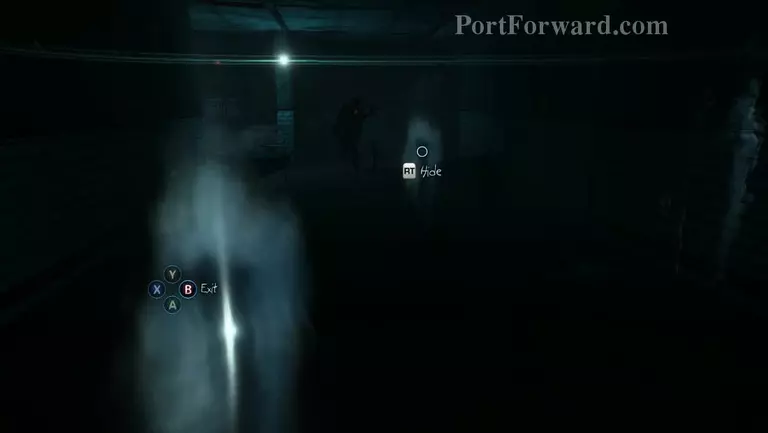
Hide inside the residue again and make your way to the residue at the center of the room, near where the 2 demons are lurking. Ignore the crow you don't need it.
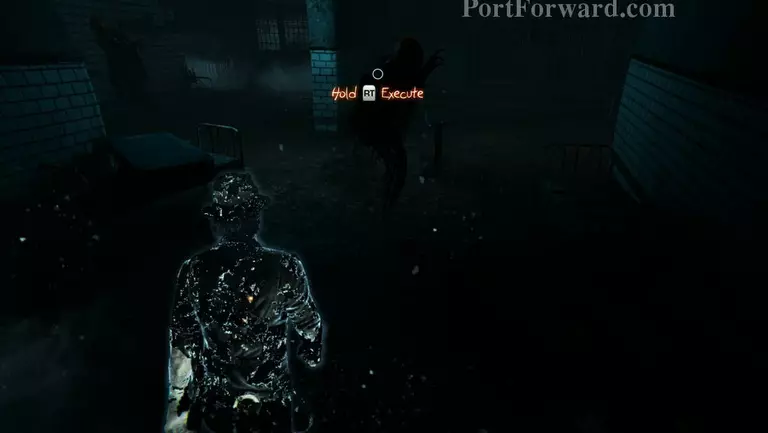
Wait for the demon on the right side to walk towards you and turn it's back on you, then quickly leave the residue and kill it.
Get back inside the residue to avoid detection. When the last demon turns around, leave the residue and hide inside the room that's nearest to it.
Once you're inside the room, press RB and watch the demon outside. Wait for it to look towards the right, then exit through the wall and kill it.
Head down the path and turn right just before the demon portals. Head in through the metal door and up the stairs to the right.
Use your teleportation skill to get past the blockage and go through the door on the other side. You'll find that you just passed through the large ghost door.
Reunite with Joy, then poltergeist the door and the camera in front of the security door to let Joy pass through.
Poltergeist the next security door and head inside the next area. Turn left as soon as you enter to find Room 216 and a cutscene will start.
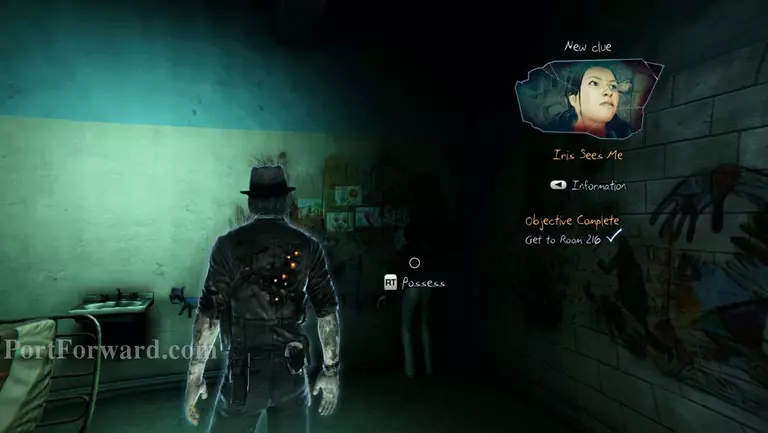
Inside the room you'll find a completely insane Iris. Try to possess her and you'll fail to do so. A cutscene will also start.
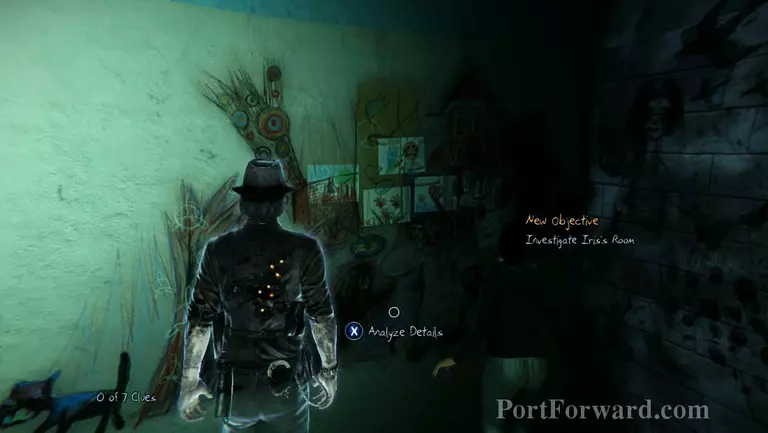
Time for clues. First check on the drawings on the wall that Iris is closest to. Choose the words Chased and Tormented to describe the drawing.
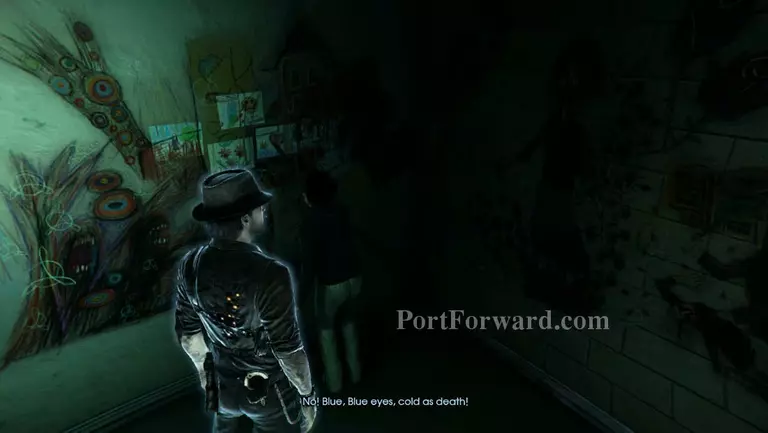
Talk to iris and she'll tell you something about blue eyes and death.
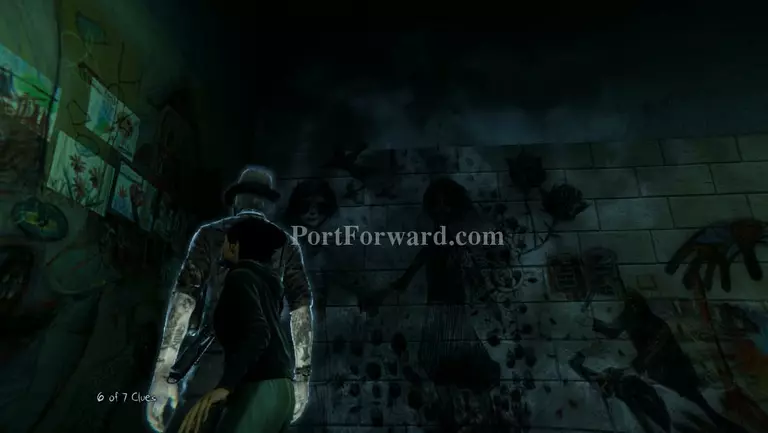
On the wall at the right side of Iris is a drawing of two girls. Examine it and choose the words Two Girls and Linked to describe it.

Examine the smaller drawing at the center wall.
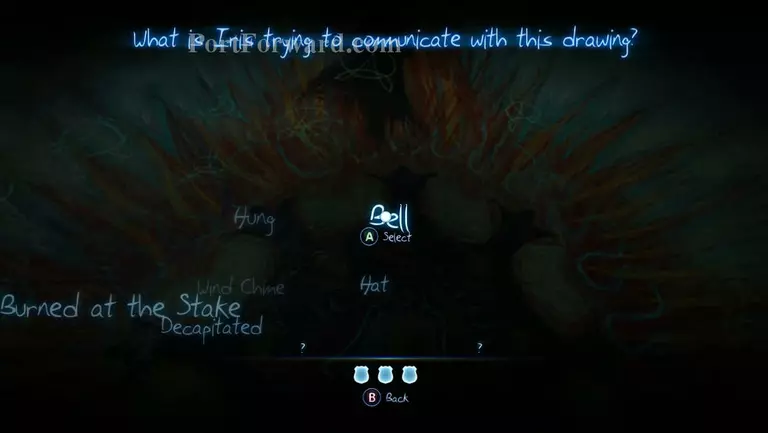
Then go to the right and examine the large colorful drawing there. Choose the words Bell and Burned at the Stake to describe it.
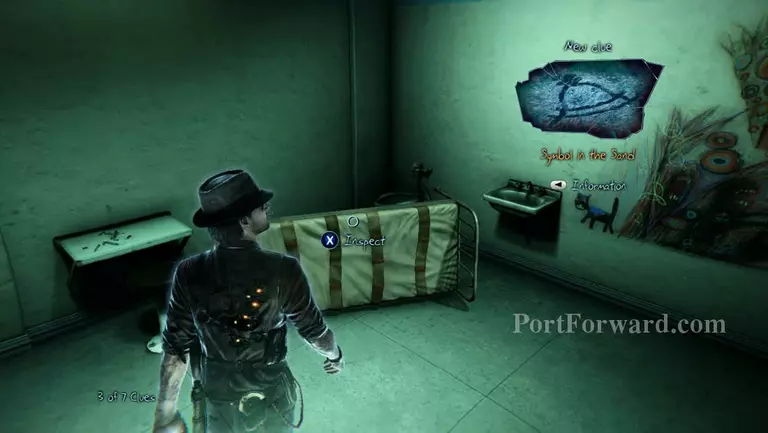
Lastly examine the turned over bed and the crayons on the table to find the last 2 clues.
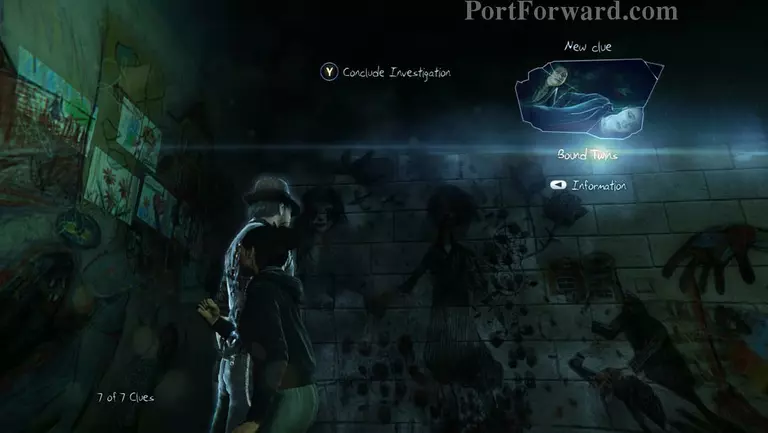
Now press Y and conclude your investigation to play a cutscene on what really happened to Iris.
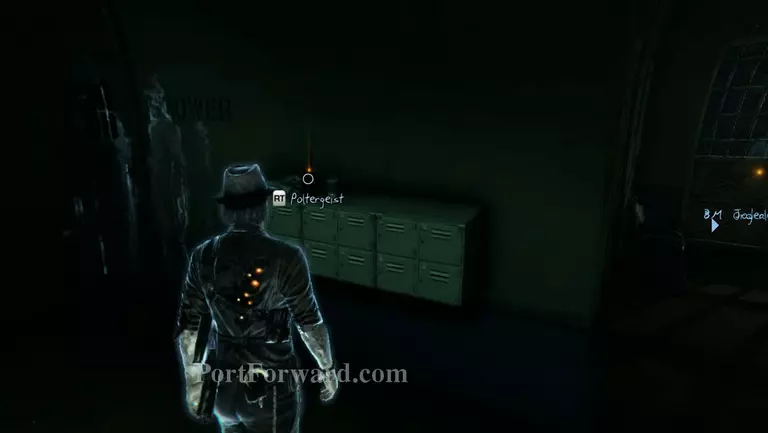
Head out the room, Joy and Iris will soon follow you. Head for the walkie talkie near the orderly and poltergeist it, now poltegeist the security door to unlock it.
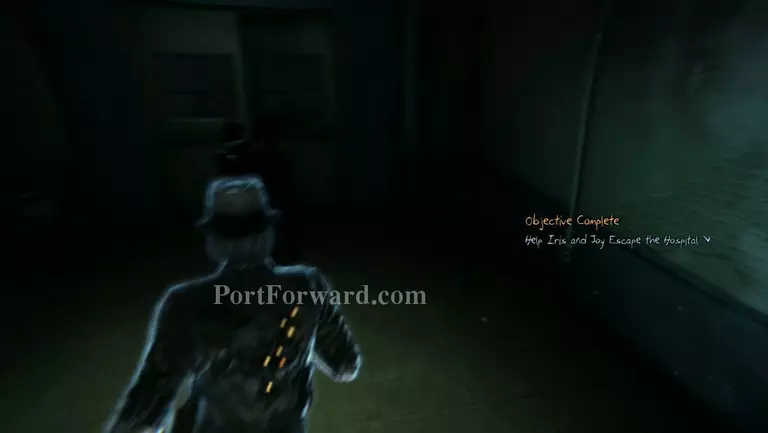
Follow them out the door and interact with it to exit the building.
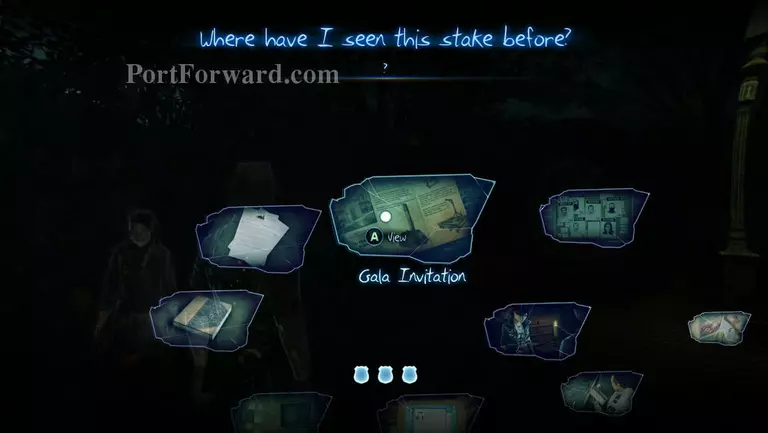
Outside the hospital you'll be asked to choose where the stake was previously shown. Choose the Gala Invitation clue and you'll get to go to the museum next.
More Murdered: Soul Suspect Walkthroughs
This Murdered: Soul Suspect walkthrough is divided into 14 total pages.


