This Outlast DLC : Whistleblower walkthrough is divided into 9 total pages.
You can jump to nearby pages of the game using the links above.
Vocational Area
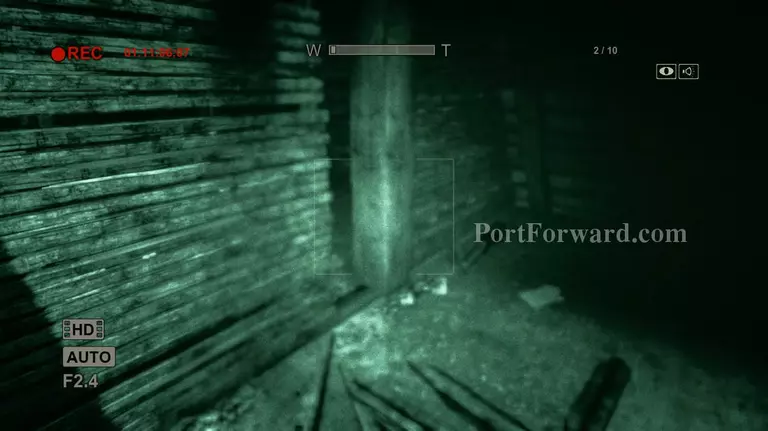
Turn around and you'll see a small gap in the wall. Use that to get to the other side of the wall. You probably noticed it by now but there are other people in the building and they will try to attack you later on.
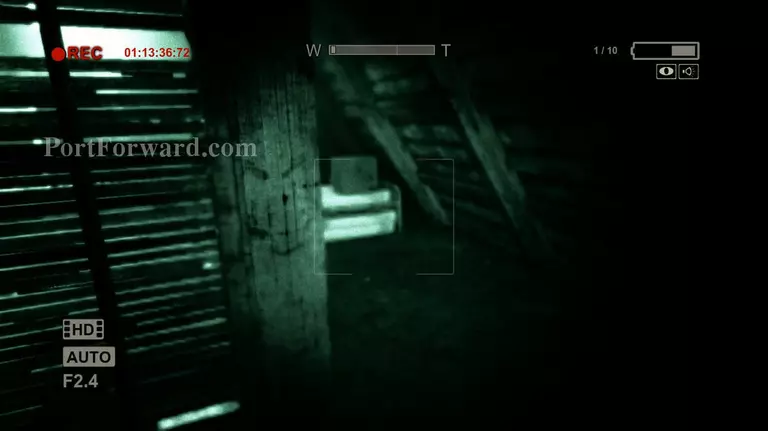
Turn left and you'll find a small gap in the side. Jump over the obstacle and continue walking forward.
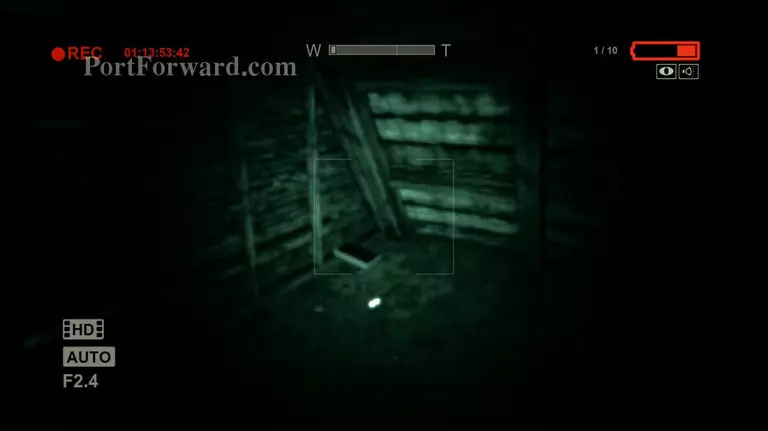
Make your way through the bookshelves and grab the battery that's sitting in the corner.
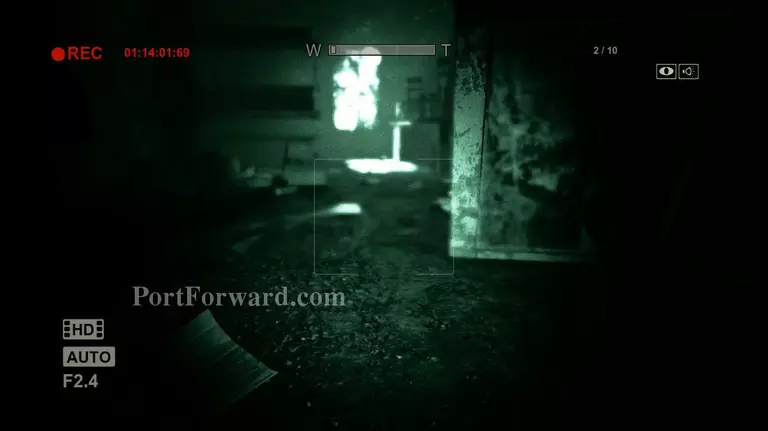
Now turn around and crouch down. There's a small gap in the ground where you'll be able to squeeze through and get to the other side of the room.
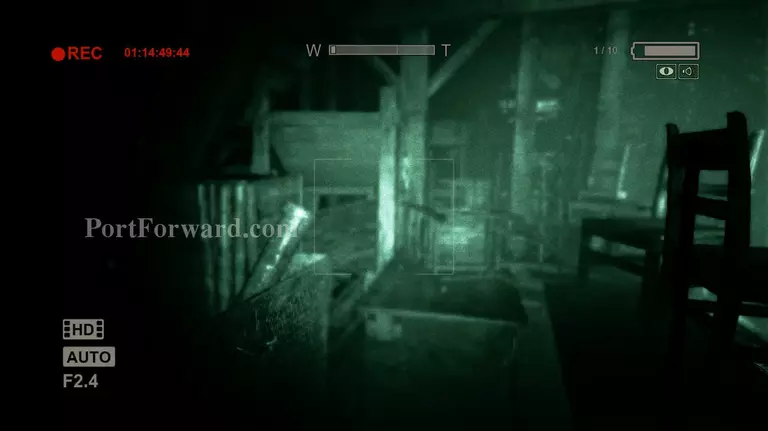
Walk towards the window and turn right. You should see a table with some chairs on top of it. Crouch and you should be able to pass under the table.
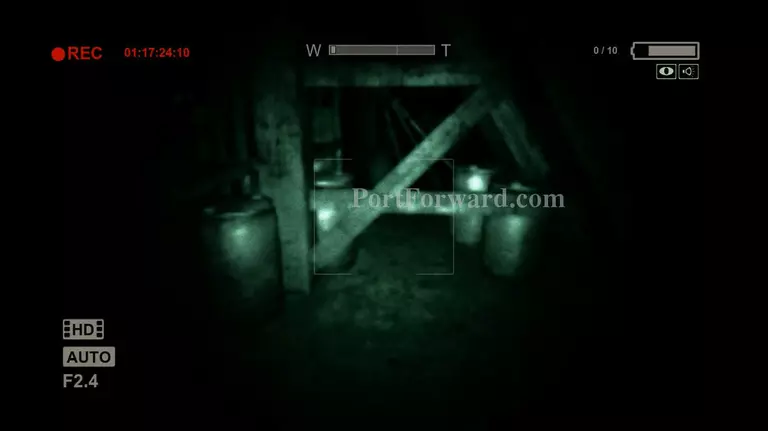
Now follow tha path and go left. You should see some metal tanks near some planks of wood. Crouch down and crawl underneath it.
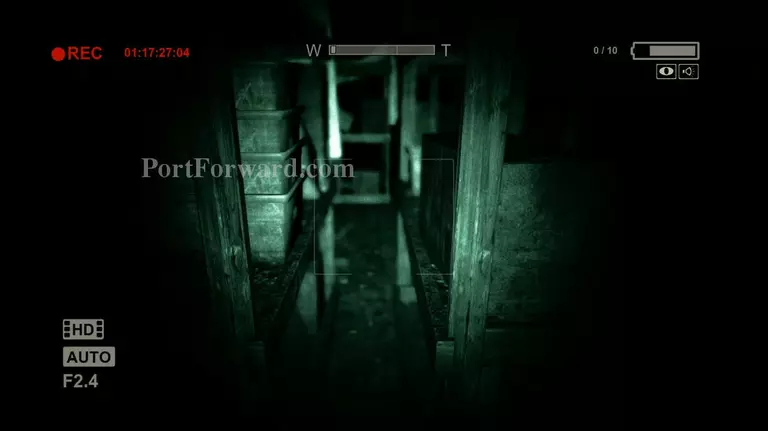
Shortly after that you'll find a small gap that you can squeeze through.
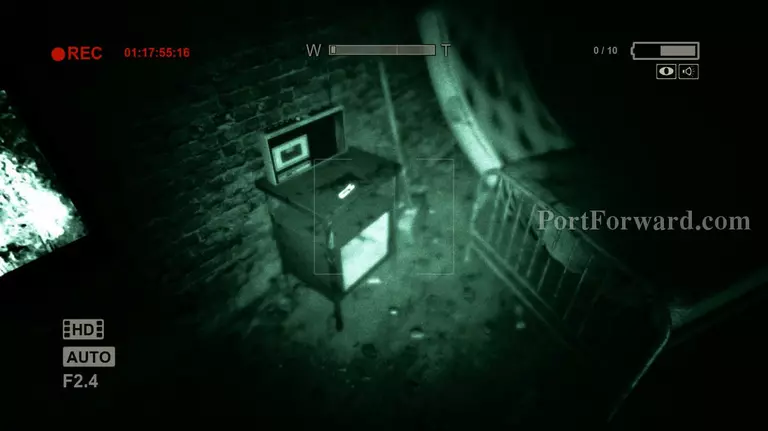
Head for the window and you'll find a battery on top of the night stand. Then turn around and proceed further into the building.
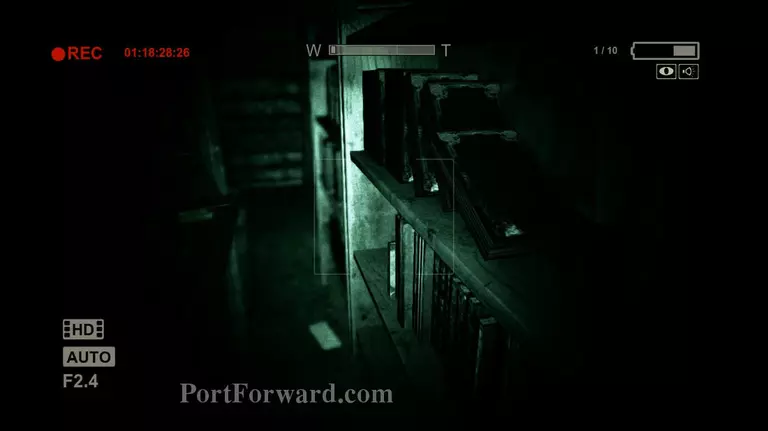
Turn right from the dead body and squeeze your way to the other side of the bookshelves.
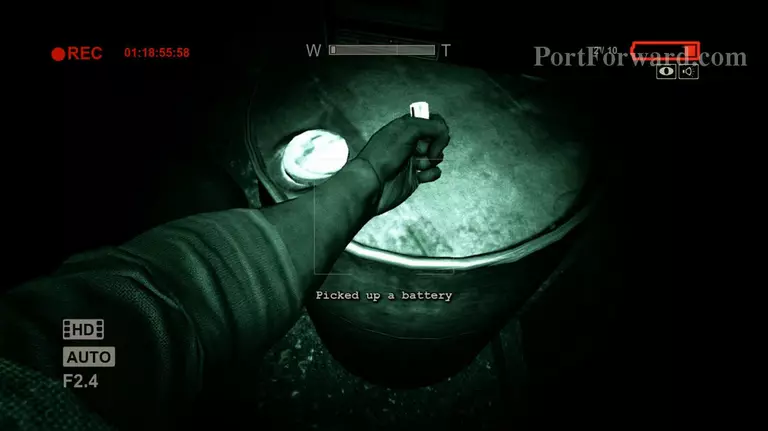
Once you get to the other side go to the far right side of the room and grab the battery on top of the barrel.
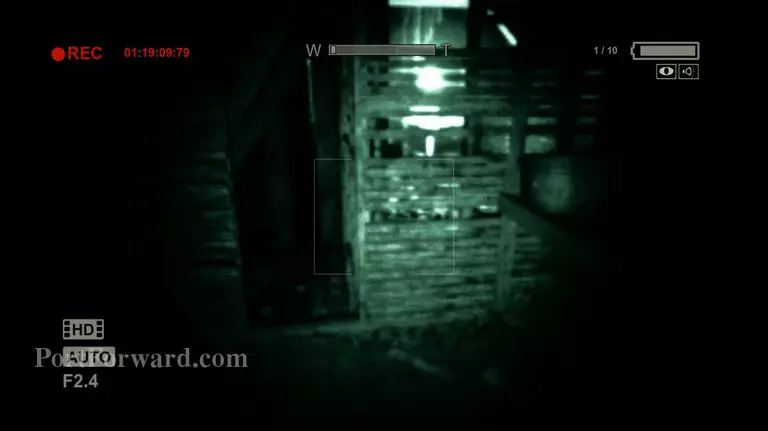
After taking the battery go back to the left side and you'll see another gap in the wall that you can pass through.
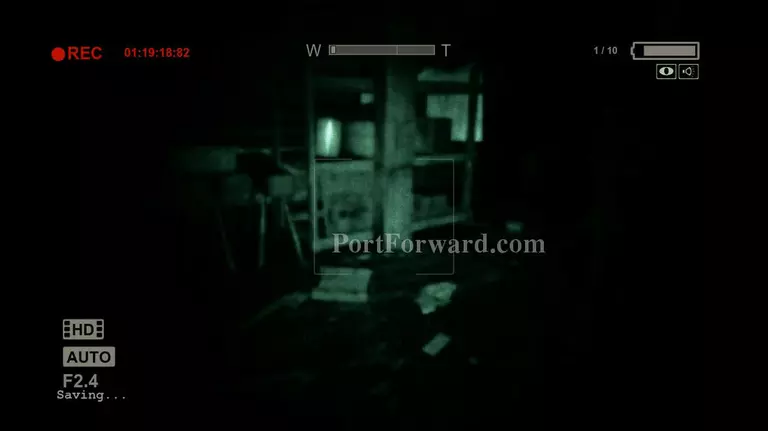
You'll be inside the wall and the patients outside will start chasing someone who luckily isn't you. Make your way out the wall and follow the path.
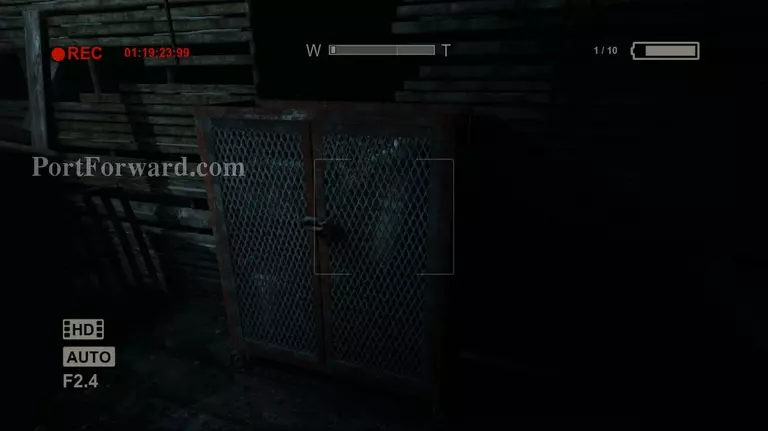
You'll see a metal cabinet at the end of the path. Ignore it for now instead go towards the dark area and turn on your night vision. There's a folder on top of the table on the left side. Take it then go back to the cabinet and push it out of the way and get inside the wall again.
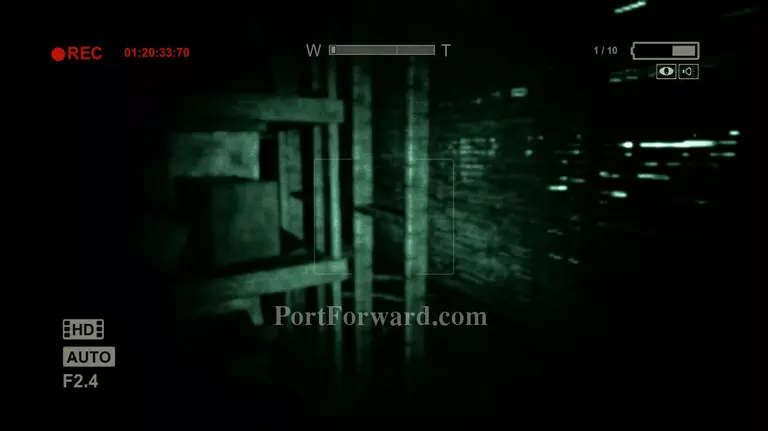
Inside the wall turn left, then turn right once you hit the corner. You should end up in a small room. Now look to your right and there will be a broken part of the wall that you can go through.

You'll see some shelves blocking your way once you get to the next area. Jump towards the shorter cabinet and Waylon will climb on top of it. Then drop down on the other side.
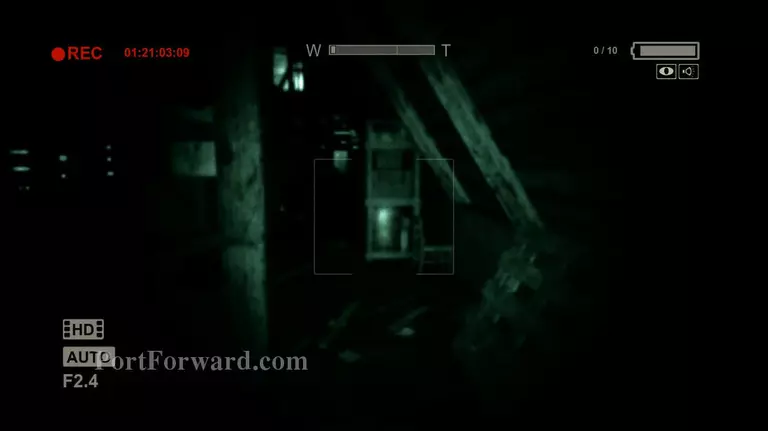
Go forward until you see the high door with the stairs. From there turn left and keep going until you see another door that leads to the stairs.
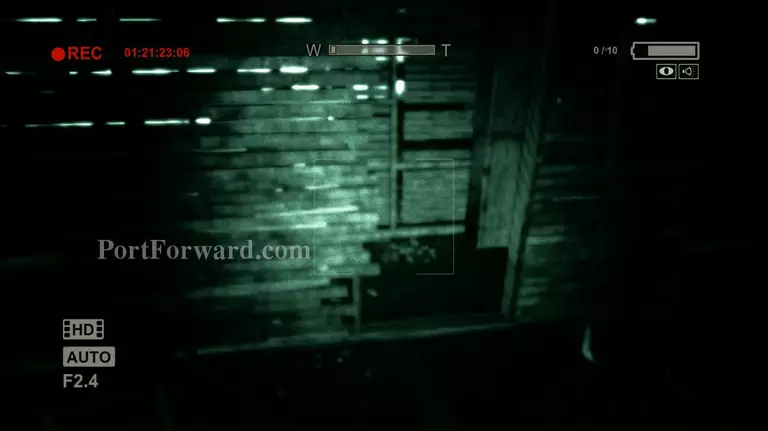
Unfortunately the door is closed and you'll have to look at the left side wall and enter the hole.
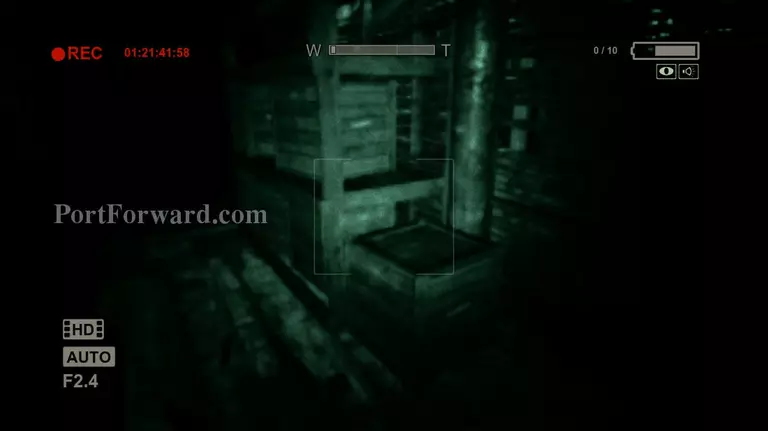
Follow the path of the wall until you see a shelf that's holding some wooden crates. Climb on top of the first crate and get on top of the shelf. Then face the wall and jump. Waylon will then jump to the other side of the wall.

As you can see the other side of the wall is bright. The moment you drop down you'll be chased by the people who are staying here.
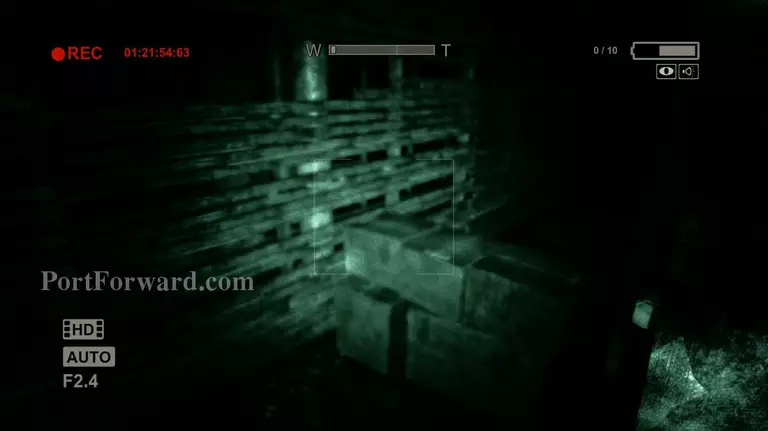
The moment you hit the floor run to the left and keep going until you hit the wall, from there turn right and vault over the boxes and keep going forward until you hit the wall again.
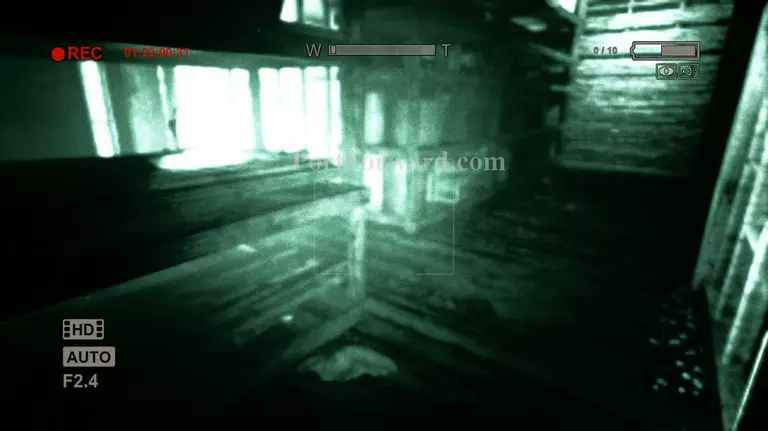
You'll see some shelves pass right through them and then turn left.
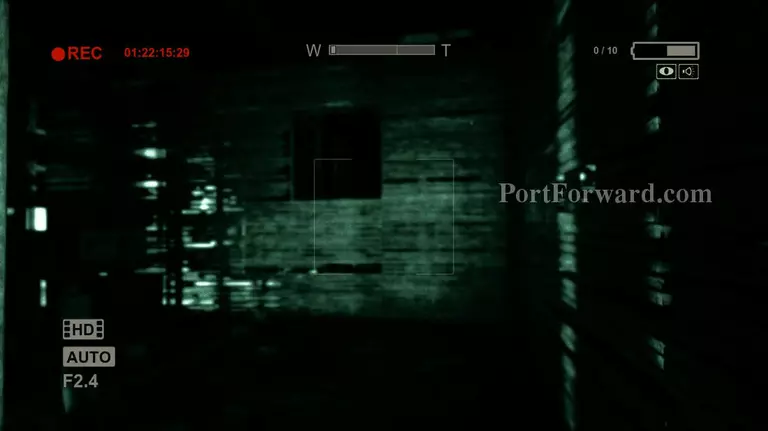
You should see a hole on top of the wall. Quickly run towards it and jump up to get out. You're not out of

As soon as you get down turn left and run towards that side until you get near the wall.
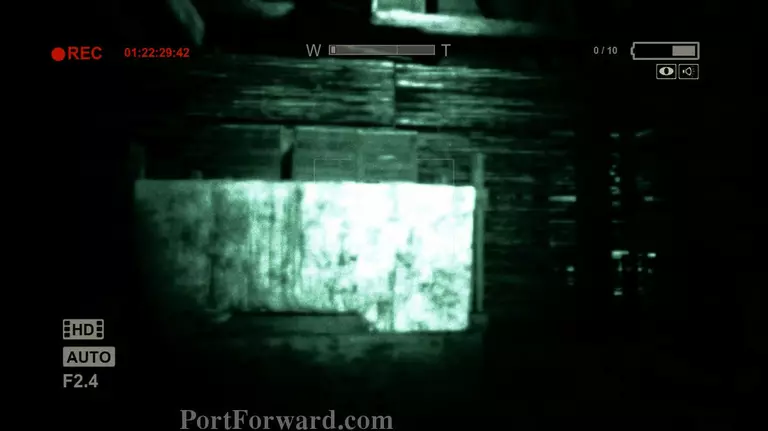
Now turn right and vault over the obstacle and jump towards the stacked up crates.
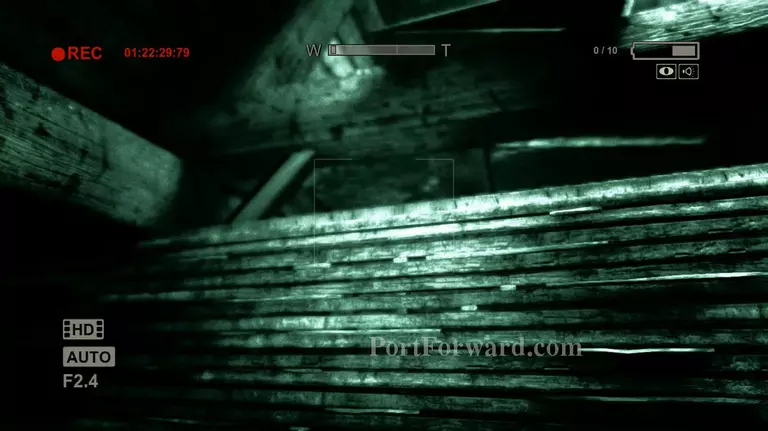
Now face the wall and jump to climb up on the ledge. Grab the battery that's on top of the crate.

Turn left and drop down from the ceiling. After that descend the stairs that's in the middle of the room.
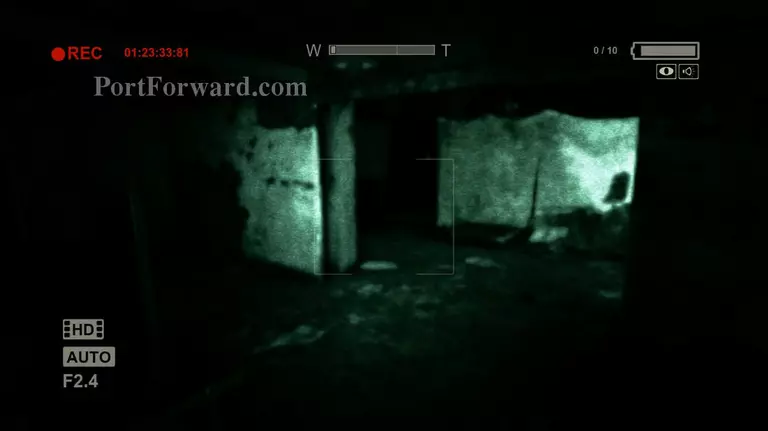
After going down the stairs keep walking towards your left until you see an opening that leads to a different room. This area is pretty dark so you may wanna keep your night vision turned on.
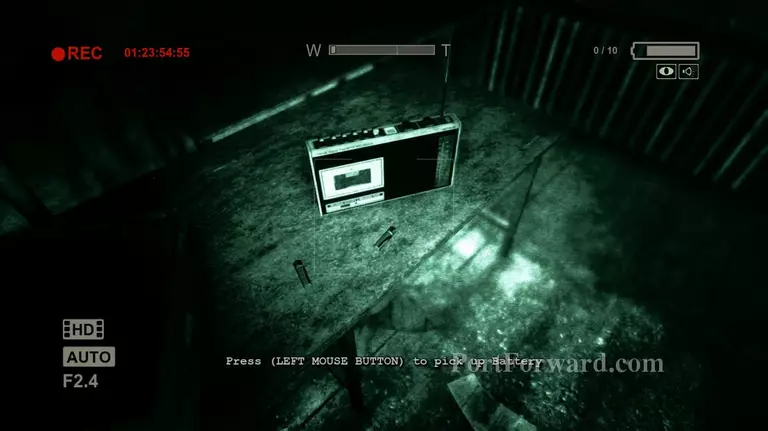
Inside the room with the dead bodies there's a radio that's playing songs. There are 2 batteries near it, take both of them and go towards the door on the left side of the table. Then turn right and you'll find another path.
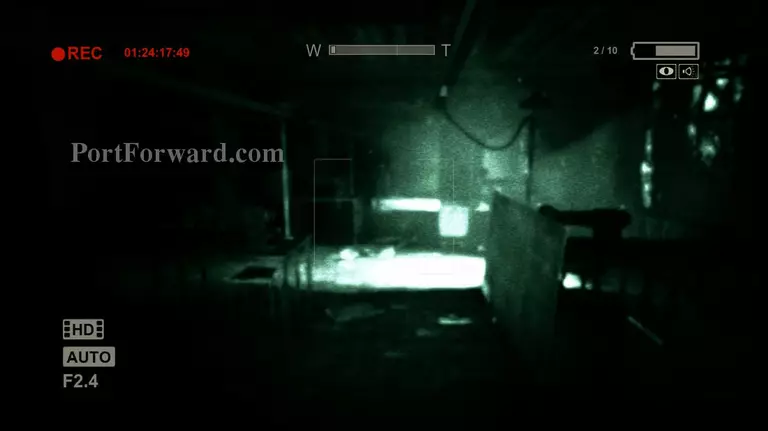
In the next room there are more sewing tables. Keep going forward until you get to the second window, then turn left and go through the door.
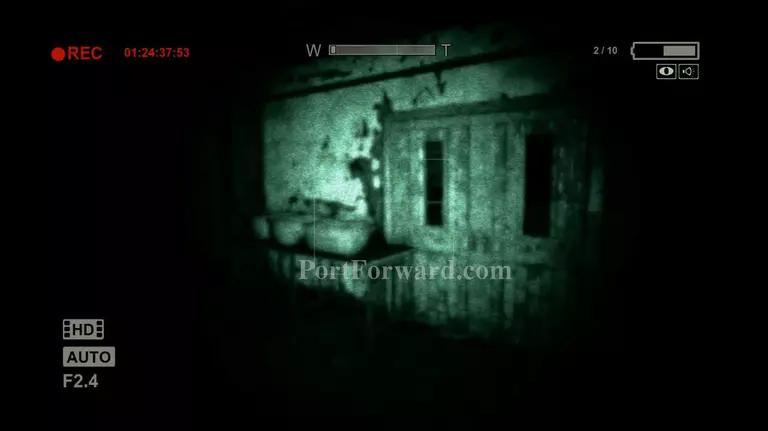
Keep walking along the room and stay close to the left side. You'll eventually find a double door.
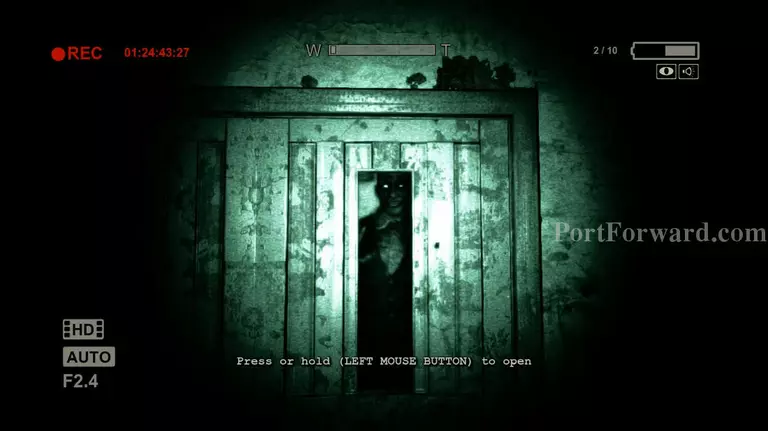
Try opening the door and the game will automatically save. A large guy will appear on the other side of the door shortly afterwards.

Head for the back of the room and stay behind the wooden planks until you're sure that the guy isn't near you anymore.
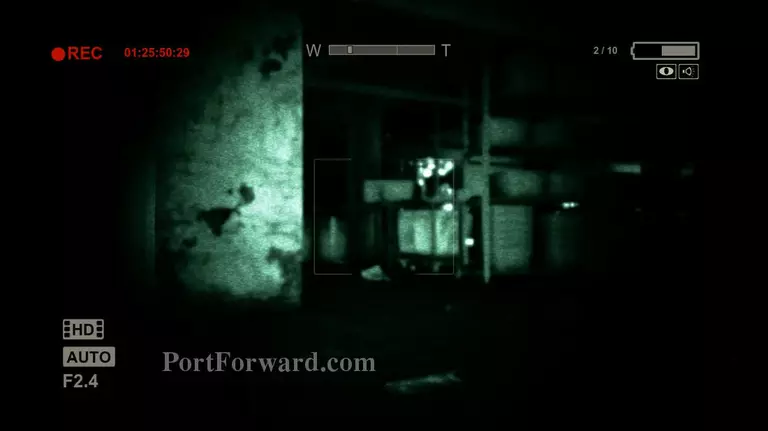
Slowly make your way towards the left side of the room. It would be best if you just keep hiding underneath tables and move only when you're sure that the groom can't see you.
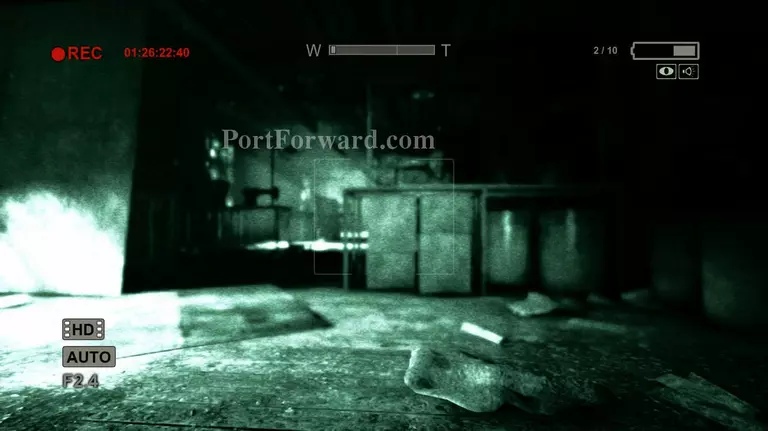
Once you get to the left side, you'll have to make your way across the room and towards the other side. Just keep hiding behind cover and watching the groom.
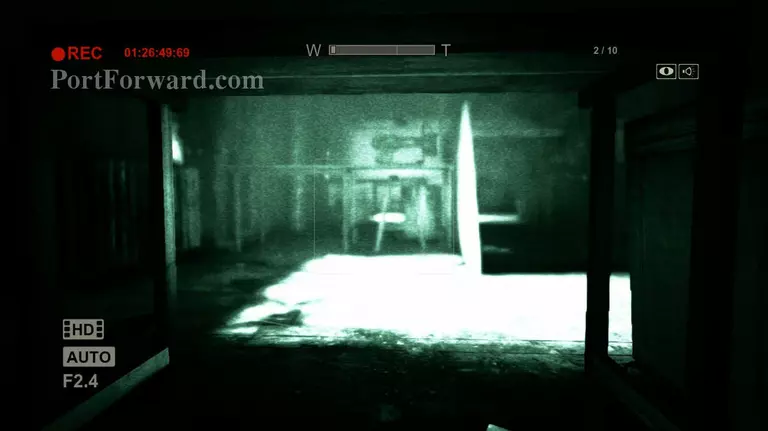
To get to the other side easily. Hide under the tables and use the planks of wood as cover while you make your way to the other side.
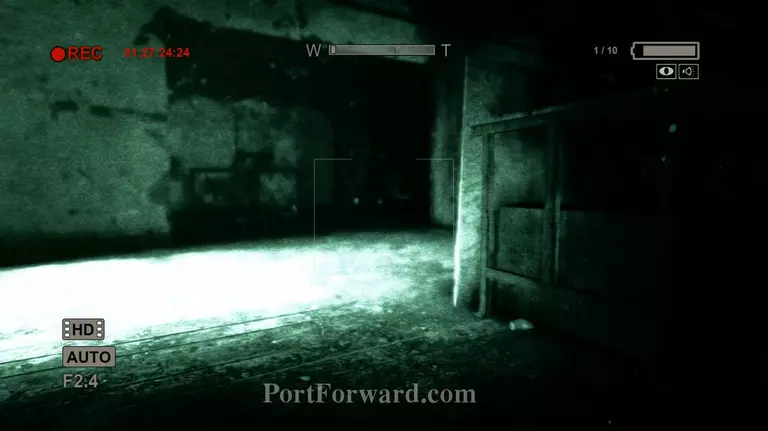
Once you get close enough go back to the room where you found the dead bodies. The door that you passed through earlier should be open now so go through it and close it behind you.
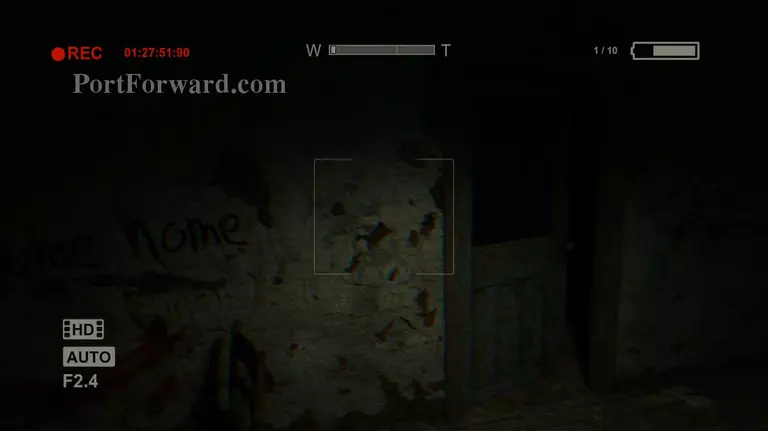
Follow the "Welcome hme" sign that's on the wall and go inside the room. There's a battery on top of the shelf. Take it and exit through the other door.
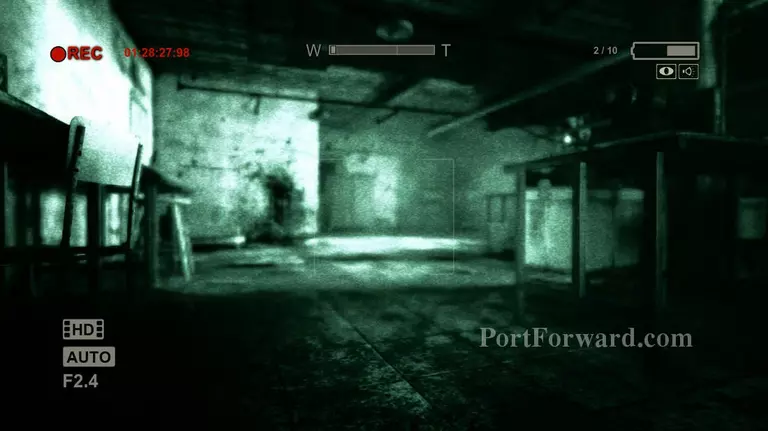
You'll see some more "Welcome home" written on the walls. Proceed down the hall and past the bride's dress and enter the door on the right. You'll start hearing the groom singing somewhere near you. Hurry towards the opposite end of the room and push the metal cabinet out of the way.
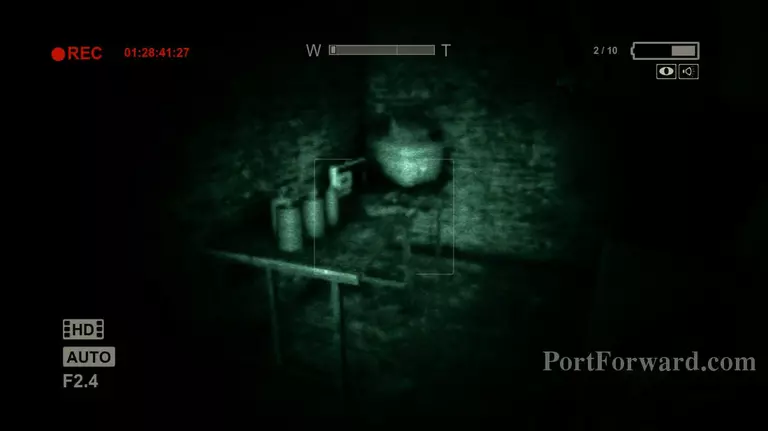
Open the door and keep going forward until you get near the wall. Turn to the right and you'll find a battery sitting on top of the table.
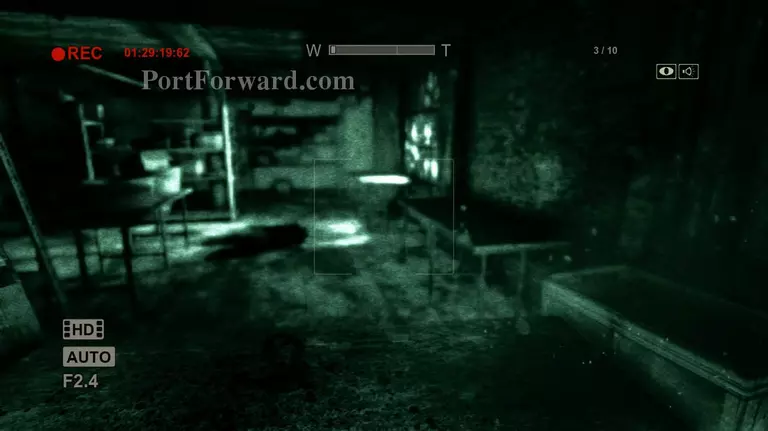
After taking the battery keep following the path until you get to another sewing room.
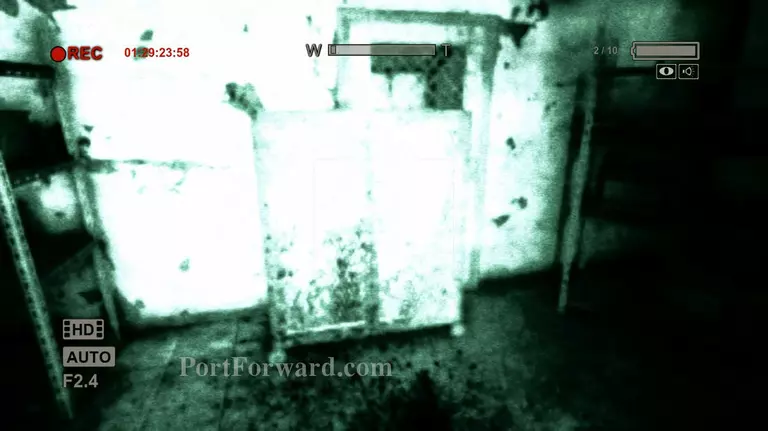
Once you get there, head for the back of the room and push the metal cabinet that's blocking the door.

Once you've pushed the cabinet enough the groom will catch up to you, so quickly go through the door and turn right. Enter through the open metal gate to the left and go jump towards the ladder that's inside the elevator shaft.
After the cutscene the elevator will start to rise. Use this to your advantage and climb through the elevator hole that's on right in front of you.
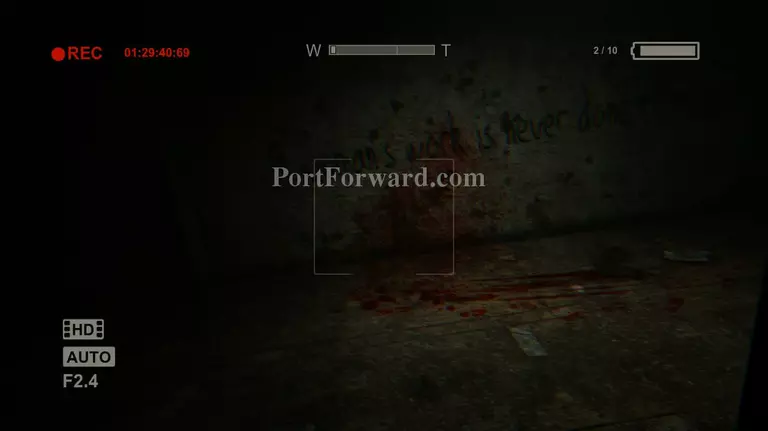
Now turn left and start running towards the wall until you get past the gate. Turn right soon after you pass the gate and enter the only door in that area.
You'll notice that Waylon is already limping at this point and it will be hard to out run the groom now.
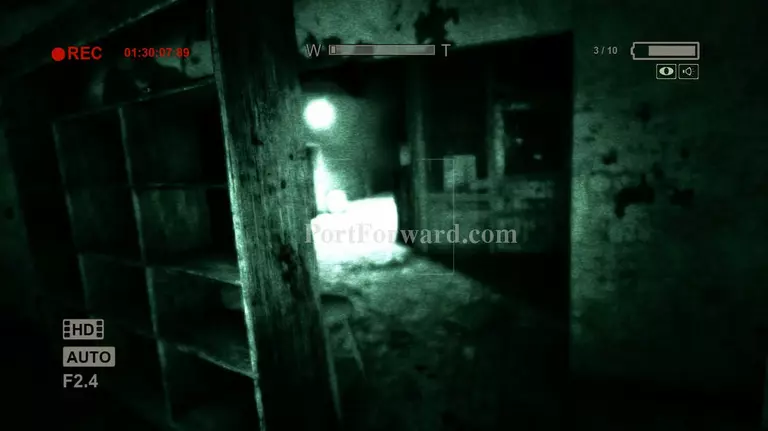
When you get inside the room look to the left and you'll find a battery sitting on top of the table. Don't worry about wasting your batteries at this point. Just keep using your night vision if you need to.
After taking the battery turn right and keep going towards the fallen bookshelf and into the next room.
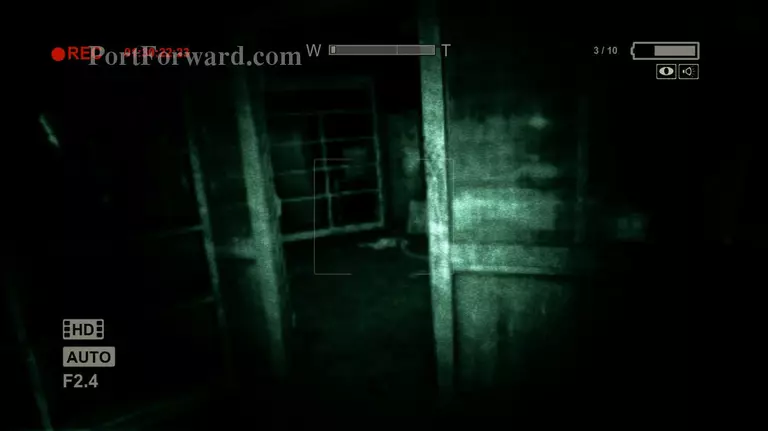
Follow the light and make your way through the locker room and into the next room. You'll find a blood trail here. Follow it.

At the end of the blood trail there's a door beside the locker. Go near the door and try to open it.
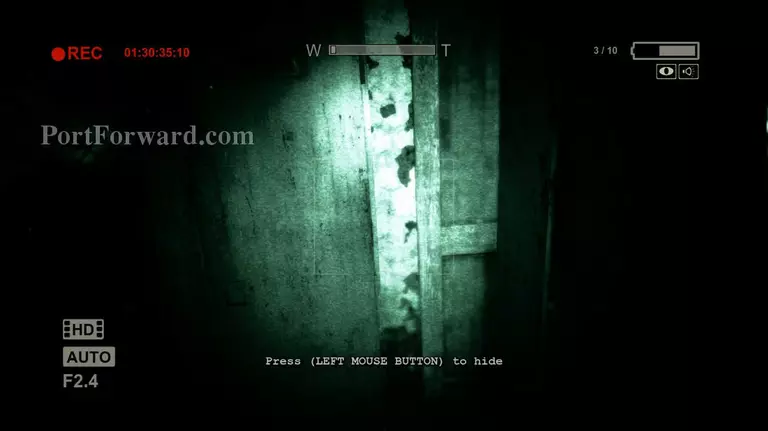
After the groom appears back up a little and hide inside the locker that's right beside the door. He'll find you unfortunately.
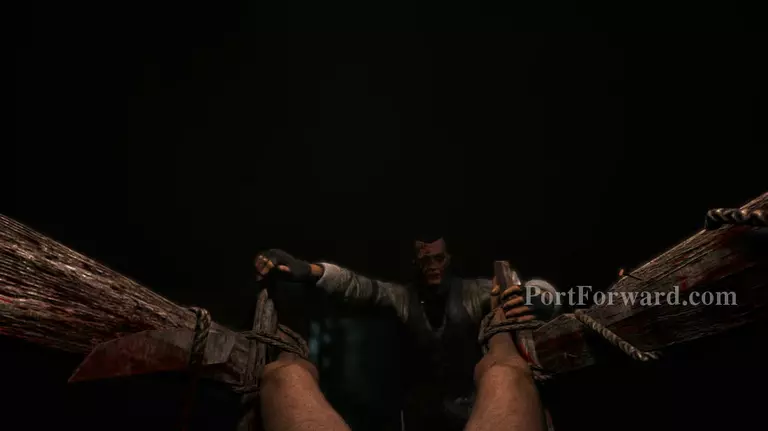
I thought Trager was bad, but this guy takes the cake on crazy department.
As soon as you're able to control Waylon head for the room that's directly in front of you.
Keep going forward but turn left as soon as you get near the last middle table in the room and just stay there until the groom walks past that area. He took your batteries so you'll have to be careful not to bump into him.
Once he gets far enough towards the right side. Make your way to the path that he came in from and he'll immediately notice you. Make a break for it and keep running.
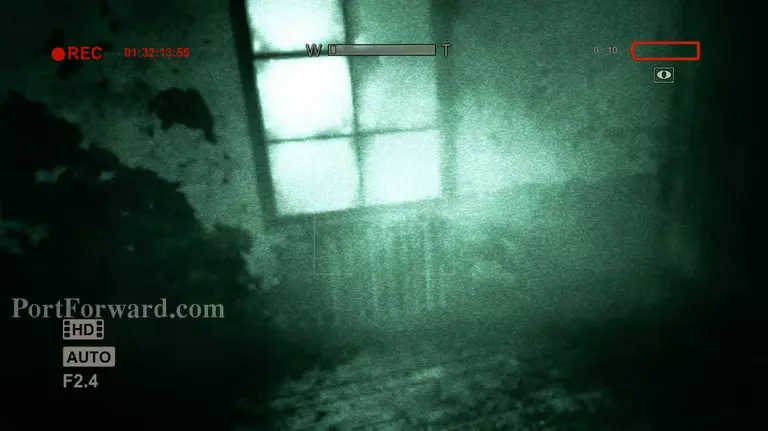
Once you get to the door open it and don't bother closing it behind you. There's another door further inside the room on the right side. Run towards it and bash it open.
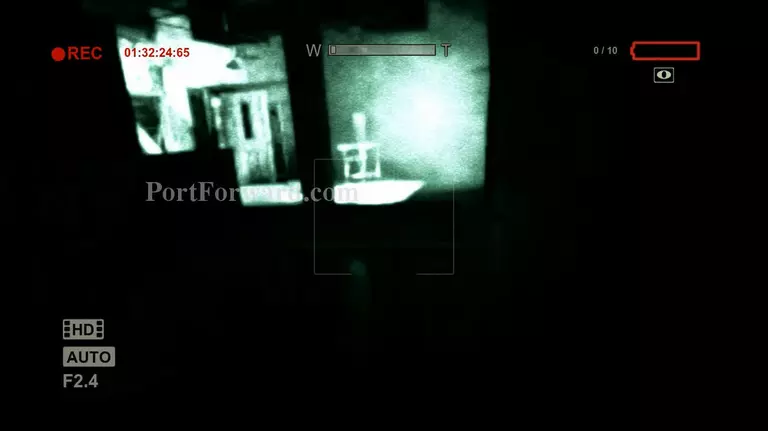
Now keep running past the canvas holders and vault over the table and run towards the open door.
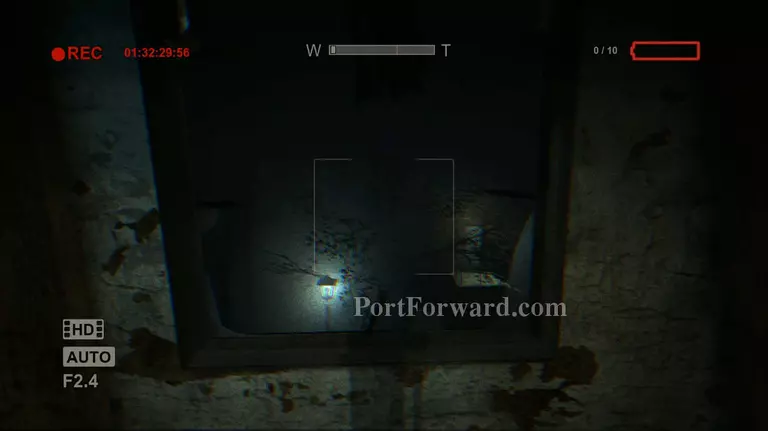
Now jump out the window and enjoy your momentary freedom. Then head for the door above the staircase with the light on.
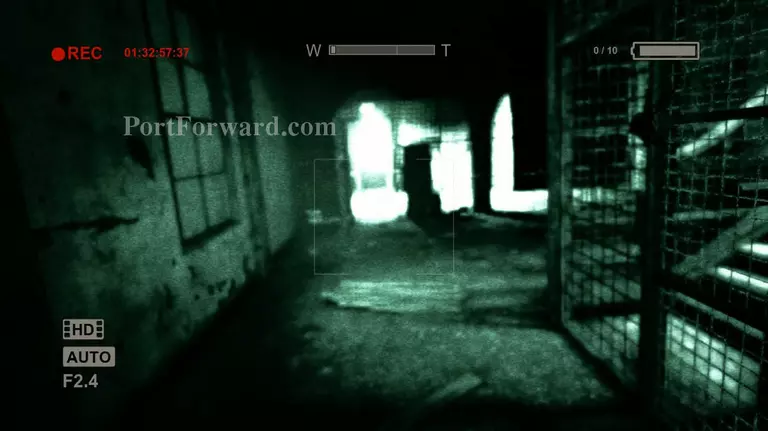
As soon as you get inside head over to the right side and you'll find a battery sitting on top of the table. Reload your camera then proceed towards the path on the left towards the exit sign.
More Outlast DLC : Whistleblower Walkthroughs
This Outlast DLC : Whistleblower walkthrough is divided into 9 total pages.


