
This Outlast DLC : Whistleblower walkthrough is divided into 9 total pages.
You can jump to nearby pages of the game using the links above.
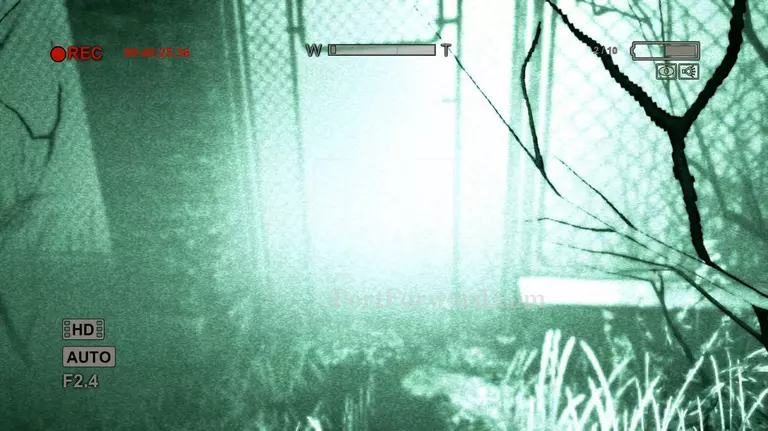
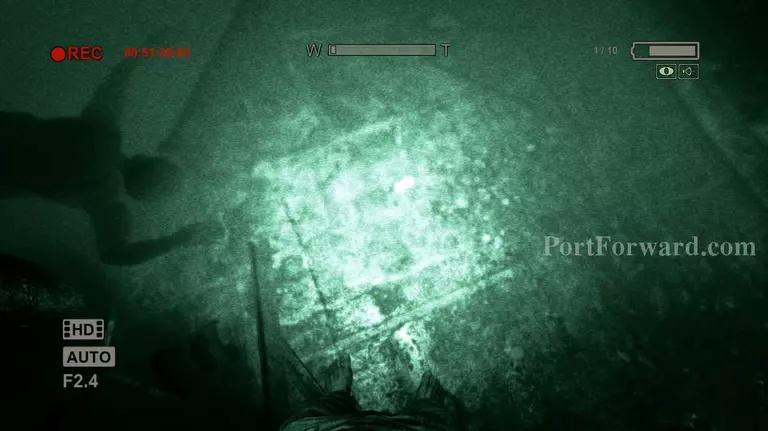
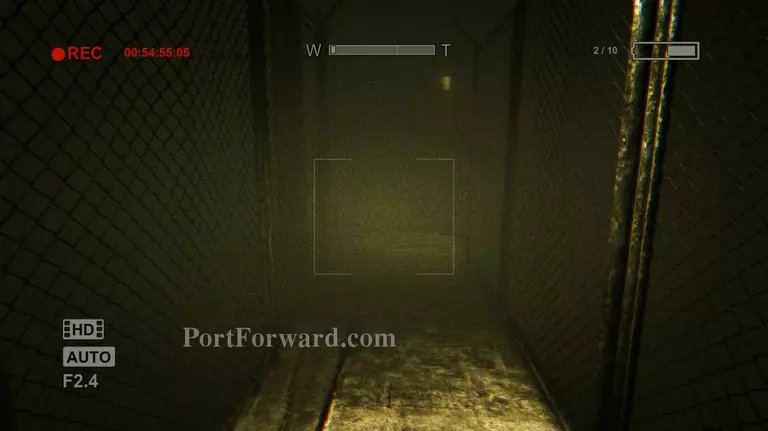
Recreational Area
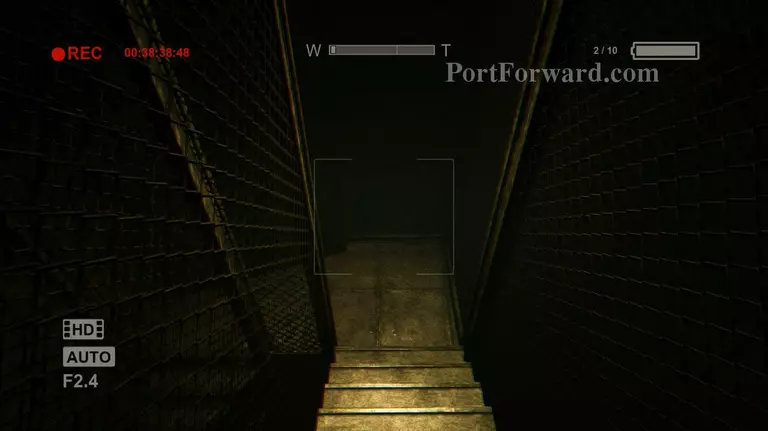
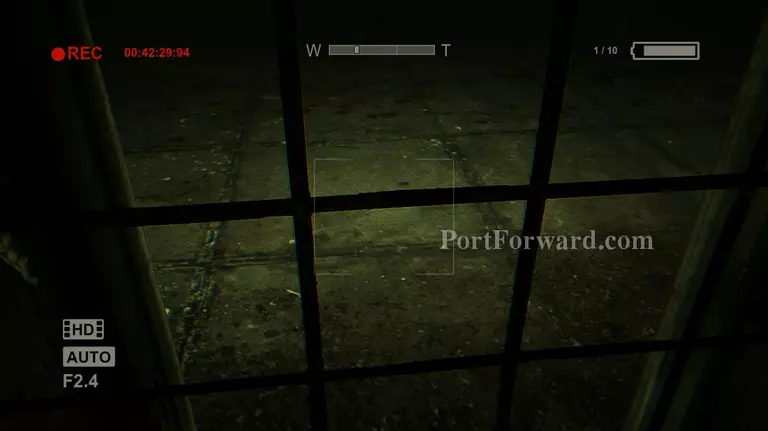
Descend the stairs right in front of you until you get to the lower ground.
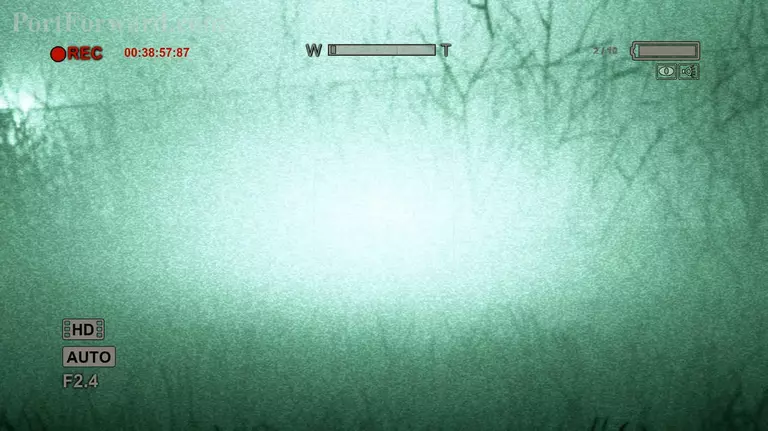
Try to use your night vision as short as possible. It's a little useless in the area because of the fog. Turn it on and off again just so you can see where you're going.
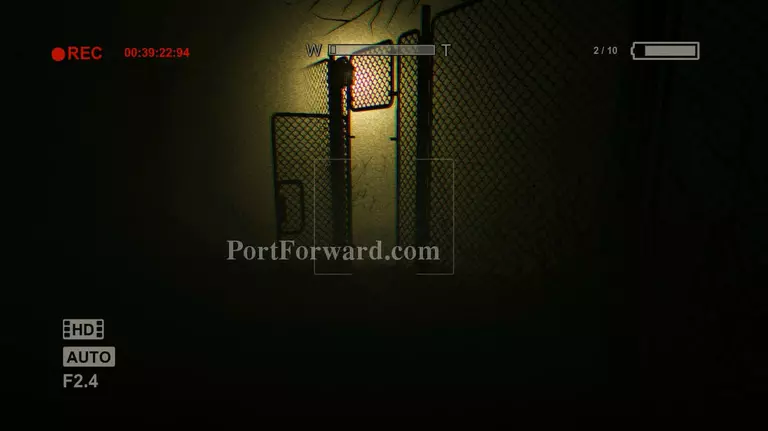
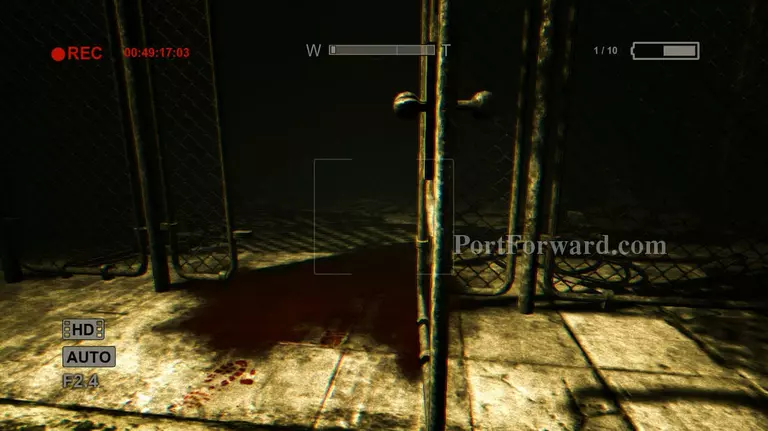
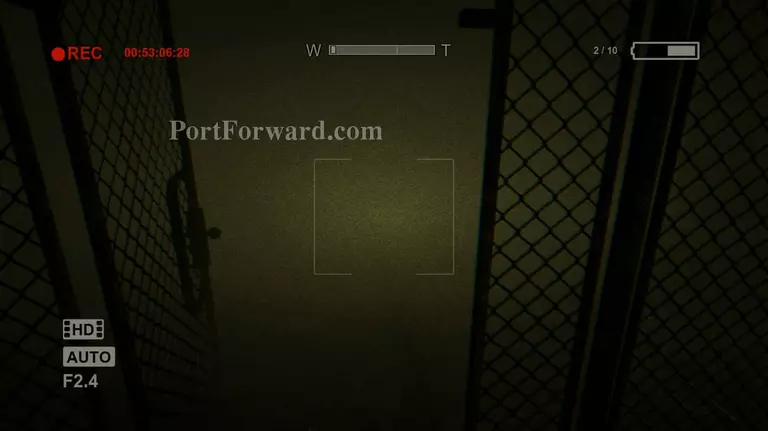
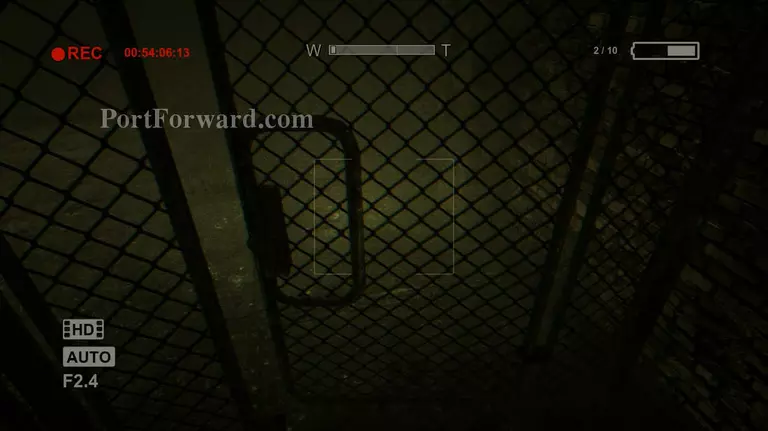
Go near the metal gate and keep going to the left until you find an open gate. Use it to pass the fence.
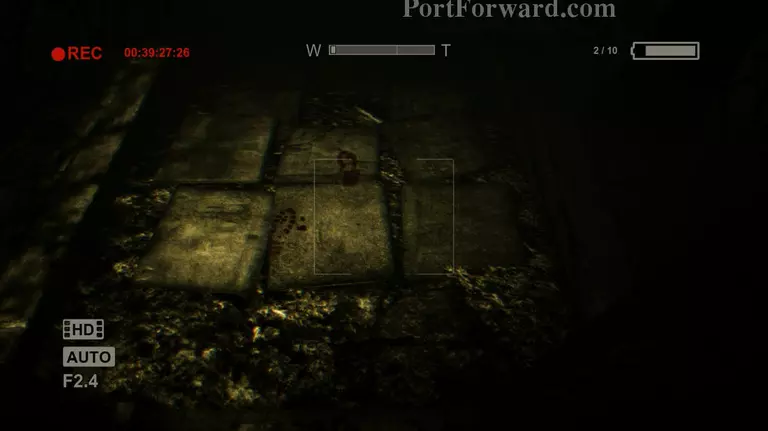
You'll notice some bloody footprints on the ground. Follow them down the stairs and keep walking until you get attacked. It's a one hit thing the attacker won't come back to get you after that.
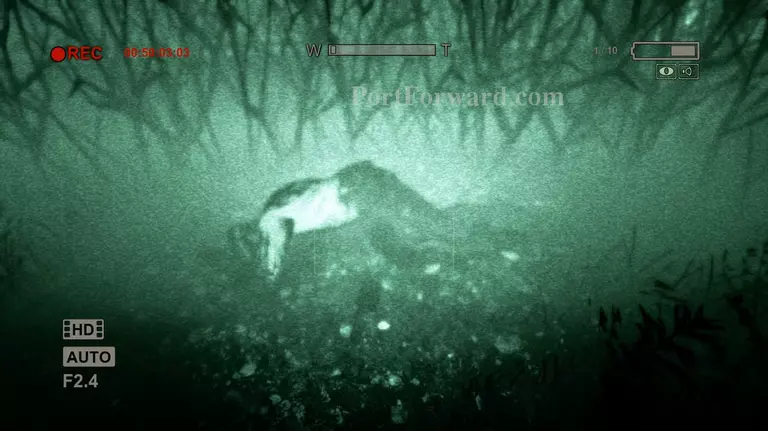
On the right side you'll find the only path you can take. It's near the large tree.
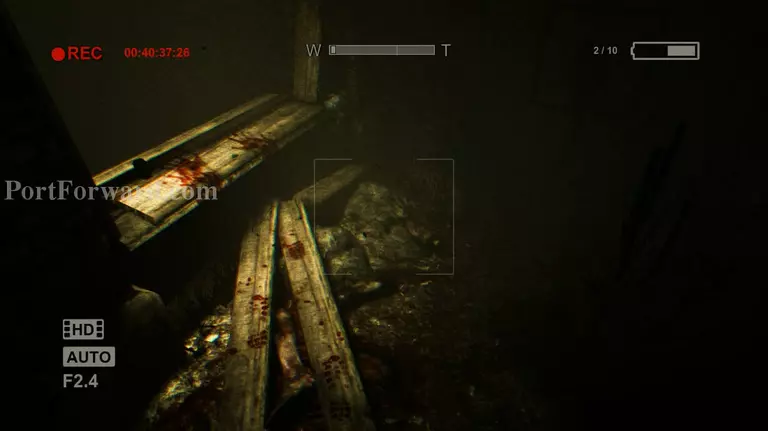
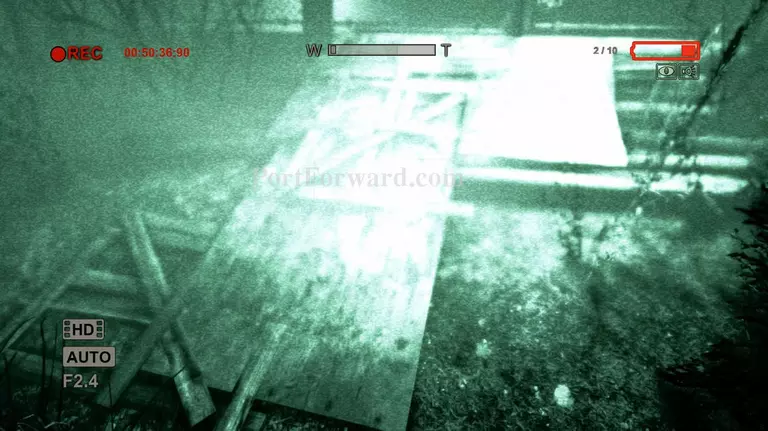
Now follow the path until you find more blood and you'll see some handprints on top of a wooden ledge. Climb down the ledge to get to the next area.
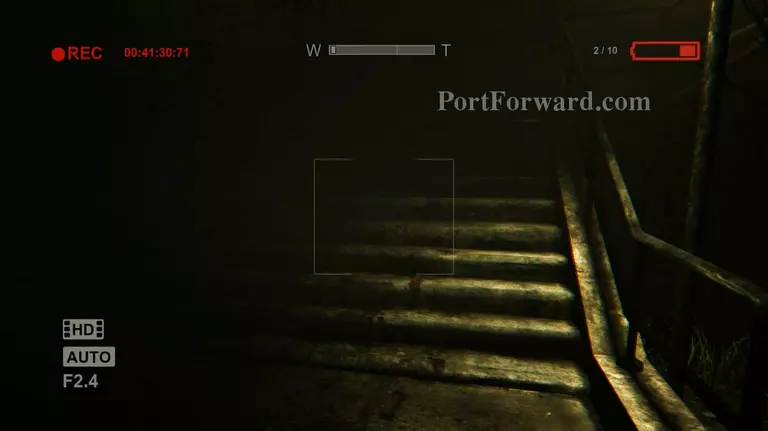
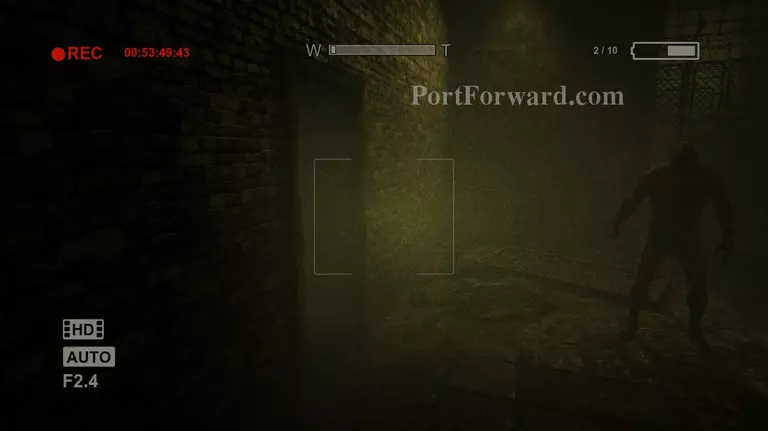
After jumping across keep close to the fence on the right side. Don't stray cause there's a patient prowling around the area. Eventually you'll find a dim lit area near some stairs. Follow the bloody footprints up the stairs again.
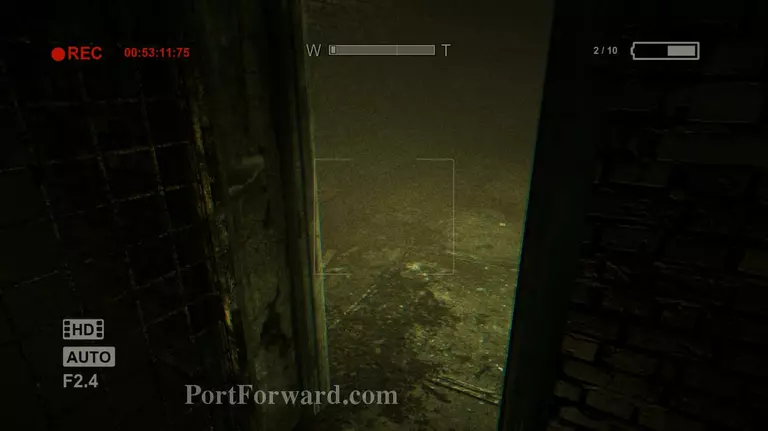
Unfortunately the door will be locked. So head over to the stairs on the opposite side of the one you climbed while following the footprints. This one will be open.
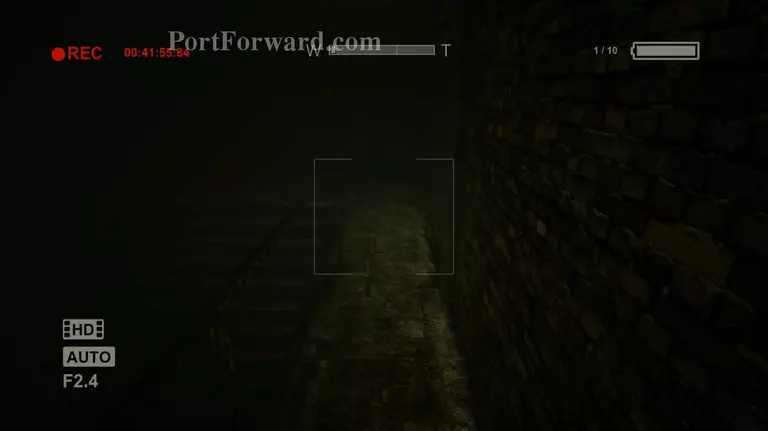
Follow the path and you'll notice some sort of court with a lot of bloody footprints inside. It's also locked so you'll have to proceed further down the path.
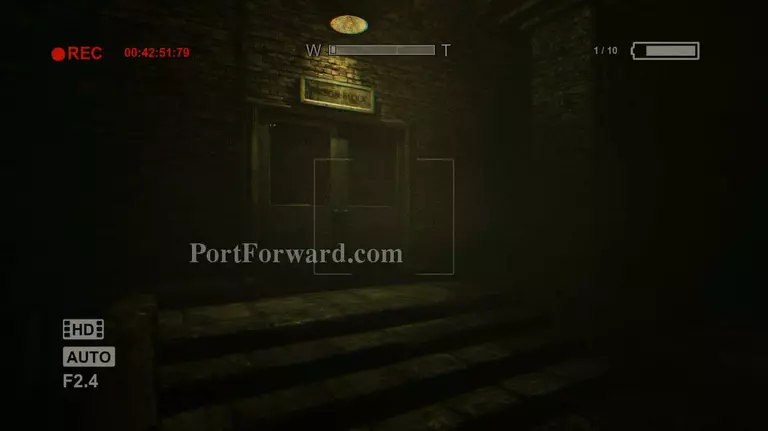
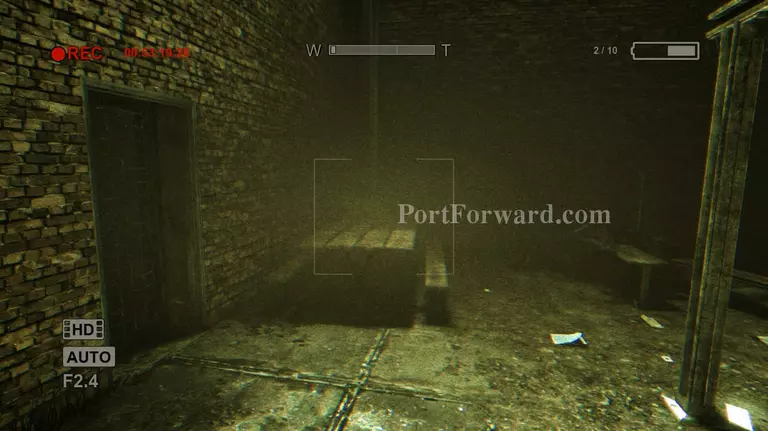
As you go you'll notice that there's a door to the prison block and someone's trying to break it down. They will fail and you'll be safe for the time being.

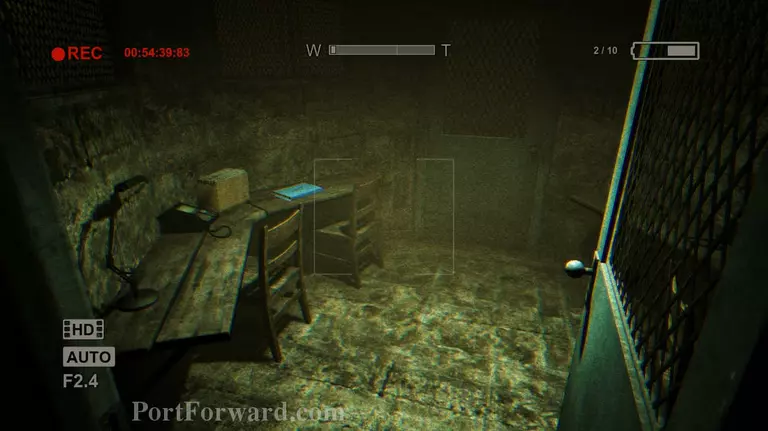
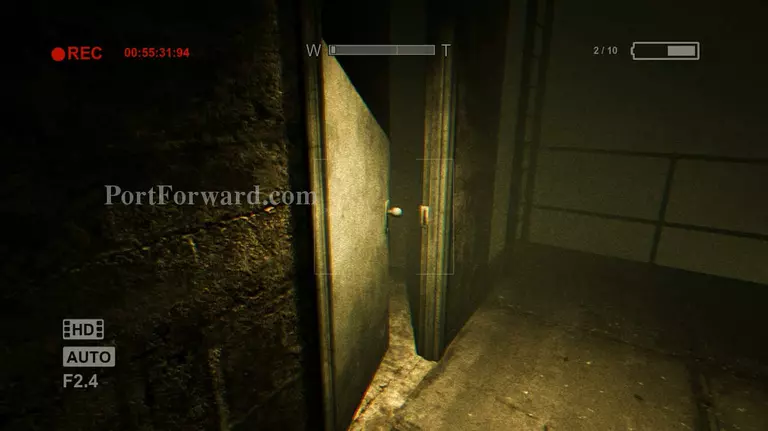
To the right side of the prison door there's another open door and on top of the table there's a battery. Grab it then go back to the stairs earlier (where the bloody footprints are).
Go back to the previously closed door and this time it will be open.

Keep following the path and go past the dead guard. At the end of the walkway you'll see an open gate in the fence.
Follow the path to the end, the gate will be chained up, but look to your right and you'll see a dead guard. Take the battery near him.
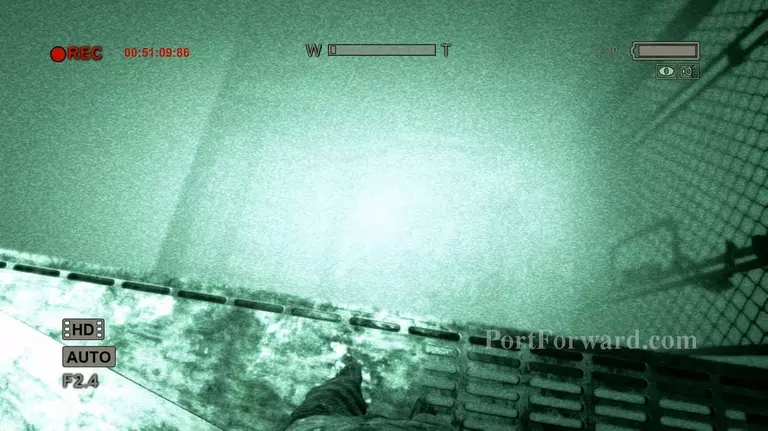
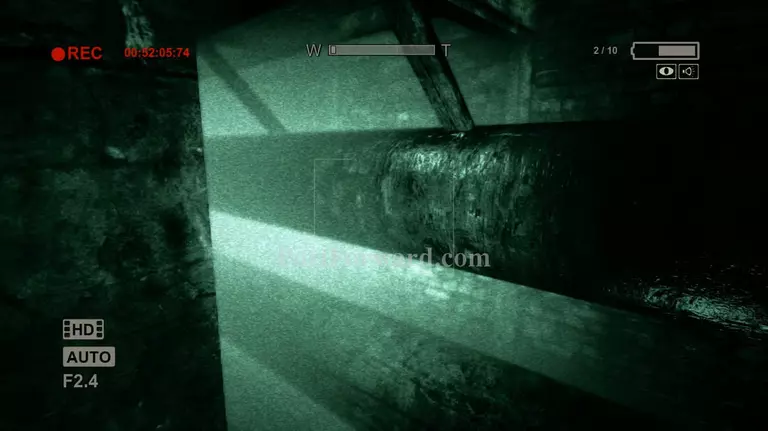
Now back track to the other gate and keep your attention to the left side. You'll find some scraps of wood that was made into a makeshift path that leads to a tear in the metal mesh. Climb through the tear to make it to the stairway.
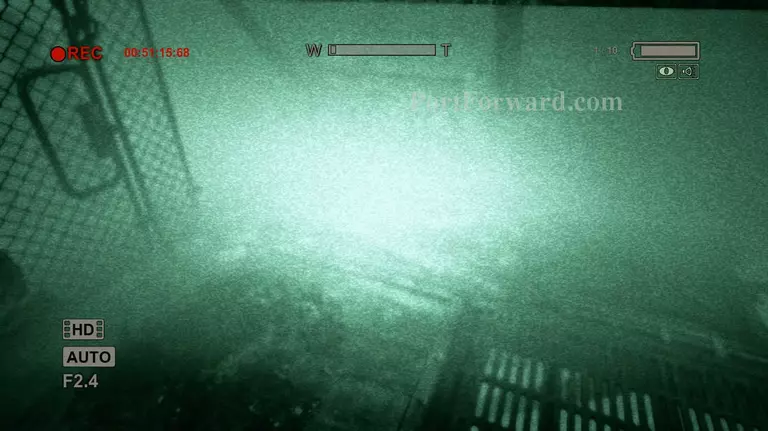
After using the tear to get inside the stairway, turn left and keep going until you see a broken part of the handrail. Jump towards the opposite platform. Don't worry you'll make it.
Now continue to the left and look down. You'll notice that there's another platform directly below you. Jump down to it.
Look to your right and you'll notice some metal beams that run past the gate. Crouch down and follow the beams beyong the gate.
Jump down the square hole and you'll see a battery near your foot. Grab it.
Now look to your right and you'll notice some pipes that run through there. Go near the narrow path and Waylon will squeeze himself through it.
Keep following the path and you'll see a ladder on the right wall. Use it to get back up.
After ascending the ladder keep going forward and look to your left. You'll eventually see a break in the fence. Use it to get to the other side.
Keep following the path until you get to the end and you'll see an open gate. Go through it and you'll start to hear some voices. Don't panic they won't hurt you.
After passing the gate look to your northeast and you'll see another open gate. Go inside and close it behind you.
Keep walking until you see the door on the left side and enter through it. Then turn left and keep going.
You'll see two naked guys in the next area, don't approach them. Just walk towards the door on the left and they won't hurt you.
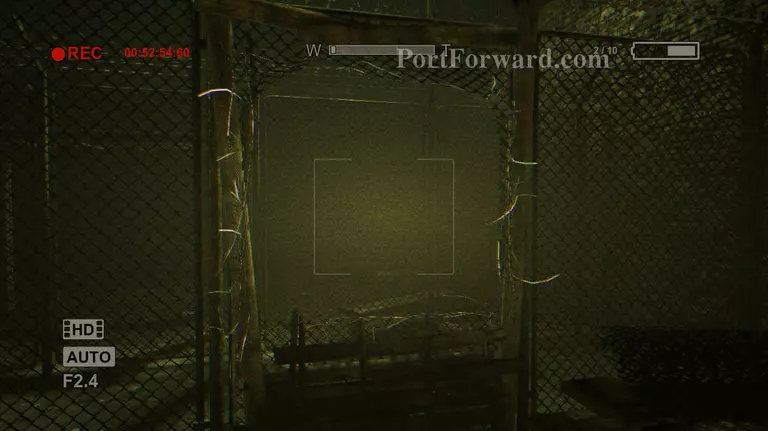
Now follow the path until you reach a gate that's slightly open and use it to get inside the basketball court.
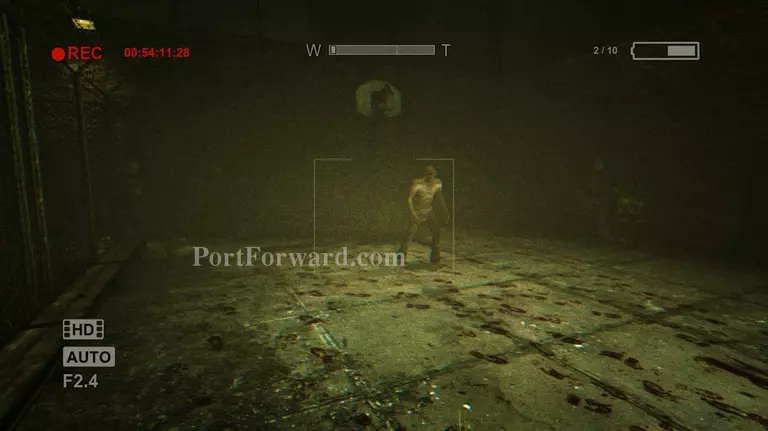
There are some patients that are playing in this area. The one in the middle of the court is hostile, but he won't run after you. Just keep walking towards the left side of the court and you'll see an open gate.
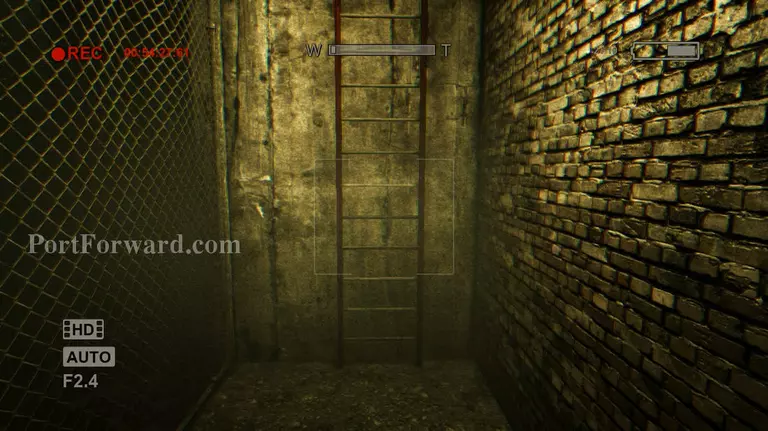
After passing through the gate you'll see another ladder. Use it to get to higher grounds.
Above the stairs turn left and get around the building. You'll see a tear in the fence use it to get around then enter the open door on the right side and grab the folder sitting on top of the table.
Now exit the room and turn left. Keep following this path it's a little long but eventually a patient will come running at you who seems to be scared out of his mind. Don't mind him and just keep going forward.
After running into the other patient you'll notice a closed door. On the opposite side of it is a door that's slightly ajar and a ladder right next to it. Grab the battery inside the room first then continue up the ladder.
More Outlast DLC : Whistleblower Walkthroughs
This Outlast DLC : Whistleblower walkthrough is divided into 9 total pages.


