
This Outlast walkthrough is divided into 7 total pages.
You can jump to nearby pages of the game using the links above.
Chapter 5 - Courtyard
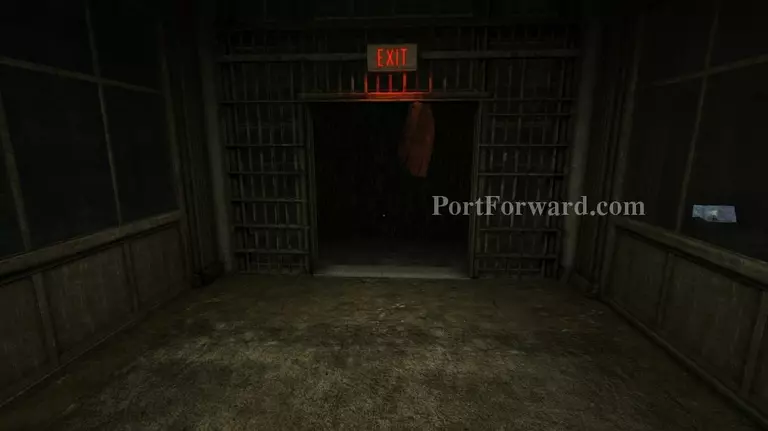
Turn right to see a bright "Exit" sign. Make your way straight for it and go outside. Before doing that, however, pick a document folder in the security room on the right.
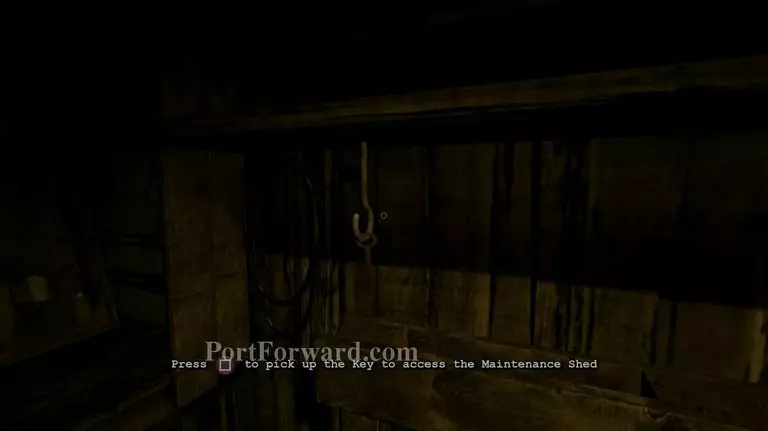
Outside, go straight ahead, then left by the fountain. The gardens hide another document folder (on the stairs to the right of the fountain). Find an outhouse and go inside. You'll find two batteries and a key.

Backtrack to the garden entrance and turn left. You should see a grated door.
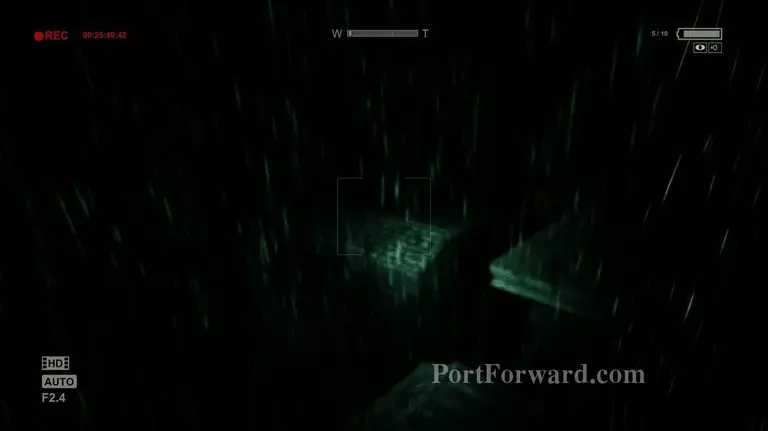
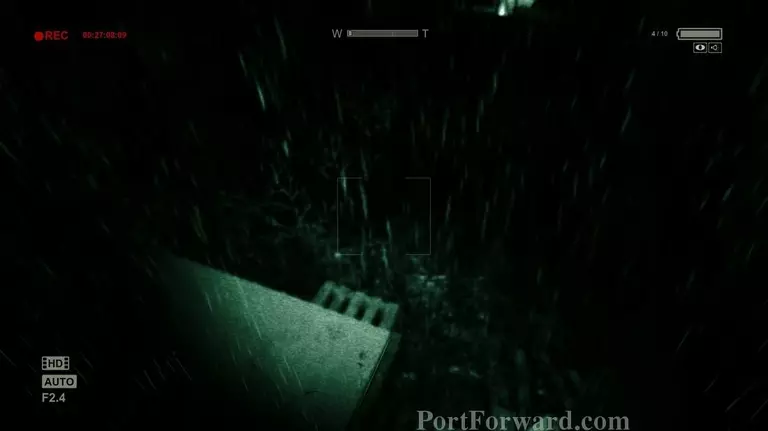
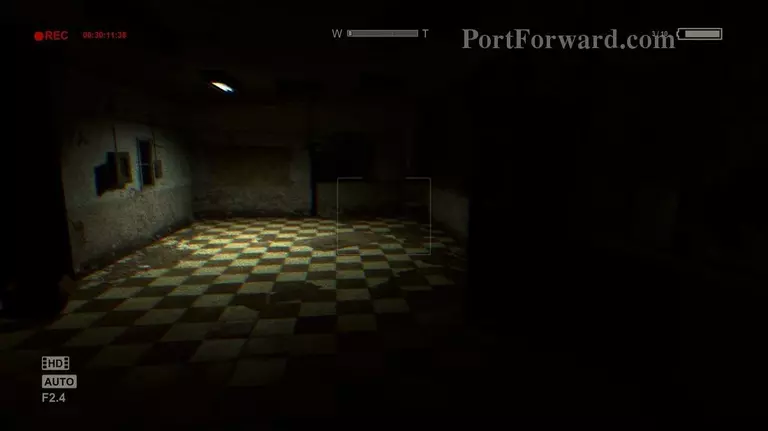
Go forward, jumping when needed. Luckily, no one is after you - except for the video camera battery, which needs to be on now. Eventually, you'll reach a ledge. Go across it looking down.On the other side, take a run up and jump over to the other building, then drop down on the grass below, using the crates for help. Look around, then approach the other crates.
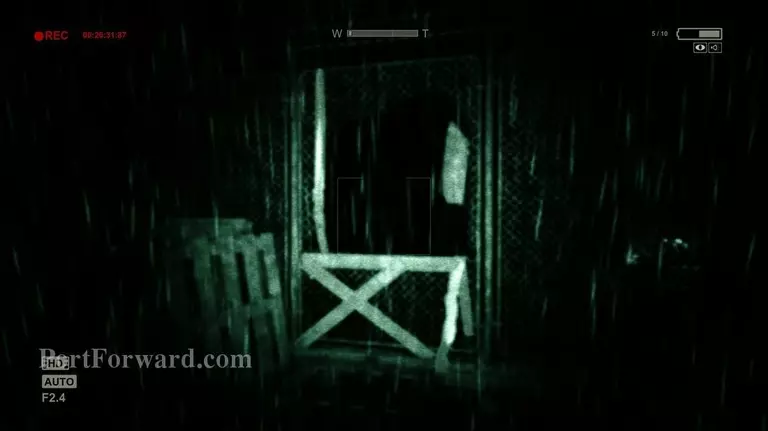
Climb them up and face the grate. Look up to see a hole.Get to the other side and press on despite the darkness. On the way you'll see several lunatics, but they won't pay any attention to you. Shortly afterwards, you'll see stairs on the right and will have to cross through the gate up.Follow the road until it ends. Turn to the right and jump through the hole in the gate.
Now, be very careful, you're going to have to play hide and seek again. Move in the darkness, heading a little to the right from your starting position. You'll see heaps of wooden boxes that will take you up. Move right towards the ledge.Go until the very end, and when you can't move anymore, jump down and keep running forward.
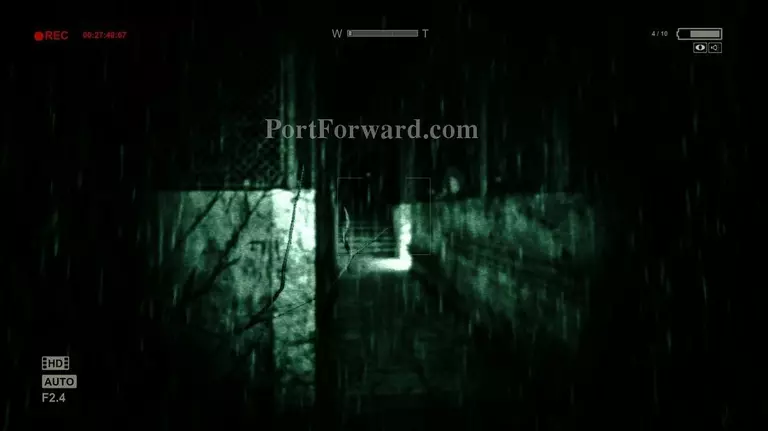
A while later you should see a light. As you start walking towards it, your old pal will show up. Take turn into the bright alley, crouch and crawl under the wall.
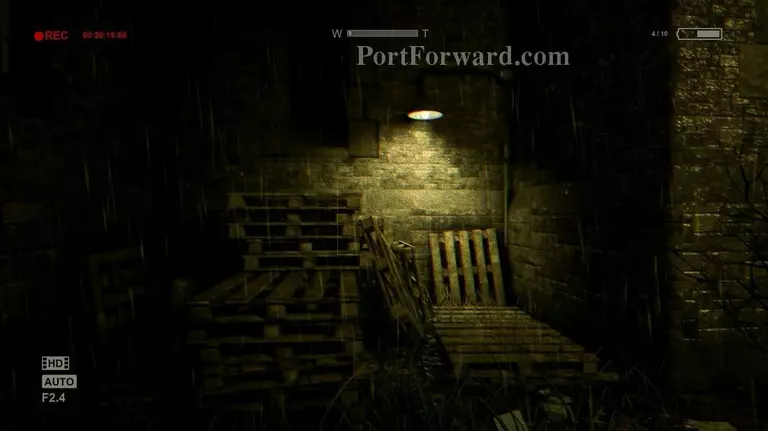
You'll receive new objectives. Move towards the door, but turn right half way. Change direction again at the bloody fountain (you can also find a battery there), this time to the right, and you'll see the wooden boxes once again. Climb up them to find yourself back inside the building.
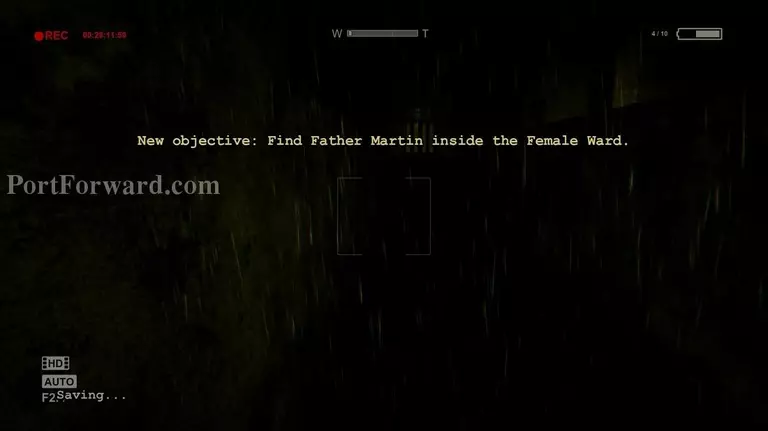
Turn left and listen to what father Martin has to say to you. Afterwards, turn left, then left again into a corridor. Turn right to see a silhouette of some psycho murderer through the glass. Watch out and continue on.
"Next, turn left and squeeze through the shelves. Expect to see the patrolling enemy. Go through the window into the laundry room, then immediately go for the door.
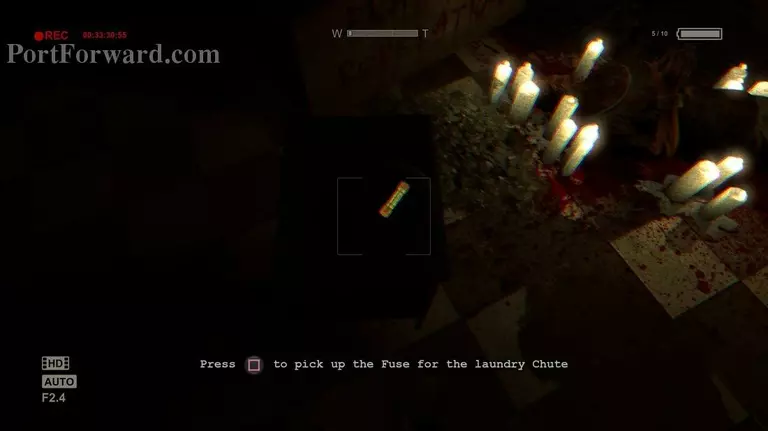
Keep going ahead as the path leads you and eventually you'll reach a room with a chimney. Just to be sure, barricade the door behind you, then take the fuse from around the chimney. Be aware there are 2 varients in this part of the story and is fast, so be cautious!
First, go left. Behind the door at the end of the corridor you'll come across a prisoner and the second fuse. As you pick it up, the prisoner will turn his attention to you, but won't attack.
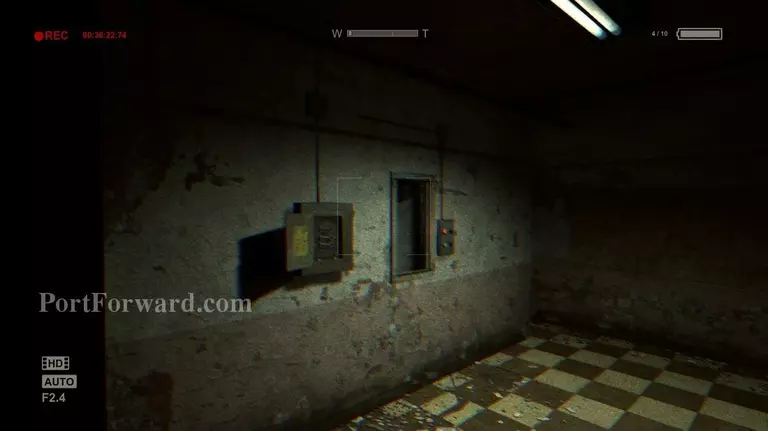
With the key, go back upstairs, and right to your right there's a metal door. This is the one the key was for. Open it and go up.
More Outlast Walkthroughs
This Outlast walkthrough is divided into 7 total pages.


