This Payday: The Heist walkthrough is divided into 8 total pages.
You can jump to nearby pages of the game using the links above.
New World Bank
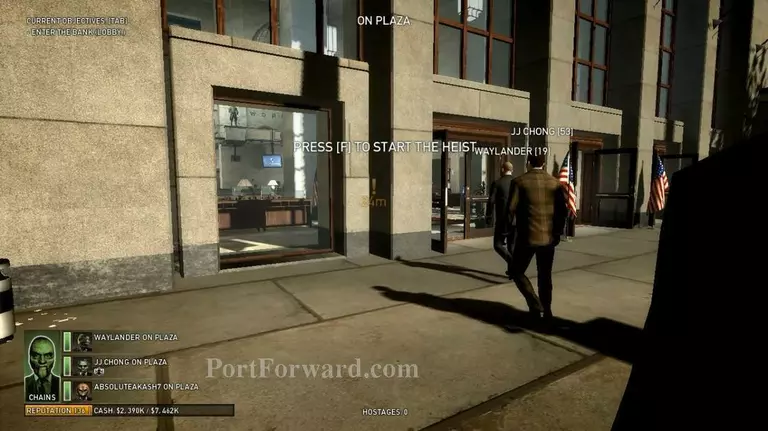
Once you start the mission, first thing you have to do is find the Bank Manager.
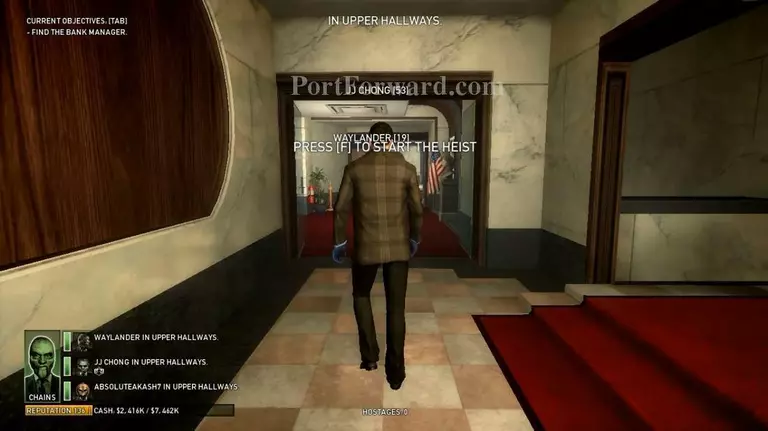
To be safe, do not start the heist. Instead, find the Bank Manager in the building. He is located at the random places so you have to find him by looking everywhere.
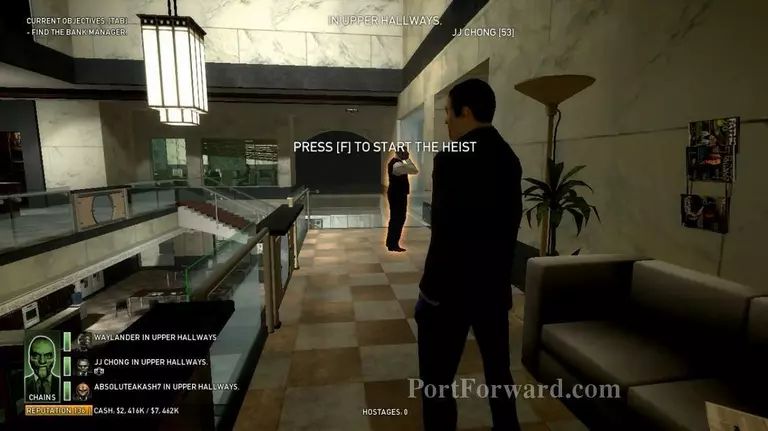
When you find him, his body will be glowing in orange. Tie or kill him to get the keycard to the storage.
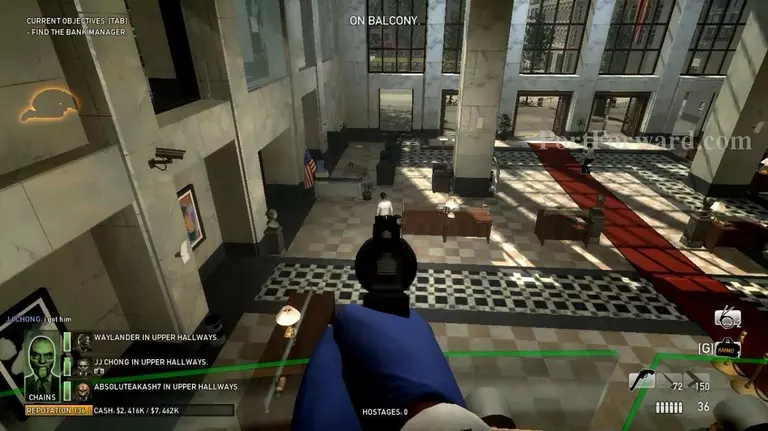
If someone else taking the card, you have to be ready to eliminate the guards once your friend do something to the Bank Manager.
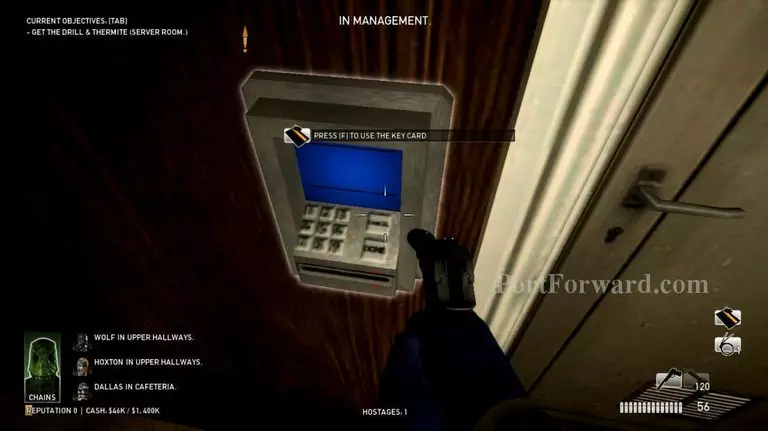
Then, get to the server room by using the keycard.
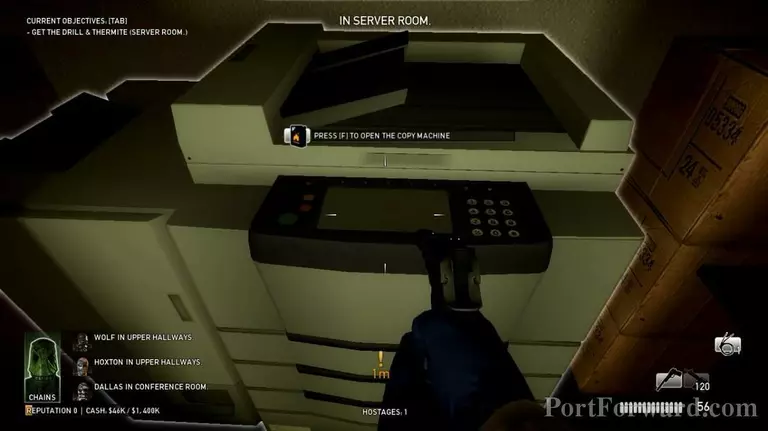
Open this copy machine and take the drill and thermite.

There is another thermite here. It is very recommended to take it. Ask anyone else to take because you already hold one.
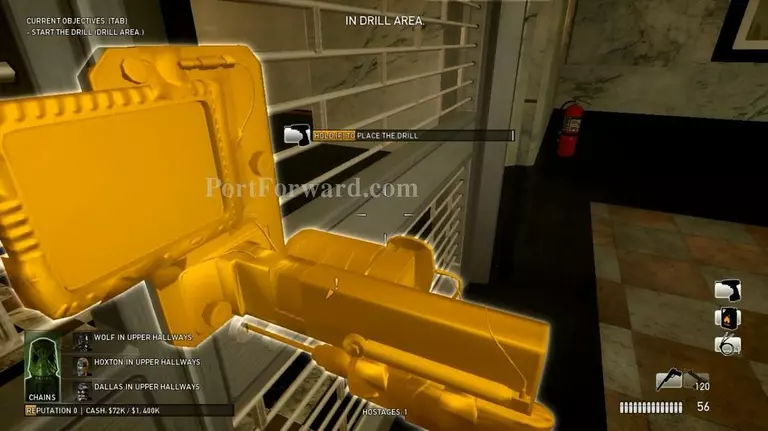
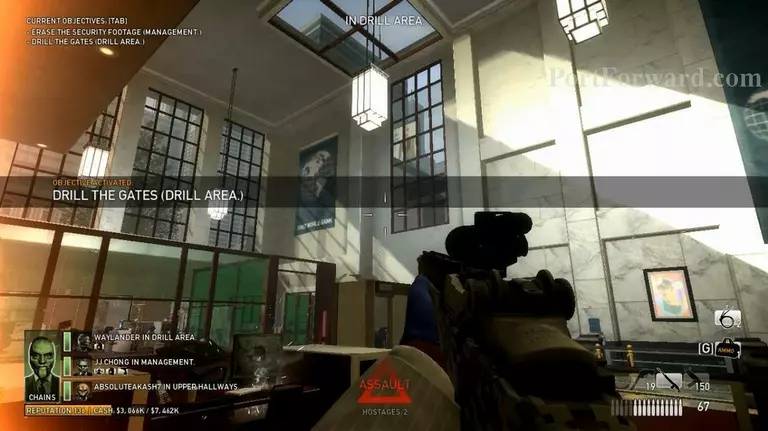
Go to the target locations and place the drill. And, try to shoot all the cameras.
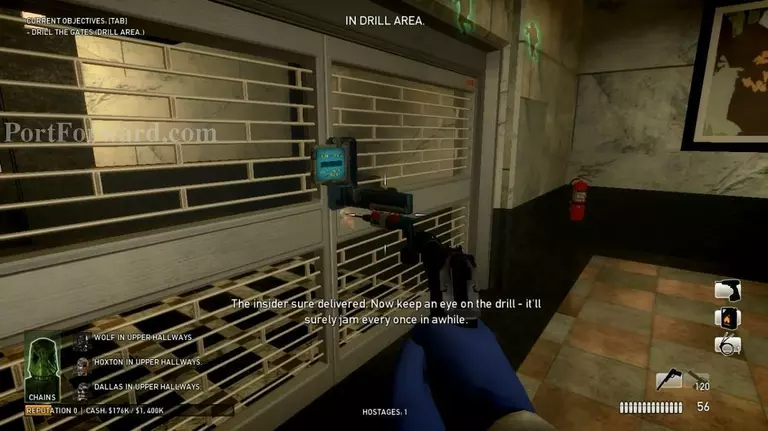
Wait for the drill to complete. In the meantime, defend the area because usually the drill will stuck few times. So you have to re-start the drill. Teamwork is required now.
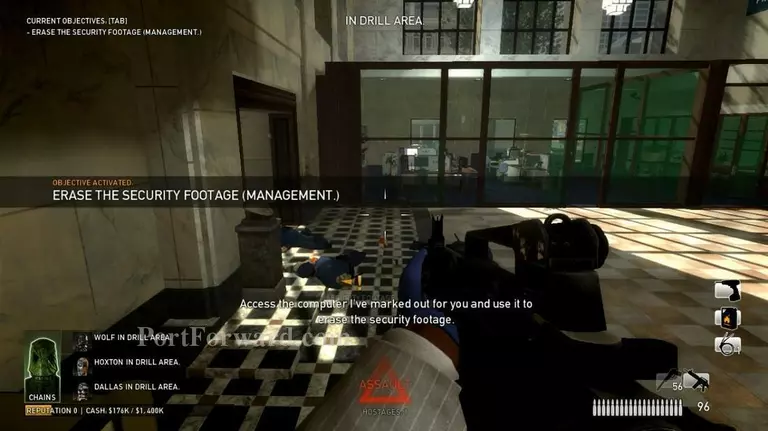
After a few minutes, another task will activated. To erase the security footage, go back to the server room. Your team can move together (safer) or send one or two of your friends to do that while you stay looking out the drill.
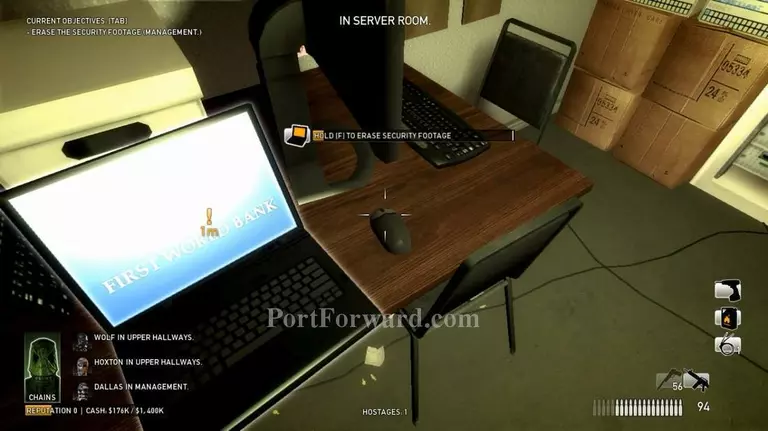
Just hold "F" until it complete. Then, go back to the drill area.
Keep defending the area and restart the drill if necessary until it finish. When completed, move to the new area.
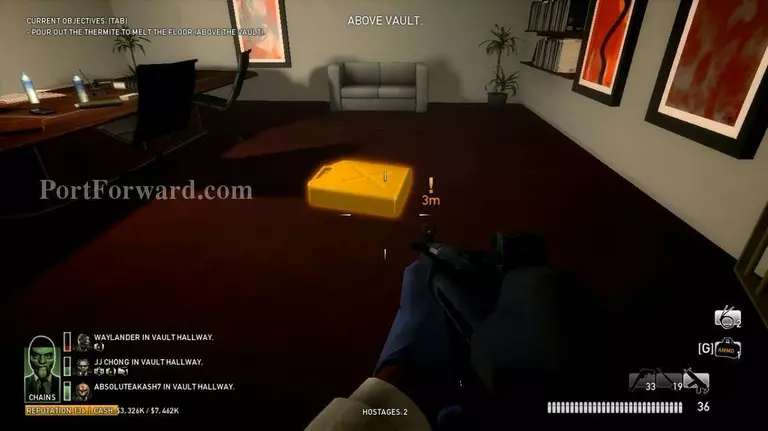
Use the thermite you take before and another thermite that your friend take. By using two thermites, the floor will melt faster
Just stay alive until the floor melts.
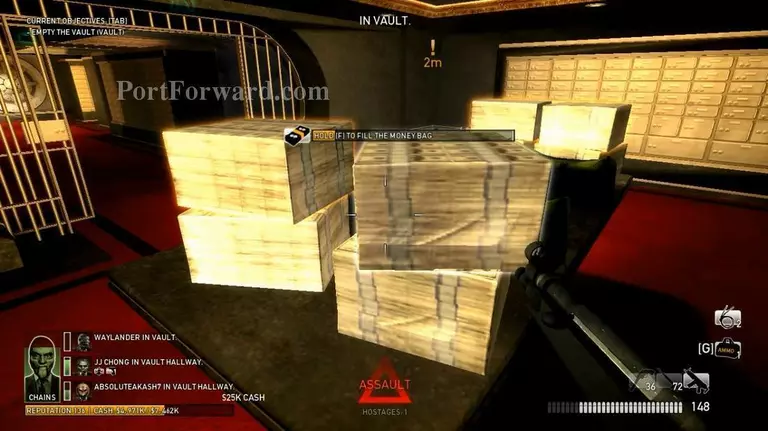
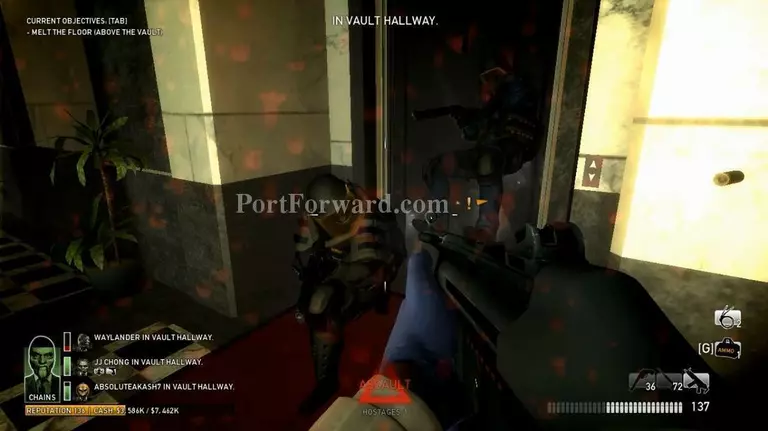
Move on to the vault and take all the money.
Then, get out and go to the area where the server room is located. Be careful though, more police will come after you.
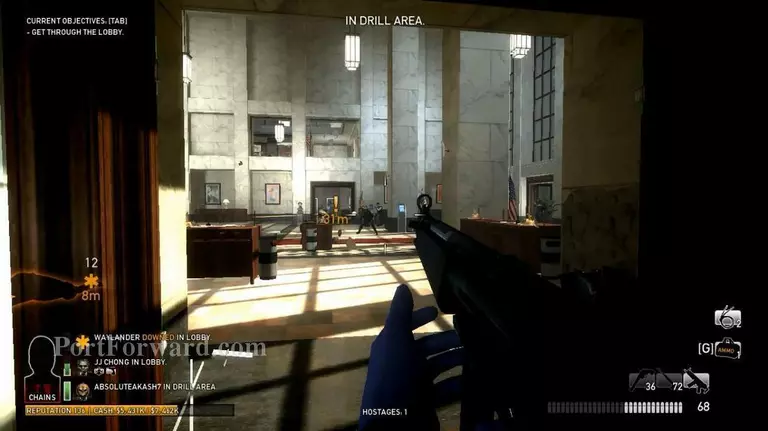
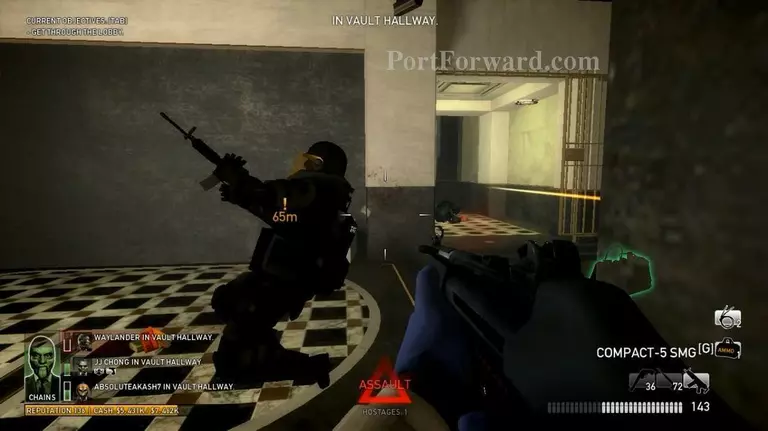
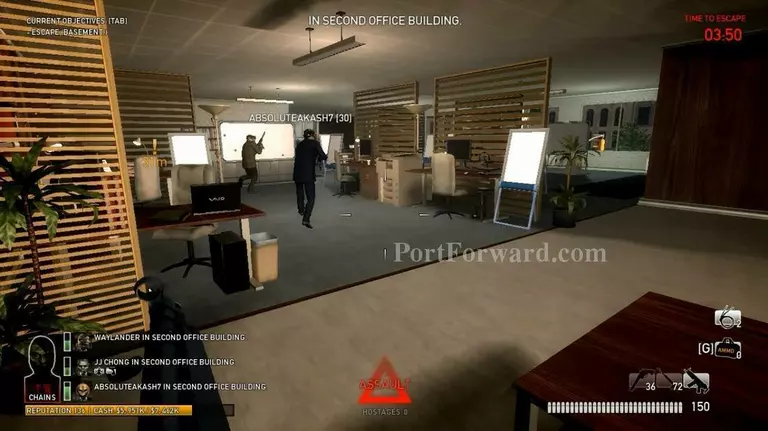
You have to go through the lobby. Don't rush, clear the police first. Also, beware of snipers.
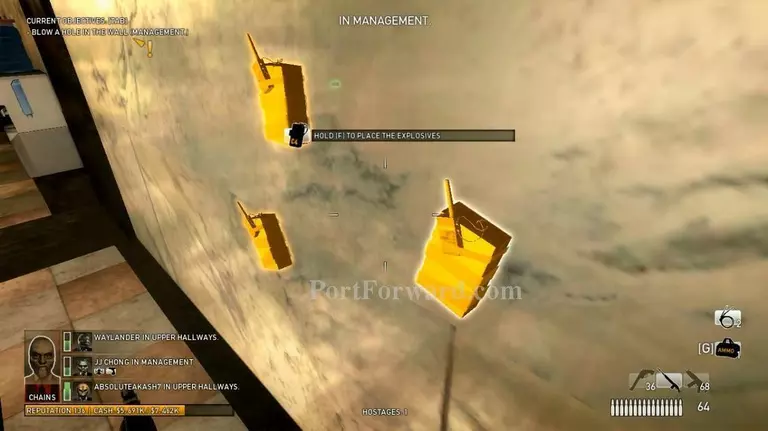
When you reached here, plant the C4. It shouldn't be taking too long to explode. If something bad happens, stay inside the server room and use the bags your team have.
Then, after the C4 exploded. Proceed to the path through the wall. Always stick together with your team. It won't be many police here but sometimes, bulldozer may appear.
Finish this mission by step in the end point area. [Mission Completed]
More Payday: The Heist Walkthroughs
This Payday: The Heist walkthrough is divided into 8 total pages.