
This Payday: The Heist walkthrough is divided into 8 total pages.
You can jump to nearby pages of the game using the links above.
No Mercy
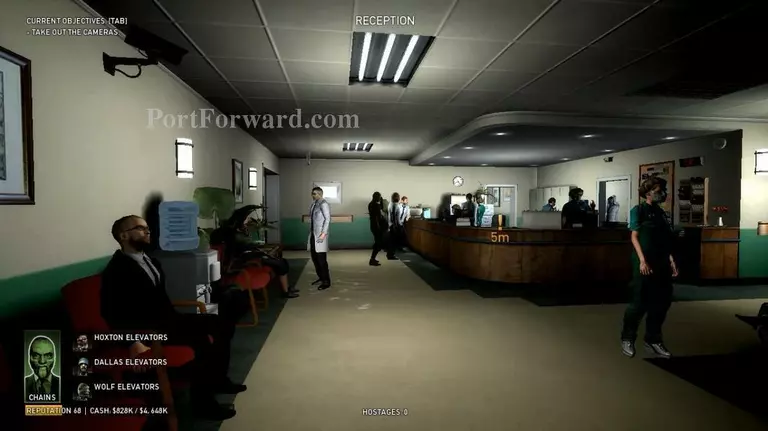
First thing to do, locate the position of cameras. The number of cameras depends on the number of players. If you play alone, it will be 3 or if 4 players, it will be 9 cameras. Also, to succeed this mission for plan A, you need a silenced weapon.
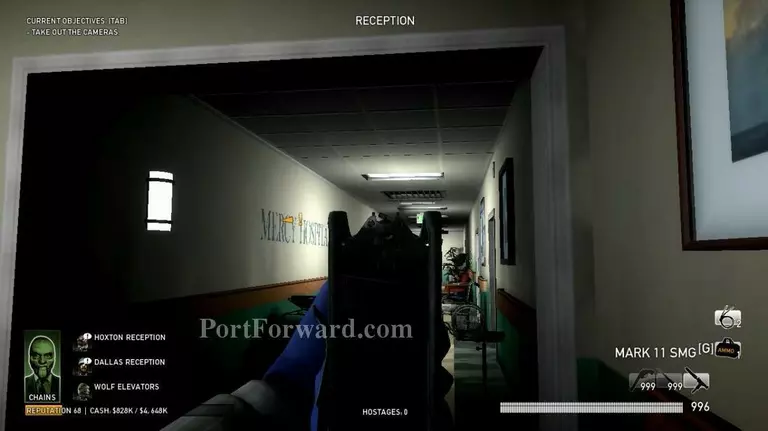
Find a strategic place to shoot all the cameras quickly. When you ready, just start the heist and destroy all cameras using silenced weapon.
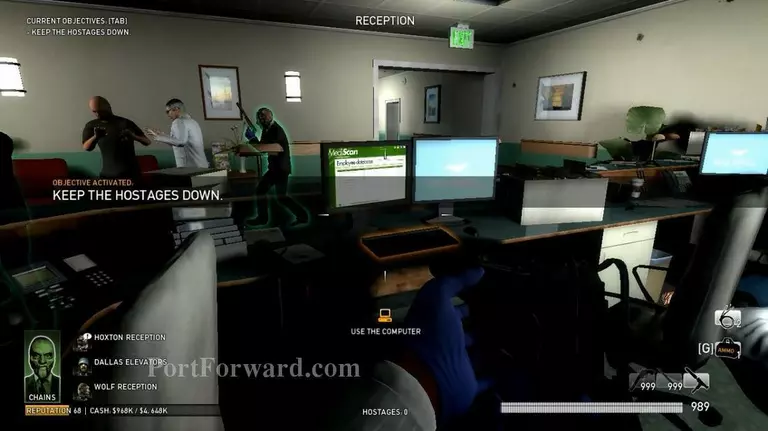
Quickly, after you shot all the cameras, shout to the hostages to stay low. If they persist, try to shot the wall to make them scare a bit. ;) do not shot the civilians
Ask your friends to keep shouting and look out for crazy people that will try to turn off the alarm. It will be two alarm buttons. First here and another one at the elevator next room.
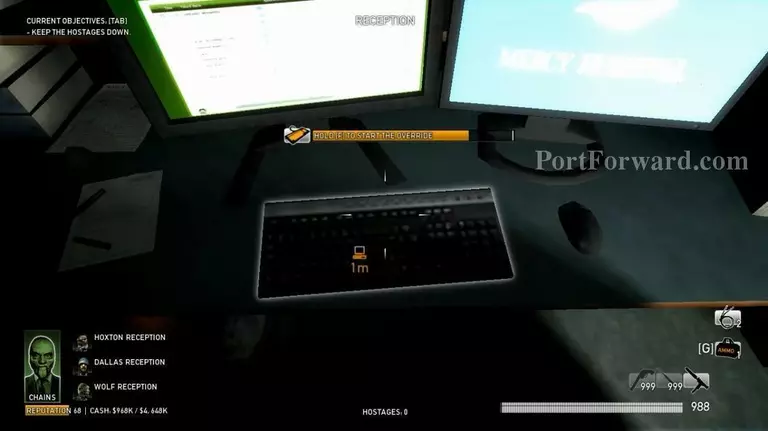
Do the objective they asked. If the phone ringing, then you have to quickly answer it. If too late, the alarm will automatically off by itself.
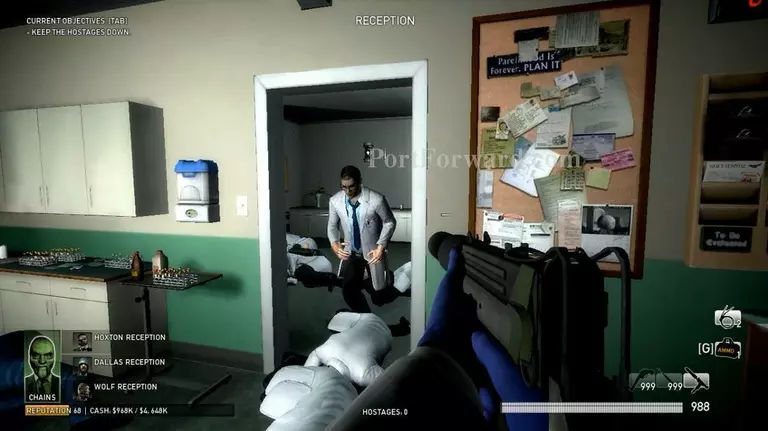
One of the crazy people. Shout at him to stay down.
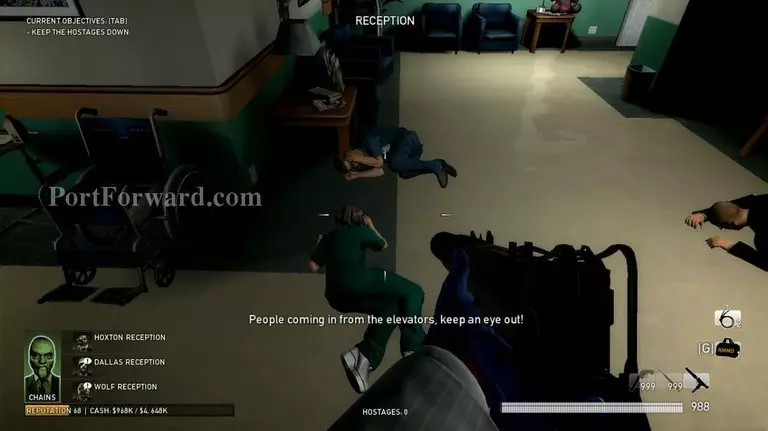
Also, pay attention to Bain (mission controller). If he say people coming from the elevator. You have to make them stay down too.
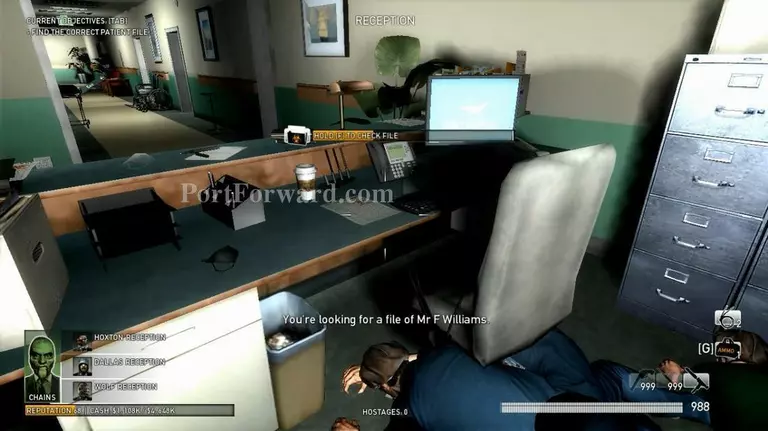
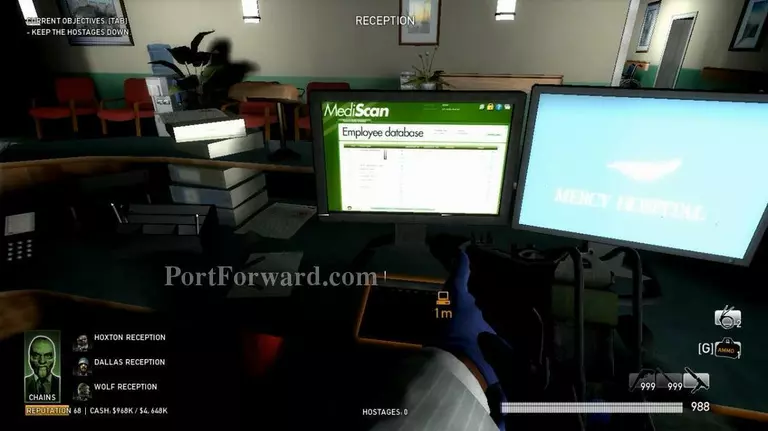
After you answer the call, you have to find the documents. It will take for a while to find it. Usually the document in the room after you search for a few times at the counter.
Again, pay attention to Bain. He will talk something about the guard. This is the guard you have to kill.
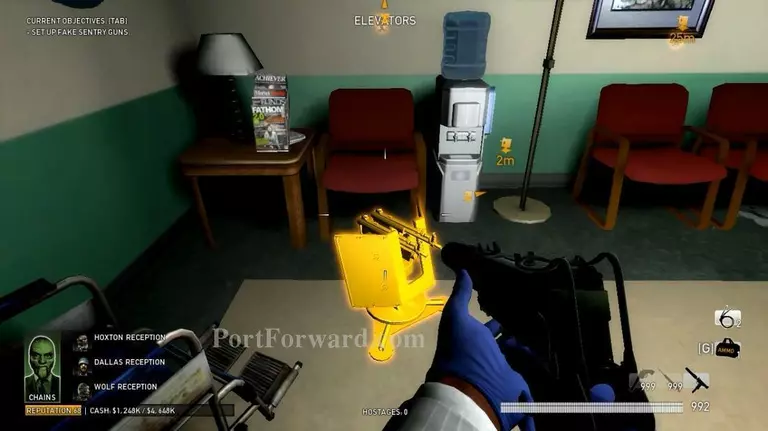
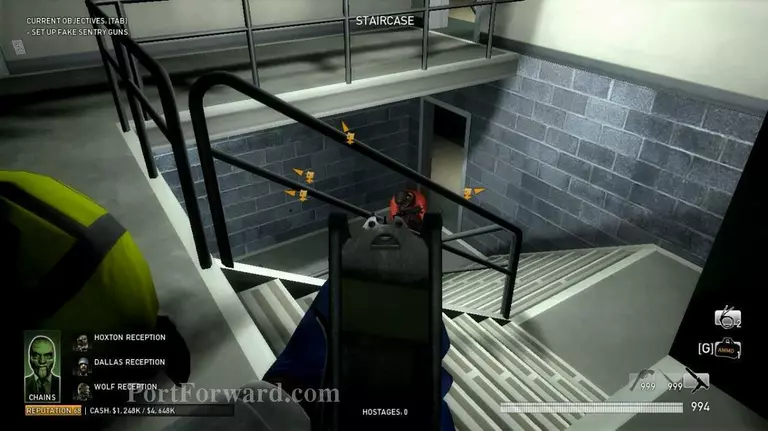
After you find the document, set up fake sentry guns. People will not mess with alarms again when you finish set up all the sentry guns.
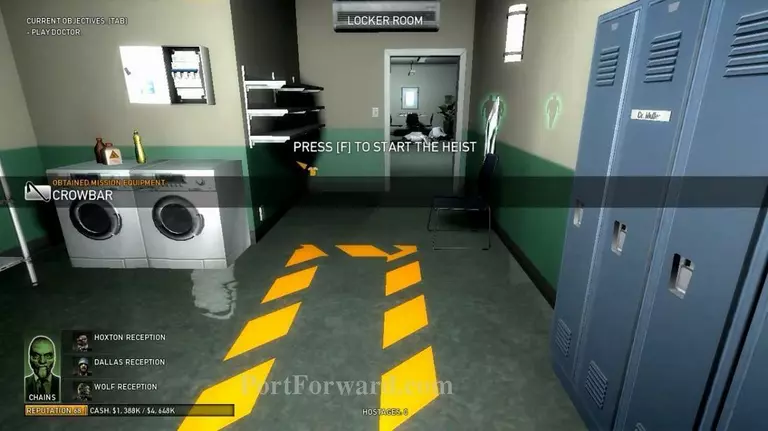
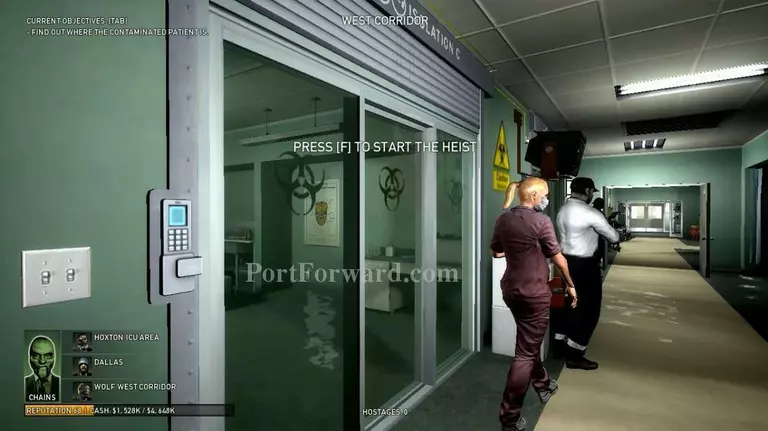
Go here to change your clothes.
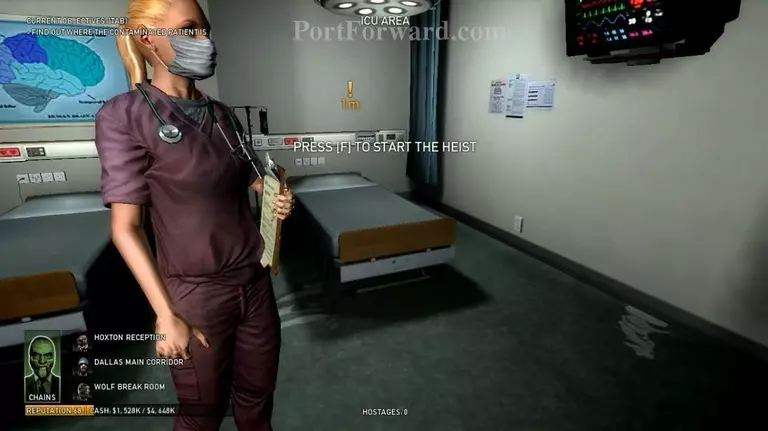
Then, go to this girl. Wait for a few seconds and she will start moving and talk about patients.
After she explained all, she will be back at her place.
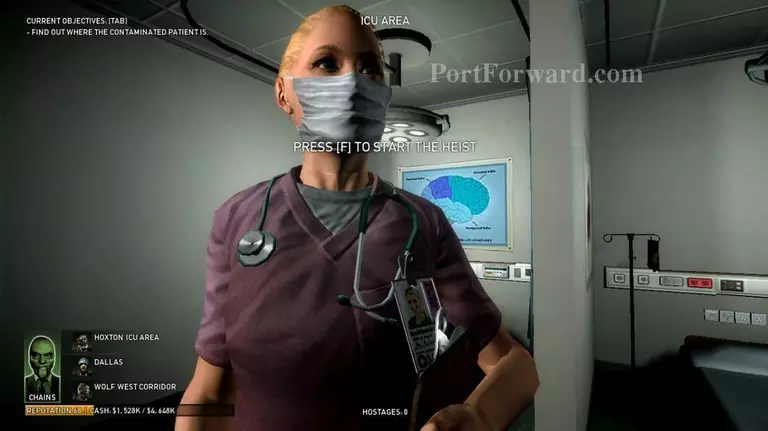
Go back to her to do another round. This time, pay attention to what she said. The keyword to know the real infected person is "stay longe in herer" or something same meaning like that.
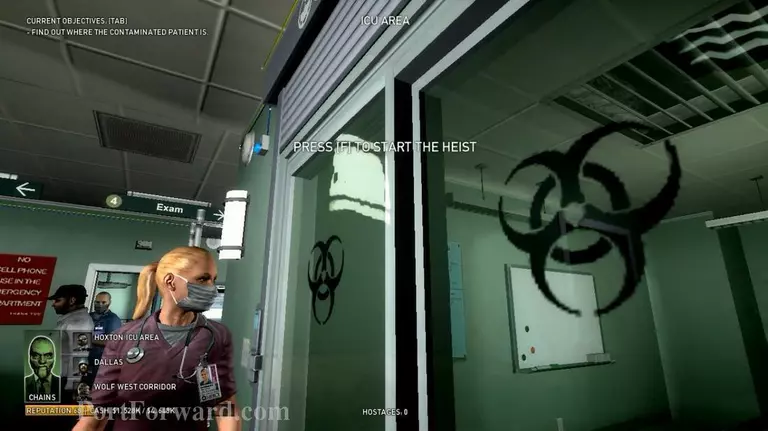
When you sure the room belongs to the infected guy, now check his wire colour. For this room, the wire colour is blue. You can see each room has different colour wire. Just look around and you will see.
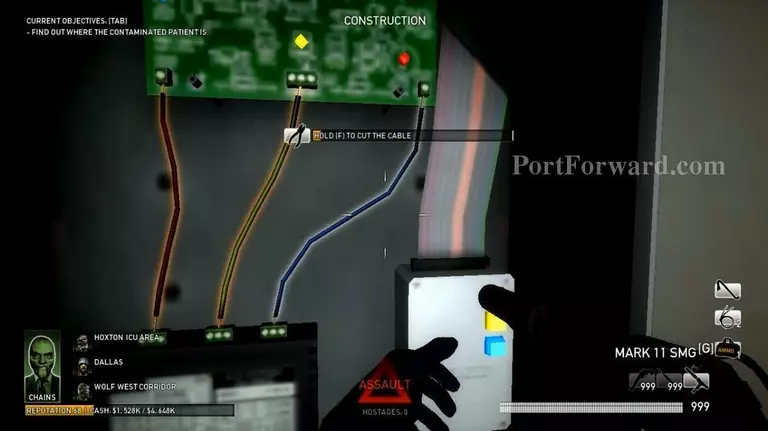
Then, start the heist and cut the coloured wire that you sure.
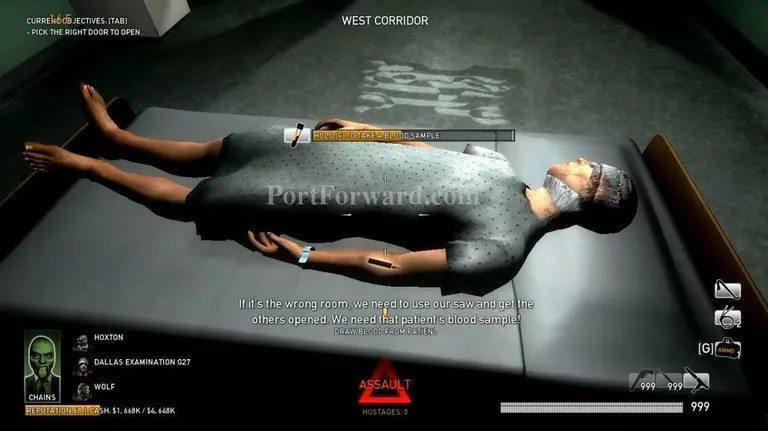
If the guy is correct, you can start collecting his blood.
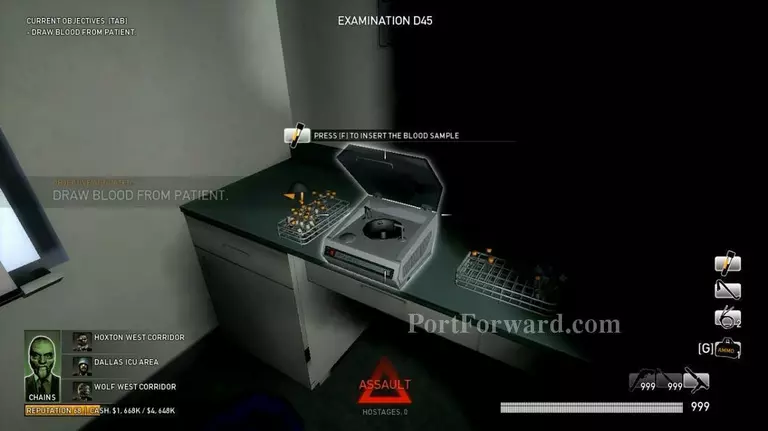
Take his blood to this machine. There are three units in this floor. Just keep taking the guy's bloods and put inside the machines. You need 2 verified sample of his blood.
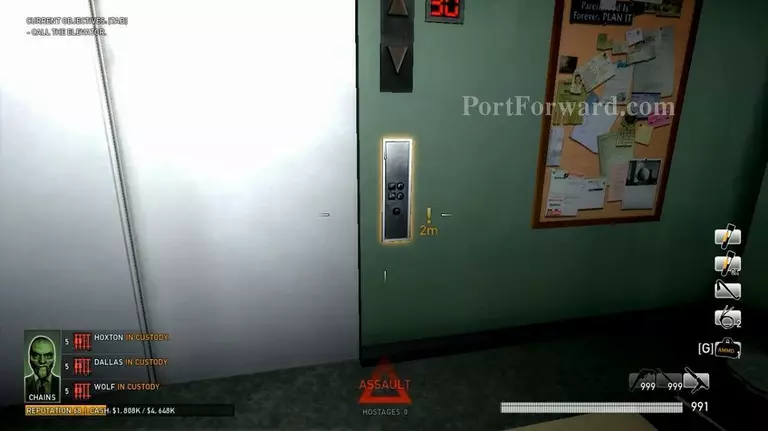
When you have one verifed blood sample, you can call the elevator first. But do not stop testing the blood! You need two samples before you can proceed.
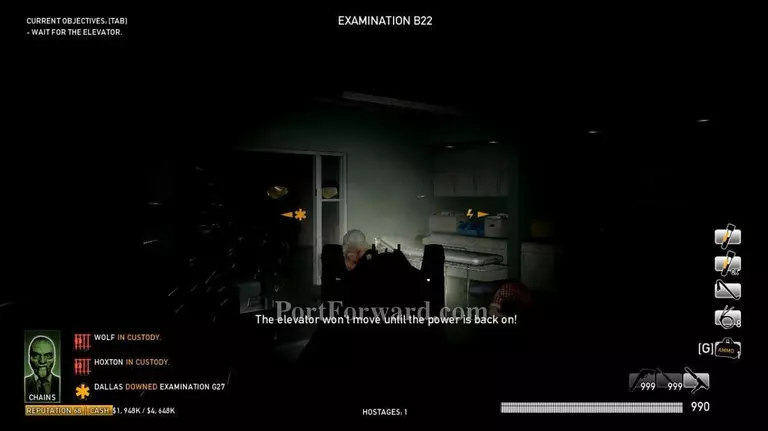
The worst part in this mission is black out after calling the elevator. You need to find the power box and turn on the power.

Have two blood samples? Than call your friends to enter the elevator.
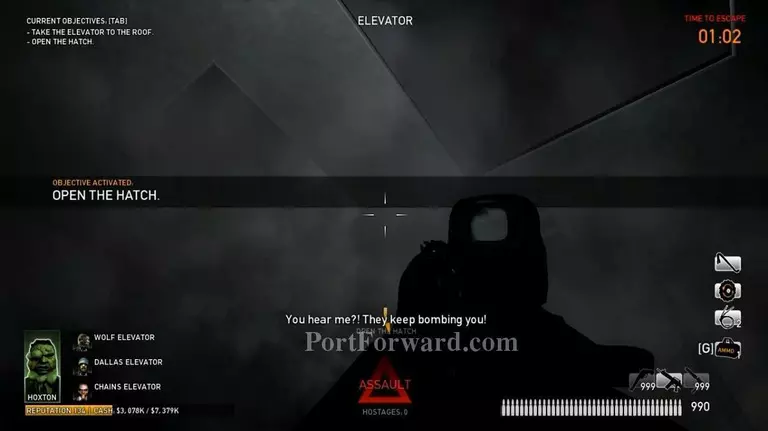
Don't worry. Open the hatch below you.
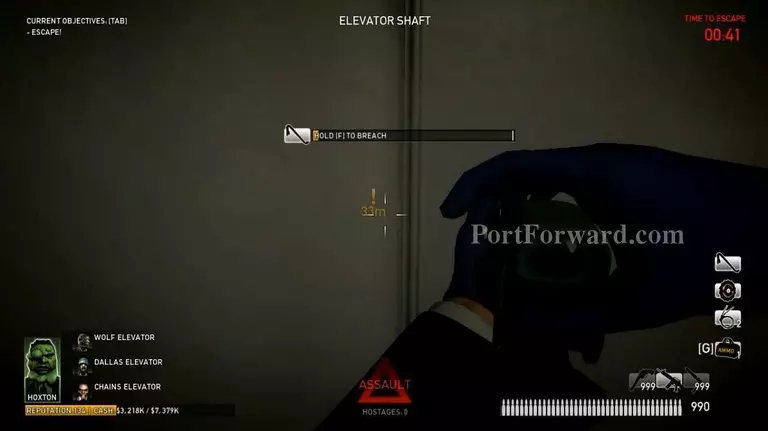
Then open this door. Quick, you only have 1 minutes to escape.
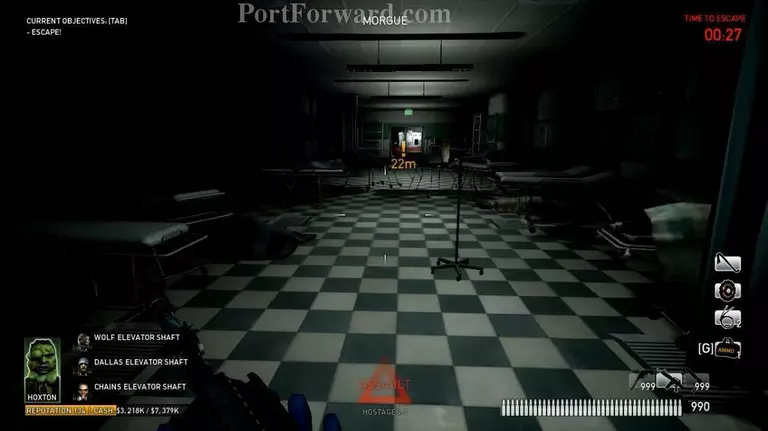
Tricky part. Go jump and crouch. :D
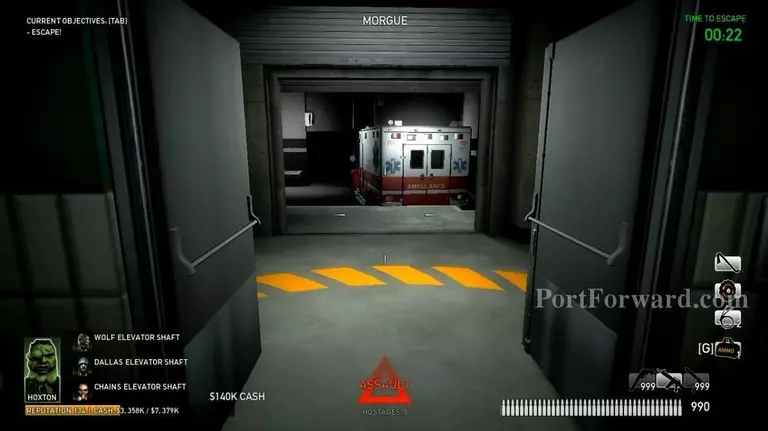
Step inside the end point and the mission will end. [Mission Completed]
More Payday: The Heist Walkthroughs
This Payday: The Heist walkthrough is divided into 8 total pages.


