This Risk of Rain walkthrough is divided into 6 total pages.
You can jump to nearby pages of the game using the links above.
Inside the Game
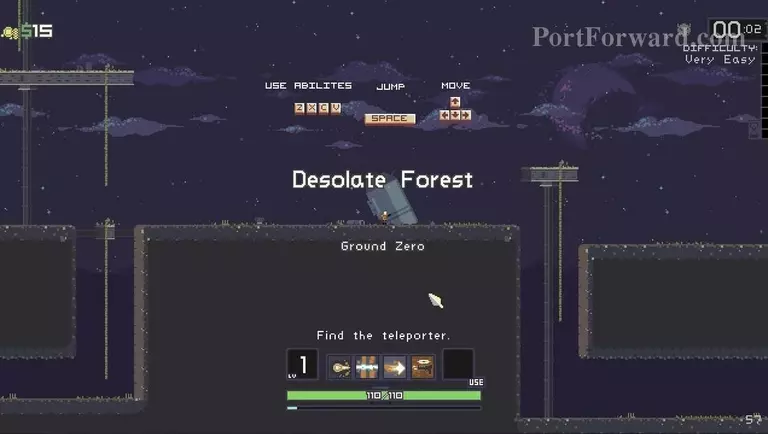
When you get in game, it will tell you what map you are in, I landed in Desolate Forest, and it will show the controls. space is to jump, arrow keys are to move, and zxcv are for the corresponding abilities. Z is your basic attack, it has no cooldown. X is a piercing shot with knockback, it goes through everyone in a line infront of you, it has a 3 second cooldown, I would recommend using this in combat whenever possible. C is a roll, while rolling you don't take any damage and it sends you forward a small distance, it has a 4 second cooldown, I would recommend using this in combat to avoid attacks while you wait for your other cooldowns, and to travel faster. V is another attacking ability, it can hit both sides of you, and it stuns everyone hit by it, this has a 5 second cooldown, I would recommend using this whenever seems applicable.
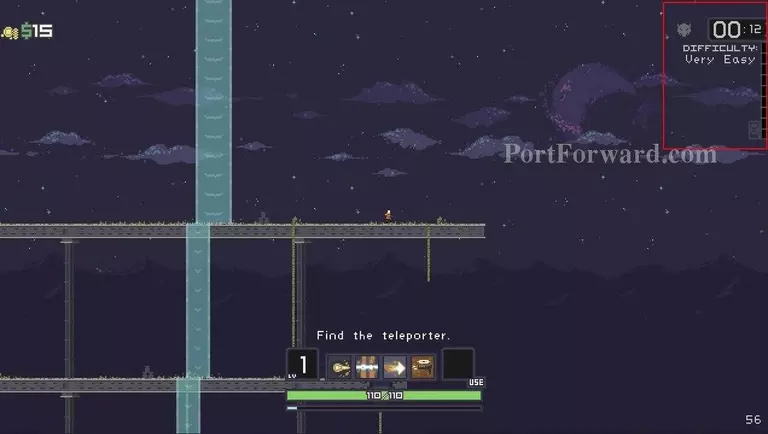
At the top right of the screen, you may notice a timer and other various displays. The timer simply shows how long you've been on this playthrough. The bar, that is currently empty, shows how long you've been playing, but each section adds higher difficulty. I am currently on very easy, but the longer you play the more the difficulty goes up.
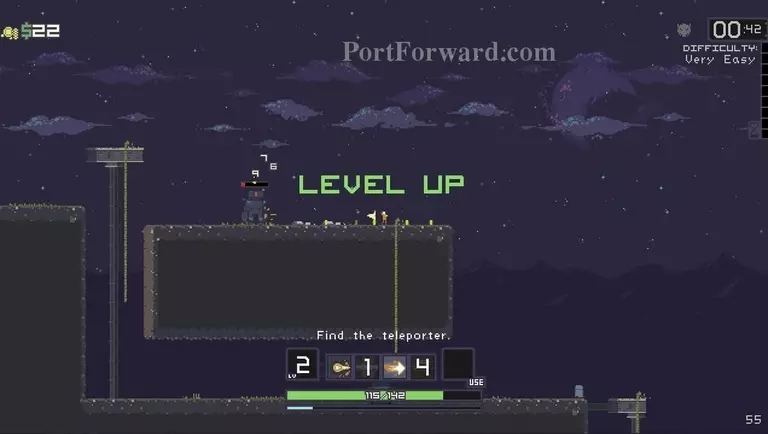
After playing for a little, you may notice you've leveled up. This increases your stats, but also increases the experience required for your next level. The experience bar is located below the health bar.
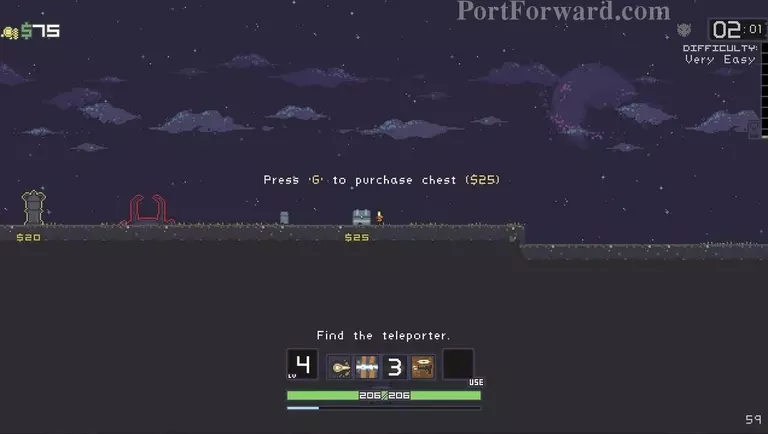
Whenever you kill an enemy they drop experience and gold. This gold is used to buy upgrades or items, a main part of this game. Chests can vary from 25-50 on the first level, but it increases every level. There is also Imp Shrines, which when activated spawns 5 imps. If you kill those imps within the time limit you are given a reward. You can use the statue twice before it is unusable. Finally, there are Health Shrines and regular Shrines. Health Shrines require Health, and have a chance to give you an item. The same is for regular Shrines, but just with gold. Whenever you fail or succeed any shrine, the price goes up. For all shrines, it goes away after winning twice.
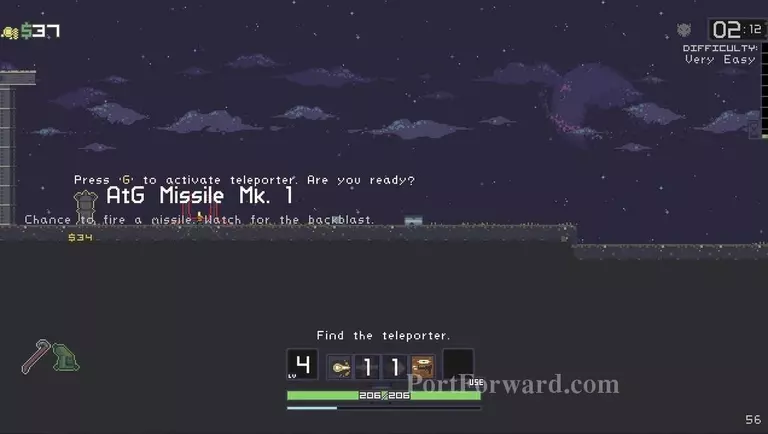
The main point of this game is to find the teleporter, activate it, kill the boss and all the minions that spawn, then use the teleporter to reach the next level.
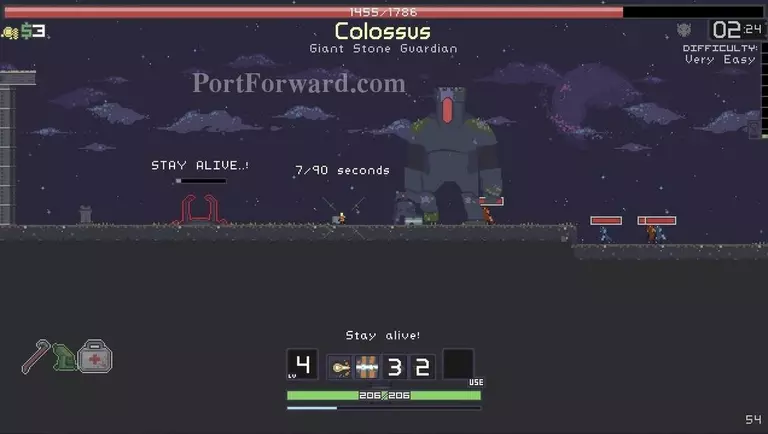
When you begin, above your name you will see #/90 seconds. This means that there will be a rapid spawn of enemies for 90 seconds, and when those 90 seconds end you need to kill all the enemies and the boss. Afterwards you can go through the teleporter.
More Risk of Rain Walkthroughs
This Risk of Rain walkthrough is divided into 6 total pages.