This Risk of Rain walkthrough is divided into 6 total pages.
You can jump to nearby pages of the game using the links above.
Bosses and their Stats

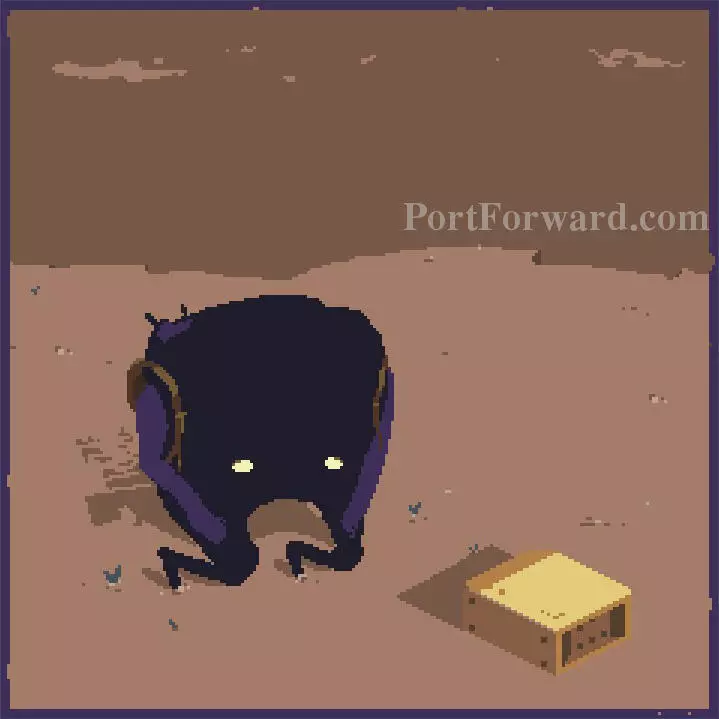
Colossus - Health: 1400 Damage: 40 Speed: 13 Strategies: Colossus is most likely one of the easiest bosses in the game. He is very slow and it is hard to get hit by him. Just stay a short distance away and wait for the time to run out. Once monsters stop
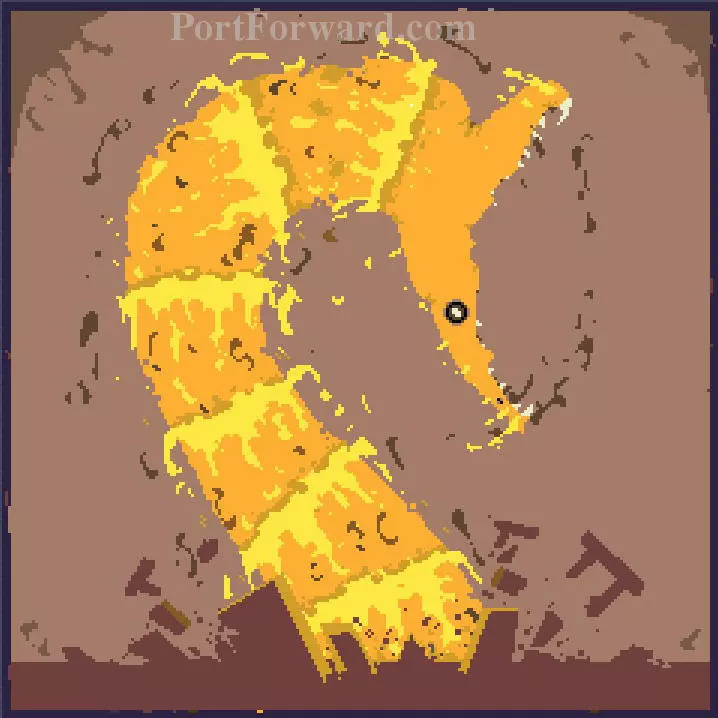
Magma Worm - Health: 1400 Damage: 55 Speed: 168 Strategies: The Magma Worm only has one attack in which the worm comes out from the ground, loops around and goes back underground. It is recommended to attack with him AoE abilities if possible, since he has multiple segments that can be damaged. When close to death, the worm attacks and moves quicker, but is less accurate.

Wandering Vagrant - Health: 1400 Damage: 12 Speed: 34 Strategies: The Wandering Vagrant shoots out projectiles that home onto you, but otherwise does no damage. As long as you stay on the run and attack inbetween attacks, it is very easy to beat him.

Ancient Wisp - Health: 1470 Damage: 23 Speed: 12 Strategies: The Ancient Wisp is not tough to defeat, it summons collumns of purple flames, but makers appear before so they are quite easy to avoid. After killling it, two regular wisps and two greater wisps appear, so make sure to watch out for that when defeating it.
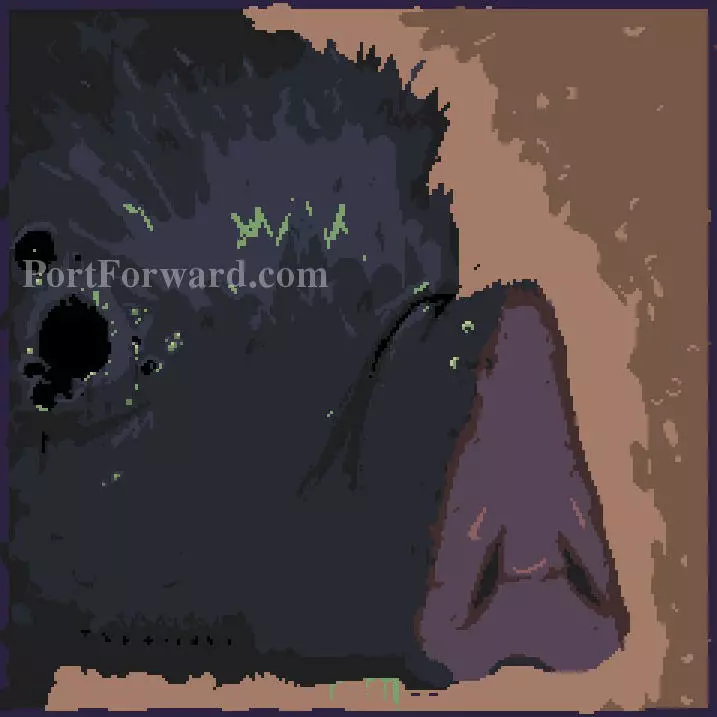
Toxic Beast - Health: 1460 Damage: 17 Speed: 21 Strategies: The Toxic Beast summons 4 pigs about every ten seconds, but they are very easy to defeat and so is the boss. The Toxic Beast can do heavy damage to you with her hooves, so make sure to atleast keep a a short distance.

Imp Overlord - Health: 1210 Damage: 25 Speed: 17 Strategies: Imp Overlords are ranged and melee, they can fire a laser and attack with claws. Normally they attack with their claws after teleporting. Their A.I. is very similar to Black Imps.

Ifrit - Health: 1500 Damage: 17 Speed: 28 Strategies: The Ifrit is quite easy to defeat, but be wary of getting trapped between his pillars. If you fight him without any monsters to interrupt, you should be perfectly fine.

Cremator - Health: 1150 Damage: 12 Speed: 28 Strategies: The Creamator shoots projectiles similar to the Wandering Vagrant, and mooves around in the lava. Try not to fall into the lava while fihgting him. Unlike the Wandering Vagrant, he shoots many more projectiles and his projectiles do contact damage and damage when they land.
Scavenger - Health: 1305 Damage: 14 Speed: 14 Strategies: The Scavenger is ranged only, and as the name implies, uses previously scavenged items, such as Disposable Missile Launchers, Ukelele(Electric Ball), Beautiful Behemoth, and Soldier Syringes(Increases his speed.)

Providence - Health: 9000 Damage: 24 Speed: 14 Strategies: In the first phase he will teleport to you with a downward slash or hit you directly without teleporting. Once three attacks go by he will create a shockwave by stabbing the ground, it will stun you if you're hit, this can be avoided by hanging on a ladder or jumping. After three shockwave attacks, he will send projectiles at you similar to the Cremator and Wandering Vagrant, which are extremely easiliy to dodge. He also has a shield buff, and when activated you should normally ignore him. Once you get to Providence's second phase he will summon two Gilded Wurms, the red worm sends a laser stream that homes in, it deals extremely heavy damage so should be avoided at all costs. The blue worm fires five projectiles three times in a row, it is easy to dodge and doesn't do much damage as long as you don't take the shotgun point black. They can be killed easily with AoE attacks similar to the Magma Worm. In the third phase, you have to fight Providence, but he comes with two buffed Temple Guardians. He has the same attacks as the first phase, but also, when his shield buff is used he summons a shadow version of himself. Shadow Prov attacks at the same time as Providence so makes it harder to dodge. One other thing to look out for is that when Providence does his projectile attack, Shadow Prov sends projectiles at you as well, but he will send them all over the place much faster, and Shadow Prov's hit for much more. It is suggested to avoid Shadow Prov's even if you get hit by Providence's attacks.
More Risk of Rain Walkthroughs
This Risk of Rain walkthrough is divided into 6 total pages.