
This Space Engineers walkthrough is divided into 6 total pages.
You can jump to nearby pages of the game using the links above.
End Notes & Advanced building
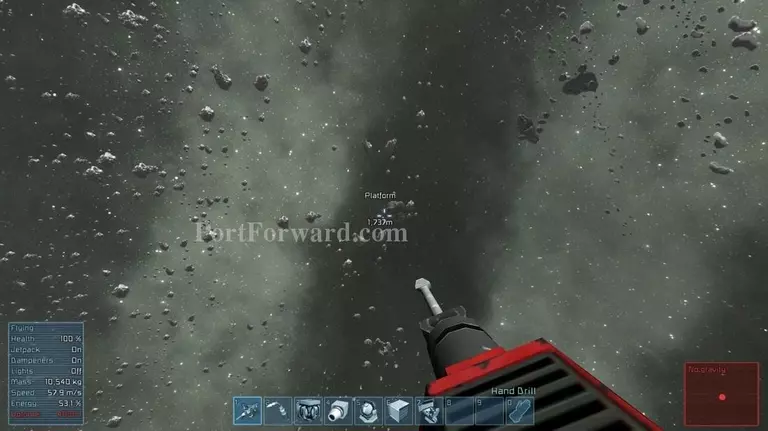
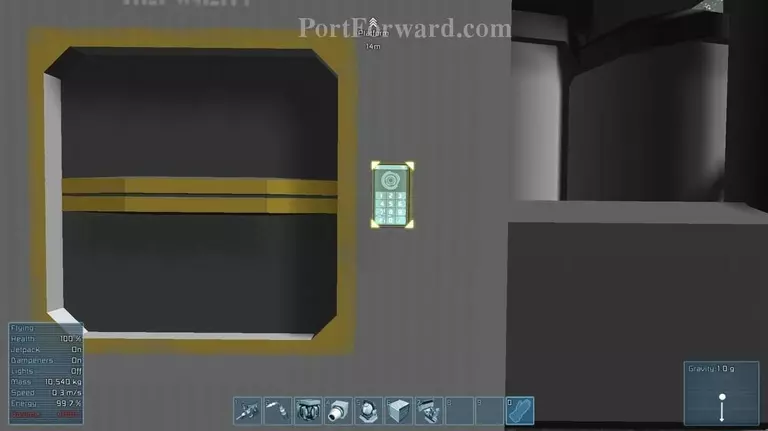
The beacon may seem frillious at first but It becomes insanely important as you could be dealing with "search for the pixel" kind of situations when you drift too far.
The beacon can also be re-named and you can place several of them in other instances once the game allows travel. It will become a necessity for any serious operation as power will always be essential.
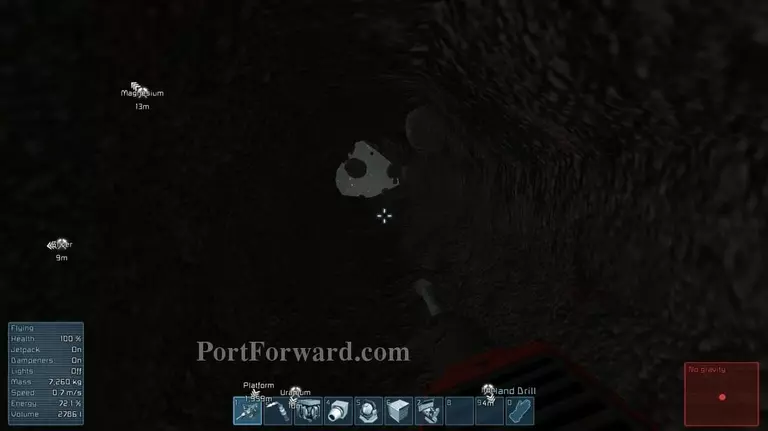
Your refinery can only deal with so much ore at short periods of time. Prioritize Uranium and don't have several stacks of the same ore unless you are prioritizing building materials.
Pressing (Z) will turn your Inertial Dampeners off. This is VERY dangerous at high speeds as they essentially serve as your only methods of slowing down.
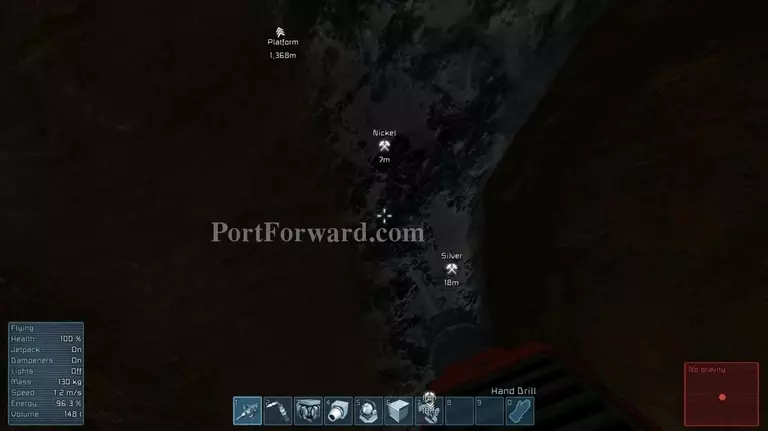
Finding specific ores can be an insane hassle. For me, I had tons of trouble locating Nickel, and thus, I couldn't create engines & motors.
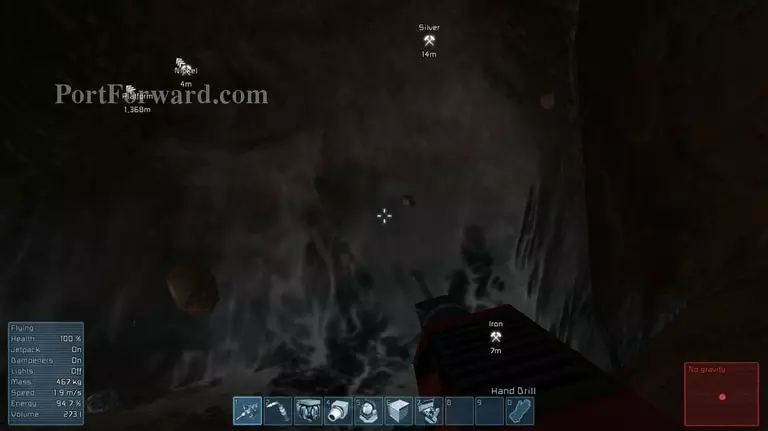
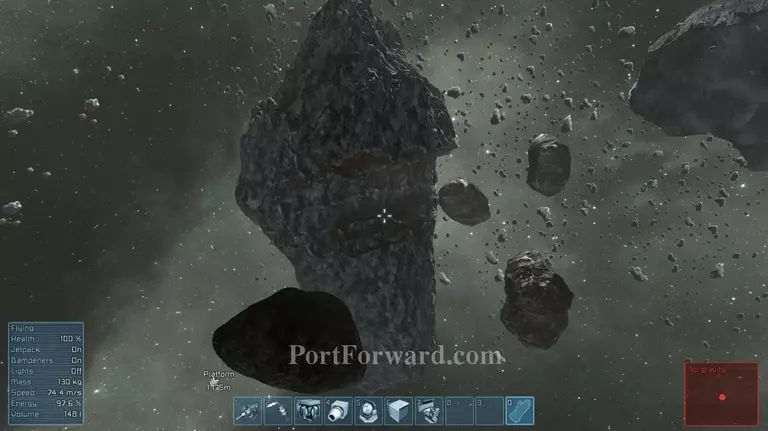
Face-rubbing asteroids is a good way to find these sneaky supplies. If all else fails, drilling some new exploration tunnels into the bigger asteroids usually works to locate the oddities.
Patience is key in this game. Crafting takes a long time and so does taking the required resources to be able to build anything fully.
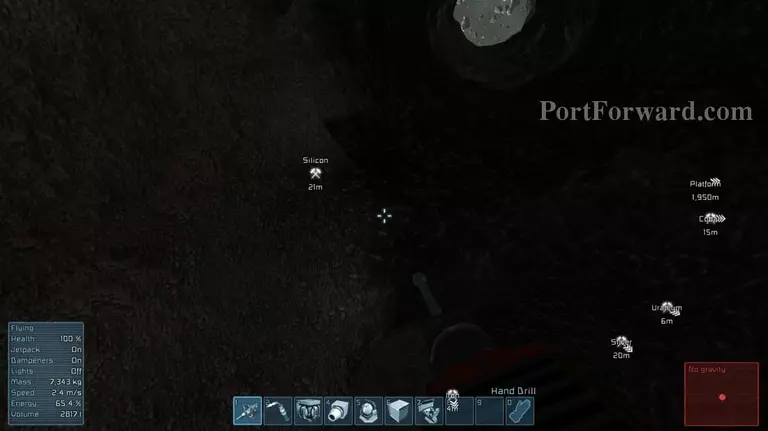
A keen eye is also necessary in some instances. Here, there is a small deposit of gold and my detector didn't warn me of it.

Looking inside the asteroid after seeing the gold, I discovered a massive deposit.
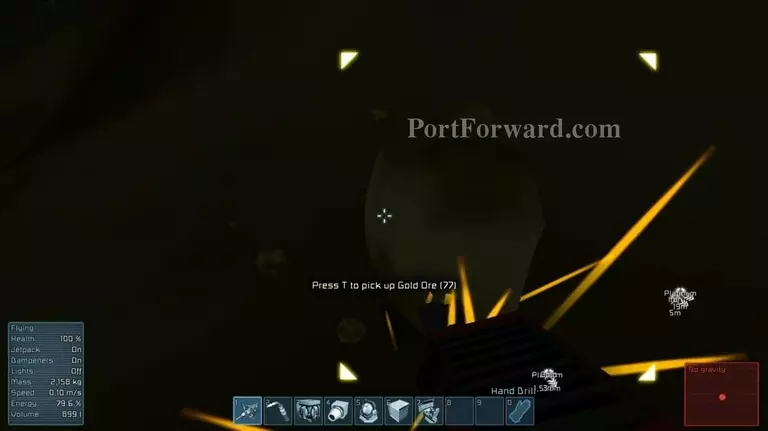
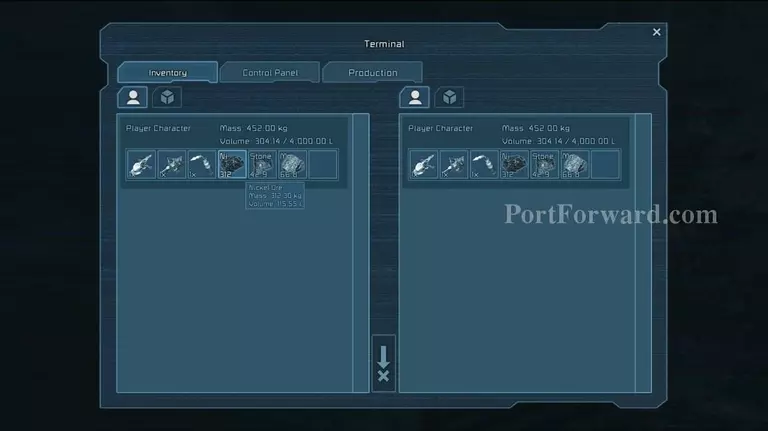
Holding (T) while mousing over nuggets is the only way to pick resources up after harvesting them.
It can grow very tedious on both your mind and wrist but nipping up the mouse sensitivity helps.
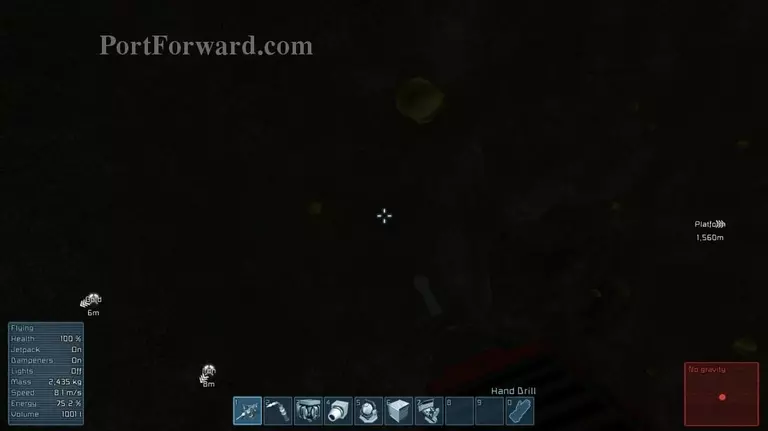
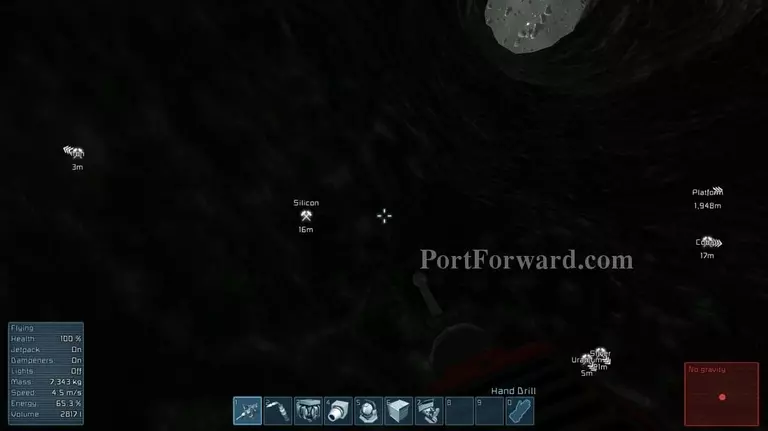
Detector notices are rather clumsy, disappear within the blink of an eye depending on how you move and are usually smoshed together. Pay attention If you're searching for a particular ore.
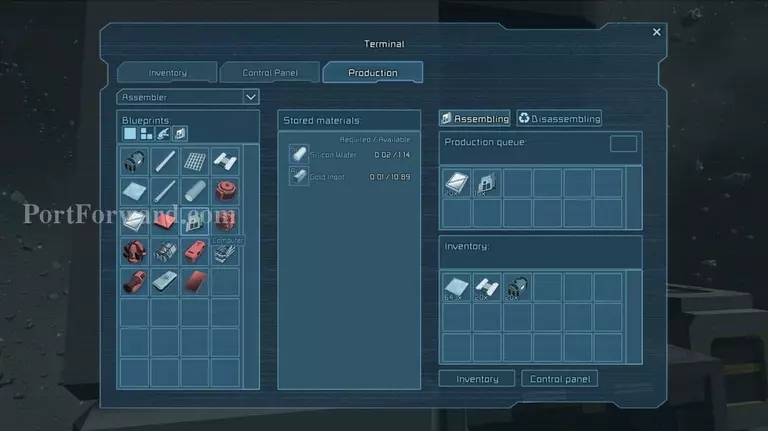
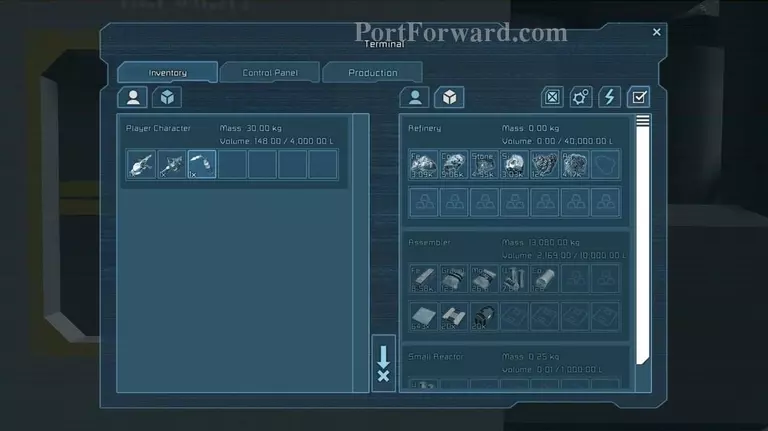
Knowing what materials you need and what resources those materials need to be made can be important and as of right now, It's mostly straight forward. Sillicone for Sillicone water, Gold ingot for gold, etc.

As of right now, stone is completely worthless. It only serves to bog your inventory and should be avoided at all cost. If you pick it up by accident, throw it away.
There are certain "Object" limitations in Space Engineers, meaning if there's too much stuff floating at once, some of it will disappear for performance purposes. Don't harvest an entire asteroid at once but do It in bits.
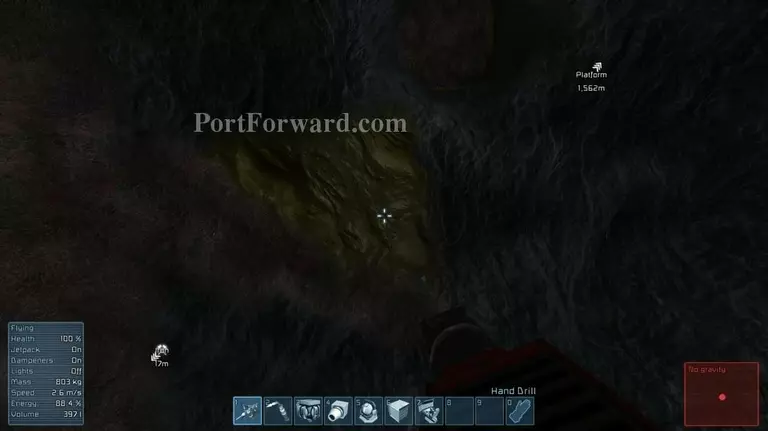
Pushing your nose up against asteroids is really necessary to..
Detect things that you couldn't see from example, a feet to the right.
Using (Q) and (E) tilts your character left and right. It's sometimes necessary to keep the correct allignment, especially at gravitated areas to not break your neck.
The hud at the bottom left will let you know once your inventory starts getting full. It will shine up in a distinct red near or at capacity.
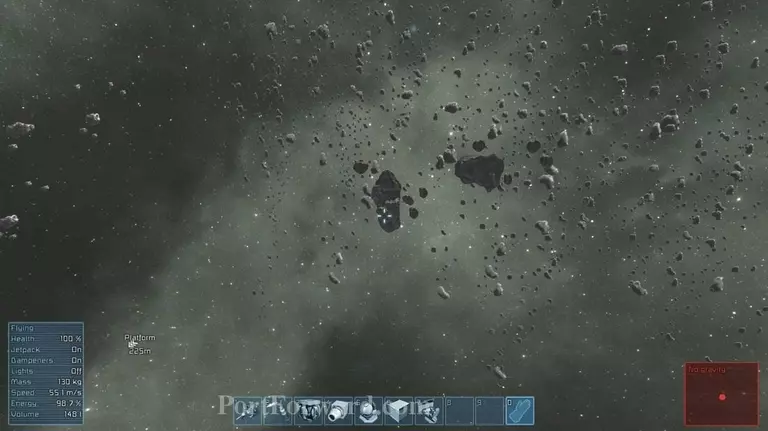
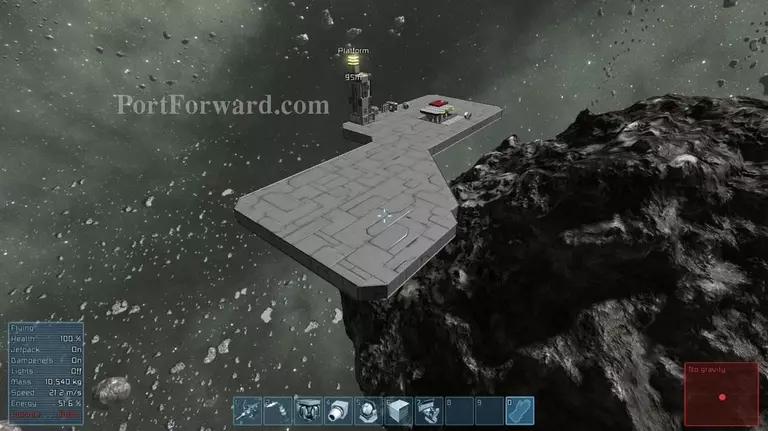
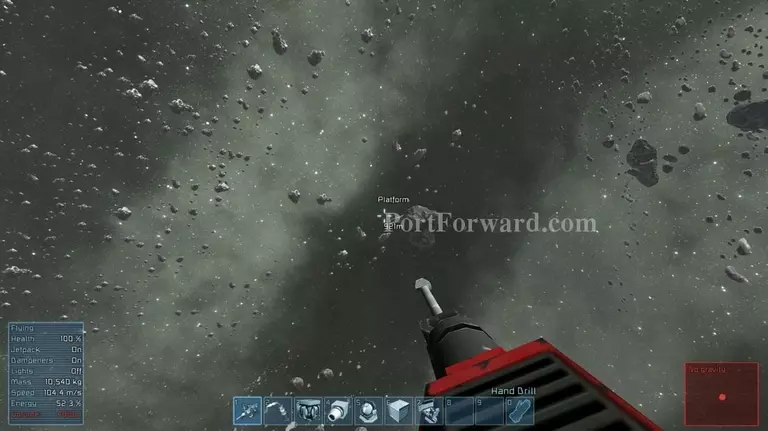
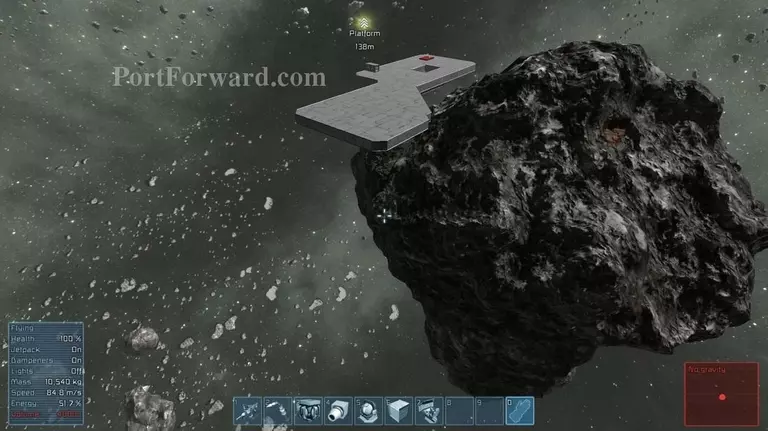
Some asteroids are just part of the background while some are approachable. Training your eyes to see the difference is essential for any serious playthrough.
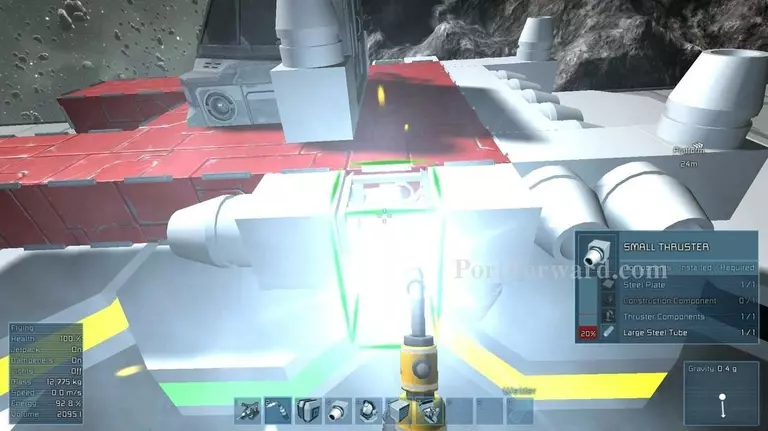
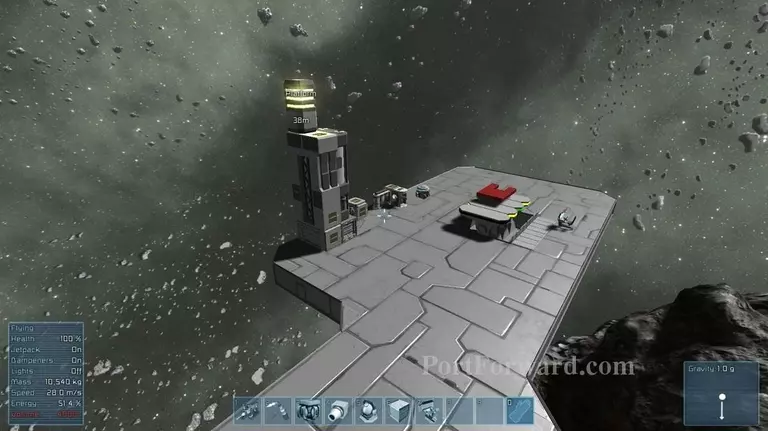
Once you have gotten enough resources, you can start building stuff for real. Here, I am constructing thrusters that point in every direction in order to give the ship a full axis control.
It's usually easier to build as much as possible at once to not forget what you were doing.
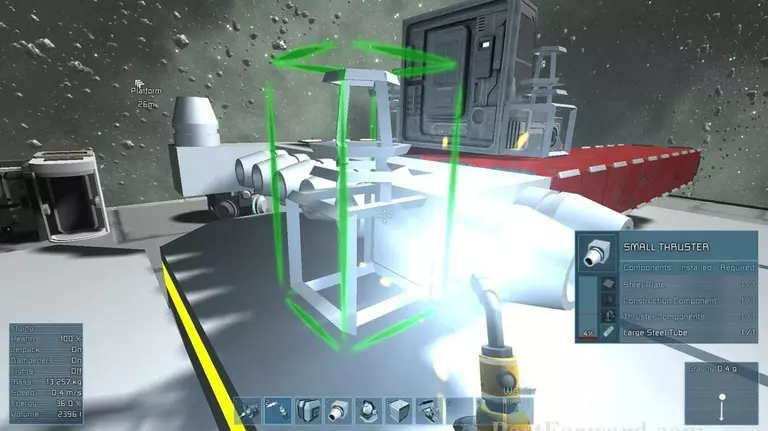
When constructing thrusters, It's very important to take not to NOT have anything in the way of where their exhaust points. Anything in the way will get burned up or explode for massive damage.
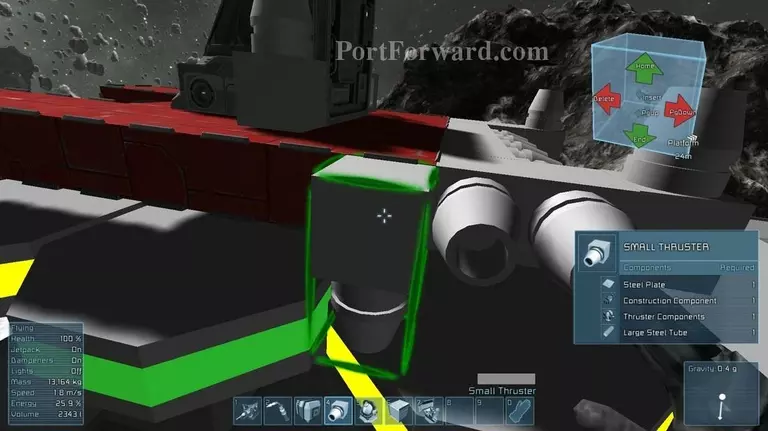
Pressing page up/down/insert and other respective keys while placing objects will turn them. After placing sufficient enough thrusters, you place a generator (preferrably a big one behind the cockpit), fill it with uranium (or make a solarpanel on your ship) and you're good to go!
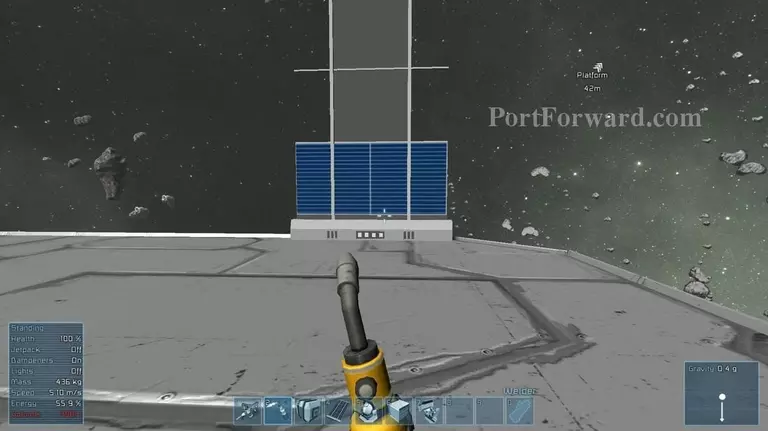
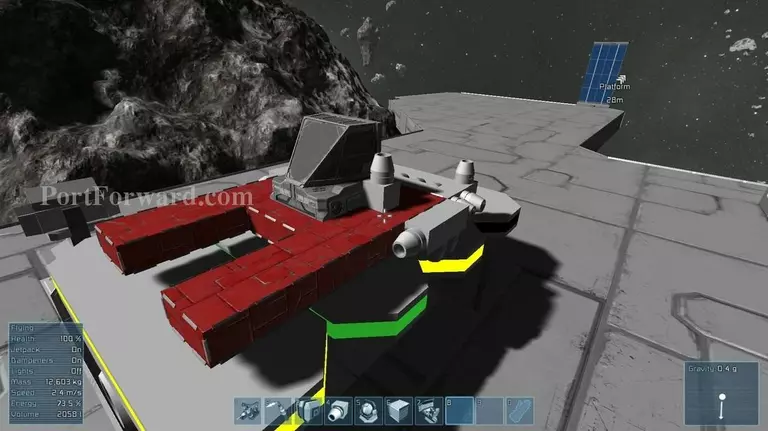
To secure a more stable power-source without depending on uranium all the time, you need to construct solar panels.
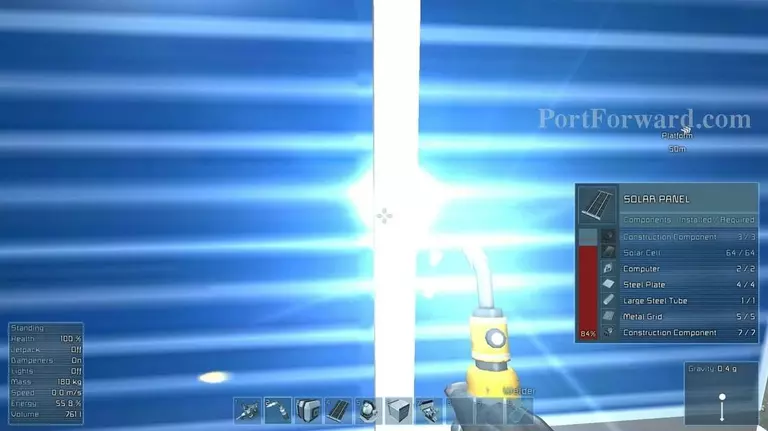
While they require a huge amount of supplies, all rather varied, they enable a near infinite amount of energy, securing your survival in almost all circumstances.
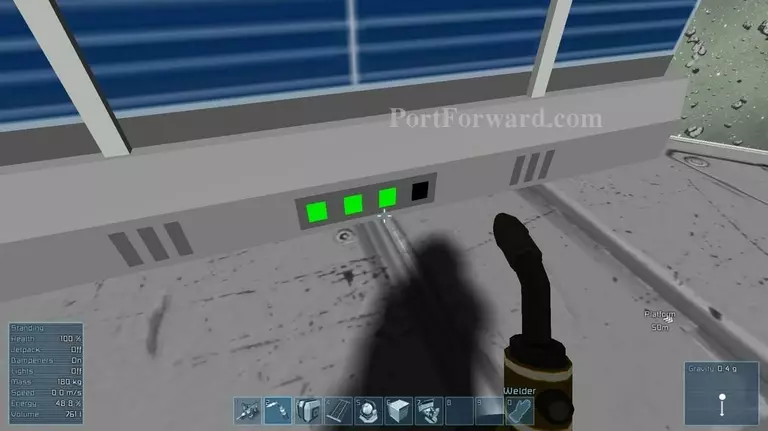
Once fully constructed, You can see what capacity they are at by looking at the bottom of them and checking the green lights.
Space Engineers features a huge universe full with potential and while It's rough around the edges right now, It's a project worth following.
But for now, this concludes Portforward's tutorial over Space Engineers! Have fun, good luck and safe flying!
More Space Engineers Walkthroughs
This Space Engineers walkthrough is divided into 6 total pages.


