
This Space Marine walkthrough is divided into 17 total pages.
You can jump to nearby pages of the game using the links above.
Part II - The Inqusitor
Well we've made it to Chapter Five, or part 2, or whatever they want to call it.
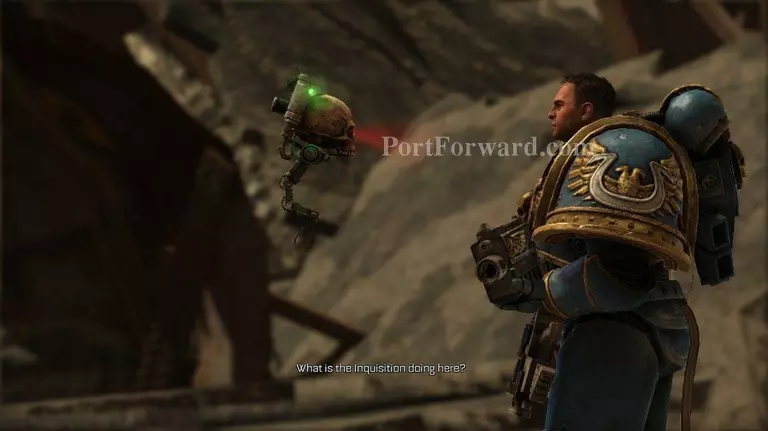
As you move forward you will get a message from the inqusition from a servo skull.
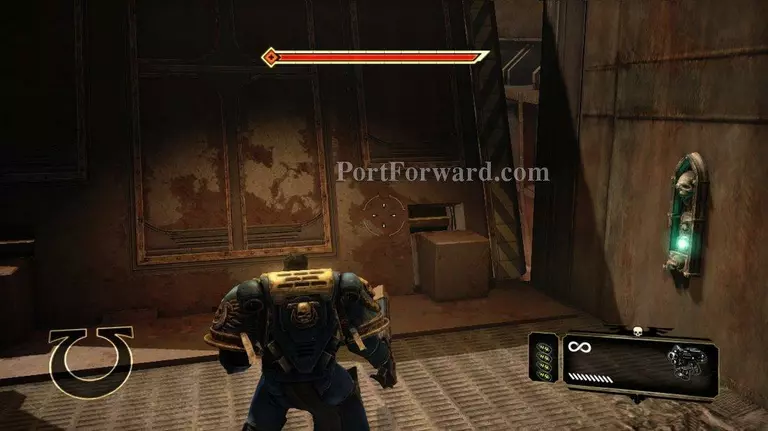
Move forward. You will have to trigger this switch on the wall to lower a bridge.
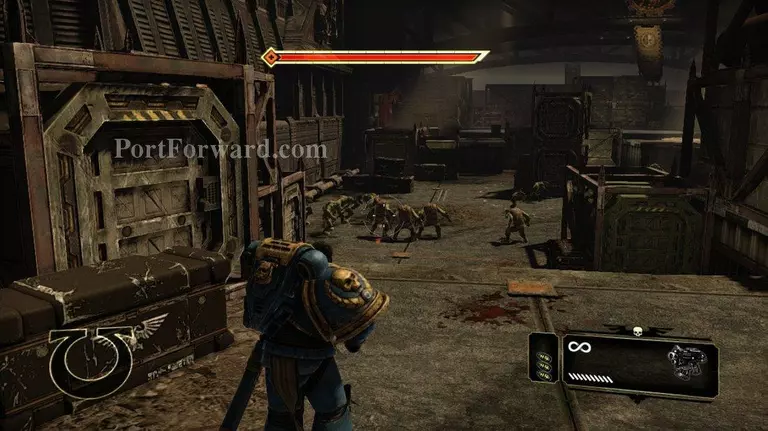
Now you will start to encounter orcs in large forces. I use grenades to thin their numbers.

I think there's about three waves of grunts you need to deal with here.
After you deal with them fight your way forward. There will be an odd orc for you to take out. They may be running, but it pays to take them out now or you will have a bigger group of them to deal with later. Be sure to grab any ammo you can on your way.

Alright now there's another bunch of grunts to deal with.
After a short while another bridge will come down, and more orcs will join the fray.
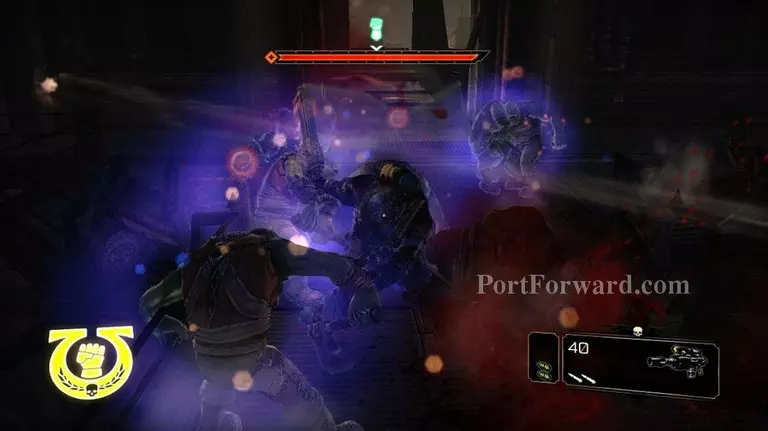
One of those orcs will be a Nob. Forget about the rest of the orcs, and consentrate your fire on the Nob. You will probably have to combo him to kill him, but it's good to get some damage on him when you can.
The Nob along with the grunts can be pretty tough.
When the Nob is dead, it's all about regaining health. Use the remaining orcs to get your health back up.
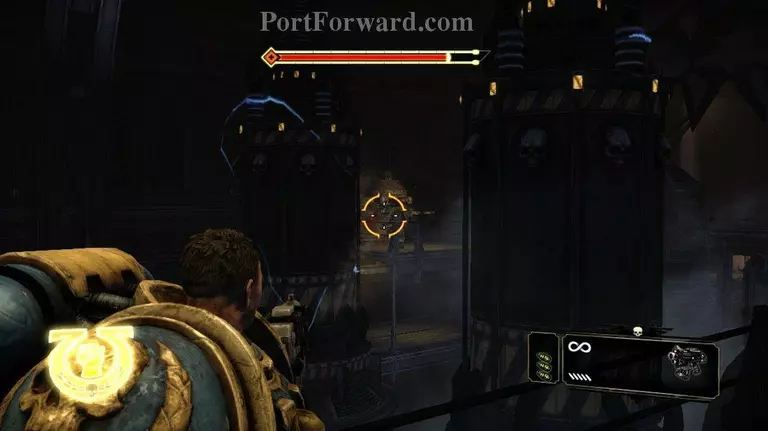
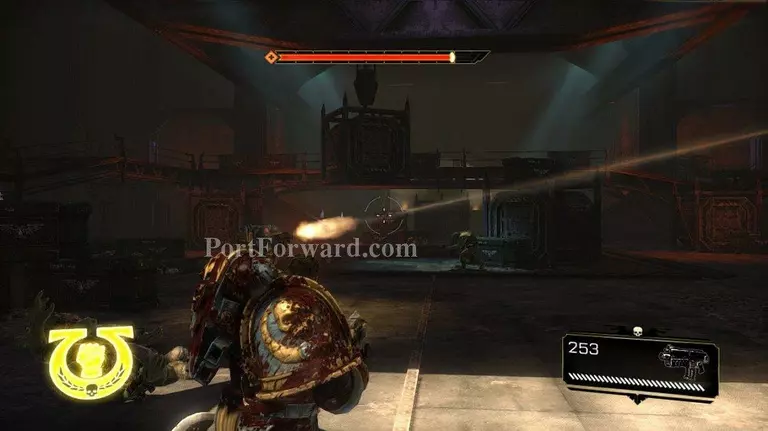
As you move forward you will encounter three shooters. They will come at you one at a time.
The second shooter is here, and the third will be right around the corner.
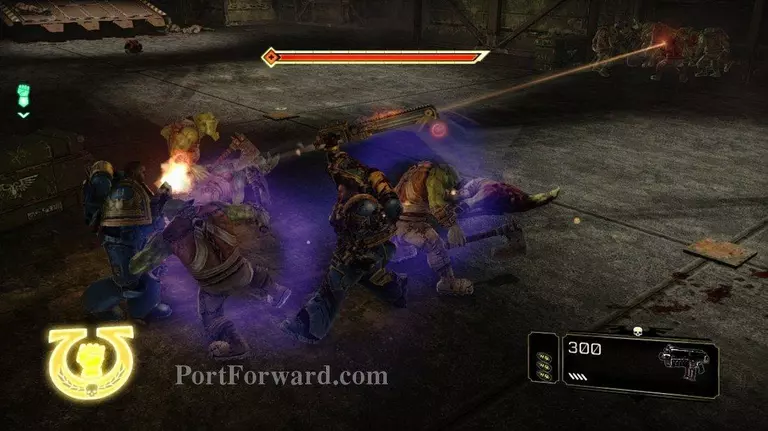
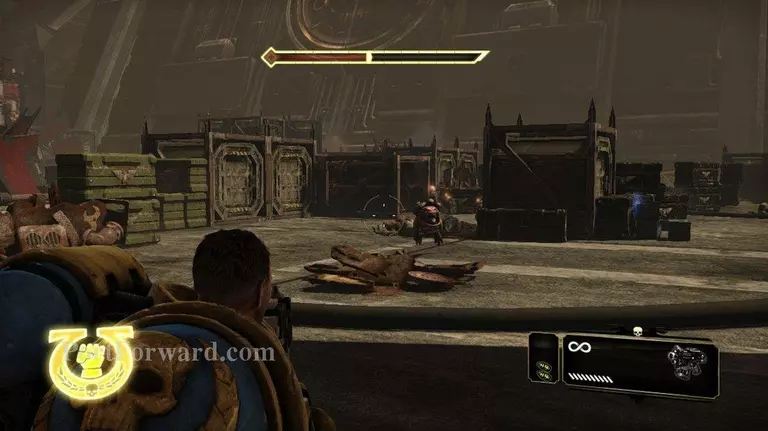
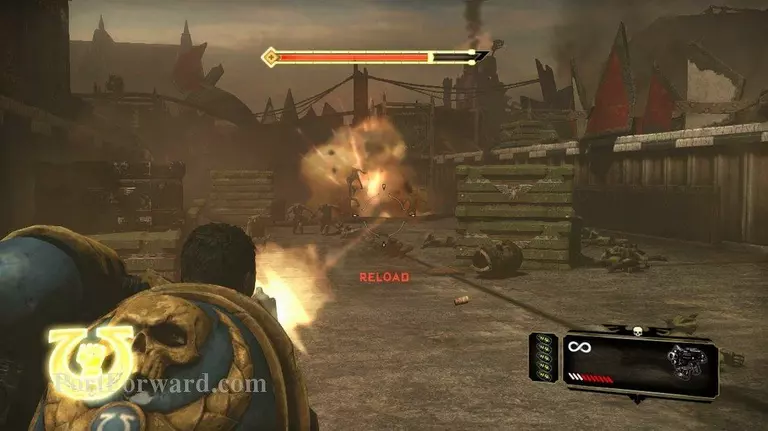
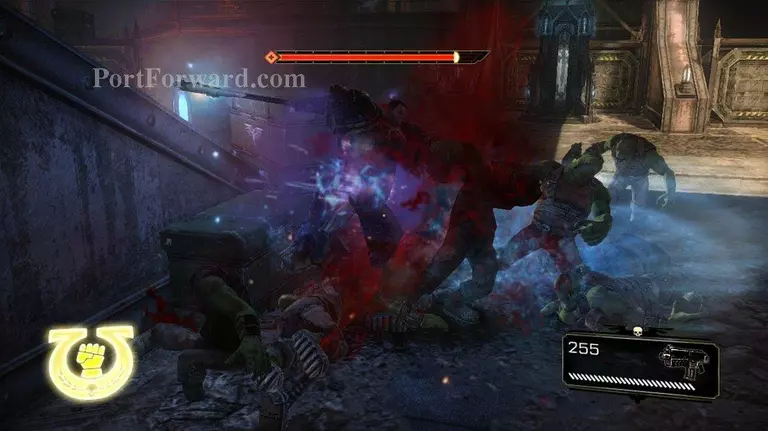
Next you will come across a bunch of grunts and a Nob operating the crane. I start this battle by tossing a grenade into their room.

Then I pour shot after shot into the Nob.
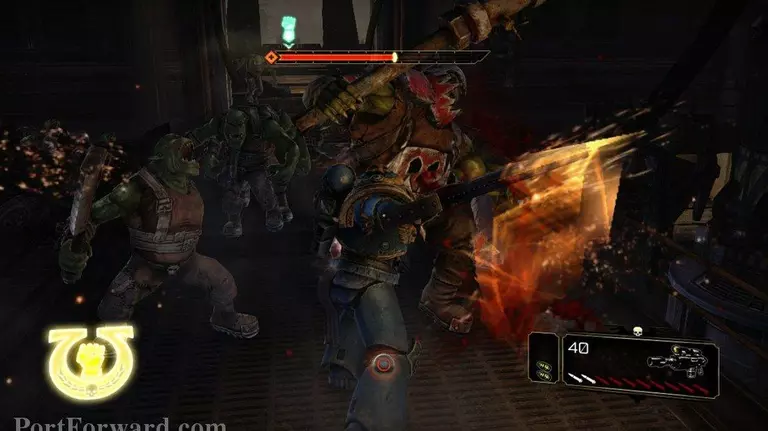
I still had to take the Nob down with a combo. With the other orcs beating on me, it's nice that the Nob made me full health again.
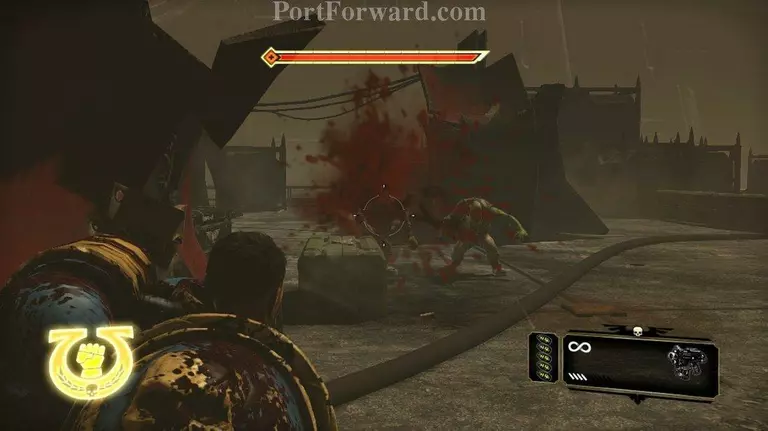
When the Nob is dead it's all about cleaning up the remaining orcs.

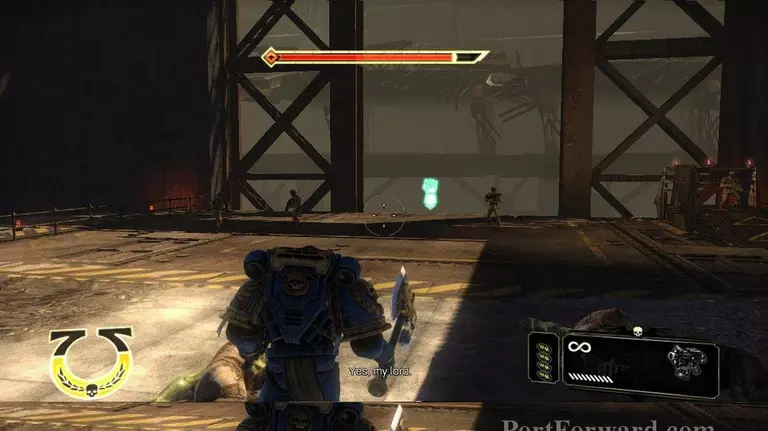
Pushing the big green button makes for a bunch of suprised orcs.
After the cutscene and the communication, gather weapons and ammo and then move onward.
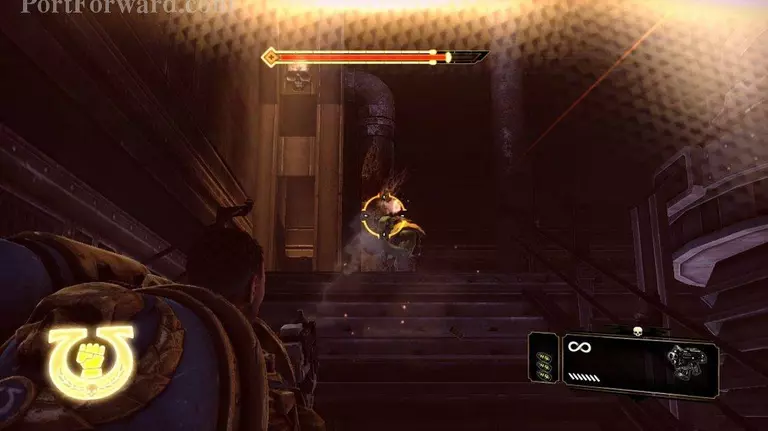
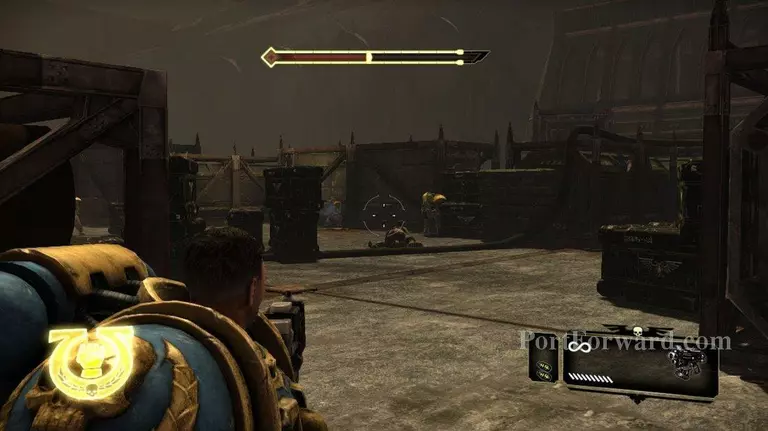
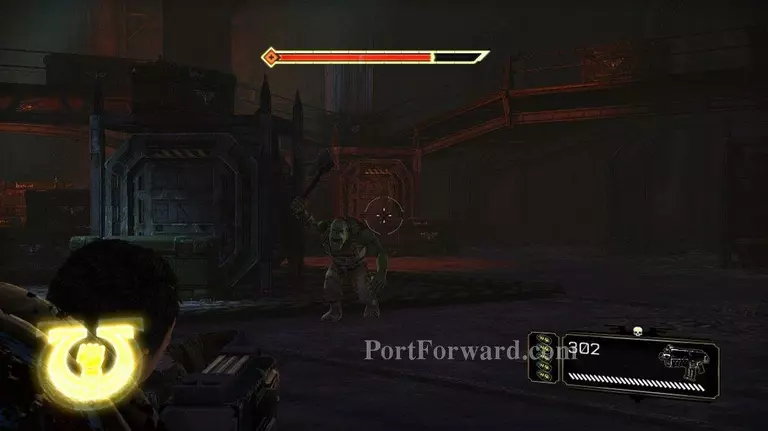
Hit the button on the door to drop the bridge. There are quite a few shooters out here. Take cover behing a crate on your left and start taking them out one at a time.
From cover they are pretty easy, but watch out for their grenades. After the shooters are dead several squigs will rush you.
The shooters will keep coming. So just keep putting them down.
There will be a couple shooters up top behind barricades here. Take them out as you can. As I said before there are a lot of shooters here.
When all the shooters are gone you will see that your way forward leads you into a pit.

Drop down and be prepaired to take out some gretchen. They will come at you in force here, along with three or four shooters that remain up above. Honestly this is a pretty easy area, that they hope you use some of your ammo on.
There are a couple red barrels here to help you take out the gretchen. Shoot them when the gretchen are close by to take a big chunk out of the group.

When this area is done, you will be rushed by four or so grunts. I guess they wanted to throw you a couple health packs after that battle.
After those you will be attacked by a couple more grunts and shooters. Take them out and move on.
There will be a couple of them up top. These are pretty easy.

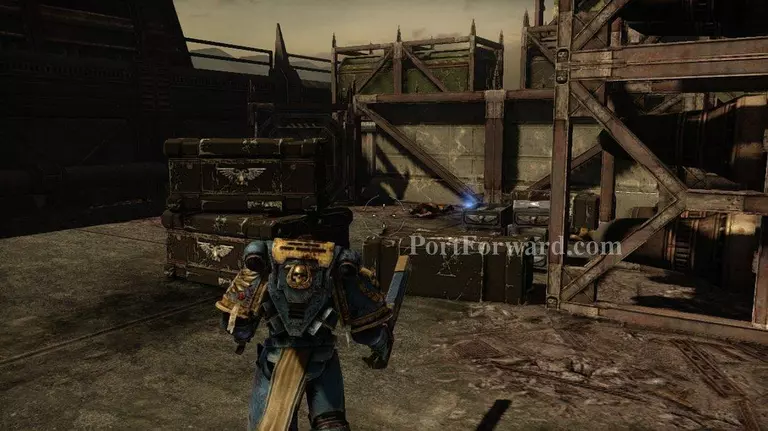
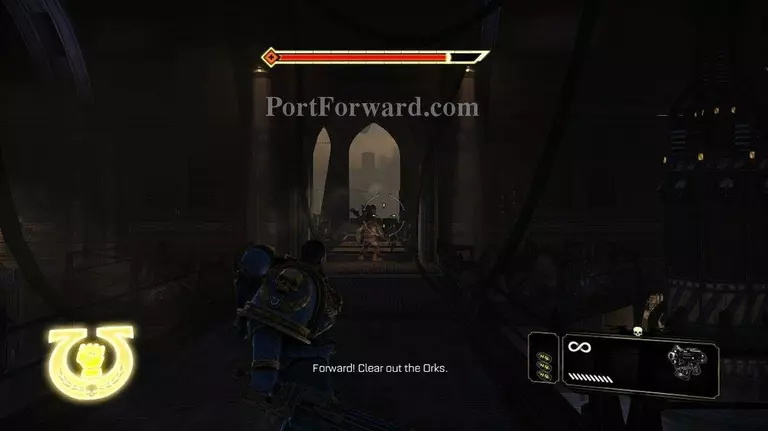
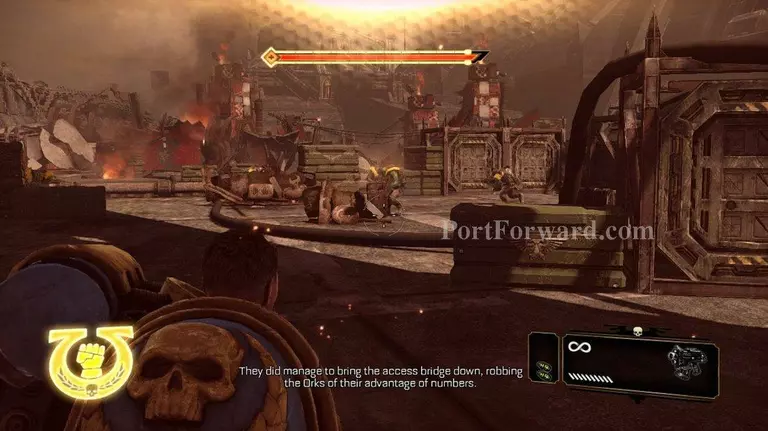
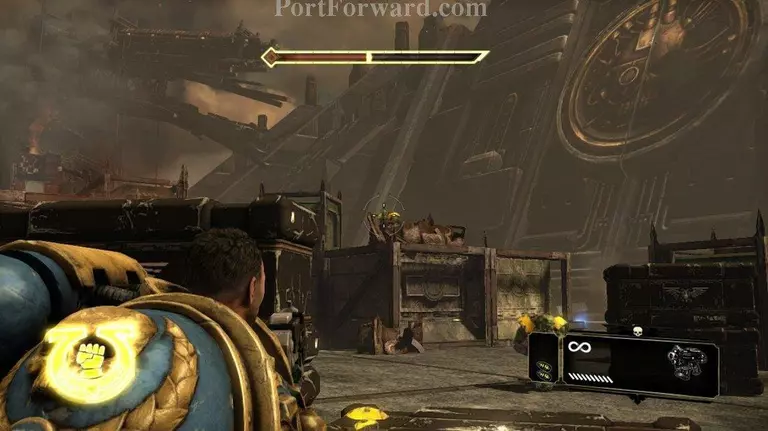
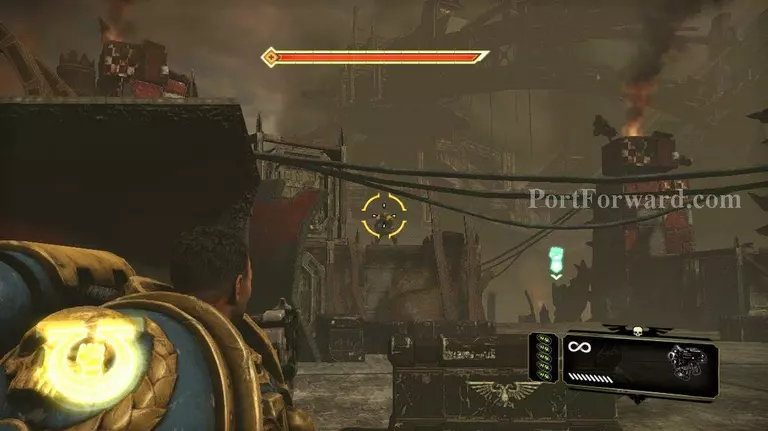
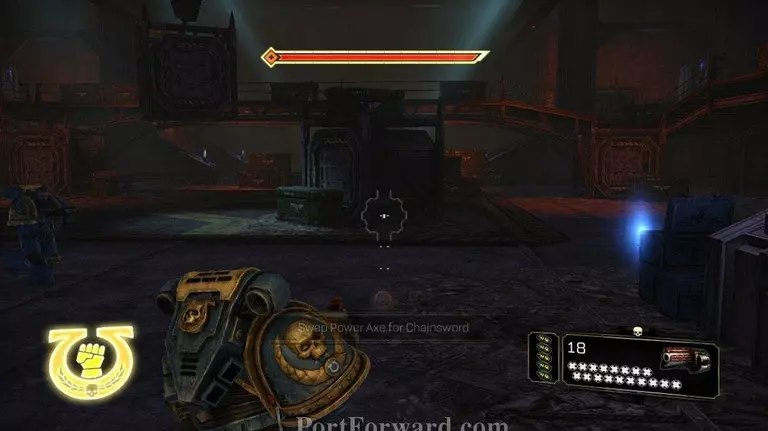
Eventually you will come to the area that is in the screenshot here. The battle to come will be one of the hardest battles of the game.
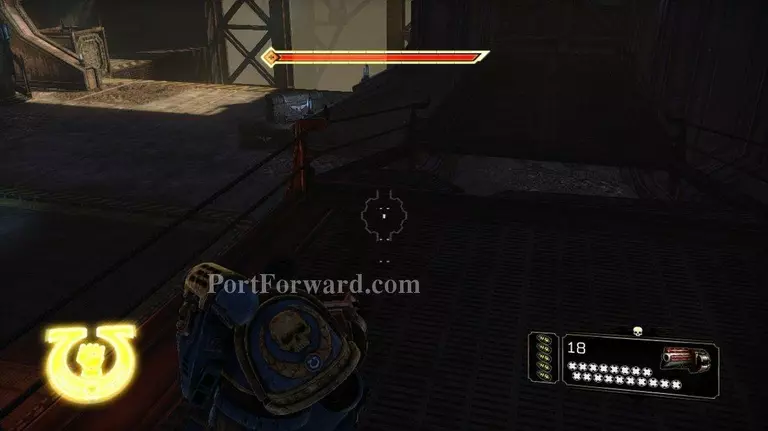
Work your way around the ramp, and then drop through this hole.
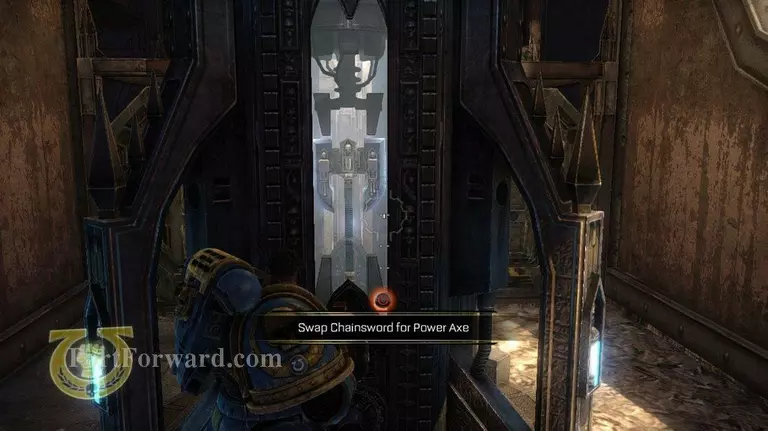
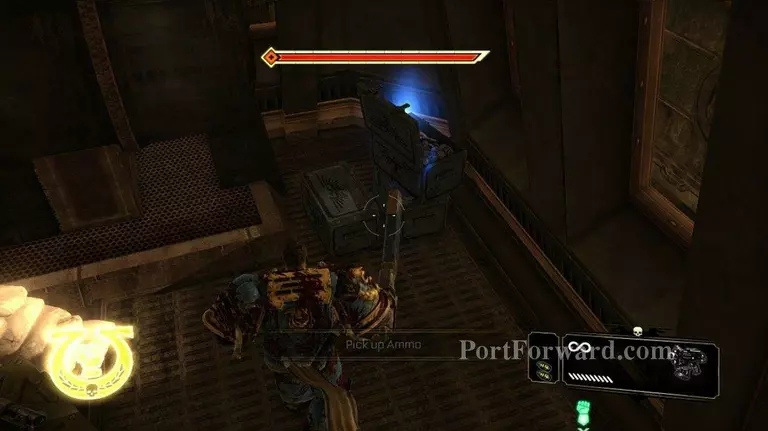
Pick up the Power Axe from the weapon pod. You'll need it very soon.
Quickly gather ammo if you need them.
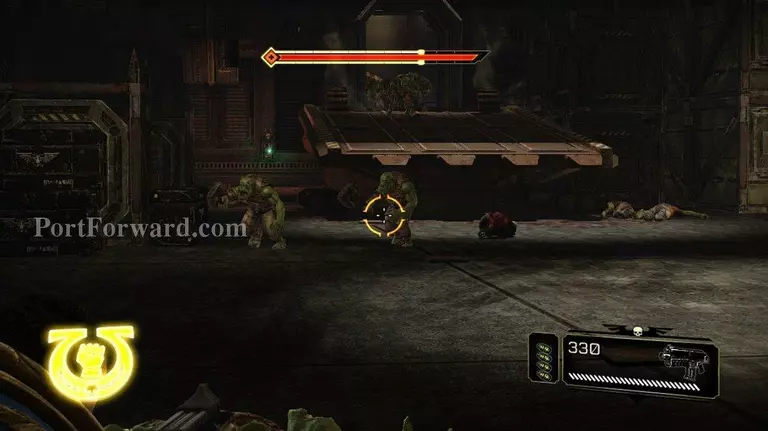
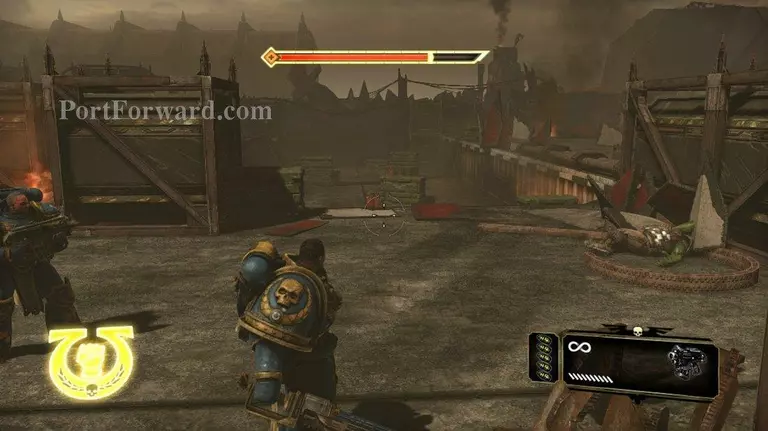
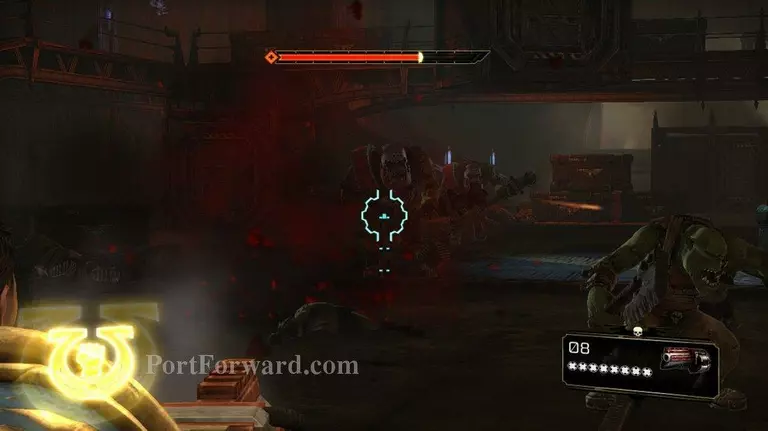
The doors will open and an orc hord will pour out.
There will be at least two huge waves of grunts attacking you. It's hard to count the waves since you are almost constantly overwhelmed with orcs.
It's important to let your squad take the brunt of the assault. Save your Fury. I know it's hard to save it, but you'll thank me later.
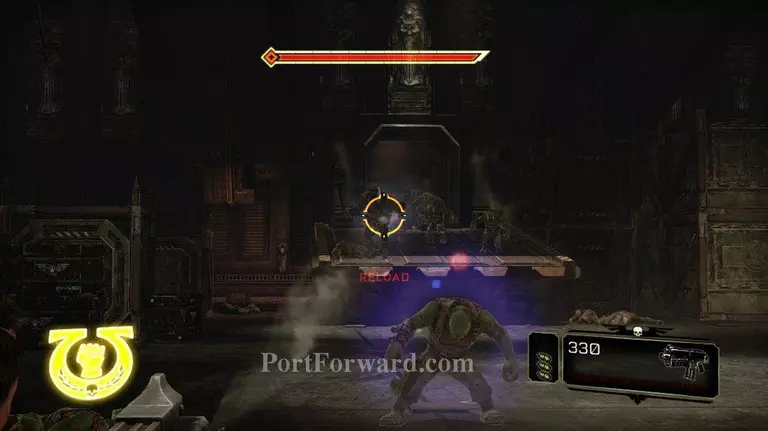
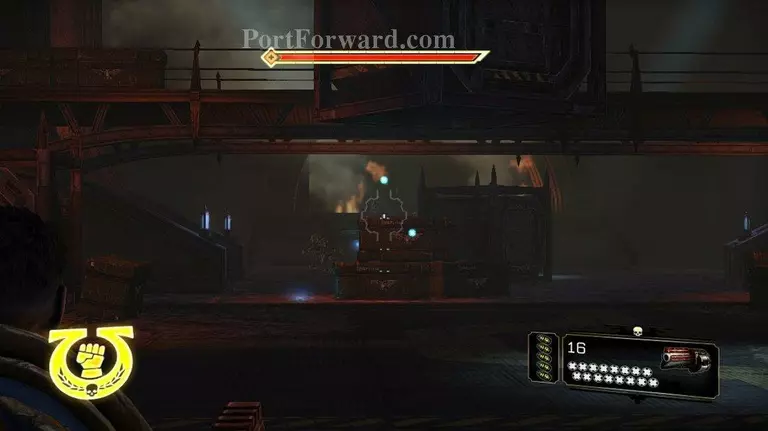
When the grunts thin out, you'll have a bunch of shooters to take out. Take them out as fast as you can. Just dump ammo at them, because you've got 2 Nobz next. If the shooters are still alive you will deffinitely die.
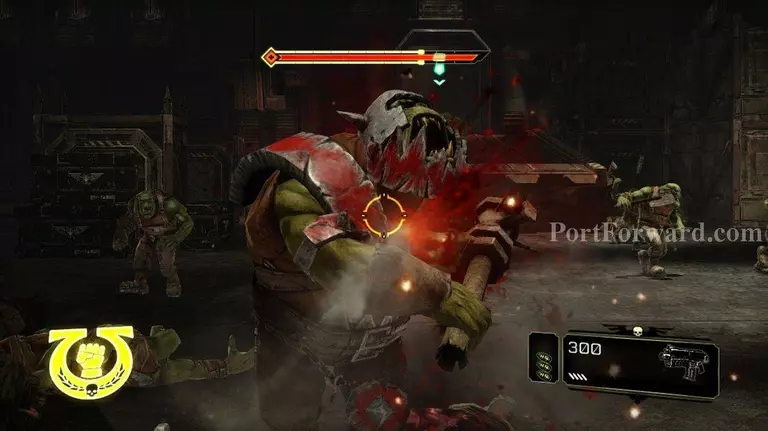
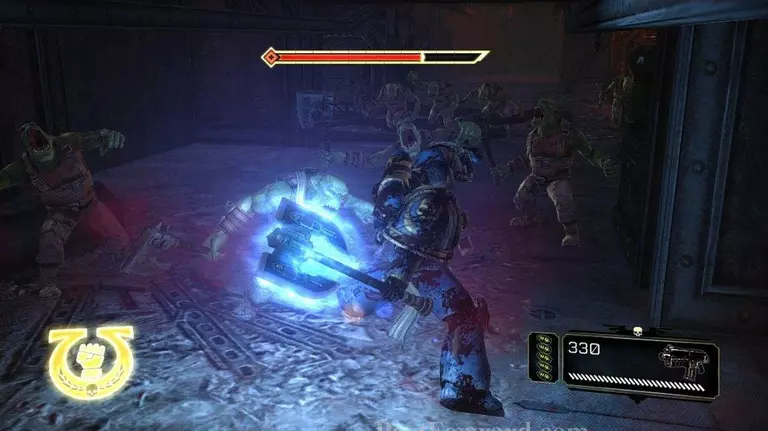
Now you've got two Nobz coming straight at you. You are probably low on health and low on ammo. Now's the time to use that Fury. The fury will take the Nobz out quickly.
After the Nobz are down, you are back on clean up duty. There's going to be a few orcs but they should go down quickly.
When the orcs are all dead get on the platform with the guardsmen on it.
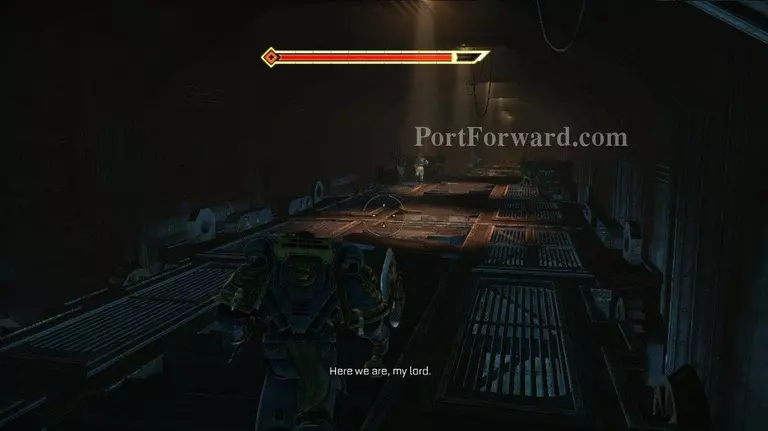
Now move forward. As you move through this area gather ammo to replenish your supply.
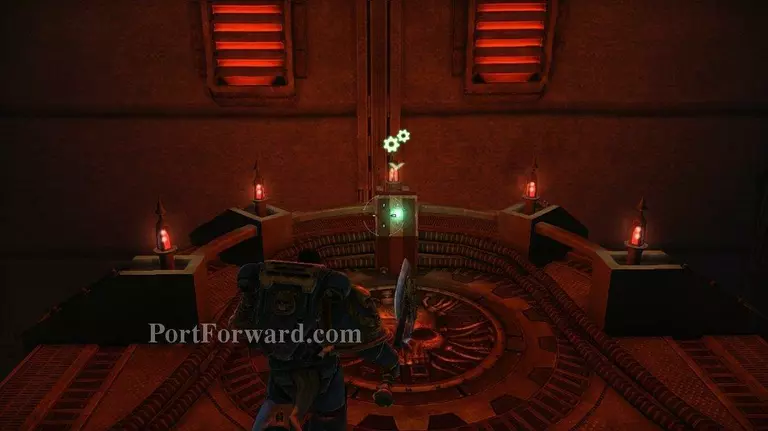
Hit the green button to operate the next lift.
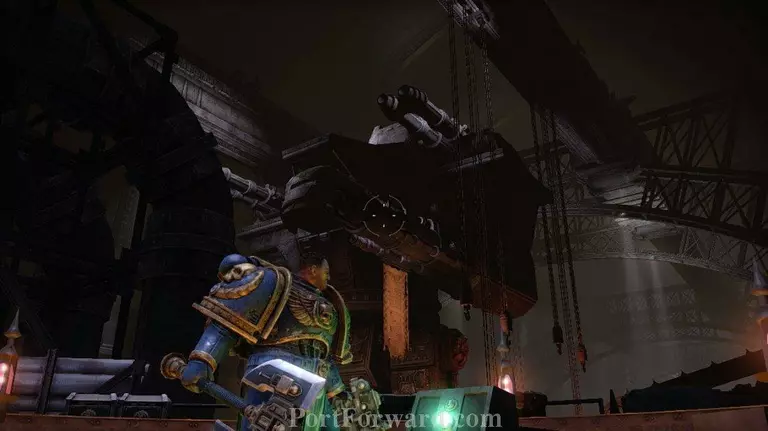
You'll get a good view of the Titan Invictus.
More Space Marine Walkthroughs
This Space Marine walkthrough is divided into 17 total pages.


