This Space Marine walkthrough is divided into 17 total pages.
You can jump to nearby pages of the game using the links above.
Chapter 3 Belly of the Beast
Yep, we've moved on to the next chapter.
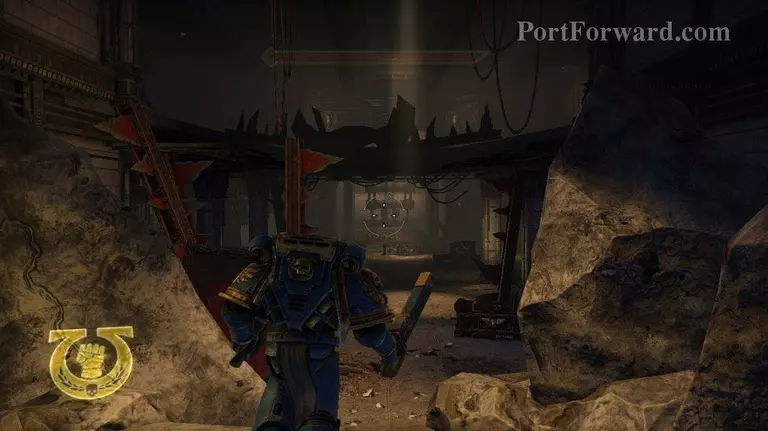
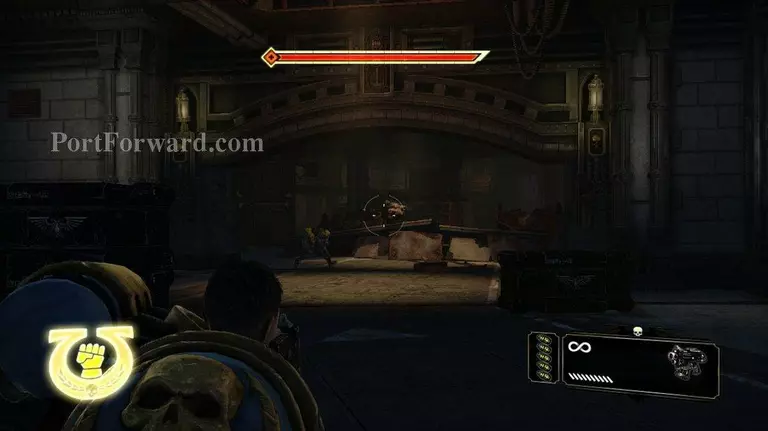
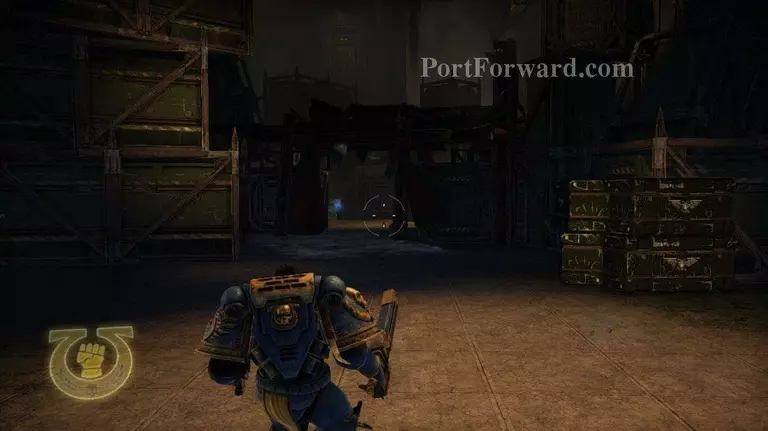
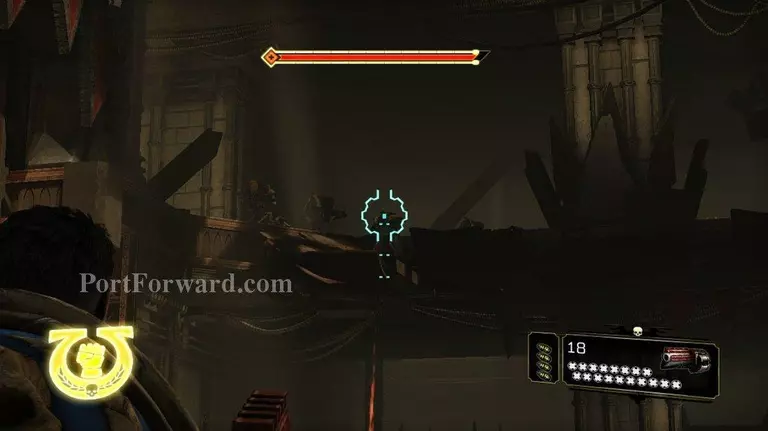
Continue forward as always. You will see some orcs moving above you. They will not fire back, and you can safely ignore these.
In the next room you will find the Vengence Launcher. Pick it up. It's a heavy weapon. I don't really use it much.
Once again orcs will be moving on a walkway above you. You can safely ignore these or take some pot shots at them as they pass.
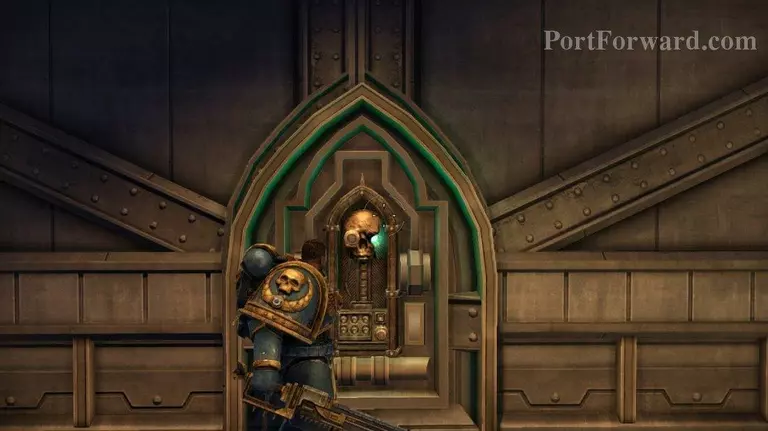
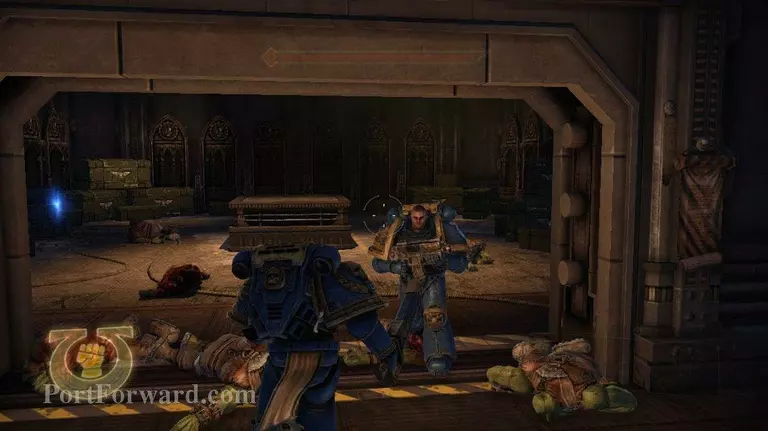
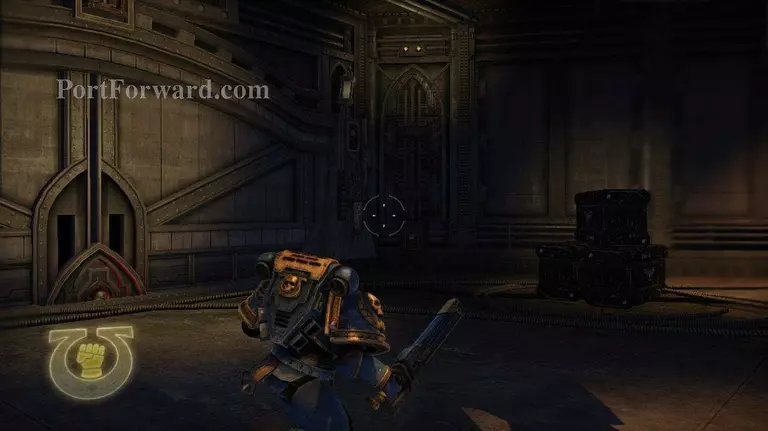
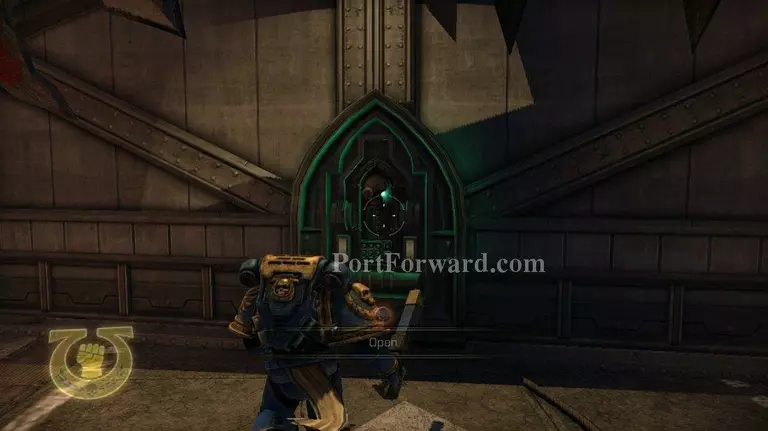
Eventually you'll make your way through two green doors.
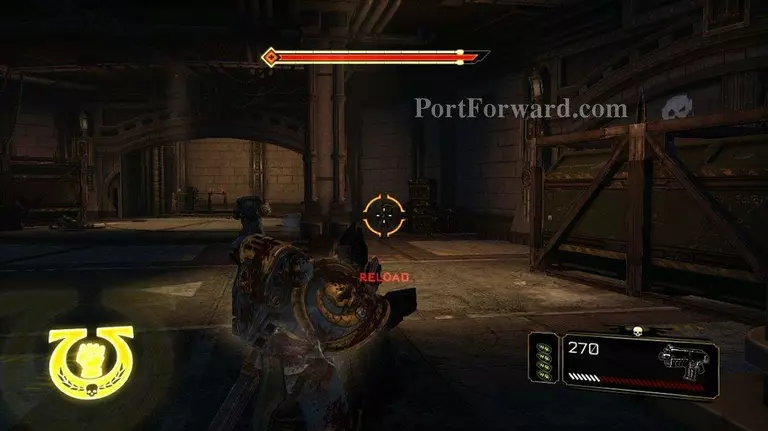
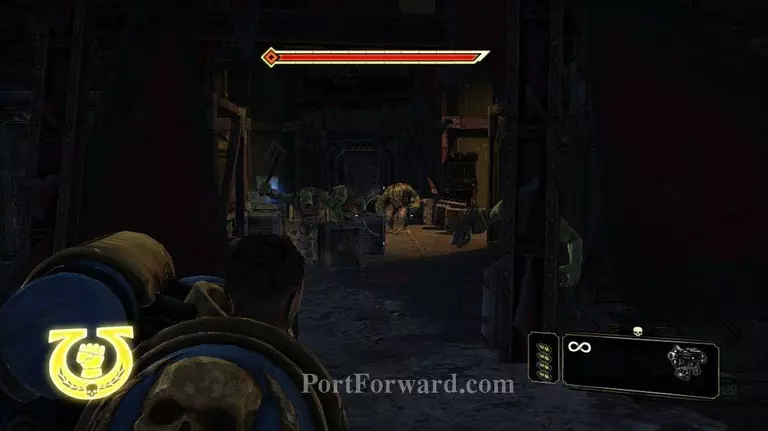
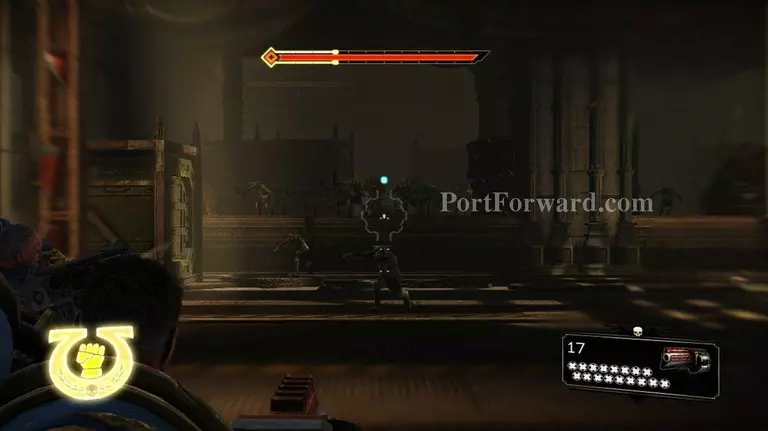
Immediately after the second door, you will find five or so grunt orcs. Take them out with your pistol or whatever weapon you prefer.
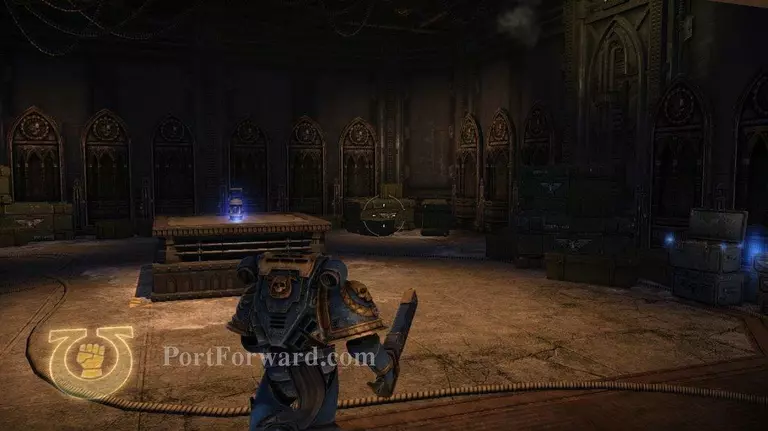
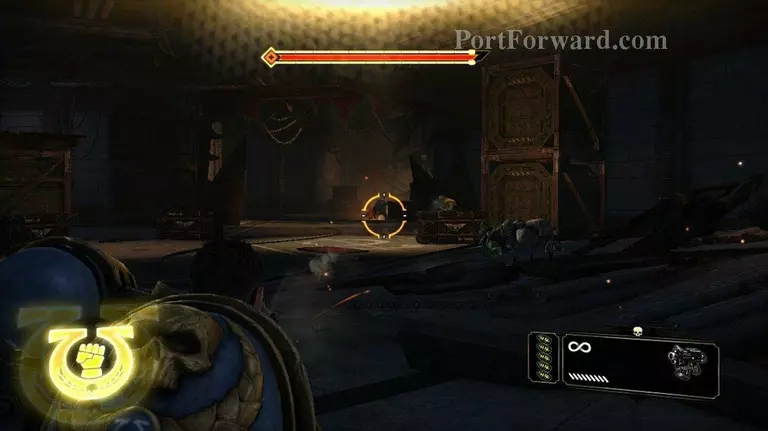
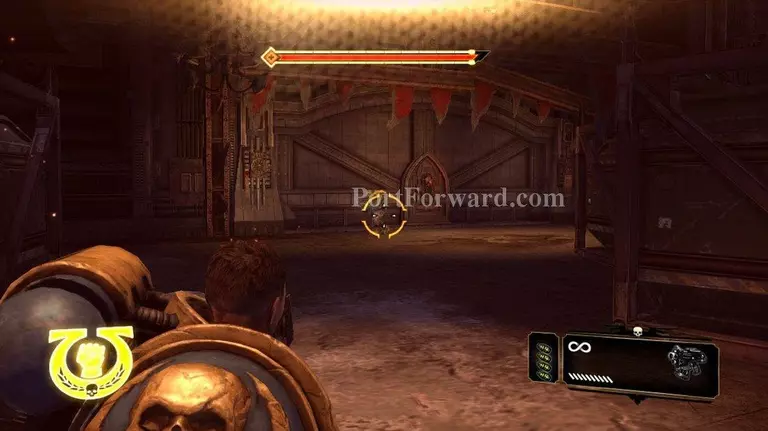
At the end of this hall way is an armory, with a big melta bomb sitting on a table. Why is the melta bomb still there with so many orcs around? I blame the writers. Anyways, walk over to the table and you'll hear your squad talking before you can pick up the bomb.
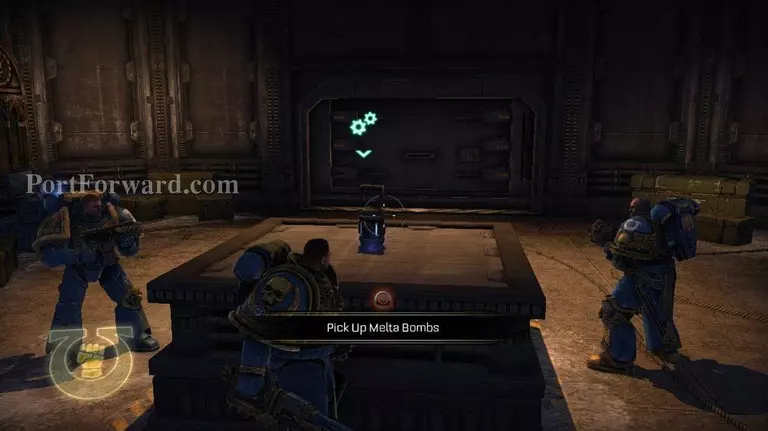
The door actually closes behind you. After you pick up the bomb the door will open again, and the room will be filled with.. Guess what!.

Yep, Orcs.
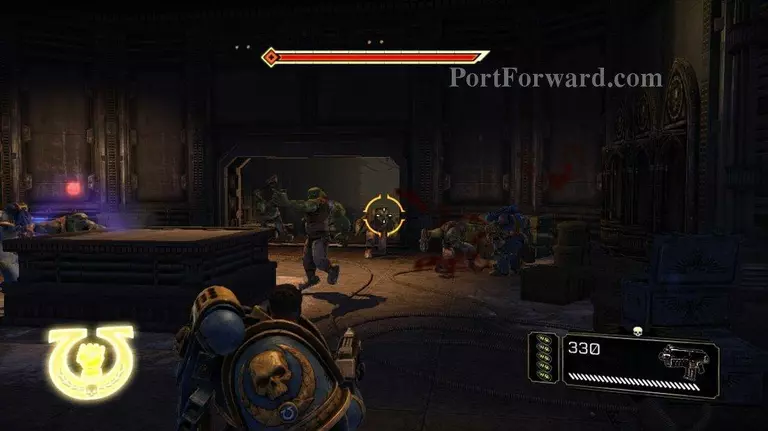
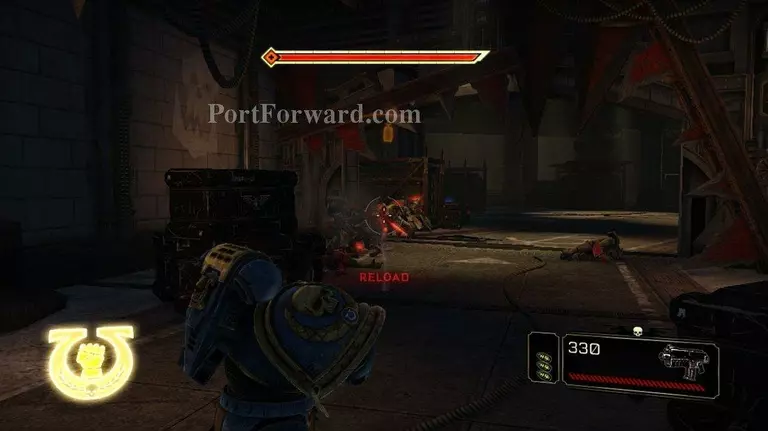
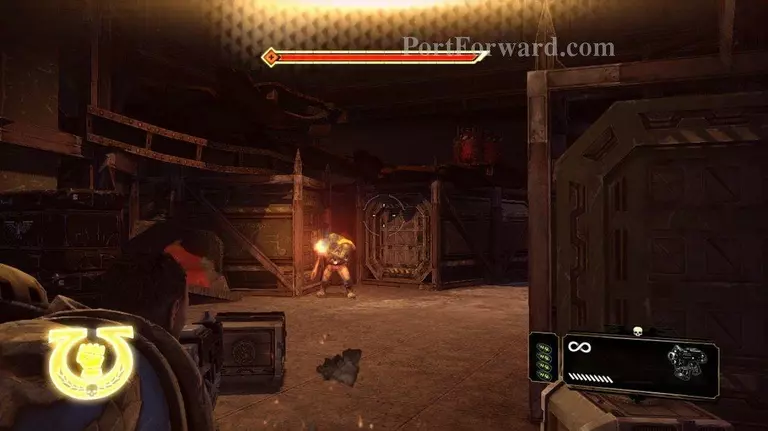
There will be a wave of grunts.
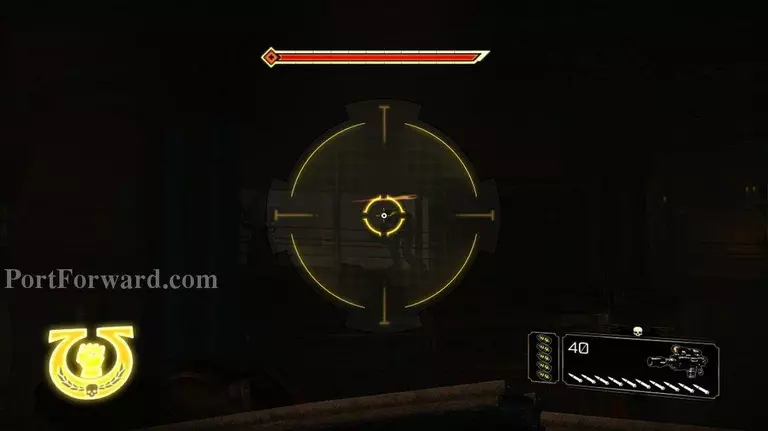
Followed by a wave of shooters. Headshoting with your stalker will make these guys go down fast. There are quite a few of them. They can do some damage if left alone for too long.
After the shooters there will be another wave of grunts. Finish them off and you've cleared this room.
There are quite a few buckets of ammo and grenades here. So be sure to restock before you move out.
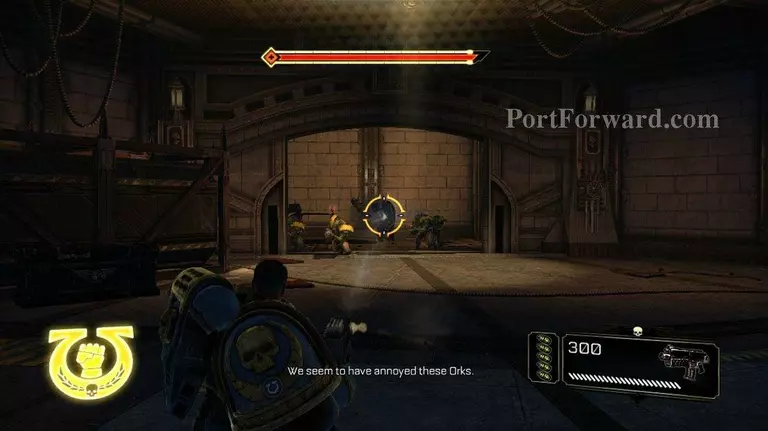
Go back the way you came, and as you get close to a previously sealed door it will open.
There will be a couple shooters and a couple grunts charging you through the open door. Take them out.
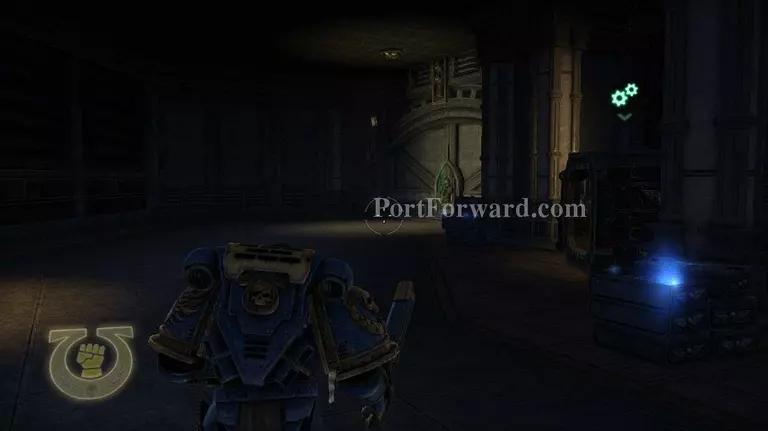
Click the green button to lower the elevator to the next level.
There will be a shooter running for cover here. Take him out if you can.
Through this section you will be rushed by squigs and have shooters shooting at you. It's pretty important to conserve ammo here. You will deffinitely need ammo at the end of this section. You do not want to be running low when you hit the end of Chapter 3.
There will be three or four shooters here. Keep your ears open for squigs they usually make a roaring noise when they are around.
There will be a couple shooters up on the walkway slightly above this level. Take them out.
Once again you will be rushed by a couple squigs followed by some more shooters.
Really there's nothing critical here. Just take out the mobs as they come at you, and watch out for squigs.
Eventually you will make it to a door to open.

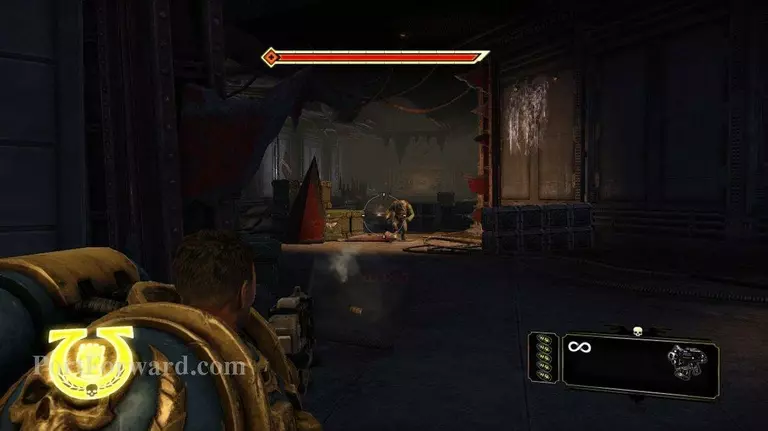
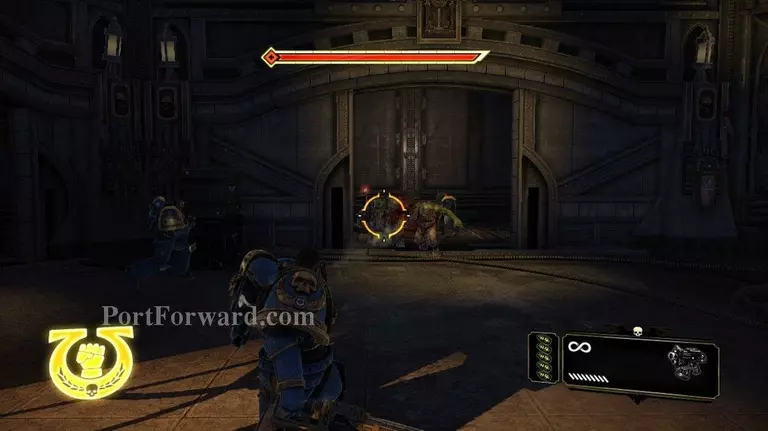
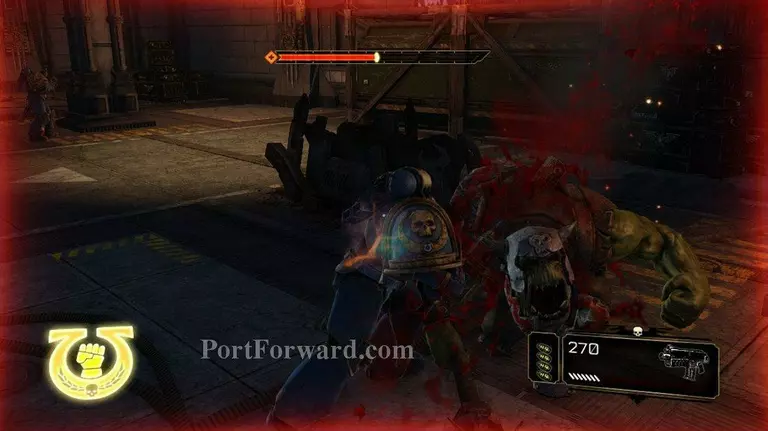
On the other side of the door is a new enemy. They are orcs weiring bright red shoulder pads with two chain swords. These guys are pretty bad if they get to melee you.
There are some grenades in the next room, so you can toss a couple grenades at these guys. A couple well placed grenades will make short work of them.
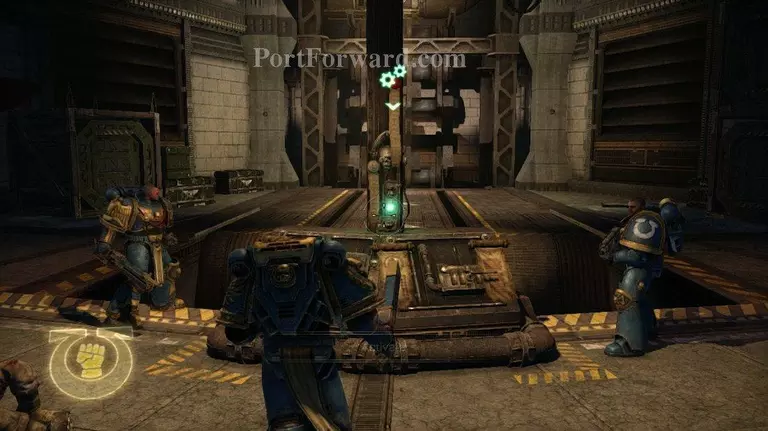
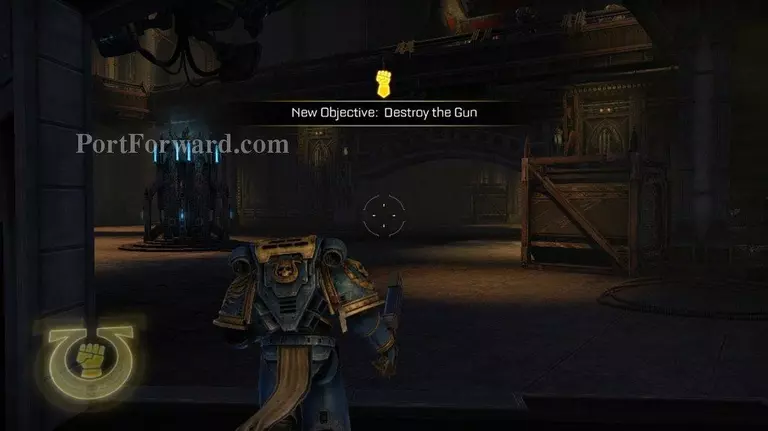
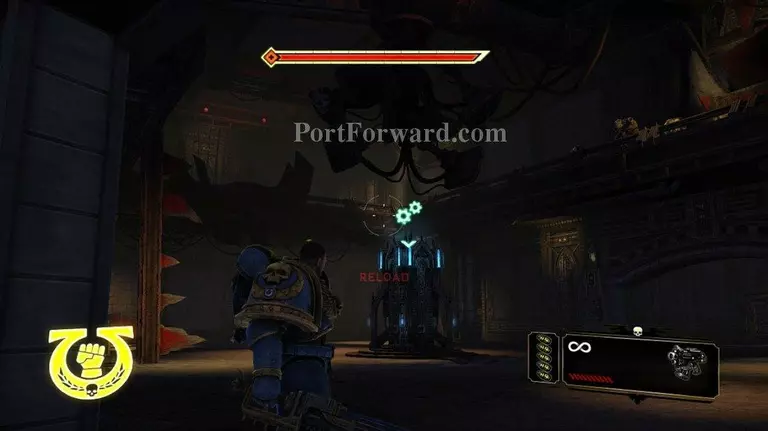
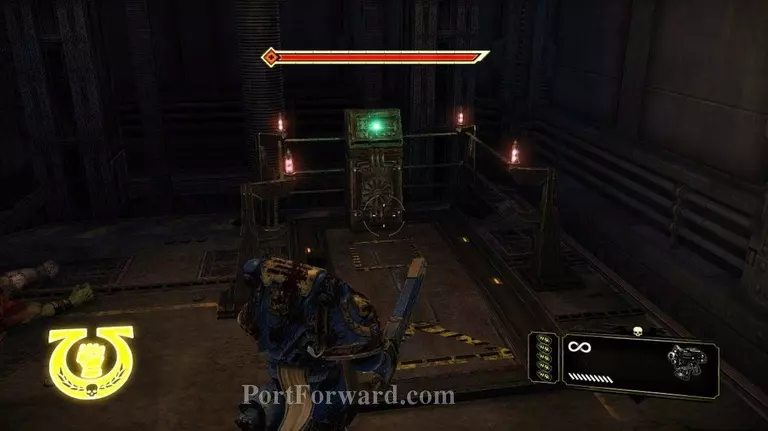
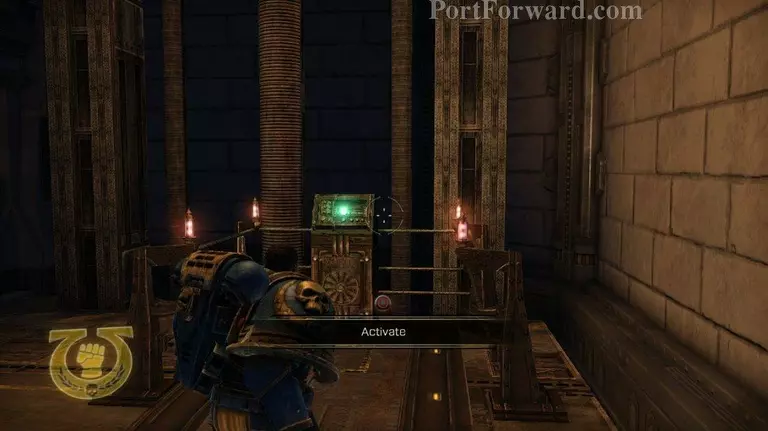
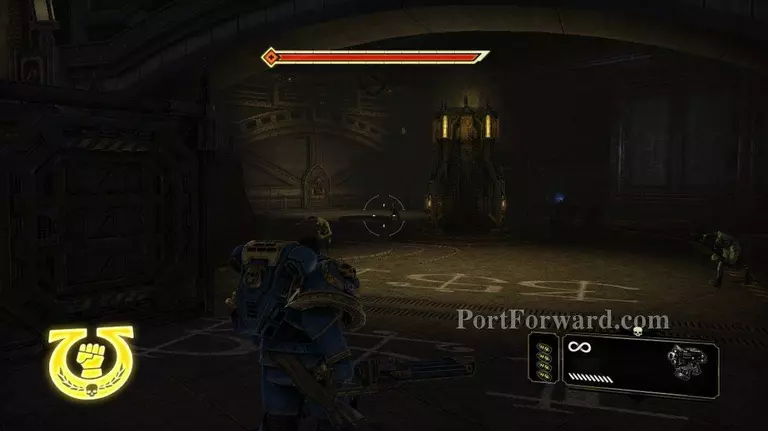
Press the green button to bring a shell up.

then walk over and place the melta bomb on the shell.
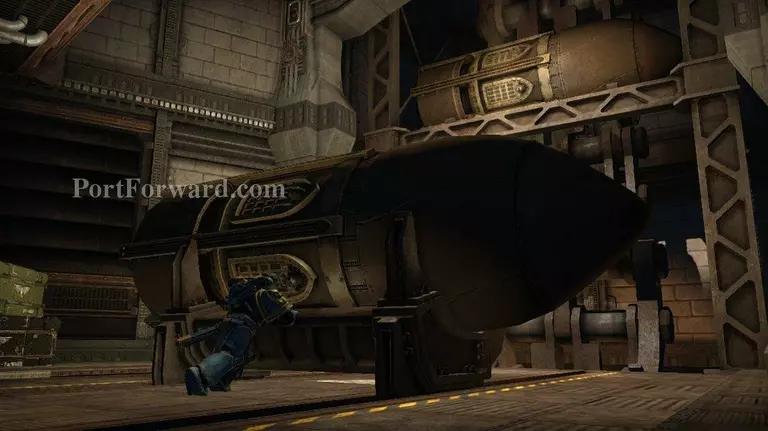
Then pound O to push the shell in to the loading rack.
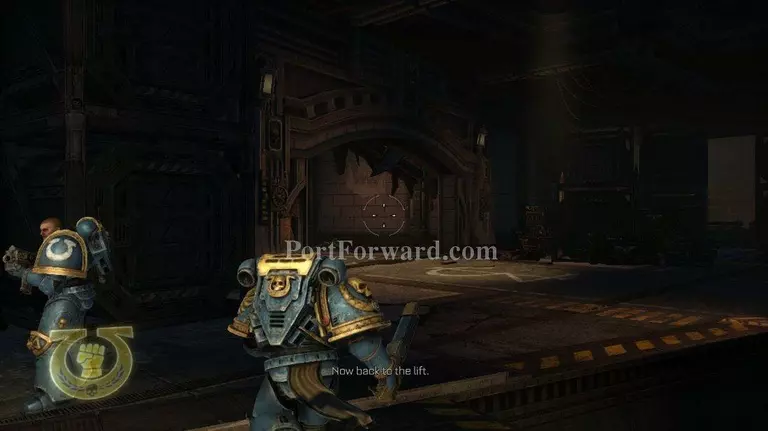
When the shell has been loaded, go back the way you came. There will be some gretchen running along the walkways above you. Don't waste ammo other than pistol on them. Make sure you recover any ammo you have lost on your way back to the elevator.
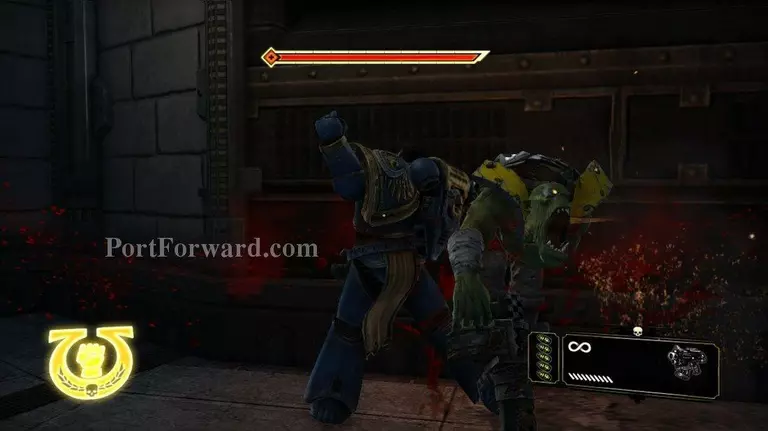
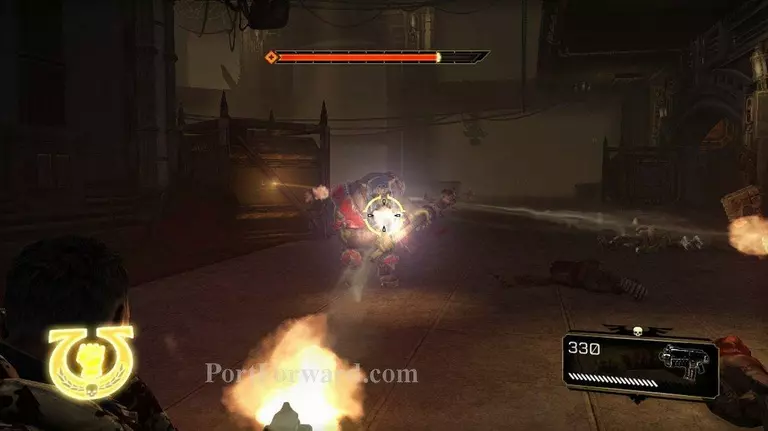
When you get back to the elevator, the door will open. You will be attacked by a Nob and four shooters. Ignore the shooters, and worry about the Nob. He will come charging at you.
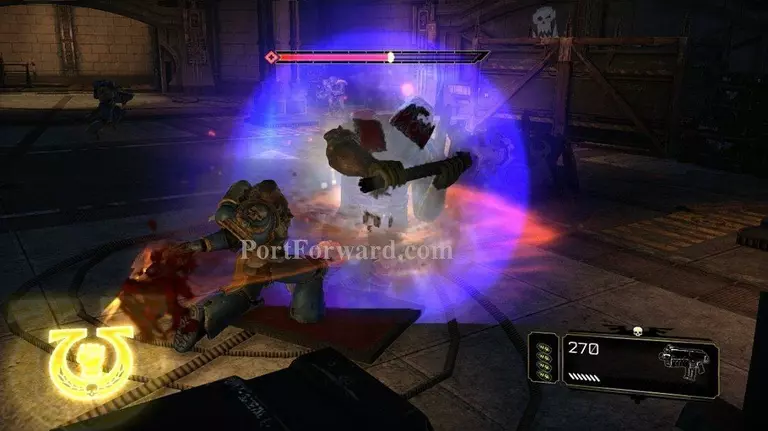
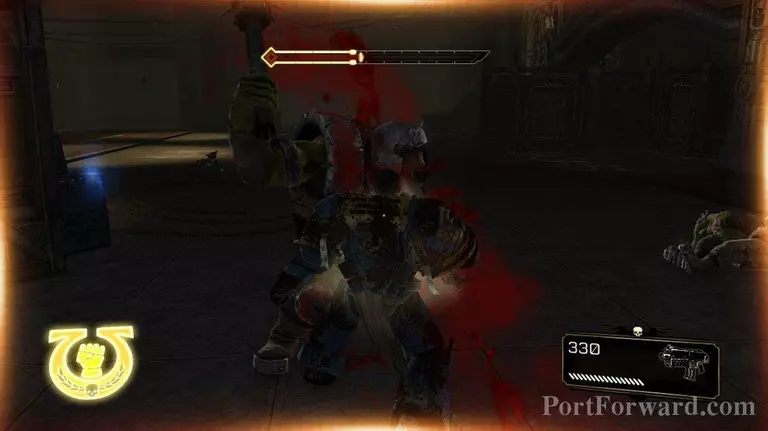
Hopefully you can take a couple swings at him, and then stun him with triangle. Then mash O to execute him.
Nobs are pretty dangerous, but fun to take down.
After taking down the Nob, the shooters are easy to mop up.
After the battle get on the elevator and ride it up.
You will come to a section with ammo reloads. Load up you are going to need it very soon.
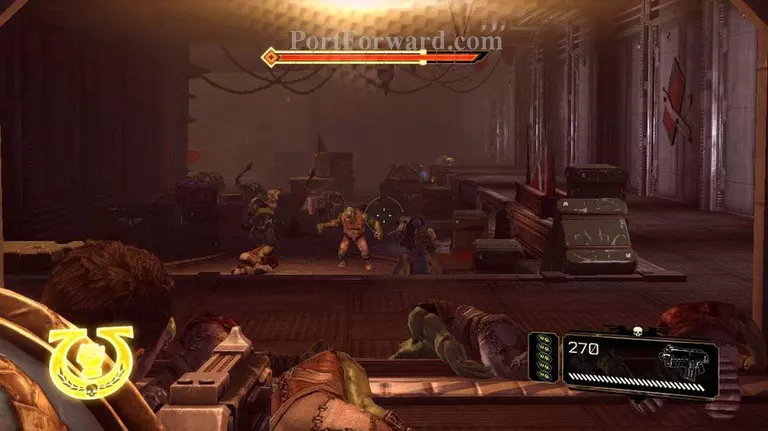
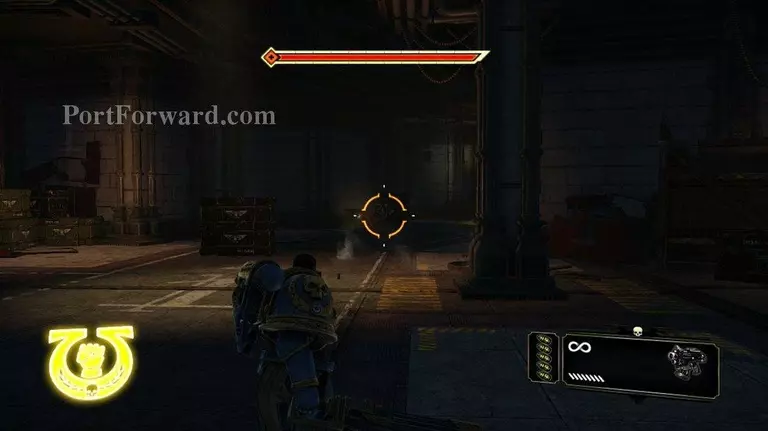
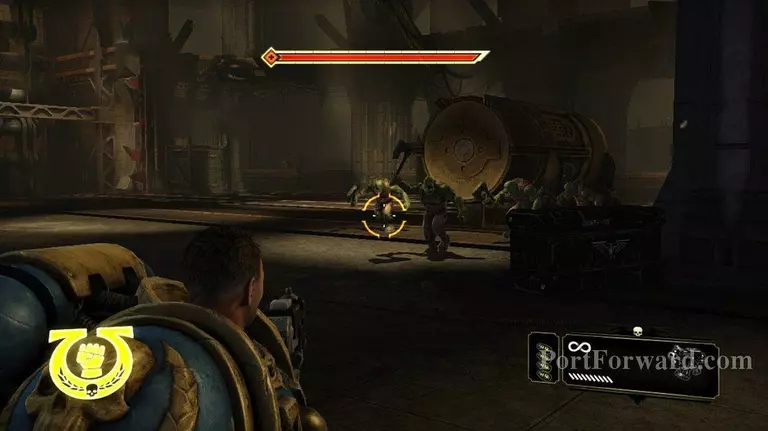
There are stacks of crates in this area. You will be rushed by some grunts as you move forward.
After you take out the initial grunts, more grunts will push crates over in front of you. You'll be charged by a group of grunts and gretchen.
There will be a couple of shooters next. As you move forward another wave of shooters and grunts will come at you.
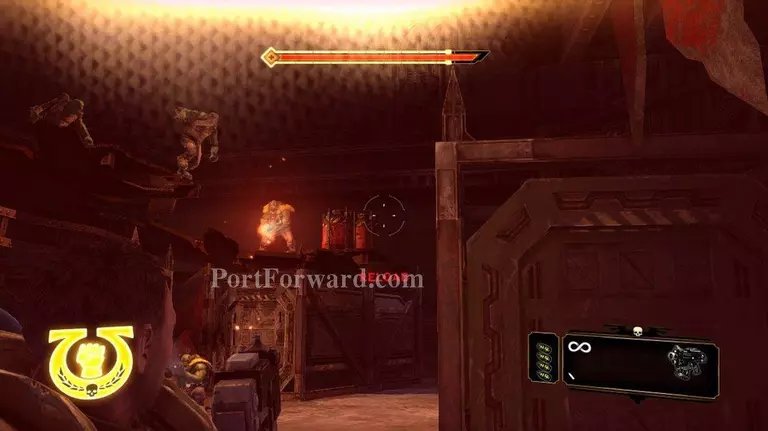
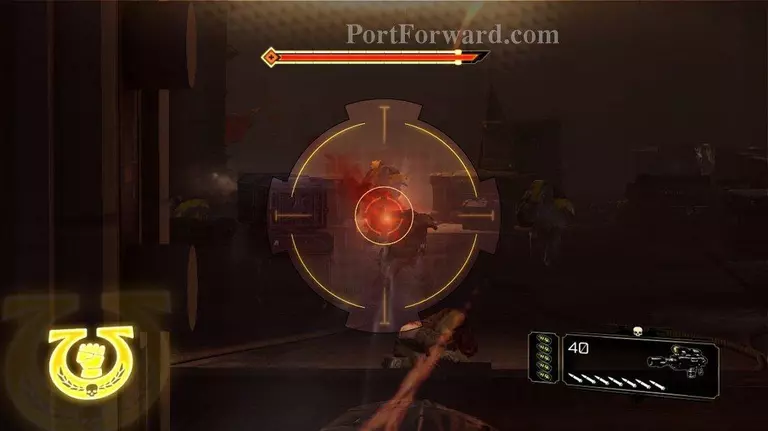
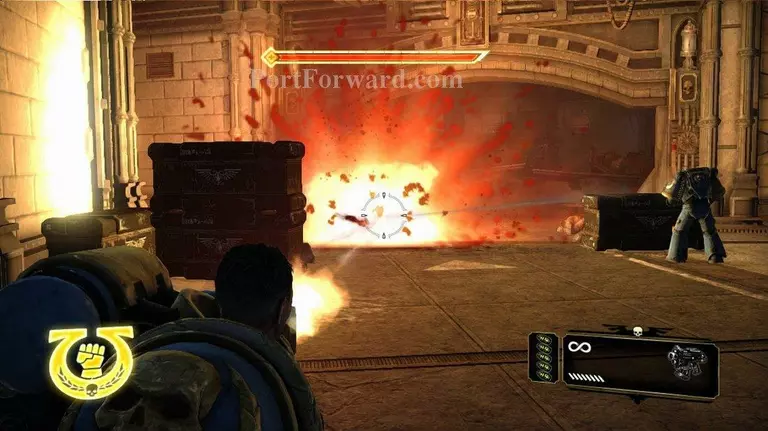
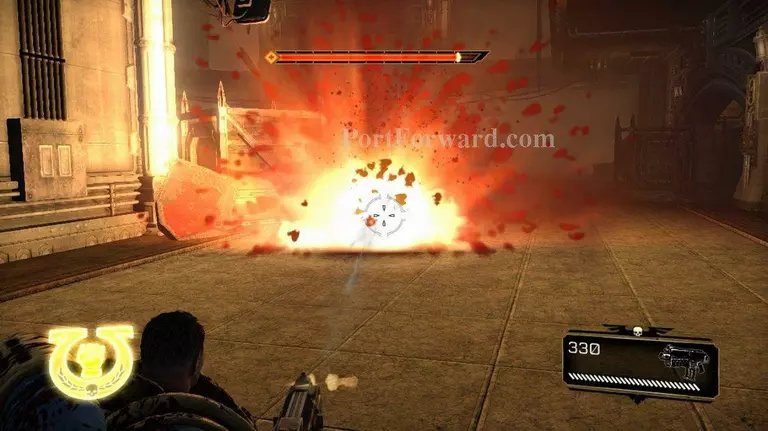
There is a stack of red barrels on top of some crates here. If you time it right, you can take out a bunch of orcs with them.
Move forward, be wary of the shooters still on top of the crates. When you've got them taken down there's little between you and the next lift.
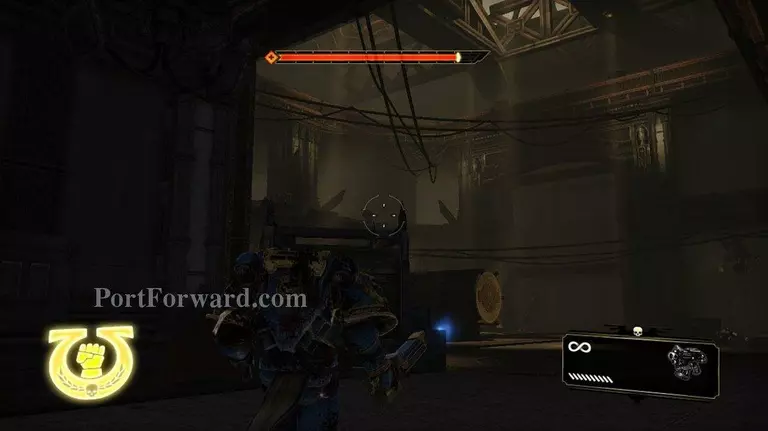
You'll come to an area that gives you a purity seal. This seal will allow you to use your fury to snipe with slowed down time. Basically greatly enhancing your sniping abilities. Be sure to replace any ammo you may have lost. The next section is the tough section.
You'll be rushed by four orcs here. Take them down, use them to regain any health you may have lost.
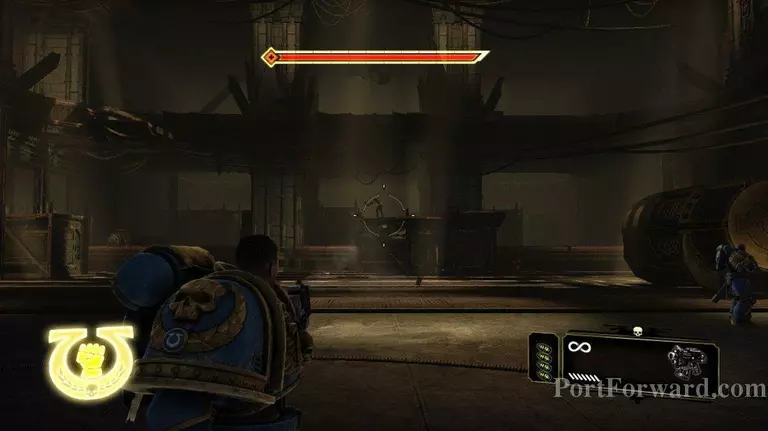
Leonitus will push the shell back on to the chain for loading. While he is doing that you will need to cover him. That's easier said than done.
Shooters will start appearing on the platform above. Use a grenade or two to take them down as quick as possible. These guys do a ton of damage if left alive, and you will not have very much time to take them down later.
You'll be attacked by a ton of gretchen along with some squigs. I try to use weapons that have a blast radius here. Grenades or your vengence launcher will do nicely. The key is to keep the number of orcs low.
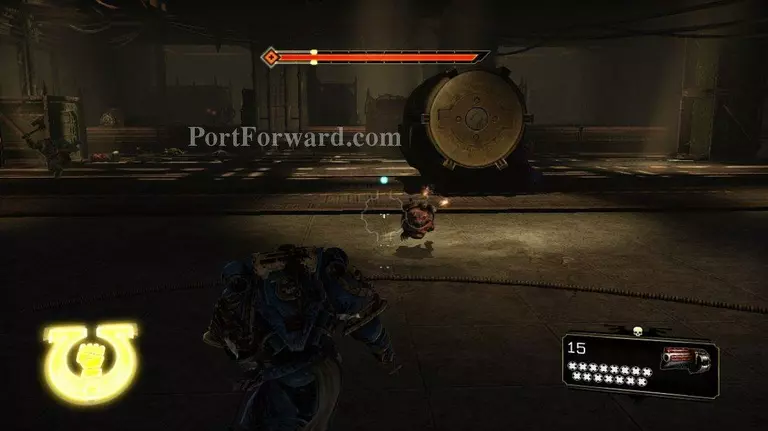
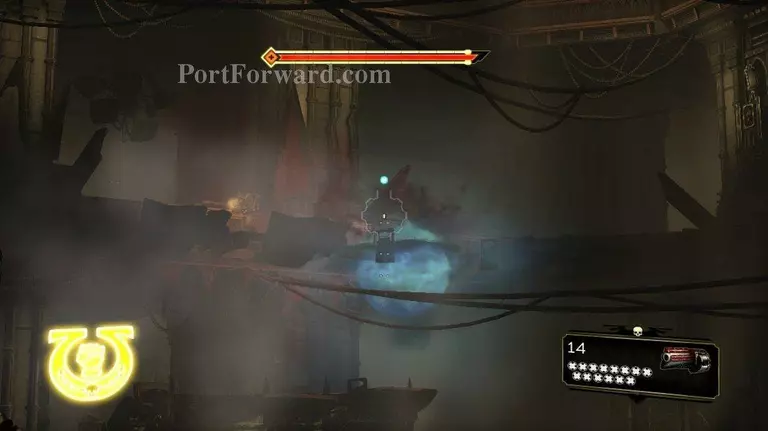
Switch to your pistol as quick as you can to take out the squigs. If one gets to close combat roll out of the way, once they stop to explode.
If your shields need to regen, you can duck behind the corner here. Don't stay here too long, because the crush of orcs will be adding up out there. You will eventually be gang rushed by tons of orcs back here, and that would be bad.
I got rushed by a couple squigs and then by a Nob while I was waiting for shield regen.
Nobs are bad bad. I got lucky and got him alone. If he would have come with a rush of grunts, I would have died.
All in all this section went pretty easy for me. Sometimes it can be a bear.
Clean up the orcs that are left, and you'll be free and clear. The shell will be on it's way and you'll be on your way out of the planitary defense weapon.
You'll get a cut scene with the big gun blowing up, and you running out of there. Well it looks like the guards men will be getting resupplied. I wish the same was true for you. They could have given you a couple seconds to grab what you could.
More Space Marine Walkthroughs
This Space Marine walkthrough is divided into 17 total pages.