
This Space Marine walkthrough is divided into 17 total pages.
You can jump to nearby pages of the game using the links above.
Chapter 8 Whispers of the Dead
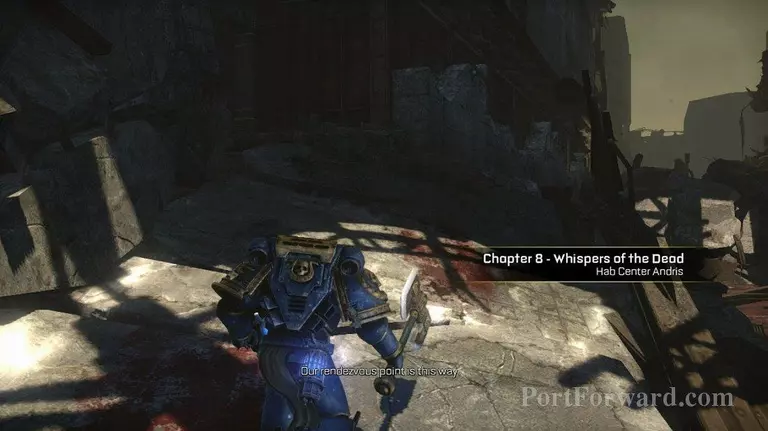
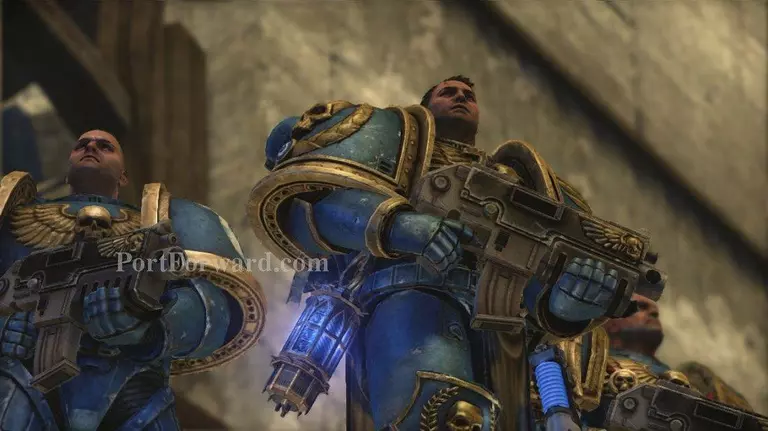
Well we've made it to chapter 8.
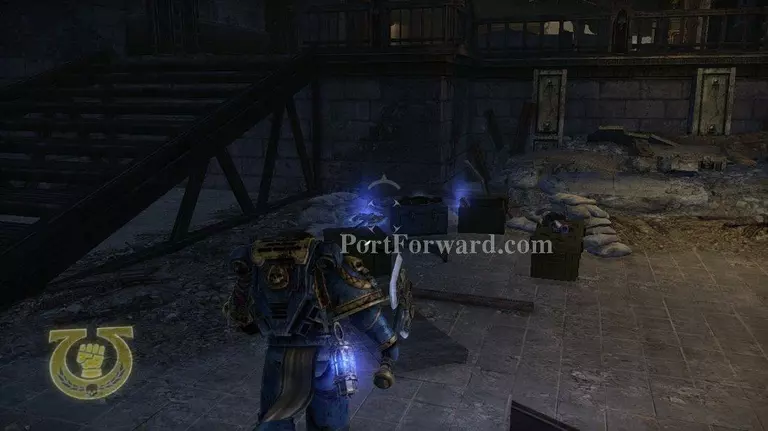
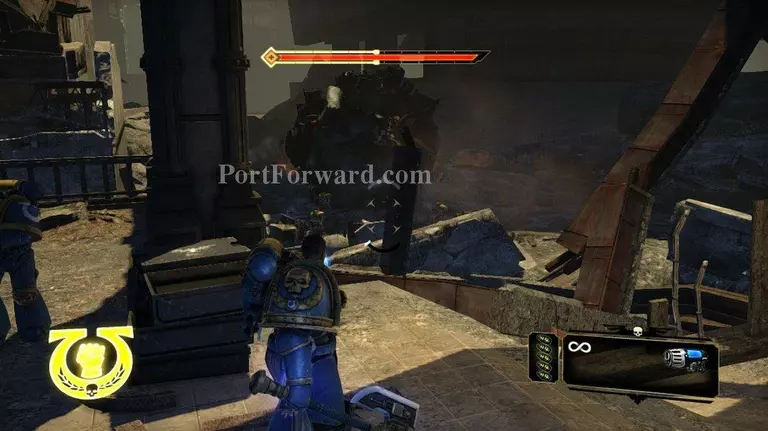
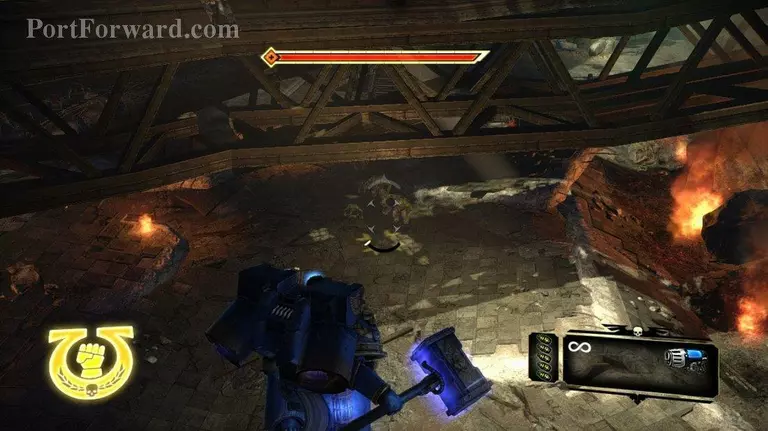
Moving forward you will eventually come to a weapon pod, and get a cut scene.
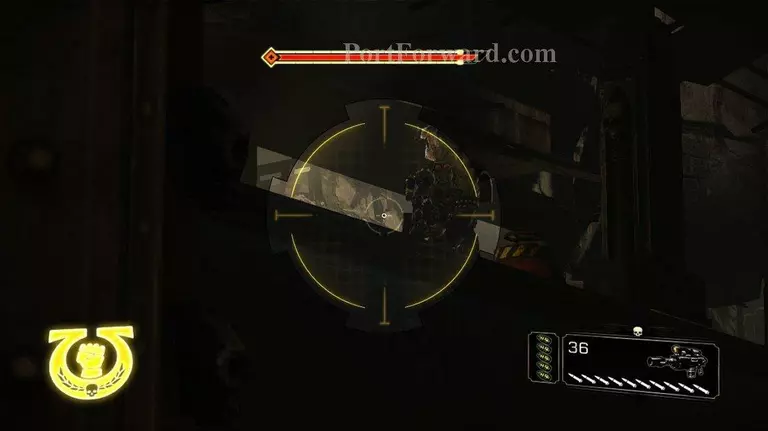
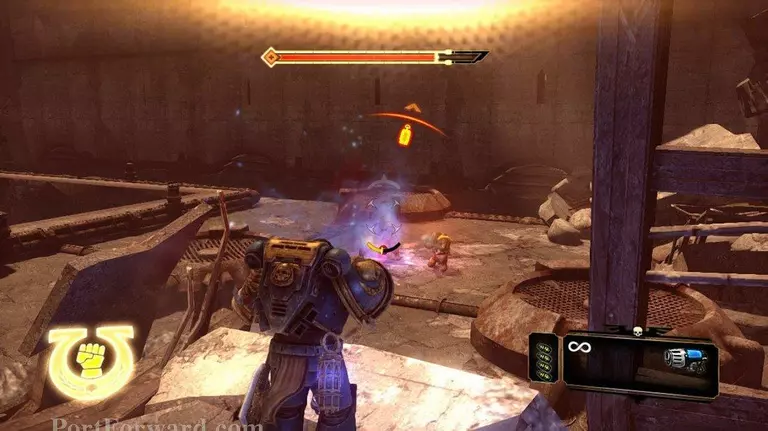
After the cutscene go to the weapon pod. You will get a laser rifle there. It's a very good long range sniper weapon. I still like the Stalker Bolter better, but the Laz gun has more power. I've heard that Orcs just don't respect anything except a huge hunk of metal hurling at them. So laz guns don't count.
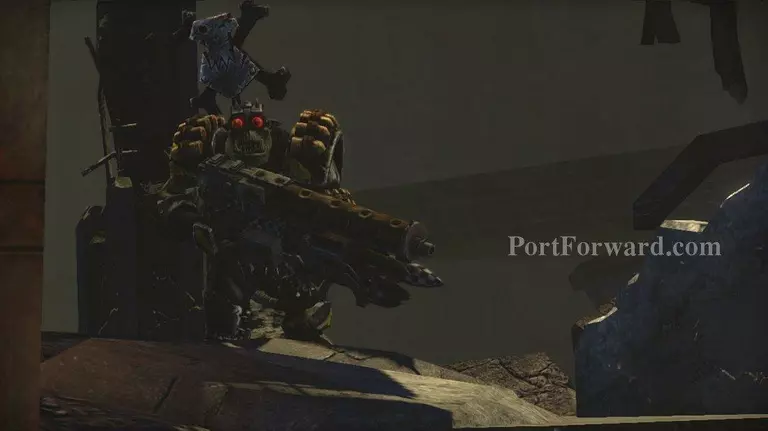
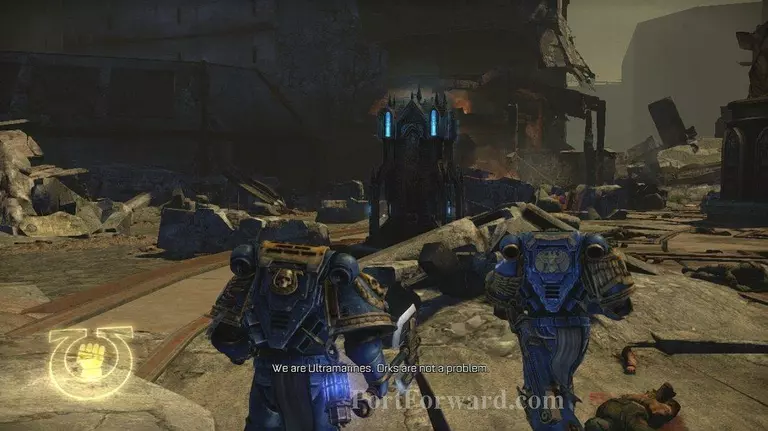
This guy is the ultimate shooter. He's like a Nob shooter.
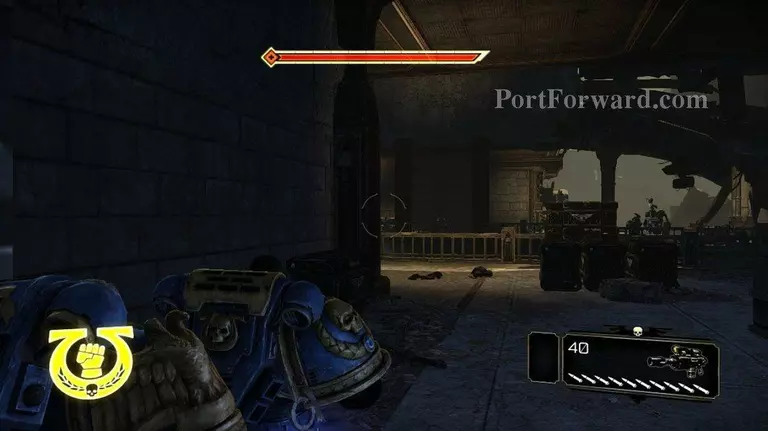
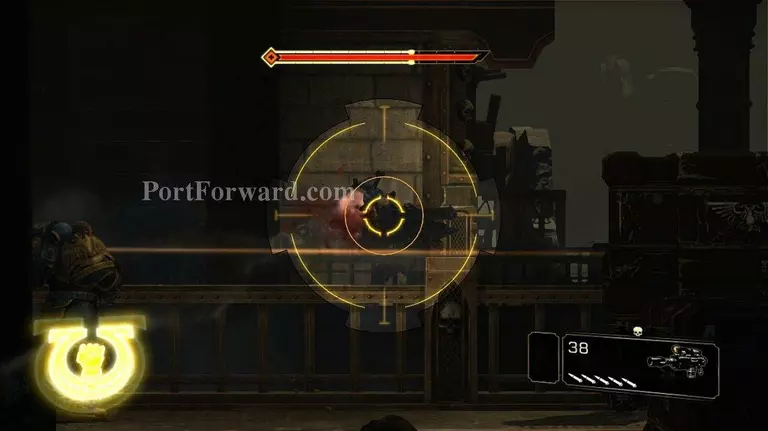
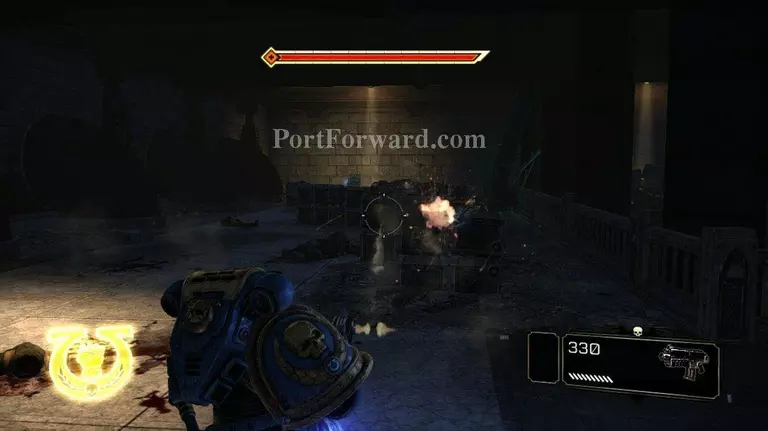
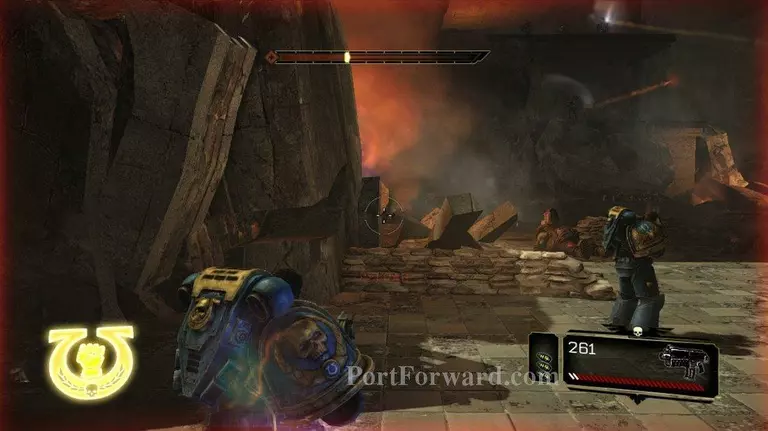
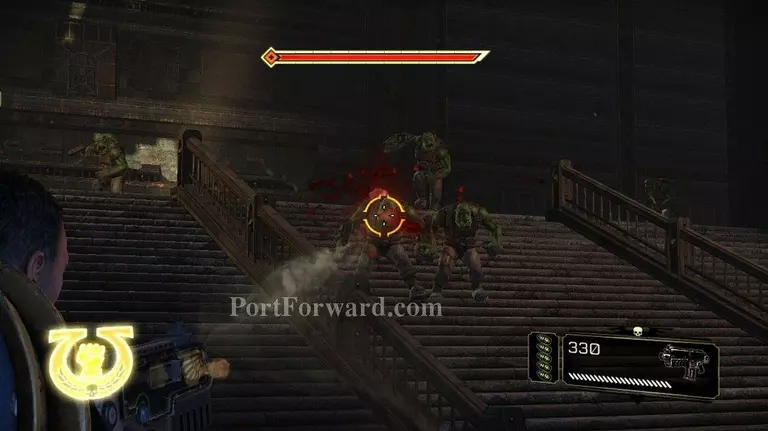
Start taking out the orcs that have spawned with the laz gun. There will be two shoota nobs, and lots of shootas. Take down the Shoota Nobs first. And watch your health because they do a lot of damage. Head shots help on the Shoota Nobs.
When you are done killing orcs walk back to the weapon pod and pick up your Melta Gun. Then continue moving forward.
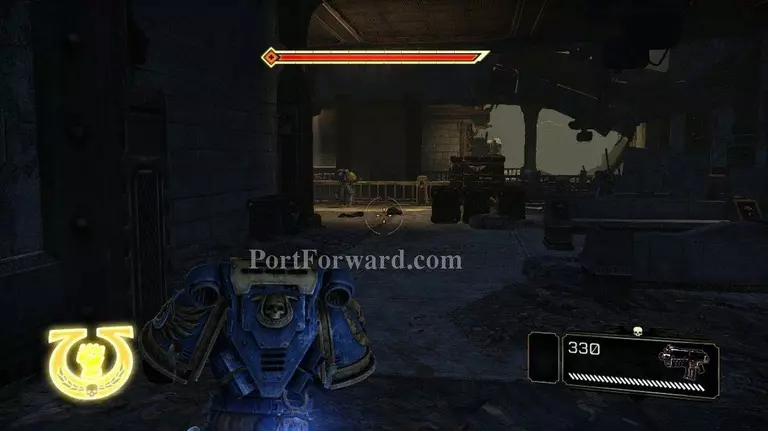
You'll enter an area with some ammo and a bunch of gretchen. Take out the gretchen to regain health if you lost any.
There is also a shoota up on a ledge here. Take him out before you collect the ammo.
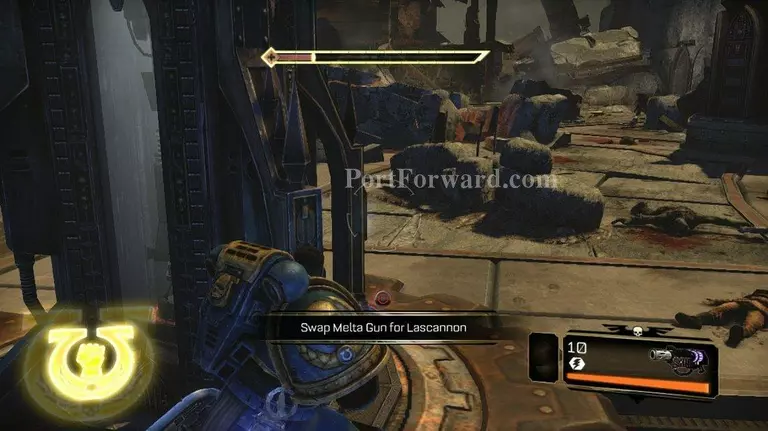
You've come to a weapon dump. Swap out your melta for the stalker bolter.
This section is pretty fun. There's a couple of Shoota Nobz on the other side, along with shooters and shootas. Use your Stalker Bolter to take them down. Basically take them all out, and forget about saving ammo on the Stalker Bolter.
Just keep pounding them until they are all gone.
When they are all dead on the other side of the room, go back to the weapon pile and grab your Melta gun.
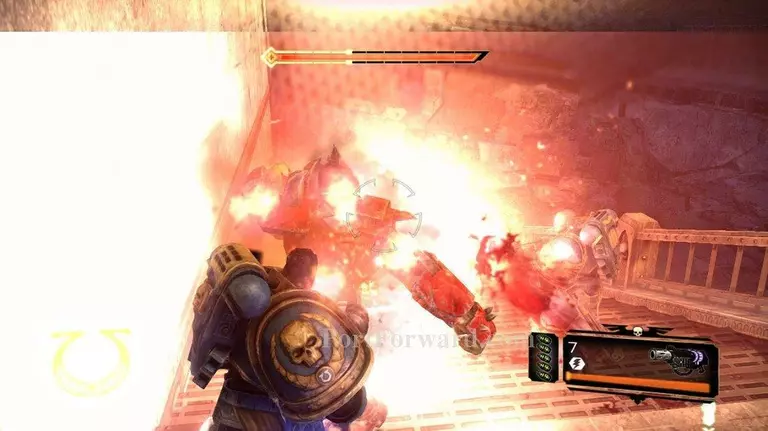
You'll round the corner here, and you'll be attacked. A huge wave of chain sword orcs will rush you. Along with a couple squigs.
Your Melta Gun will make short work of these orcs.
Once again when you are done with those orcs go back to the weapon pile and refill your Melta Gun.
An orc ship will plunge in to the ground, and shootas and shooters will pour out of it. Take them out.
When they are all dead ready your Melta Gun again.

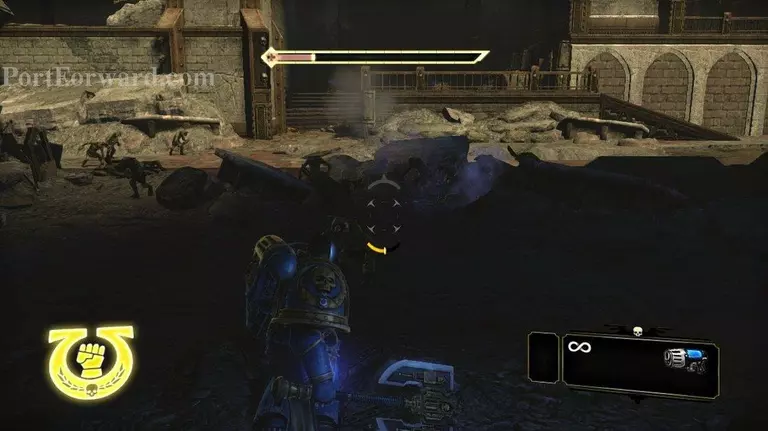
Move forward just a bit and you'll run in to a hoard of chainsword orcs charging you. Oops their mistake. Fire up your melta and take them out.
Melta Guns really make orcs vanish quickly.
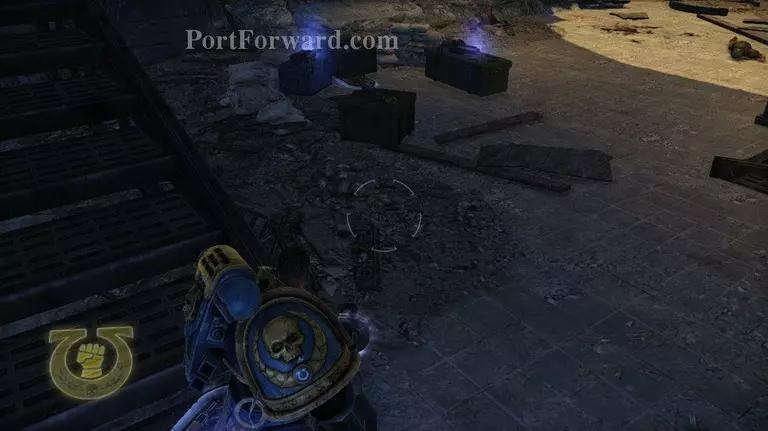
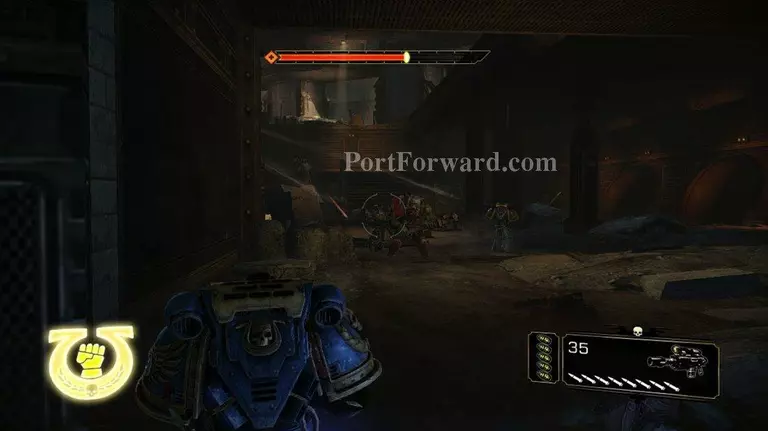
As you move forward you'll eventually come to another ammo dump. Swap out your melta for a stalker bolter. There's going to be a lot of orc sniping in the next room.
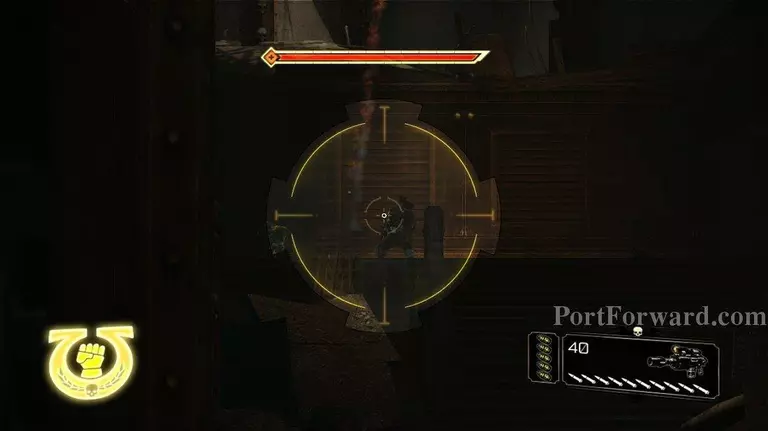
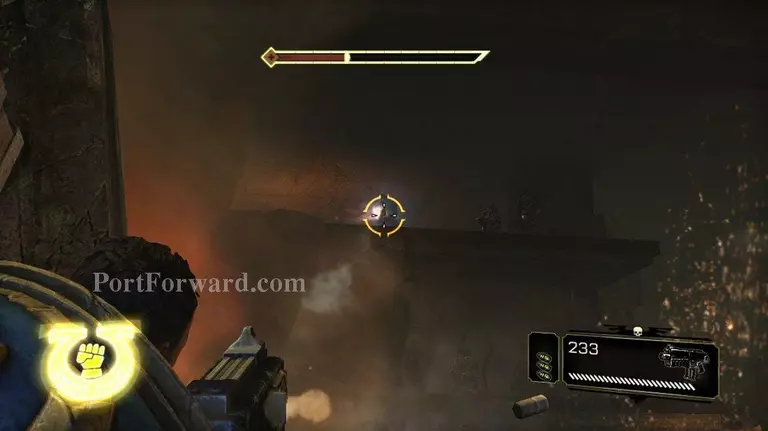
This room will have quite a few shootas and shooters in it. There will be two Shoota Nobz on a ledge up to your left. The best thing is to just start taking out shootas and shooters.
When they are dead look up to your left for the Shoota Nobz.
Also be aware that two Nobz will charge you. They will come one at a time which is pretty nice of them. Take them down however you want to, then go back to killing shooters, shootas, and Shoota Nobz. When everything is clear, you can go back and grab ammo if you need it. I would keep the stalker bolter for a while though.
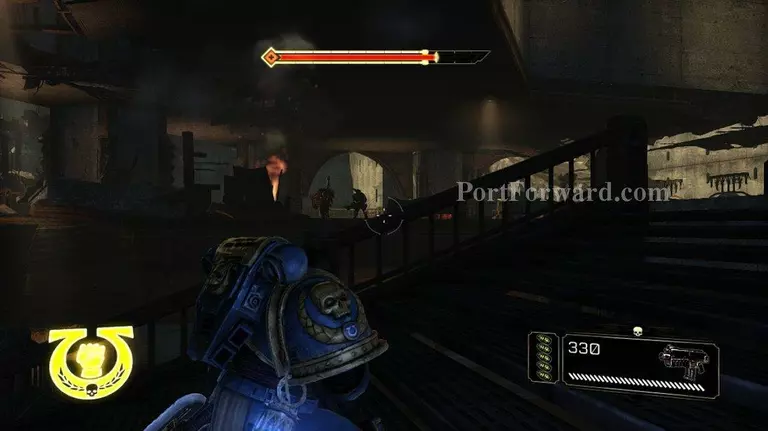
As you go up the stairs a Shoota Nob, some shootas, and some shooters will spawn on the side opposite you. Forget about the rest, just take down the Shoota Nob. The others will run off to regroup.
Continue up this bridge. At the top you will be greeted by the orcs who ran off. I usually pop my head over the top and lob a grenade their way.
Here's a present for you.

Continue forward. There is one more Shoota Nob for you to take out. He is hiding in a ruined building, and will open fire when you get close to him.
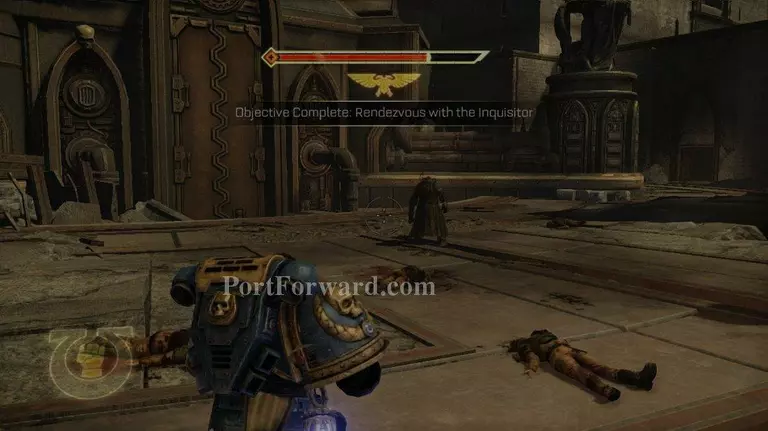
After he is dead just move forward until you meet Inquisitor Drogan.

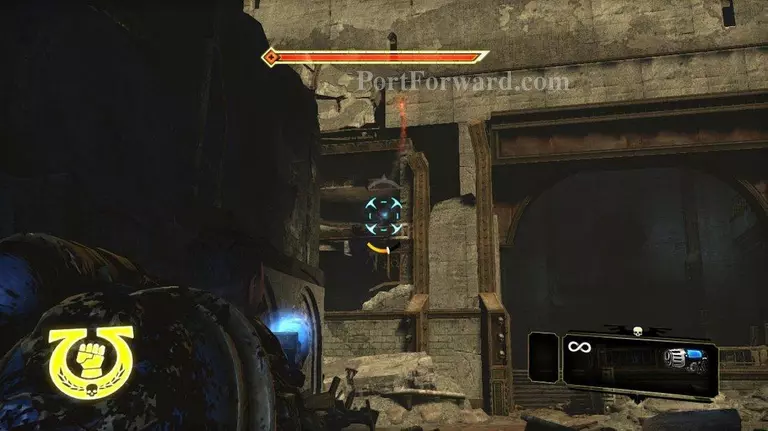
Move forward collecting ammo.
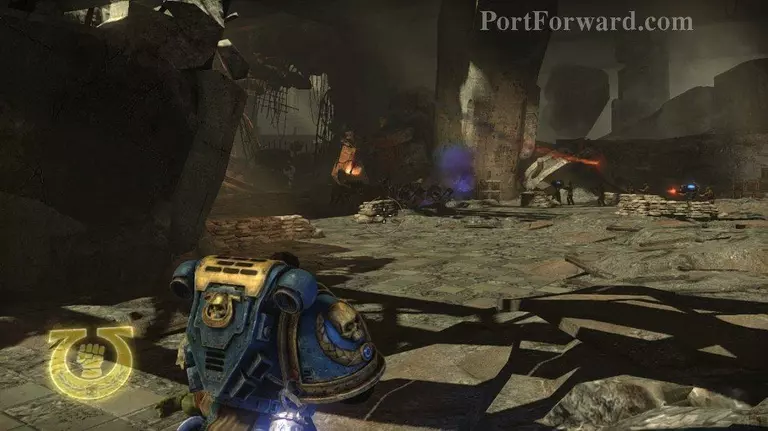
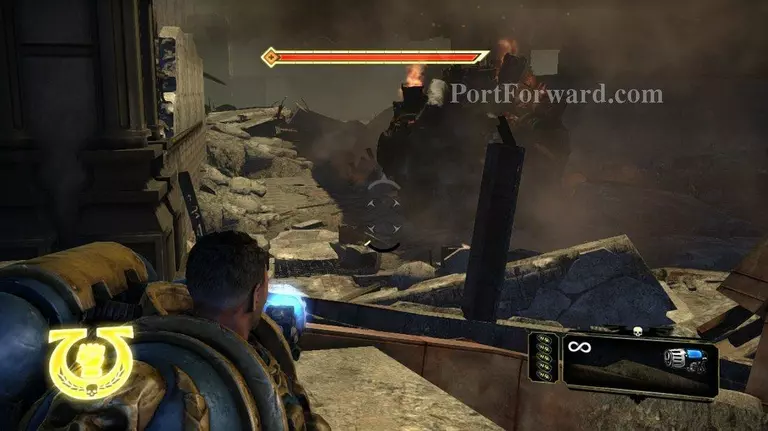
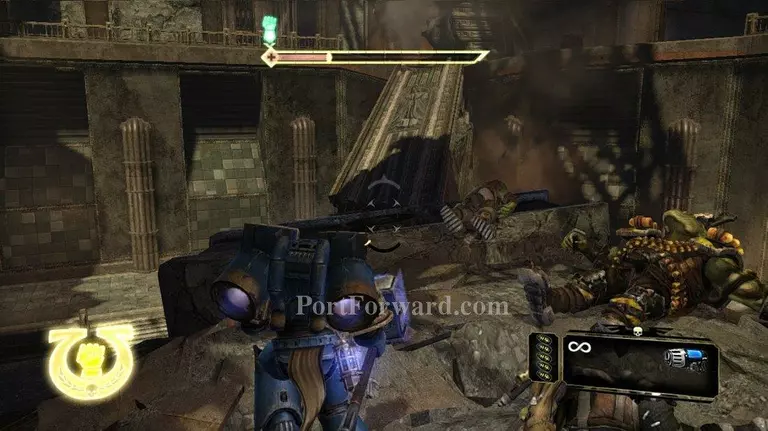
You will eventually come to a guard outpost being attacked by a bunch of orcs. This area is actually pretty tough. There's a wall to the left in the screenshot here. If your shields get low you can shelter here, while they reset.
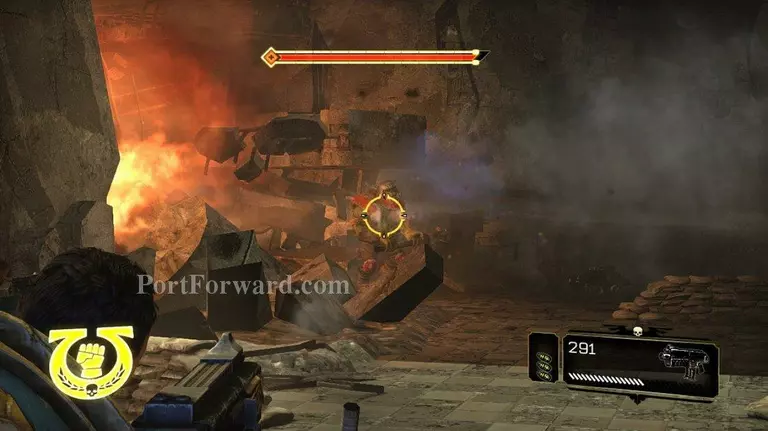
There are a bunch of shooters to start with. Take them out, and then a Nob will appear. At the same time the as the Nob appears there will be about seven or eight shootas appearing on the ledges above.
I recomind sheltering behind the wall when you need to regen your shields.
And then coming back out to sniper some shootas off of the wall. They do way too much damage for you to just stand out in the open and pick them off.
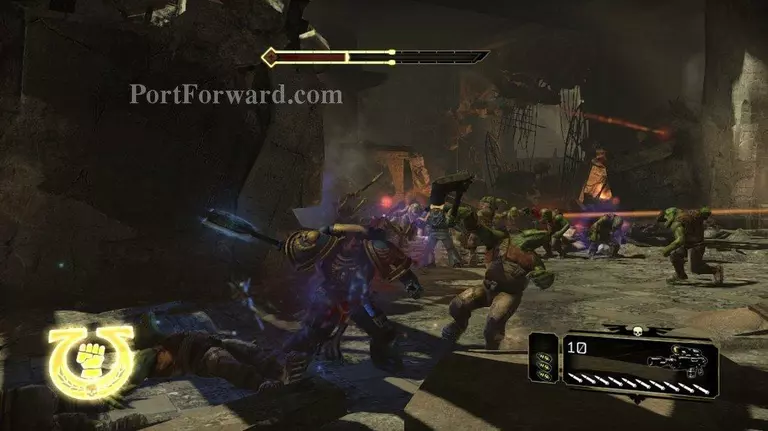
You will eventually be rushed by a large group of grunts. But they are easy to take out. When they are dead go back to working on the shootas.
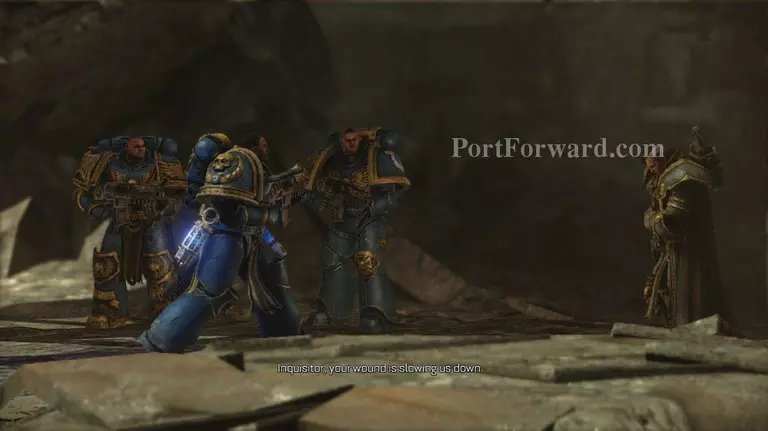
After the battle you will get a cutscene. Your character desides he will go off on his own to draw the orcs away from the rest of the squad.
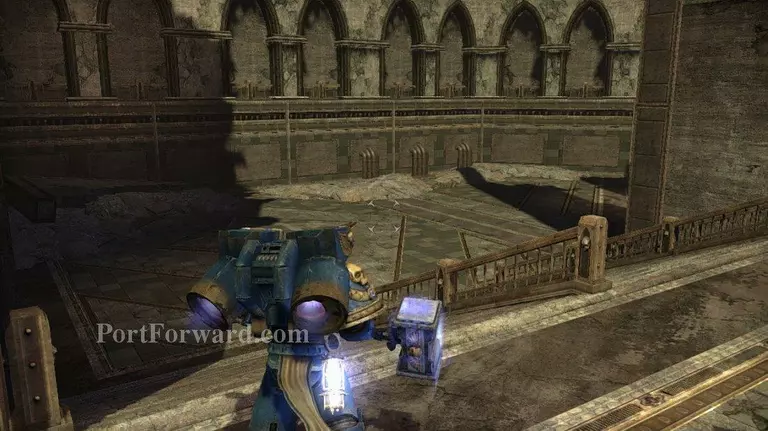
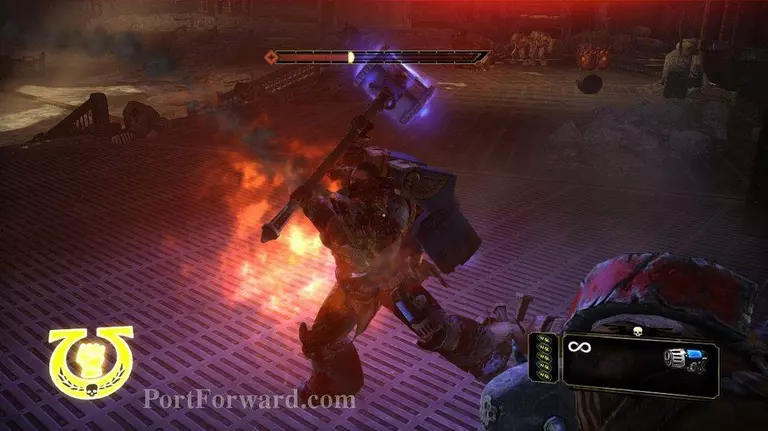
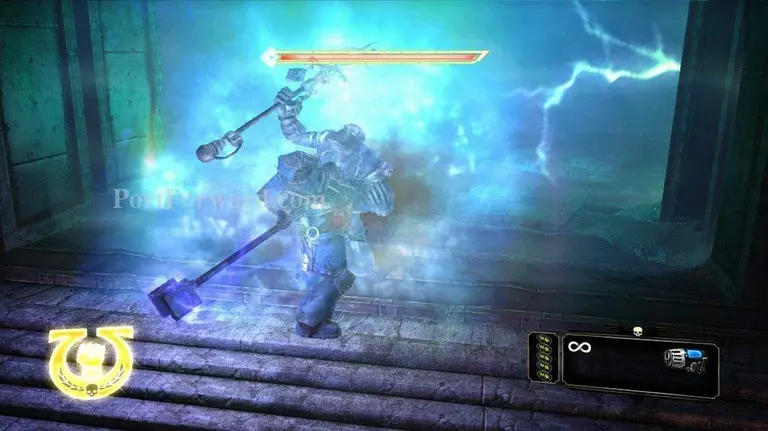
Moving forward you come across a weapons pod with a thunder hammer and a jet pack in it. The combo of the two happens to be quite fun.
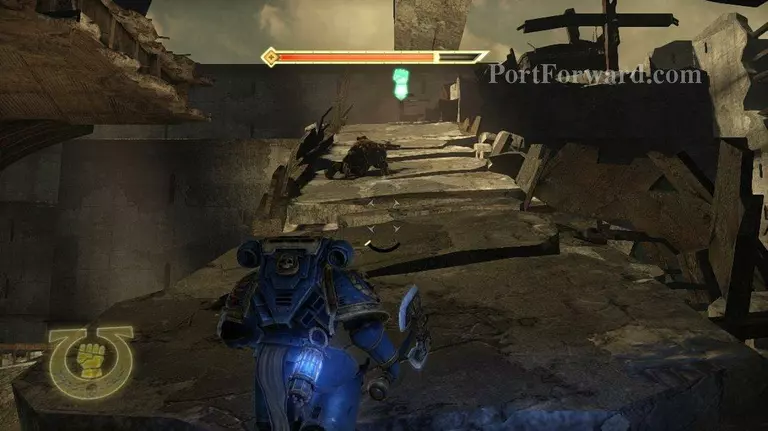
Move forward. You will come across a small squad of orc grunts with a Nob. These guys are really easy to take out with your jet pack and hammer. Just jump up and ground pound in the middle of them. The Nob will be stunned. Walk up to him and execute him.
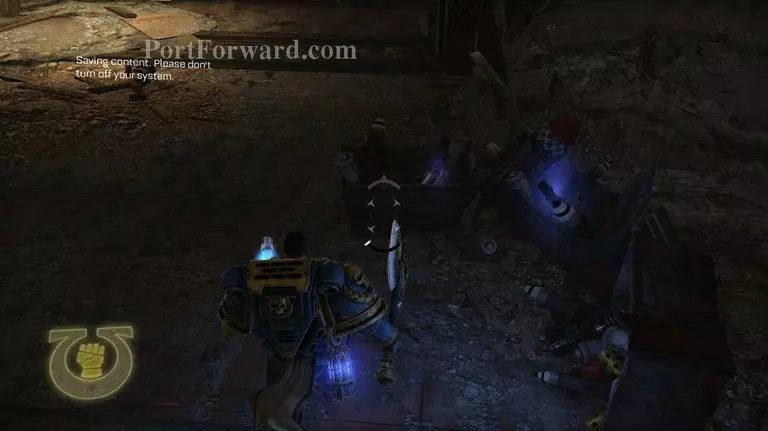
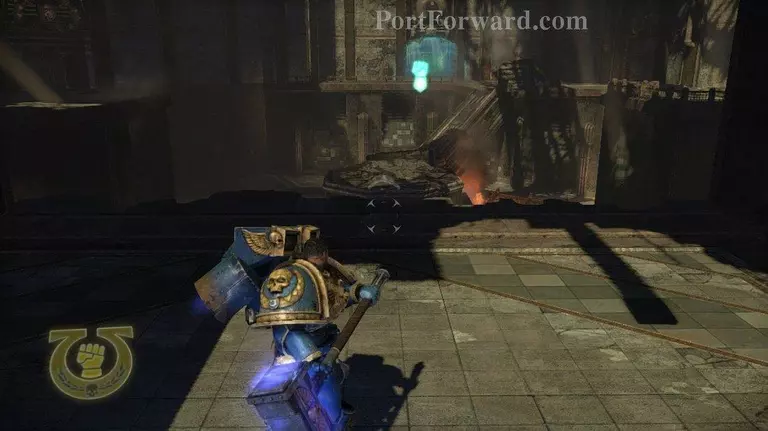
There is a servo skull here. Be sure to pick it up.
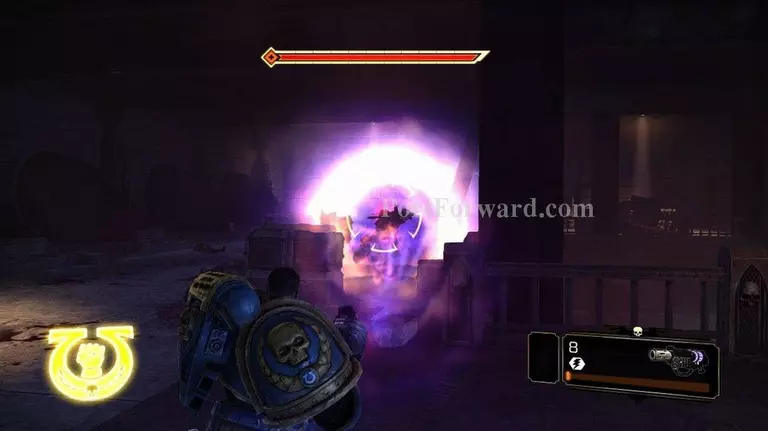
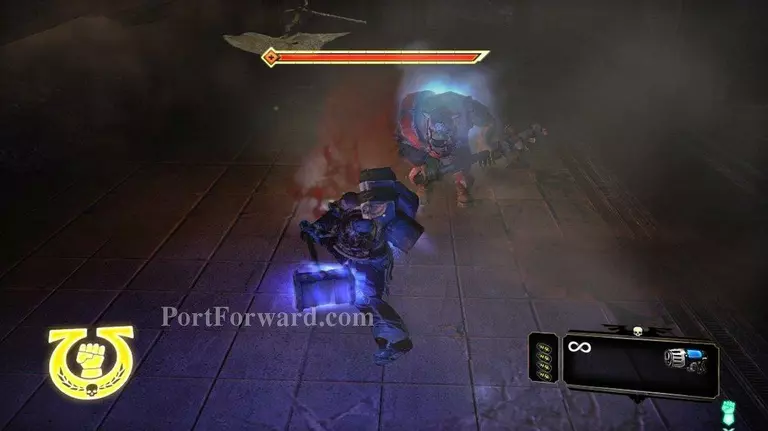
Moving forward into this room. There will be an orc summoner here. The key here is to do damage to him, and not the orcs he summons. When he gets low on health, he will vanish and the orcs he summoned will die.
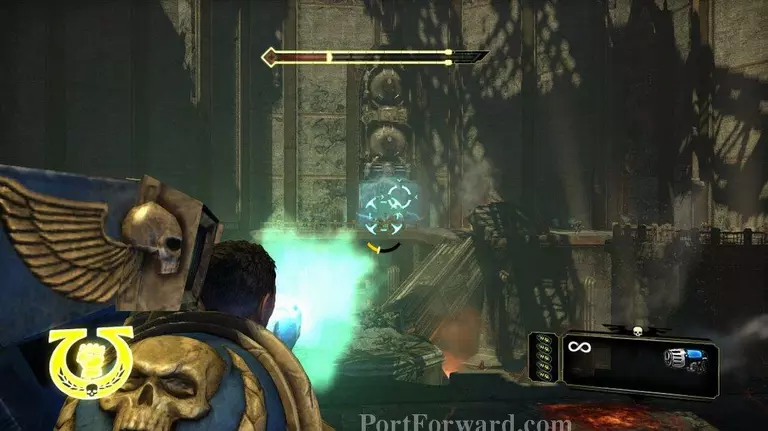
Just keep dumping ammo at him. You will eventually take him out.
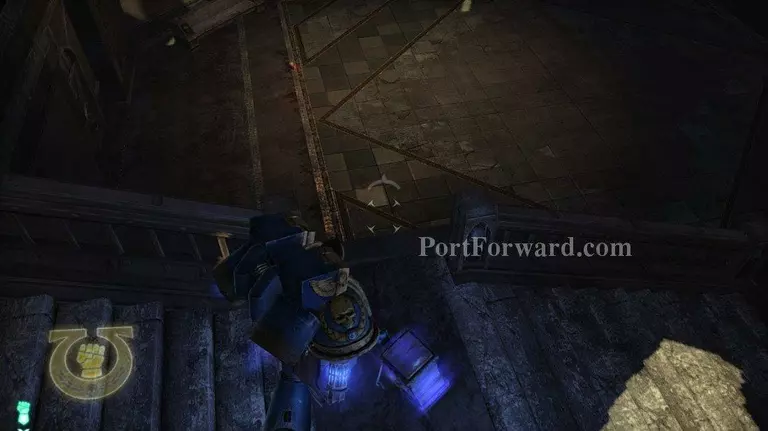
Land on the pillar in the middle of the room, and then walk up the bridge towards the green hand marker.
You will enter a room with several shooters, shootas, and a Nob or two. These are all very easy to take out. Just jump up ground pound, and then execute. Rinse and repeat.
The orcs in this room will be dead in no time. I tend to gloss over the very easy battles. Hopefully they are easy for everyone.
Moving forward you will be attacked by several grunts. This is a prelude to a huge battle you will have to fight though.
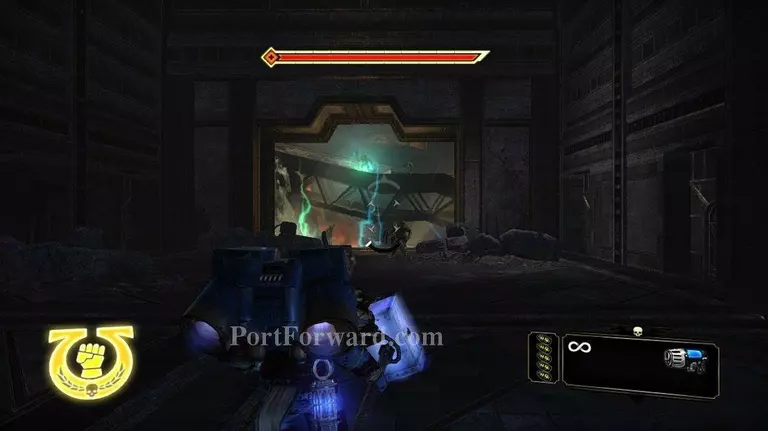
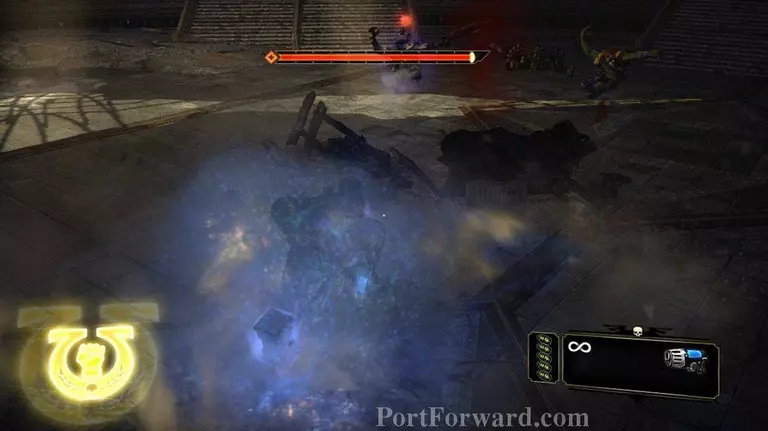
As you get close to the main room, the orc summoner will appear on the bridge in front of you. He will continually summon grunts, shooters, shootas, Shoota Nobs, Nobs, and gretchen. It doesn't matter how many orcs you take out.
The only way you can get past this area is by killing the orc summoner. There is a door filled with a green mist. He is very often next to that.
The summoner has a kind of green shield around him. As he gets more and more damaged his shield will turn from green to red.
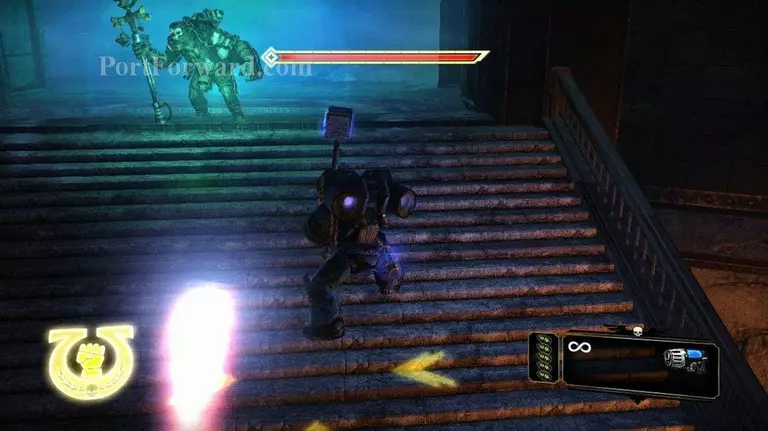
You can smack him around a bit, and then he will vanish to reappear a short while later. So ground pound the other orcs for a while, and then go back to the green door to beat on the summoner for a bit. Eventually, you will kill him. When he dies all of the orcs he summoned will also die.
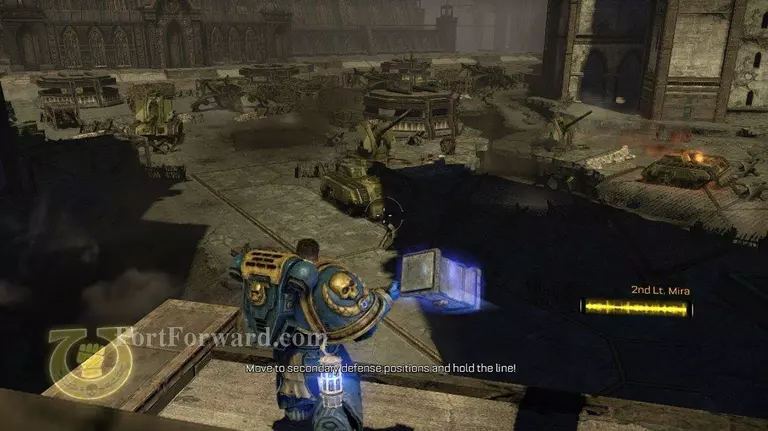
Continuing forward you will arrive at a large Imperial Guard base. Captain Mira will meet you there and let you board one of her Valkries.
More Space Marine Walkthroughs
This Space Marine walkthrough is divided into 17 total pages.


