
This Space Marine walkthrough is divided into 17 total pages.
You can jump to nearby pages of the game using the links above.
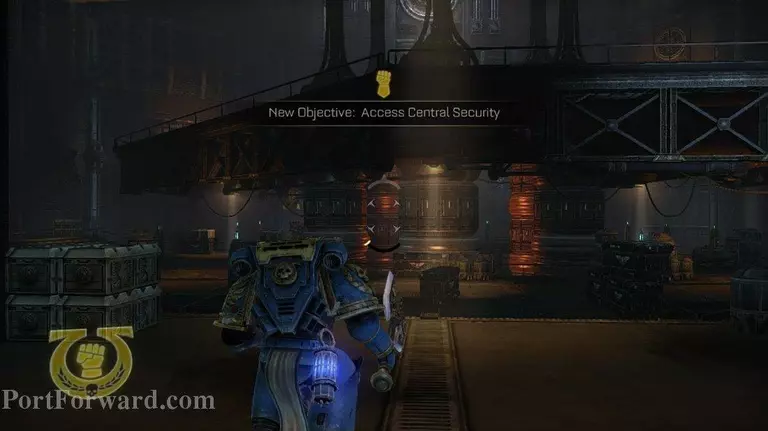
Chapter 10 House of Secrets
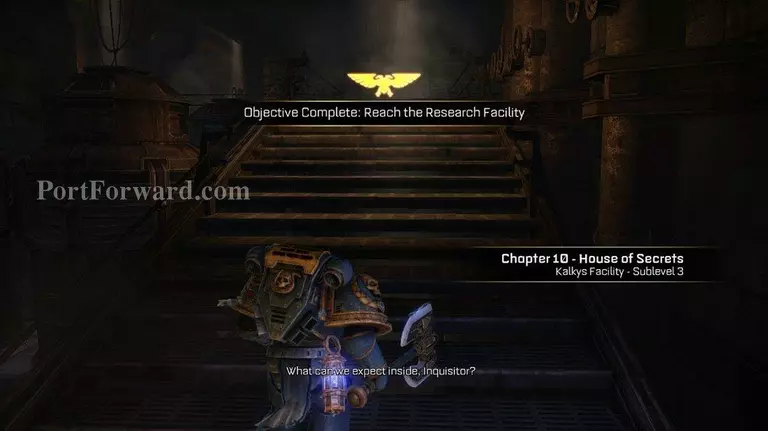
Well we've made it to Chapter 10.
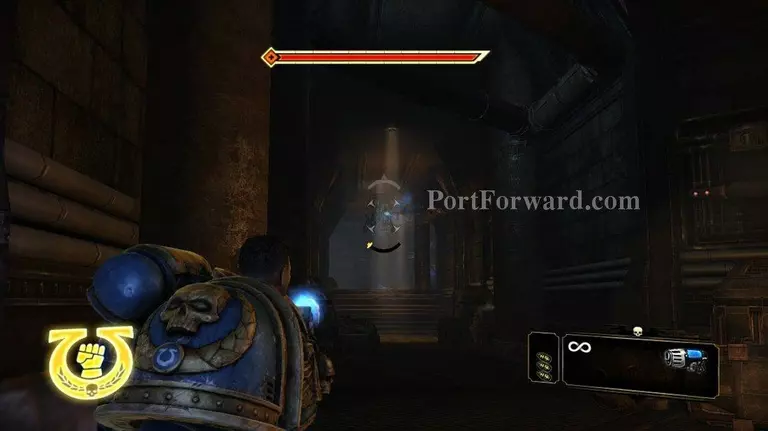
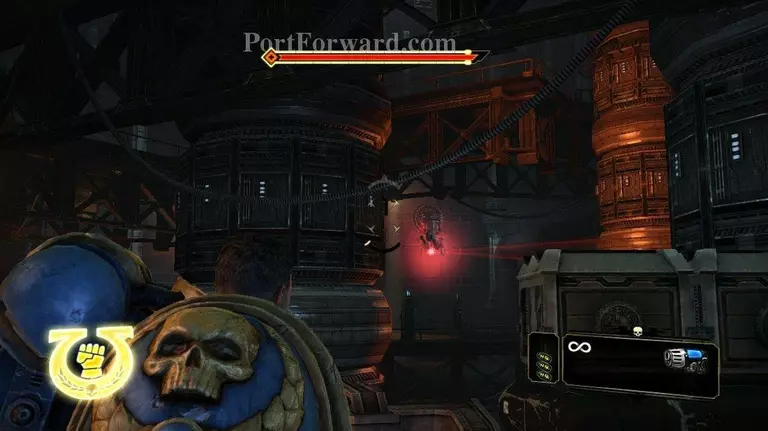
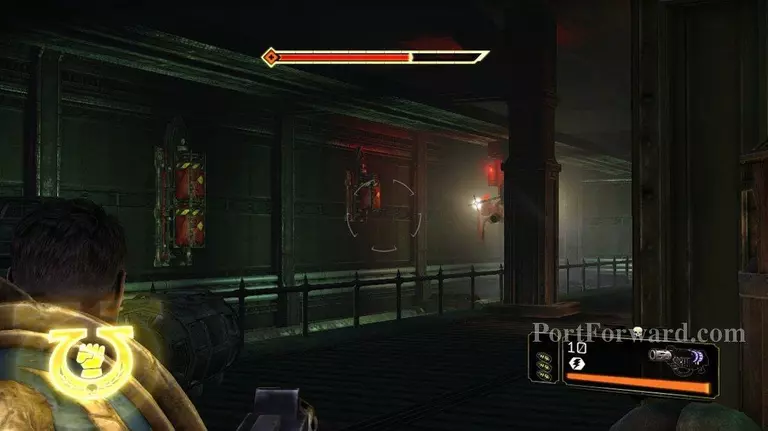
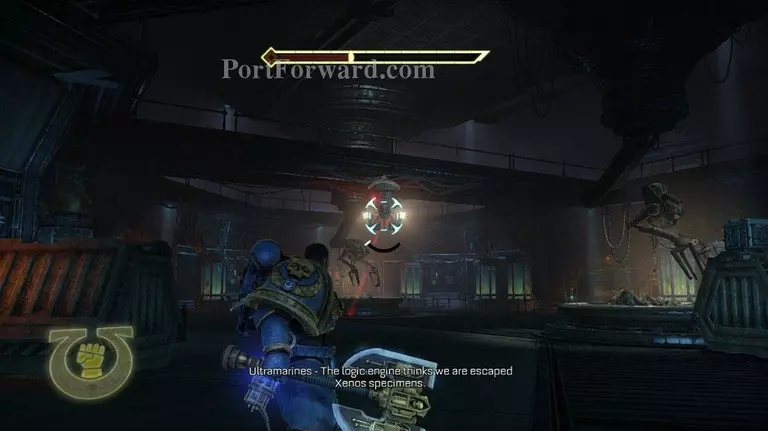
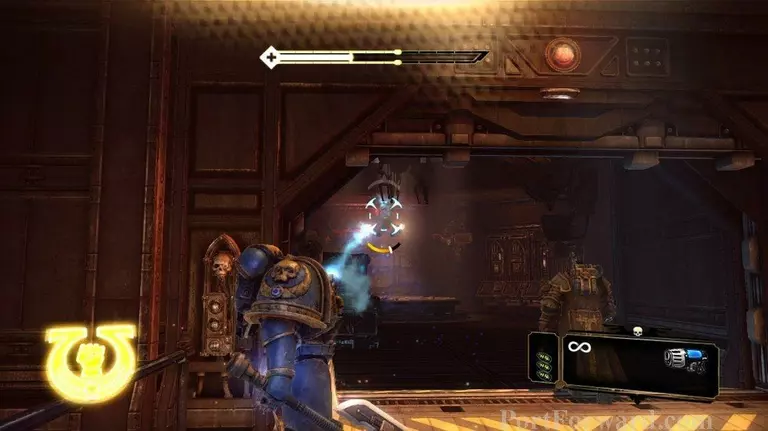
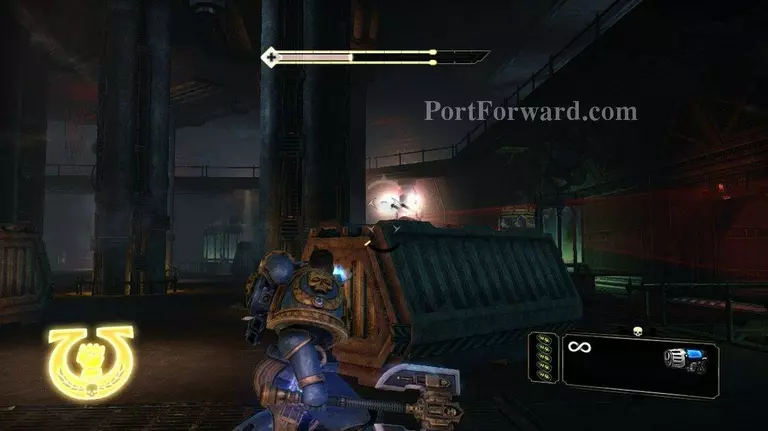
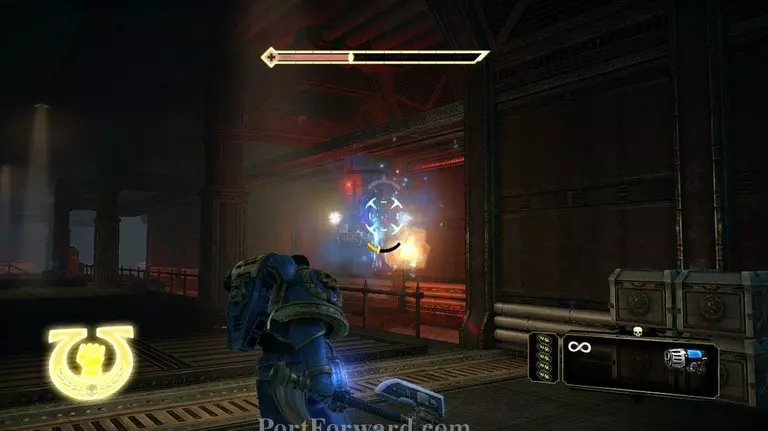
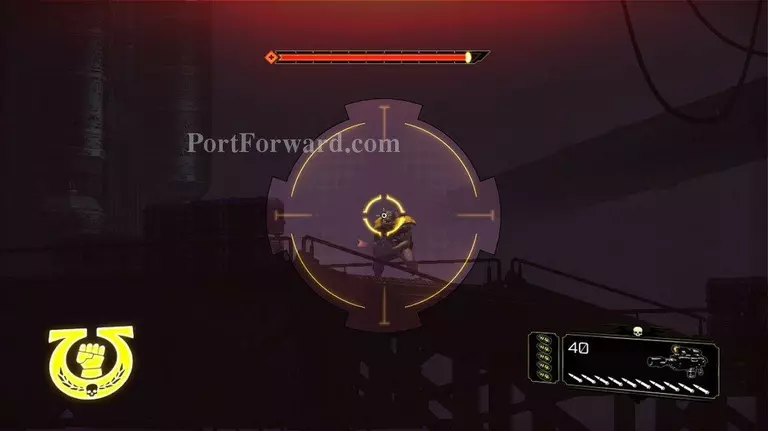
Okay we're going to be taking out some turrets. The first one is right where my cross hairs are pointing in the screenshot.
In this room there is one turret on the left and one on the right. In the middle is a rocket launcher.
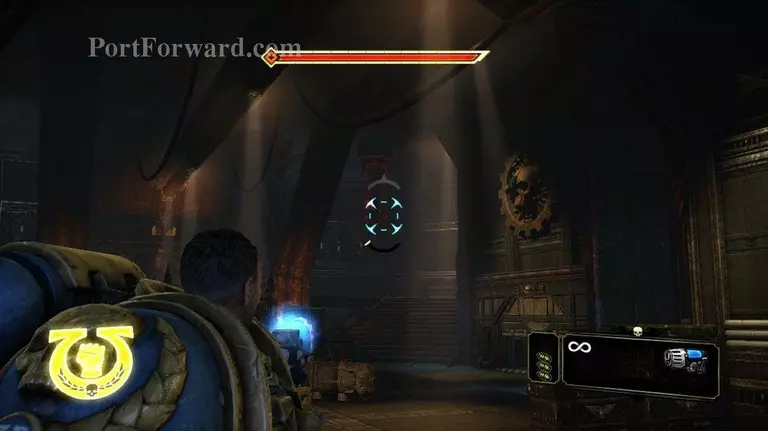
After the turrets are taken out the launcher will wake up. It wakes up as you move further into the room. Anyways take it out and move on.
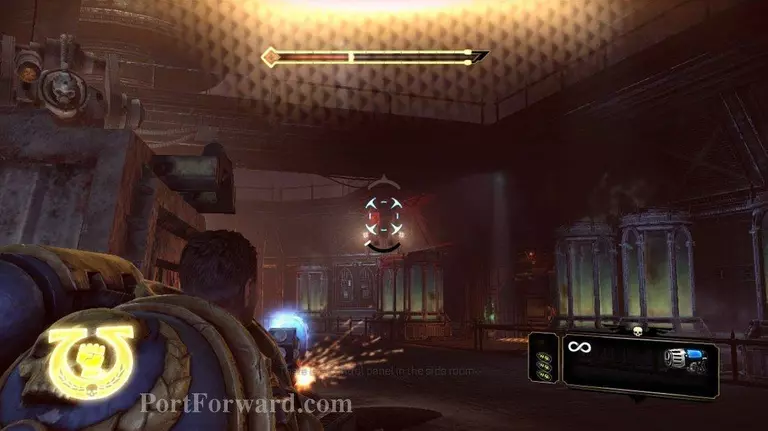
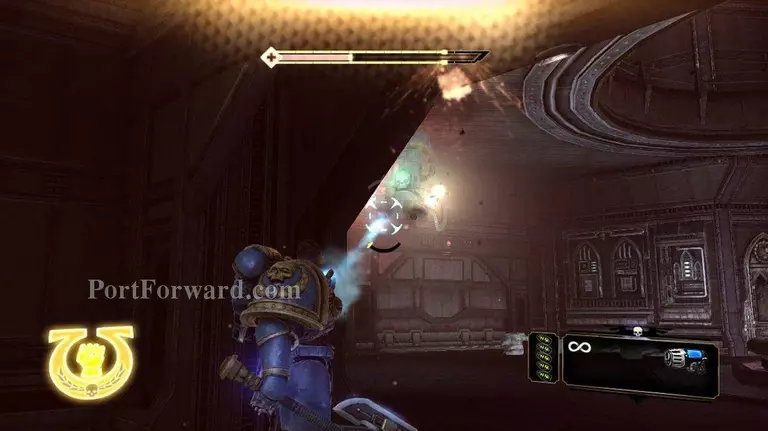
There are a whole bunch of turrets and launchers in this room. Move forward very slowly. Take whatever shoots at you, let your shields regen, and then inch forward.
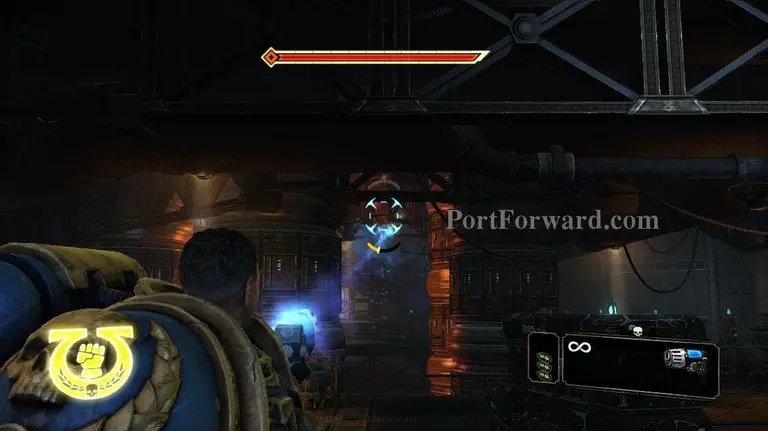
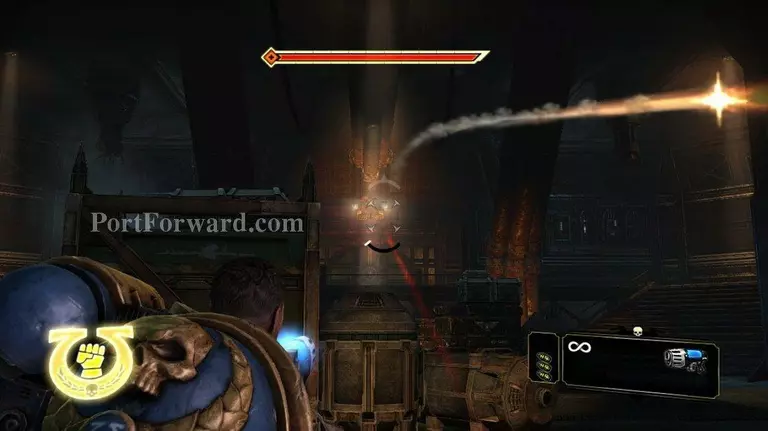
There is a turret right in the middle here. I took it out without being able to fully see it.
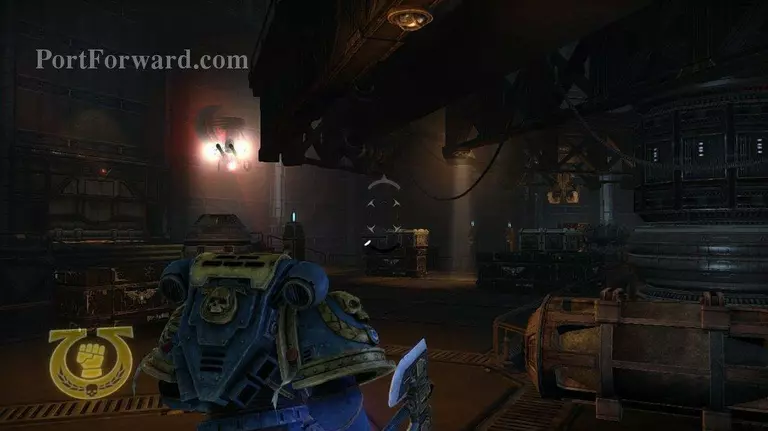
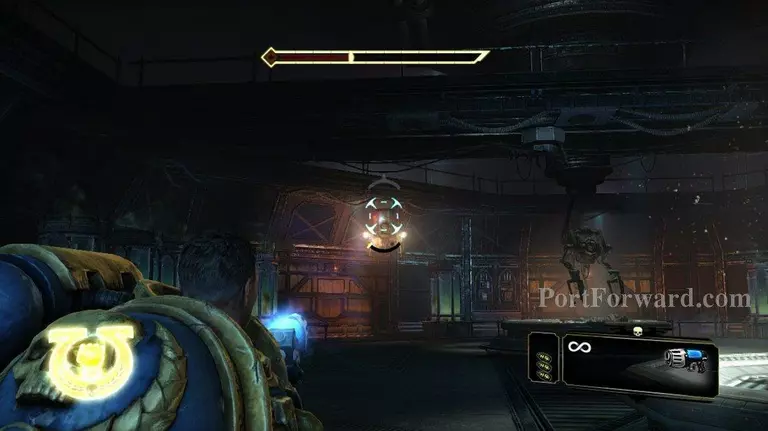
There's another turret here on your left. There is another turret on the right side of the room. This room is mirrored left to right.
As you move forward on this side, a launcher will wake up.
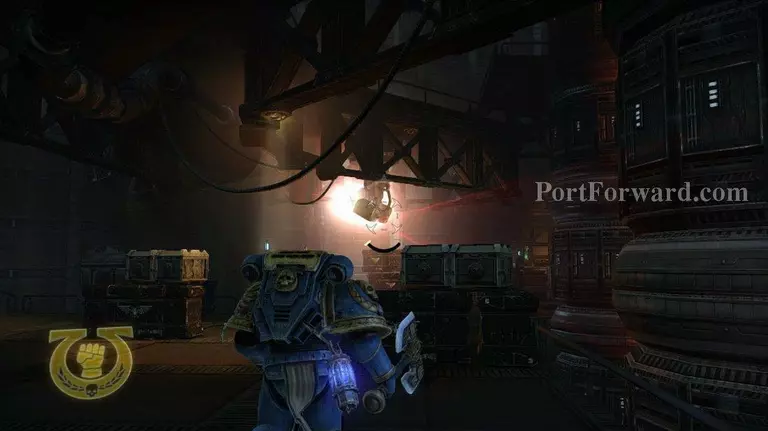
Then there will be two turrets that wake up on either side of the door you will exit through.
Clear the other side of the room and then make for the exit. The other side of the room is setup exactly the same as the first side we took out.
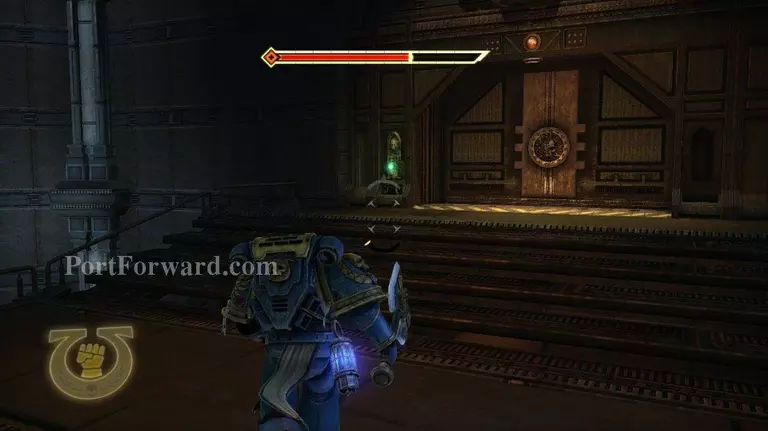
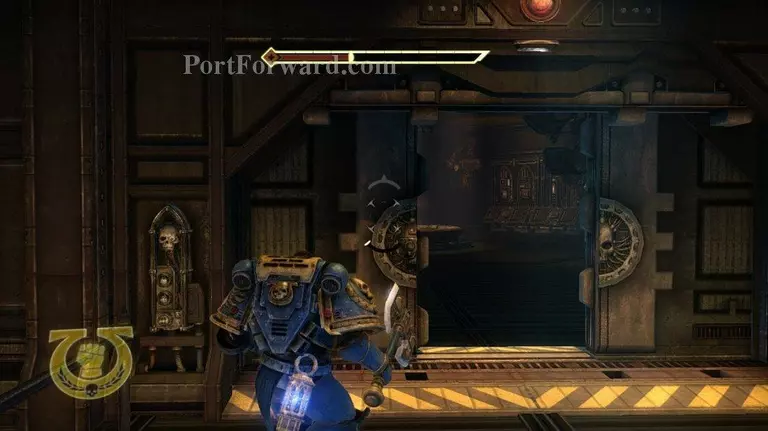
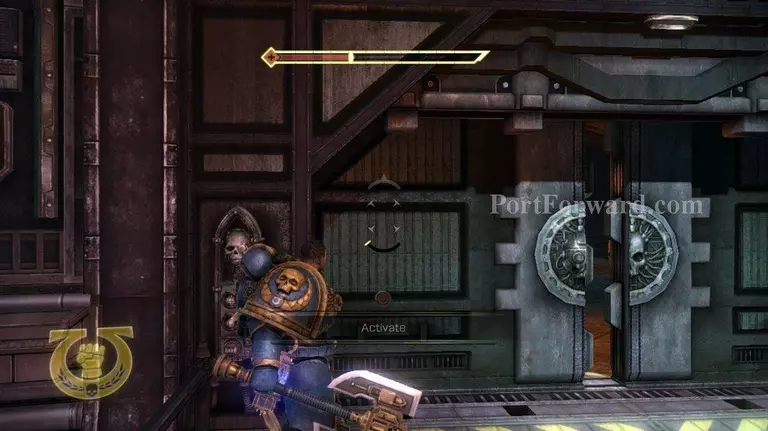
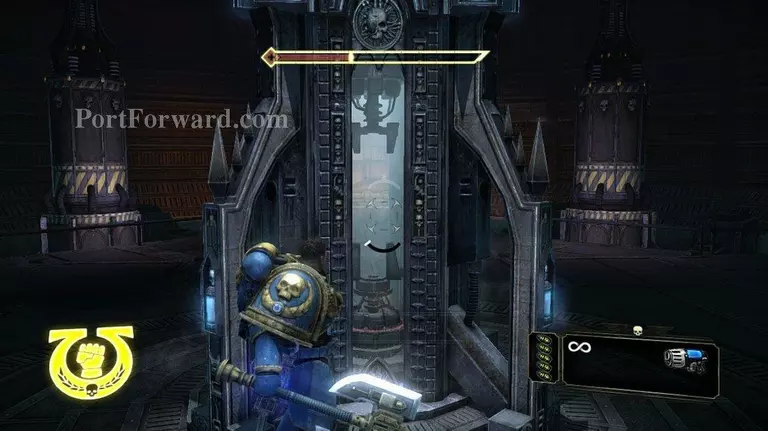
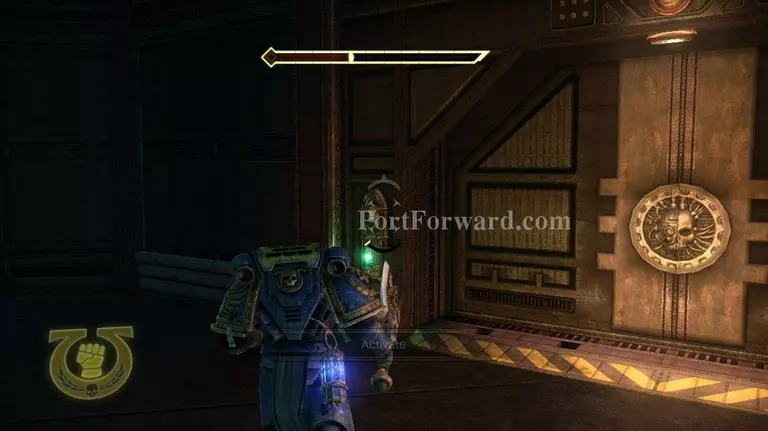
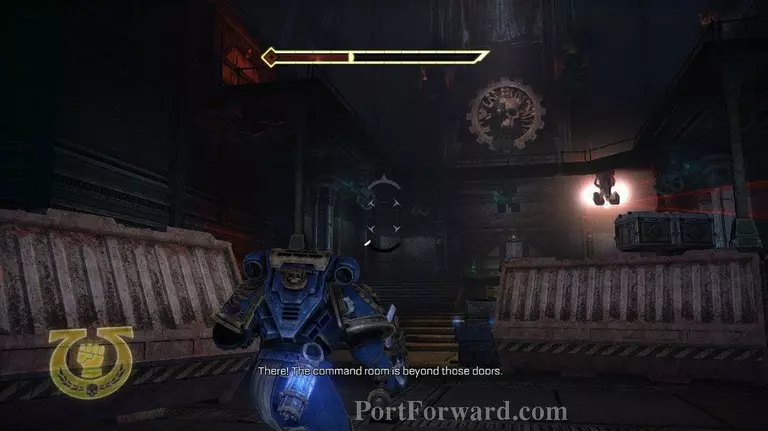
Use the green button to open the door.
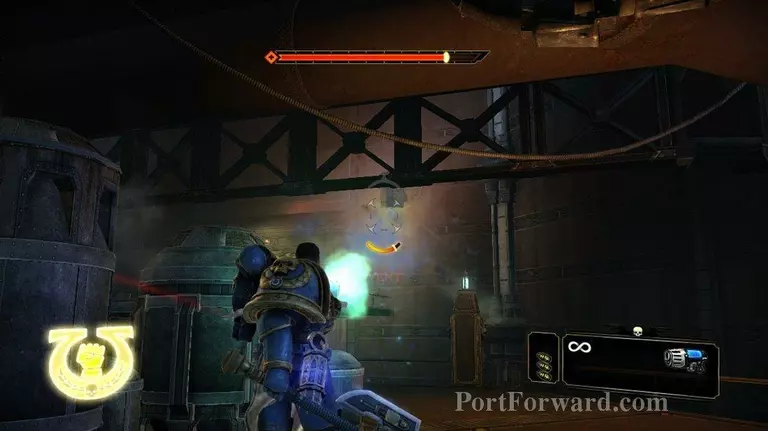
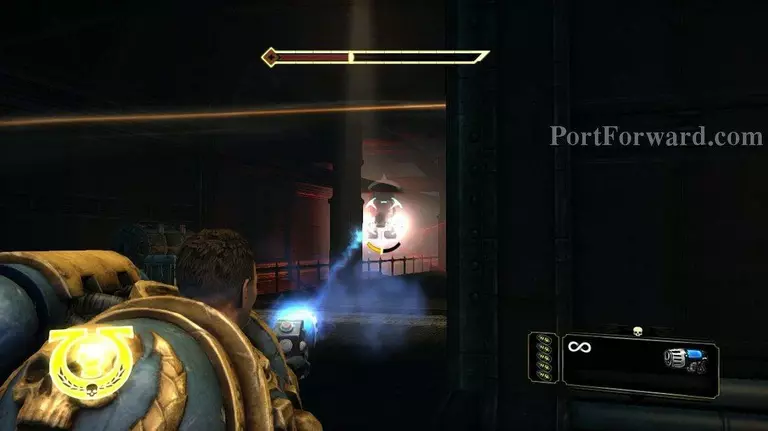
There are two turrets on either side of this room on tracks. You can see that there are explosive canisters set into the wall right next to the tracks. So if you happen to shoot these when a turret is making a pass, they will take out the turret.
That or like me you can just shoot the thing. I screwed up here. I had selected my Melta somehow, and wasted a shot on it.
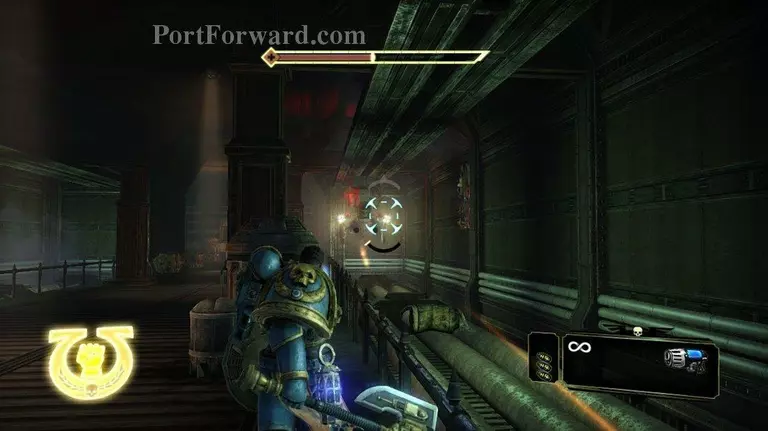
Here's a shot of the turret on the other track.
Okay on to the next room. There are quite a few turrets and missile launchers in this room. Just move forward slowly and take them out as they wake up.
Two turrets will wake up at the same time. They are on tracks, so they are a little harder to hit. Anyways take them out.
As you move forward you will encounter a missile launcher.
Next up will be another turret on the right side of the room. It will be stationary.
Once again there is another turret on the left hand side of the room. It is stationary as well.
When they are all dead open the door on the right hand side of the room.
There will be a turret in here. Take it out before going in.
When everything is dead go back out into the main room and then exit through the door with the green button.
You will eventually come to a weapon pod. This pod will have a bolter upgrade in it.
We've entered another room full of turrets and launchers. Slowly work your way forward taking them out as they wake up.

There's a turret on your left mounted under a walkway.
There is another one on your right mounted under the walkway.
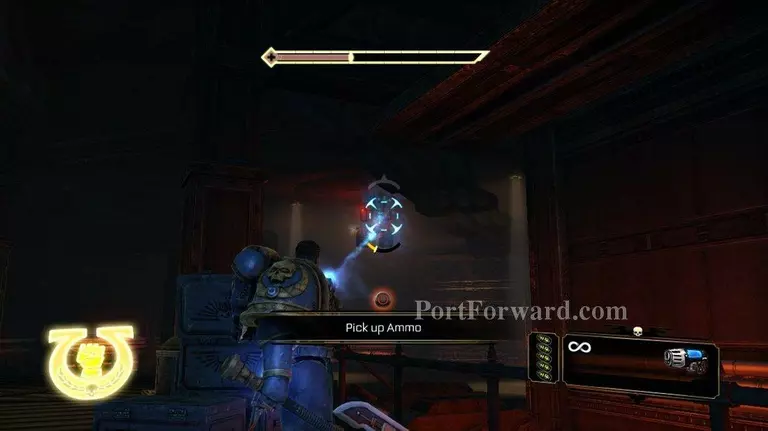
Sneek in to the room on the right if you need some ammo refills. There is a turret in here, so take it out.
When you are done here, go back in to the main room and exit through the door.
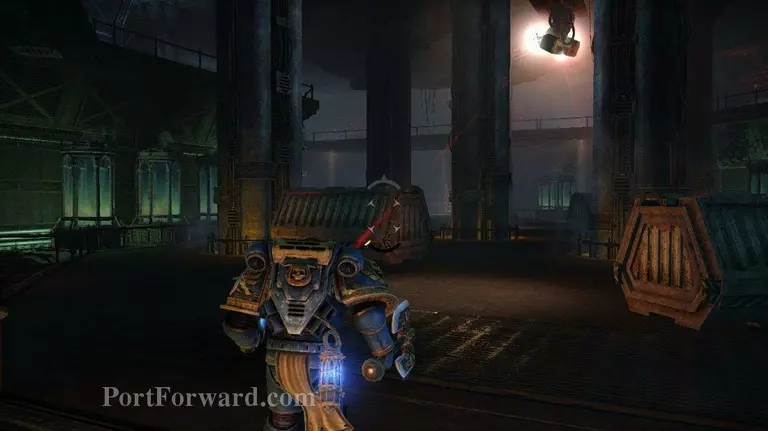
As you move forward you will come to a spot where there are missile launchers on tracks on each side of the hallway. Take them out and continue forward.
Here's a shot of the second launcher on a rail.
At the far end of the walkway there will be a turret on the ceiling.
Keep moving forward until you reach this room. There are three launchers and two turrets here. Two of the launchers will wake up first.
After you take them out the last launcher, and two turrets will wake up. All three of these will be on tracks. When you finish with them exit the room.
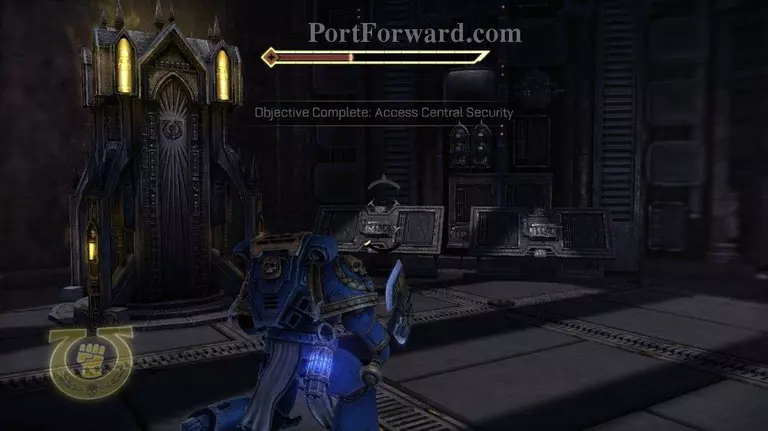
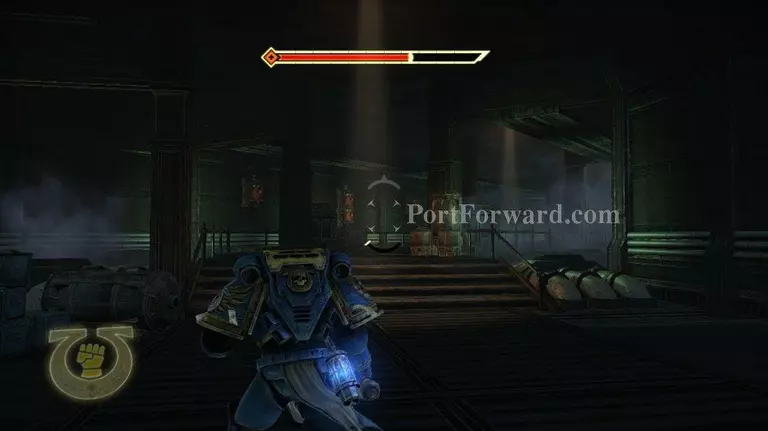
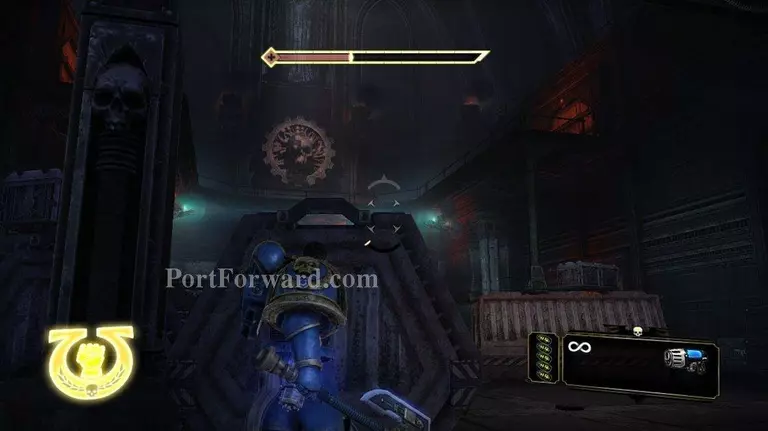
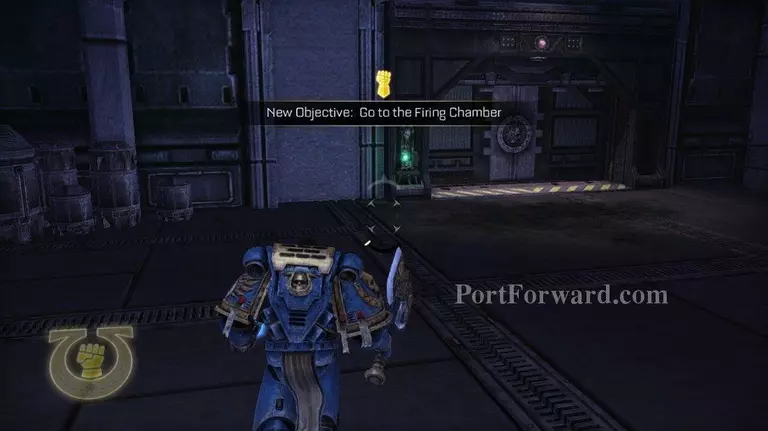
There is a fury upgrade in the room. This is the control room. You will get a bit of a cut scene in here.

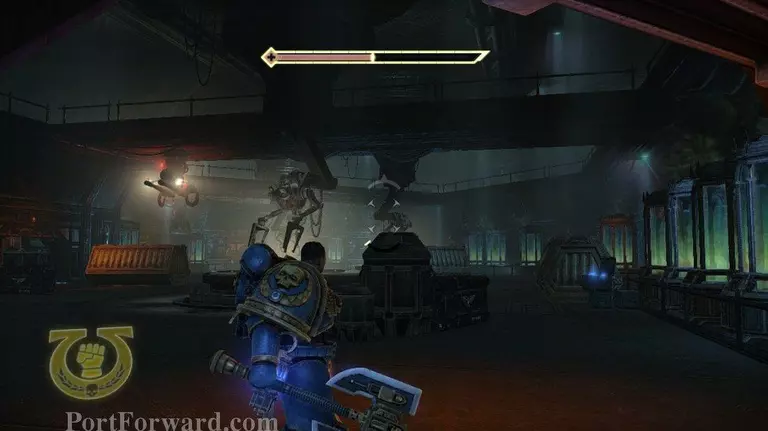
You will be rushed by orc waves from each side. I shoot the barrels on this bridge when they get close to help thin them out.
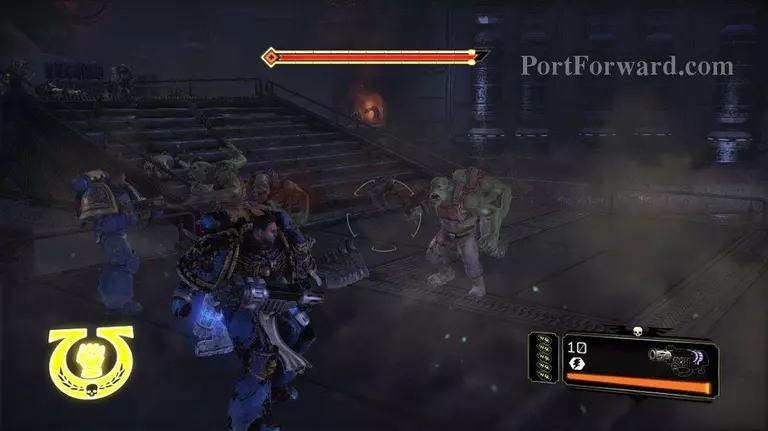
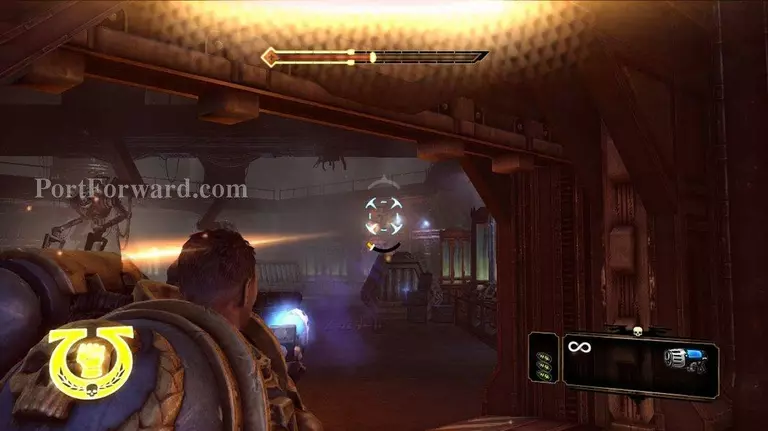
There will be quite a few orcs here. So I decided to use the Melta to help clear out a few. Right in the middle of combat two squigs will show up. That will be the death of you if you are stuck in hand to hand combat with some orcs.
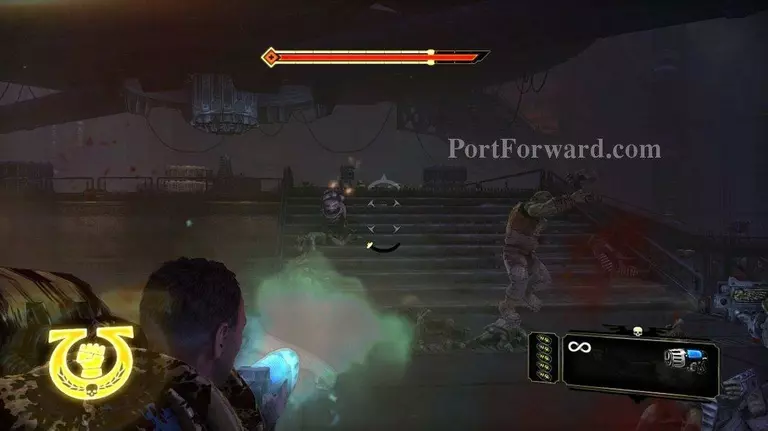
After the initial surge or orcs there will be a swarm of gretchen.
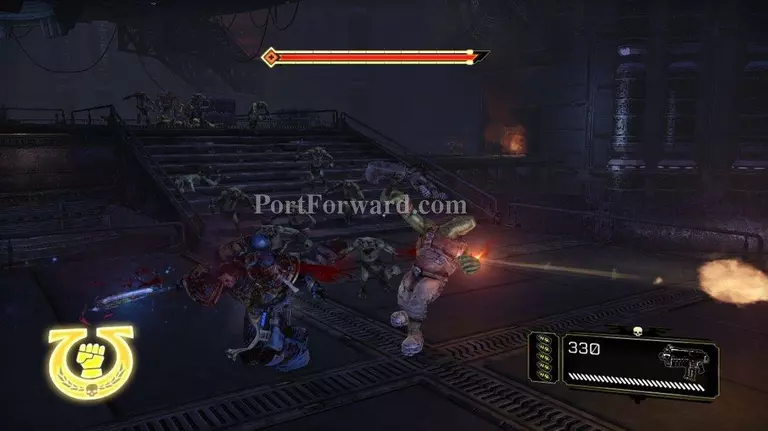
Those will be followed by a couple more orcs and two squigs. If you were still in a huge pile of initial orcs those squigs would be bad news.
Finish mopping up what's left of the orcs and move on.
Exit this room through the door close to where you came in at.
More Space Marine Walkthroughs
This Space Marine walkthrough is divided into 17 total pages.


