
This Space Marine walkthrough is divided into 17 total pages.
You can jump to nearby pages of the game using the links above.
Part IV Dying of the light
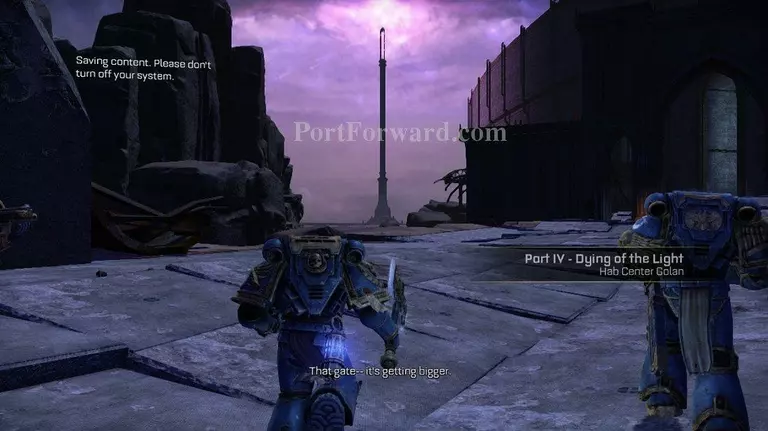
Part IV - Dying of the light.

You'll come across a pod that contains an Iron Halo, which will upgrad your shields. I also picked up a Thunder Hammer. I think you will be better off going with the Power Axe. There is a lot of long distance combat ahead.
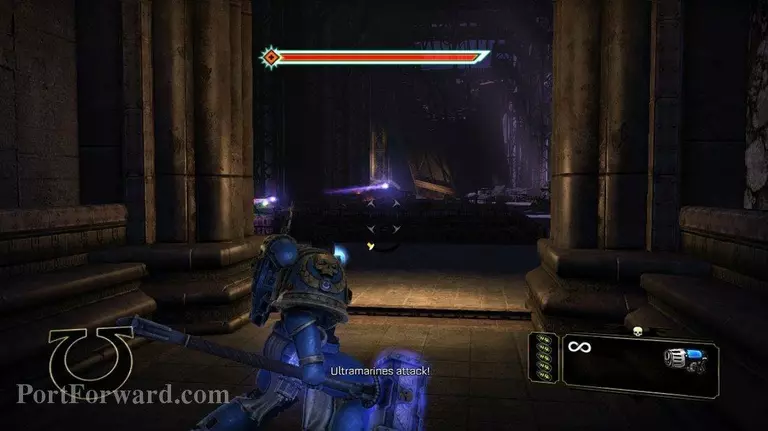
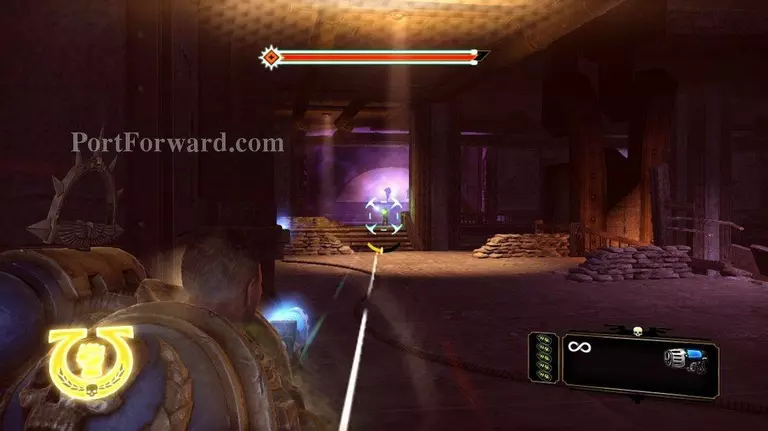
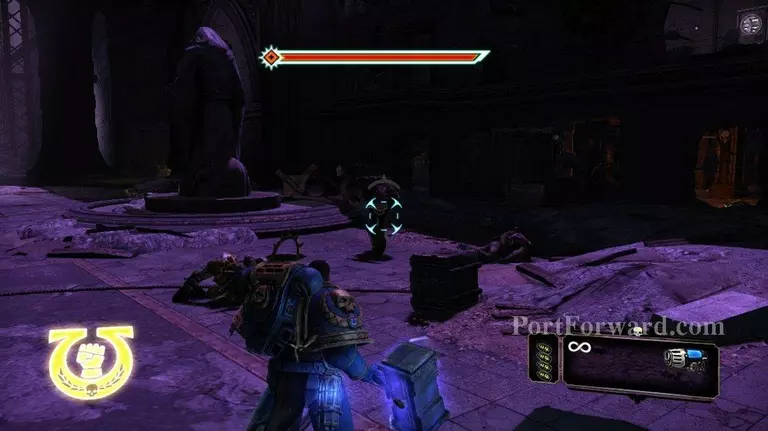
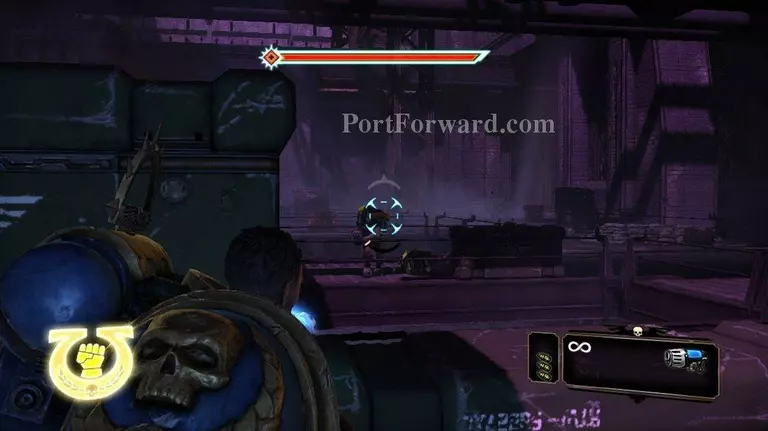
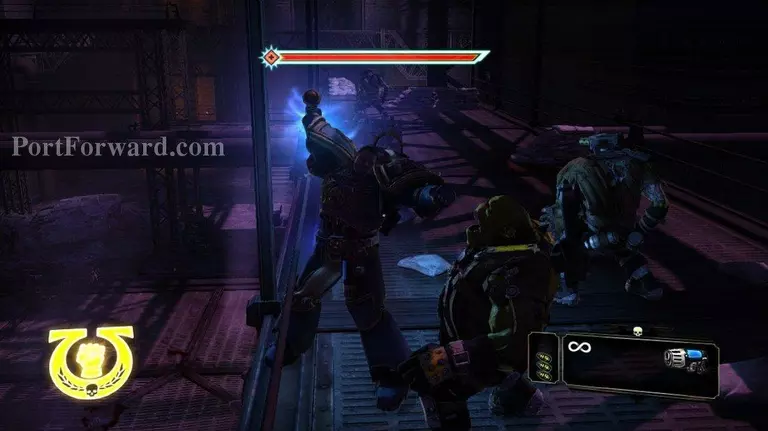
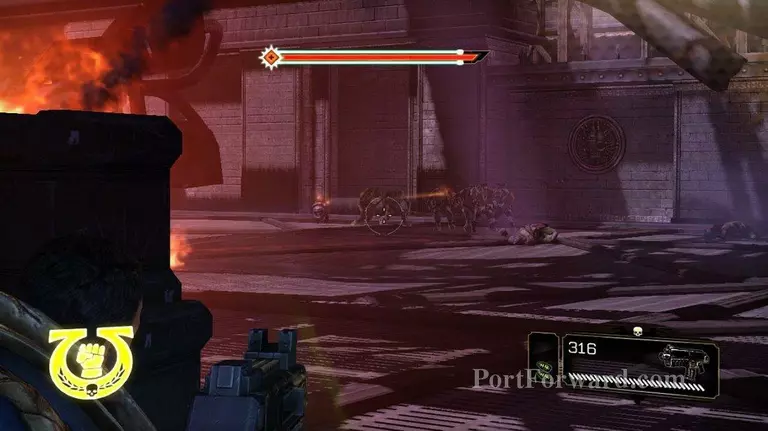
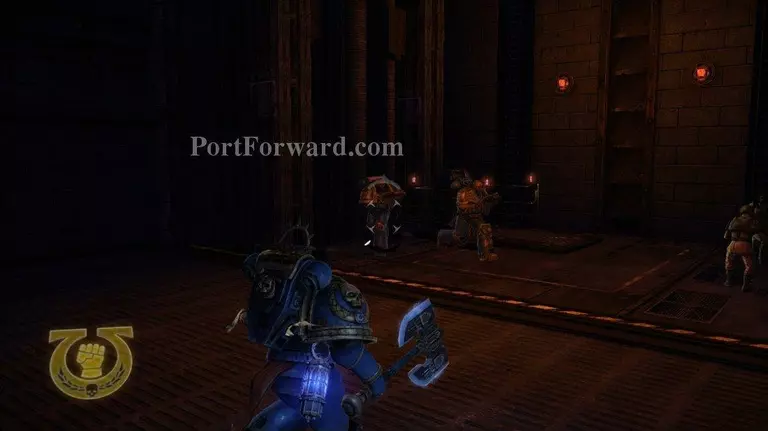
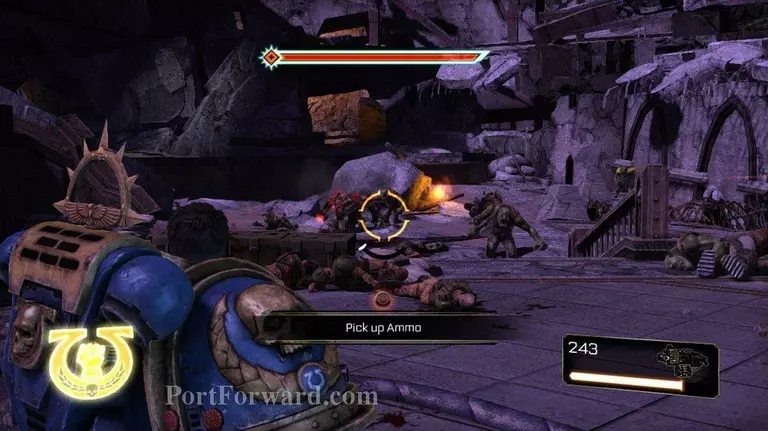
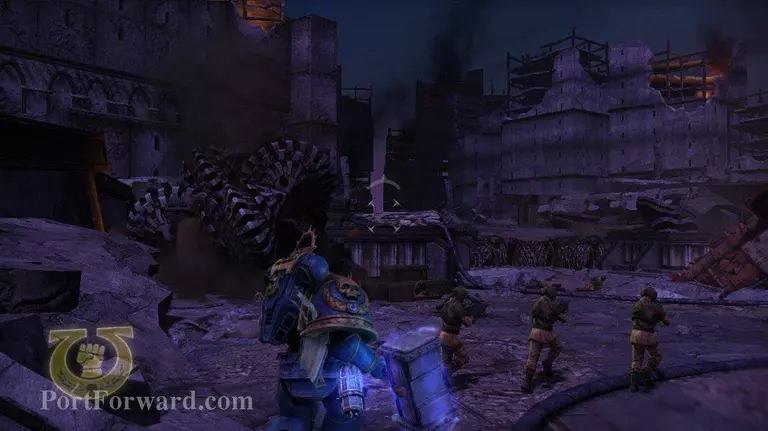
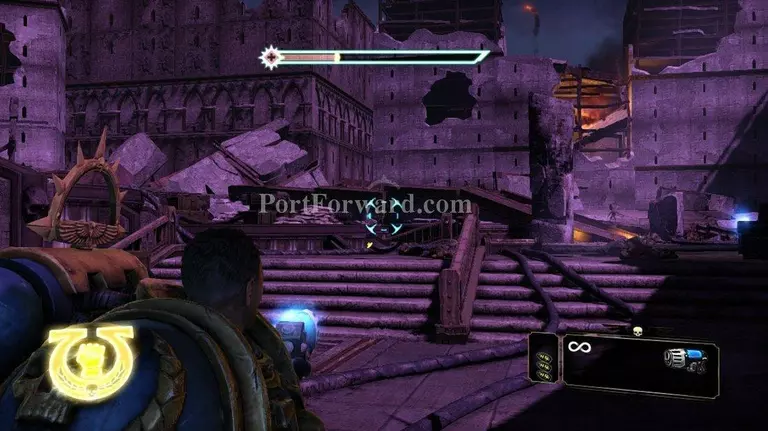
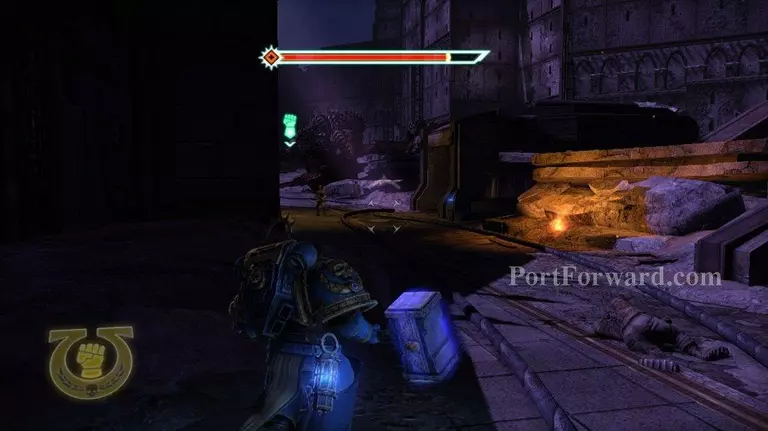
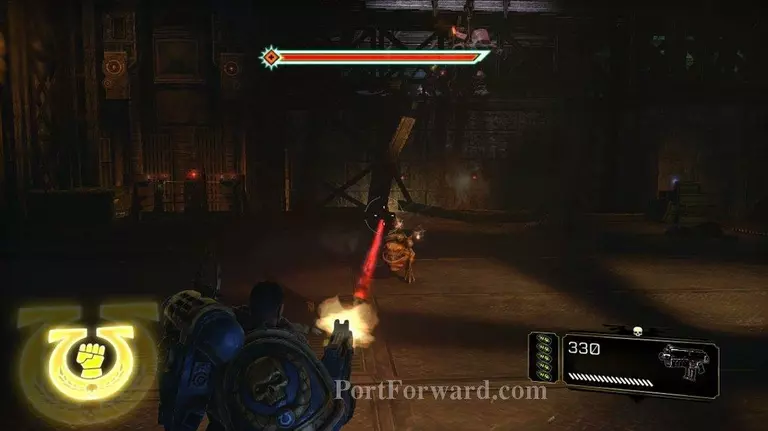
You'll enter a very large room with Chaos forces and orc forces shooting at each other. Concentrate on taking out the Chaos forces first.
There are Chaos Space Marines and ground troops I take for Chaos guardsmen.
When the chaos forces are dealt with, switch over to the orcs. There are a couple of shootas here and a shooter.
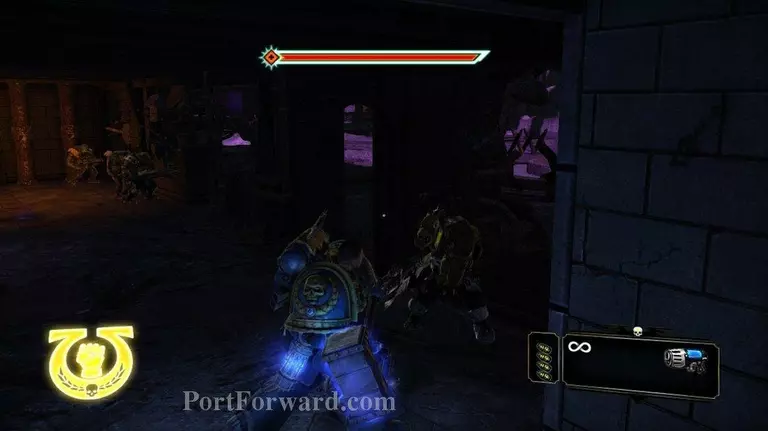
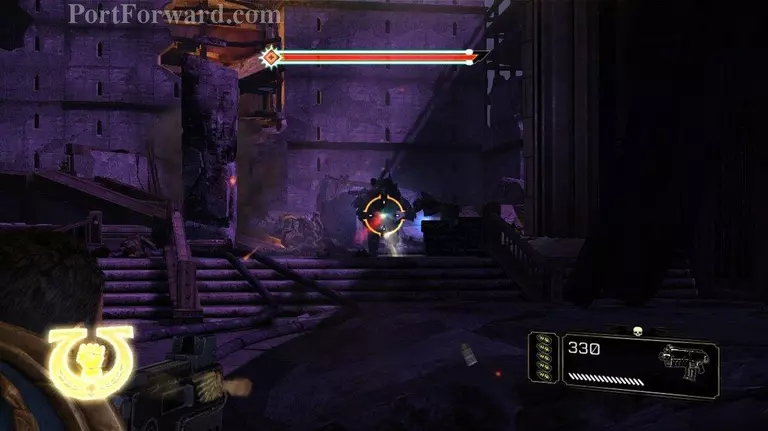
When they are dead you will be rushed by a demon or two, and then you'll have to deal with this Chaos Marine at the far end of the room.
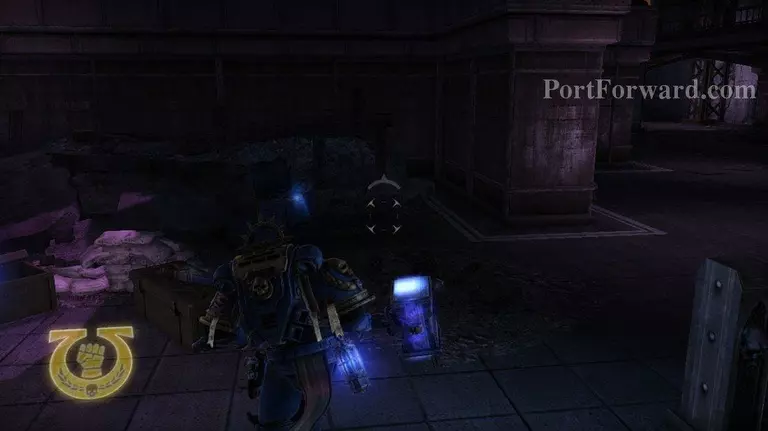
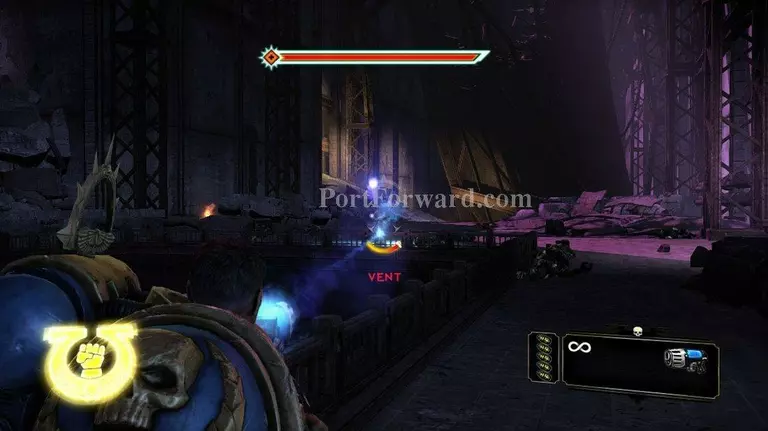
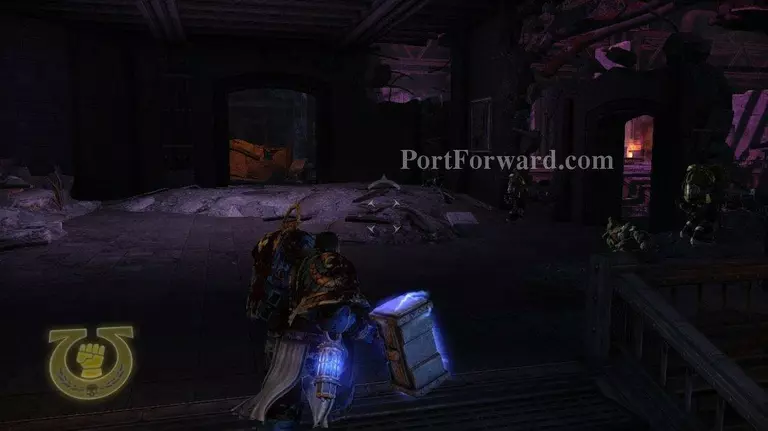
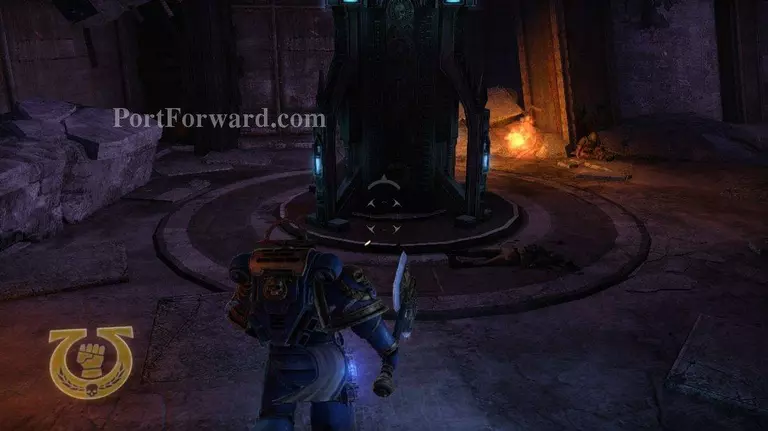
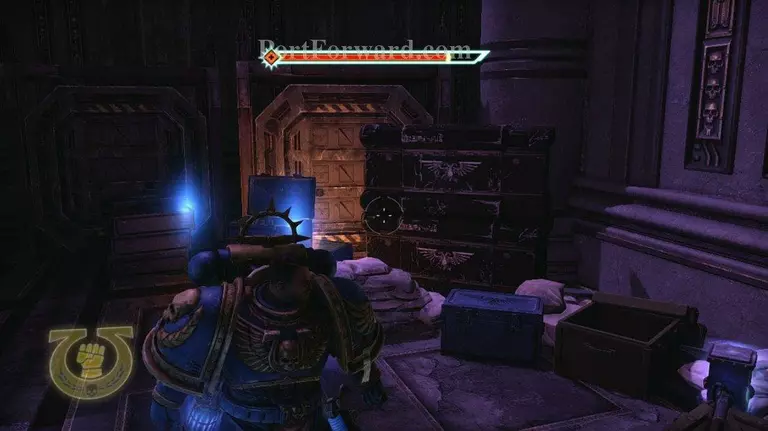
Continuing forward you will reach a weapon dump.
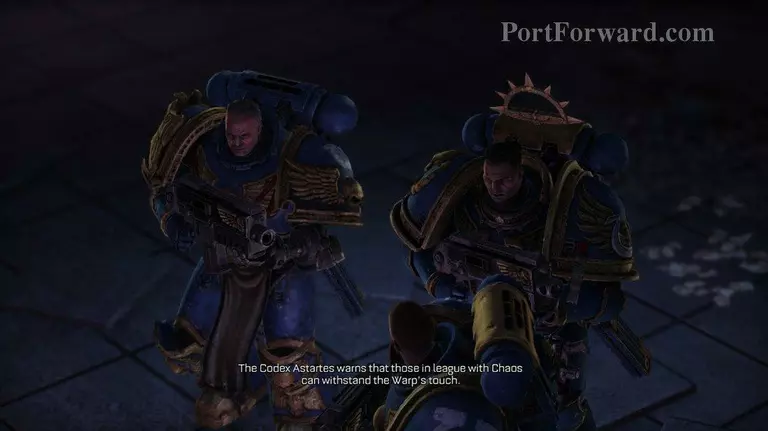
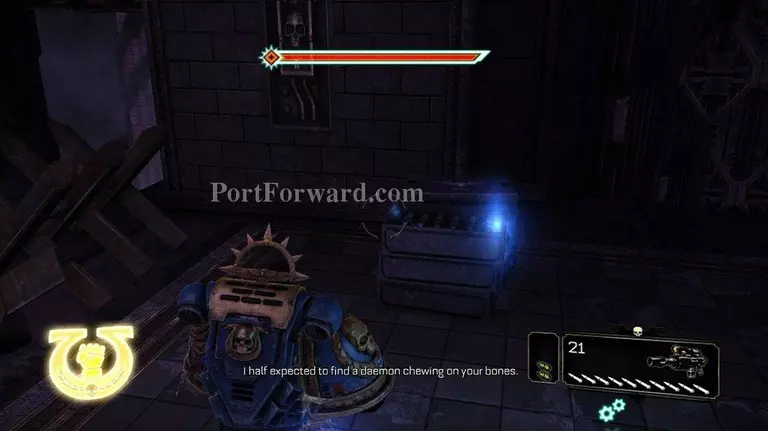
Then you'll get a cut scene where Leandros thinks you've been corrupted by Chaos powers.
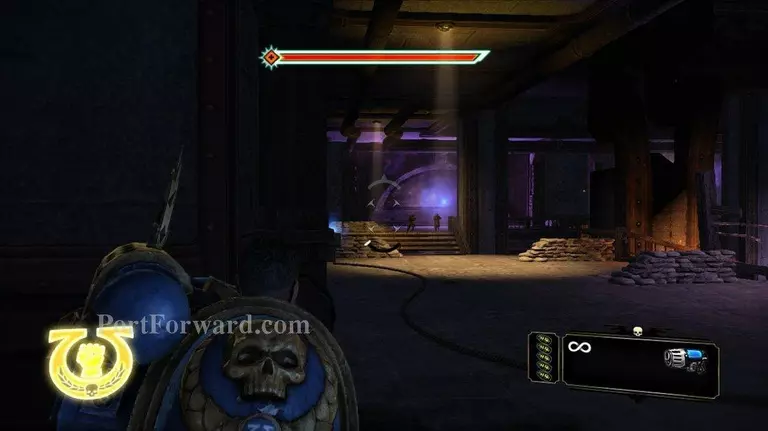
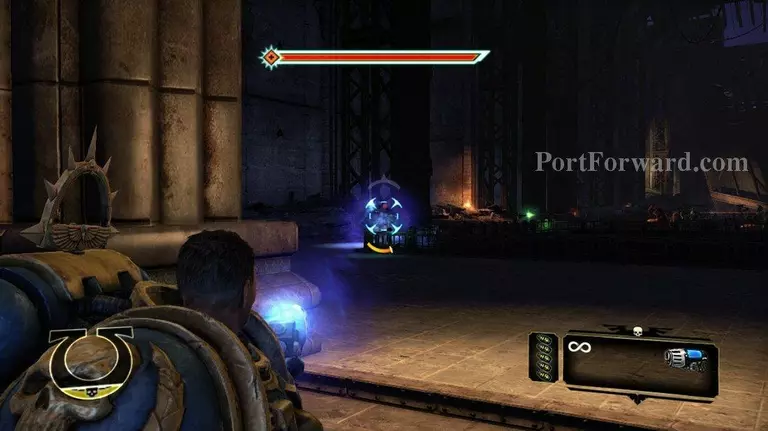
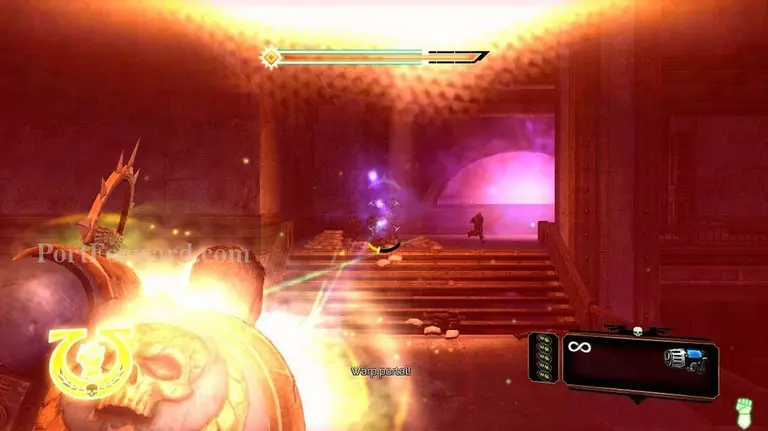
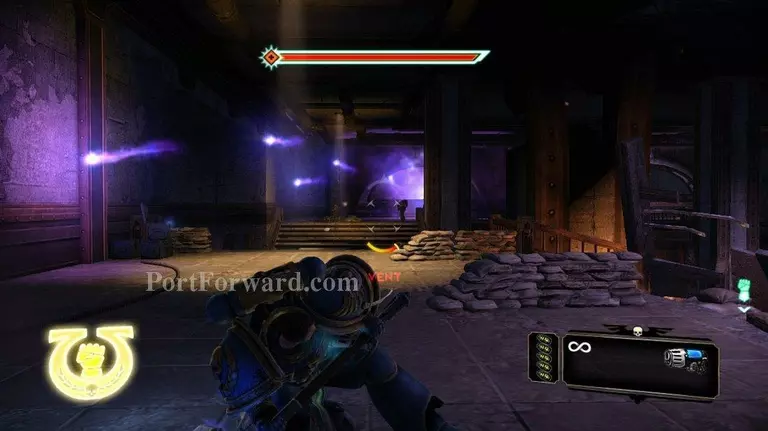
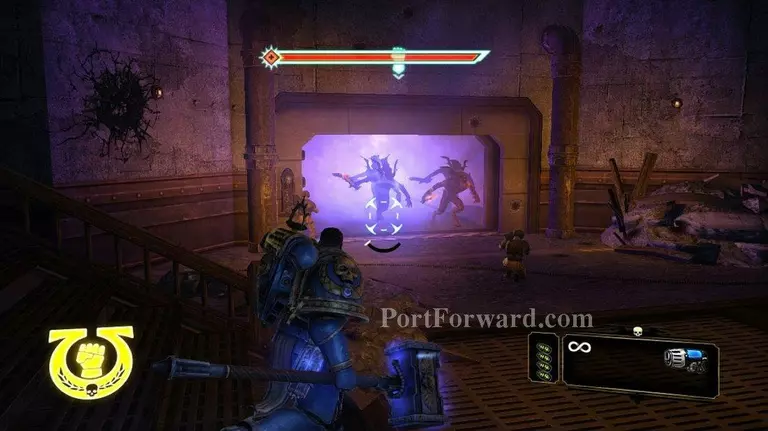
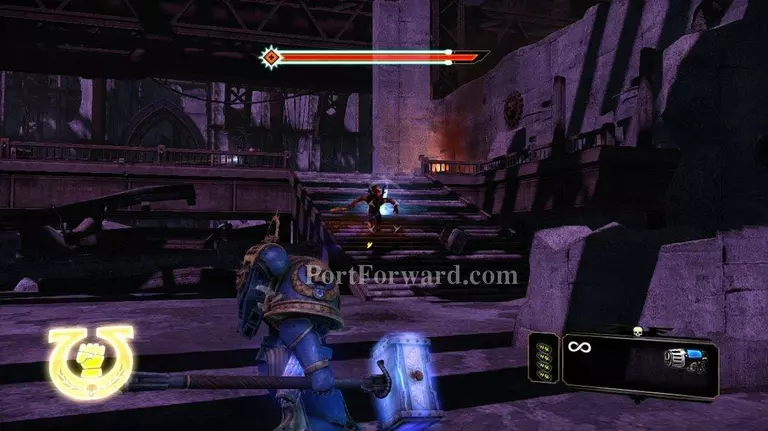
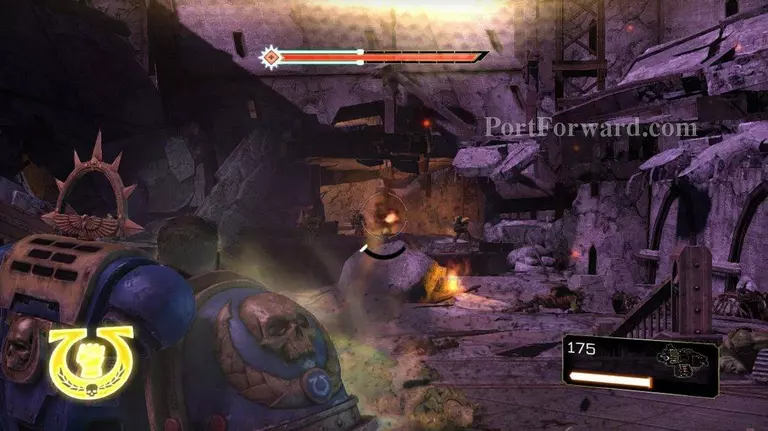
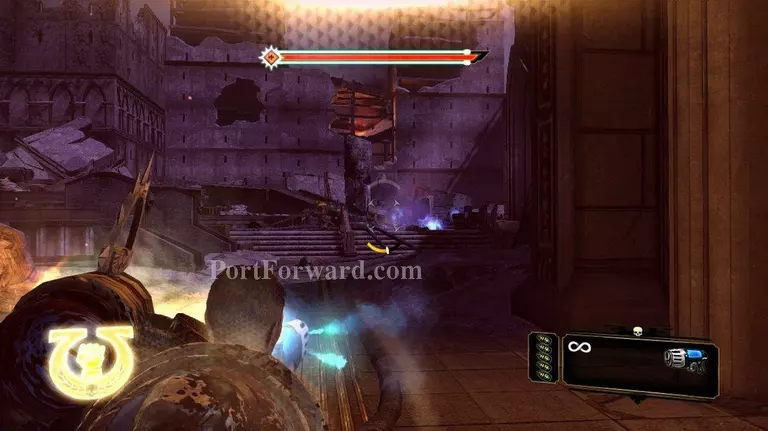
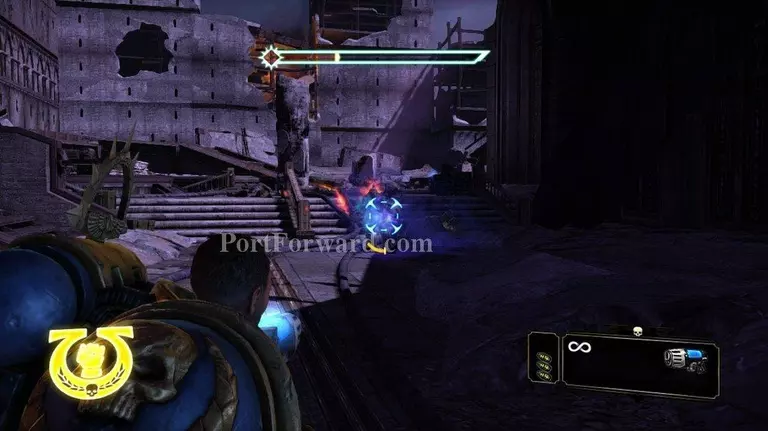
Move forward a ways. You'll see Chaos energies forming up ahead.
There are a bunch of Chaos guardsmen for you to take out. Do so from a distance.

When the first wave is dead, move forward a little and more Chaos guardsmen will spawn. A Chaos marine will spawn with them.
Once again take them out from a distance.
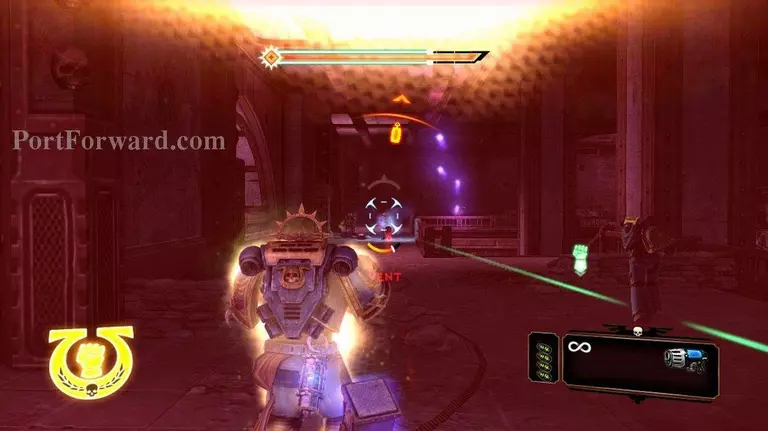
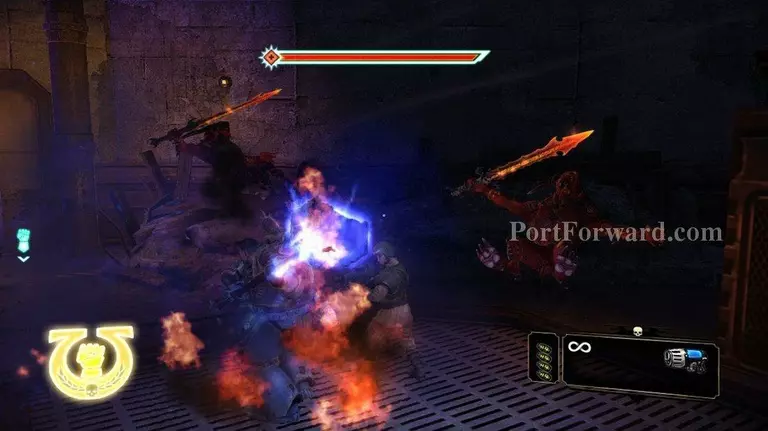
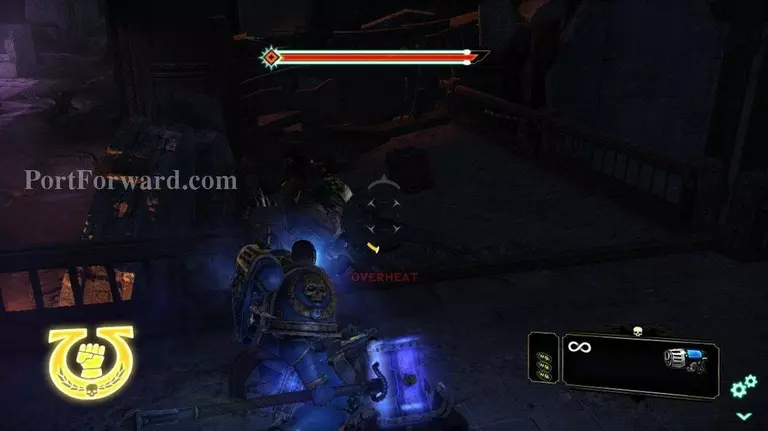
You'll have to keep rolling from side to side to avoid the Chaos Marine's volleys. Eventually he will die.
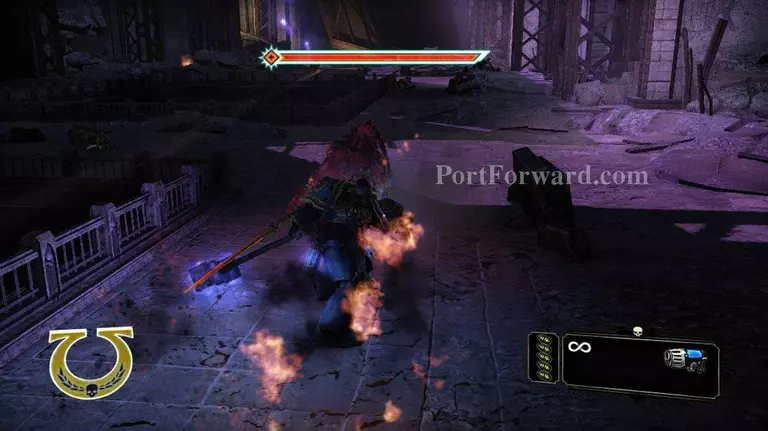
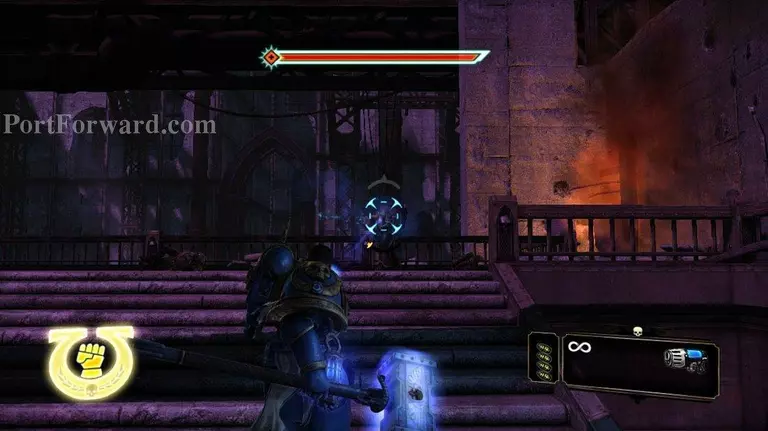
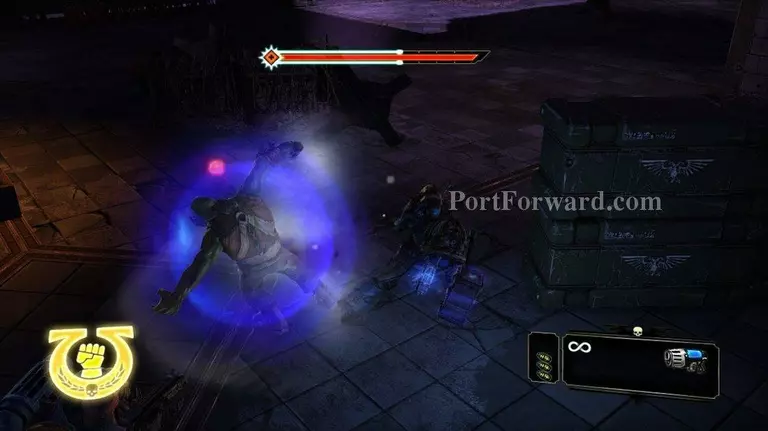
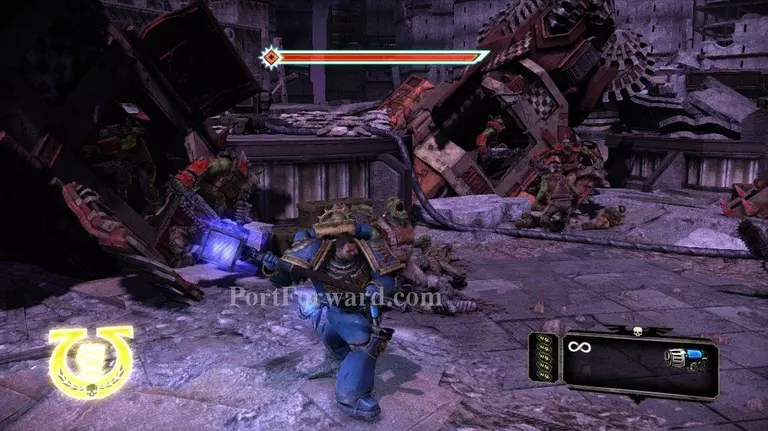
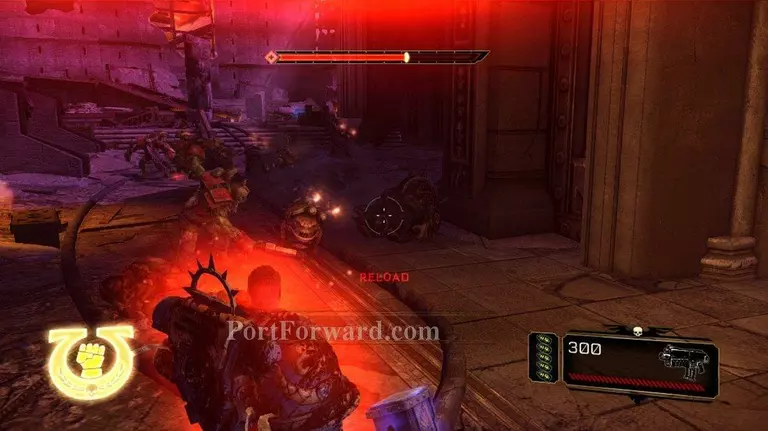
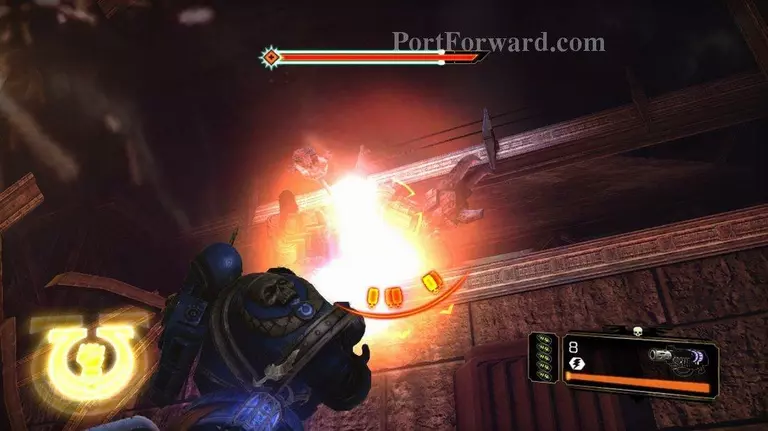
Move forward a bit more, and you will cause three Chaos Demons to spawn. Back up and fight them.
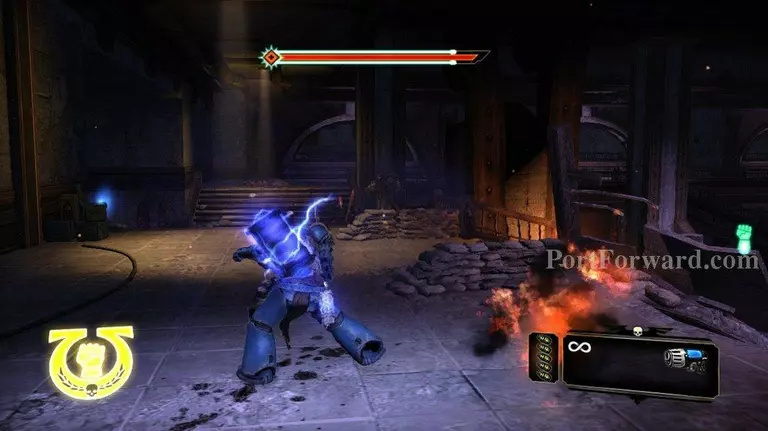
As always they are very easy to kill.
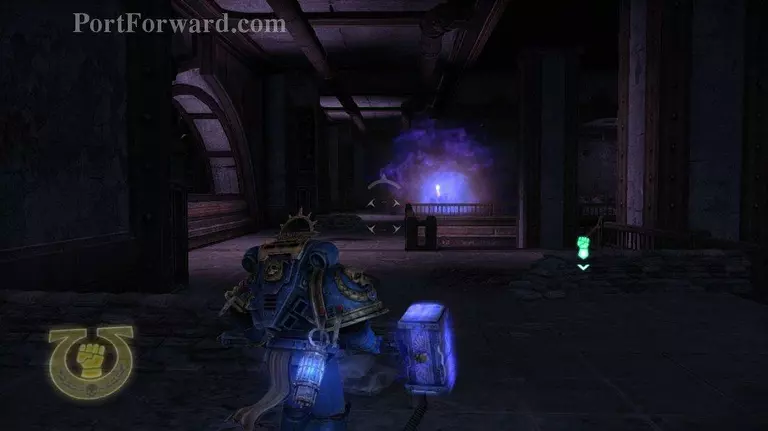
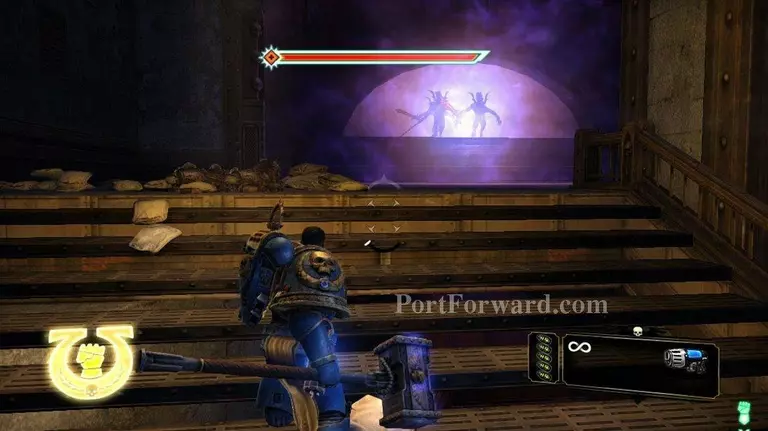
Move forward a bit more, and another Chaos warp portal will open. Four more Chaos guardsmen will appear followed by another Chaos Marine.
The guardsmen tend to clump up next to the stairs, so a grenade works very well here.
After the guardsmen are done, you can run up and finish off the chaos marine.
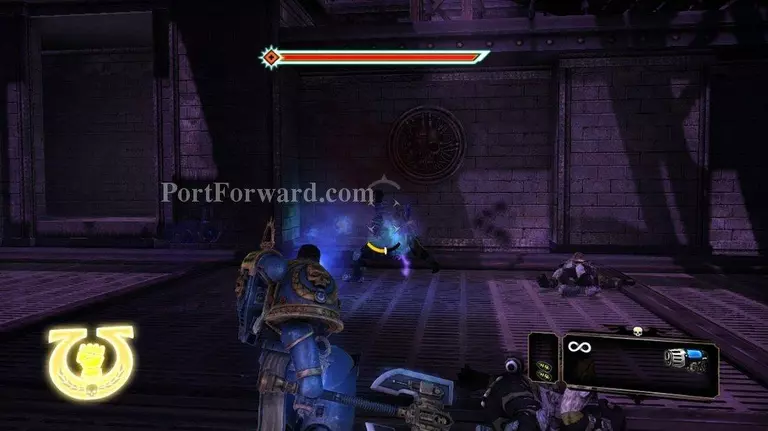
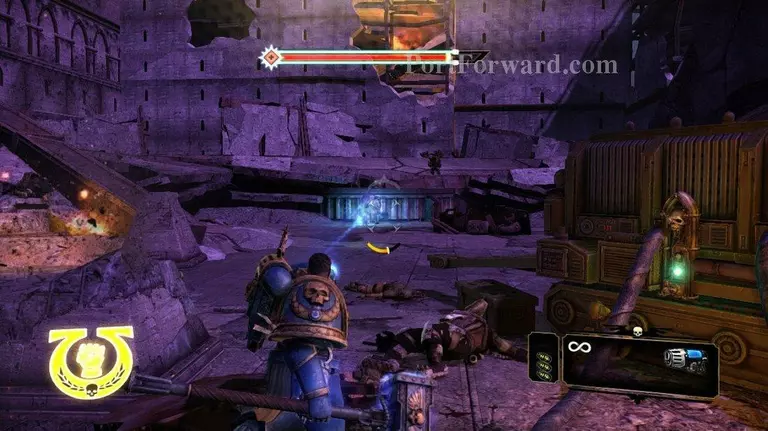
As you run down the stairs, a couple friendly Guardsmen will run through the door followed by four Chaos Demons.
Take out the demons, and then you'll get a cutscene with the guardsmen.
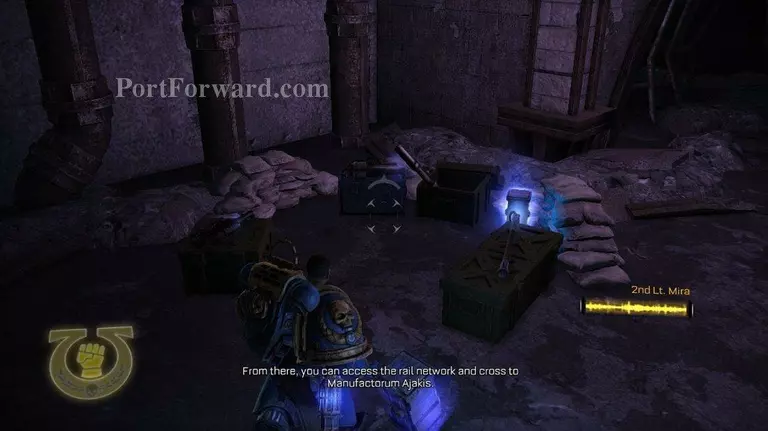
Moving forward you will come across another weapons dump.
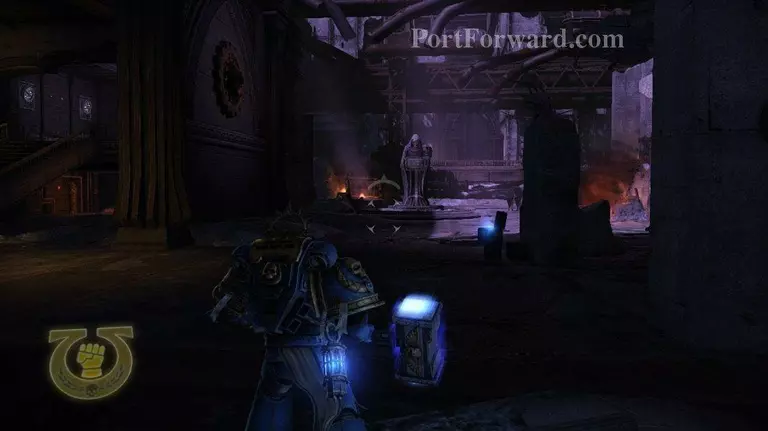
You'll enter this large room with a statue in the middle of it. Go to the left, and start clearing out the orcs. There's a fair number of shootas in here. You don't want their missles pounding you when you get out in the open later.
Here are the shooters down below. They are occupied with the Chaos forces outside. They will not even notice you until you start smacking them around.
Go up the stairs and deal with the remaining orc shootas. I think there are four of them up here as well.
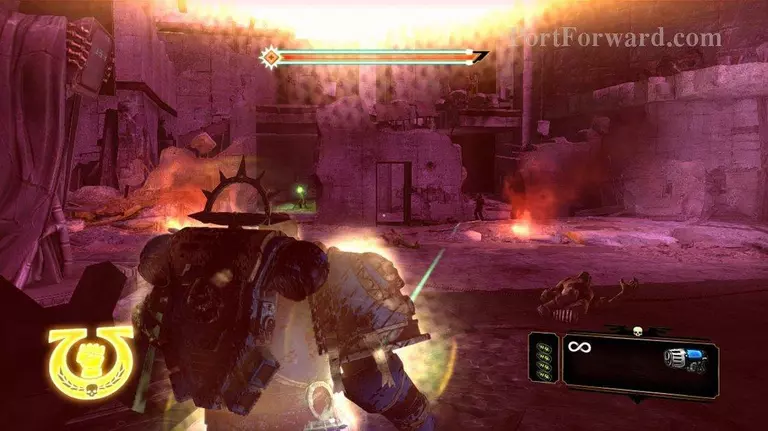
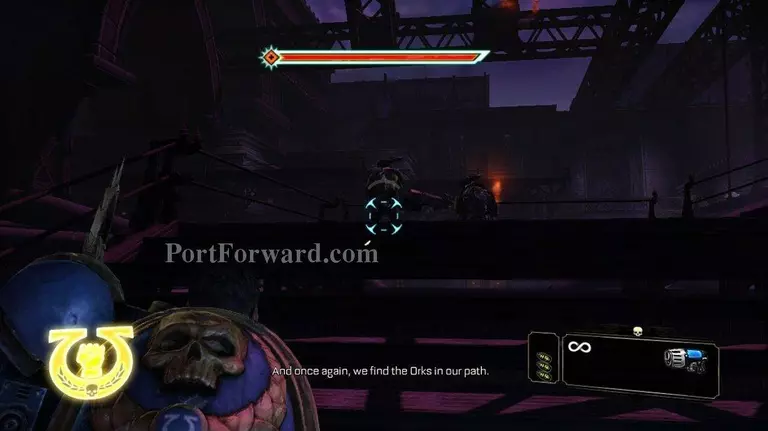
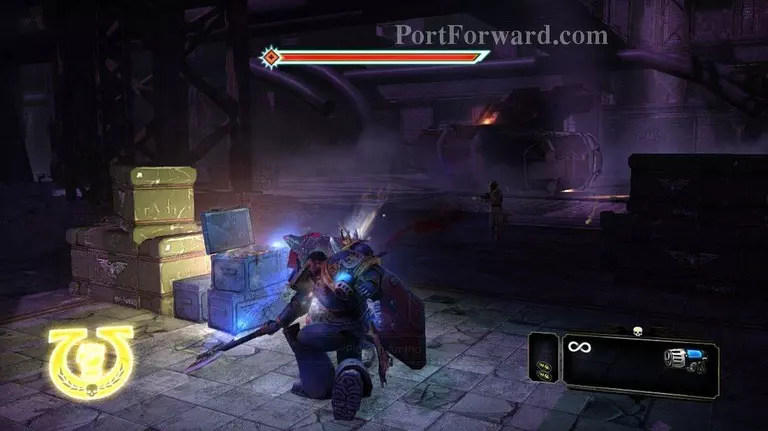
Across the courtyard there are a bunch of Chaos Guardsmen. I rush across and take them out.

When you finish the guardsmen off, go up the stairs.
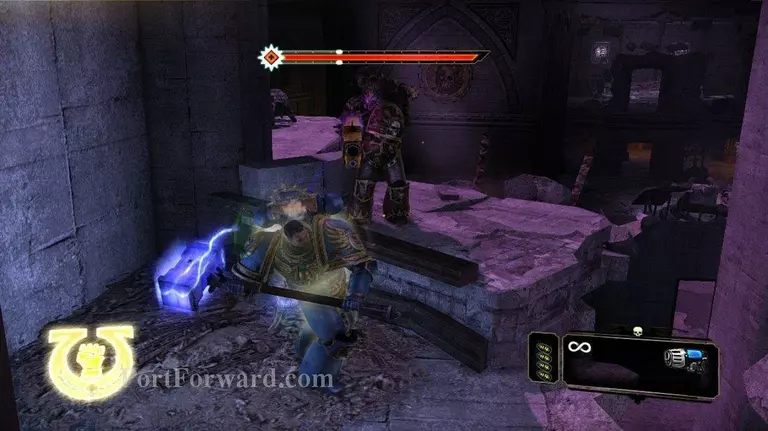
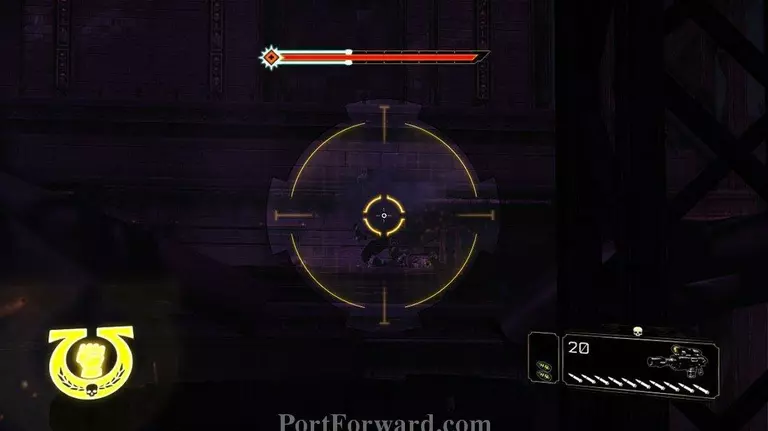
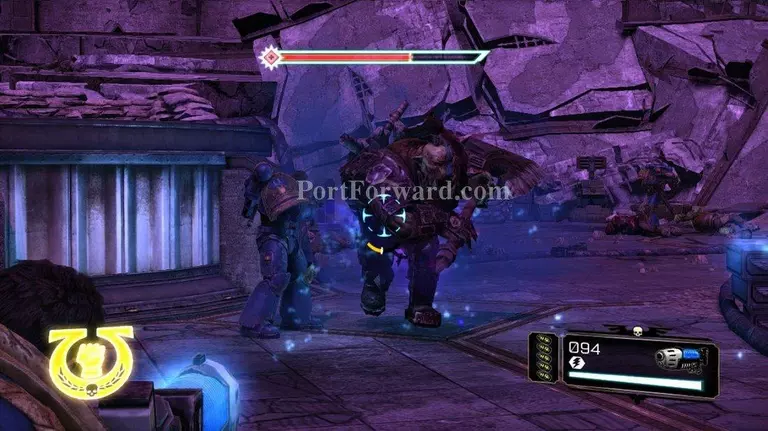
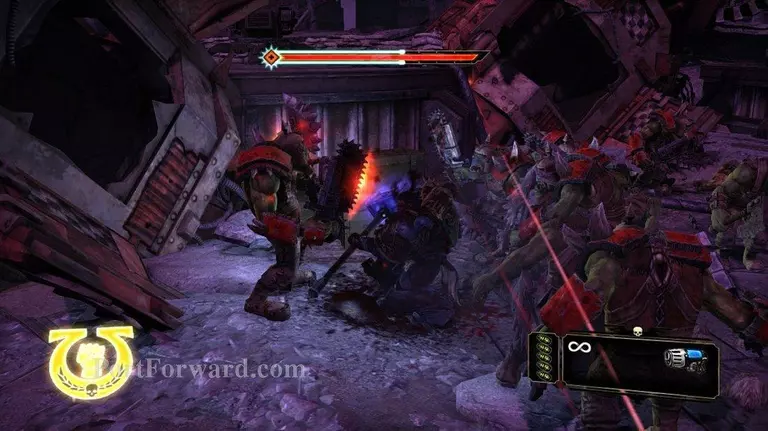
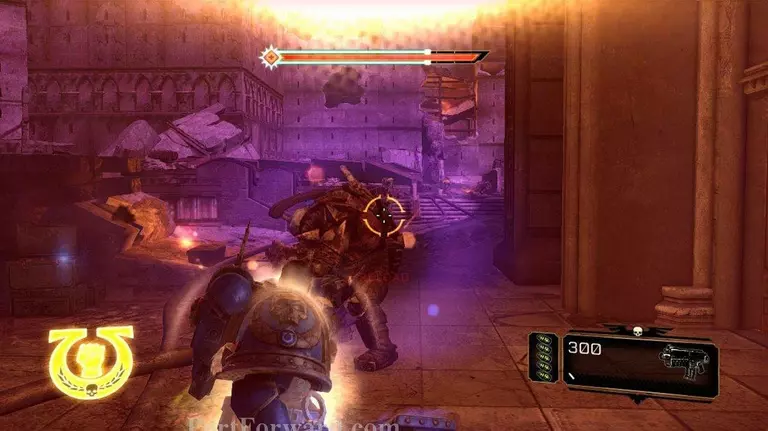
There is a Chaos Marine up here. I just get close and melee him to death. They are easier to deal with up close and personal. When their shields go down you can execute them.
There should be another Chaos Marine in the courtyard. Go down and take him out.
Now head over to the stairs that lead to the exit of this section. There should be a demon or two running at you. Take them down.
There's another Chaos Space Marine at the top of the stairs. Rush up and melee him to death.
There are several shootas up high. You might not even want to worry about these. I just rushed forward meleed the three shootas on the bridge to death and then jumped on the elevator.
Yep here's the last of the three shootas on the bridge. He's about to go splat.
The elevator will take you down to Mira.
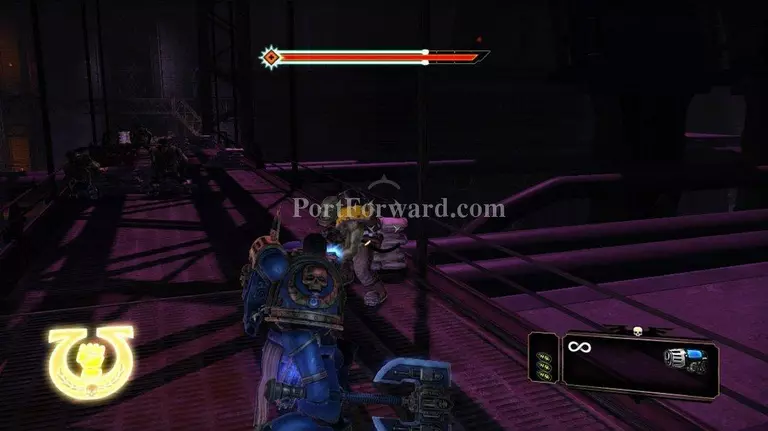
You'll get rushed by a couple of grunts.
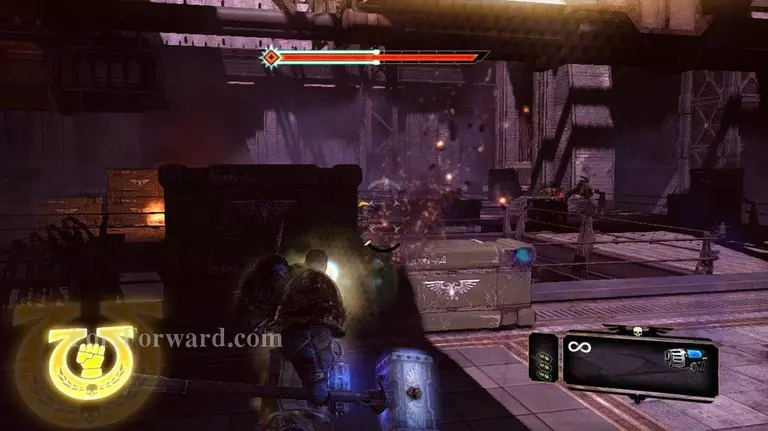
The room that you come into is chock full of shootas and shooters. Hide behind the crates here, to let your shield regen.
Then pop your head out to waste some orcs. Rinse and repeat until all of the orcs are dead.

This is a pretty low risk area. Nothing is going to charge you. So I kept my pistol equipped the entire time, and just took everything out with it.
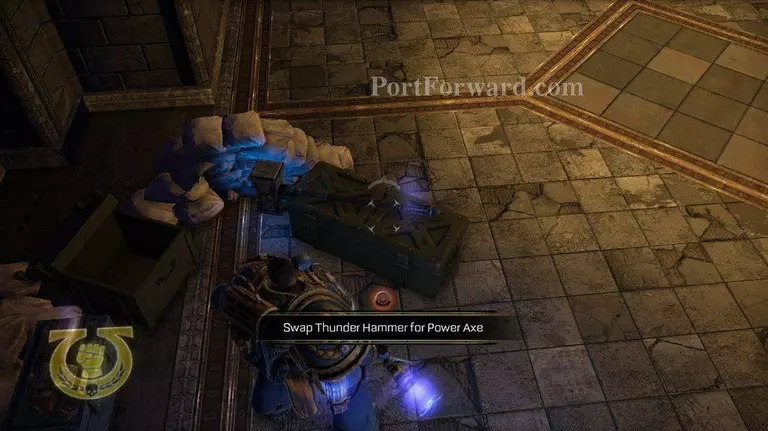
I swapped my Thunder Hammer out for a Power Axe. I don't know why, but I like the Power Axe better if I don't have a Jump Pack.
Go up the stairs. There's a bunch of orcs intent upon taking out a human guardsmen station. So take them out as you come to them.
There's a large bridge over the area that you will have to fight across. There are lots of shootas and shooters up here. I actually melee my way across this bridge.
It's pretty easy to do since the orcs are focused on the humans below.
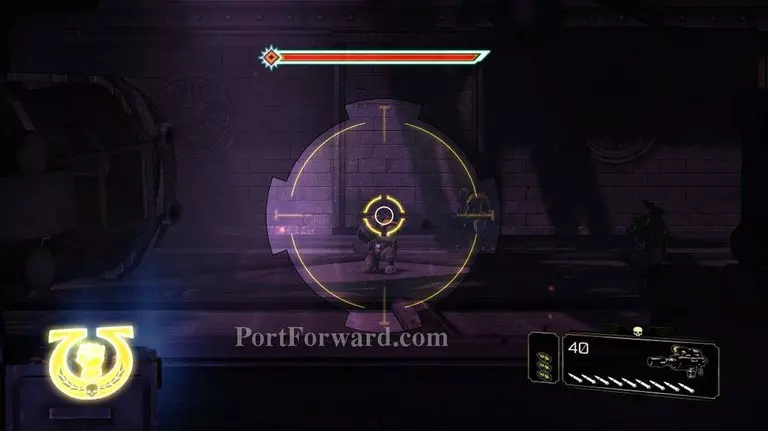
When you get back down to ground level whip out your Stalker Bolter or Laz Cannon, and have at it. There are quite a few shootas and shooters to take out.
You will be rushed by shield orcs. I think they come two at a time, and they always come with a squig or two. So shoot the squig to do some damage to them before they get to you.
When they get you to you'll have to melee/combo them to finish them off.
Beware of the squigs because they will rush you seamly at random. Just keep your ears open for the sound they make. After taking out a couple waves of shield orcs you will have a large wave of grunts along with a squig or two.
There's a Shoota Nob that will appear on the walkway above the battle field. Take him out quickly because he can dish a lot of damage fast.
After that it's really just a little bit of orc mop up to finish this room.
Reload weapons and ammo before continuing on.
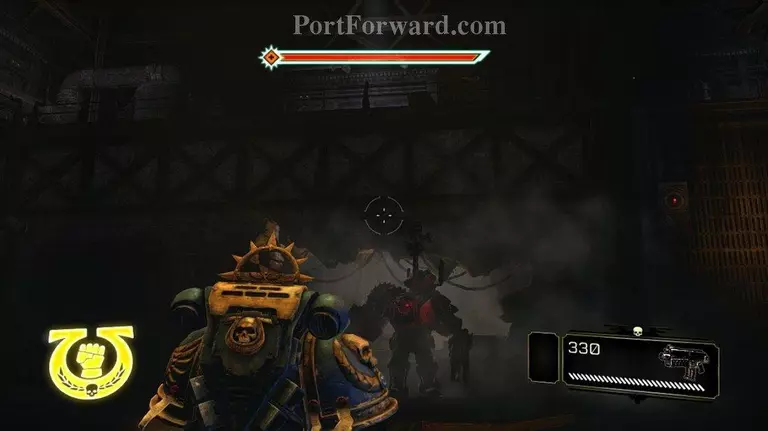
There's quite a bit of a walk ahead of you before you get to the next combat.
There's a weapon pod here with a Plasma Rifle in it. I picked it up, because sometimes it's nice to use a new weapon.

In the next are there's a Heavy Bolter just sitting there for your taking. Walk up man it, and then rip it off of it's tripod.
There are a couple orcs on top of some rubble over here. shoot the barrels to remove them.
There will be chainsword orcs, squigs, shootas, shooters, grunts, and a Super Nob in this section.
Start laying waste to them with the heavy bolter. I find firing in short bursts really helps conserve ammo, while doing maximum damage.
Wave after wave of orcs will come at you but they are really easy to take out with your heavy bolter.
At the end of the fight, you might have to go hand to hand with a Super Nob. I just retreated while fireing until he was ready for execution.
After the mop up, you'll head off to another section. Where you will have to repower some sentry guns.

There are some orcs that the guard are fighting. You can stop and take them out or just continue on your way. Whatever you do, do not waste any ammo on them. Use your pistol if you are going to take them out.
I grabbed the Thunder hammer again, because I know that there is some very tough melee coming up. It's going to be much easier to do with the hammer.
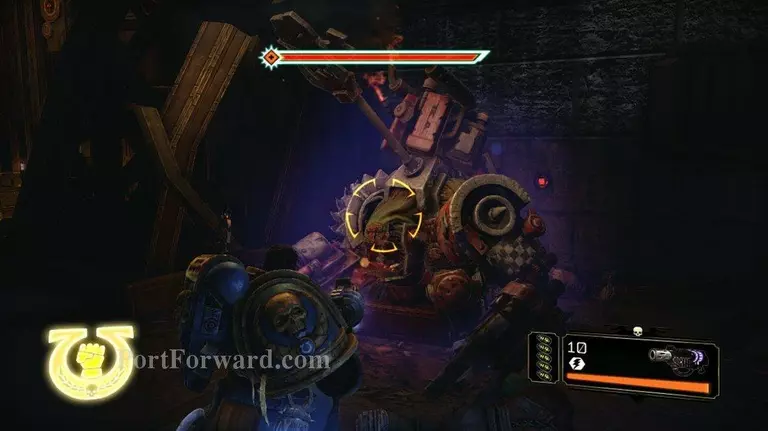
Two diggers will come up out of the ground at the same time. The chainsword orcs on them are a pain if you don't have the hammer.
With the hammer they go down really fast. Take them out.
After they are dead, move forward a bit. You will encounter three shooters. Take one or two of them out with your pistol.
Then switch to your bolter. A super nob will be running at you. He's got a long ways to run, so you should be able to empty two full clips into him. When get gets close he will be very ready for execution.
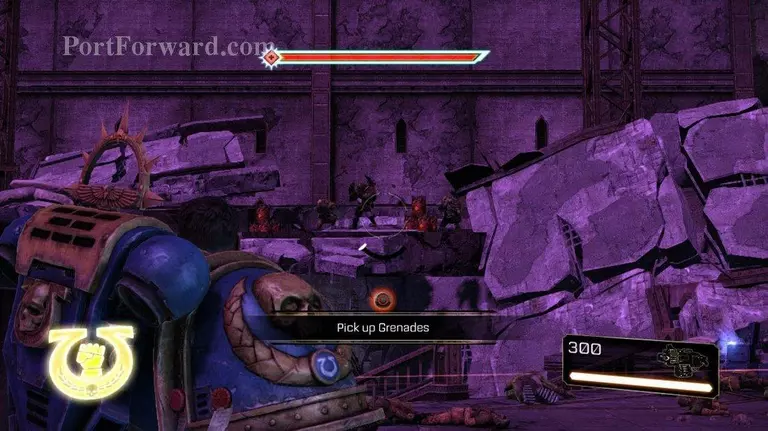
Execute him, and then back up. There will be a huge mass of orcs coming at you. They will consist of chainsword, shooters, and squigs. I back up and lob one grenade after another into them to thin them out.
Here is the start of the mass of orcs.
When they are all dead move forward a little.
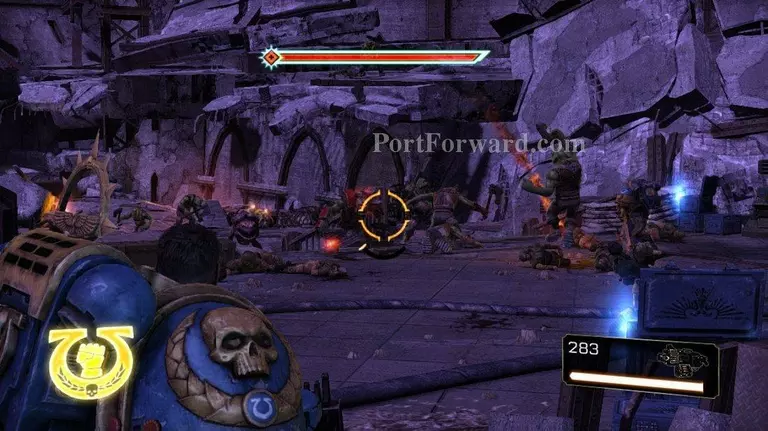
Start sniping orcs with your pistol. There's a lot of them out here. You don't want to get too close. If you get rushed by a bunch of chainsword orcs and grunts, while about six shootas are lobbing missiles at you.
So just stay back and snipe the orcs. When you hit a melee orc it will come running, but not bring a mass of orcs.
There are quite a few orcs here, just keep plugging away and they almost all die.
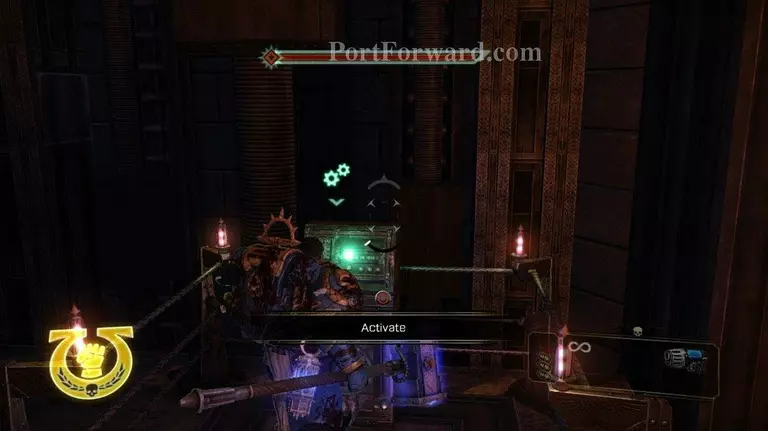
When you've wiped them out run up and hit the green button to repower the defenses.
You can now head back the way you came grabbing ammo.
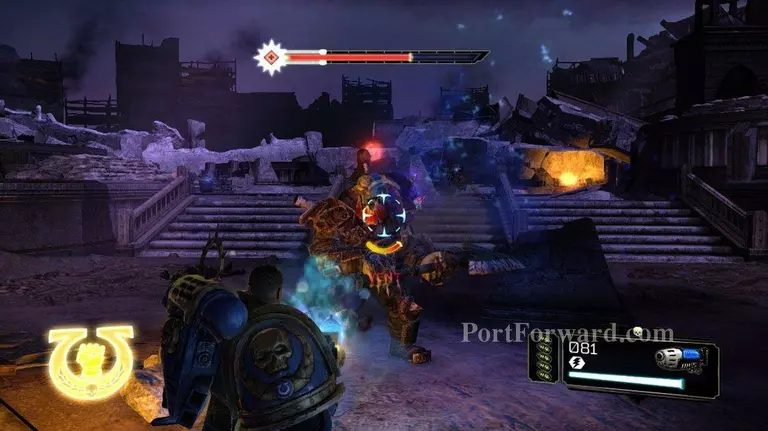
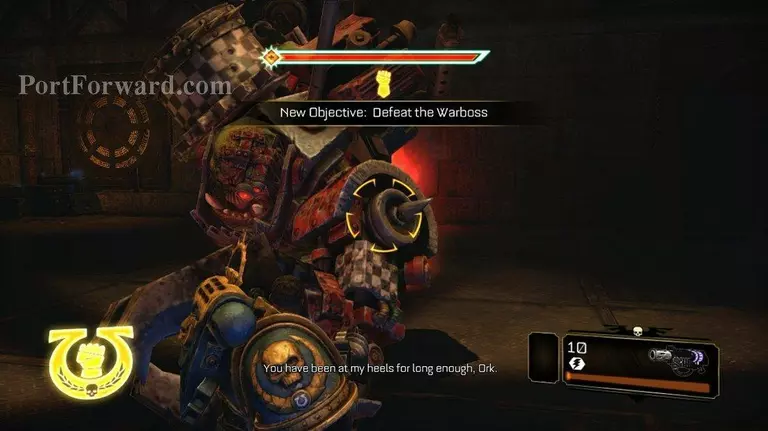
You can rearm out here. When you get close to the door it will open and Boss Grimskul will grab your foot and pull you through. Make sure you've got a Melta gun for the next section.
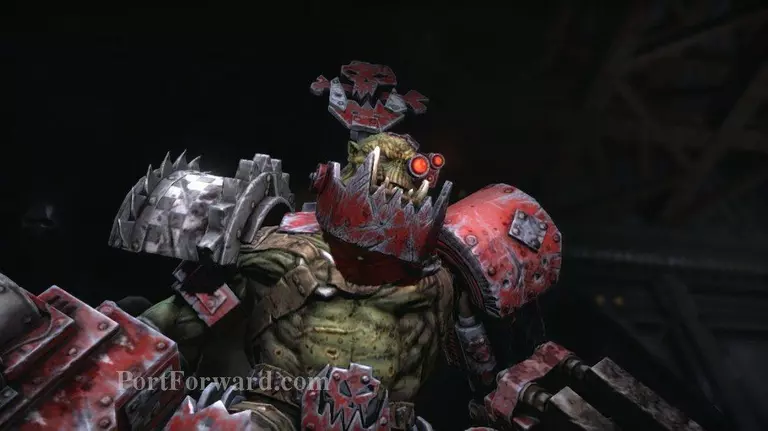
You'll get a bit of a cutscene, and then you will end up fighting him.
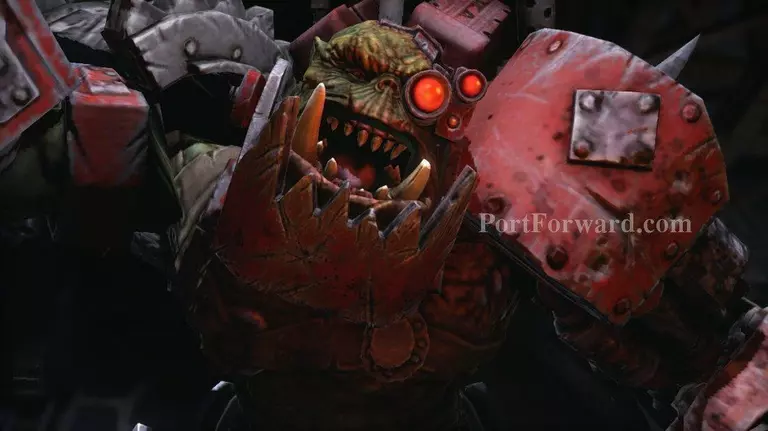
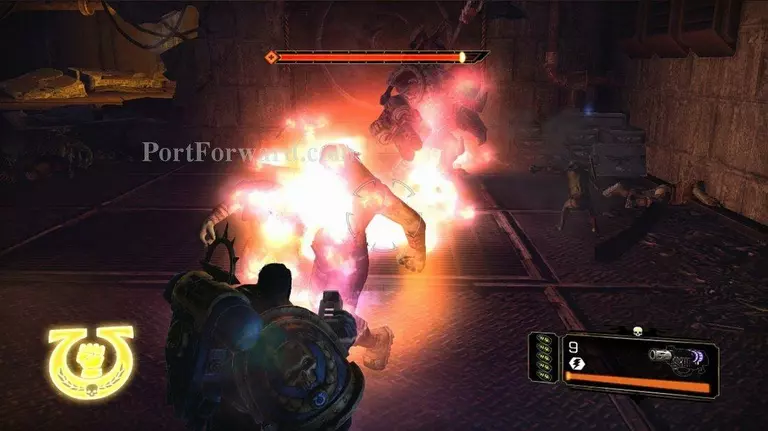
Okay. Boss Grimskull. He's pretty easy as long as you've got the Melta Gun.
Just fire melta shot after melta shot into him. There is endless ammo in this room. When you run low on ammo just go pick up a box.

He will charge you when he does just side step.
Eventually he will knock a hole in the wall and have some grunts and gretchen help him.
It doesn't matter if he has friends. You've got a melta gun with infinite ammo. Just torch them and continue working on him.
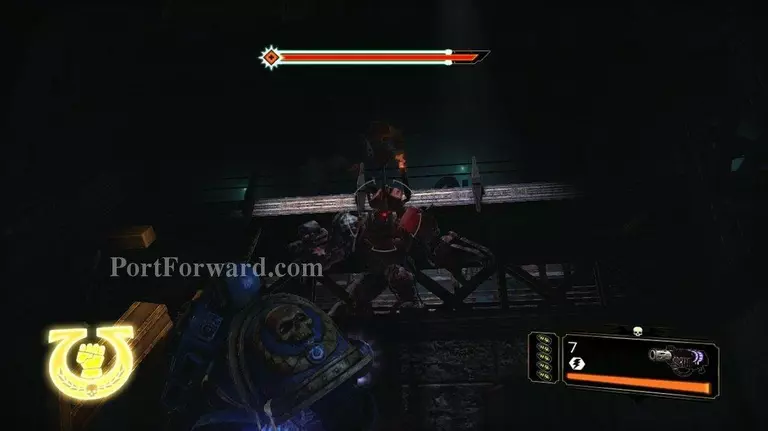
Eventually he will jump up on top of a wall.
Squigs will start pouring over the wall where he ist standing. I switched to the bolter at this point to take them out. I really should have just let them have it with the melta gun. Hey we've got infinite ammo.
When the squigs are dead run up and let him have it with the Melta again. Sure he's up on a ledge but he's not out of range.
Eventually he will fall on to the ground. You just walk up and execute him at that point. One boss down. One to go.
More Space Marine Walkthroughs
This Space Marine walkthrough is divided into 17 total pages.


