This Space Marine walkthrough is divided into 17 total pages.
You can jump to nearby pages of the game using the links above.
Part V Prince of Daemons
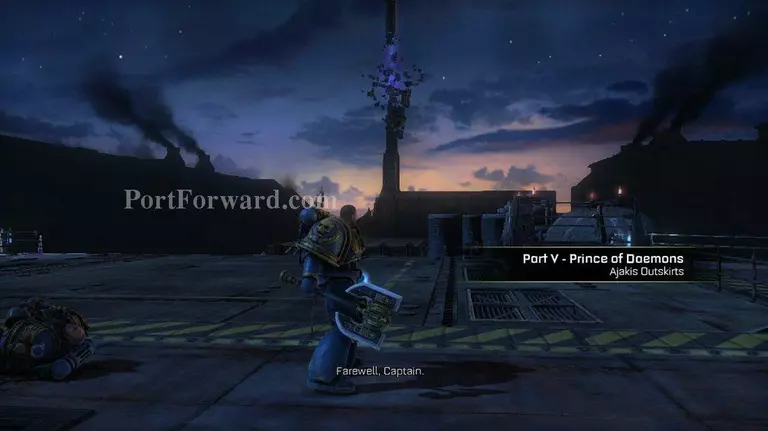
Part V Prince of Daemons

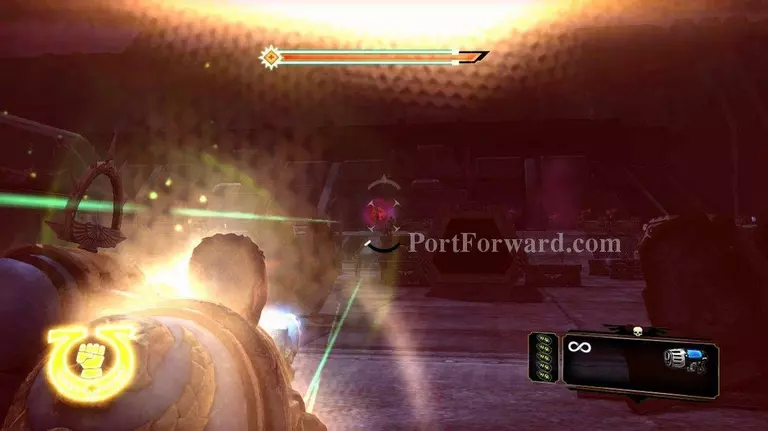
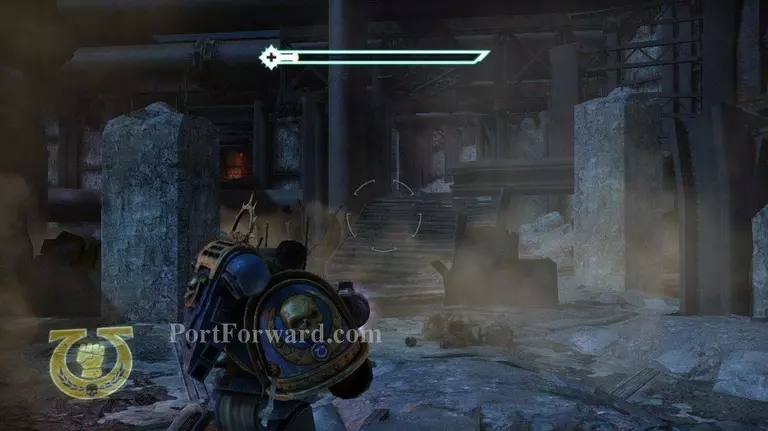
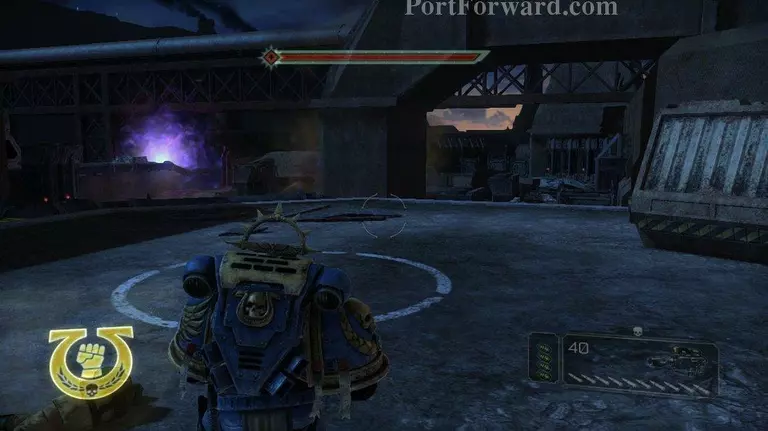
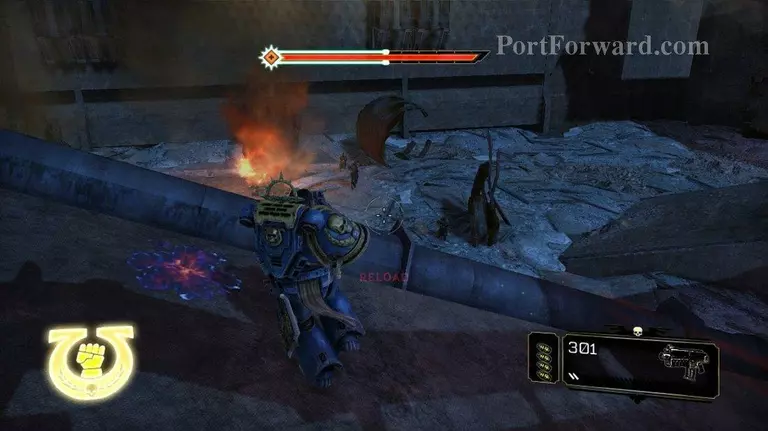
You are going to have a ton of Chaos Guardsmen here. Start picking them off as soon as you can.
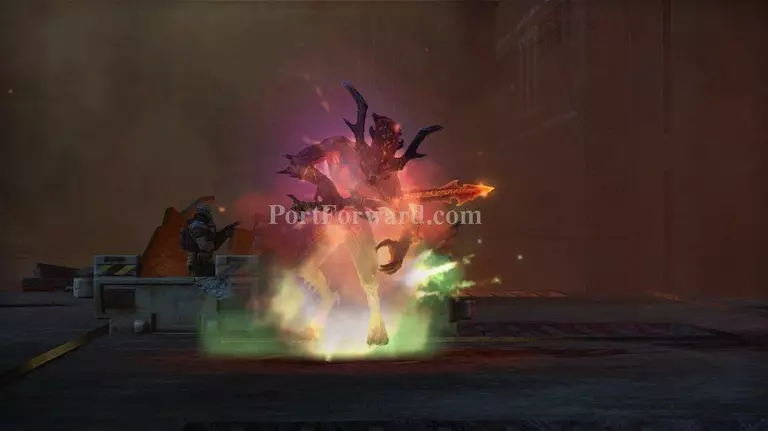
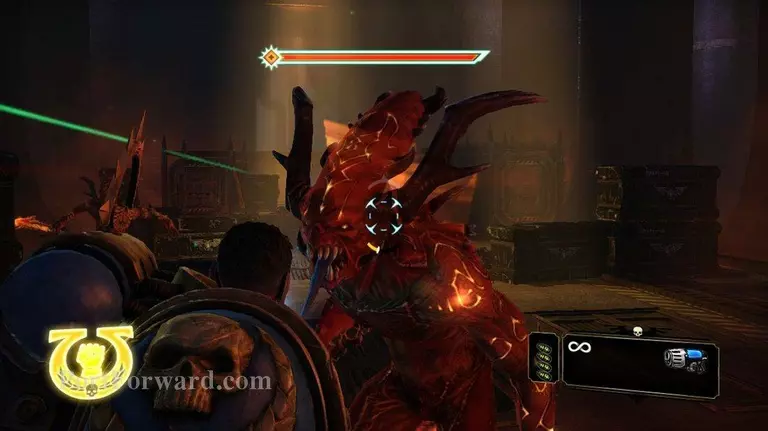
Occasionally when a guardsmen is about to die, they will turn into a demon. The demon will then run at you...
Providing you with a health pack incase you need it.
Keep taking out the Chaos guardsmen until there are only a couple left.
The last few you can run up and melee.
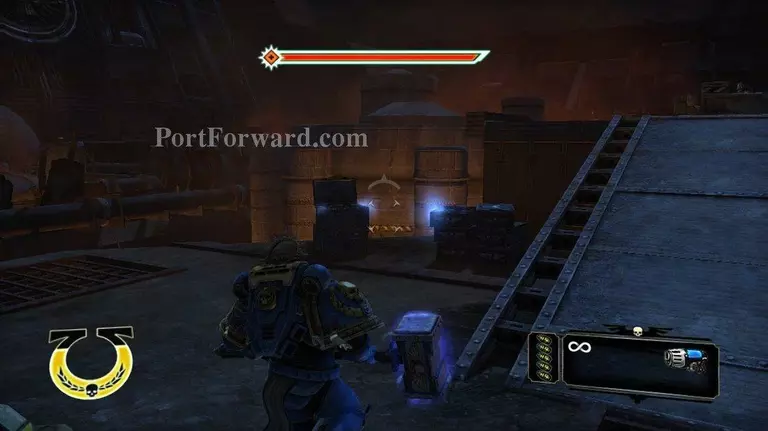
There is plenty of ammo laying about. So you can resupply before you tackle the rest of this area.
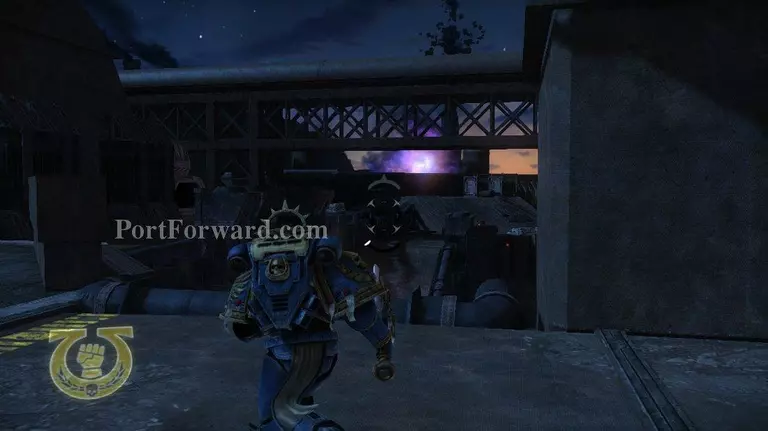
There are two guardsmen at the top of the ramp. They are sheltering behind a barricade. It's kind of hard to see them because they don't fire at you when you approach.
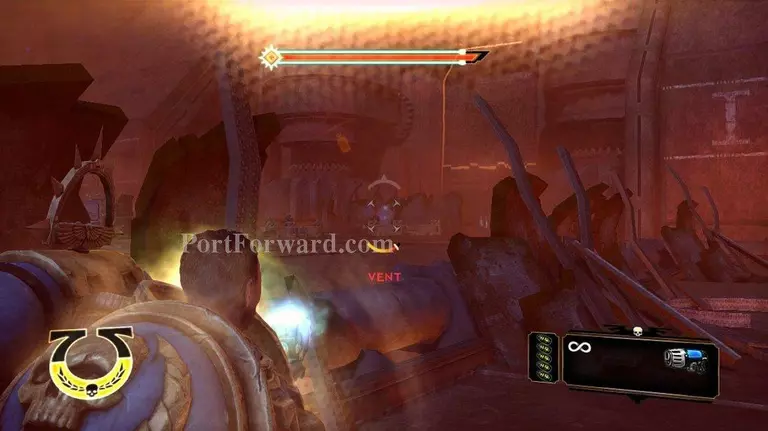
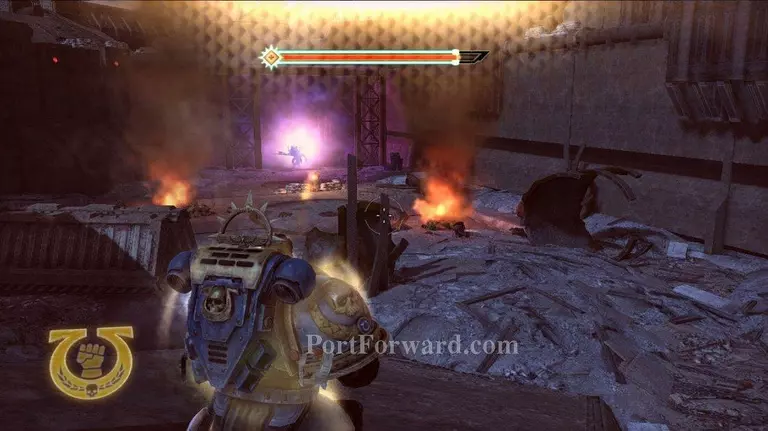
This next section will have a summoner, who summons guardsmen, and a ton of chaos guardsmen. Focus on taking down the summoner. Until he is killed if you take out a guardsmen, the summoner will just summon another.
When the first summoner dies, a second one will spawn. He will bring two Chaos Marines with heavy weapons on the to battlefield.
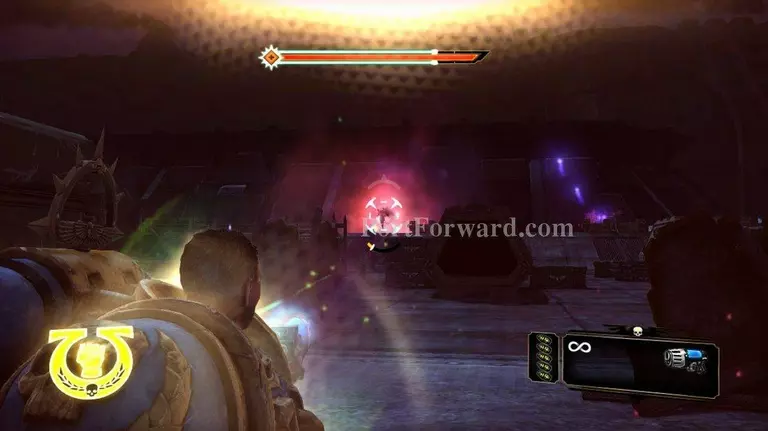
As always focus on taking down the summoner.

When the second summoner is dead, you will be free to start taking out guardsmen. Remember to dodge the heavy weapon fire. Really the guardsmen go down easily.

When you have all of the guardsmen taken care of, walk up and melee the Chaos Marines. They go down quickly.
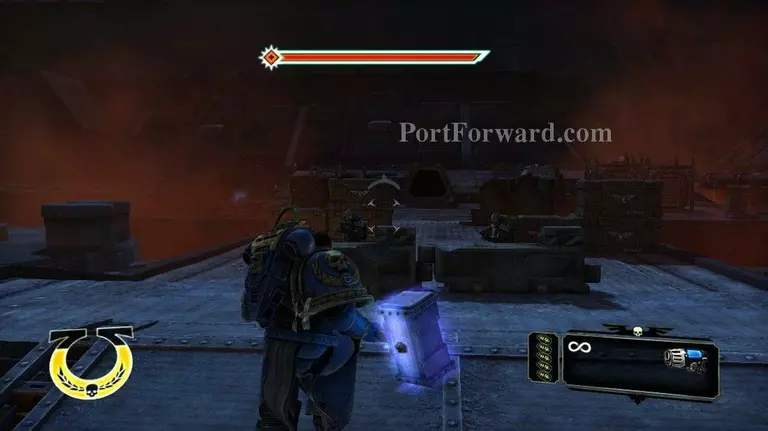
Grab some ammo and then continue on.
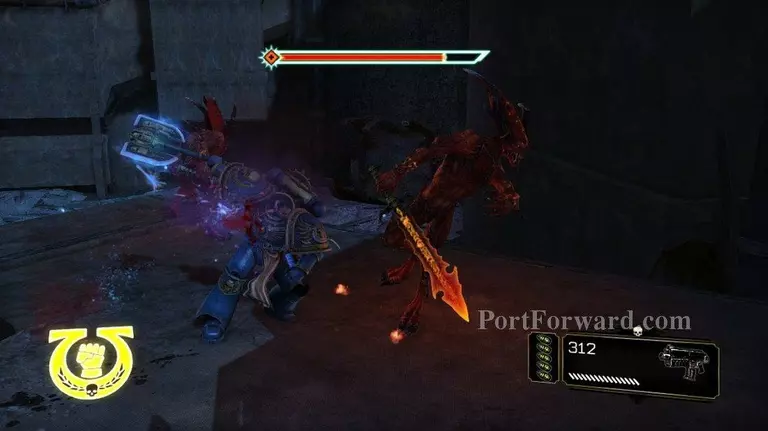
As you move forward four guardsmen will appear. When you kill a guardsmen a demon will spawn. So eventually you will be fighting four demons.
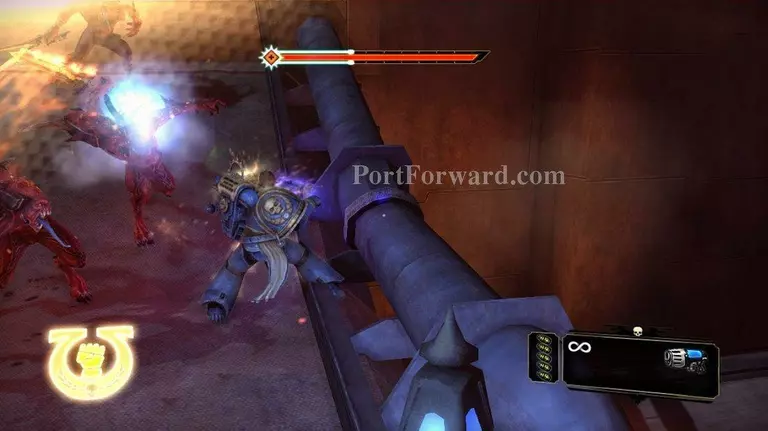
They really are not too much trouble, even if you hit them head on like I did. I would have been better to let them run into a grenade I left on the deck for them.
As it is, they took my health down quite a bit further than I would have liked. Oh well time to move on and look for another health pack.
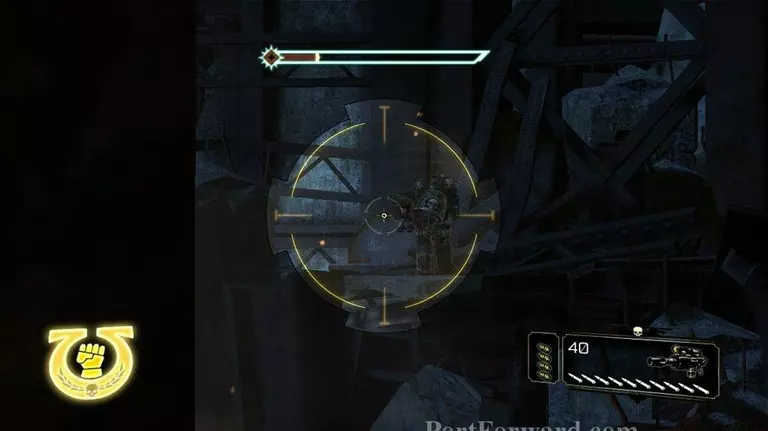
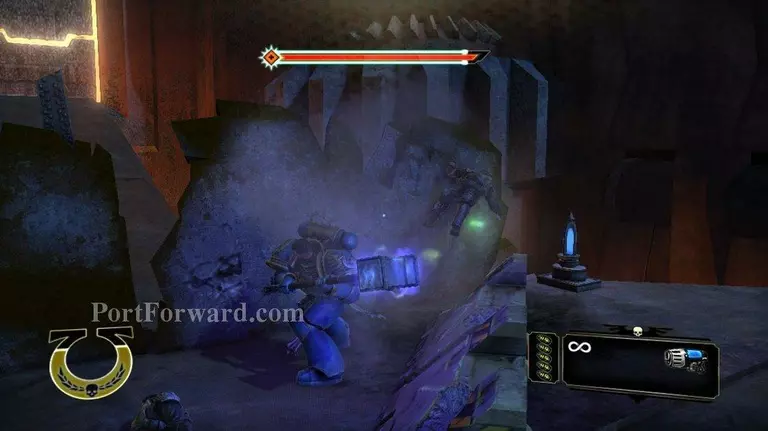
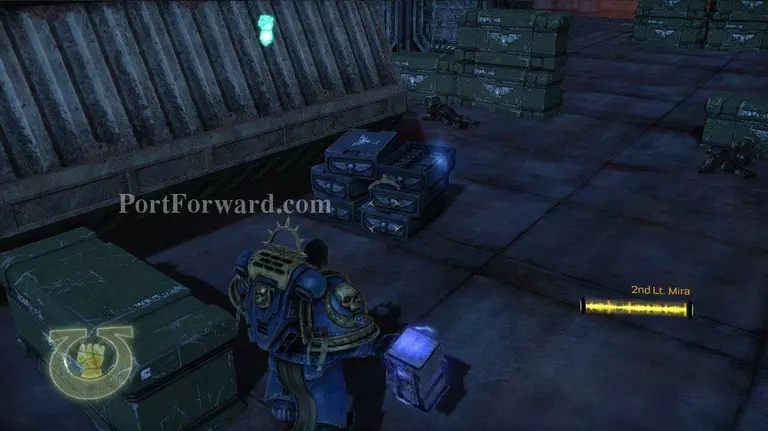
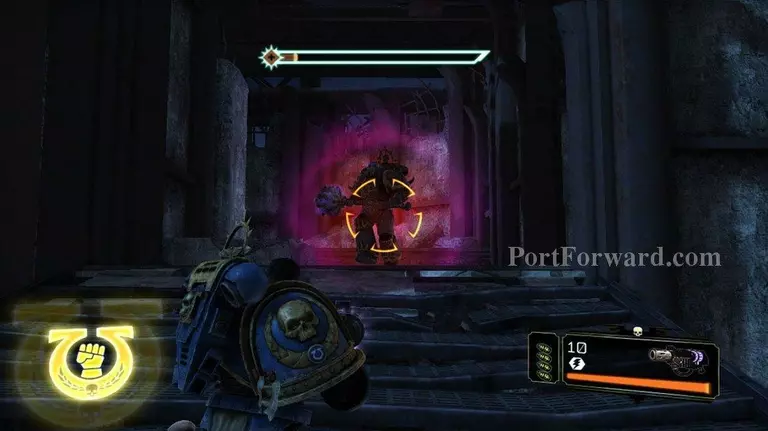
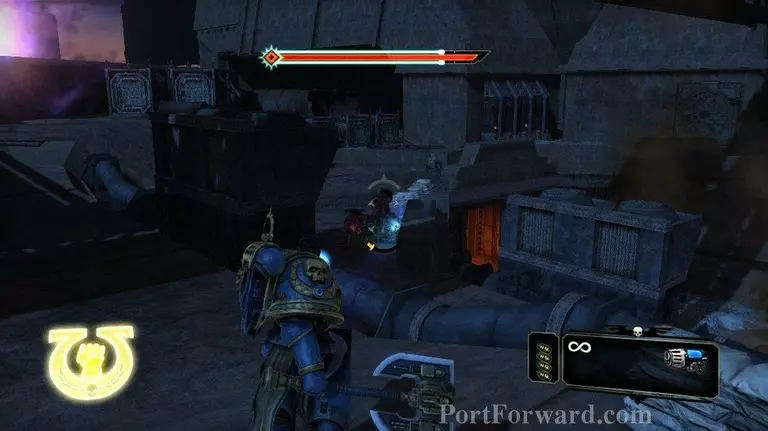
Up ahead you'll find a Chaos Marine with a Laz gun. Basically one shot will take out your shields. So target him and take him down. Hit him hard and keep hitting him until he dies.
There is another Chaos marine down here, but at least he doesn't have a bolter. Take him out next, and then go back to the stockpile and select your weapons. Make sure you grab the Melta. There is a spot later to change up again.
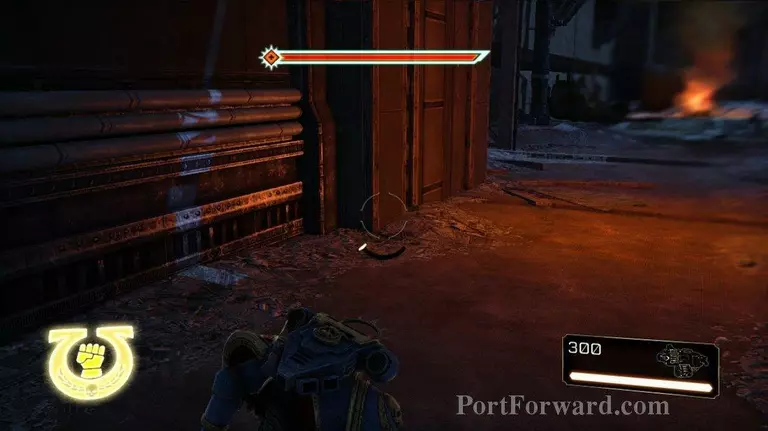
Jump down and move forward.
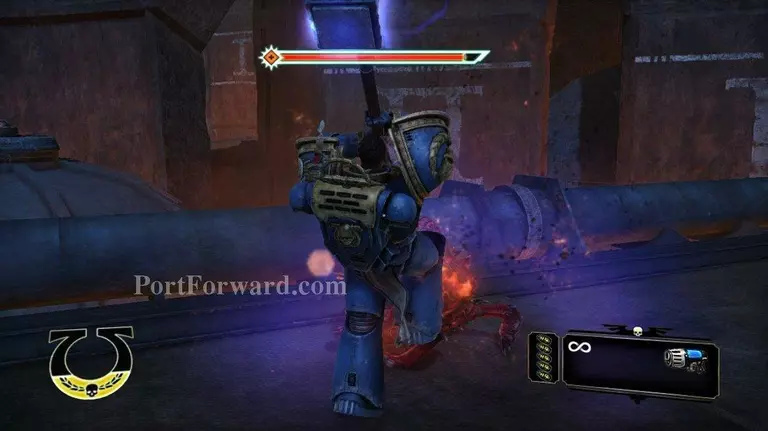
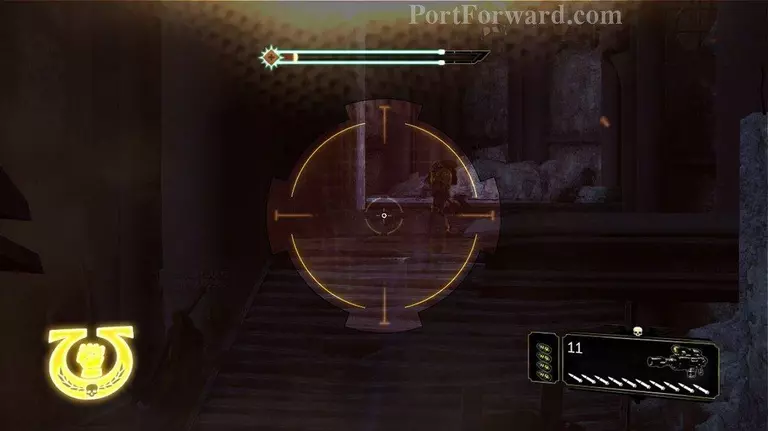
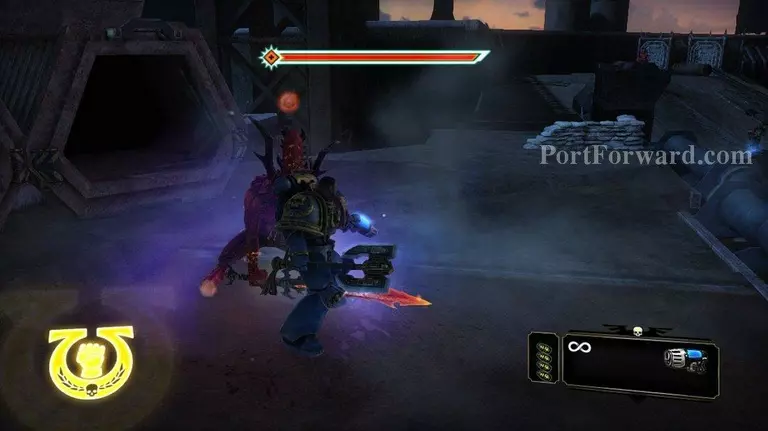
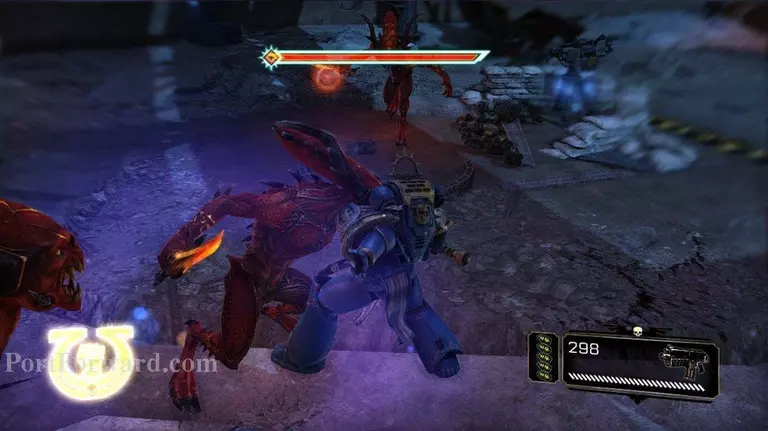
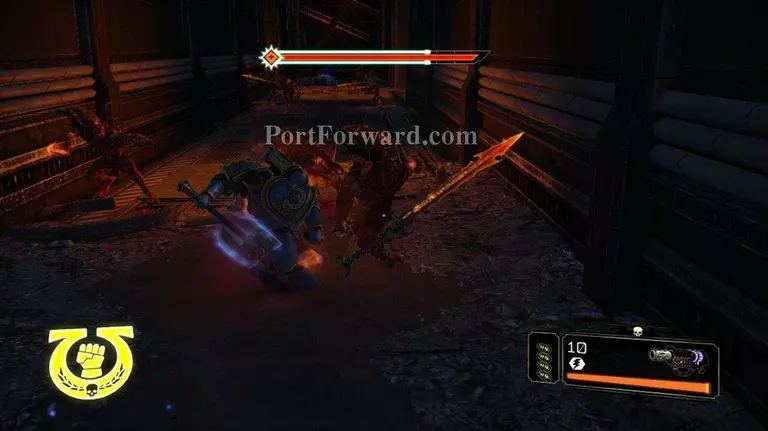
You will be attached by a Chaos Marine with a huge mace. I just use my Melta on these guys. It's the only thing that seems to hurt them.
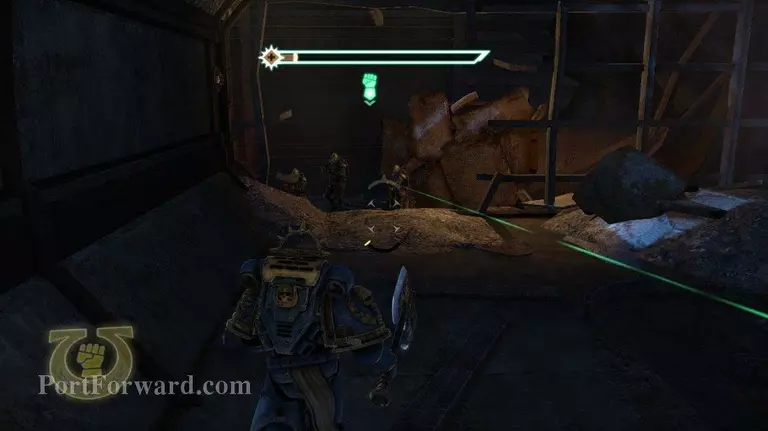
When he's dead, continue onward. You'll run into four Chaos Guardsmen. I used these guys to heal up.
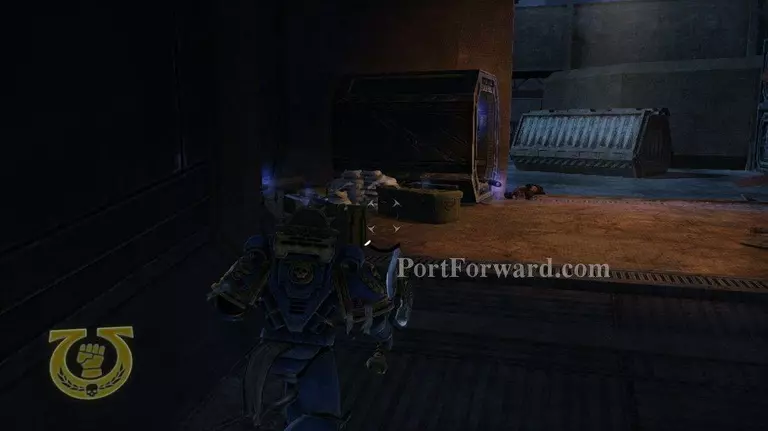
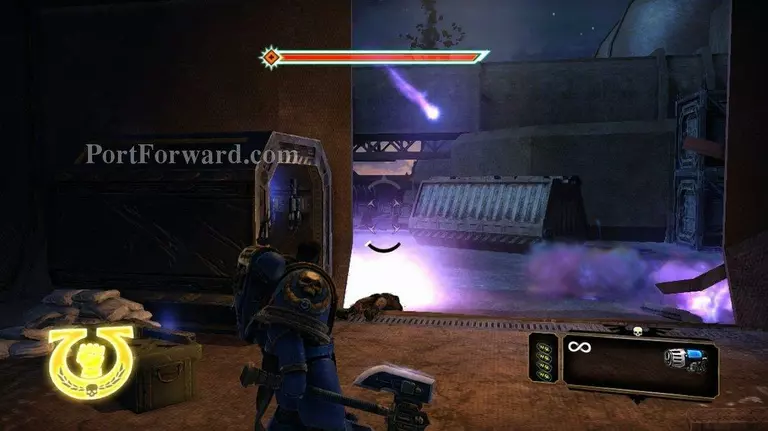
You'll run into another weapon dump before the next big battle.
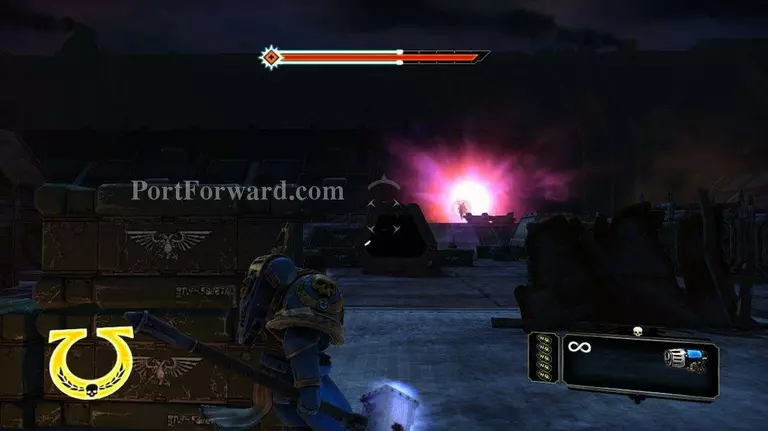
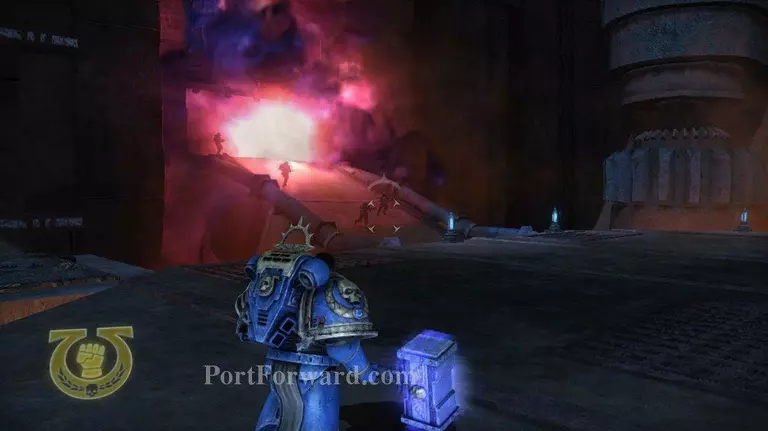
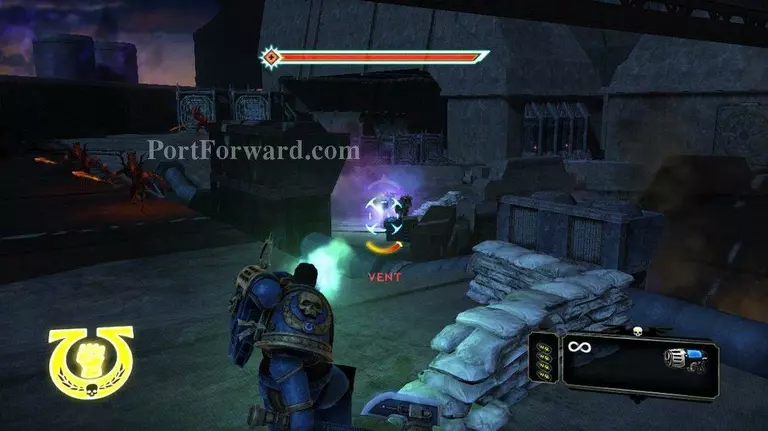
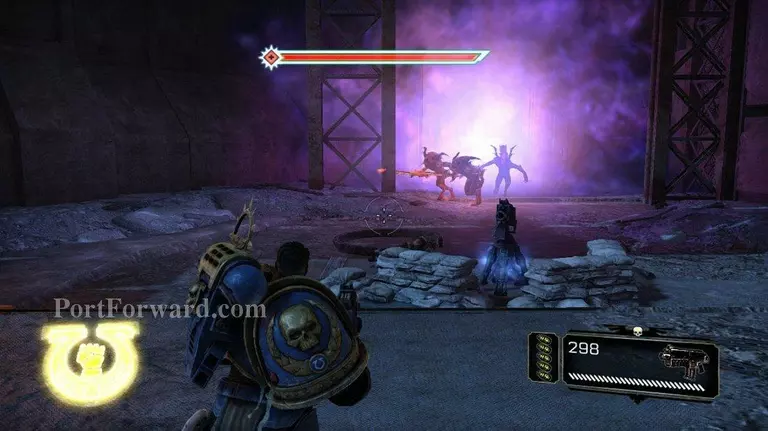
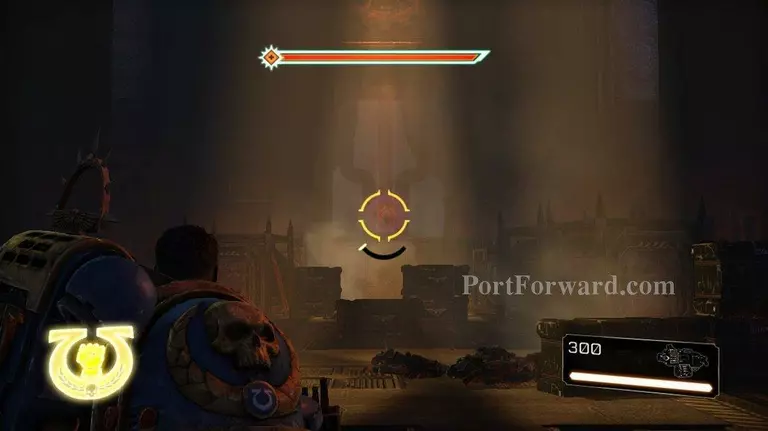
There's a warp gate that opens up and spews all kinds of Chaos filth into the area. You'll have a couple Chaos Marines, some guardsmen, and a whole bunch of demons to deal with here.
Place a bunch of shots around the area, and then back off. This will draw some of the demons to you. It's nice to take them out back here where you've got some shelter from the heavy weapon fire.
"They will get to you eventually.
When they are dead move in to the left. You can kind of circle the pit in the middle.
There are two Chaos Marines with heavy weapons here. Don't focus on them too much, because you are about to be hit with a couple waves of demons.
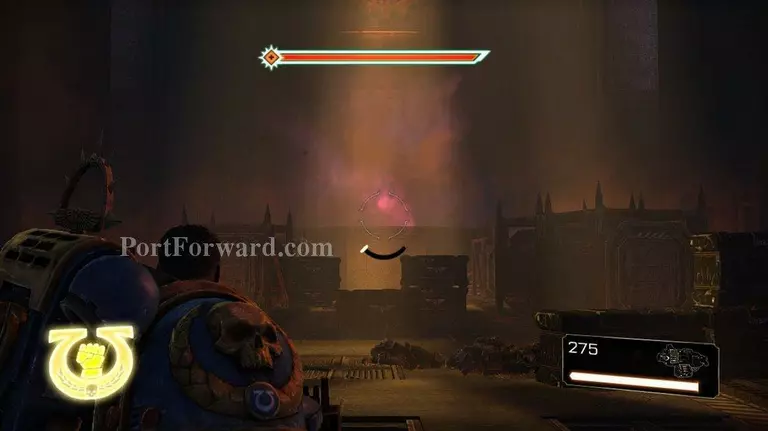
The demons will drop out of the warp gate, and then the gate will close.
The demons are pretty easy to take care of, and you will not be bothered by the Chaos Marines too much.
I think there are three more demons that come up from the pit area, while you are up here.. So that is six demons to take out.

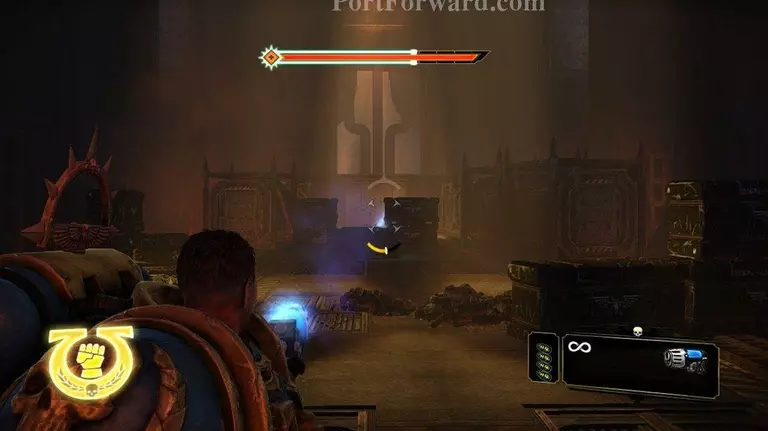
When the demons are all dead, focus on the Chaos Marines. They will be easy to take down.
Move forward and start taking out the Chaos Guardsmen that are down in the pit.
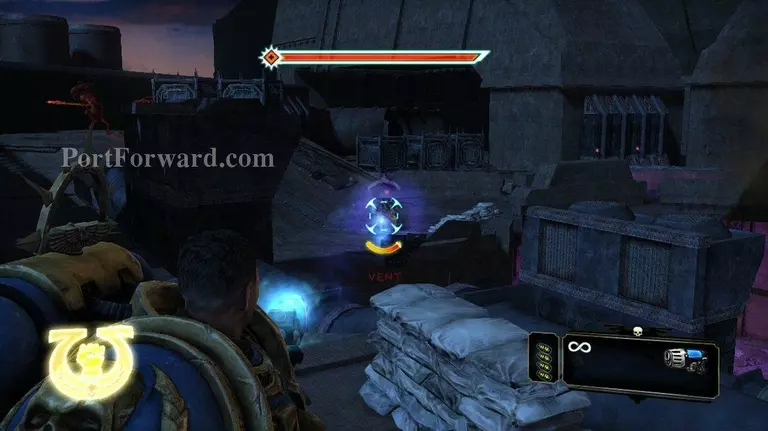
There is another Chaos gate here in the pit. There is also a Chaos Guardsman manning a turret. Take out the guy on the turret first.
Then go to work on the demons that came out of the gate.
There will be another batch of demons to deal with before you are all done.
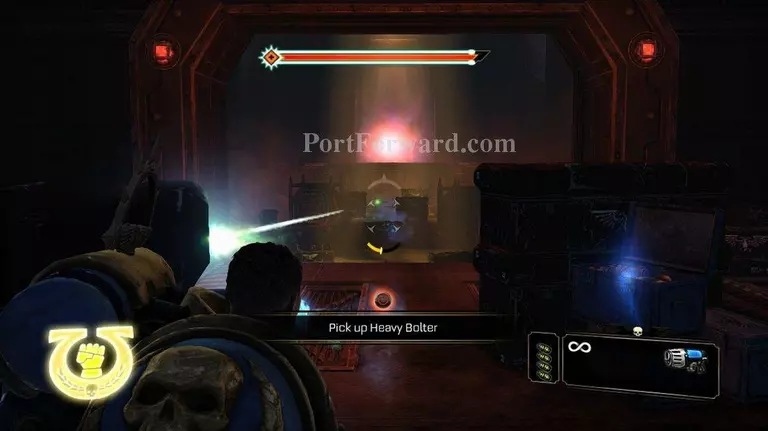
When they are all dead walk over and tear the turret off of it's tripod. It's nice to have a big heavy weapon with you.
Continue on.
I ditch the Heavy Bolter here for a bit. You really want to lug it along with you, but conserve ammo.
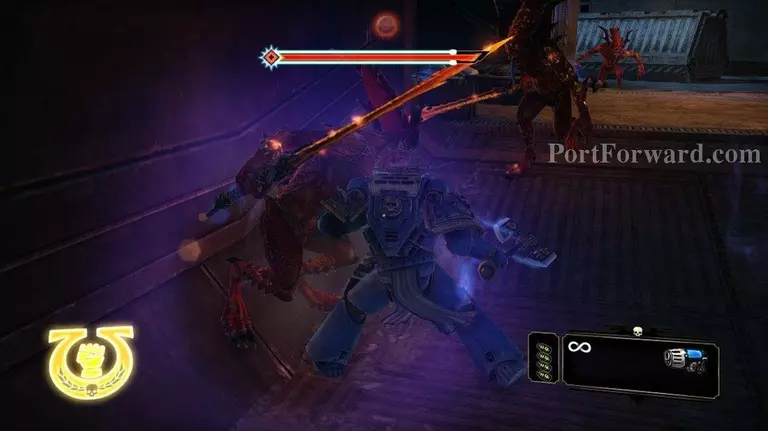
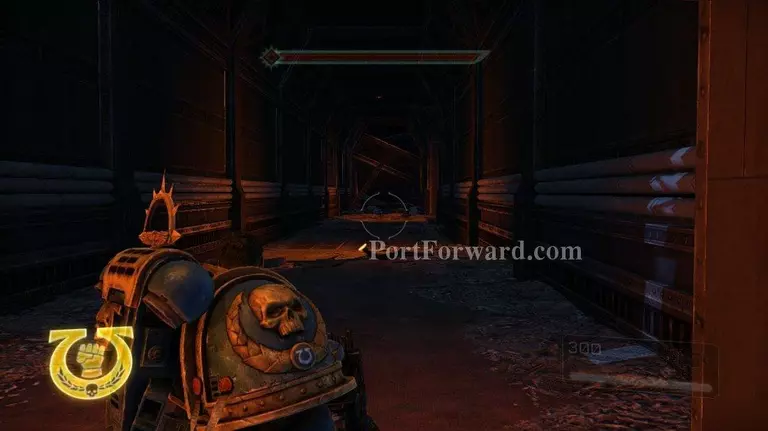
You will be attacked by two groups of three demons. Finish off the demons in the first group quick, because the second group will be right behind them.
It's not fun to be partying with six demons at the same time. Three or four is a much more manageable number.
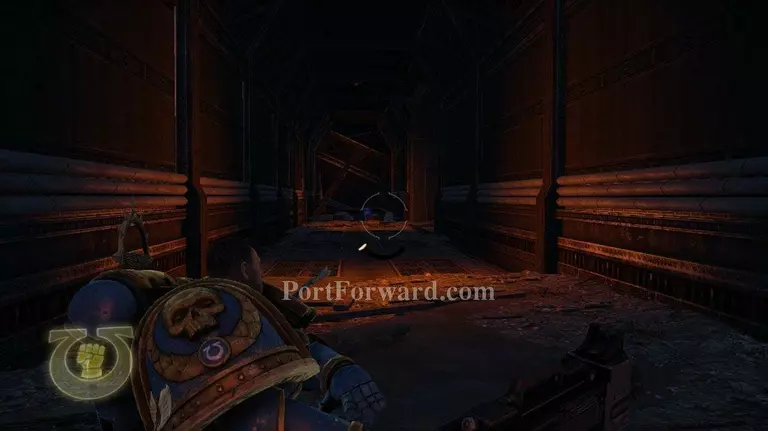
When the demons are dead go back and pick up the Heavy Bolter.
There's another Chaos gate up ahead. I ditch the heavy bolter here again for a short while, while I take out the Chaos Guardsmen. There are two groups of four that will spawn here.
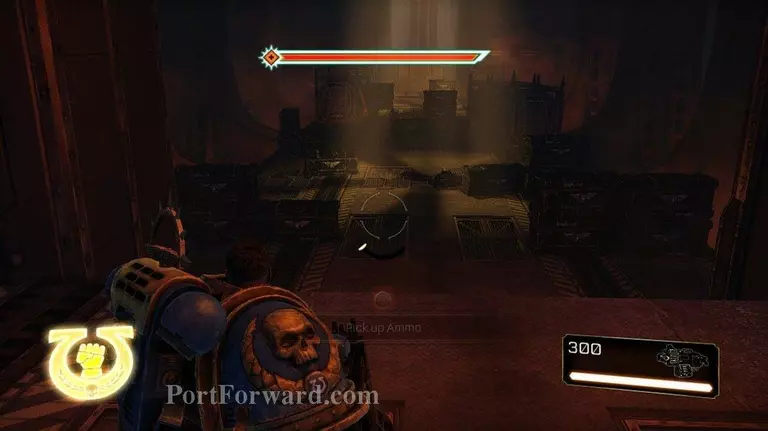
When they are dead pick up the HB and then jump down.
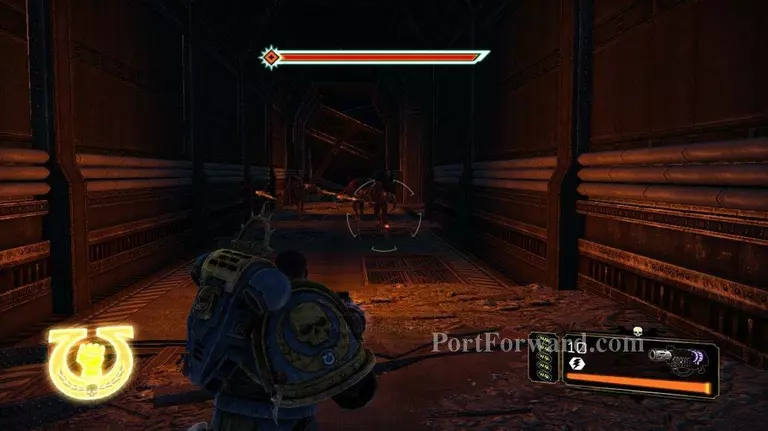
A summoner will spawn. I use the Heavy Bolter to take him out, and then toss it off to the side again.
You will have a wave of demons and guardsmen to contend with now.
The demons are not too bad because there are only three of them. They go down pretty quickly.
The guardsmen are pretty easy to bring down as well. When everything is dead, grab the Heavy bolter and continue onward. You'll reach an elevator that will bring you up to the next level.
More Space Marine Walkthroughs
This Space Marine walkthrough is divided into 17 total pages.