
This Space Marine walkthrough is divided into 17 total pages.
You can jump to nearby pages of the game using the links above.
Chapter 14 Victory and Sacrifice

Chapter 14 Victory and Sacrifice

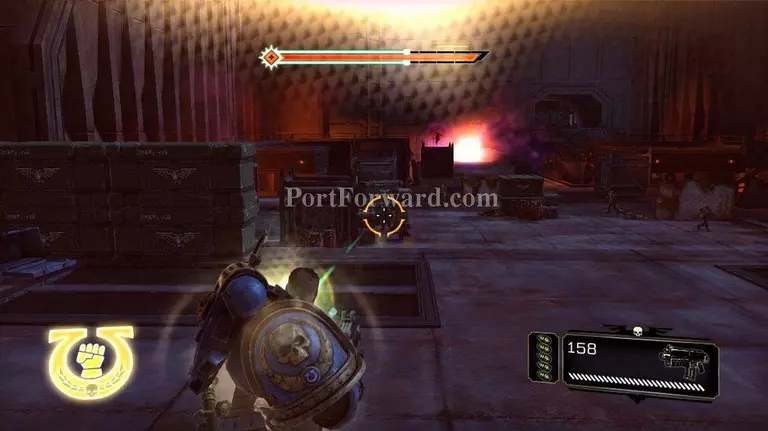
Moving forward you will come to a room that will let you rearm. Grab as much ammo as you can. Bolt weapons are the best. You will face a whole bunch of Chaos Marines next.
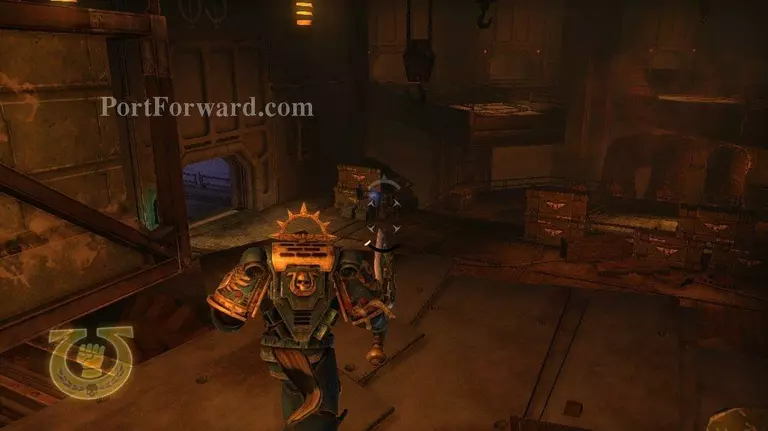
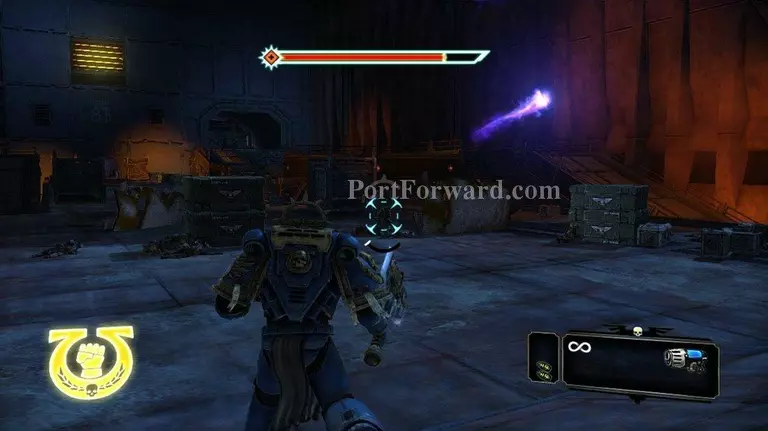
When you jump off this ledge you will get a cutscene, and then Chaos Marines will appear.
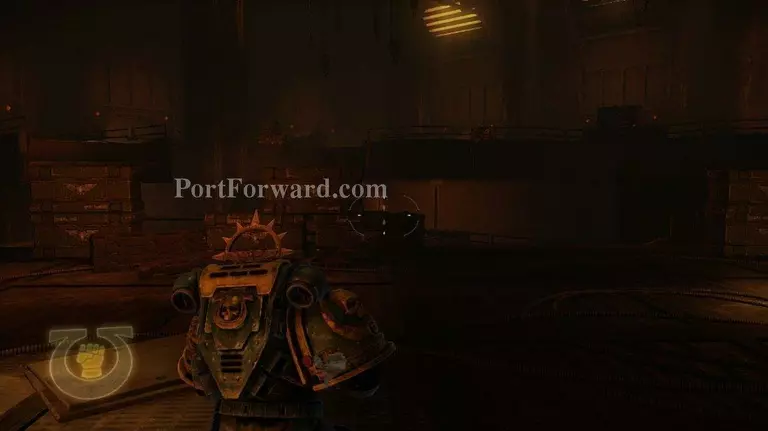
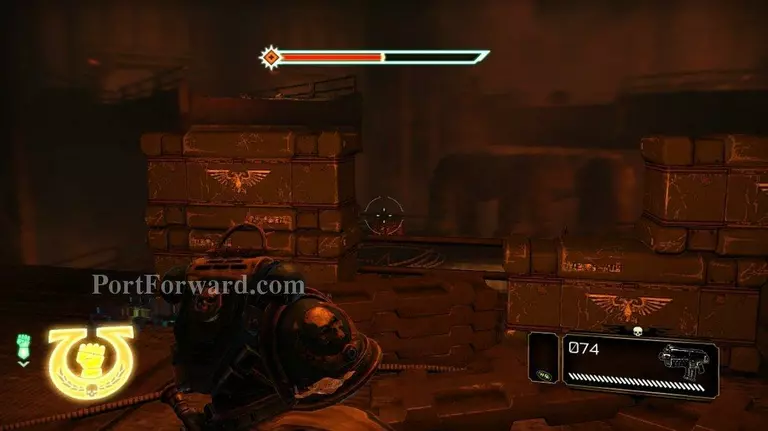
Take shelter behind the boxes in the middle of this area. They provide the best shelter from all sides.
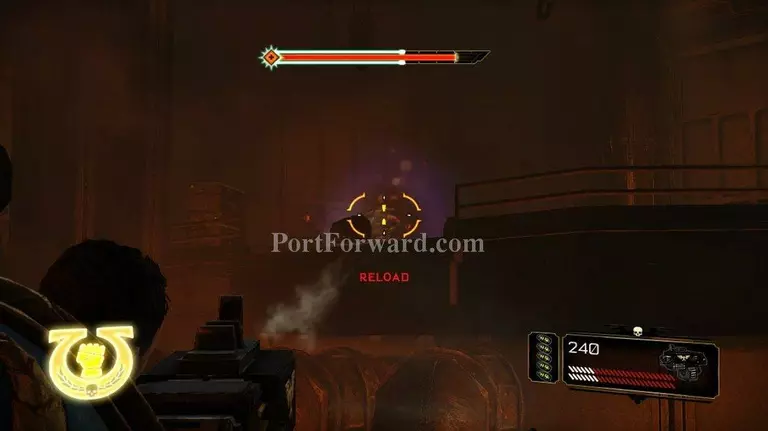
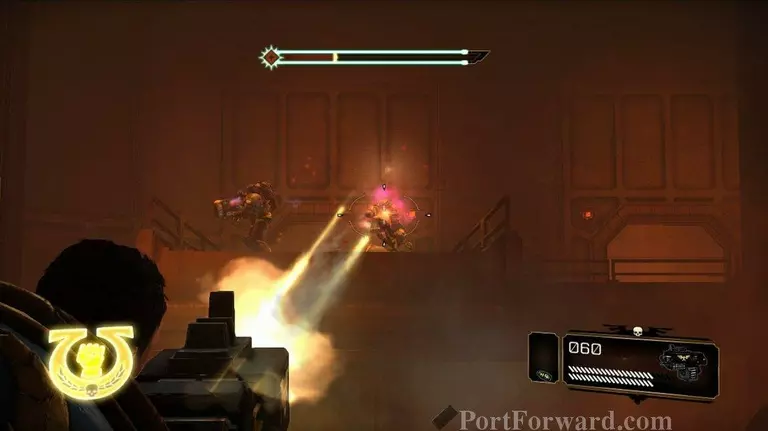
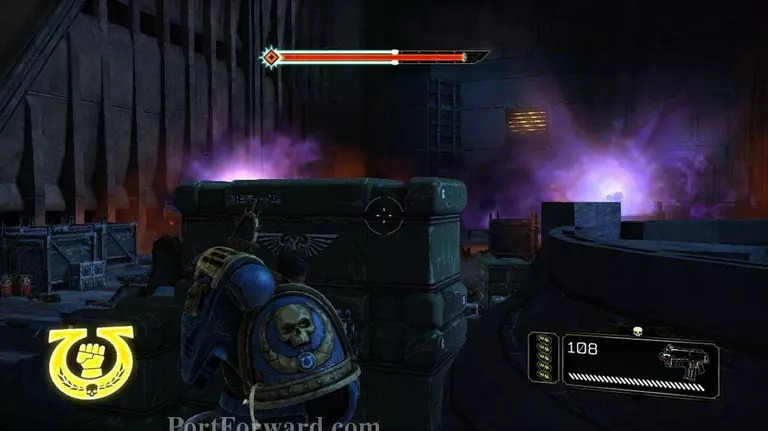
Take the Chaos Marine on your right out first. Just hammer him with your weapons until he falls on his knees.
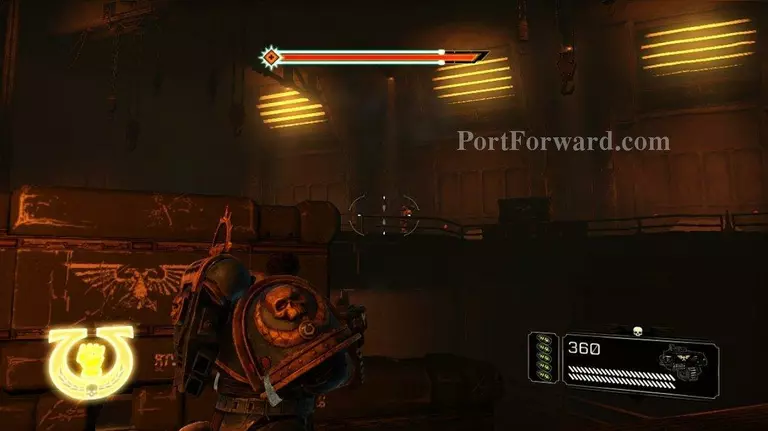
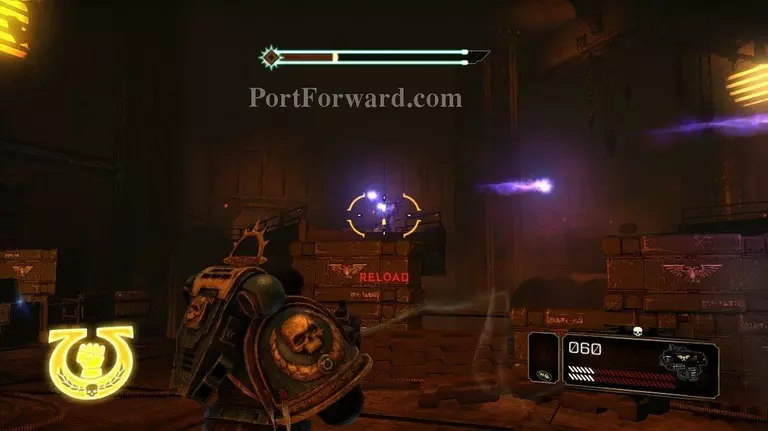
If you run dry while when he is on his knees, switch to a different weapon and finish him off. If you try to reload, you will take too much time and he will stand back up.
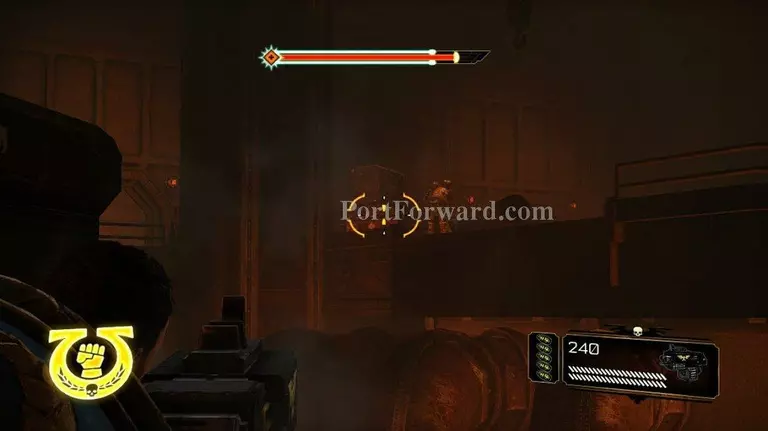
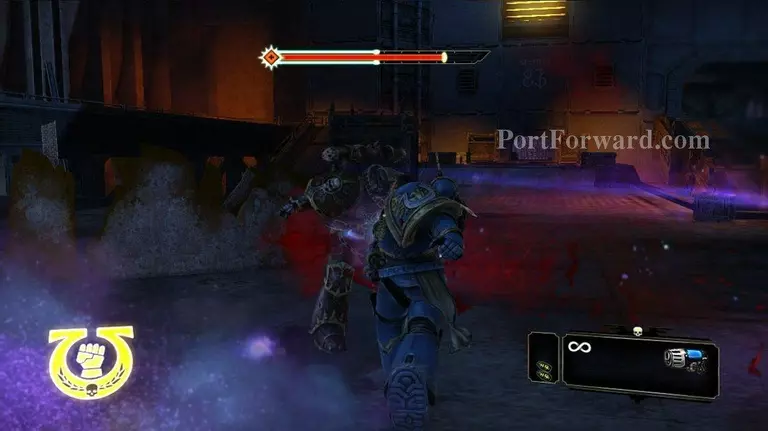
Now move to the Marine who is the furthest to the right. There are a couple barrels here you can blow up to help damage him. Pour on the fire until he falls and then keep pouring it on until he is dead.
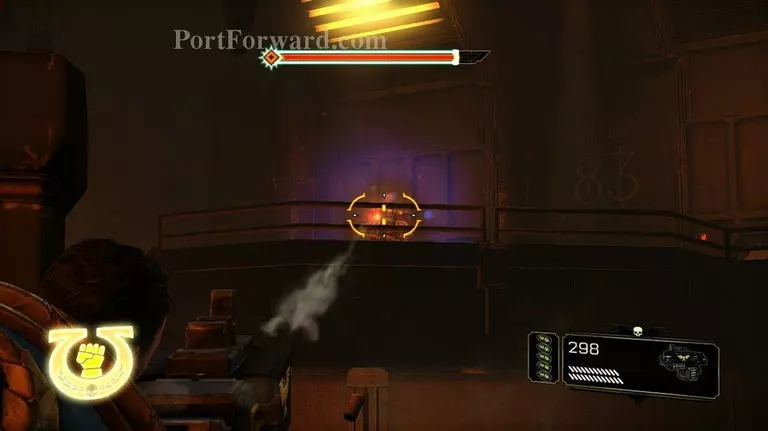
As you are doing all this keep an eye on any incoming grenades. You may have to roll away from a grenade or two before this combat is finished.
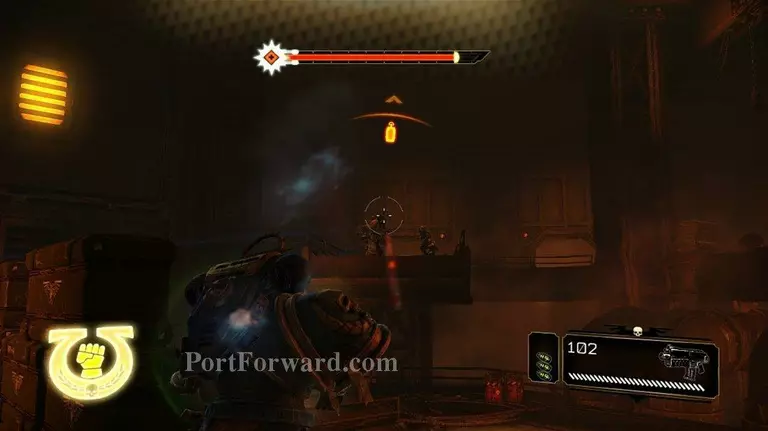
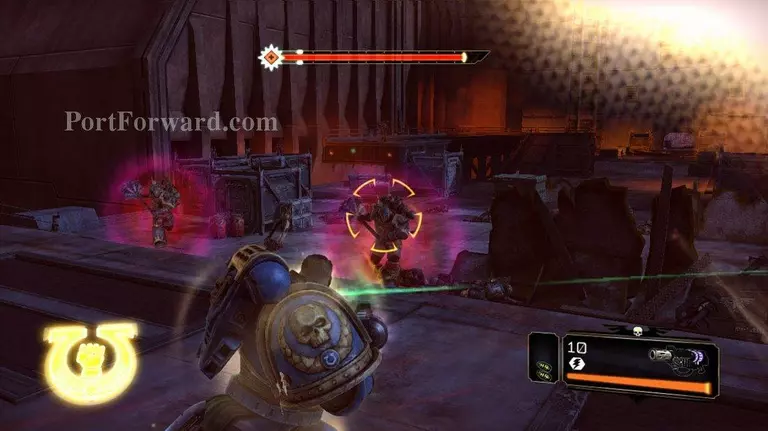
There should be two Chaos Marines and two Chaos Guardsmen on the last platform. I lead off with a grenade up there. If you land it right, it will drop one of the marines to his knees. If that happens finish him off quickly.
These guys are hard to kill because they have a habit of walking in front of each other. When one dies, there will be another flash of Chaos.
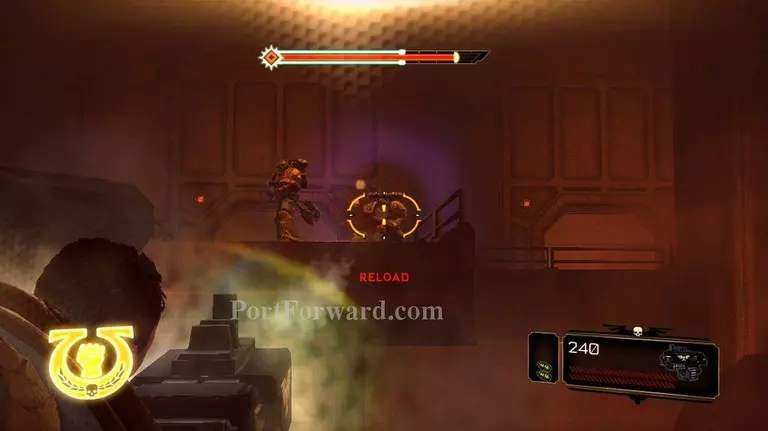
Another Chaos Marine will appear on each platform. These will have heavy weapons. I find the heavy weapons easier to dodge than the straight out gun fire.
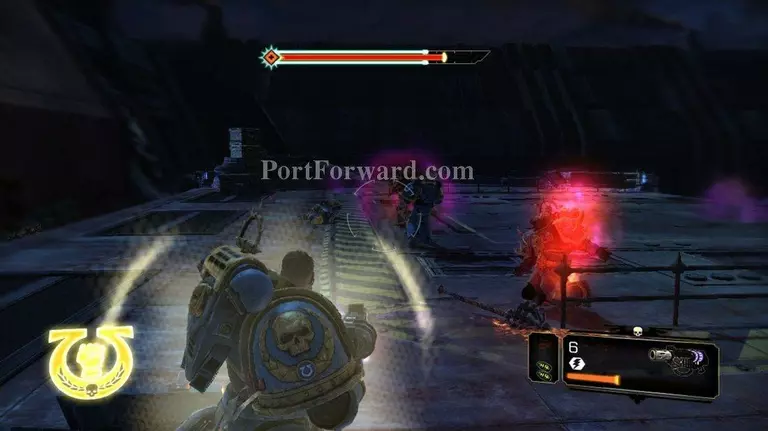
Finish taking out the Marine that you have already wounded and then start working on the heavy weapon troops.
These guys are not as tough as the first group. Anyways take them out to finish this room off.
When kill the last of the marines, two Chaos guardsmen will appear on the platform you are on. You can use these guys to heal up.
When they are dead continue on.
You arrive on the scene and get a large cut scene. After the cut scene run around gathering ammo. You are deffinitely going to need it.
Fortunately there are serveral boxes of ammo laying around. So you'll have a little bit of ammo no matter how low you were to start.
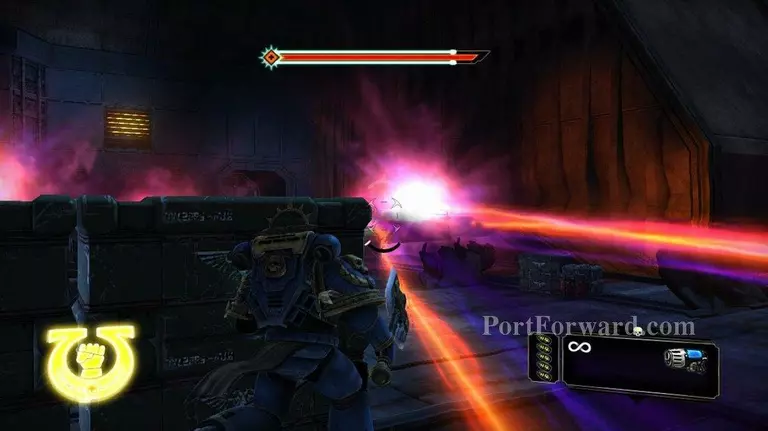
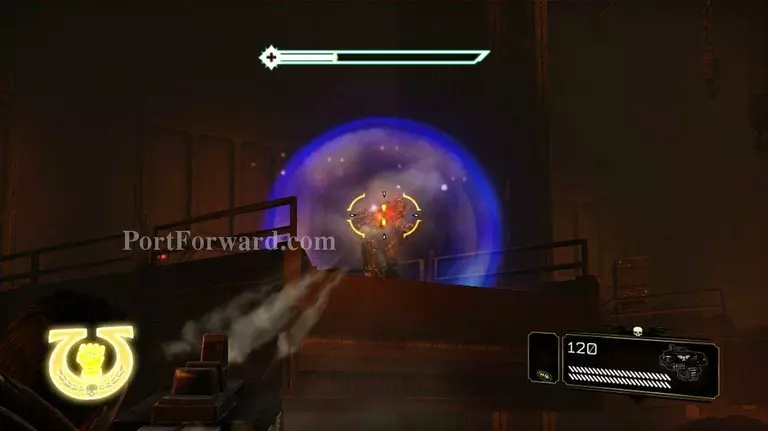
Three chaos gates will spawn with a summoner at each gate. Tons of Chaos guardsmen will pour out of the gates. The only thing you can do is to take out the summoners. Forget about the guardsmen.

Take out the right one, then the left one. After you take out a summoner try thinning the number of guardsmen in front of them.
Some of the guardsmen will respawn, and some will not. Getting their numbers down is key though, because their grenades are annoying.
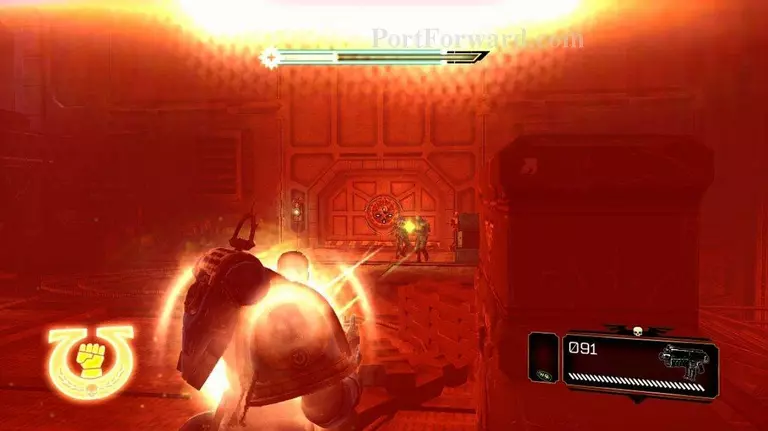
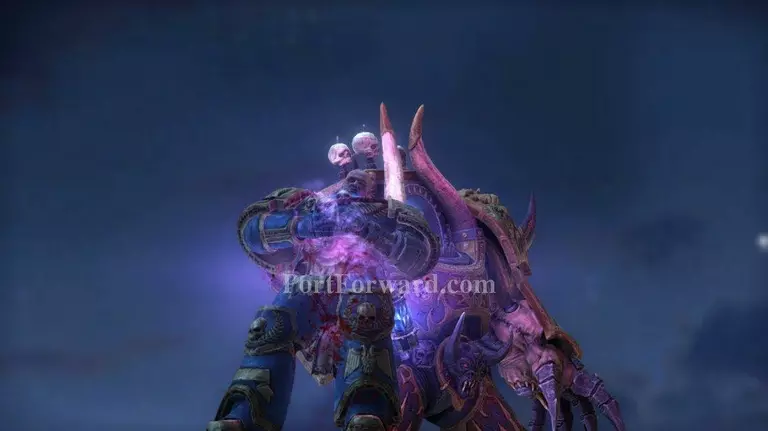
When all three summoners are dead, two Chaos Marines with heavy weapons and two Chaos Captains with huge maces will spawn.
Worry about the captains first. I just started blasting away with the Melta Gun, because these guys are very tough.
It also helps if you can brush one off on your Leonidus. Anyways just roast them until they are dead.
When they are both dead make your way down to deal with the two Chaos Marines with heavy weapons. They are easiest to deal with in melee.
They also provide you with a good chance to heal your wounds prior to moving on.
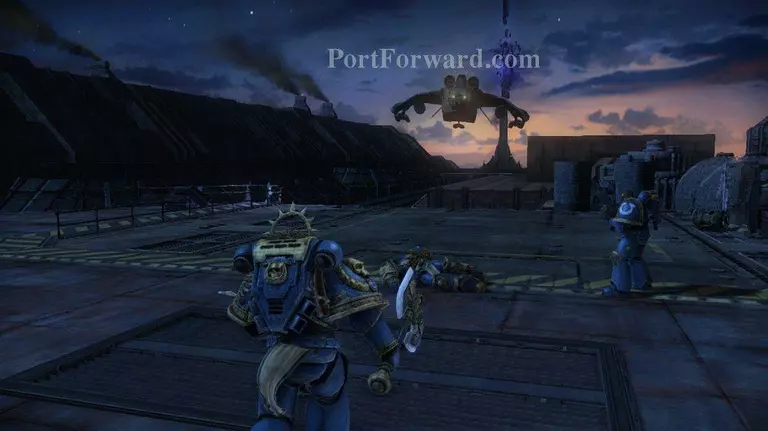
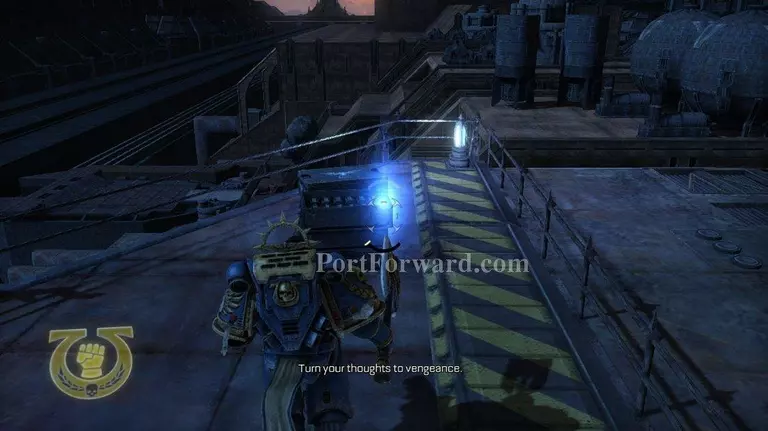
When they are dead Mira will send a bird to pick you up.
More Space Marine Walkthroughs
This Space Marine walkthrough is divided into 17 total pages.


