
This Space Marine walkthrough is divided into 17 total pages.
You can jump to nearby pages of the game using the links above.
Part III The Weapon
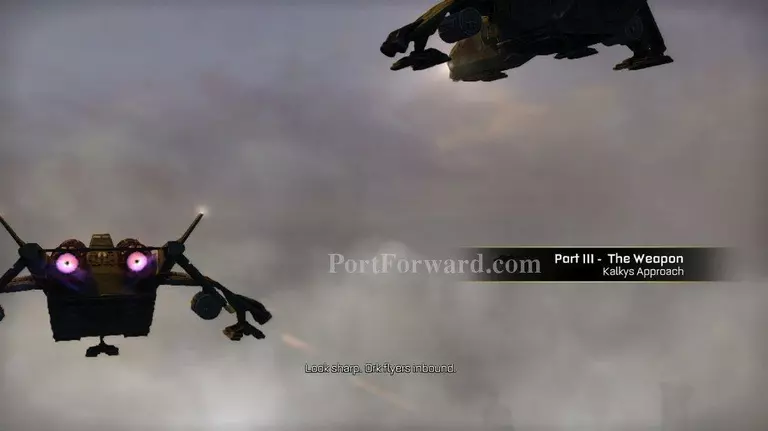
Well we've made it to Chapter 9.

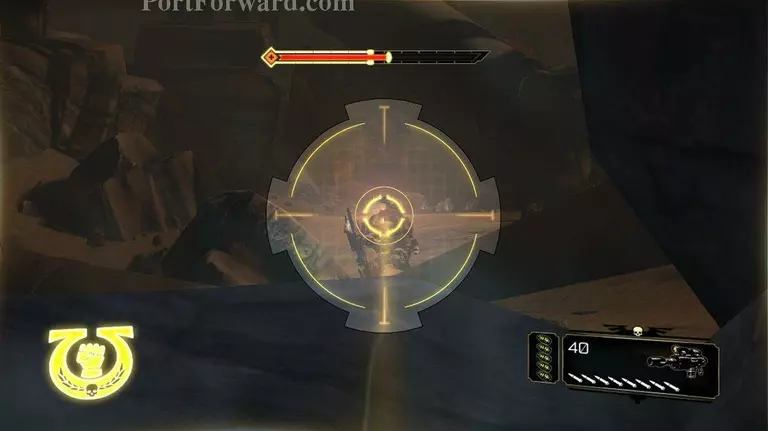
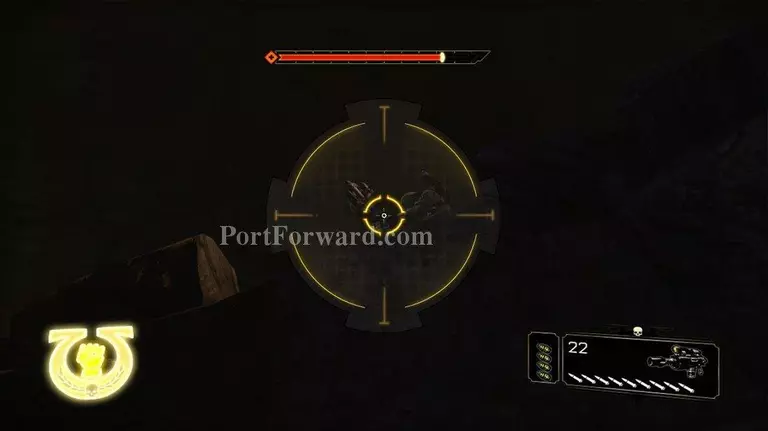
You will be asked to man a gun as you are flying to your destination. Take out the orc rockets as quickly as you can. It seems they can hit you a lot easier than you can hit them.
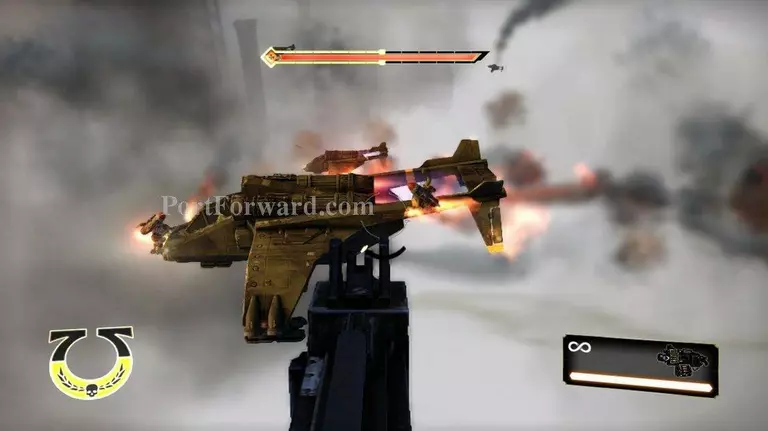
Half way though your flight, you will be asked to shoot the orcs off of this valkrie. Do that and then go back to taking the orc rockets out of the air.
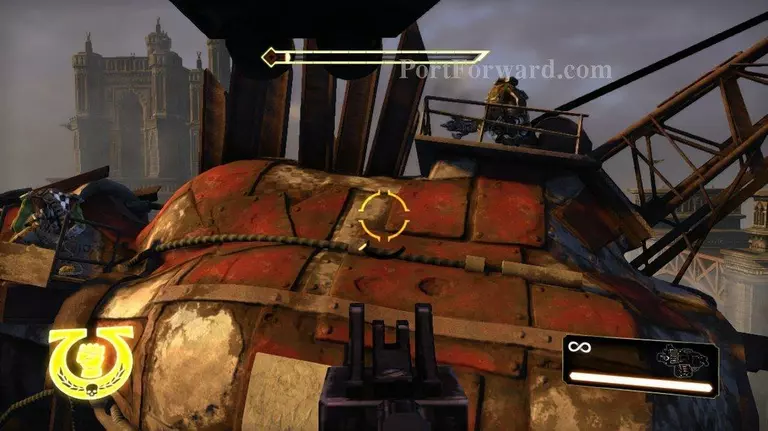
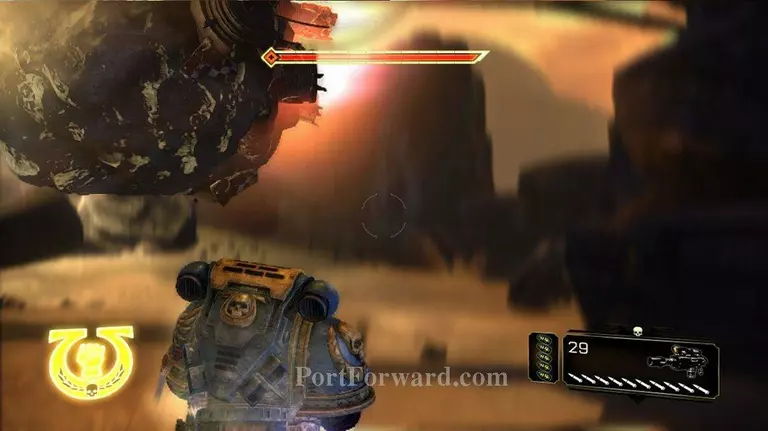
A large orc ship will appear beside you. The key on this is to shoot all the orcs off of the ship. So key in on them and take them out.

The ship will move behind you and then to your valkryie's left side.
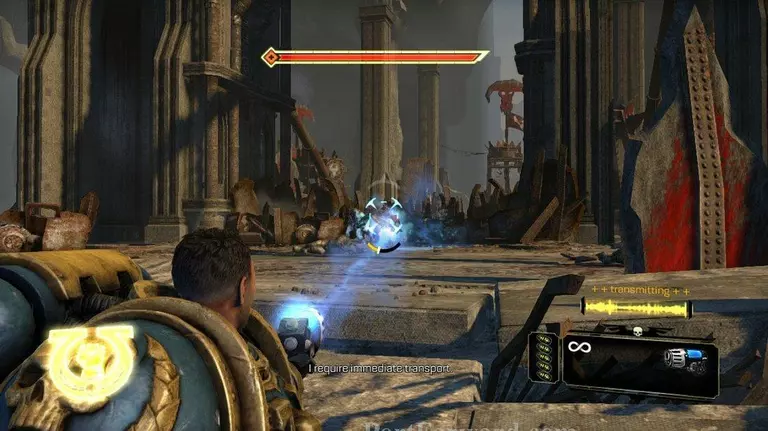
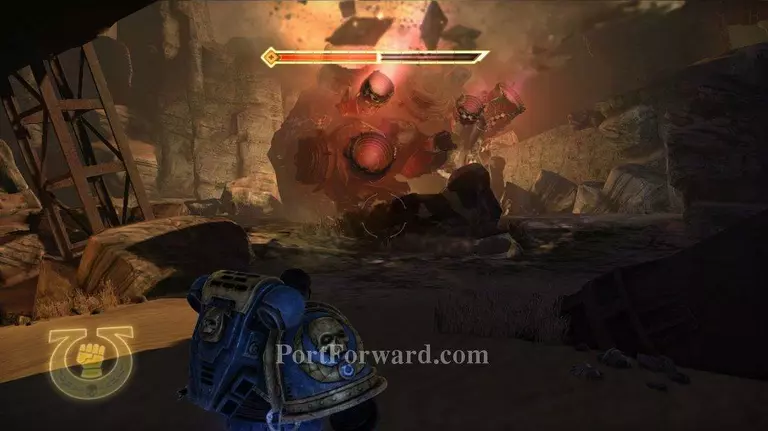
You will eventually get a cut scene of an orc killing the piolet. Then your ship will crash.
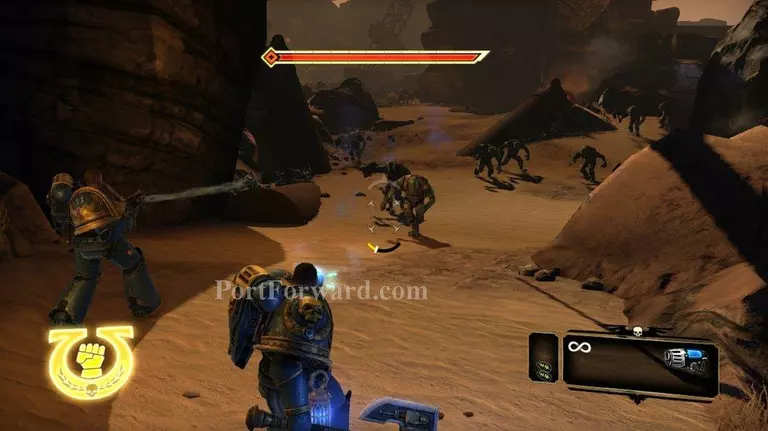
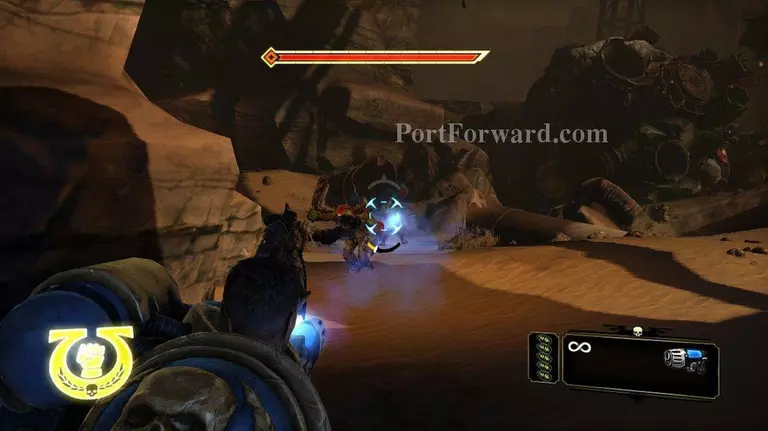
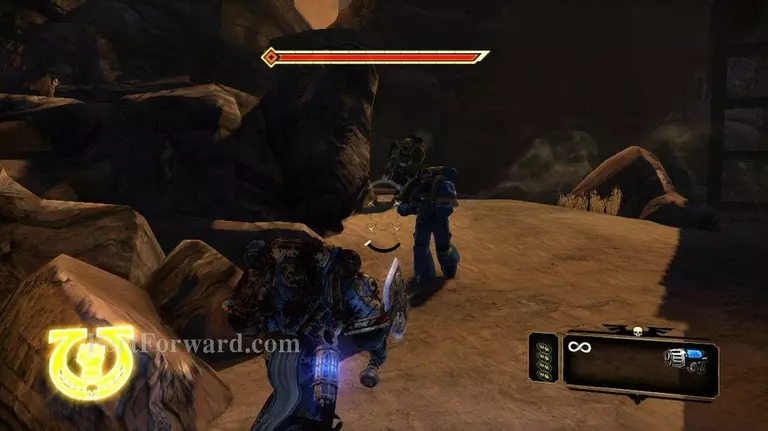
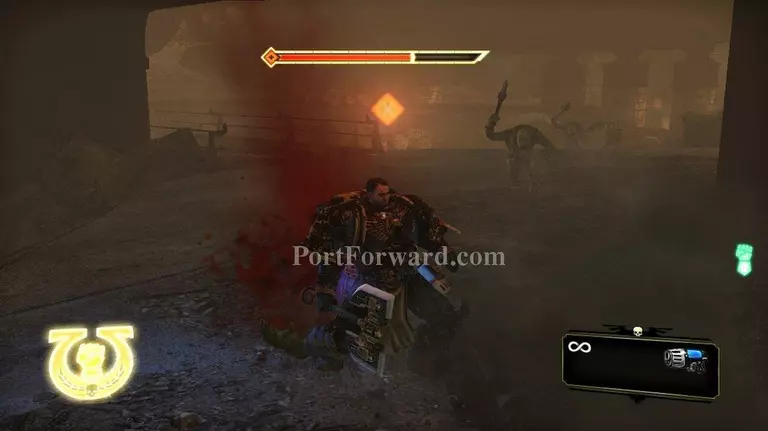
You are going to be mobbed my a large number of orc grunts and a couple chain sworders here.
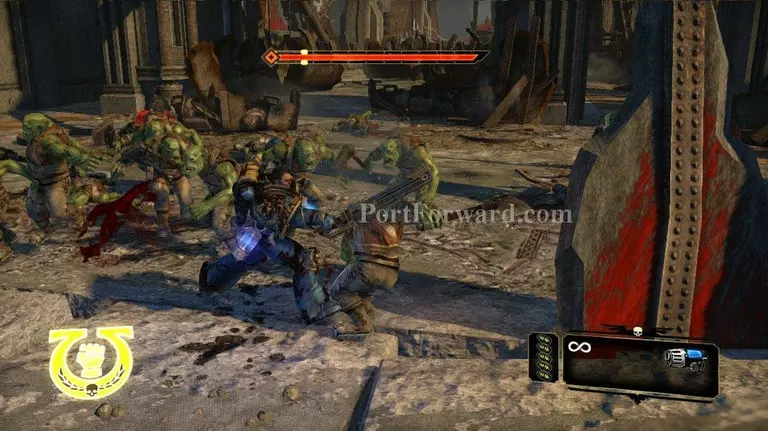
I ended up using my fury to get through this first wave.
After the first wave there will be more orcs and chain sworders rushing you. They will not come in as great of a number. I even thined them out further with a grenade or two.
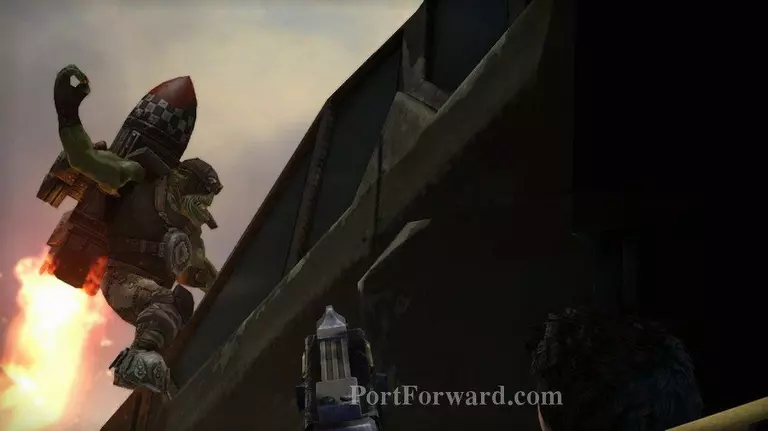
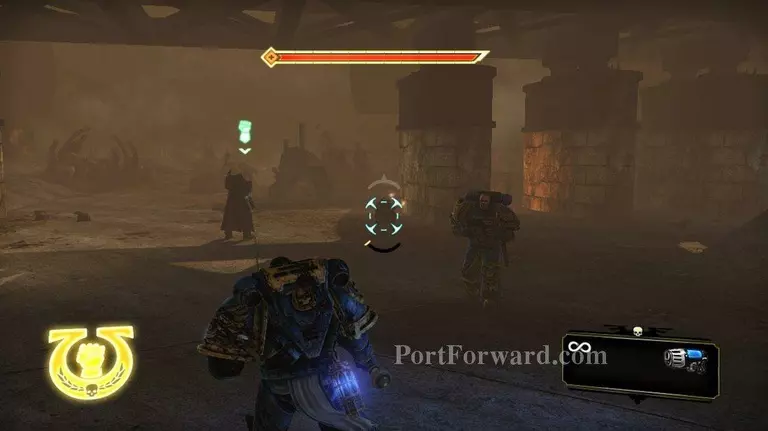
You will have small groups of two or three chain swording orcs rushing you. They are not too bad, but keep in mind the shootas that are posted in the tower. Try to stay behind some shelter as you fight or those shootas will take you out.
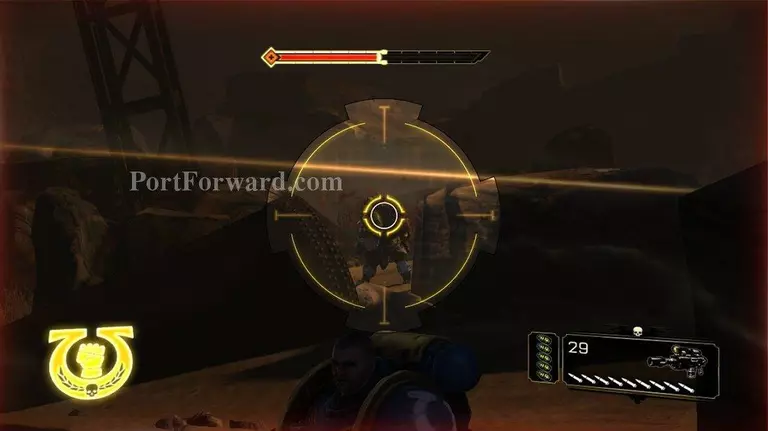
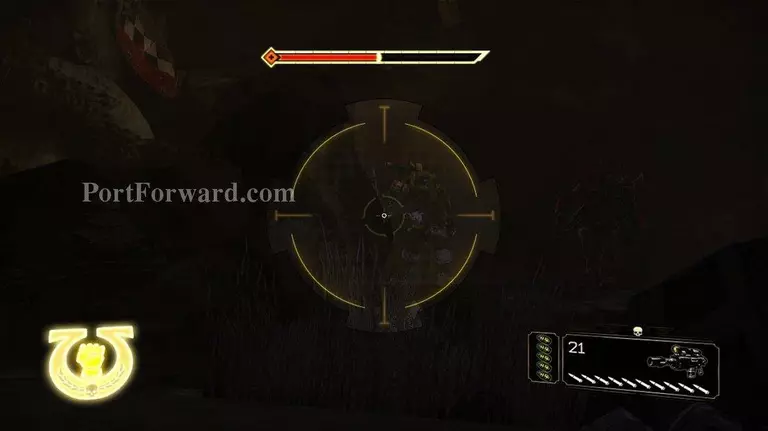
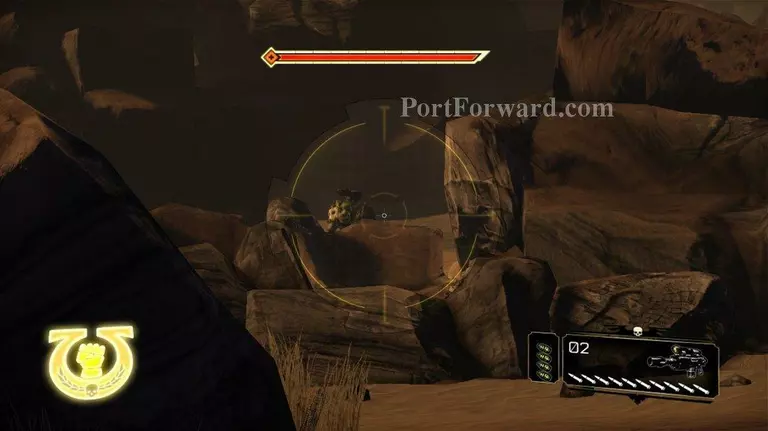
When the grunts and chain sworders have been taken care of, start sniping the shootas.
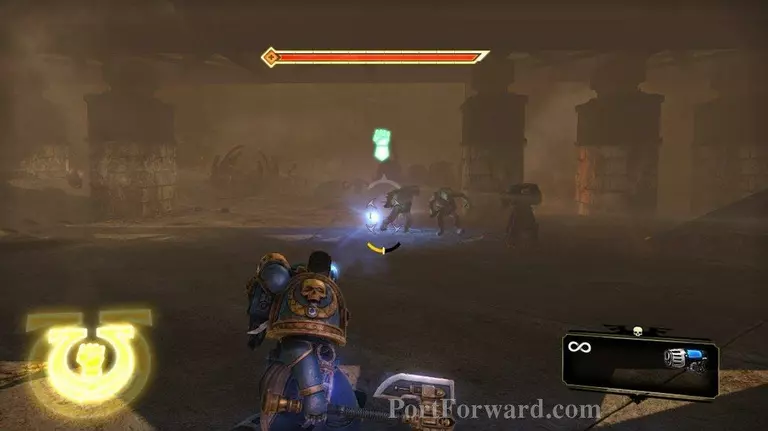
After the shootas are dealt with, move forward. You will be rushed by a small number of grunts and gretchen.
Moving forward a little bit more, will bring you to another small group of grunts and chain sworders. Eventually you will run out of orcs to kill here, and you'll be able to get to your pick up point. The hardest part of this small section is the initial wave of orcs.
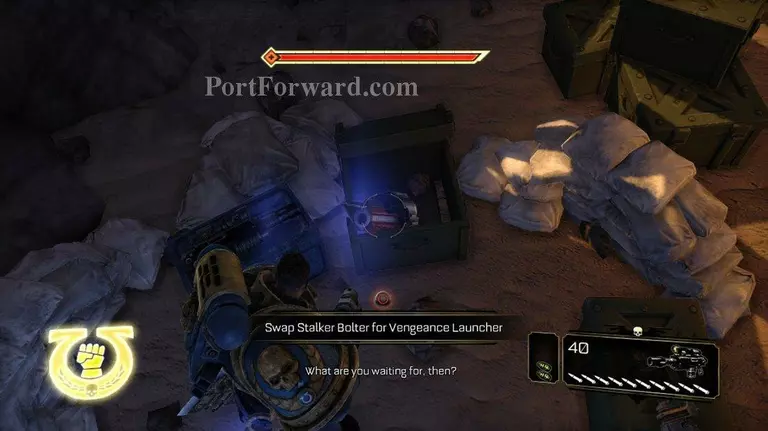
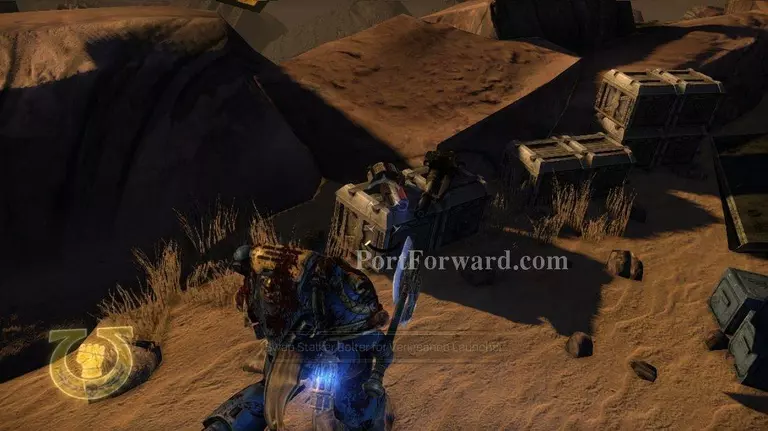
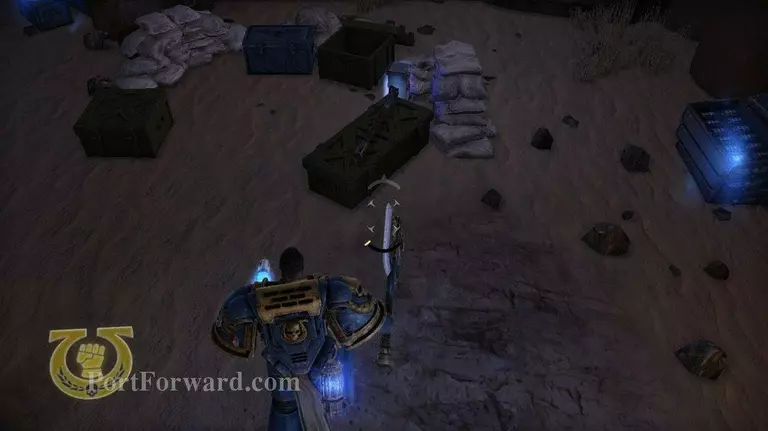
Yea! We can finally have a Melta Gun and a Stalker Bolter at the same time. The Melta is a much better heavy weapon than the Vengeance Launcher.
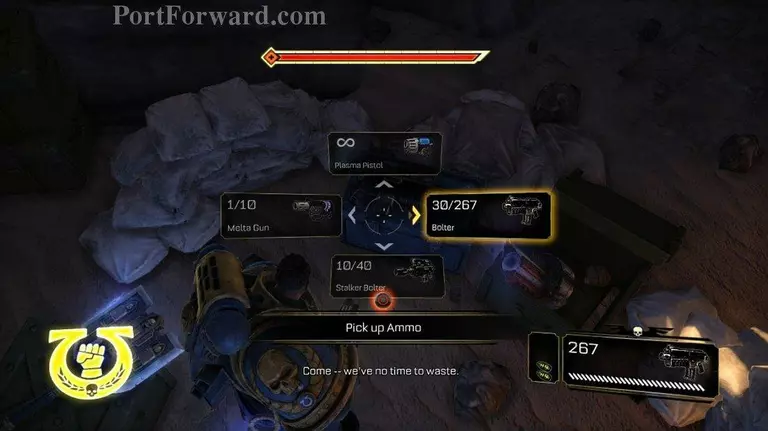
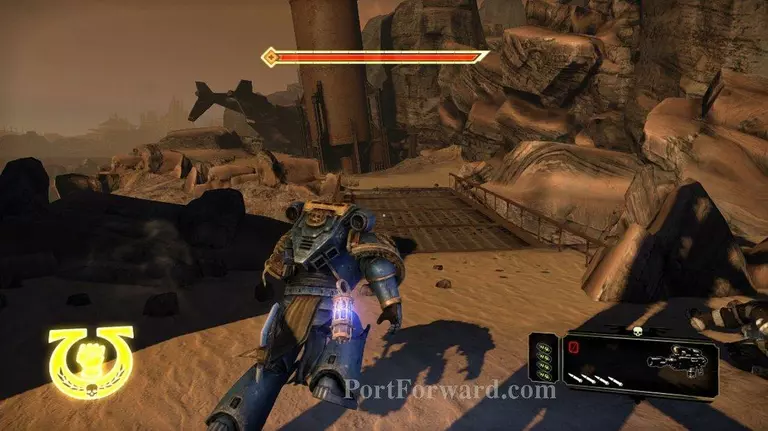
Be sure to grab the power axe laying on a box here. It's way better than the chain sword, and you will be doing some hand to hand fighting before this chapter is done.
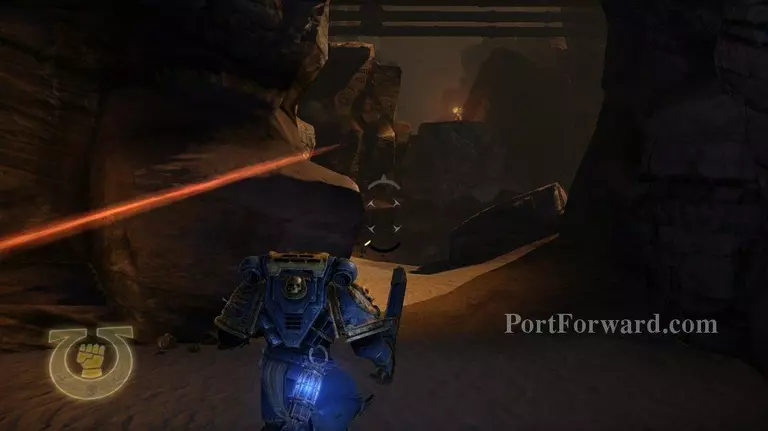
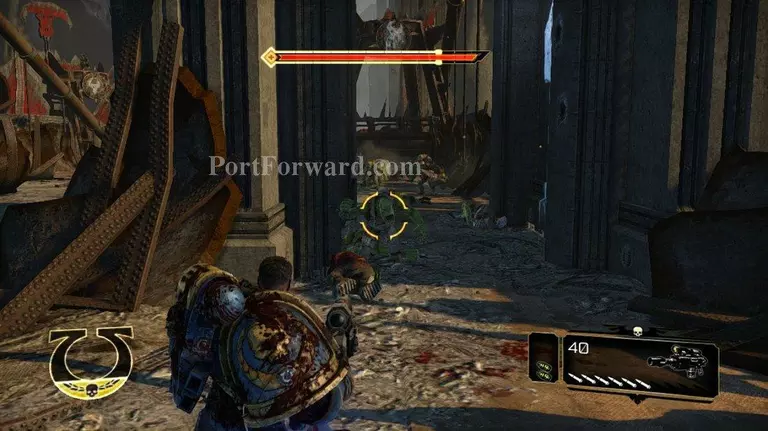
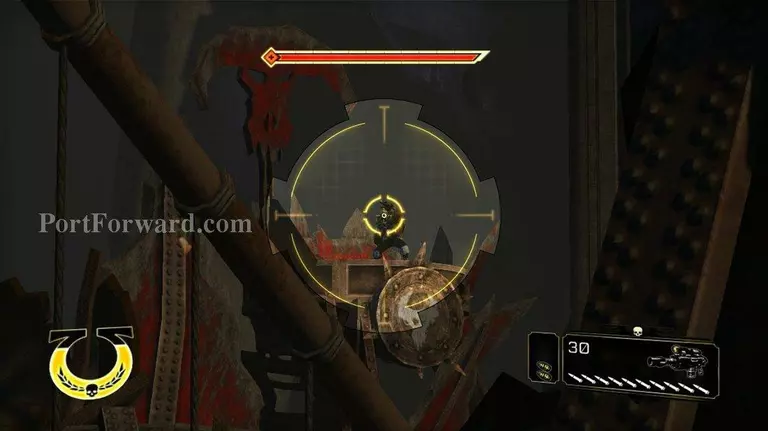
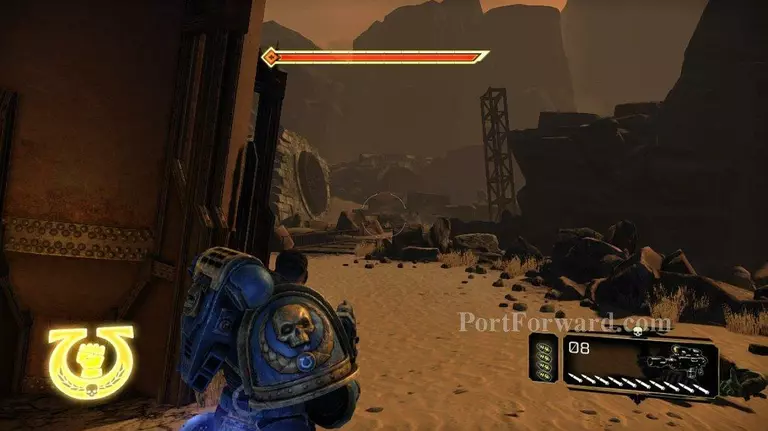
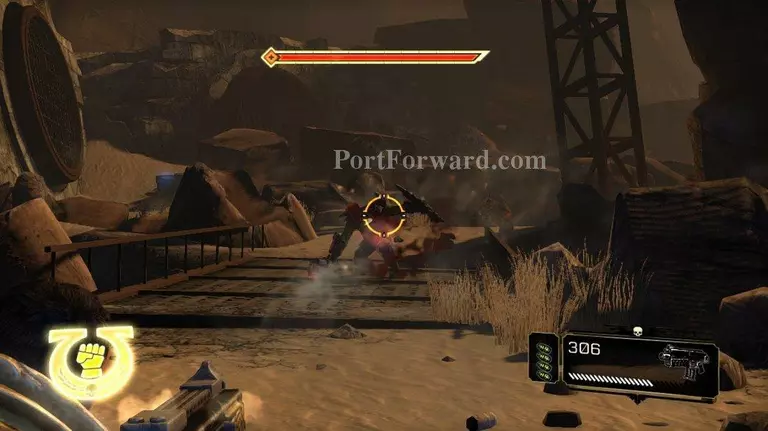
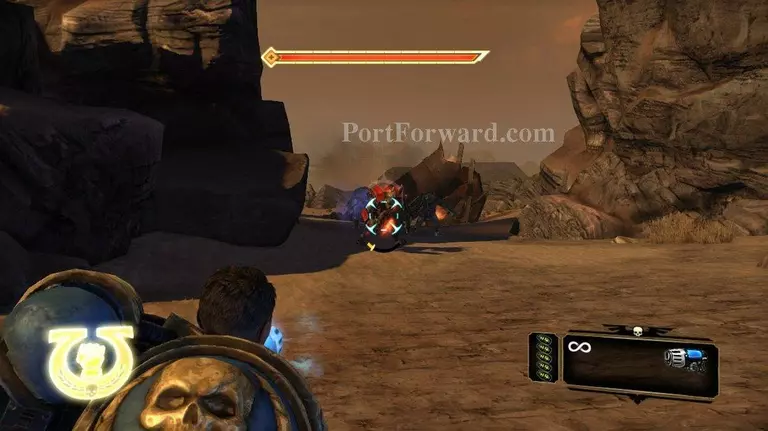
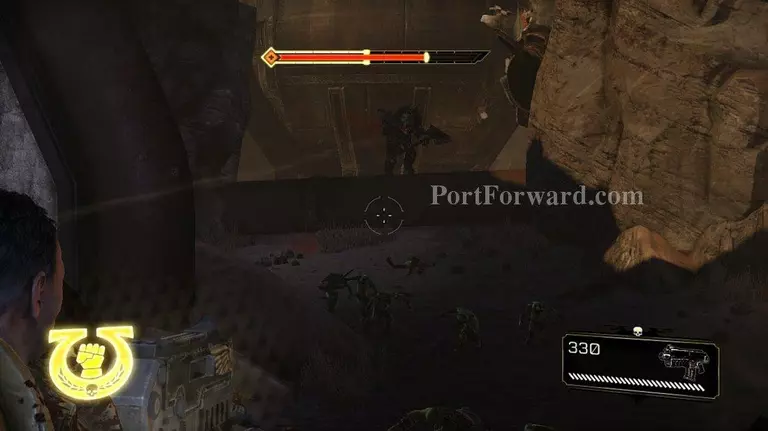
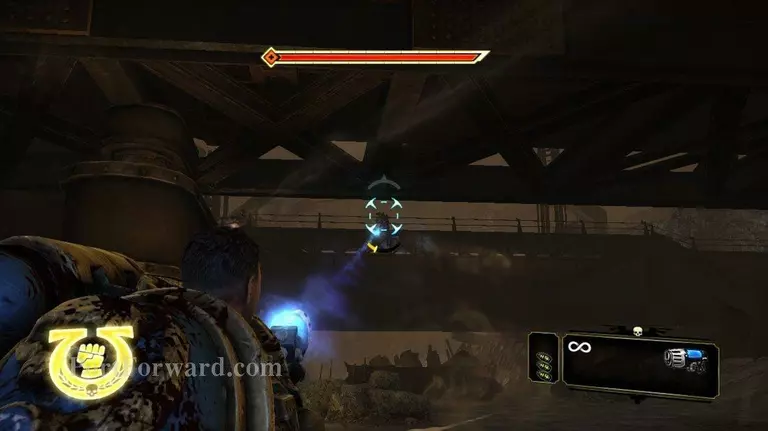
Move forward until you see a shooter poping shots off at you. When you get to this point you'll encounter several shooters and shootas on high ground. As you move forward you will be rush by waves of grunts and chain swording orcs. Really it's better to take out the shootas quickly or you will be constantly hit by rockets.
There's two shootas in the photo and three of them in that direction. Take them down fast.
You'll be hit with a small wave of orcs. They will be pretty easy with the shooters and shootas gone.
As you move slightly forward, you will be hit by another wave of orcs. This one will be slightly larger than the last one.
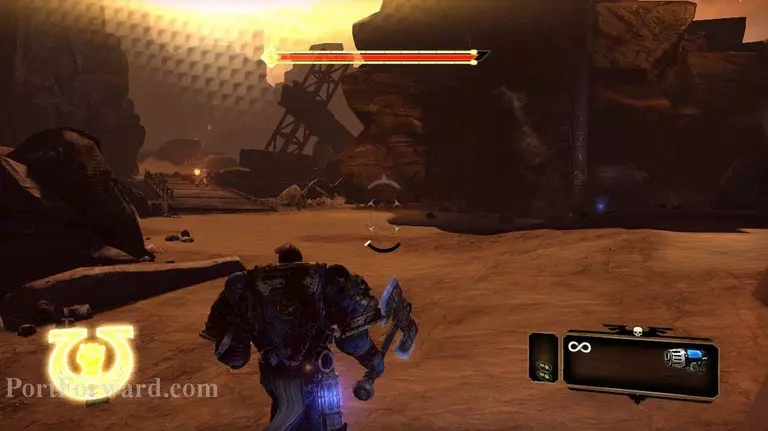
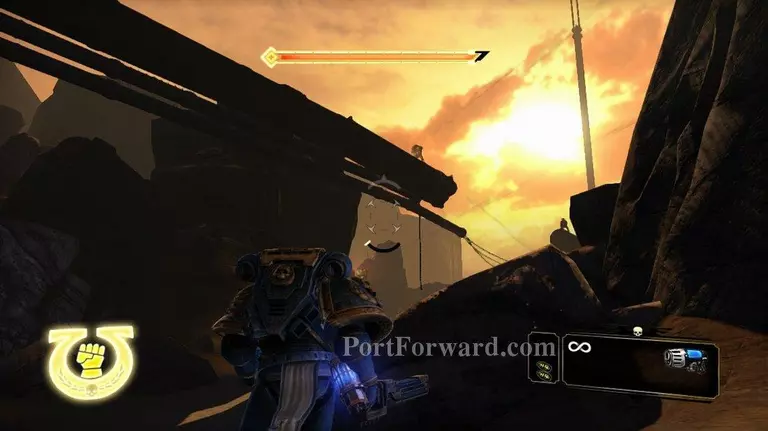
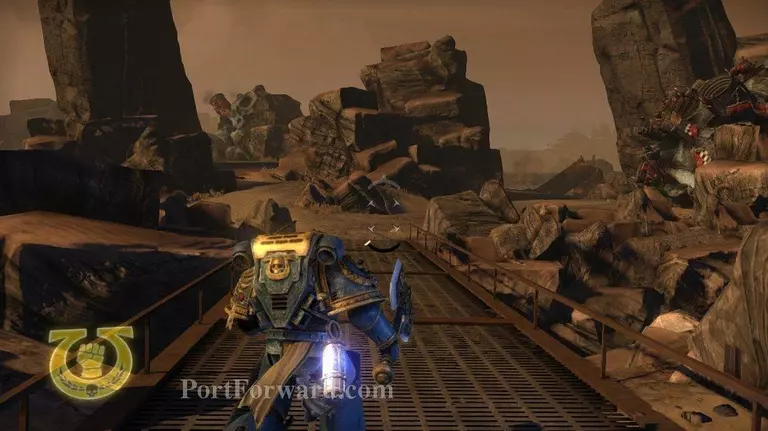
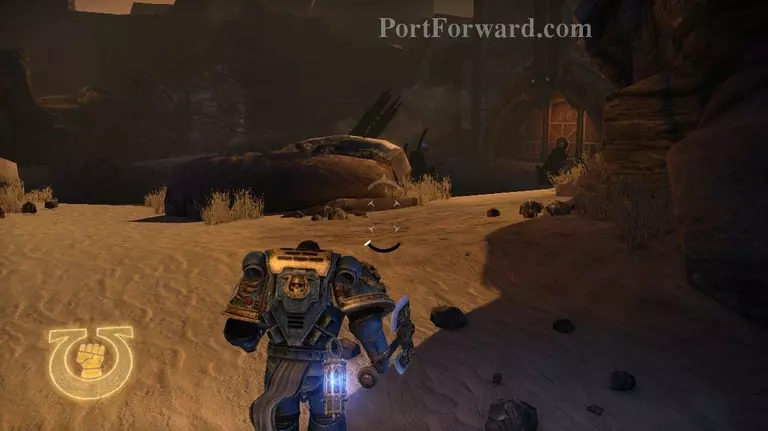
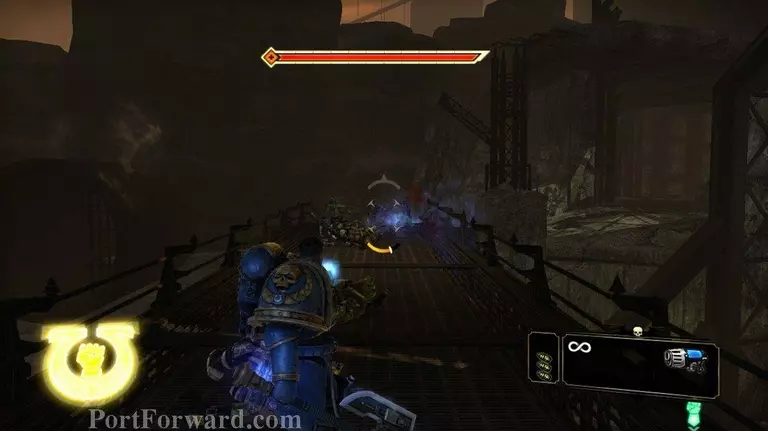
Moving forward you will come to a bridge with an orc shooter on it. When you kill him, an orc pod will drop and take out the bridge. We'll have to find another way to get over there.
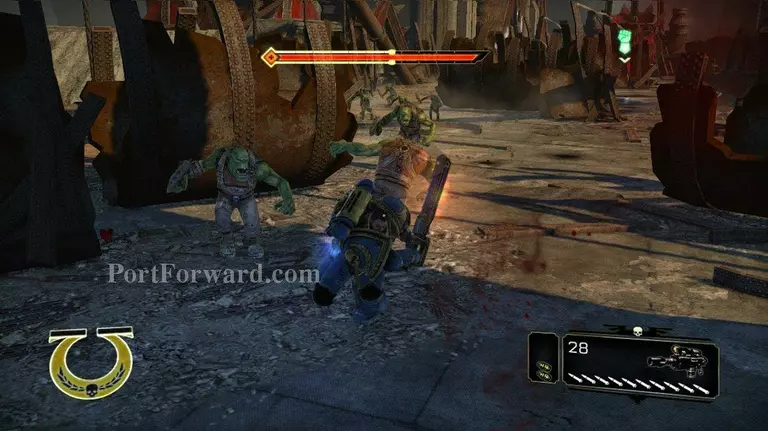
As you move forward you will be rushed by a chain swording orc and a shoota.
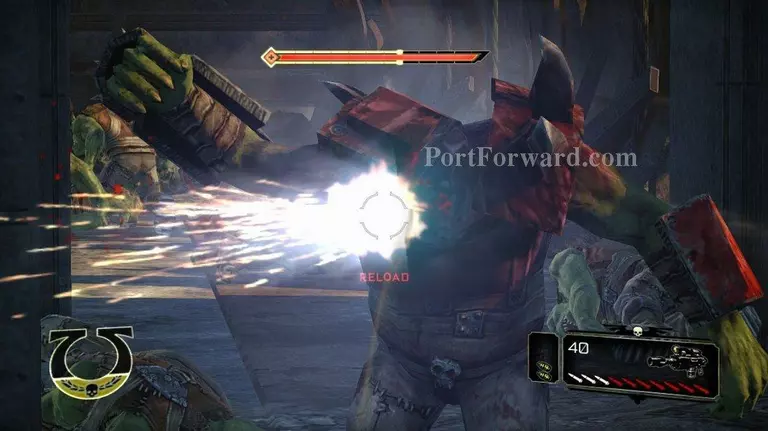
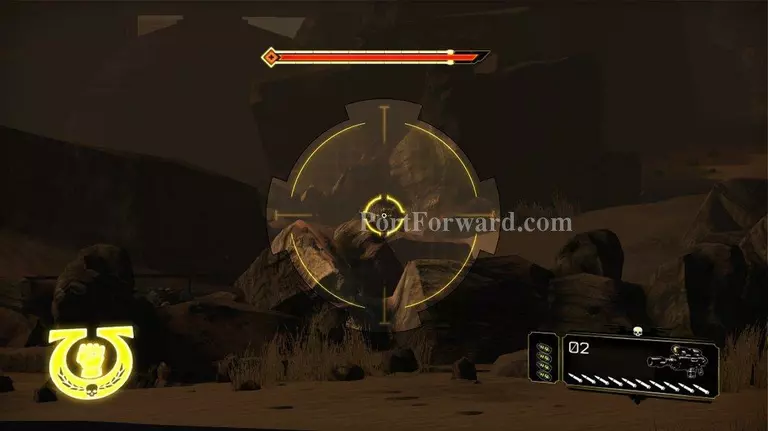
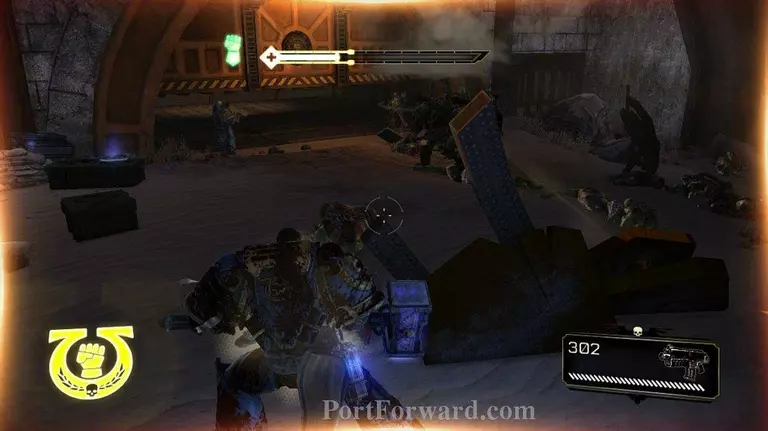
Rounding this corner you will run in to a ton of shootas. They can be rather unforgiving. You need to take these guys out fast. Their combined vollies will vanish your shields and health in the blink of an eye. So I'd switch to the stalker bolter, and not waste time with the pistol.
I think there are four of them. They are tough and hard to hit.
As you move forward an orc pod will fall from the sky.
Four chainsword orcs will pop out of it. You can scrape them off on your squad by backing up and shooting at them. Then you can select one or two to take out at a time. You really don't want all four of them bashing on you at the same time.
When they are gone take out the shootas that have appeared on the battleground. There should be three of them.
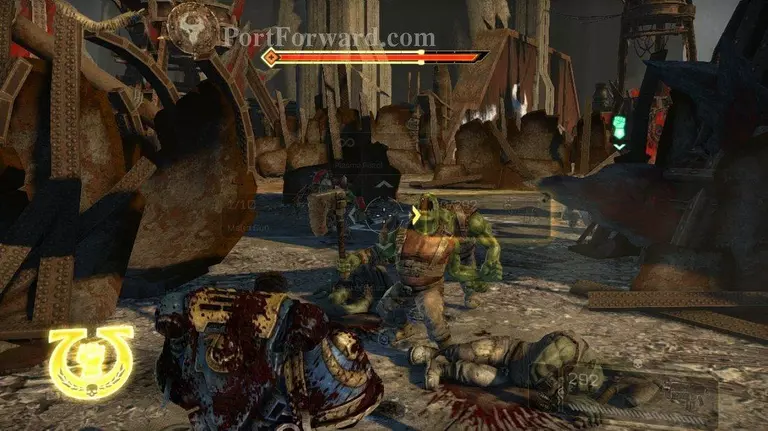
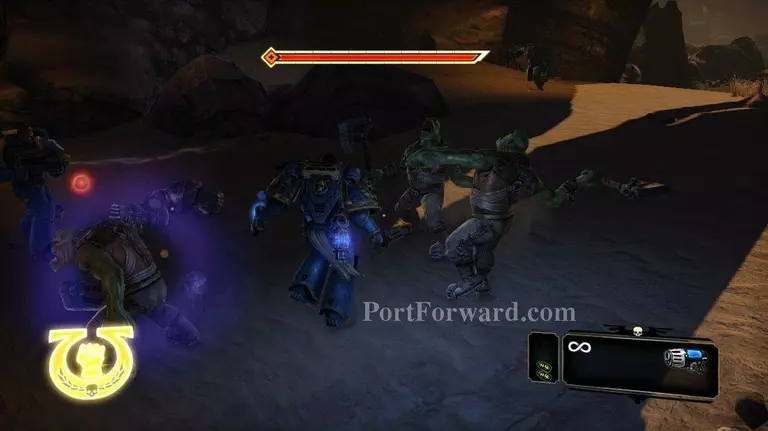
Another pod will drop as you move slightly forward.
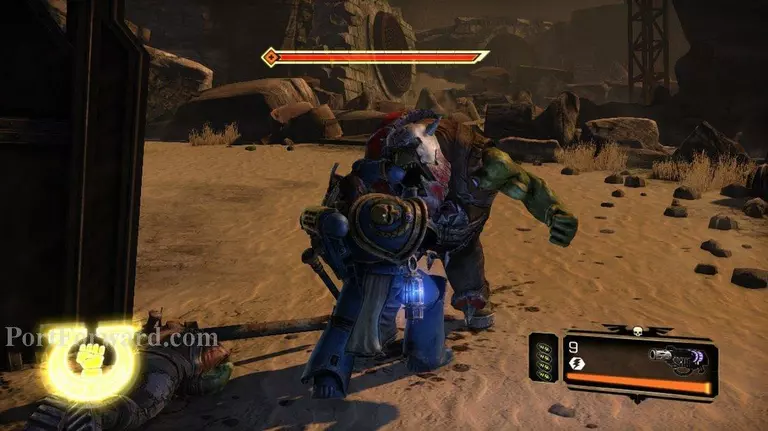
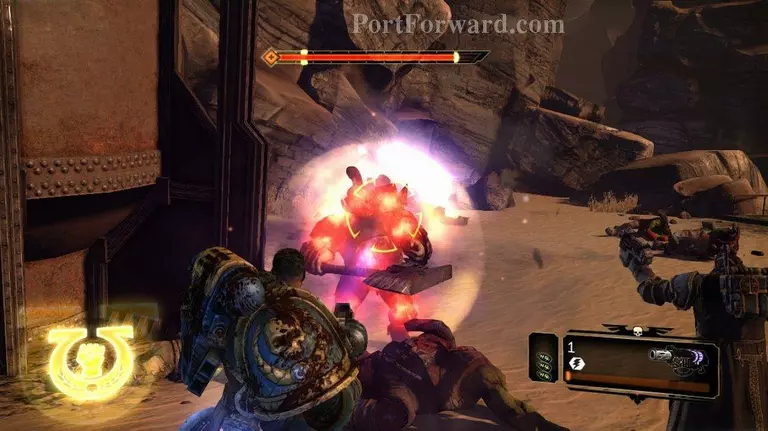
It will be filled with shootas, chain sword orcs, and a Nob.
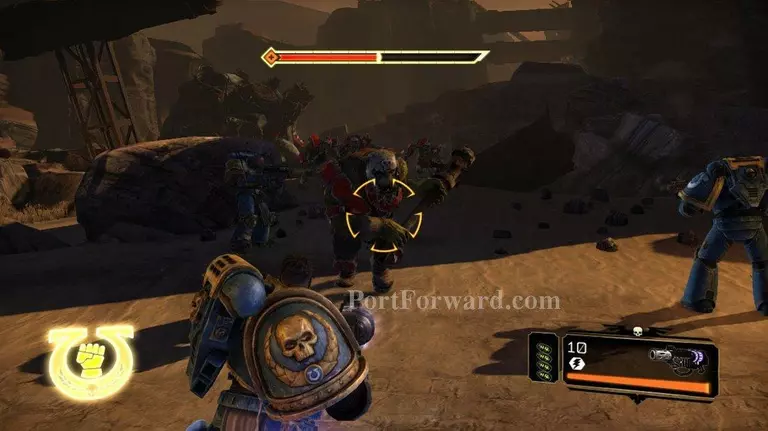
I didn't want to mess with these guys too long, so I whipped out the Melta and let them have a taste of fire.
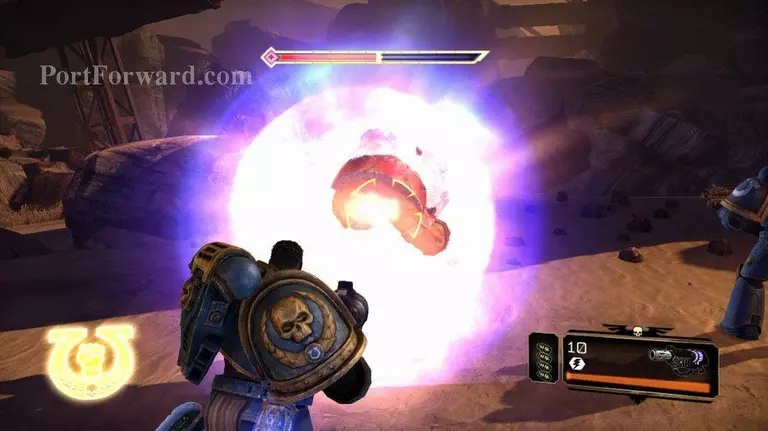
As always the Melta is your best friend.
When you finish the melee, switch back to your stalker bolter and take out any shootas that have been left hanging around.
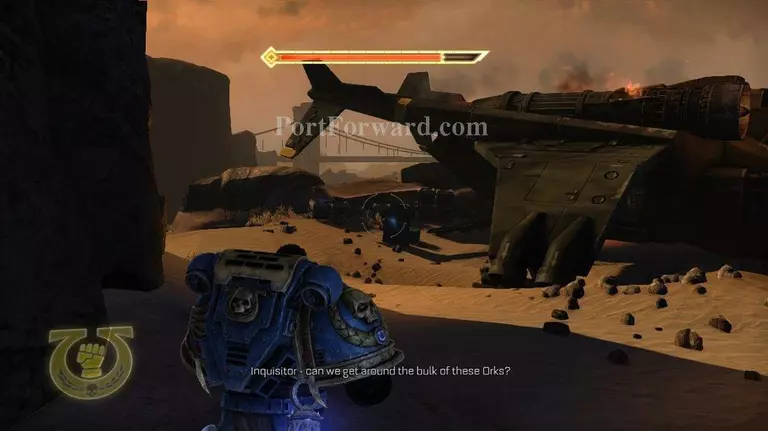
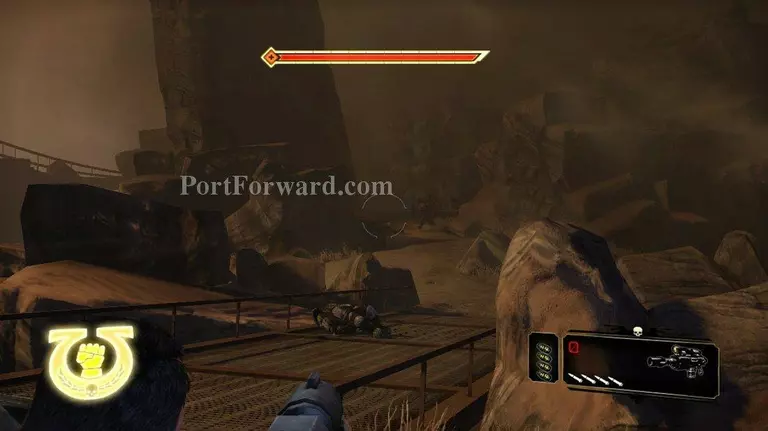
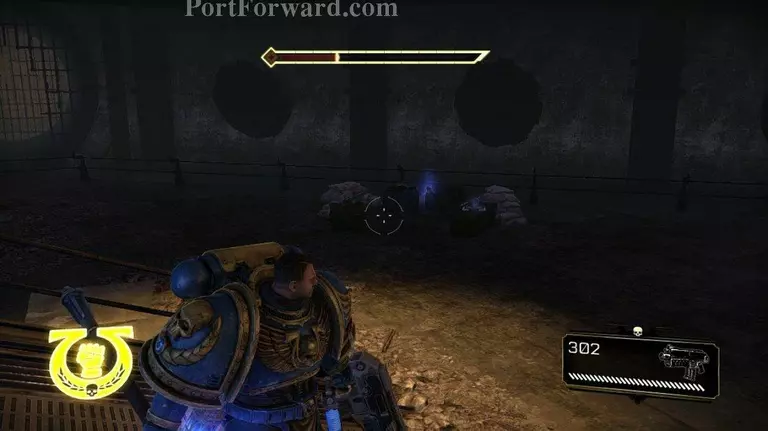
Moving forward. You'll come to a stock pile of ammo next to a downed bird. There are a lot of orcs coming up. Conserve ammo when you can because the end fight is really nasty.
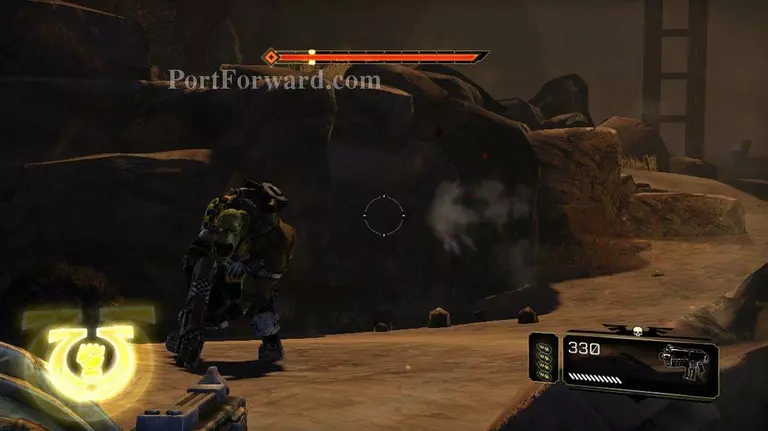
My stalker bolter was pretty low on ammo, and there is a laz cannon laying by the downed bird. So I decided to use my stalker bolters to take out all of the shootas from a distance. There are quite a few shootas, some grunts that will charge you on the first shot, and a Nob across that bridge.
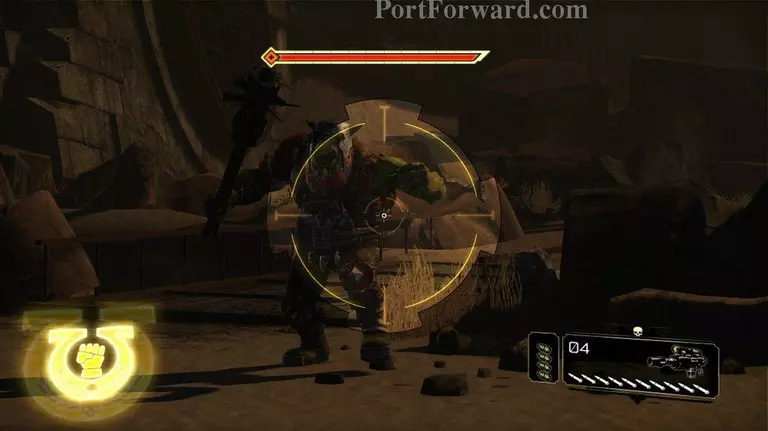
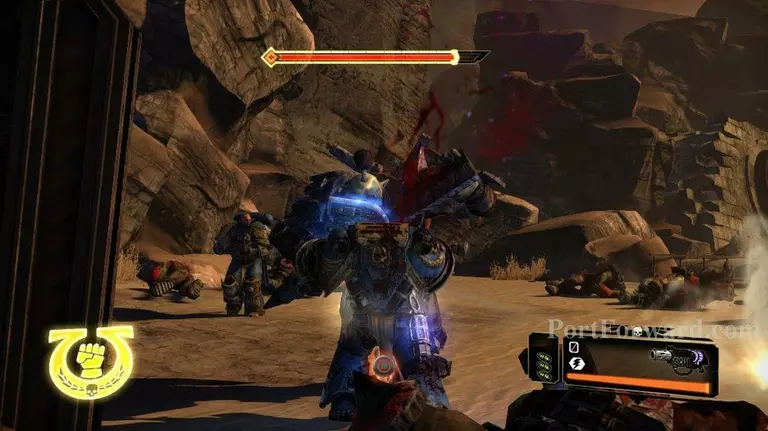
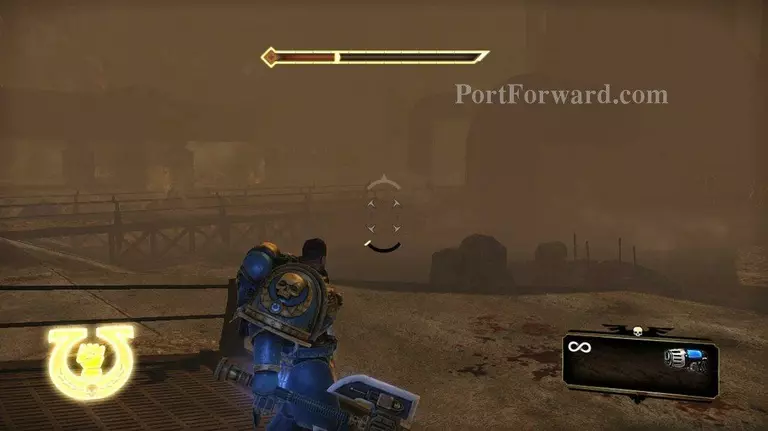
There's a Nob on the other side of that bride as well. When you start shooting him he will charge you.
He comes alone so he is fairly easy to take care of.
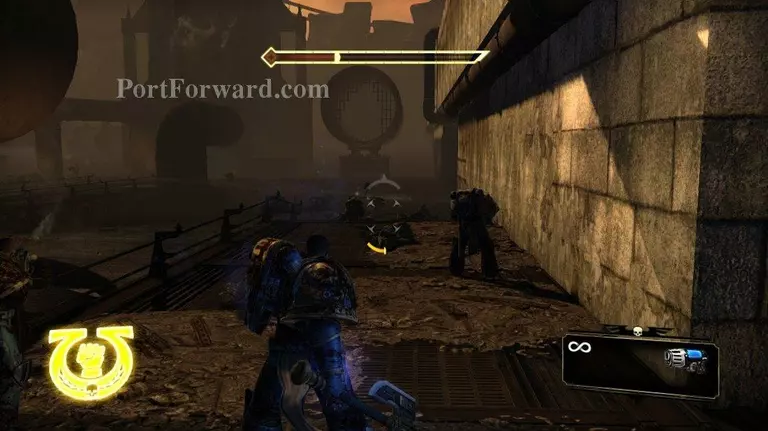
When you end up crossing the bridge there might be a shooter or two waiting for you. Now that they are thinned out it's easier to melee them than it is to shoot them. It also helps conserve ammo, which you will need shortly.
There are two shootas to the right. When you run down to melee those two, there will be another one behind you.
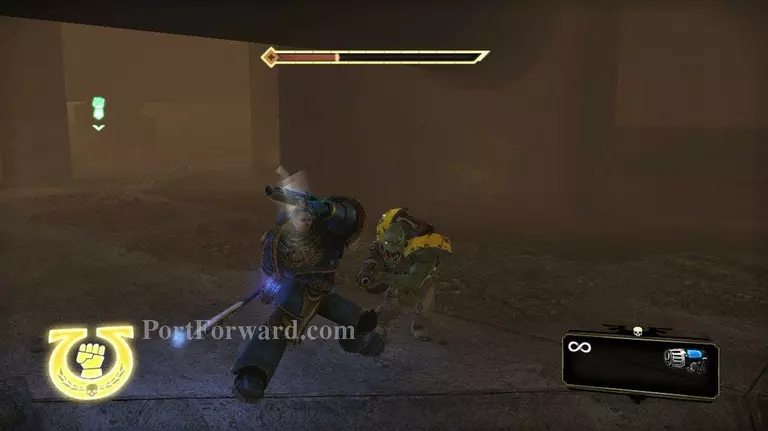
All in all the shooters are pretty easy to melee, assuming that you can dodge the missles they are shooting at you.
The last shooter should be waiting on a hill side behind a rock.
Across the gully there should be three more shootas, and another shoota on the bridge. That's assuming you haven't already taken the shoota on the bridge out. You can snipe him from next to the downed bird before you ever get to this area.
The key is to take out everything you can on the other side of the bridge.
Two orc pods will drop in when you get close to the bridge. I find it easiest at this point to run back the way you came.
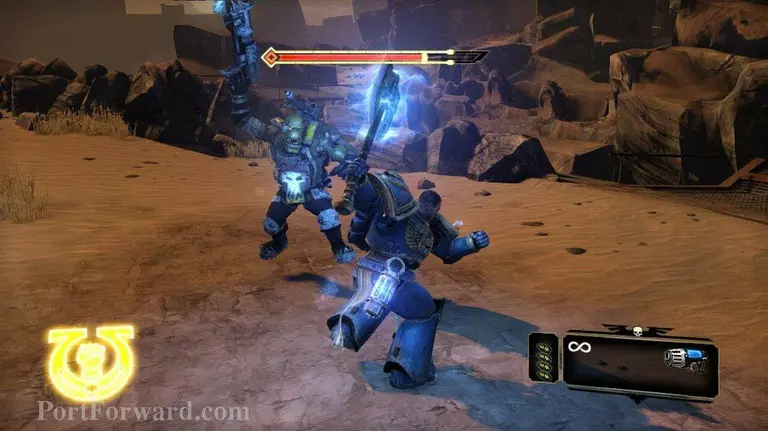
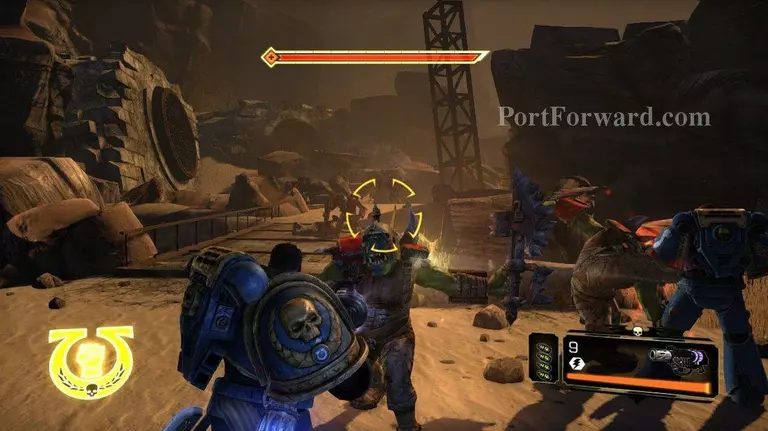
Run across this bridge and then make your stand there. A ton of orcs dropped with those pods. Shootas, a bunch of chainsword orcs, a Nob, and a super Nob. They will all be showing up here minus the shootas. It's enough to deal with without the shootas lobbing always on target missles at you.
Take out as many chain sworders as you can when they start to arrive.
Don't mess around too long. I'd whip out the Melta and reduce their numbers quickly. You don't want to be messing with chainsworders when the Nobs arive.
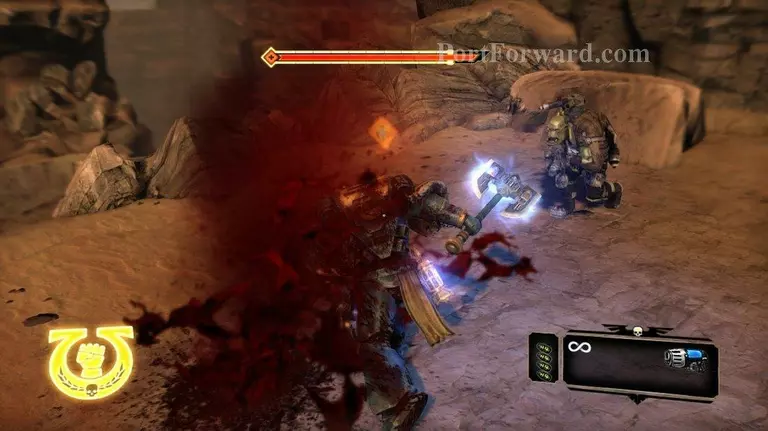
Take out the frist Nob that gets to you quickly. Hopefully the long run to get here has separated them a bit. Don't mess around in this section. Empty your Melta if need be, because there are enough reloads to fully reload it before the next battle.

I had just enough time to take out the Nob before the super nob showed up.
Even then I kept hitting him with my Melta.
I had just enough juice left to melt him to execution.
When you are done with that huge wave of orcs, go back to the downed bird. Restock whatever ammo you can restock. I switched out the Stalker Bolter for the fresh Laz Cannon. Then pick up every ammo crate you see until the next big battle. We should be on ammo conservation mode from now until then.
You might have a couple shootas to mop up in this area. When they are tagged and bagged, head off to your right.
You will be rushed by a chain sword orc and two grunts. Further on there will be two shooters.
Keep moving forward. You will eventually see a large door with some ammo crates in front of it. This is the place where the next big batttle will take place. Don't worry about blowing your ammo here. This is a huge battle, just worry about coming out alive.
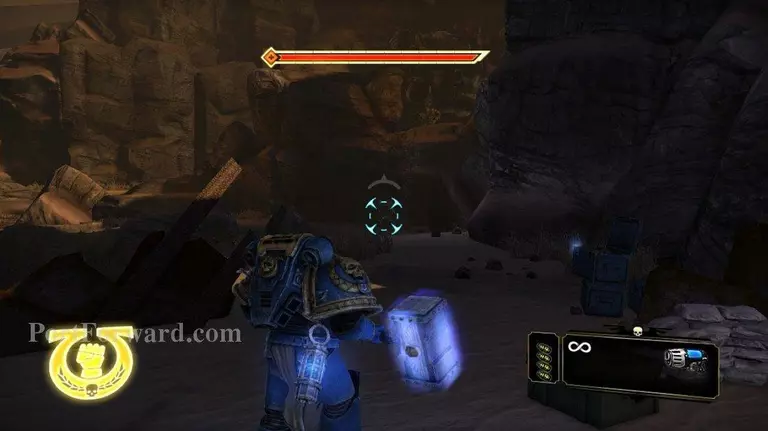
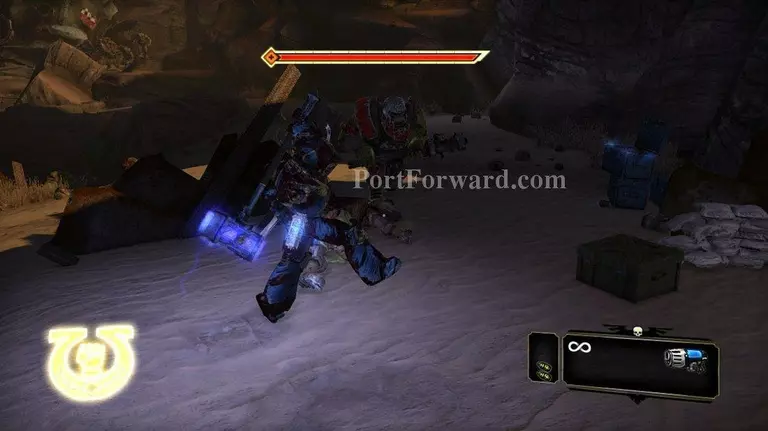
The best way to fight this battle is to pick up the Thunder Hammer on the crate in front of the door. It's really the easiest way through this section.
A wave of orcs chainsword and grunt will drop off of a cliff face to the right.

An identical second wave will drop into the area before the first wave even gets to you. They will start coming in slightly to the left of where the first wave entered.

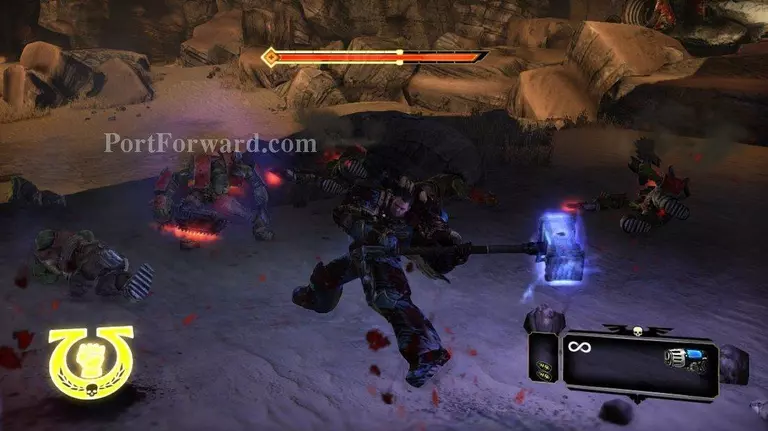
I think their might be four or six chainsword orcs here. Along with a ton of grunts. It's hard to tell with the Thunder Hammer making them go poof so quickly.

An orc pod will drop in. The cool thing about the Thunder hammer is that you kill the orcs so fast that you have time for your shield to regen before the next bunch gets to you.
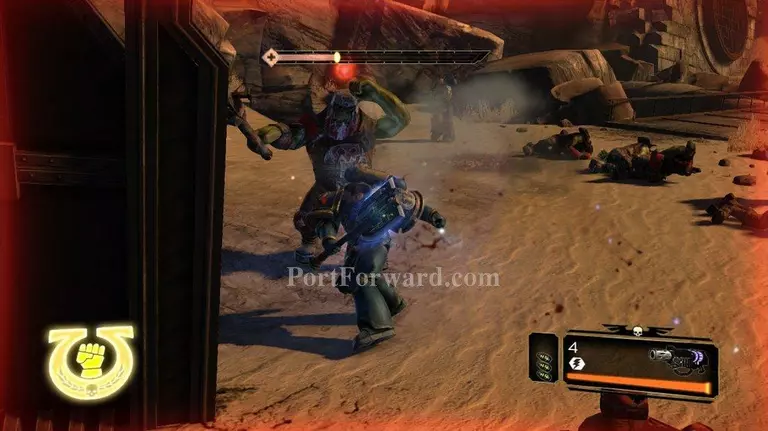
A nob will attack you next.
A group of orcs and chainsword orcs will be right behind that nob, so finish him quickly so you can work on the next batch.

Another pod will drop into the area. There's about four shield orcs, a couple chainsword orcs, and a ton of grunts that come out of it. Thankfully these are all short work for your thunder hammer.
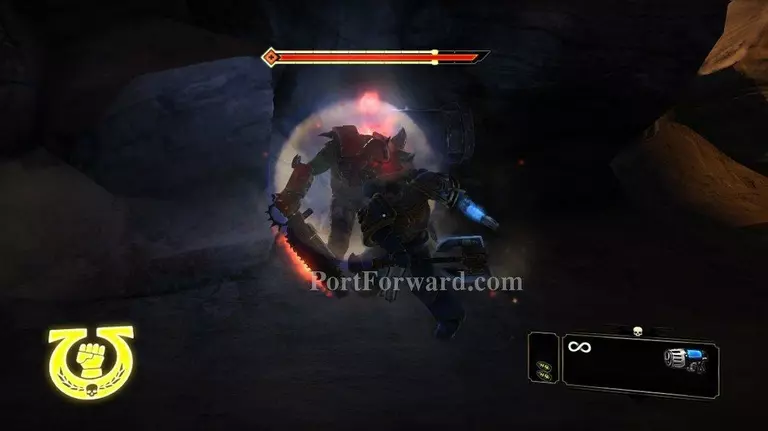
When the last batch of orcs are finished, two Super Nobs will appear out of the last pod. You don't have to fight these Nobs. Just run them around for a second or two and the door will open.
When the door opens, run through it to get to the next section.
We've got weapon swaps and ammo reloads inside. When you are finished swapping and reloading, follow the Inquisitor through the next door.
Move forward a little bit, and you'll trigger waves of orc grunts. The grunts will come with squigs so be on the look out for them.
This is a good place to refill your health if you need to. But don't get caught in an execution, with a squig on top of you.
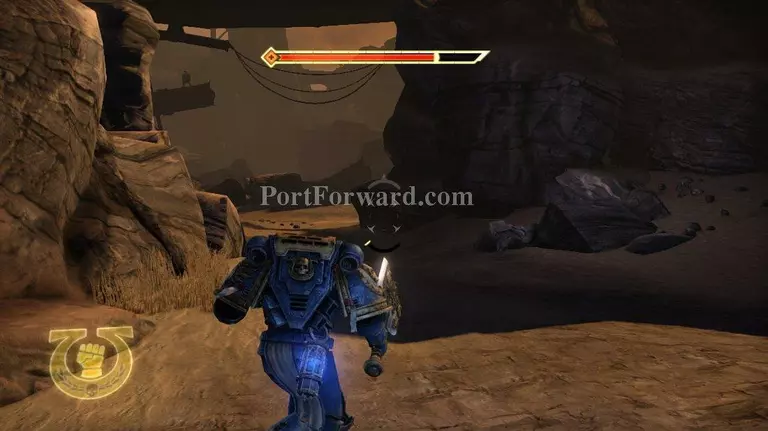
When you have cleared the field of grunts and squigs move forward. You'll come to a shooter. Take him out.
There will be the occasional orc and squig attacking you as you continue on.
You will go through one set of pillars, and close to the next set you will trigger another wave of orcs and squigs.
The orcs will be grunts, and there will be a lot of them. Anyways, shoot them and move on. I would shoot them rather than melee them, because it's bad to be in melee when a couple squigs show up.

There will be a couple chain sword orcs that appear in a wave a bit further in. Probably four of them.
As you pass under a pipe, you'll see that there are a bunch of shootas on top of a nearby walkway. Shoot them while you are under the pipe, that way their missles will not be able to hit you. When they are all dead move on.
When you get on top of the walkway, you will be attacked by a swarm of gretchen. At this point you should really have no need for health packs.
More Space Marine Walkthroughs
This Space Marine walkthrough is divided into 17 total pages.


