
This Space Marine walkthrough is divided into 17 total pages.
You can jump to nearby pages of the game using the links above.
Heart of Darkness
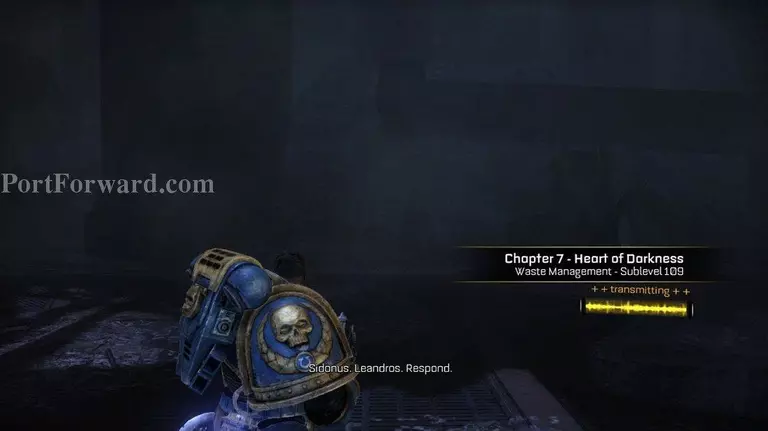
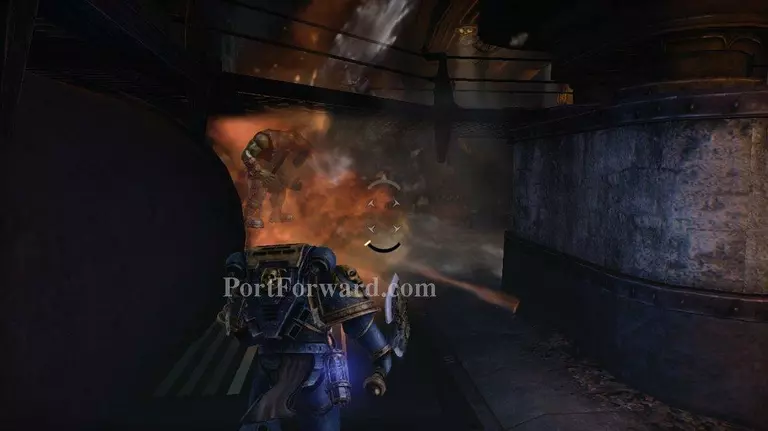
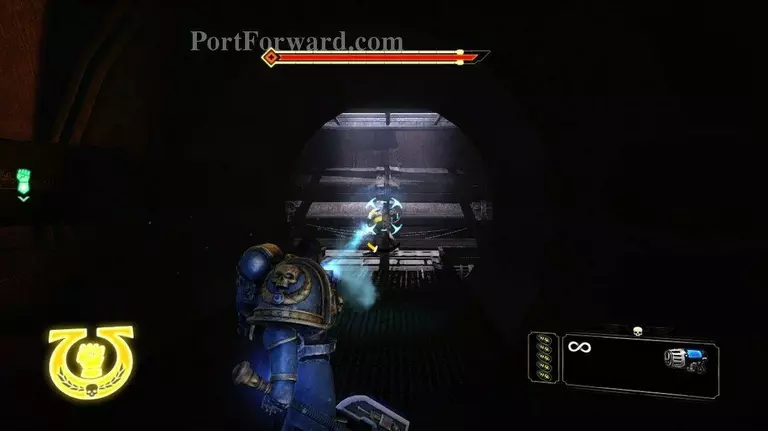
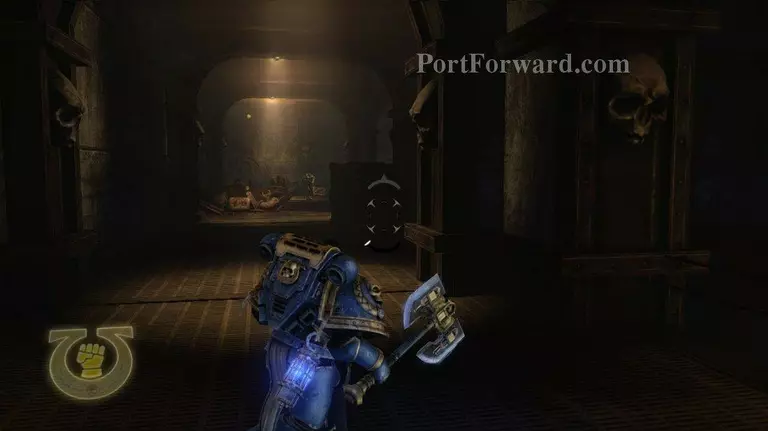
Well you didn't die. That's a good start. You are now cut off from the rest of your squad. So find the exit and start moving forward.
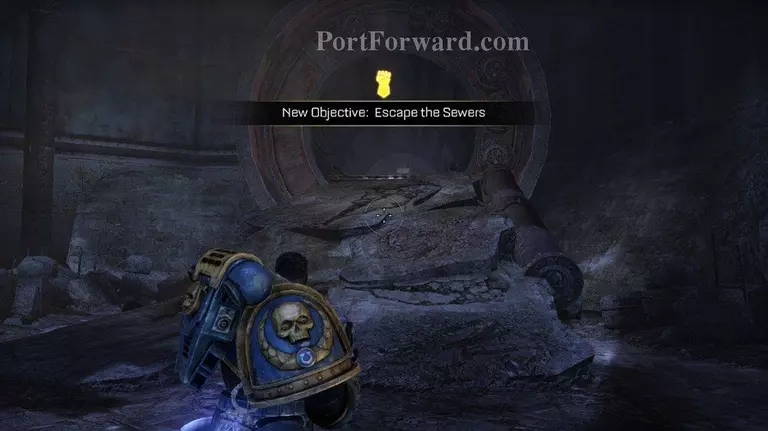
The exit looks like this huge sewer pipe with good reason.
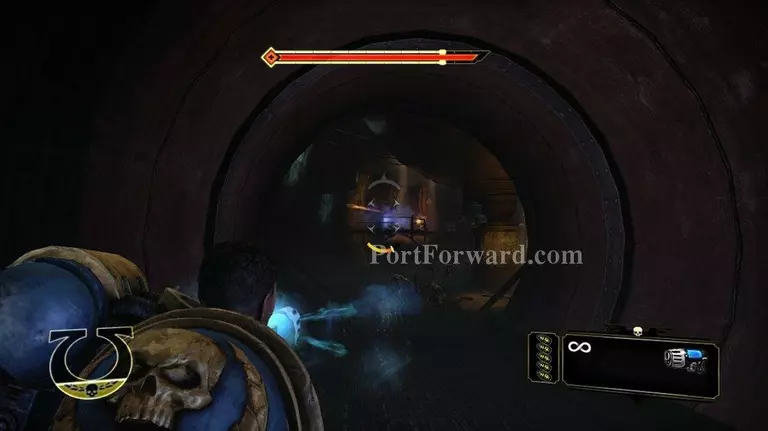
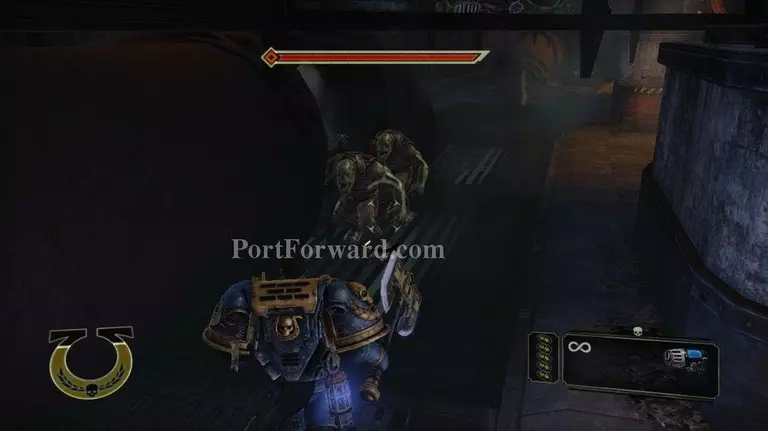
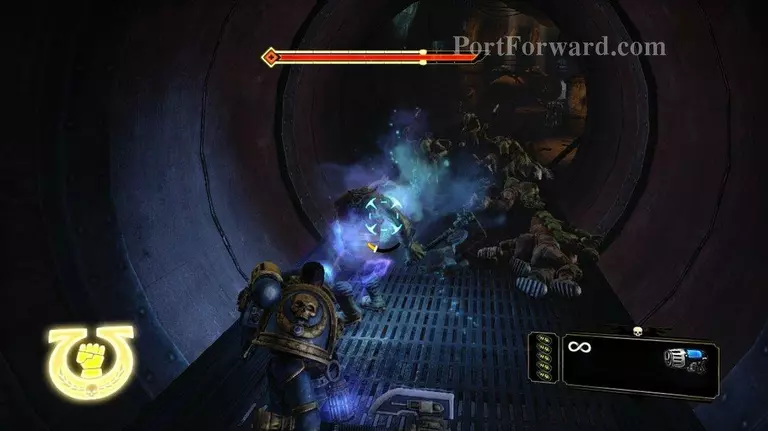
A little ways into the sewer pipe you will be attacked by a small group of gretchen. I guess this is as good as any way to regain health.
Afte those you will find a couple ammo boxes. Two of them will be behind some rubble. Just shoot the red barrels to blow it up.
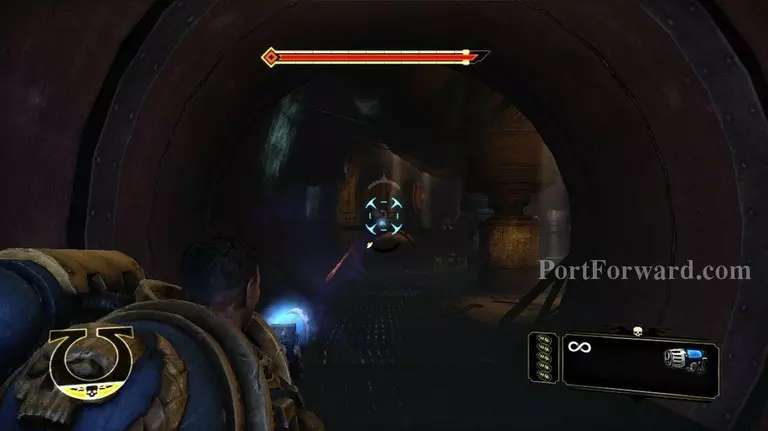
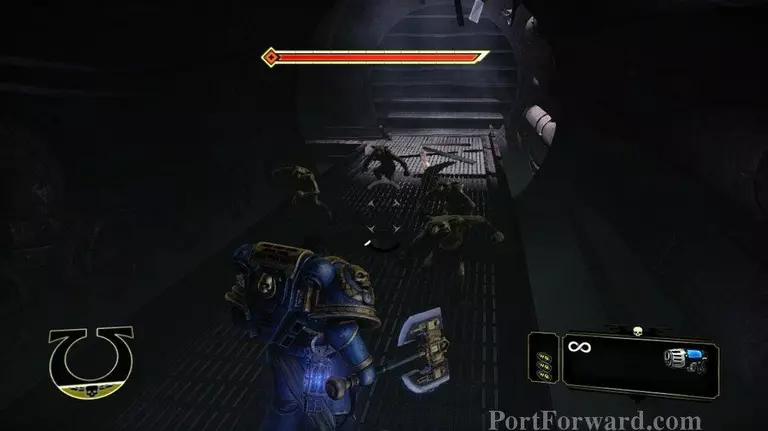
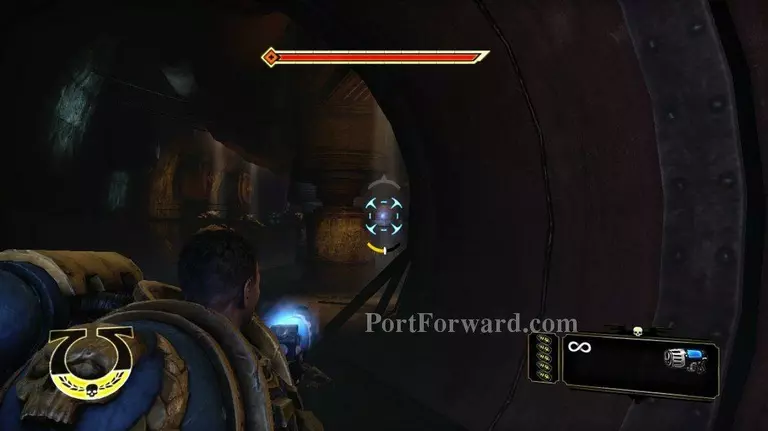
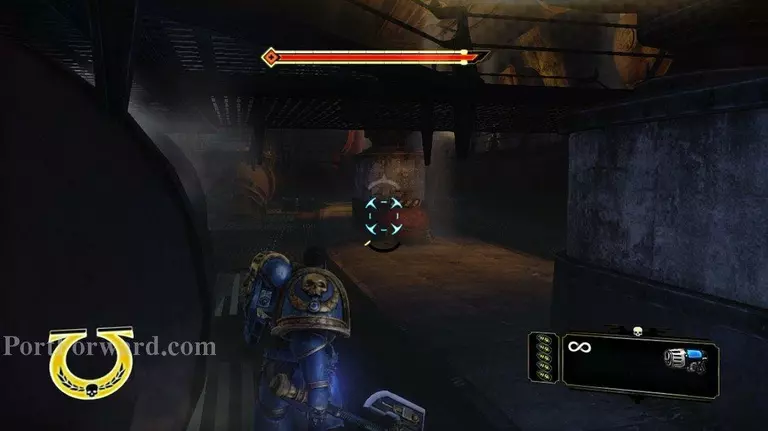
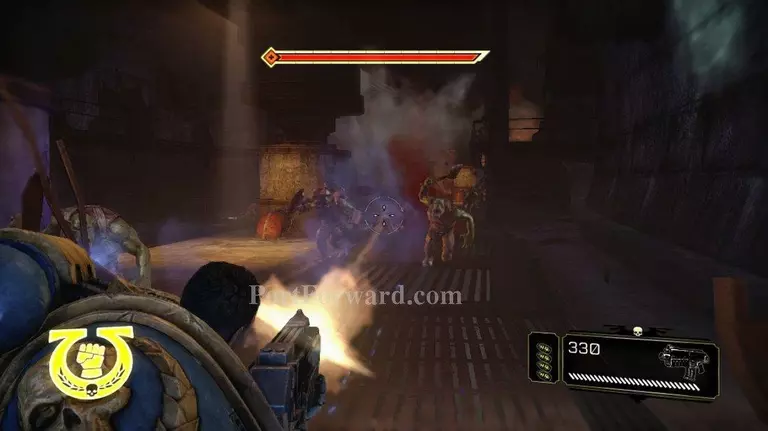
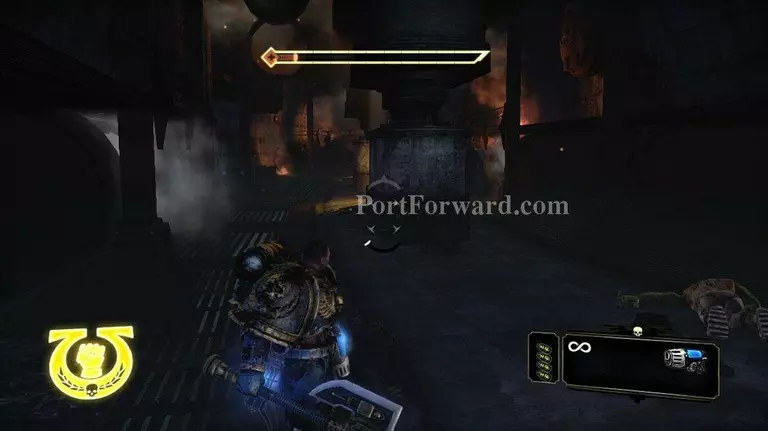
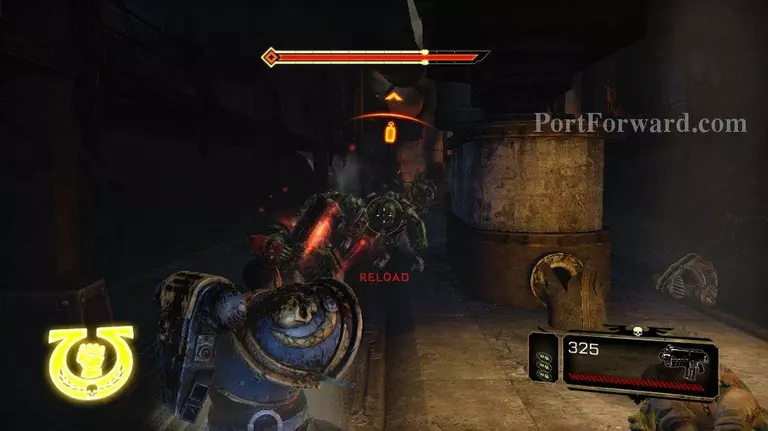
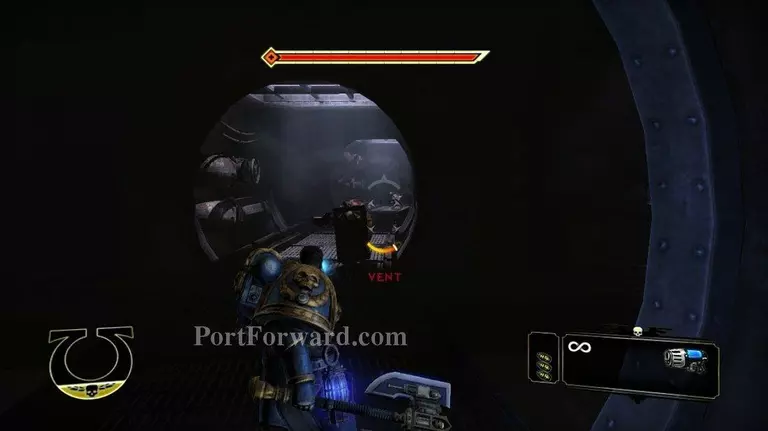
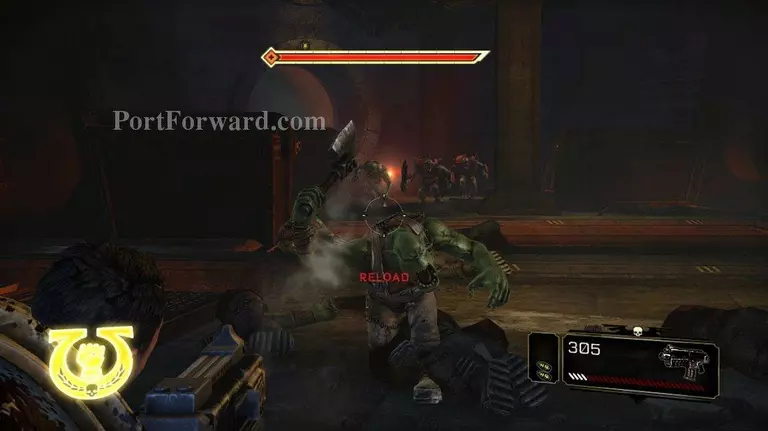
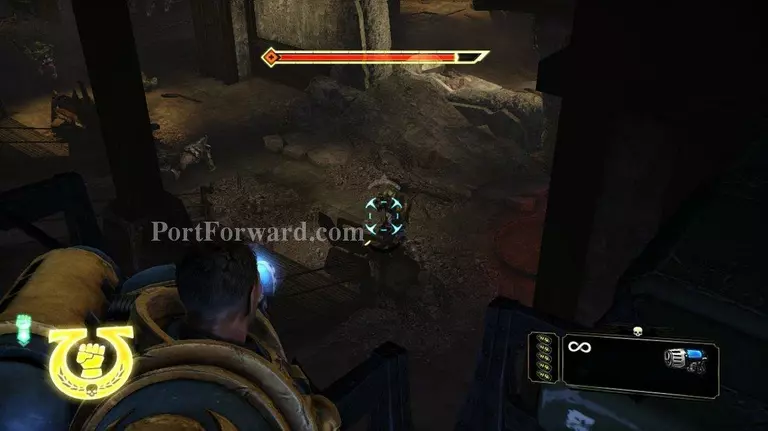
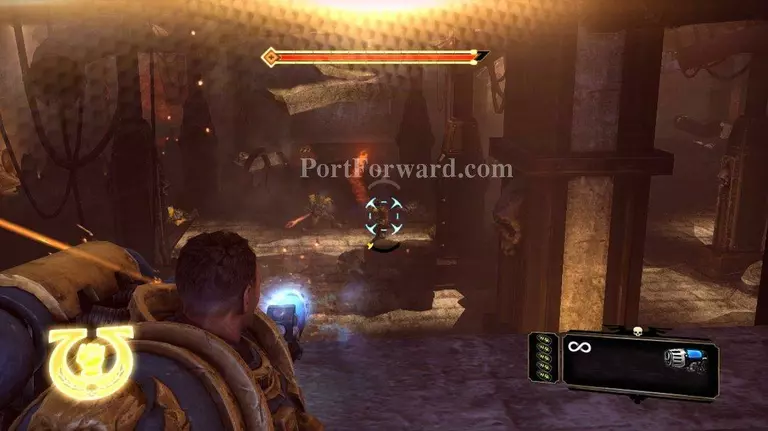
You will come to a room with some Shooters on walkways above large pipes. Do not run into this room. Just take out as many orcs as you can from a distance.
You will be rushed by a group of gretchen. Take them out and then back to work on the shooters. Be careful not to go too far into the room until you've taken out most of the shooters.
There are shooters on that side of the pipe as well. Along with some gretchen and grunts below them.
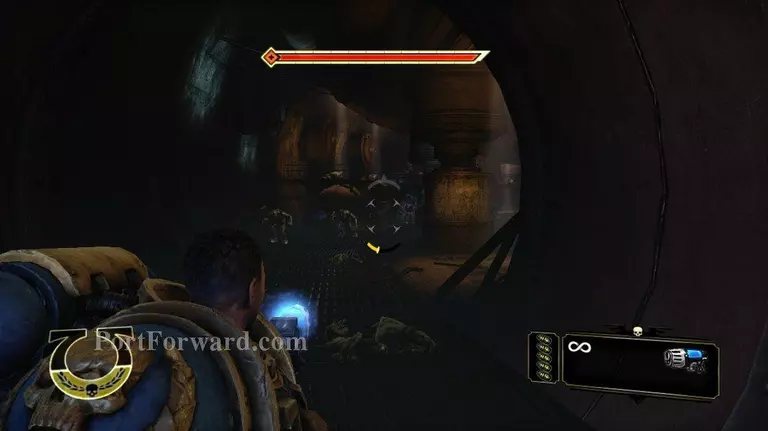
When you start shooting in that direction the grunts will run at you. The gretchen might come as well, but they might just stay put.
When all the orcs you can see are dead start making your way into the room. The pip will explode and a couple of orcs will pop out.
They are much easier to deal with when the room is cleared of other orcs.
Becareful of shooting the red bombs when you are too close to them. They will take your sheilds out in one blast. If your shields are gone when you blow them up, they will kill you outright.
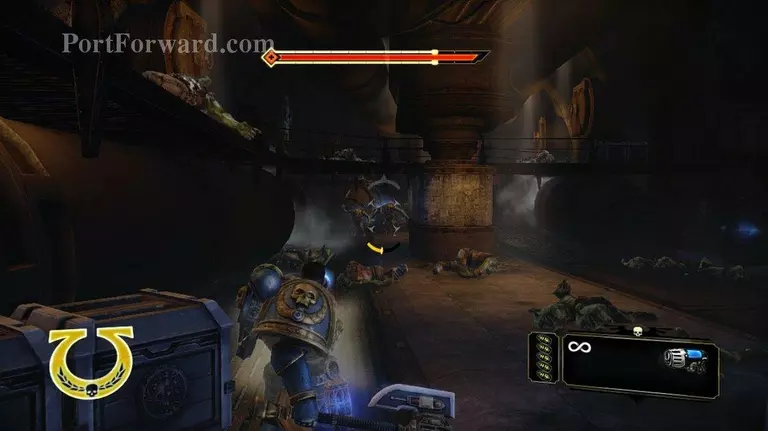
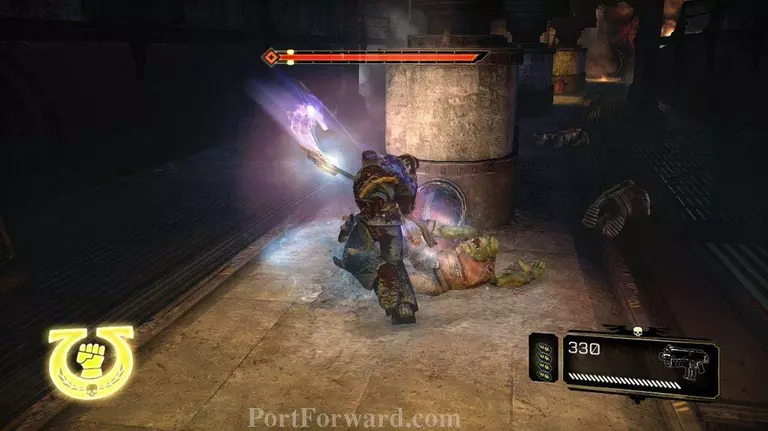
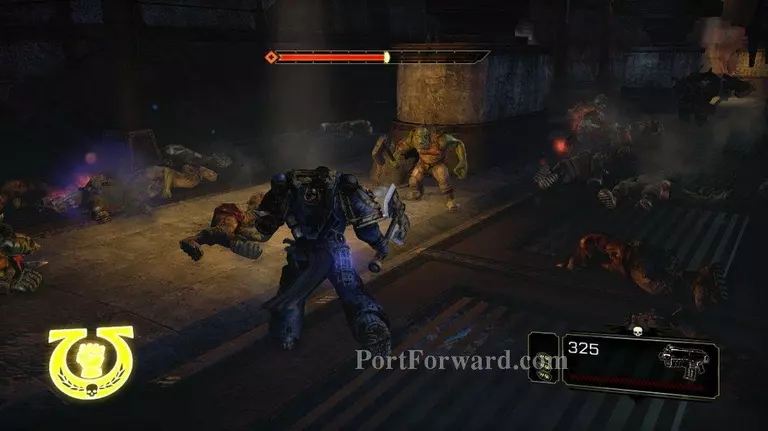
As you move further into the room a large wave of orcs will emerge from the pipes. Do a standard fighting retreat to thin their numbers, and then finish off the stragglers with melee.
There are quite a few in this last wave. Thankfully they are only grunts, so take them down as you can.
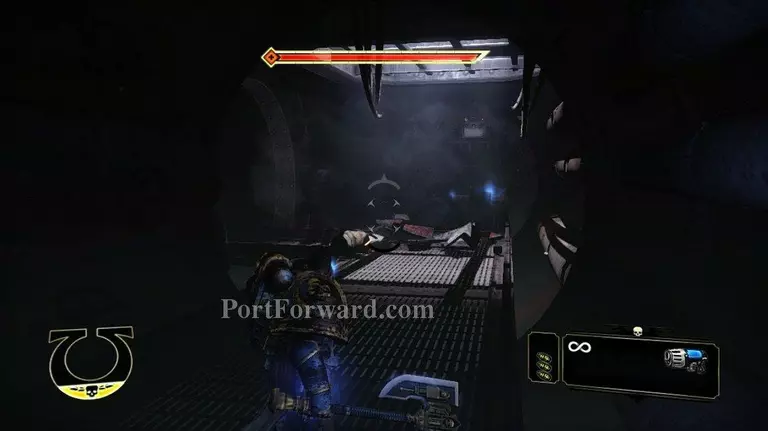
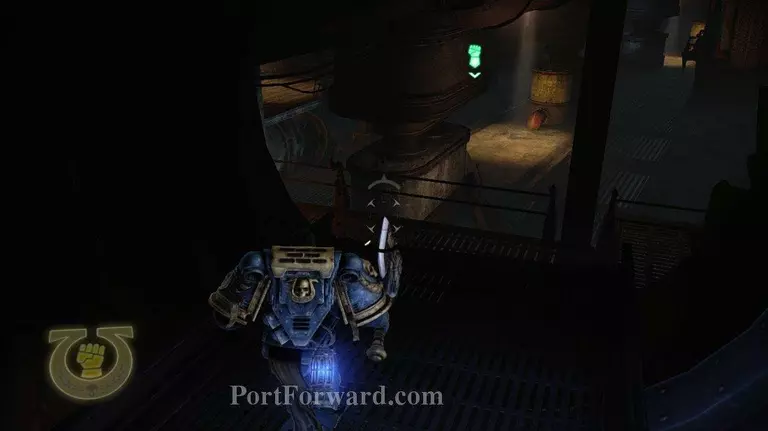
After they are all dead continue on into the pipes.
You'll find a shooter all by his little lonesome. Everyone loves a health pack.
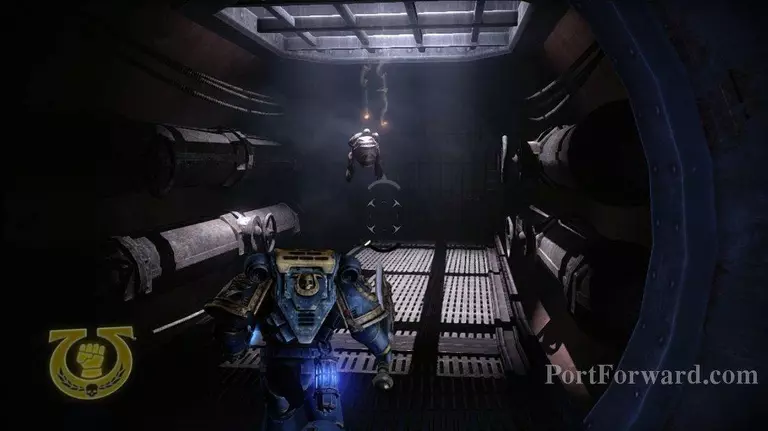
As you are passing under a grate a squig will fall out of it.
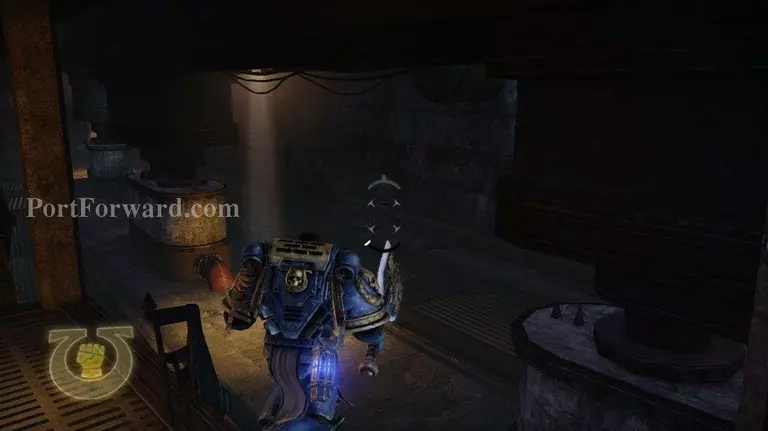
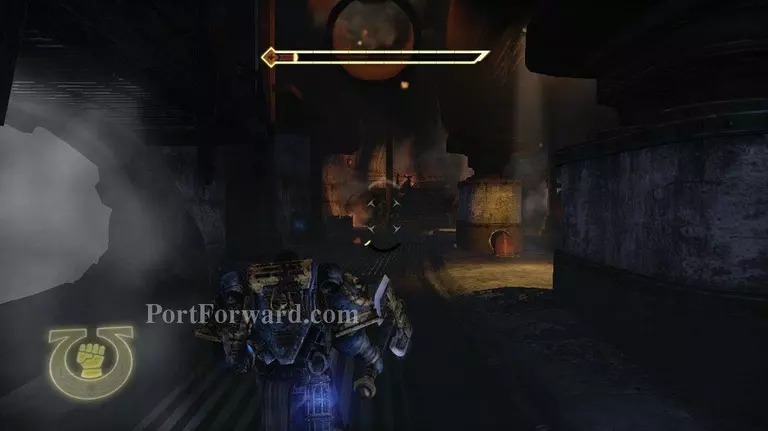
As you move forward you will come across a couple more shooters. Take them out and continue on.
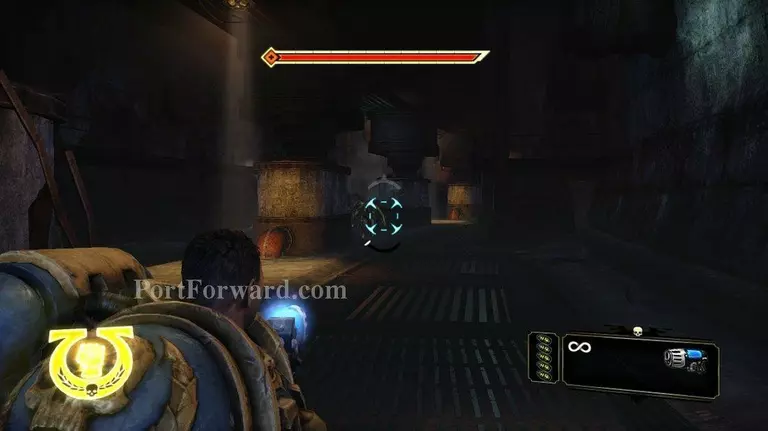
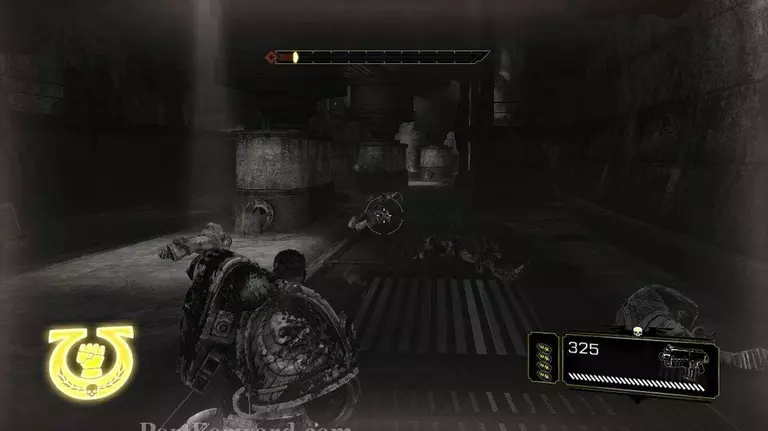
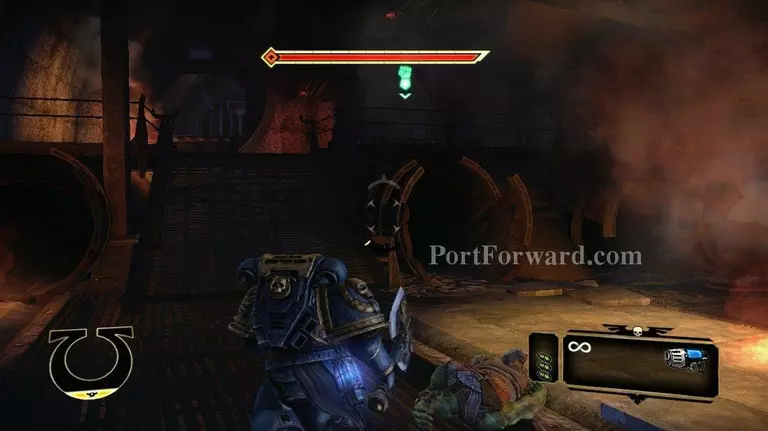
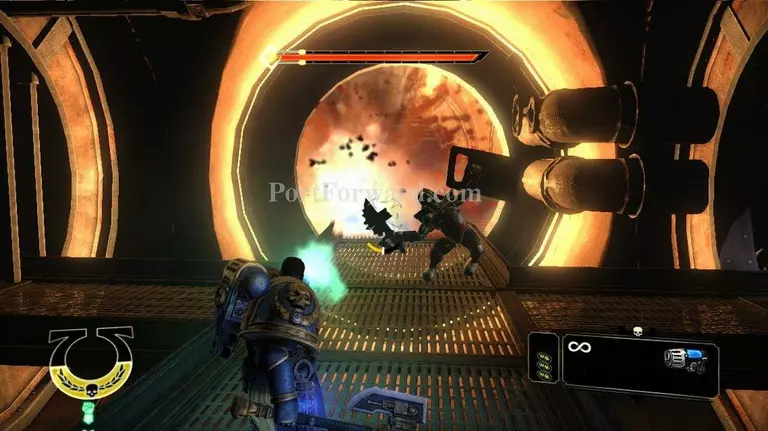
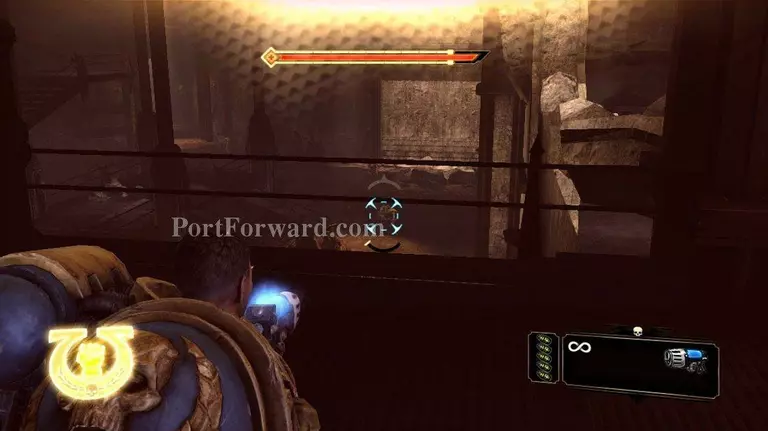
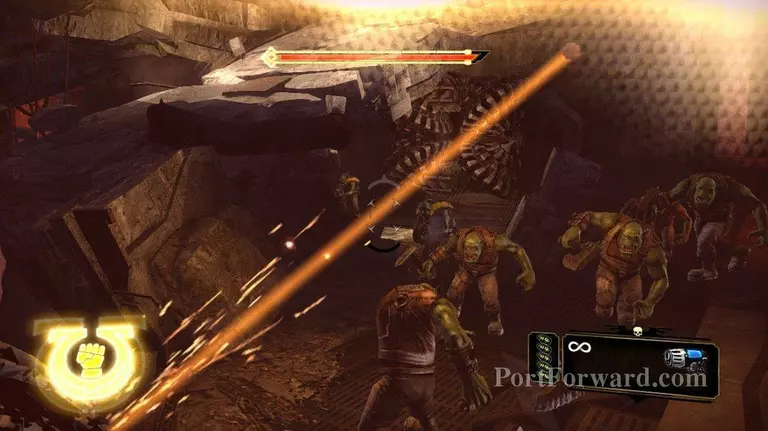
This room is no joke. You need to be careful here. There are small red pipes down here. They are actually bombs.
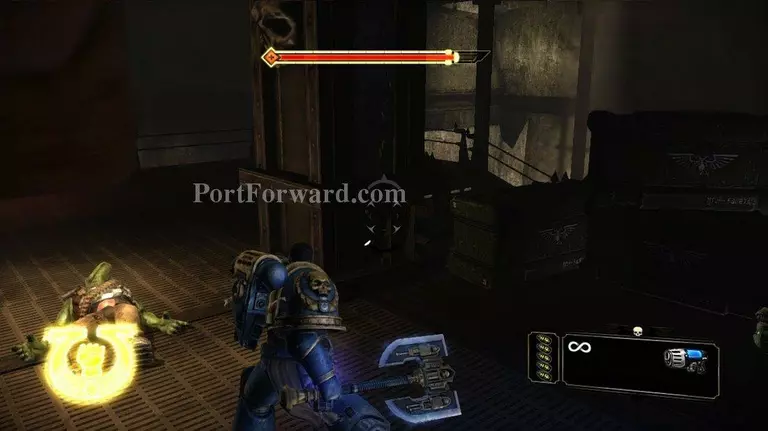
Go ahead and drop down into the section. Get ready for a wave of orcs when you do.
The first wave will not be too bad.
It will consist of grunts and chainsword orcs. All in all pretty easy to take out.
I was finishing an orc here with my shields depleted and accidentially hit the pipe.
That took my health down to nothing.
Even almost dead I didn't use my fury, because there's a big fight coming up soon.
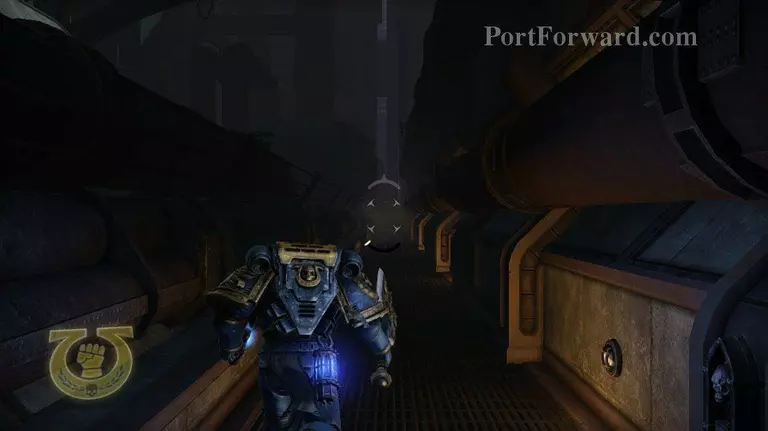
Slowly work your way forward.
Orcs will come out of a pipe on the ground. When they appear start moving back, because you don't want to trigger more than one wave at a time.
If you are hurt, use this wave to heal up. There will only be grunts in this wave.
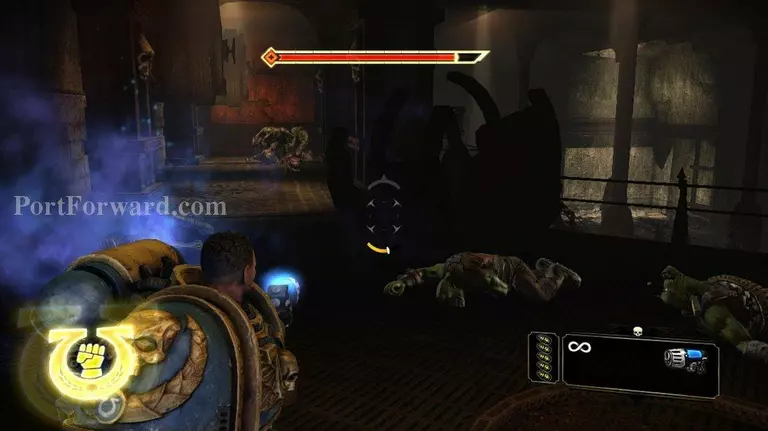
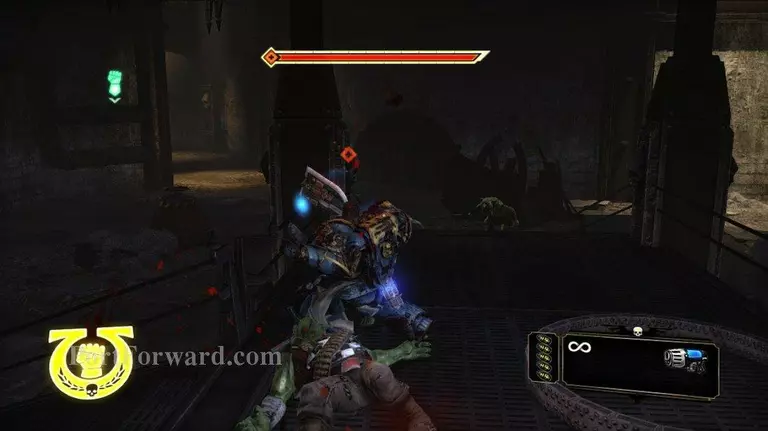
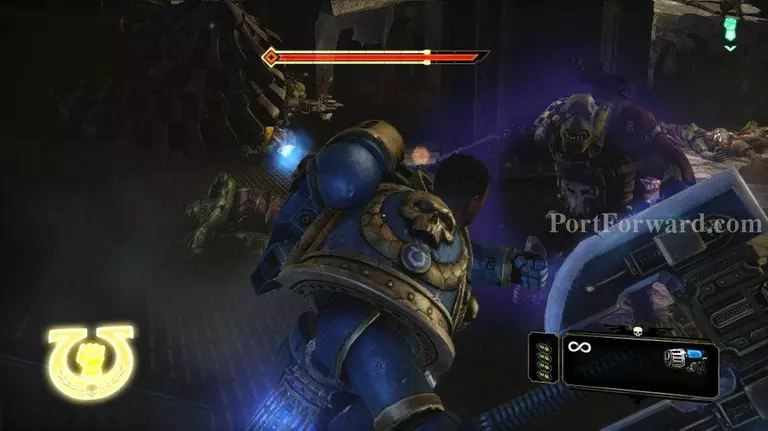
Once again move forward. A door will open at the far end of this room, and a large wave of grunts and chain sworders will attack you. They will be shortly followed up by a large Nob.
Do what you can to take out as many as you can as quick as you can.
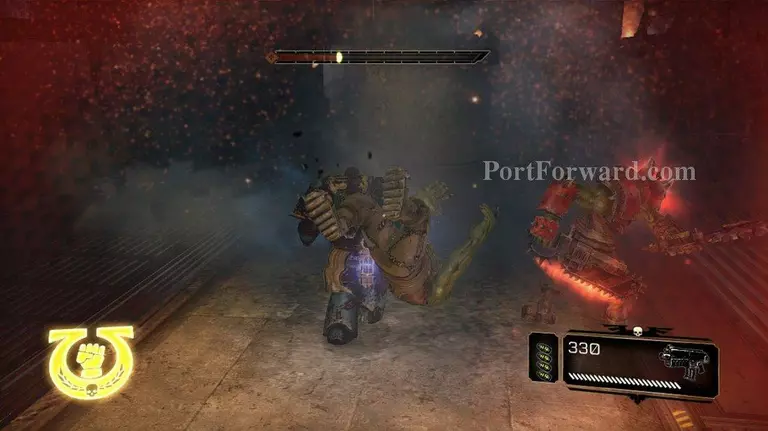
The big Nob seen here to the very right can really lay some smack down. I ended up using my fury here to take him out quickly.
When they are all dead continue forward.
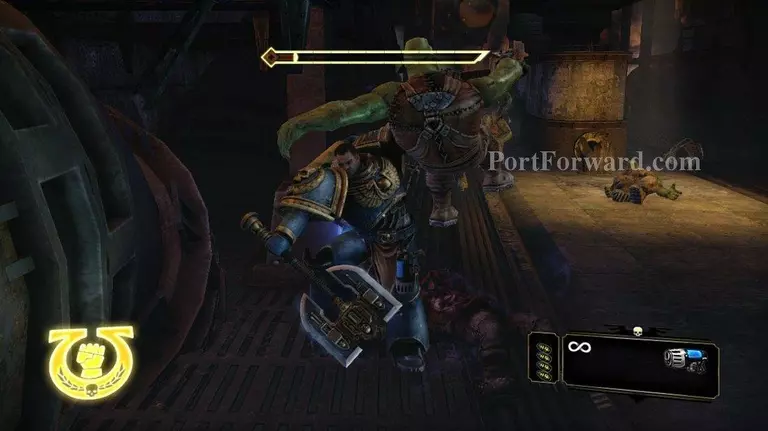
You will be attacked here by quite a squig. As you get close to this grate another squig will fall down out of it..
After taking care of those two squigs, a shielded orc will appear. He will charge at you along with a whole line of squigs.
They best way to take him out is to wait until a squig gets close to him, and then shoot it.
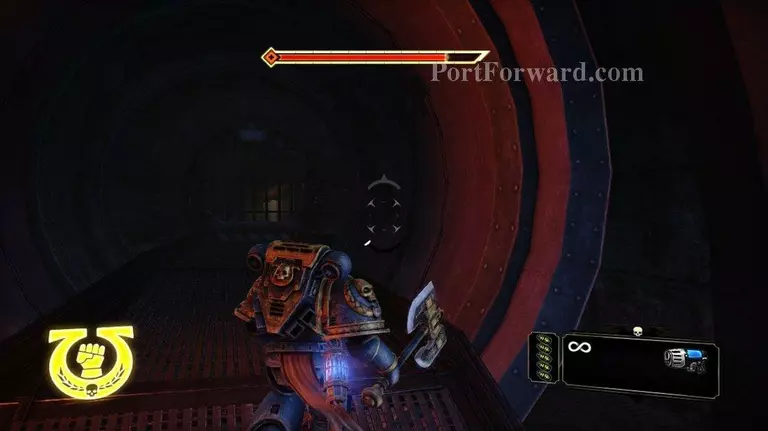
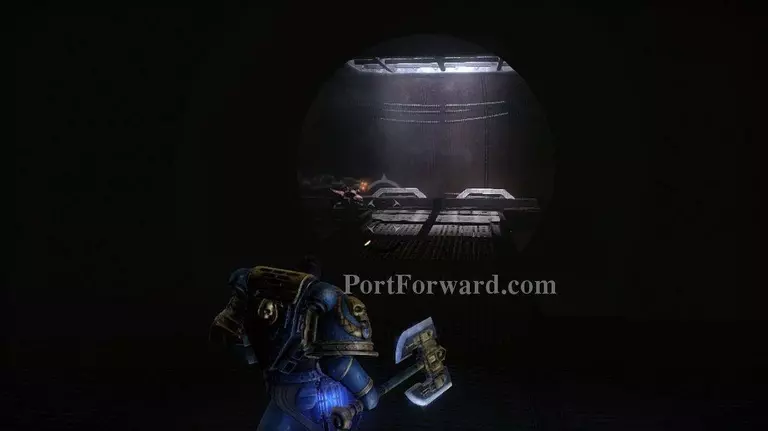
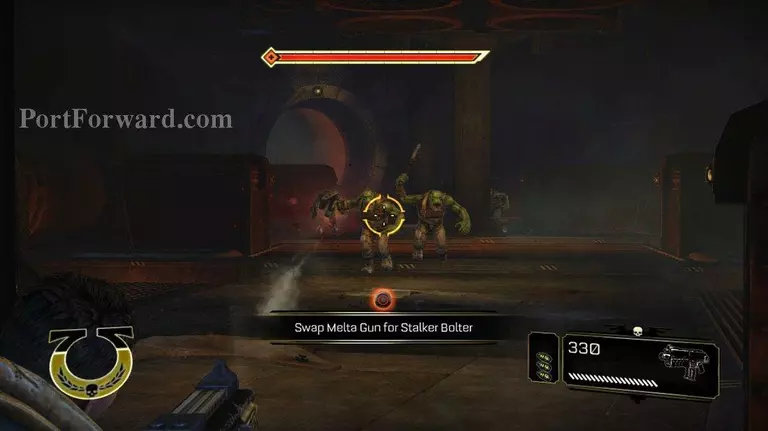
Continue forward. You will come to a room with a weapon pod in it. The pod will contain a Melta Gun. That's probably my favorite weapon in the game. When the poop hits the fan, you pull out the melta gun.
You will be rushed by a wave of grunts here. The wave will not be very big. Just take them out.
That wave will be followed up by another wave of grunts with two chain sword orcs along for the ride. Really these are just filler waves. Just take them out and move on.
Eventually you will come to this long hallway. At the end of it is a group of orcs gathered around some weapon drops.
They mostly run away when they see you. Some of them will stay to fight. They are but a minor annoyance.
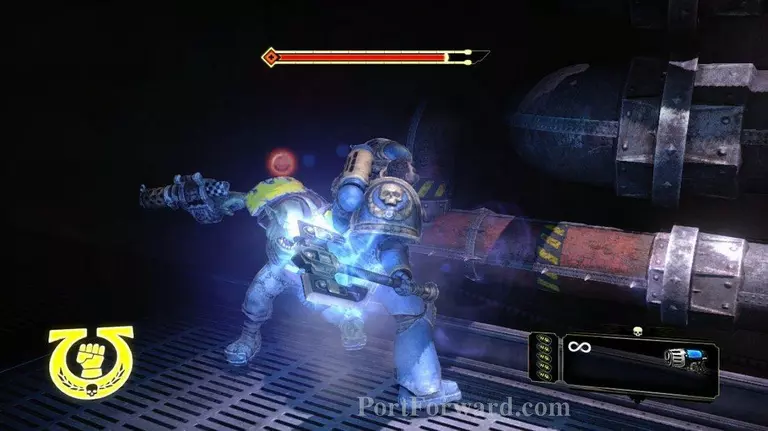
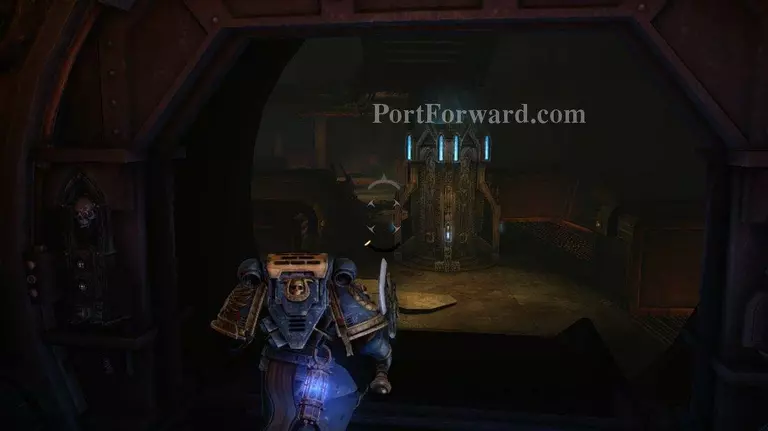
Continue forward. Eventually you will get to an armor drop that contains a new purity seal. This particular purity seal upgrades your fury attacks.
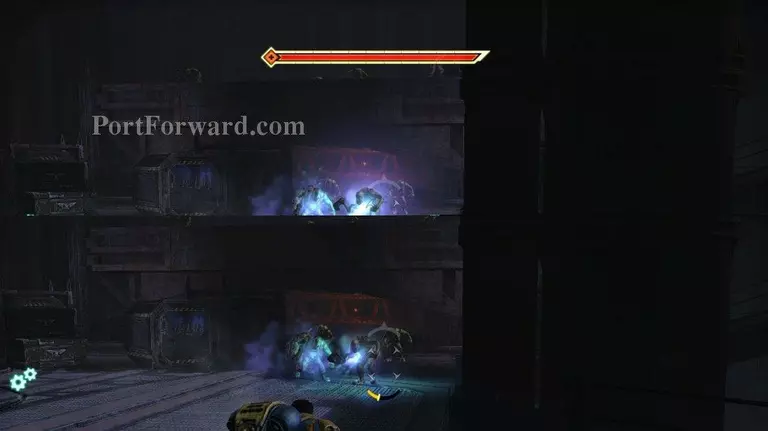
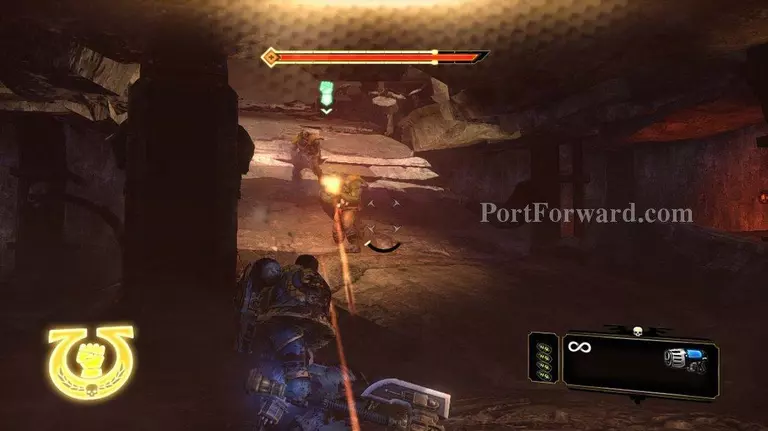
The next room is plum full of orcs and squigs. There are shooters and lots of grunts. The key here is to draw the ones that are there to you.
When the orcs on the upper level are all dead, start looking over the edge of the platform and killing the ones below you.

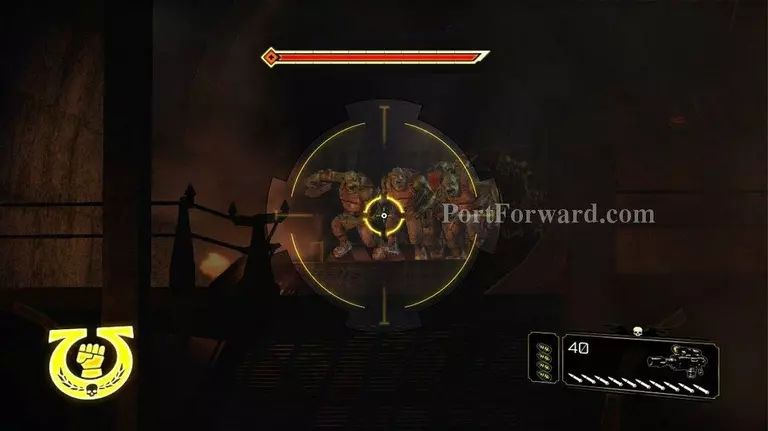
When the ones below you are cleared out, start moving forward. When you get far enough along, a group of grunts and shooters will drop out of the pipes. They will have a chain sword orc along with them. Take out the group and then creep forward.
As you move forward, a group of orcs will spawn below you. It will contain some grunts, shooters, squigs and a shoota which shoots missles.
Force the grunts and squigs to fight you on the walkway. Which will separate them from the shooters and shoota.
When they are dead lean over the side and start taking out the shoota and shooters. Take out the shoota first, because his missles are dangerous.
When all the orcs are dead head down to floor level. They will send several gretchen at you. Free health packs! Woohoo!
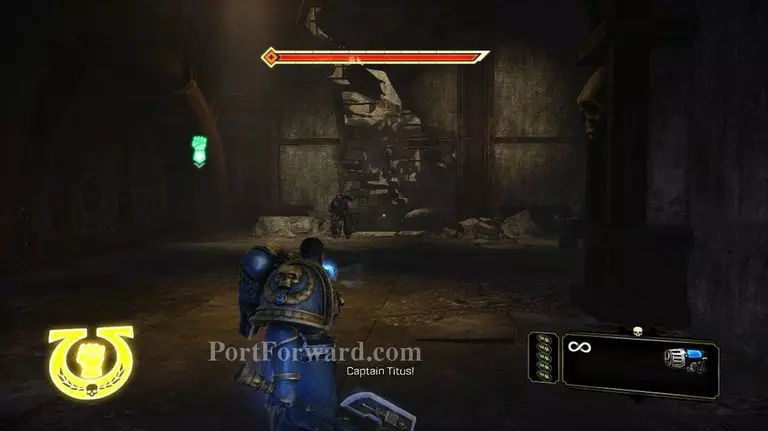
Move forward and you will meet up with the rest of your squad.
Next we have another large battle. Look over the ledge, and once again start taking out orcs. There are quite a few shootas and shooters in this room.
As I said this area is mainly full of shooters and shootas. Take them down. Duck behind the corner if your shields get low. When they are taken out start moving forward.
When you go down the steps you'll be rushed by five or so grunts along with two shooters. Take them out and move forward.

A digger will appear as you move forward. It will drop off some grunts and a couple shootas. There might be one or two shooters as well in the mix.
It was kind of hard to tell during the combat.
When they are dead go up the ramp. That will end this chapter and move us on to the next one.
More Space Marine Walkthroughs
This Space Marine walkthrough is divided into 17 total pages.


