This SteamWorld Dig walkthrough is divided into 21 total pages.
You can jump to nearby pages of the game using the links above.
Mines - Cave One
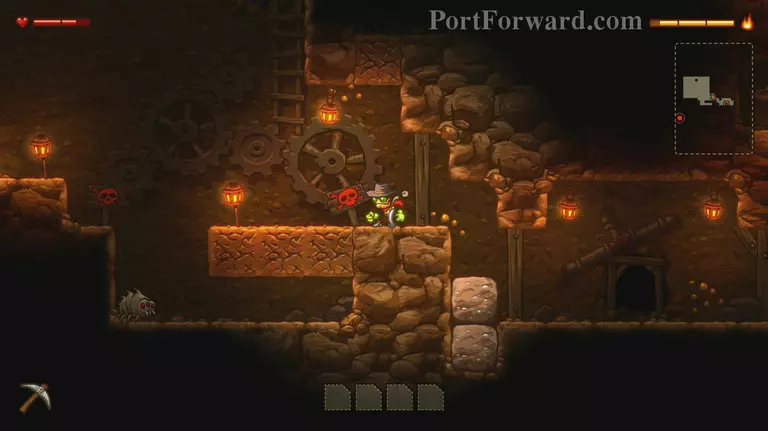
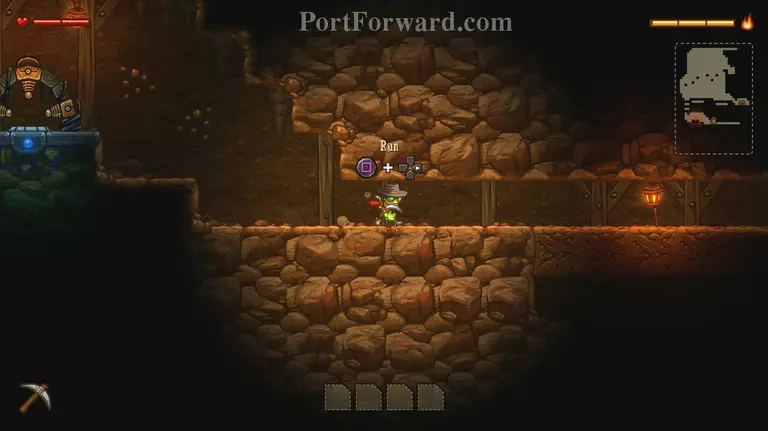
Head left, dig through and move away allowing the block above to drop - letting you through.
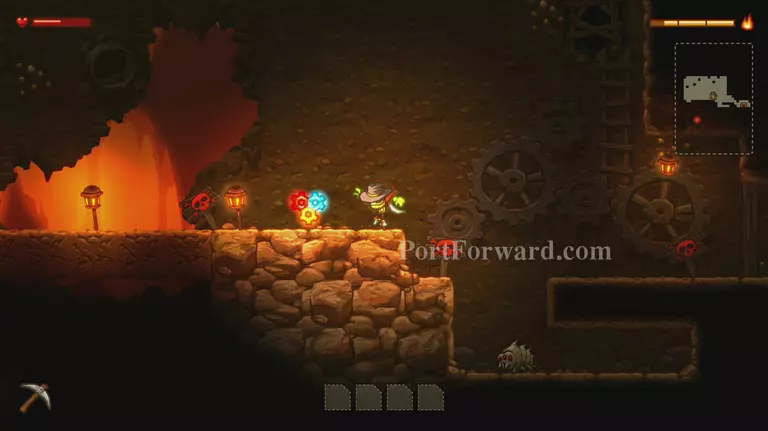
Continue left jumping along the weak ground that gives way when you walk on it. If you do drop through, use the wall jump to escape the pit.
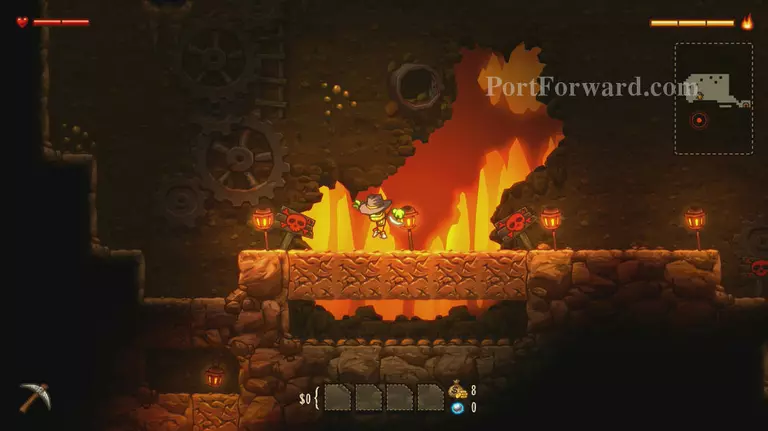
Continuing left, the second pit has spike traps in, continue jumping to avoid falling below.
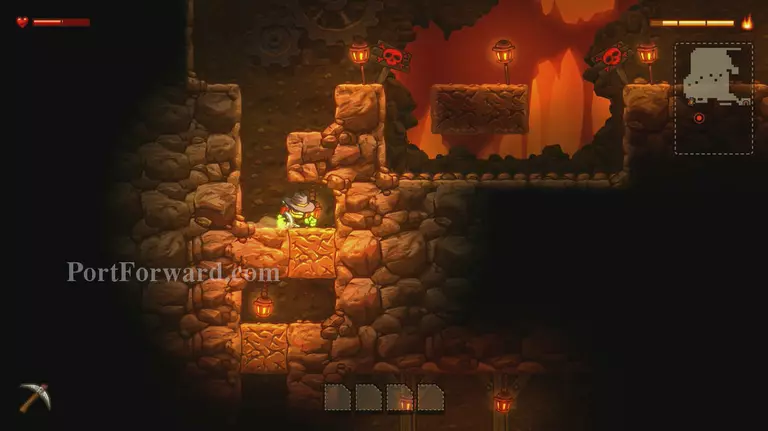
When you reach the leftmost wall, dig downwards.

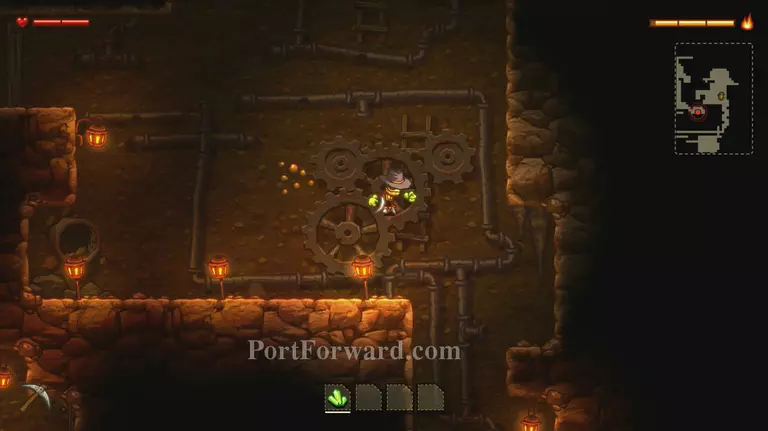
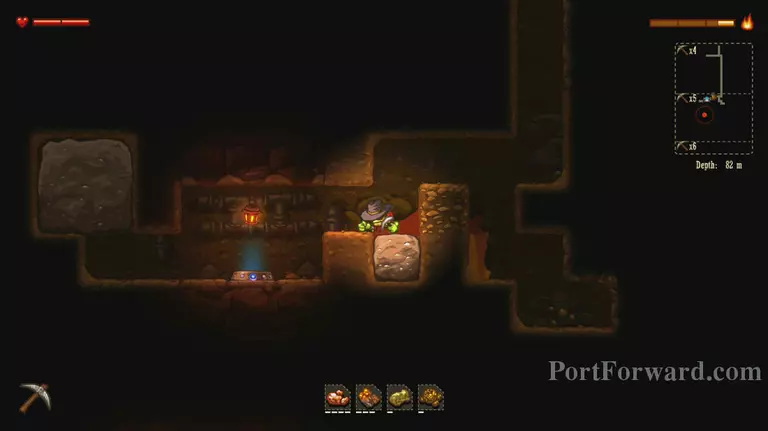
Enter the machine to unlock the Speed Boots.
Head right - use Square and across to run, speeding over the weak ground.
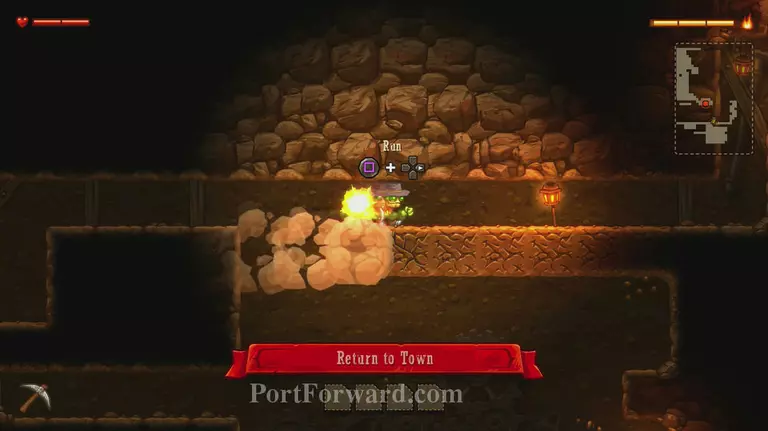
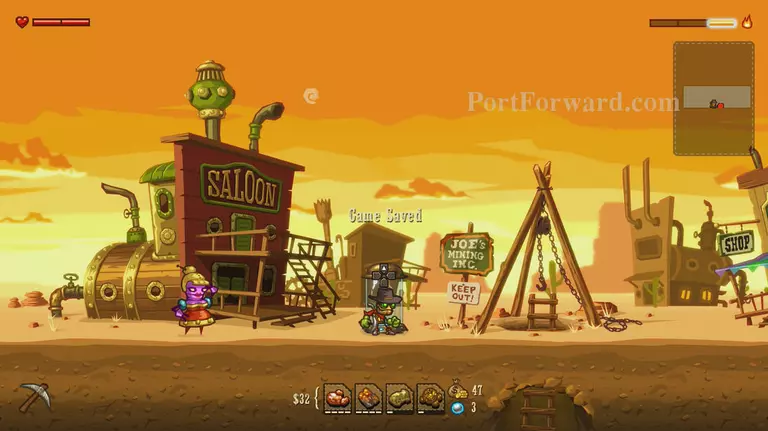
New objective: Return to Town.
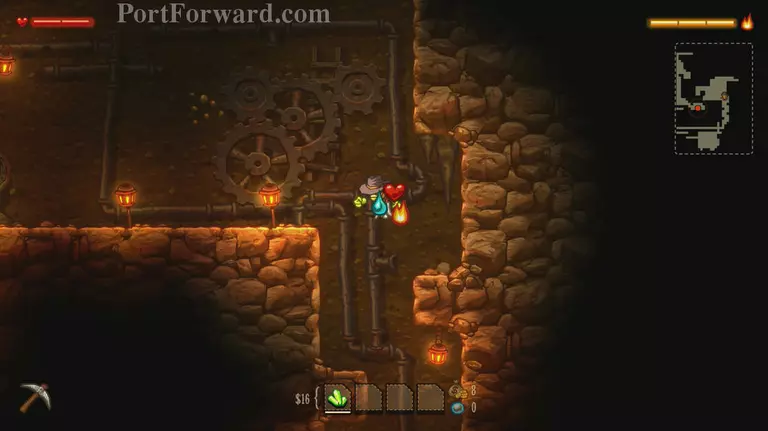
Continue to move upwards.
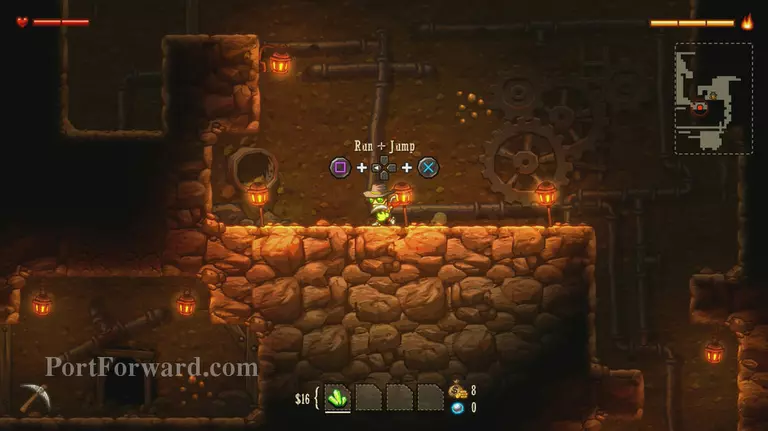
Run towards a wall and press X to perform a running jump.
Running jump into the right hand wall, and wall jump upwards.
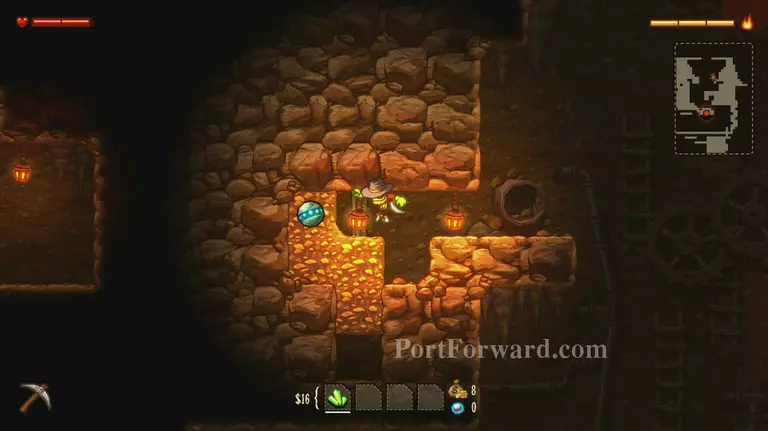
Run jump again to the left to find some Orbs - used to buy certain upgrades.
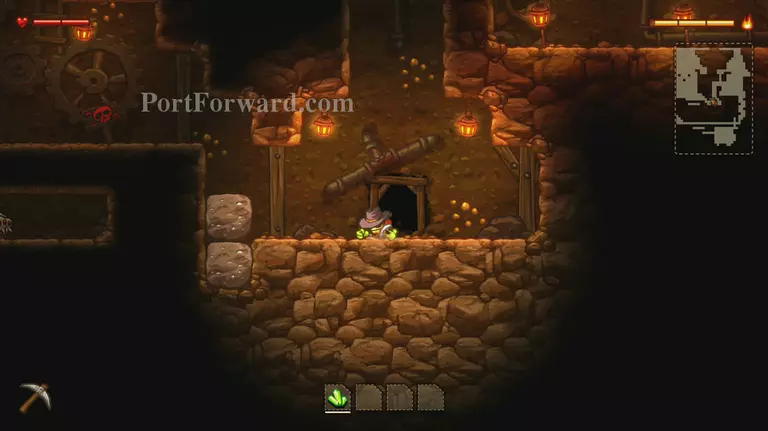
Then head down to the exit ...
... and leave Cave One.
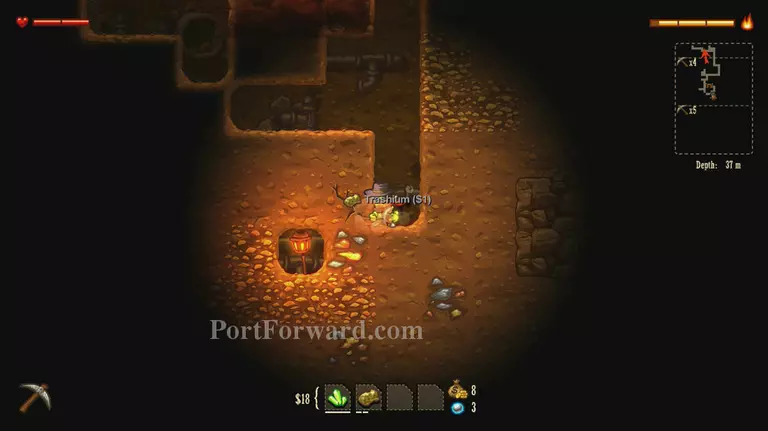
Continue to find loot ...

... before returning to Dorothy.
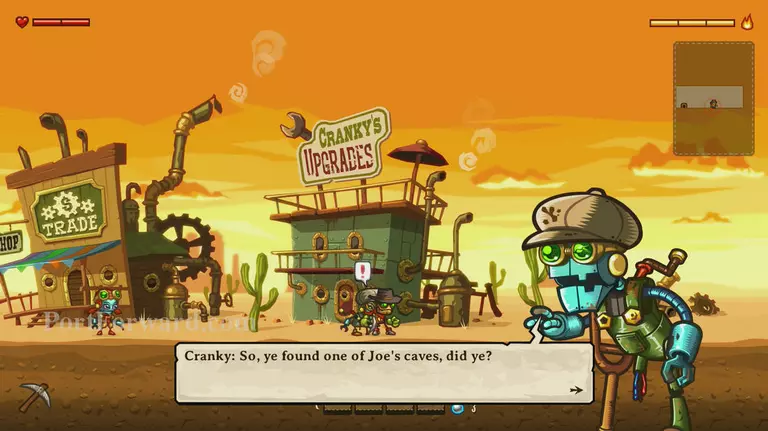
Then talk to Cranky to progress.
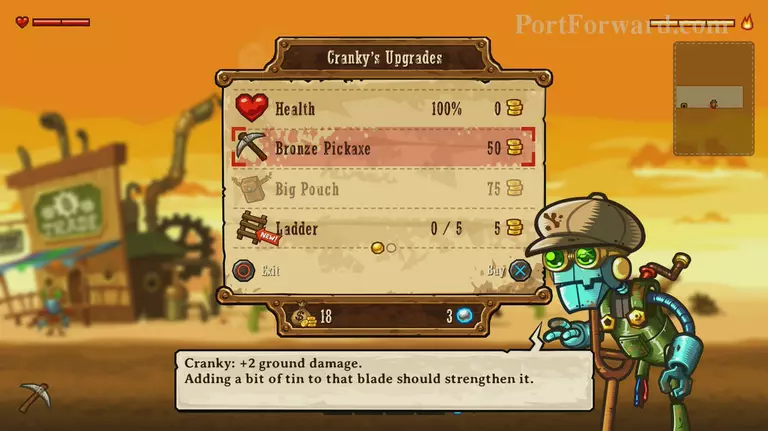
If you've found enough loot - upgrade the pickaxe to dig faster.

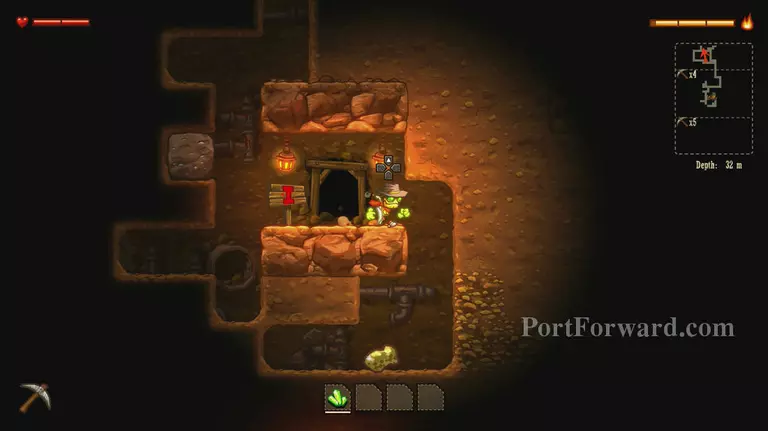
New objective: Explore (another) Cave.
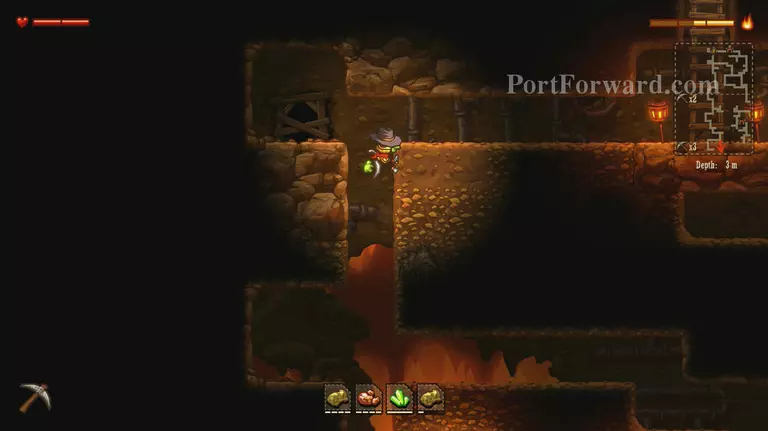
Head downwards towards the next map marker.

You'll probably need to return when your pouch is full to sell loot and upgrade again.
Just before you reach the second cave, you'll find a teleporter you can use for a quick return to town.
Even if you're not ready to sell your loot yet, use the teleporter to active the teleportation pod in the town.
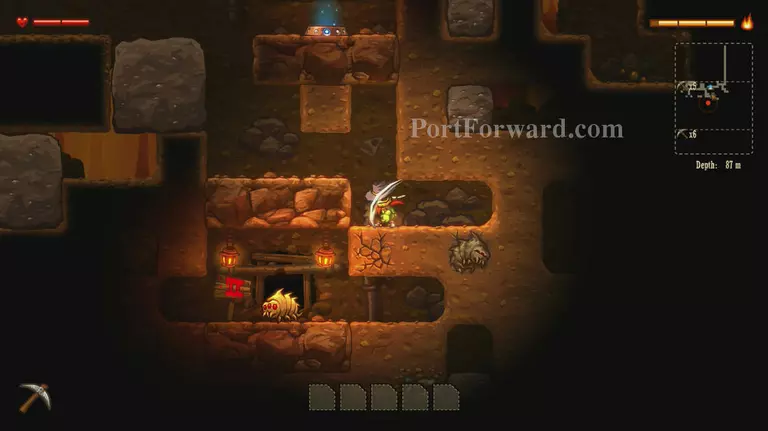
Head back and continue downwards to Cave Two.
More SteamWorld Dig Walkthroughs
This SteamWorld Dig walkthrough is divided into 21 total pages.