
This SteamWorld Dig walkthrough is divided into 21 total pages.
You can jump to nearby pages of the game using the links above.
The Final Battle
The final battle is in three stages, all of which are similar, but progressively get harder.

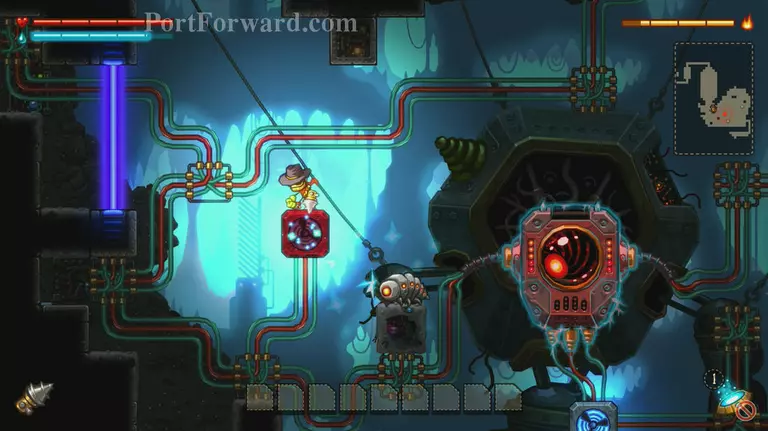
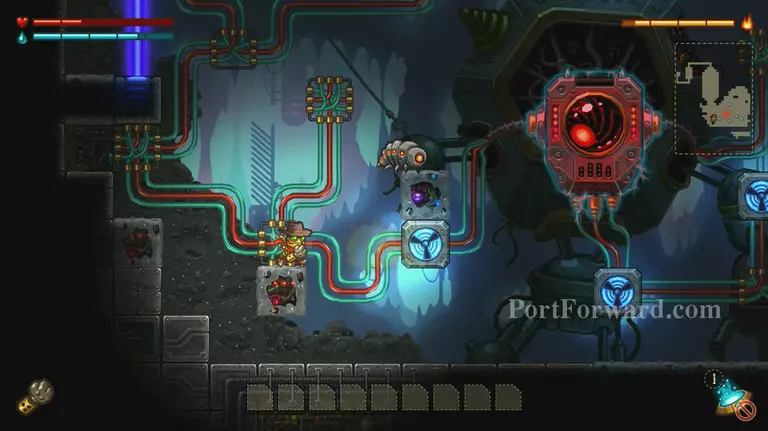
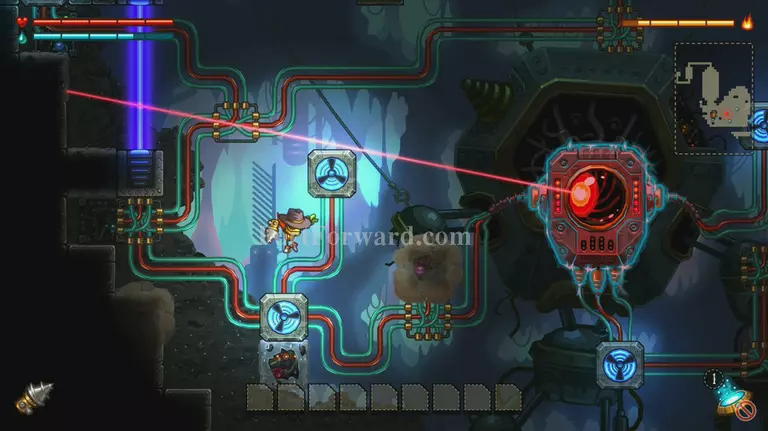
You need to take out the generators around the robot one by one - they will be in different locations each time.
Avoid the enemies along the bottom, killing them if needs be.
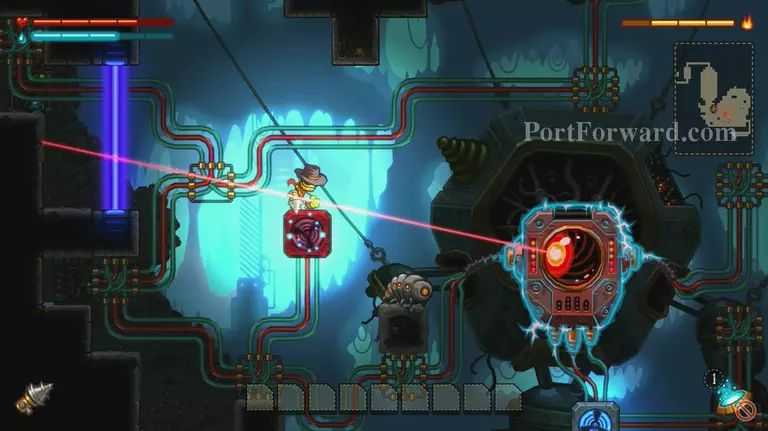
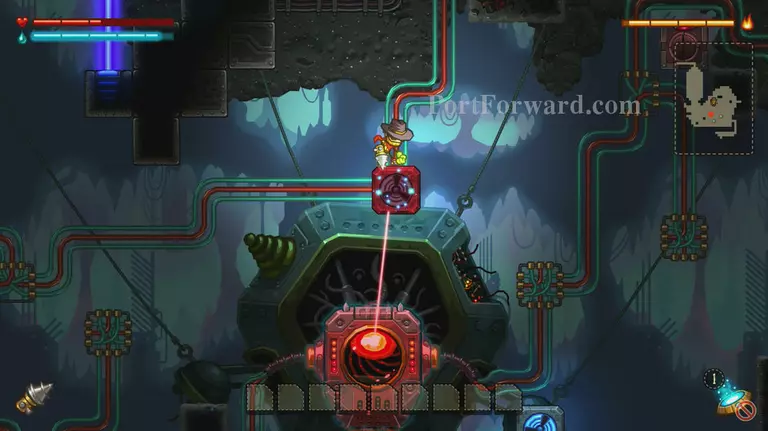
The bot will shine a thin light red laser as a target before it's full beam attack.
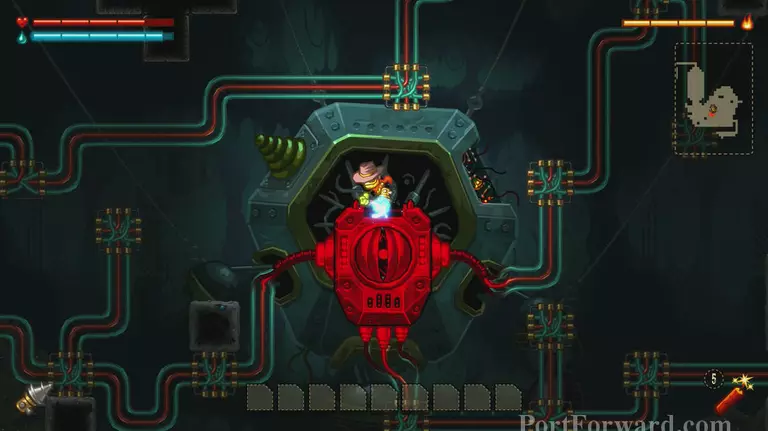
It's possible to perch at the edge of some of the generators (as pictured) and drill without the laser being able to hit you, use this technique wherever possible ...
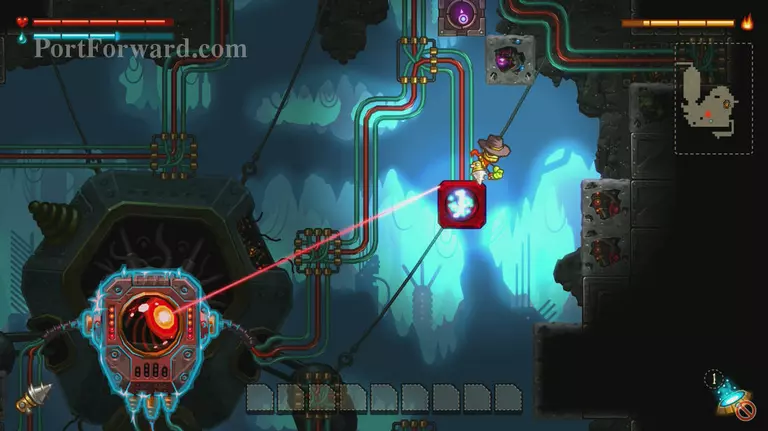
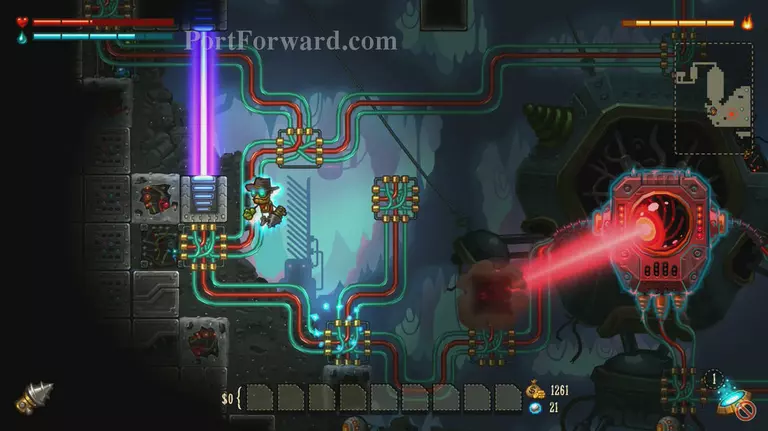
... and keep on drilling!
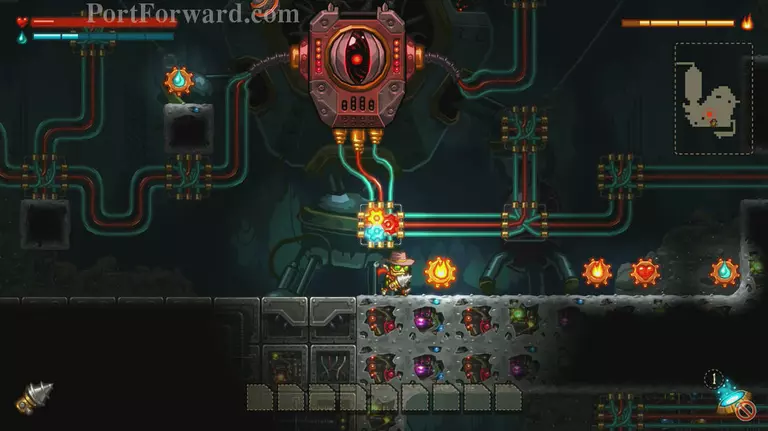
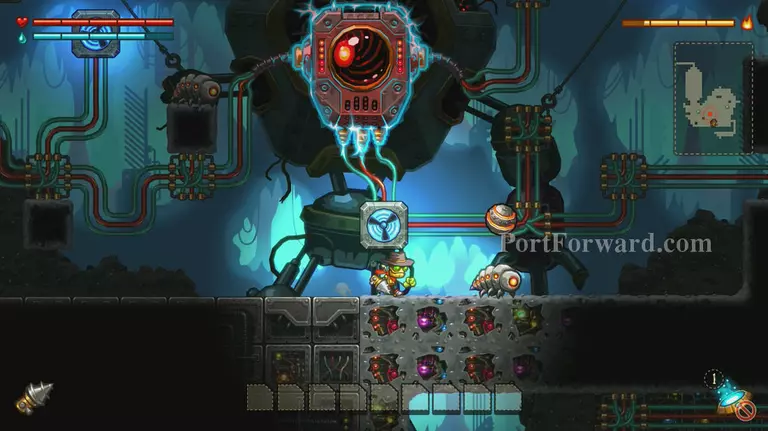
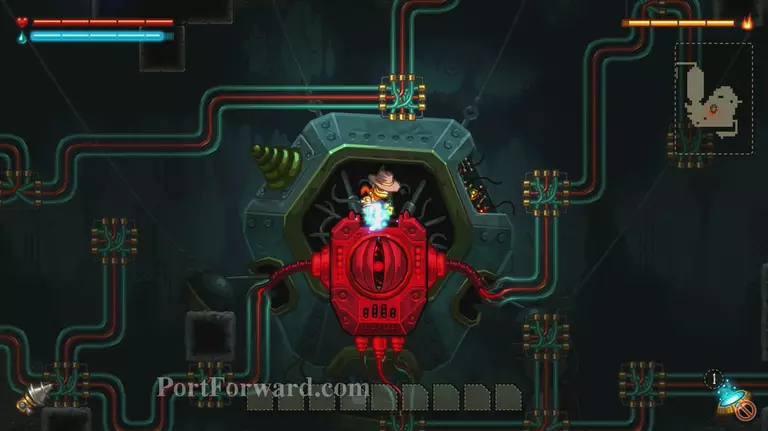
When you take out all generators in a stage, the background will darken and the bot is exposed ...
... jump on top and drill into it's head until it's defence comes back online.
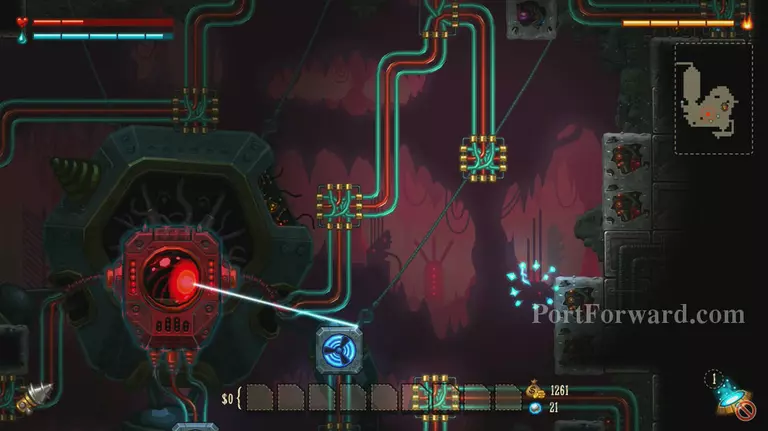
The second stage brings more generators, more enemies and a more offensive bot but continue using the techniques you have already.
Slow and steady is the best method. Use Steam Punch where it will help you reach a generator a short distance away.
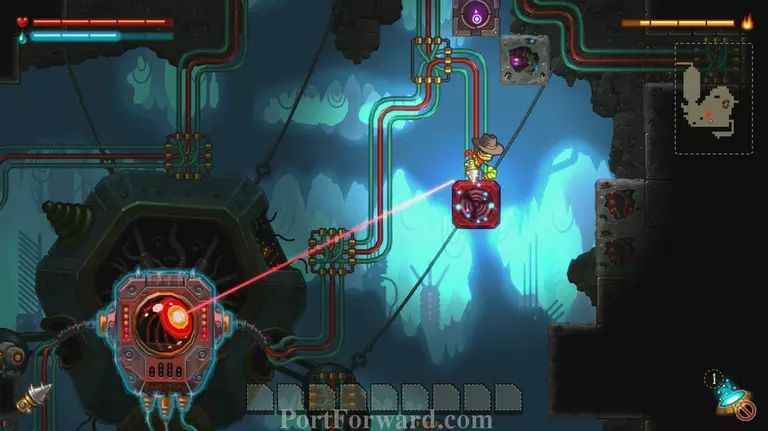
Generators can be anywhere in the whole area around the bot.
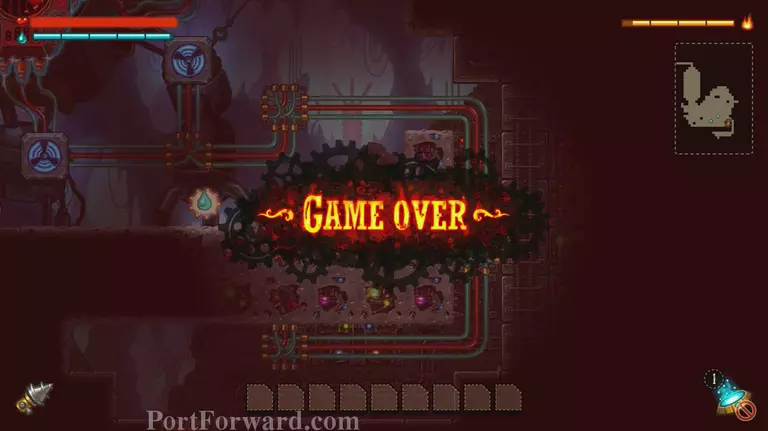
If you die, the battle will begin from Stage One again.
Take out all the stage two generators, then attack when the bot is exposed again.
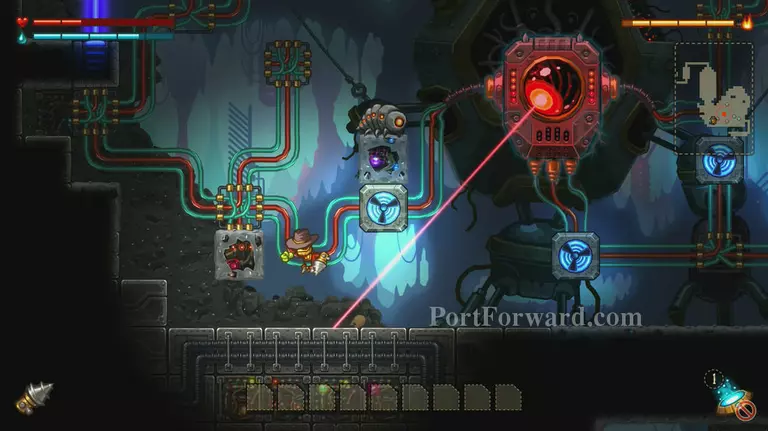
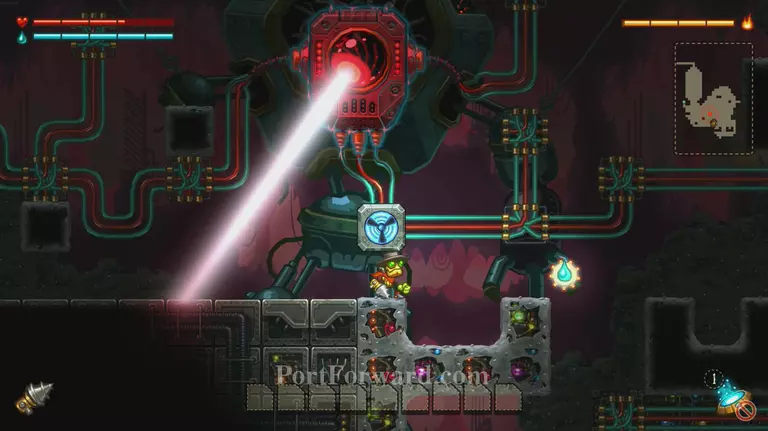
Stage three involves all of the attacks from the previous two stages ...
... but the bot is again quicker and more agressive.
A white laser beam indicates the bot will do a sweeping attack, if you see this move and take cover if possible to avoid taking damage.
Continue taking out the generators.
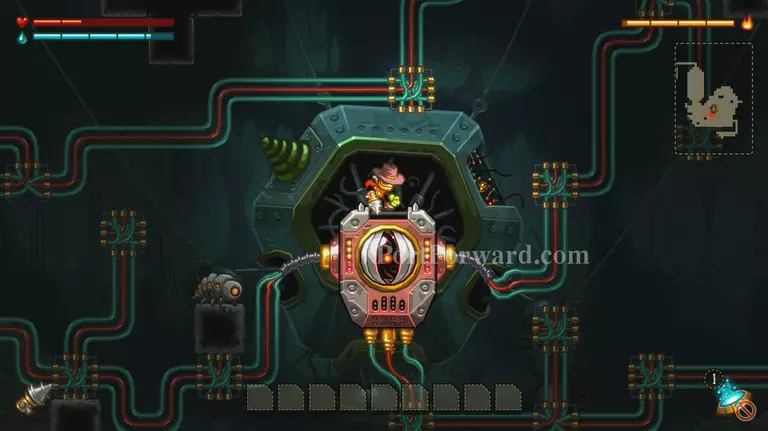
When the bot is exposed once more, drill down into it from above ...

... until the bot begins to blow up.

The screen will fade to white ...

... then you'll be back celebrating in town ...

... and you've finished Steamworld Dig. Congrautlations!

You'll then earn a trophy and see your ranking and game statistics.
More SteamWorld Dig Walkthroughs
This SteamWorld Dig walkthrough is divided into 21 total pages.


