This Terraria walkthrough is divided into 6 total pages.
You can jump to nearby pages of the game using the links above.
Moving down in the world
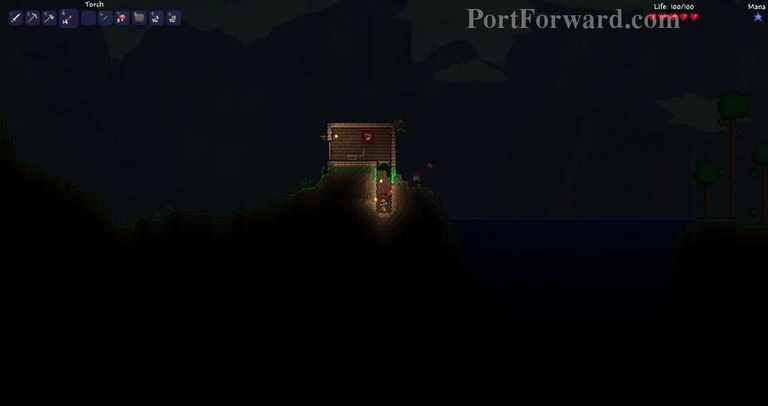
Once done placing your door, go ahead and place a torch above it for light as an walled-in house becomes dark real fast along with a chair. It doesn't matter where or how you place them.
If you don't have a torch at this point, make some with the previously aquired gel & wood.
To get more NPC's to accompany you, repeat the displayed housing in the image about 17 times in order to get room for all possible future NPC's. It is effectively the process of building a town so get creative!
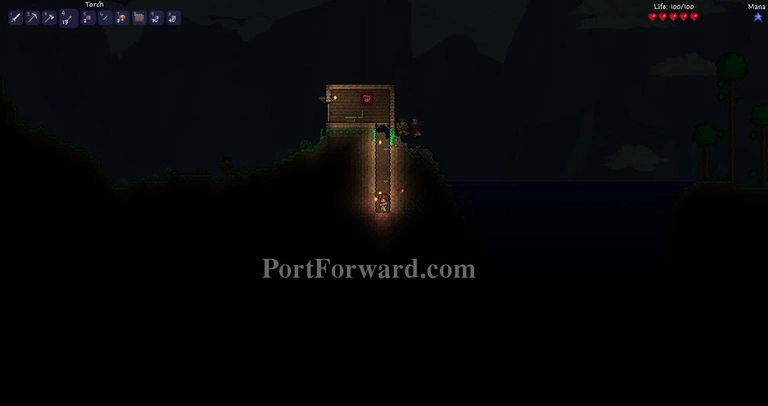
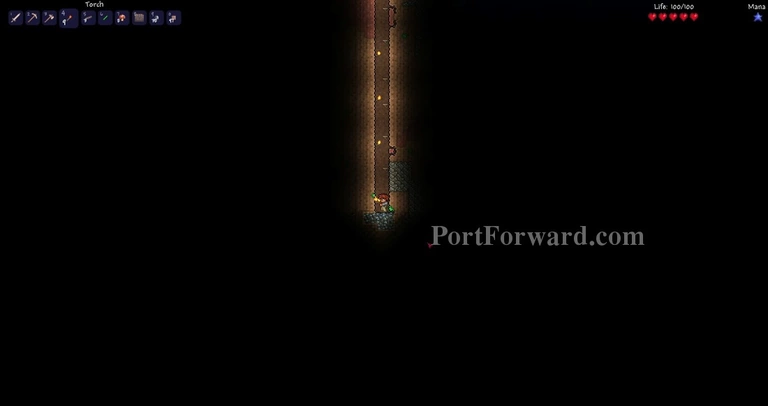
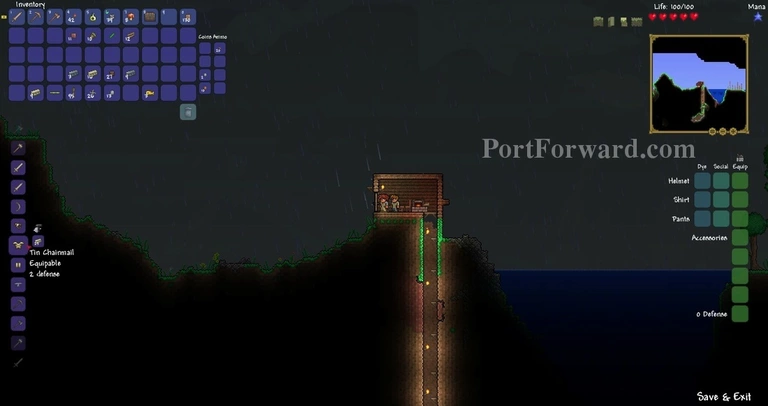
Placing wooden platforms in jumping distance to each-other along with the occassional torch is key to being able to borth traverse up and down in safety. A nominal hole looks something like this in continued succession.
Evidently after digging further down, you will come across oddly shaped & colored rocks. These are ores, your best friend. There are loads of ore and sometime differentiating between worlds but in this case, we ran into "Lead" ore. It is the equalivent of Iron and It is one of the most versatile minerals in the game. You mine these with your "Copper Pickaxe"
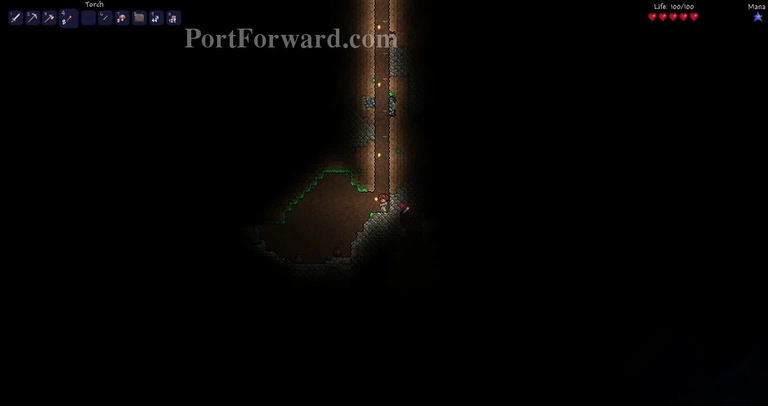
You will also come across several oddly shaped holes and existing caves into the ground. These very often contains minerals/ores and "Pots" which hold potions, ammunition, currency and more.they are always worth breaking into using any weapon.
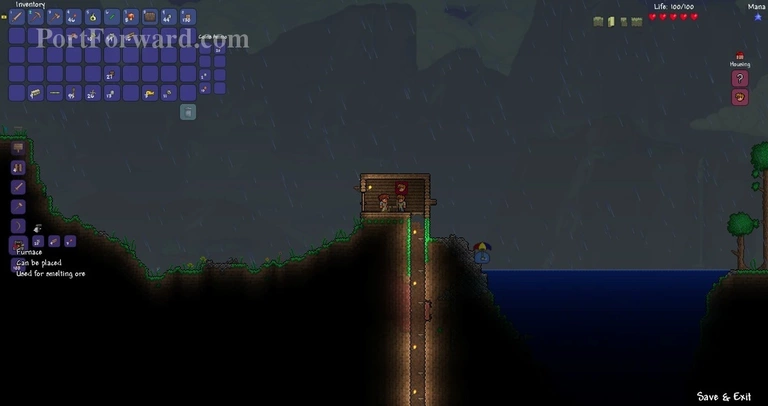
After you have collected a decent amount of ore, It's time to process it into something useful. To do this, we need a forge. Create one by gathering 20 blocks of stone, 4 wood and 3 torches. Place it down like the workbench.
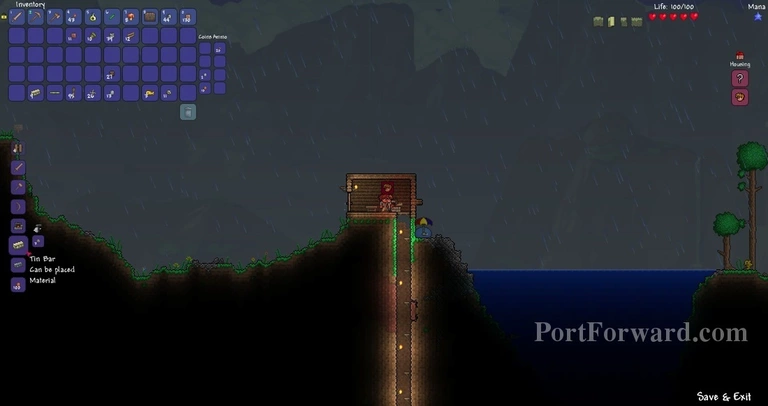
Like the Workbench, it will unlock additional reciptes, although only ones that concern making ores into bars of metal to create tools and weapons with.
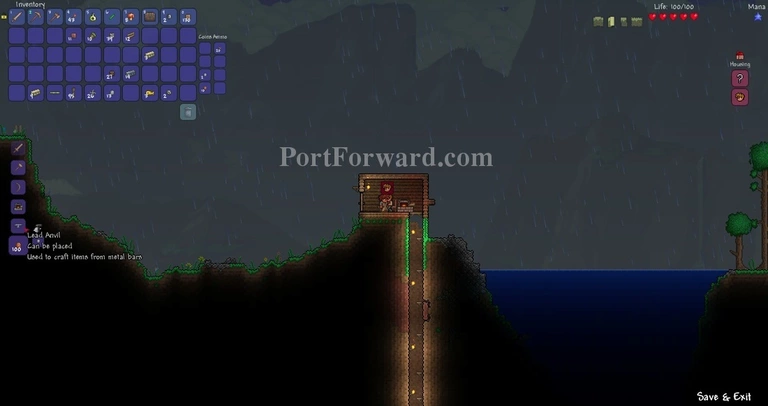
But before we start to create tools, weapons and armors, we need an anvil. To create an anvil, smelt ore to create either 5 lead bars or 5 iron bars and then go to the workbench in order to have the recipe appear.
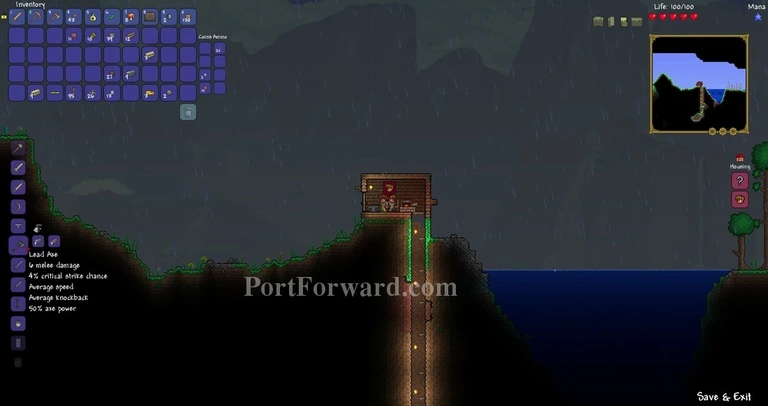
After that, you will have a massive bunch of new recipes to choose from, much of them requiring many, many bars of metal to do so a lot of digging will be required. This game is primarily a sandbox after all and has a big emphasis on exploration and gathering to develop your character.
To use new weapons and/or tools you create, simply drag them to the top toolbar. For armor..
Craft the piece you want once you have enough bars..
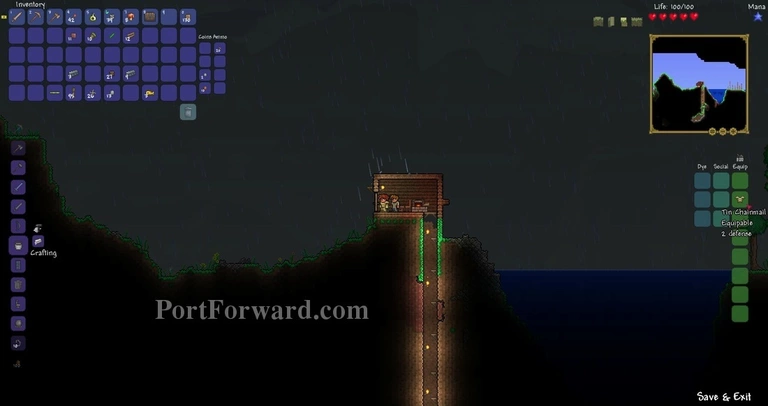
Then drag and drop it all the way to the left, under the minimap at "Equip". Top is head, middle is torso and bottom is legs. The "Social" row is for armor that overlapse your "Equip" set for vanity purposes and has no defensive properties.
More Terraria Walkthroughs
This Terraria walkthrough is divided into 6 total pages.