This The Legend of Zelda: The Wind Waker walkthrough is divided into 47 total pages.
You can jump to nearby pages of the game using the links above.
3.1 Tingle's Bottle and the Boat Sail

After being thrown into the sea by the Helmaroc King, Link will hear a strange voice that is calling him by name. Link wakes up to see the sunrise and finds himself lying in the back of a boat.

He gets to his feet and the strange voice continues speaking. Link looks around for the source and suddenly the boat he's in turns his head! Link falls over in astonishment and the boat introduces himself as the King of Red Lions.
The King of Red Lions tells Link that his attempt to rescue his sister was courageous, but foolish. He tells you that the man whom you saw at the top of the Forsaken Fortress was Ganon and that he is the same Ganon that the legends speak of. He also mentions that he's not sure why Ganon is back, but that the land is threatened by his evil magic once again. The King of Red Lions offers to guide Link along his journey and tells Link he needs to find a sail before they can set off.
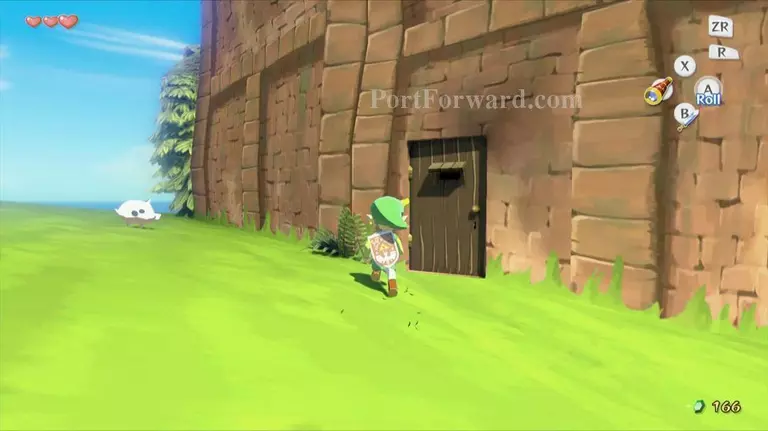
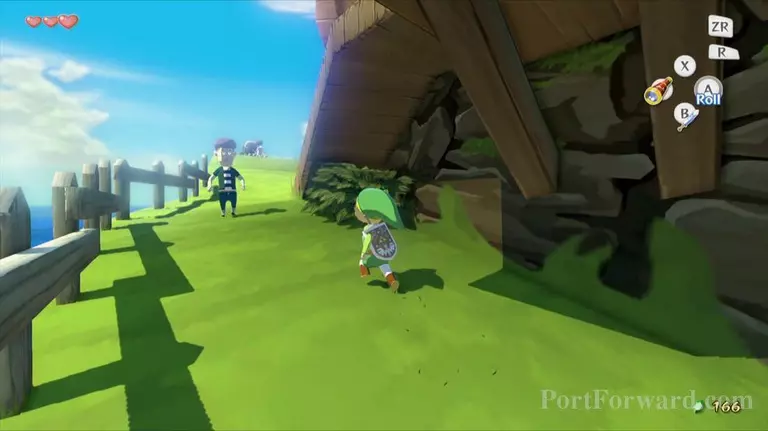
Once you're off the King of Red Lions, it's time to explore the island a bit. Turn left and head around the ridge, walking south until you come to a large bush on the left. Walk around the bush and continue walking up the incline towards the gravestone in the distance. Along the way there will be a red building to the right; open the door and enter it.
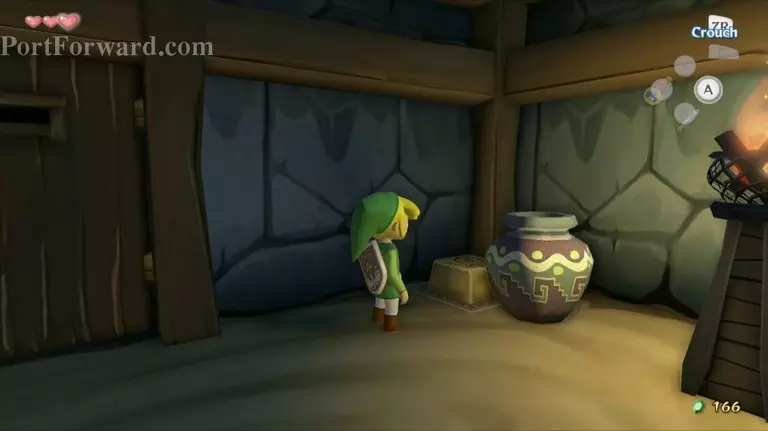
Inside the building a small green figure will start waddling towards you. Look to the left and move the barrels here to find a switch. Step on the switch and it will open the jail cell, allowing the man to exit.

This is Tingle, one of the main characters in the game. Tingle will give you the Tingle Bottle (or the Tingle Tuner in the Gamecube version) and Tingle's Chart before leaving.
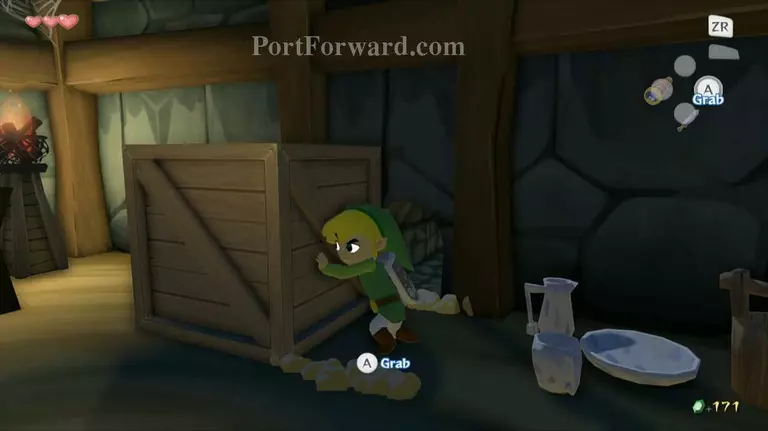
Once Tingle finally leaves, walk into his cell. Crawl under the table for 5 rupees, and then push the large crate out of the way to reveal a hole behind it.
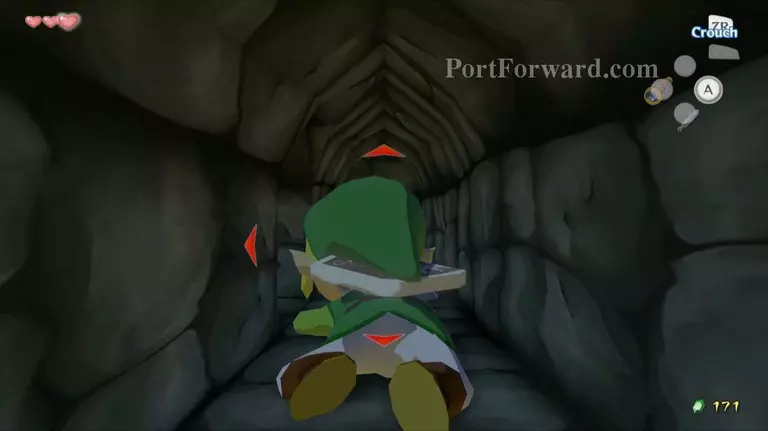
Enter the hole and when you come to the intersections, take the following paths: right, left, straight, right, left, straight, left, right, right, straight, and right.
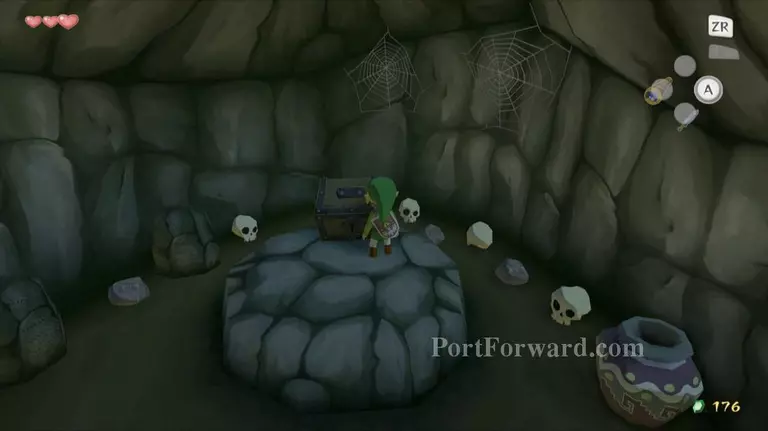
You should pick up 5 rupees along the way and emerge into a room with a large chest. Open the chest to get the Picto Box, an item that will allow you to take various pictures throughout the game. Break the pots in this room for some extra rupees, then crawl back into the hole.

Take the first right that you can and a mouse will drop you back out to the King of Red Lions. He will tell you about your Sea Chart, but we still have to get the sail.
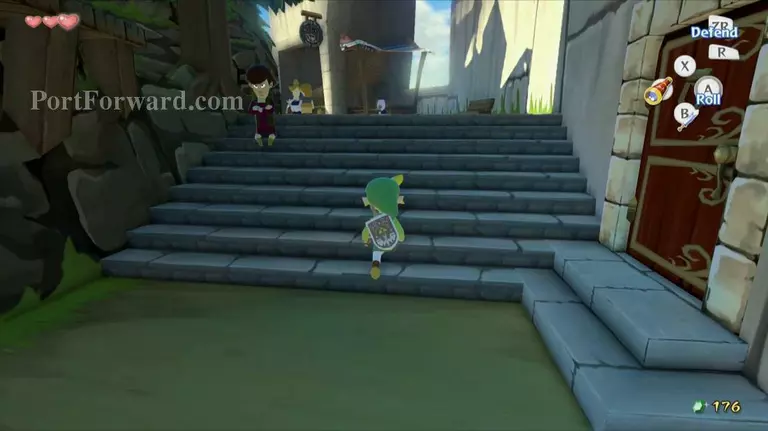
Now that you have rescued Zunari's companion you can now purchase "that" from him for 80 rupees.

"Buy it and you'll obtain the sail that you needed.
More The Legend of Zelda: The Wind Waker Walkthroughs
This The Legend of Zelda: The Wind Waker walkthrough is divided into 47 total pages.


