
This Tomb Raider walkthrough is divided into 25 total pages.
You can jump to nearby pages of the game using the links above.
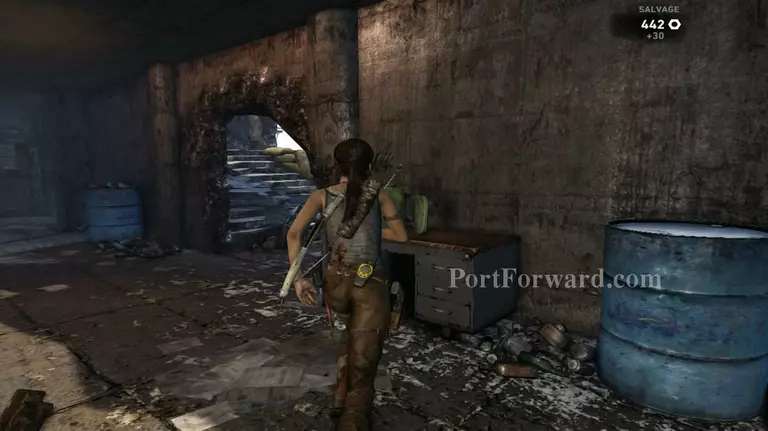
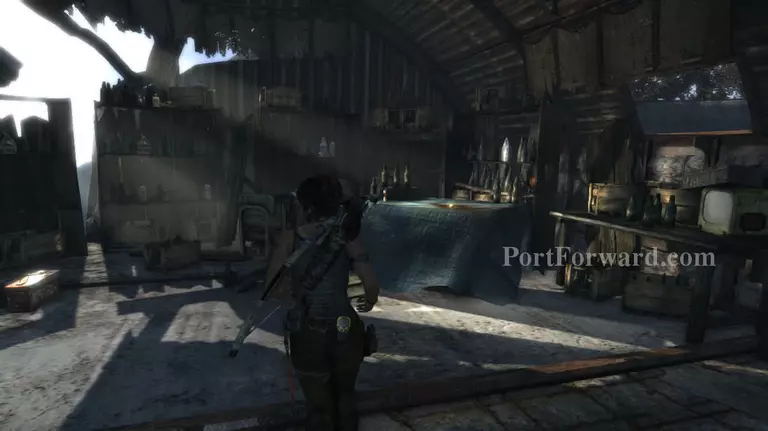
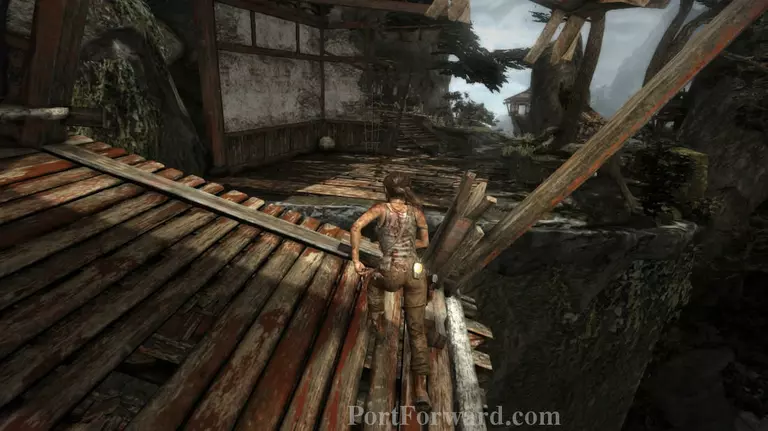
Base Exterior
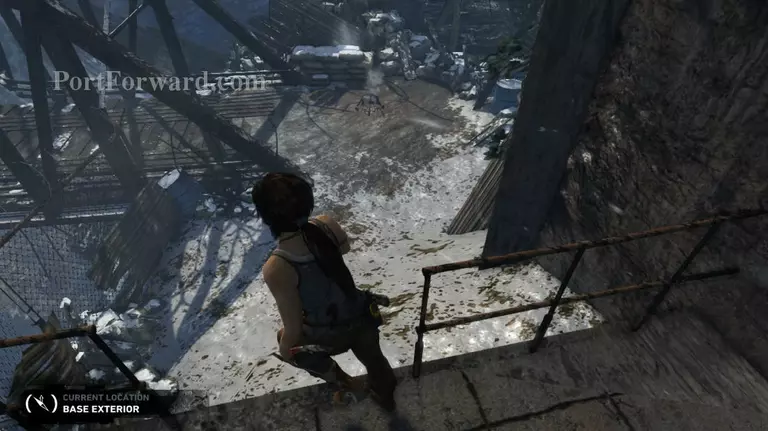
"Turn right and down towards the camp near the bridge. Disribute all your points and upgrade your weapons. You'll have a new category down at the skills menu, the "Brawler" upgrades. I would suggest you take pain tolerance first. A little extra defense ne
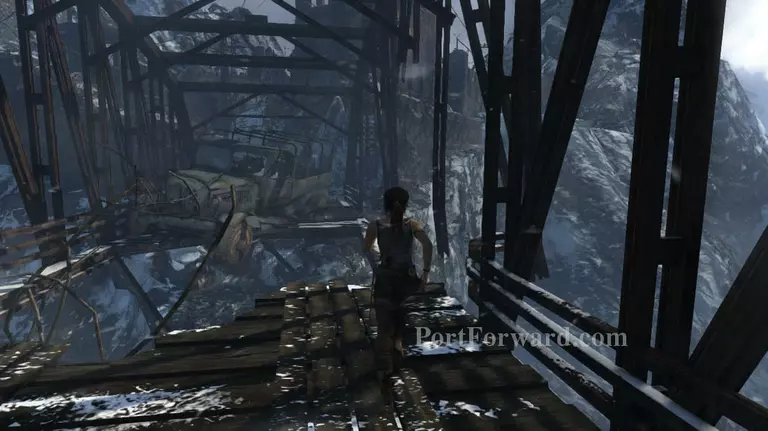
Now head over to the bridge and cross it by using the narrow piece of metal that's connecting the two sides of the bridge.
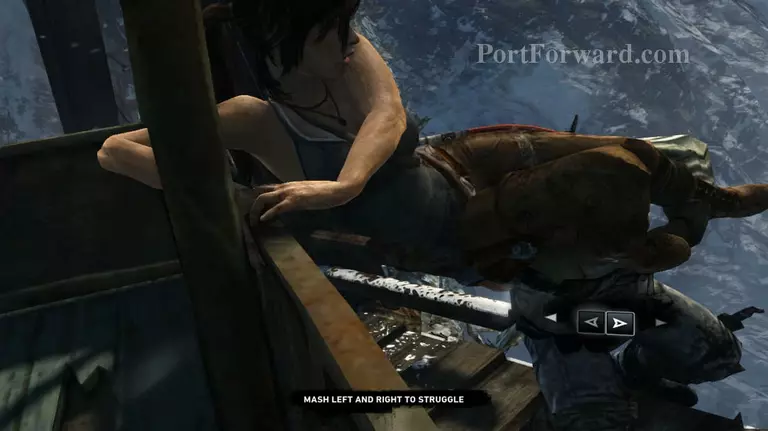
You'll then be attacked by a bandit who will attempt to throw you off the cliff. Press left and right to struggle against him.
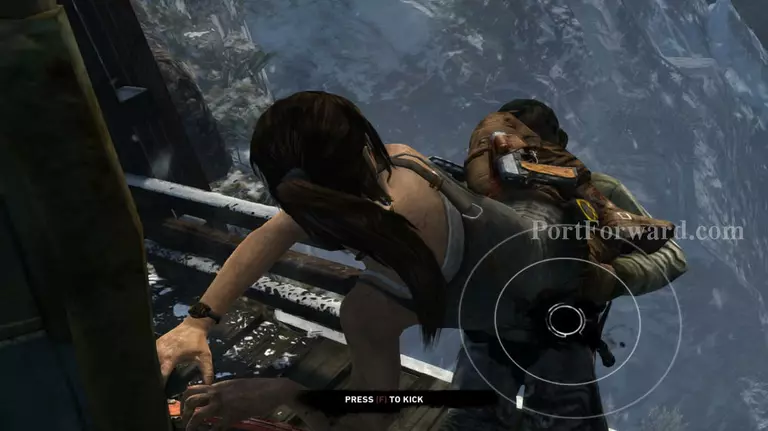
Then press F to kick him off the edge once the icon appears.
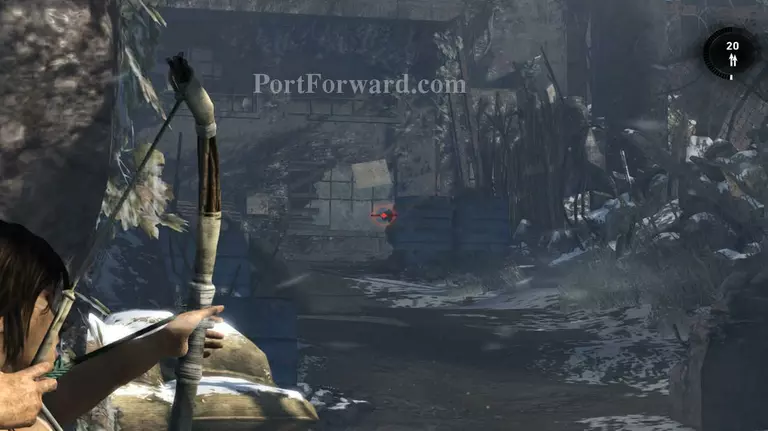
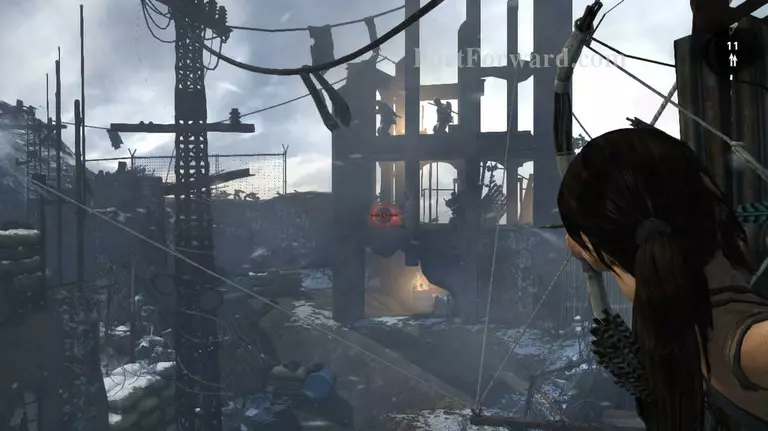
Stay where you are, this is an enemy stronghold. It would be better for you to pick them off from afar. Draw your bow and aim at the guy behind the blue barrels. Aim for his head then shoot him.
Next up is the guy on the roof at the upper left side of the building. He's a bit hard to target so if you miss his head just shoot another arrow at him while he's falling back.
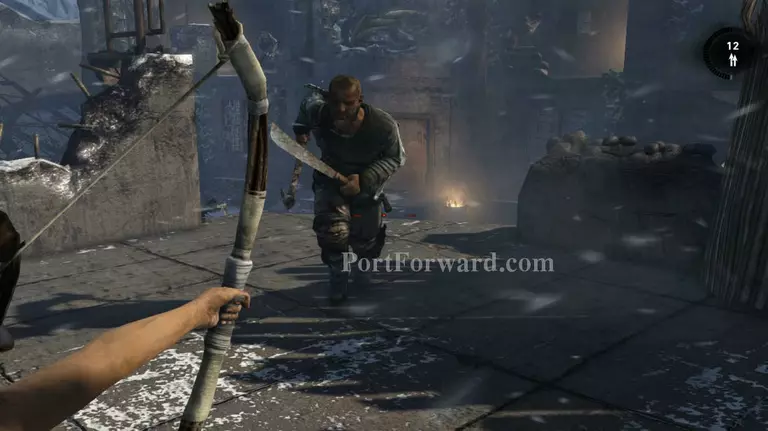
Hide behind the sandbags nearby and wait for another bandit to come out and try to attack you up close. Aim for his legs to incapacitate him, then shoot his head. If you're good at shooting then aim for his head to conserve ammo.

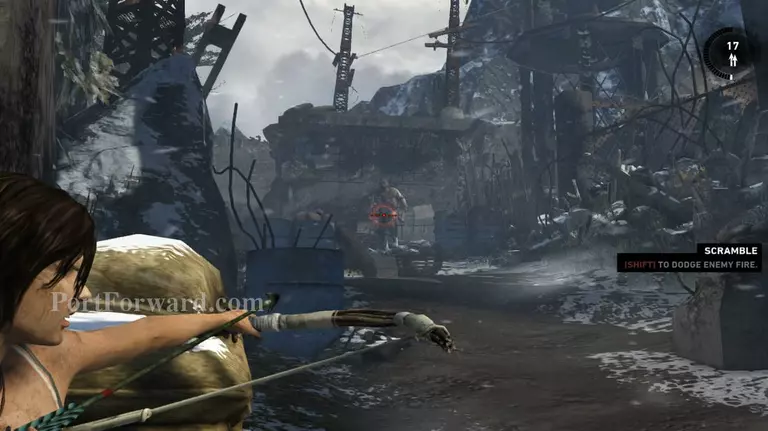
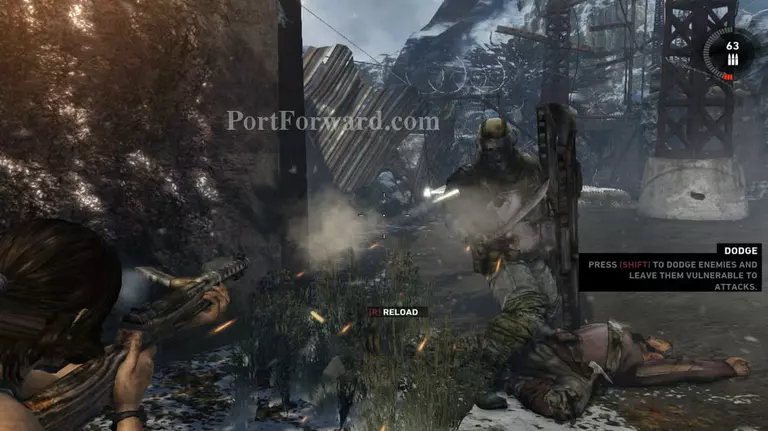
Now head for the open area and 4 bandits from the ruins on the right side will come and attack you. There's an archer, a gunner and a melee attacker. Take care of the gunner and archer first. The 2 guys with the machetes will come down but they'll take a while to get there and you can probably kill off the first 2 before they reach you.

After taking care of the 2 on the building, deal with the melee guys. Shoot an arrow towards their legs, bringing down one will significantly make this easier. Use the dodge ability to get away from their attacks. Once you bring them both down you can either get close and melee kill them or shoot an arrow to their heads.
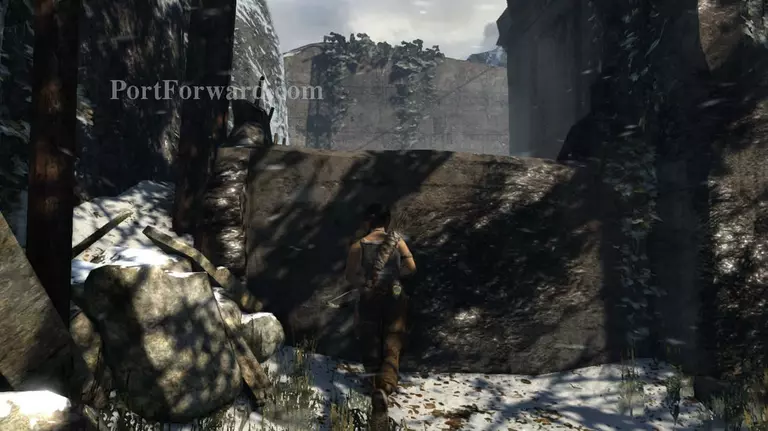
After you kill all of them head for the ruins at the end of the path. It's the one before you take a turn towards the building where the second batch of bandits came out. Then climb up the ledge on the left side of it.
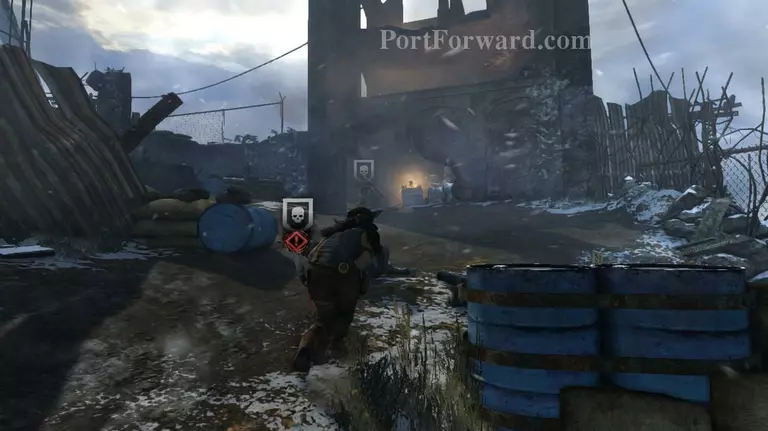
A couple more of bandits will come and attack you from the ruins in front of where you are. Climb up the top of the ruins that you're standing on and hide behind the piece of metal sheet that's sticking on the left side. Aim your bow at the oil barrels and shoot it to get rid of the bandits quickly.
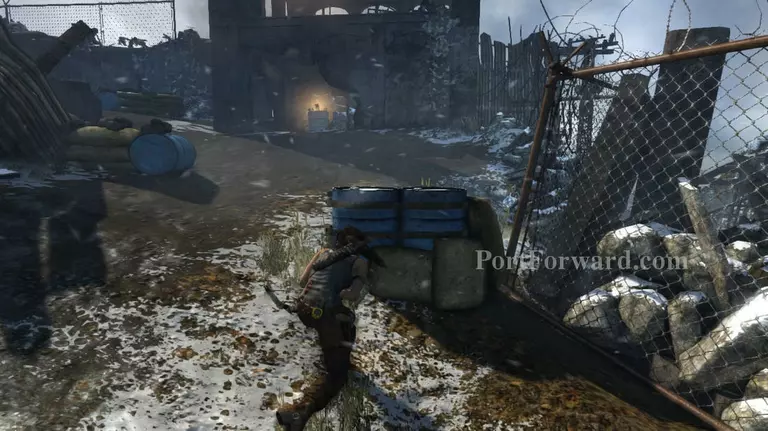
After shooting the barrel head back down and start walking towards the ruins that you just blew up. Hide behind the blue barrels and they'll come and attack you again.
I found it hard to shoot their heads, so I shot their legs instead and killed them with a melee attack. If you're really having a hard time killing them then use the submachine gun or pistol.
Head towards the left of the ruins and you'll find a ledge that you can climb on at the right side. Jump up and grab it, then pull yourself up and hide behind the wall.
The first bandit will try to melee attack you, push him away with F then aim a bow at his leg and incapacitate him, then finish him off.
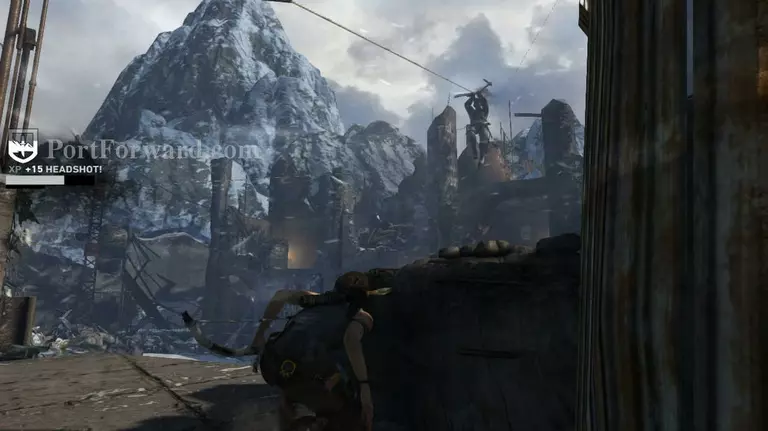
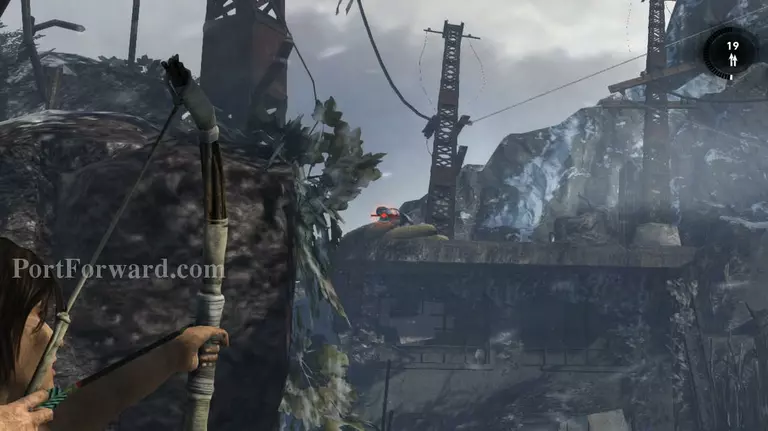
Start picking the archers off one by one. But watch out for the melee fighters that will use the zip line to get to you. You can push them off the ledge too if you think it's too troublesome to attack them.
New enemy alert. Equip your machine gun before you head down the path after killing off all of the bandits.
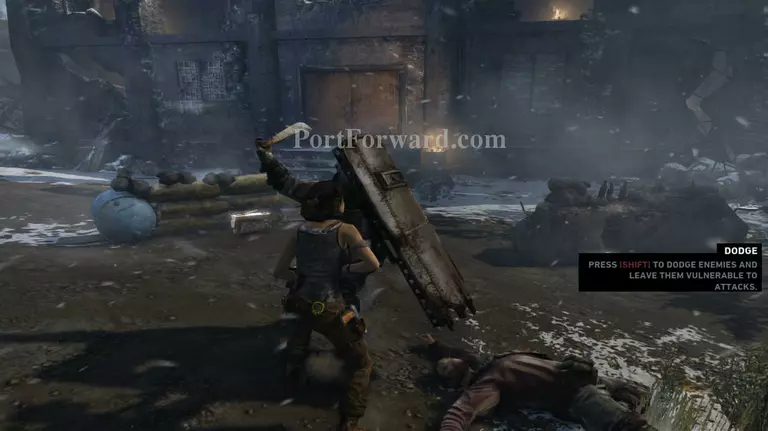
You have to take on the big guy in his bulletproof goodness. Dodge his attack then ready your machine gun and start shooting at his hands or sides.
Becareful, if you shoot at the wrong side then this won't be so easy. He's going to deflect any form of bullet that gets sent to the metal on his body.
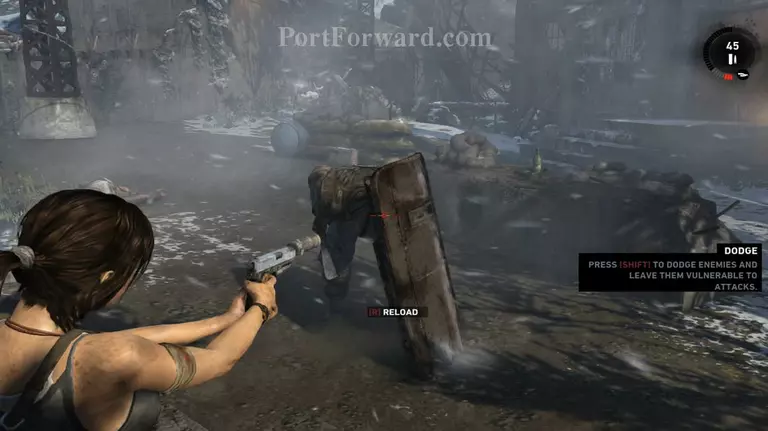
As for good places to shoot at you can get lucky sometimes and manage to land a hit on his foot. Other than that his waist and arm are the best options. I would suggest you dodge to the left since it seems like it's easier to land a shot on that side.
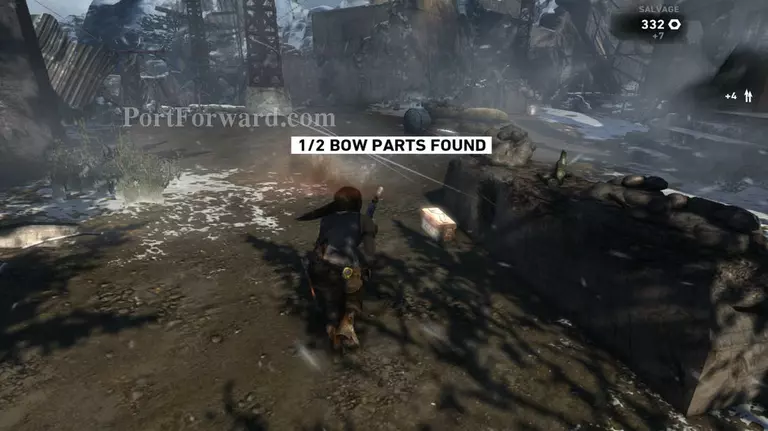
After you kill him salvage his body. I'm not sure whether I'm just unlucky or what but this was the first place that I got upgrade parts for my weapons. From here on out you can get upgrade parts for your weapons, they can come from both crates and enemies, so be mindful of that.
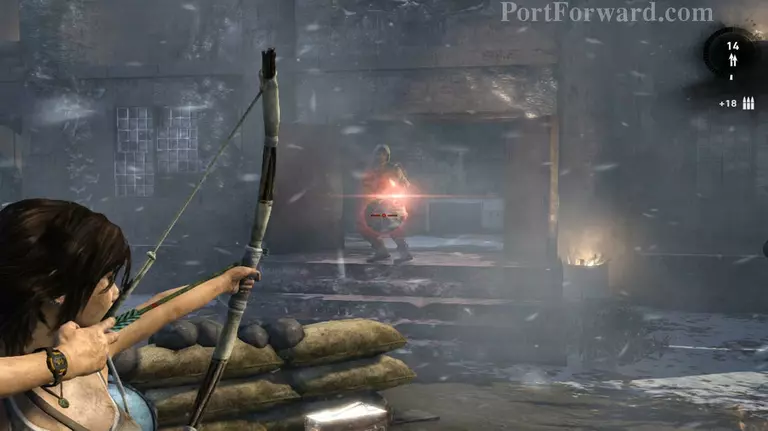
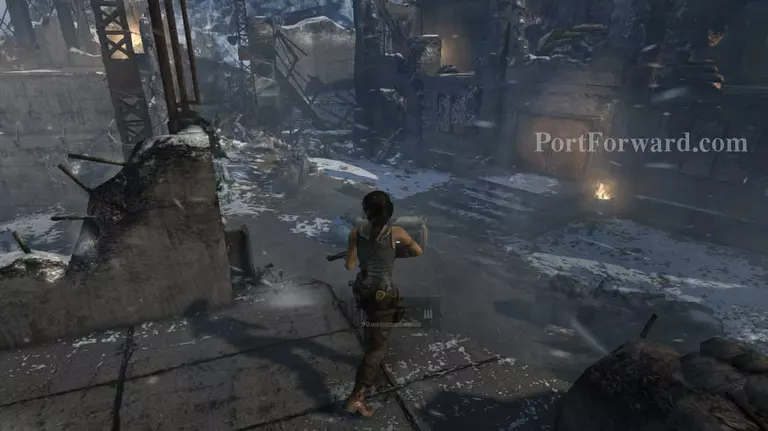
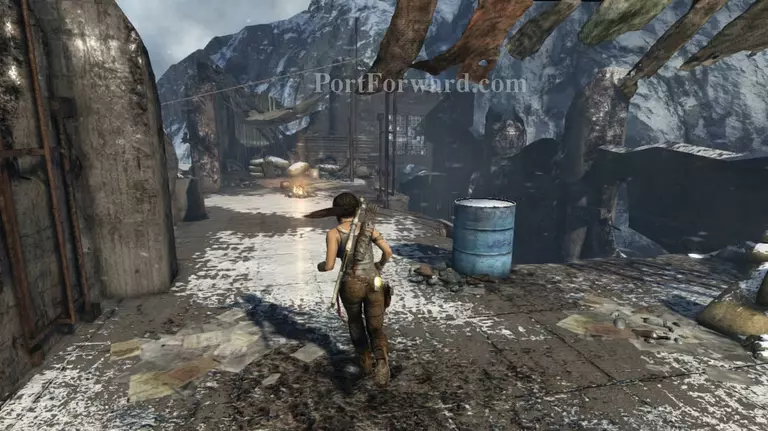
A pyromaniac will come out from the door after you get a little closer to it. Take him down with your bow then proceed inside the ruins.
Head inside the building and take whatever bullets you can find. Then go up the stairs and out the hole on the second floor.
Follow the stairs to the upper floor. There's a campsite at the left side, sit down there and distribute your points as well as upgrade your weapons.
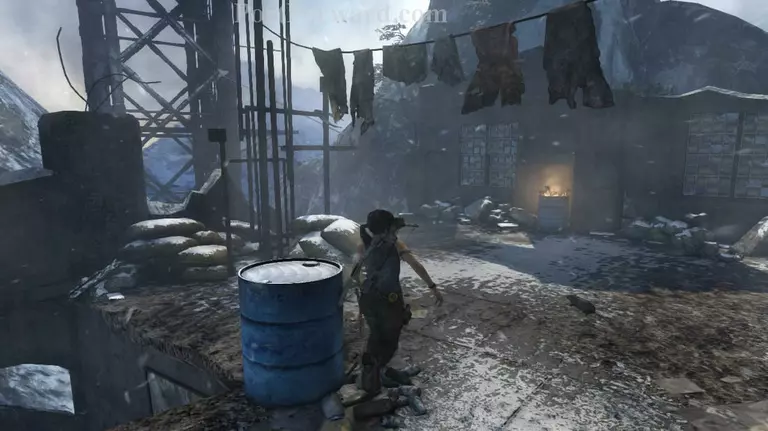
After using the campsite turn around and head back. Towards the left you'll see a zip line that's connected to the tower. Use the zip line to get to the other side.
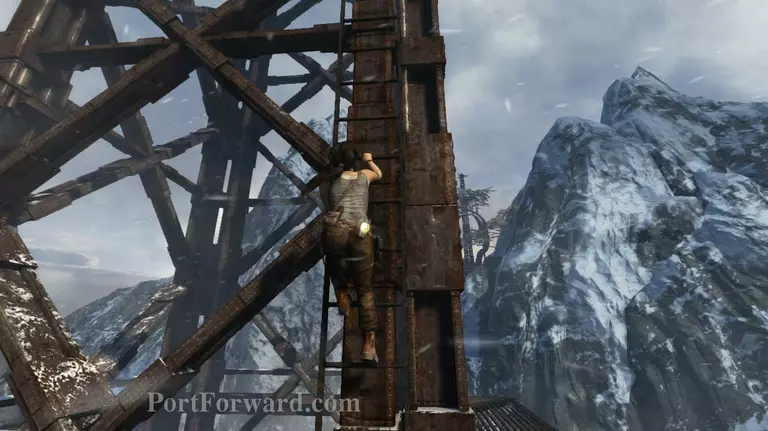
Once you're on the tower take the path on the right and you'll find a ladder that goes all the way up. Interact with it and start climbing.
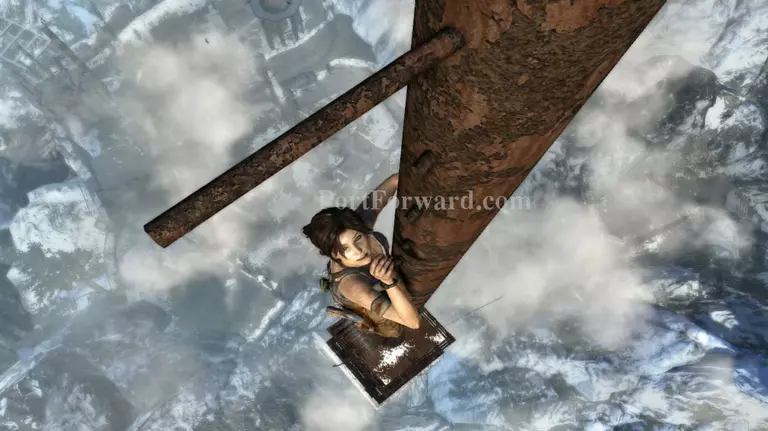
When you get to the really broken up part of the ladder you'll have to jump across to get to the upper area. Press up and jump to make Lara reach it. Then continue heading up.
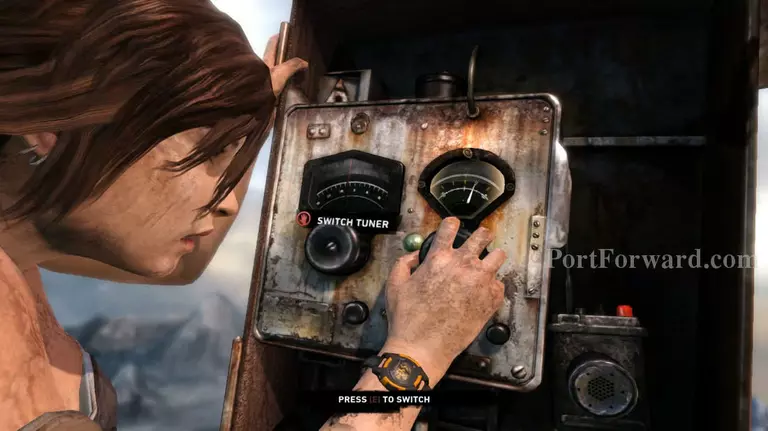
Once you arrive at the top you'll have to find the signal. Press right and keep pressing it until you get to the fourth yellow line on the panel. Then press E to switch to the tuner.
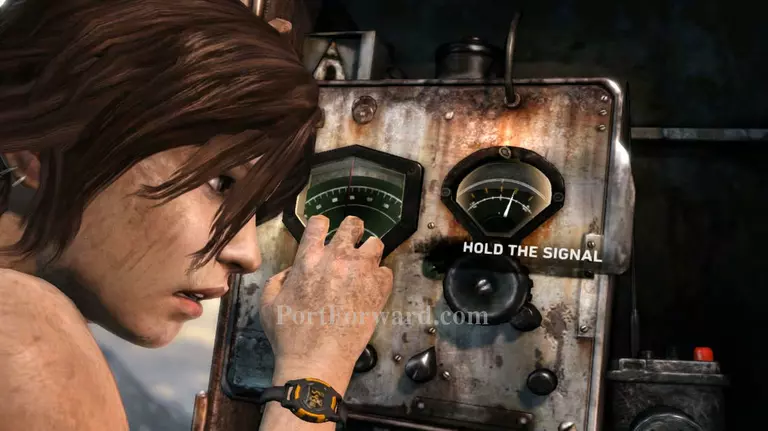
Next you have to make the signal clearer. Press right again and hold it until the words "Hold the signal" appears on the screen, then press E to broadcast. A cutscene will start.
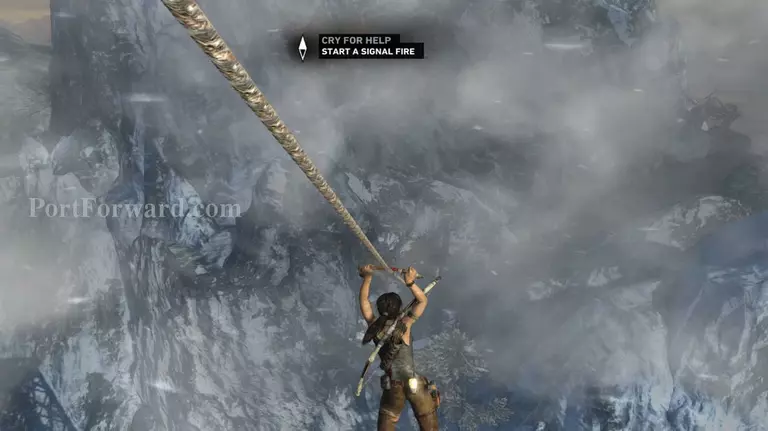
Use the zip line that's right in front of you to make your way down to the next area. You need to make a signal for the aiplane.
Once you get down you'll immediately see some fuel tanks. Look to the right and you'll find a small shack. Enter it and approach the table at the far right corner to obtain the fire starter. You can now make a torch without a sconce.

Now head back outside and to the left side of the tanks. Pry the valve open and the gas will leak out.
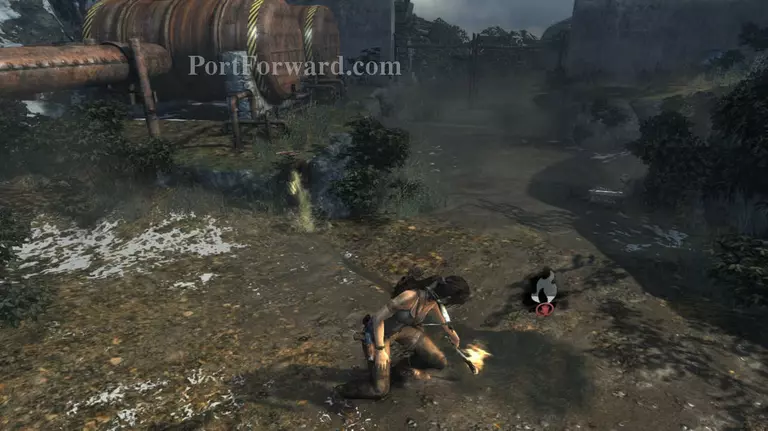
Hold down E to ignite your torch. Then head over to the pool of gas that formed neaby and ignite it. Step back a little and watch the fireworks.
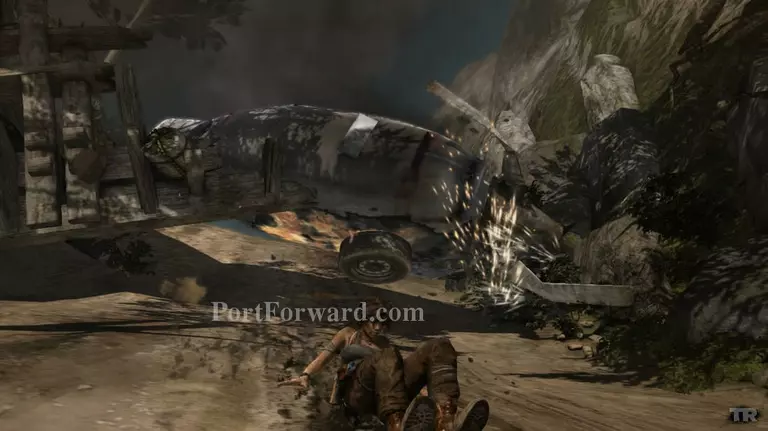
As the plane comes crashing down you'll be sent down a long slide. Avoid the debris.
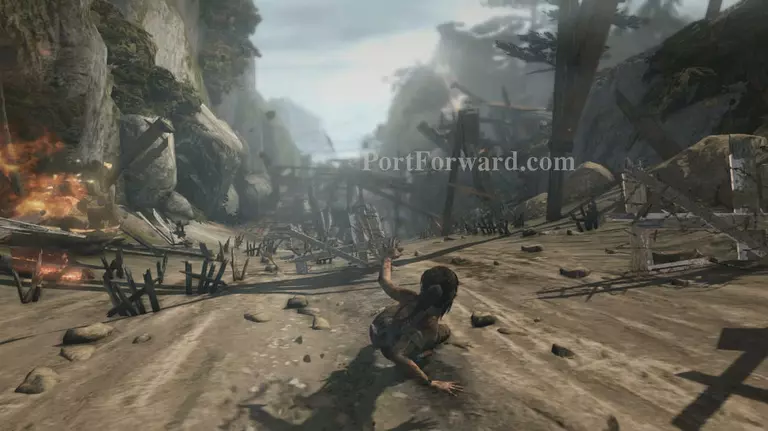
On the second level of the fall I suggest that you keep right. It seems like it's a lot easier to dodge the barricades this way and avoid death.
Press E to regain your balance once you hit the last part of the fall. The plane will come crashing down on you. Quickly run to the right and jump on the next platform.
More Tomb Raider Walkthroughs
This Tomb Raider walkthrough is divided into 25 total pages.


