
This Tomb Raider walkthrough is divided into 25 total pages.
You can jump to nearby pages of the game using the links above.
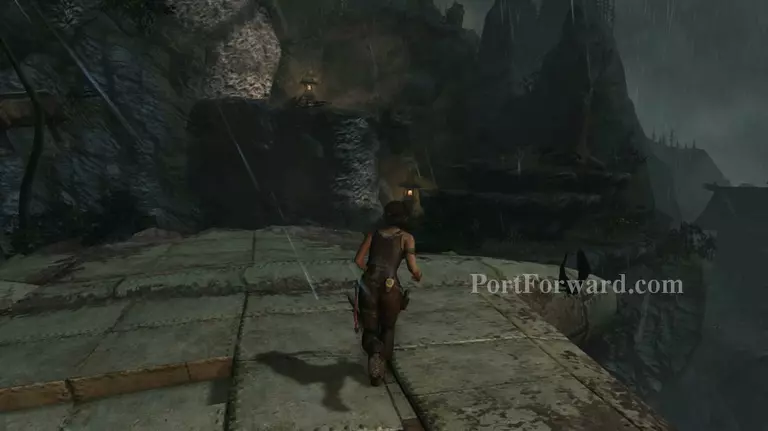
Village Plateau
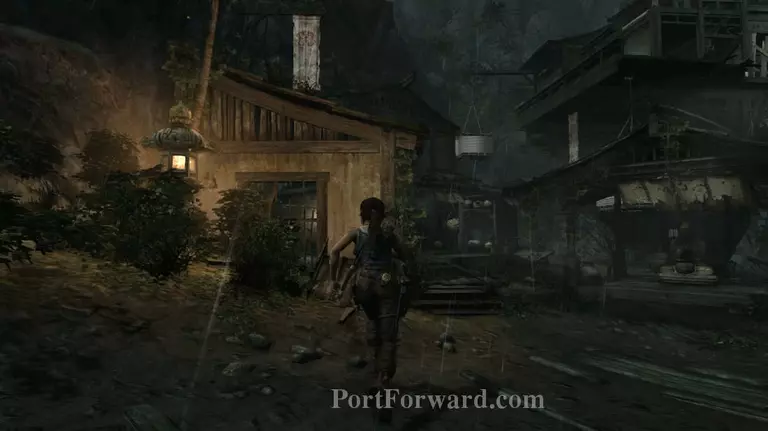
From where the campsite look to the northwest and you'll see a fallen cart beside a house. Walk on the cart and jump on the house to grab the ledge.
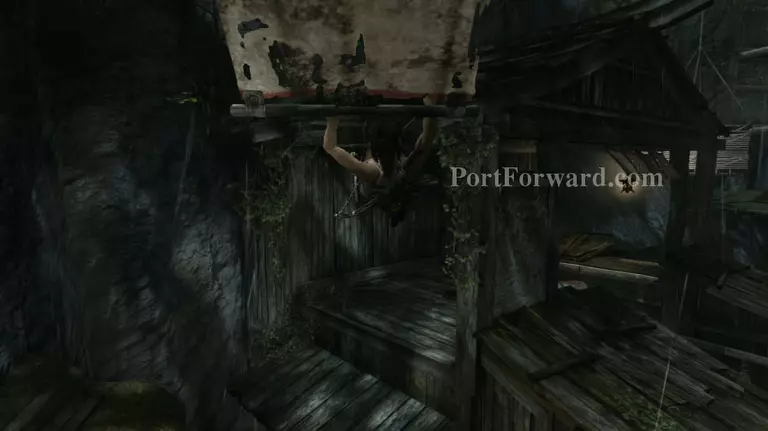
Now use the banner as a swing to make it to the roof of the next house, you should be able to make the jump without a problem.
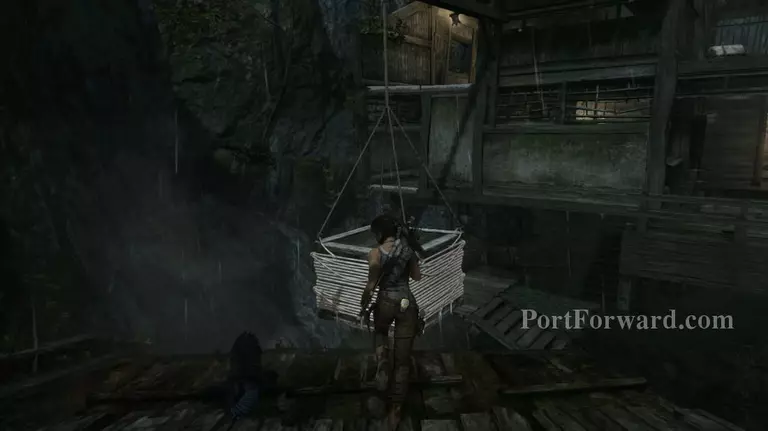
Once you get on the roof you'll see a wooden crate that's hanging from a pole. Jump on top of the crate and it will swing towards the other side. Jump of towards the next house.
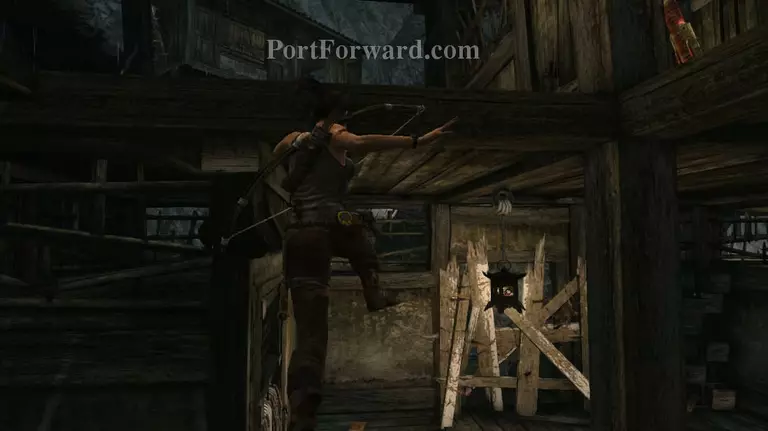
You'll see a table directly in front of you. Use it to get to the upper floor. Now turn around and jump towards the room on the right side.
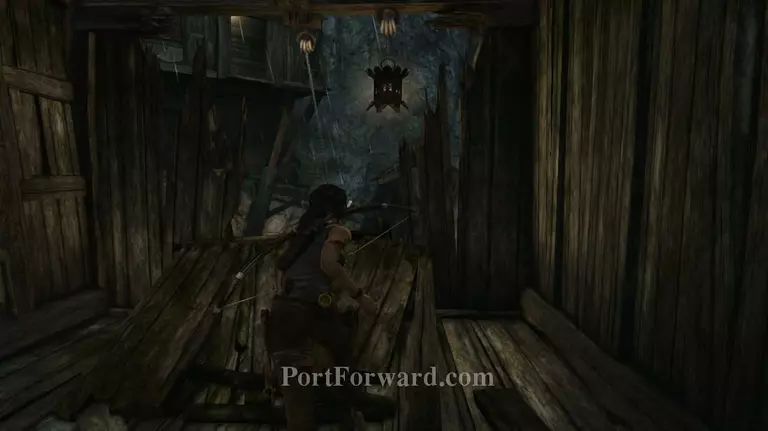
In the next room there's a zip line, use it to get down near the airplane.

Jump towards the airplane and use it to get to the other side. Then start climbing the small rock platforms on the other side.
You then need to jump on top of the plane and walk on it until you get to the end. The plane will fall down but don't worry you won't fall. Just wait for it to settle down, then jump towards the white beams on the right side and make your way to the top.
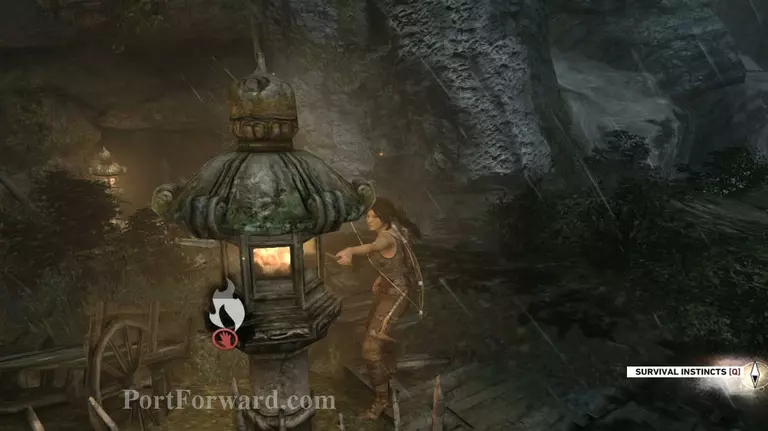
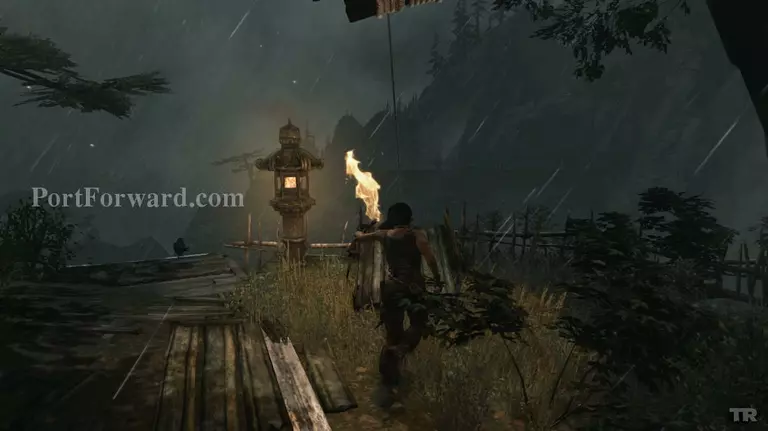
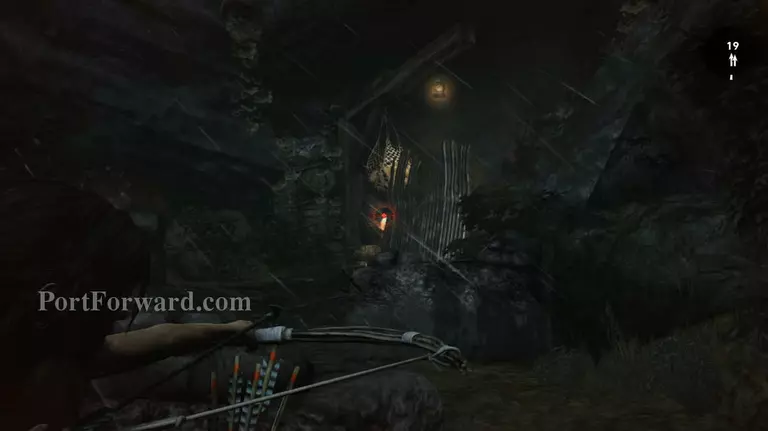
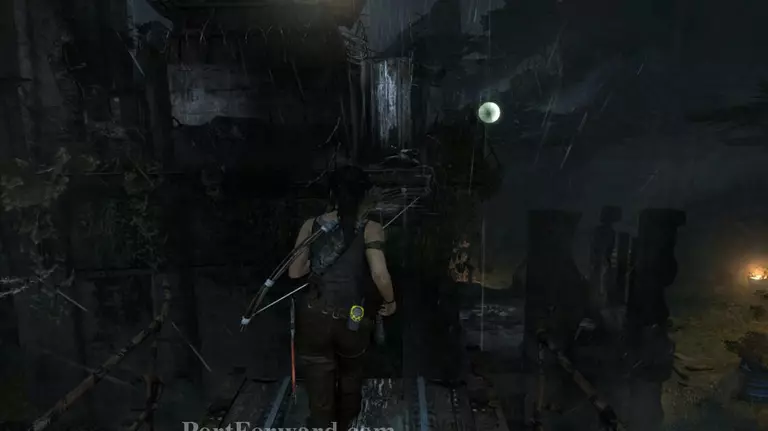
You'll see a small cave which is apparently the den of the wolves. Light your torch, then head inside.
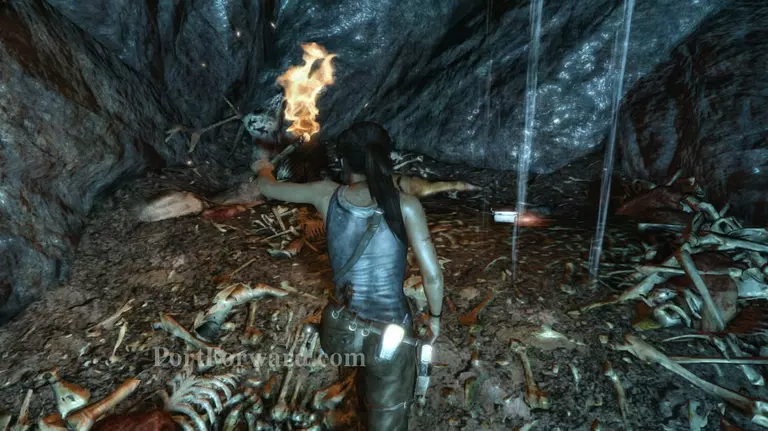
The cave is linear, just follow it through the end and you'll find Roth's pack. Now head back for the cave's entrance.
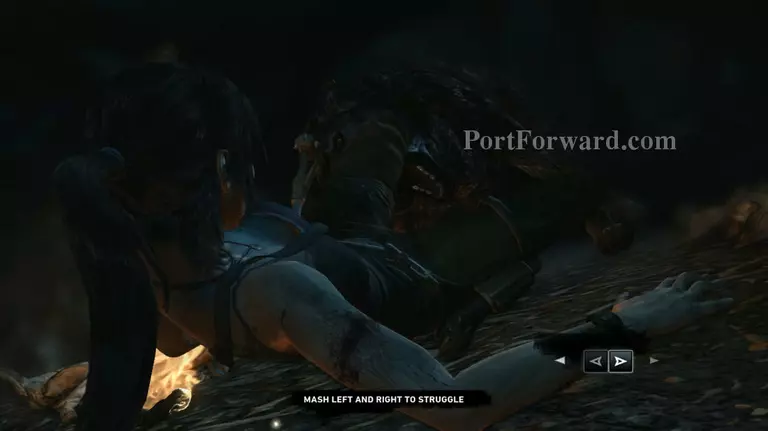
You'll be attacked by a wolf before you can leave. Mash left and right buttons to struggle against it.
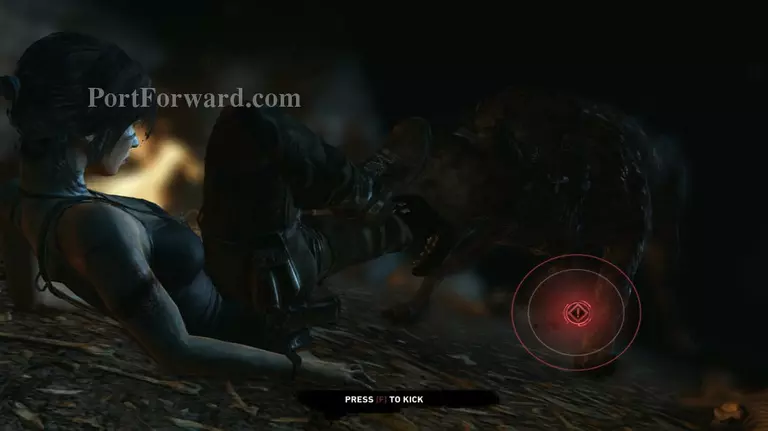
You'll need to kick it off so make sure to watch for the icon as soon as it gets red press F.
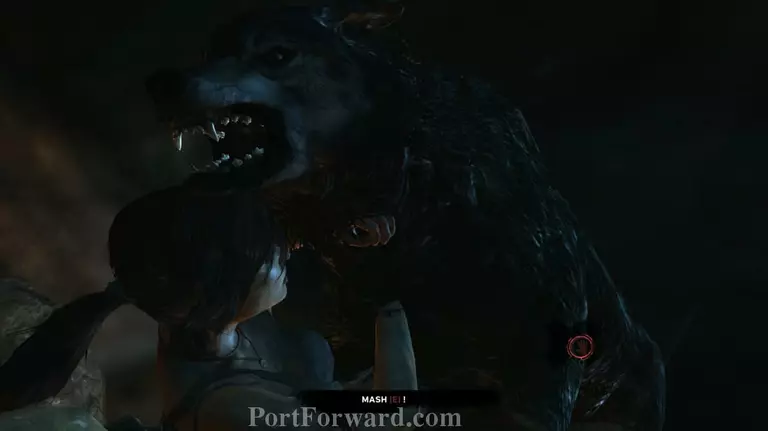
The wolf will attempt to bite you and you'll have to mash E to out power it.
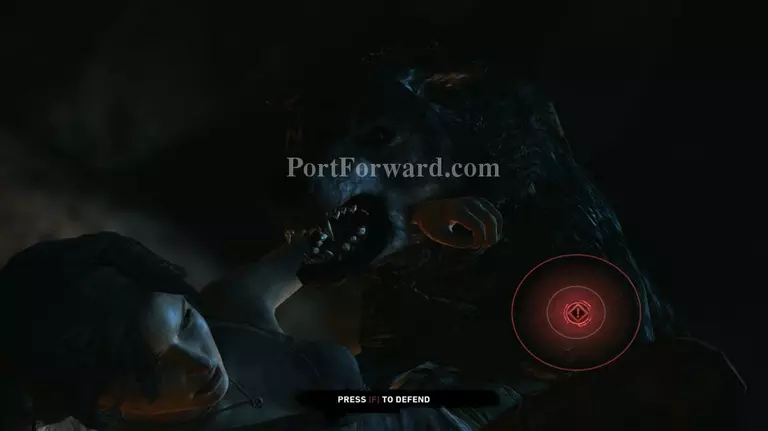
After successfully winning the power struggle you have to stab it with an arrow. After stabbing it the first time it will come back and attack you at which point you need to mash F in order to kill it.
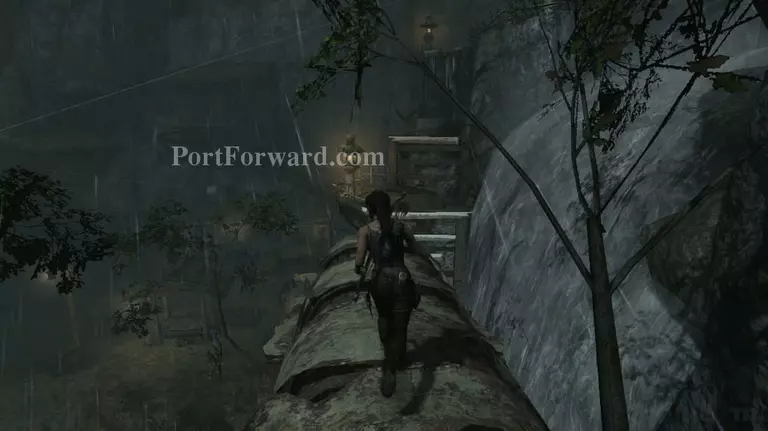
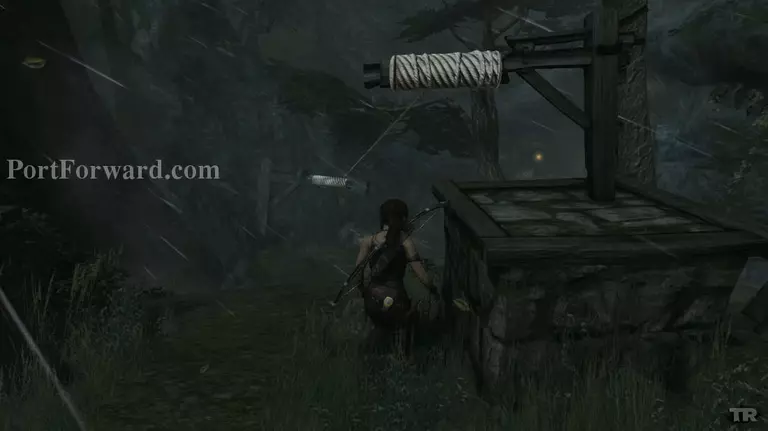
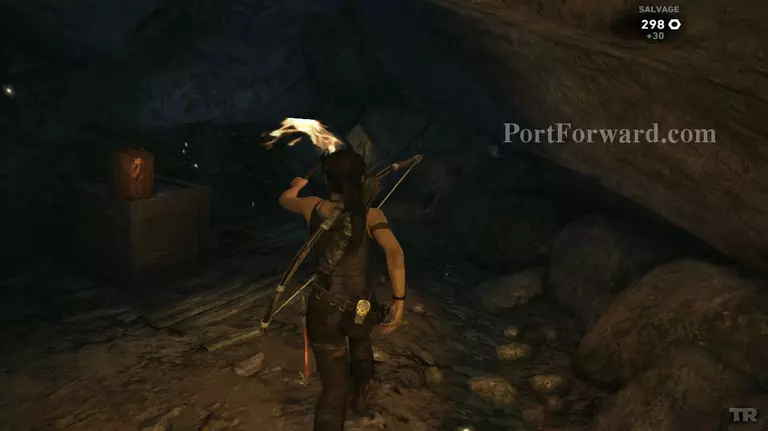
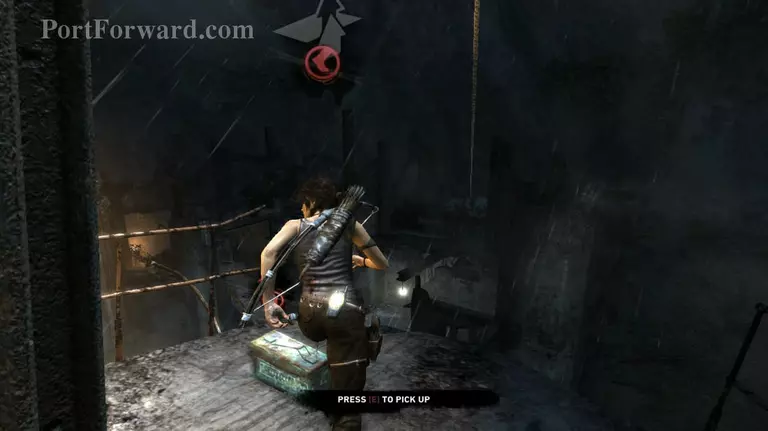
Now head back outside the cave and you'll see a cart that's near the lantern you used to light up your torch. There's also a zip line above it, use the zip line to get back down to lower grounds.
Now press Q and follow the marker to get back to Roth. A cutscene will play.
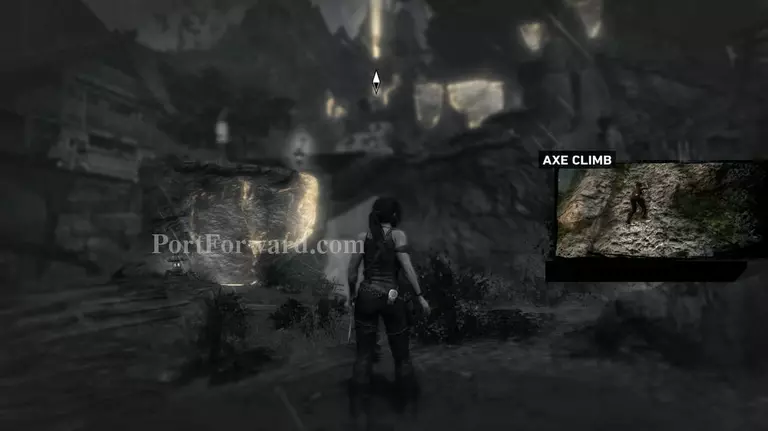
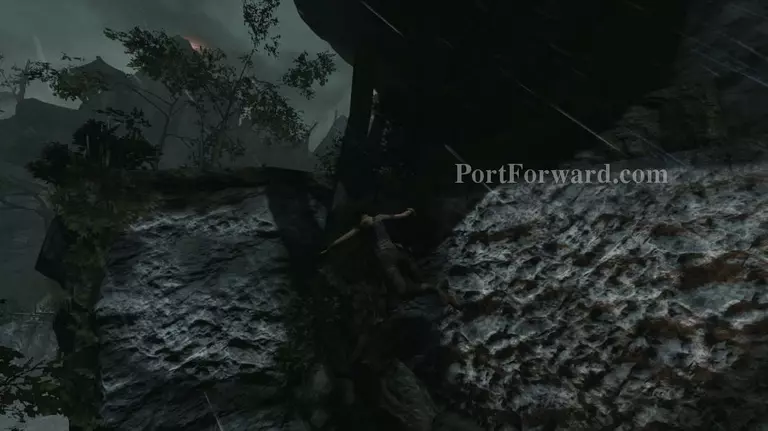
After the cutscene you'll gain a new item, the climbing axe. Survival instinct will also be automatically activated showing you which rock you need to climb as well as your destination.
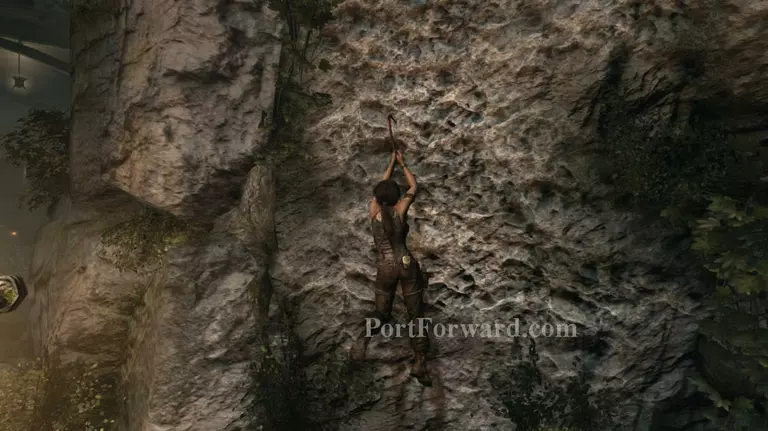
Now head over to the wall and jump then press E to use the climbing axe. Scale the wall and get to the top.
When you get to the top climb up the plane's wing and make your way to the right side. You'll see some more climbable rocks. Use the climbing axe again to get to the top.
On the second rock there's a gap that you need to jump. It's basically the same as the normal gap jumping except this time you have to press E to make Lara attach the climbing axe to the rock.
Make your way across the bridge and turn to the right. Scale the wall again until you get to the top. Now when you get to the top look to your right and you'll see a climbable wall. Jump towards it then press E to attach the climbing axe.
Hide behind the boxes once you get to the top and don't forget to make sure that your bow is equipped. Kill the bandit on the right side then proceed to killing the other two on the left side.
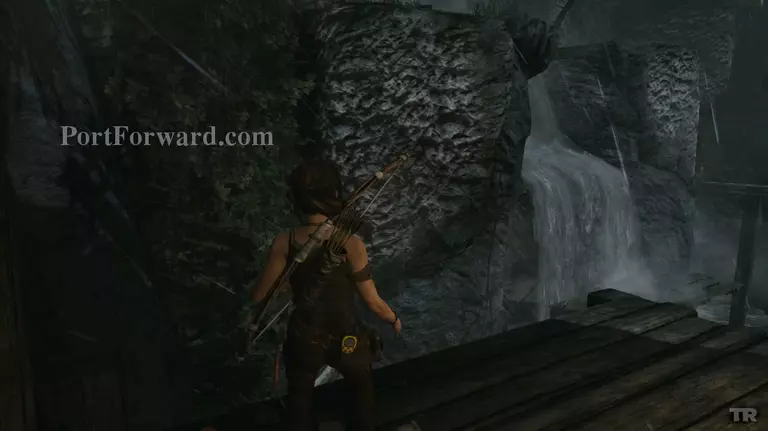
After killing them head over to the left side and walk towards the end of the room. Take the path on the right but don't jump towards the platforms, look to your left and walk a little bit to that side. Now jump on the wall and grab the ledge to get to the second floor and jump towards the climbable wall on the side of the waterfalls.
Once you get on top use the wood as a bridge to get to the other side and make your way to the wooden cart. Then jump towards the wall and keep climbing until you get to the bridge.
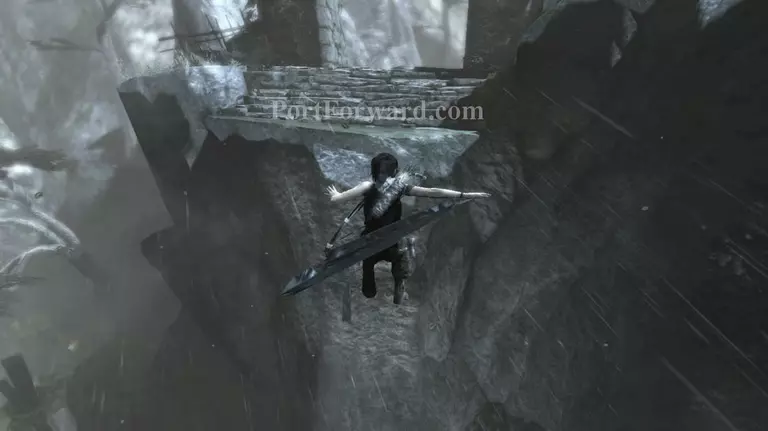
Walk across the bridge and it will break. Lara will then fall in slow motion and you'll have to press E to use the axe and attach it to the wall.
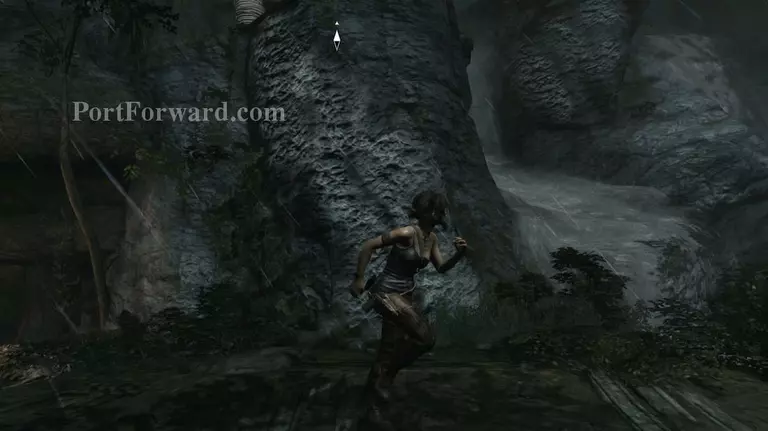
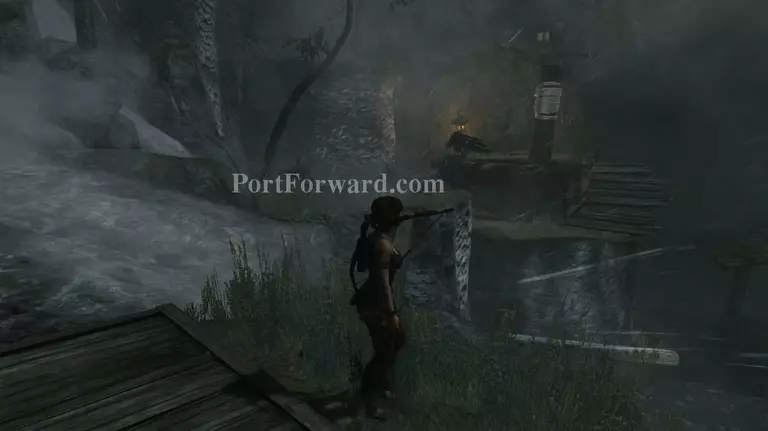
Once you get yourself back up on the ground keep walking forward and you'll find a zip line. Use it to get to the lower ground.
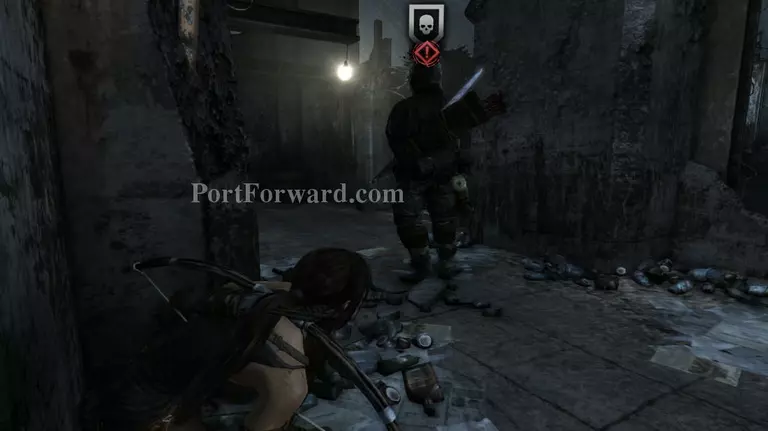
You'll immediately be attacked by some of the bandits. There's 3 in total pick them off one by one by shooting at their heads.

The third one is a melee type. You can shoot his leg to incapacitate him then get close to him and press F to kill him. Alternatively you can lure him towards a bomb that his comrade threw at you and he'll burn by himself.
After you kill them head for the small cavern and squeeze yourself through the tiny gap.
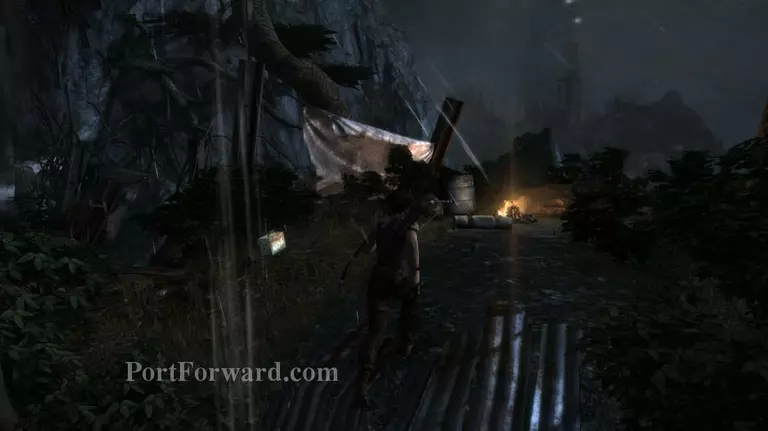
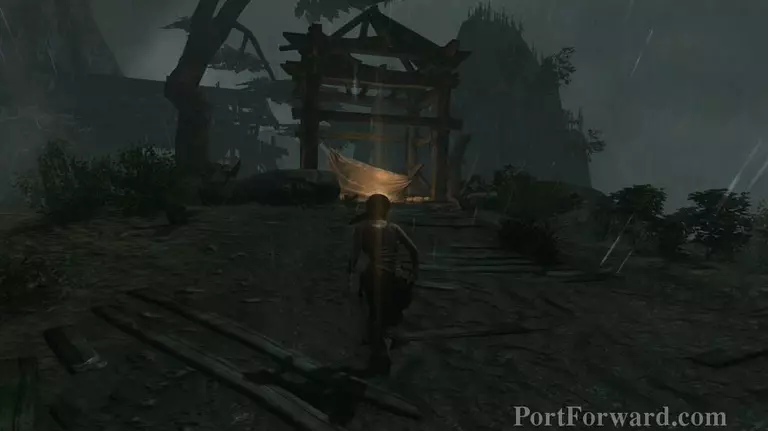
Now head up the path and keep walking towards the campsite and a cutscene will start.
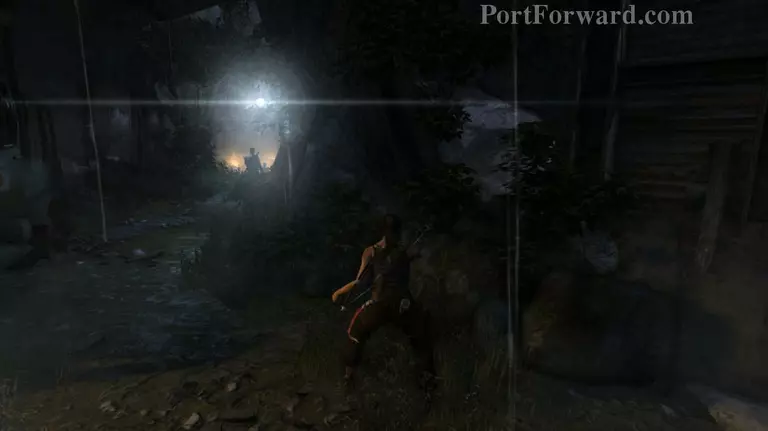
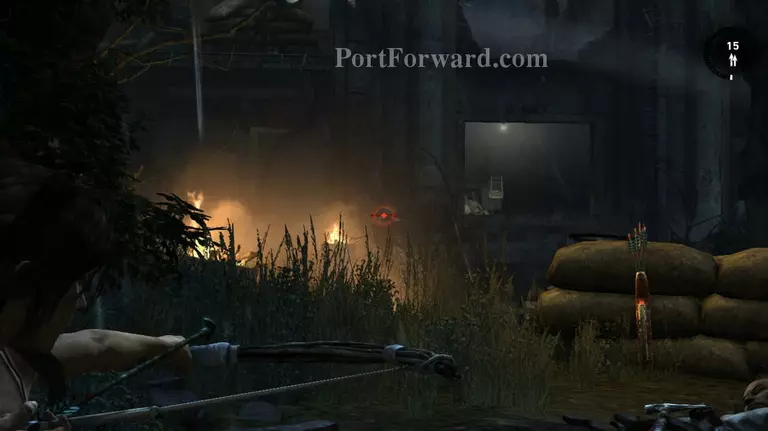
Now press Q and follow the marker you'll notice that there are people around the corner... a lot of them. Wait until the bandit demands that the light be taken away from him. Then move towards the left and hide behind the truck.
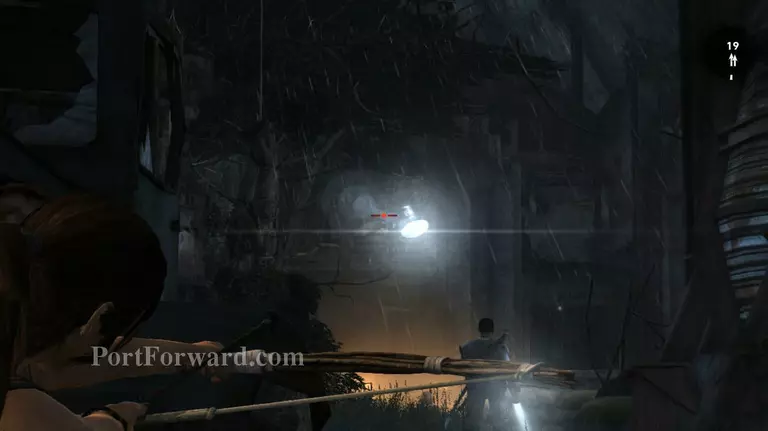
I would suggest that you first aim for the guy moving the spotlight. This will make sneaking around and killing them a lot easier. Draw your bow and zoom in with Z. Wait until you see the guy's head then kill him. Be careful not to hit the spotlight though or you'll alert the bandits.
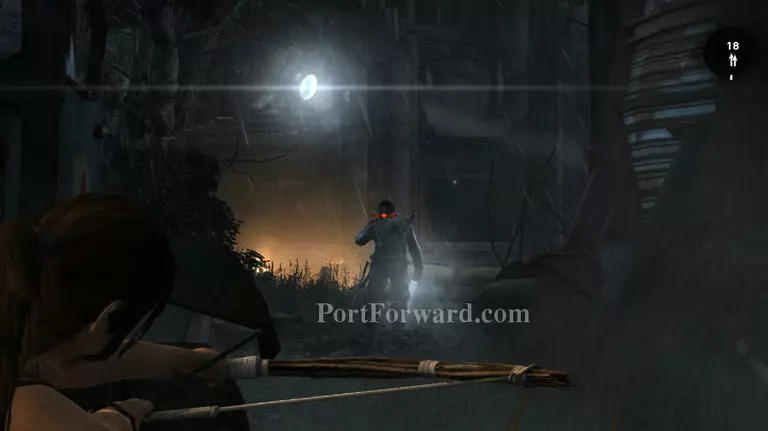
After killing the guy moving the spotlight around, kill off the bandit that's near you. Don't get closer just yet, there's still some bandits that you can kill from here.
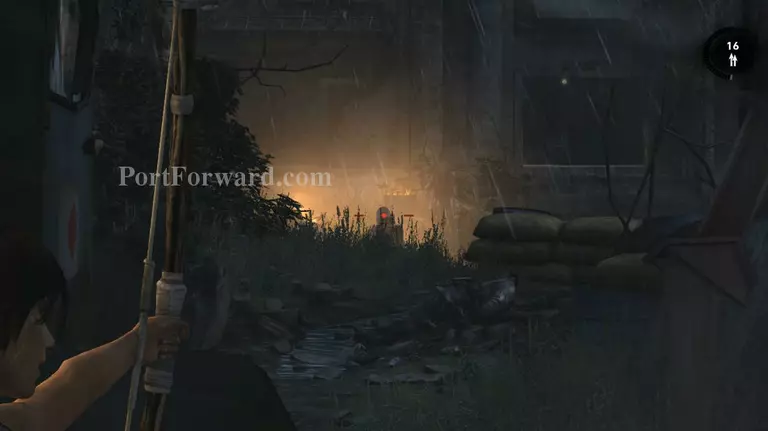
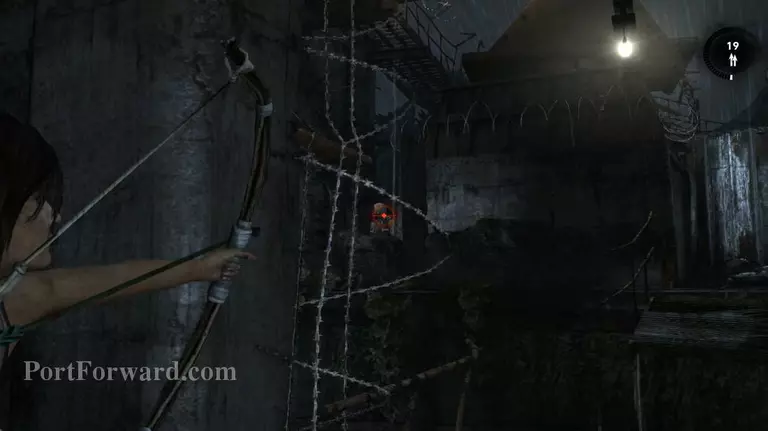
To the left side of the second bandit that you killed there's another one he's a bit hard to spot so you may wanna use your survival instinct to spot him quickly. Shoot his head, always shoot the head. Then go forward and hide behind the wall on the left side.
Shoot the bandit that's drinking around at the right side near the bonfire. Now move a little bit to the left and leave cover it should be safe.
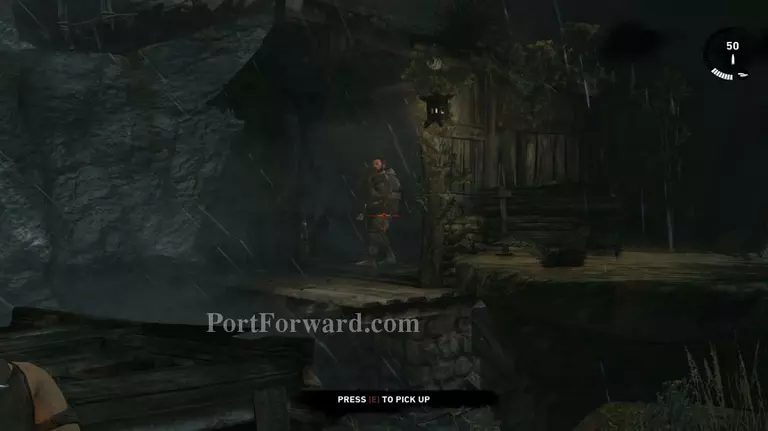
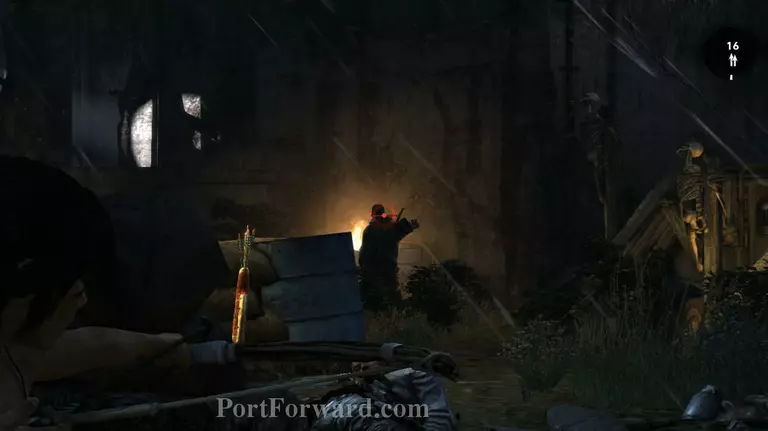
Press Q and you'll spot another bandit near the door that you need to go to. Aim your bow and press Q then shoot his head. You should be clear now. Grab whatever items you can salvage then head inside.
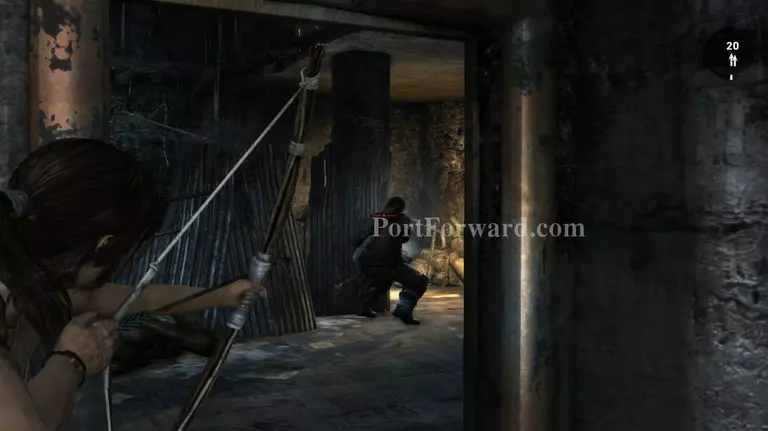
Inside the building head to the left and enter the door. You'll see another bandit welding something. You can either shoot him with your bow or get close and strangle him.
Now head upstairs and into the door at the top of it. Continue down the left side of the corridor, there's another guard here. Get close to him then strangle him.

Hide behind the wall on the left side and wait for the patrolling bandit to head towards the left side. Once he does immediately shoot the guy that stays behind.
Then move a little bit to the left and wait for the other bandit to get around the corner and shoot him too. That should be the last of them.
Jump over to the other side and jump up the wall to get on top of it and on the stairs.
Follow the stairs to the top and you'll find a zip line. You'll need to use it to get down to lower grounds.
More Tomb Raider Walkthroughs
This Tomb Raider walkthrough is divided into 25 total pages.


