This Tomb Raider walkthrough is divided into 25 total pages.
You can jump to nearby pages of the game using the links above.
Shipwrecked
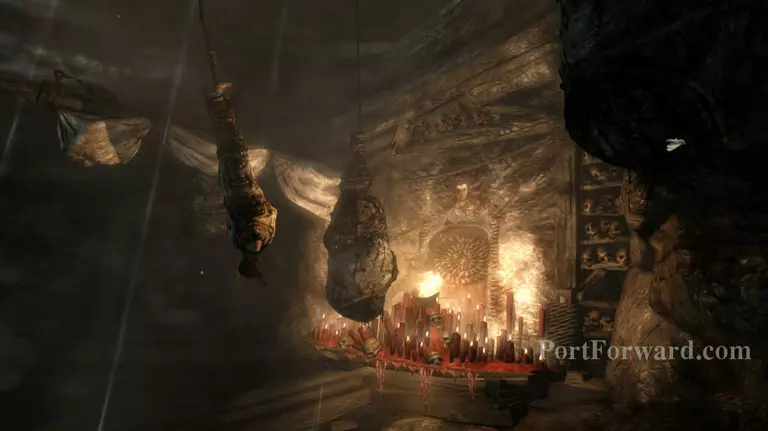
The game starts with Lara hanging upside down in some sort of cavern. Press left and right to make Lara swing. Your goal is to get the sack beside you touch the flames and cause a fire.
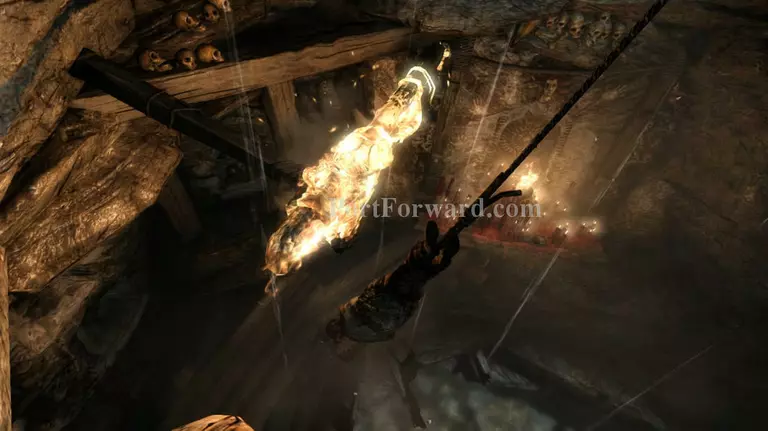
Once the fire spreads to the long beam at the side your camera will shift. You'll still need to press left and right to gain enough momentum to reach the beam. Once you reach it the sack wrapped on Lara will burn.
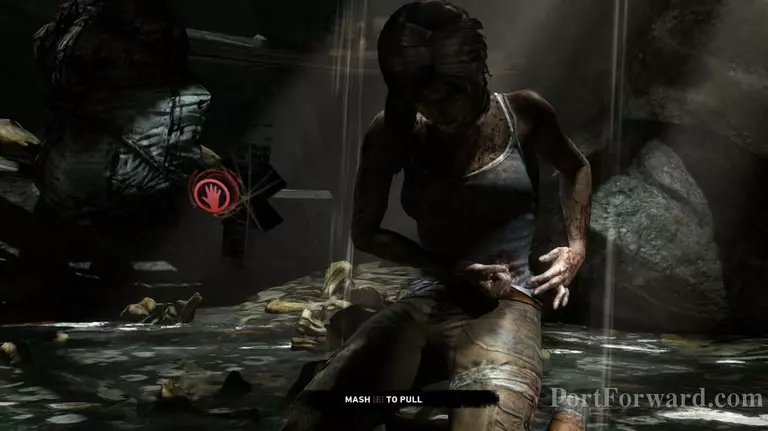
After falling down you'll hit a small iron spike. Mash E until Lara manages to pull it out. This is a control tutorial, meaning whenever you see this red hand icon that means you have to mash E.
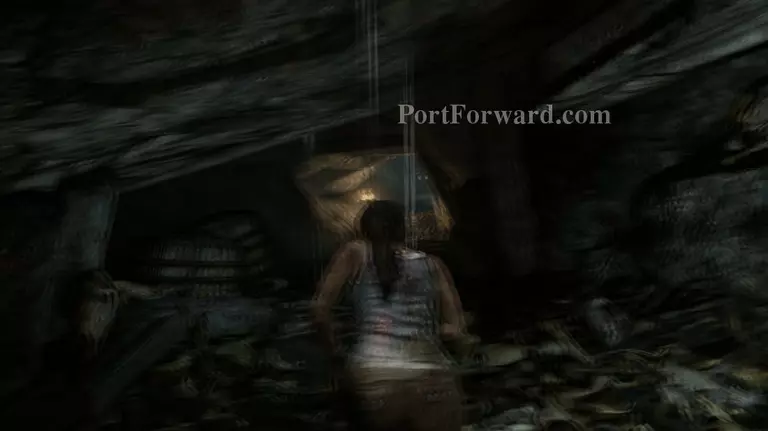
Lara will be a bit dazed. You'll need to make your way towards the tunnel right in front of you and keep going until you get to another shrine.

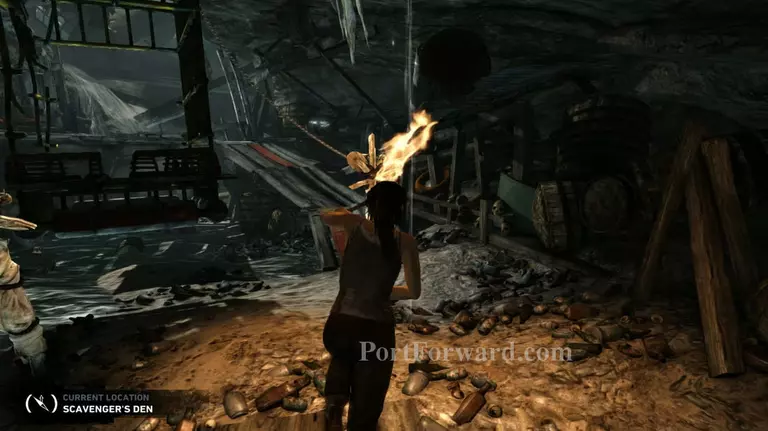
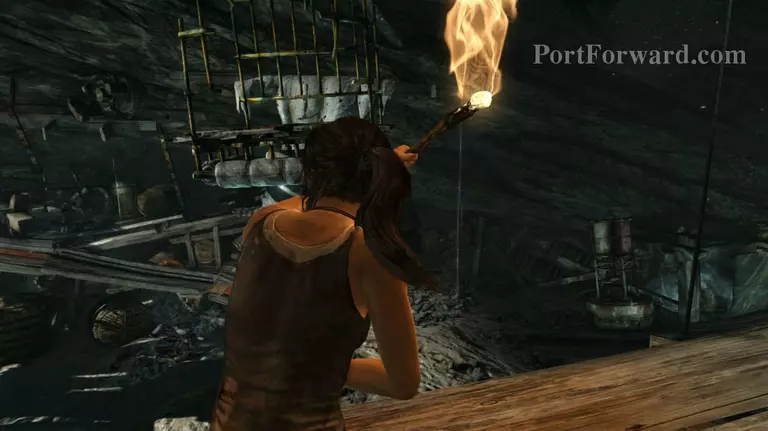
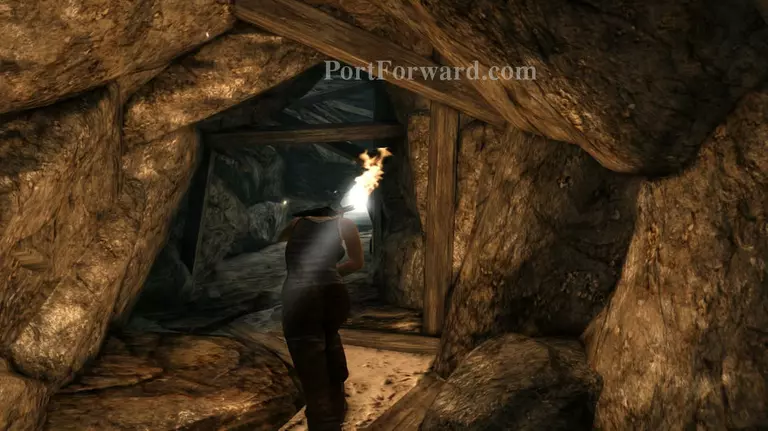
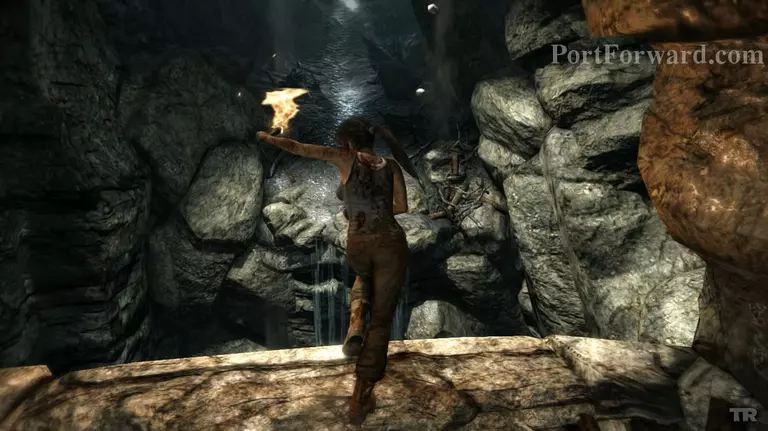
In the next area with a shrine there's a torch on the left side wall near the other tunnel on the left side of the altar. Grab the torch and enter the tunnel.
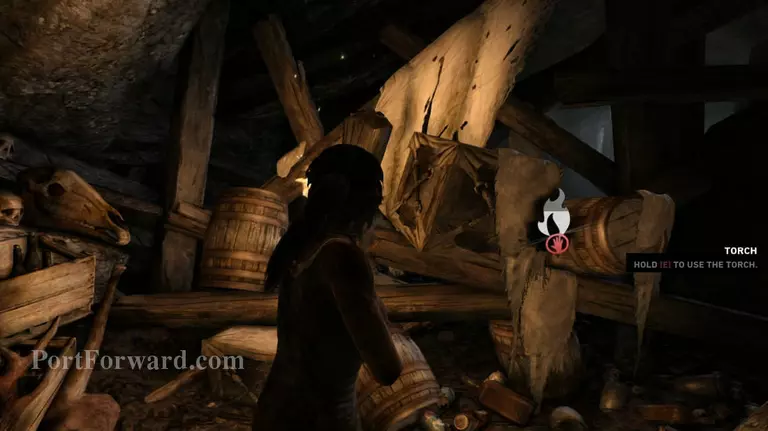
Inside the tunnel there's a barricade made of wood, crates and some barrels. Ignite them by holding E and Lara will set them on fire and you'll be able to pass through.
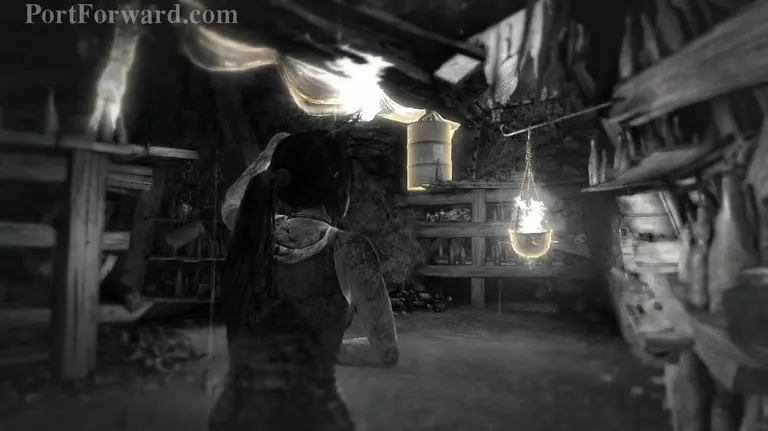
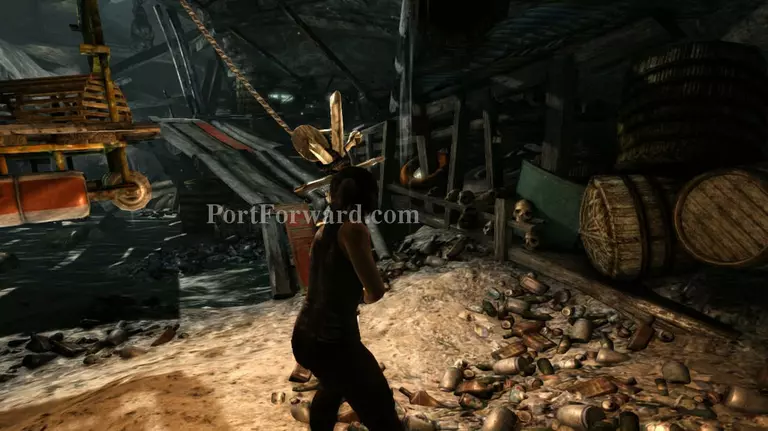
The next area is a mini puzzle and a tutorial for your instinct. Press Q and you'll see 3 things light up. A sconce, a ship's sail and an oil barrel. Relight your torch on the sconce and climb up the platform on the left.
Now set the ship sail on fire and wait for it to reach the oil barrel. This will cause the barrel to explode and create a path for you.
Climb up the ledge after the barricade clears up and proceed inside the tunnel.
Some hermit will attack you and attempt to pull you out of the tunnel. Some keys will appear on the screen so mash them to struggle against him.
Once you escape him proceed further inside the tunnel until you reach the other end.
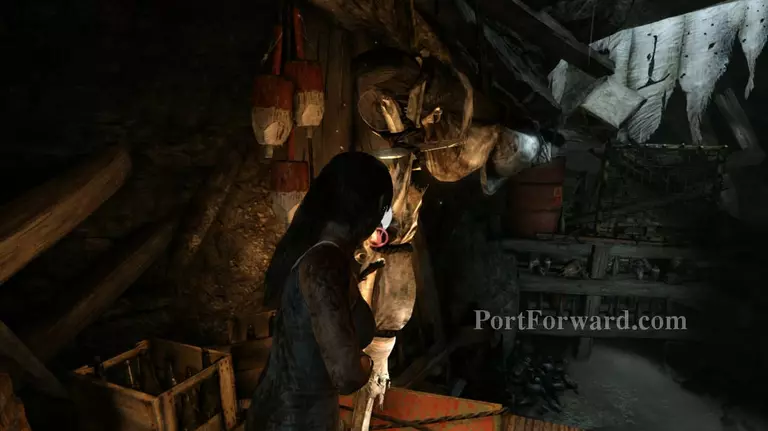
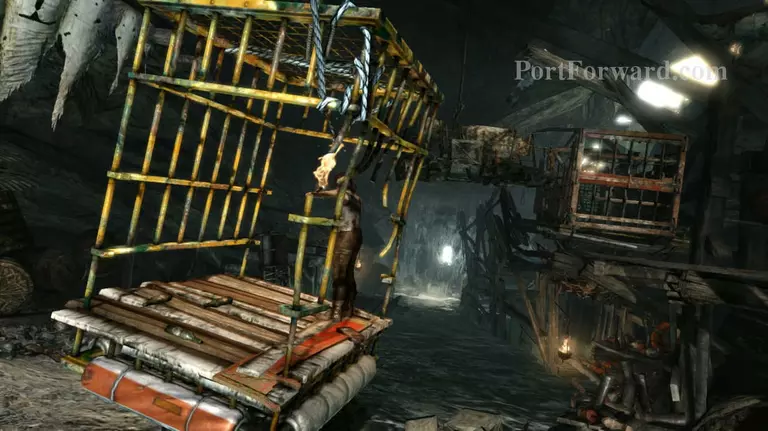
In this area turn right and relight your torch on the sconce, you'll see some sort of contraption nearby.
Burn down the two wooden anchors that are holding the contraption. The first one is near the walkway and the second one is on the left side of the first.
Now head up the walkway and jump on the cage.
This will cause the other side to rise up and dump a few wooden crates inside the metal cart on the right side. You may have to do this 2 or 3 times to really get some stuff inside the cart.
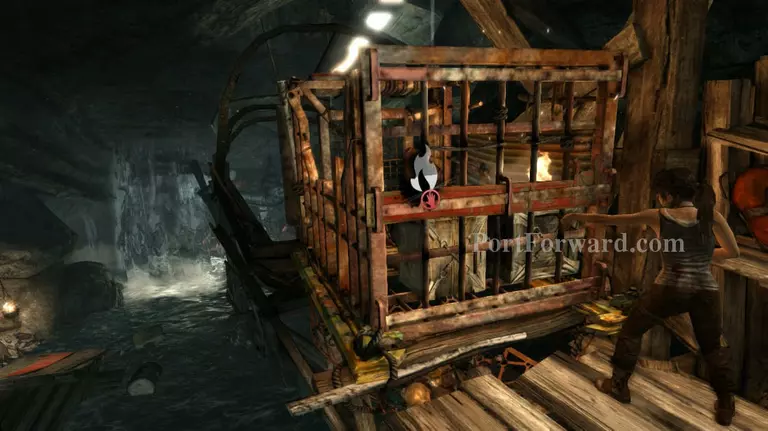
Once you think you have enough or at least have a wooden crate inside the cart, head up to it and light it on fire. Once the crates are on fire push them and the barricade below will explode.
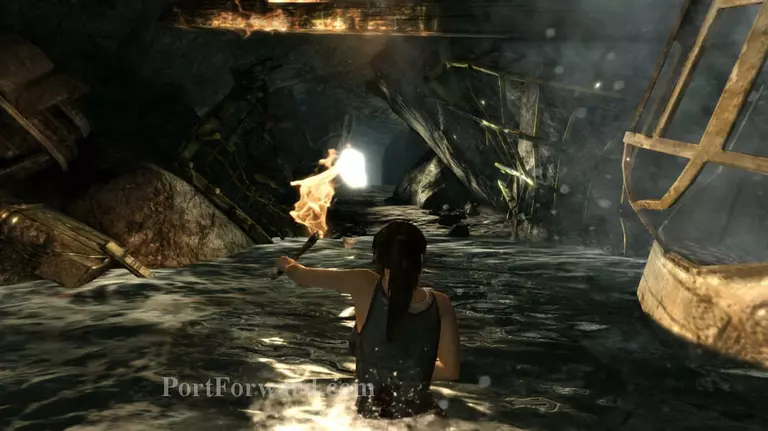
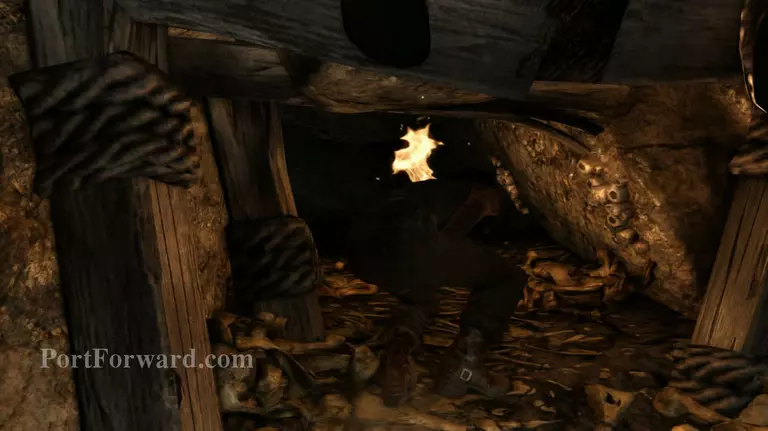
Now head for the tunnel and keep walking until the tunnel crashes and blocks your path.
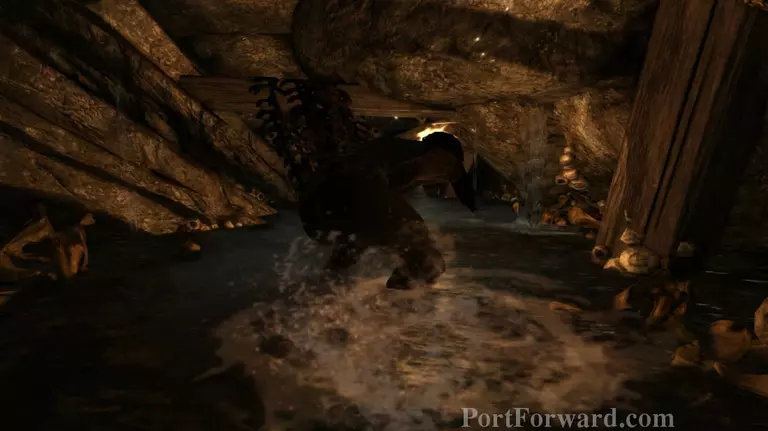
Turn right once the tunnel comes down and keep going. You'll eventually fall down a hole caused by the tunnel caving in.
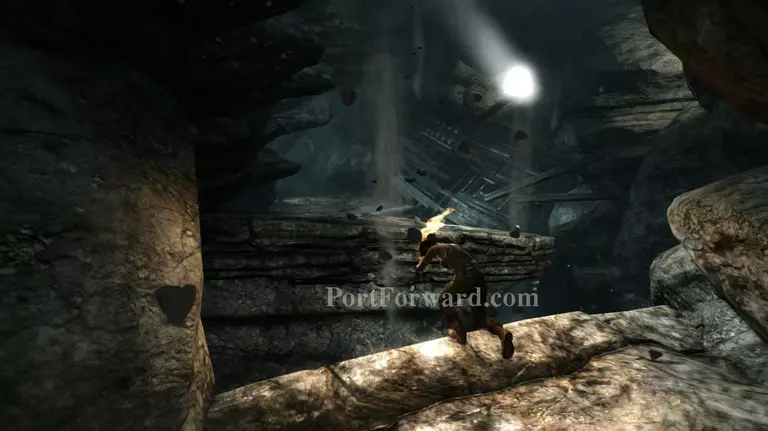
Once you fall down keep running and jump through the gaps between your path until you make it to the other side.
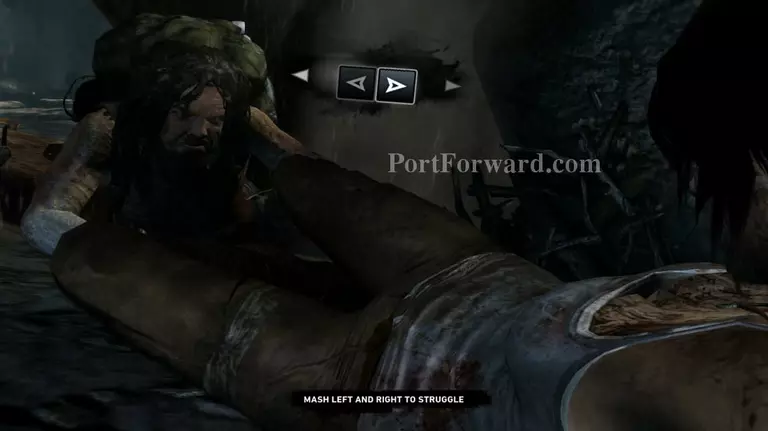
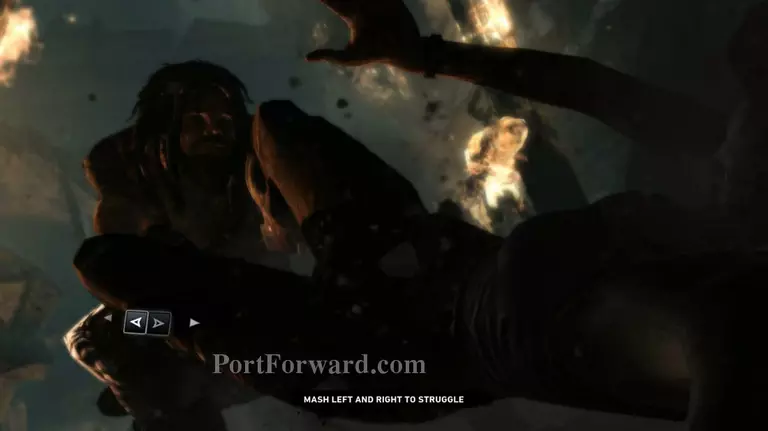
Once you get near the front piece of a ship the hermit will come and attack you again. Press left and right to struggle against him again.
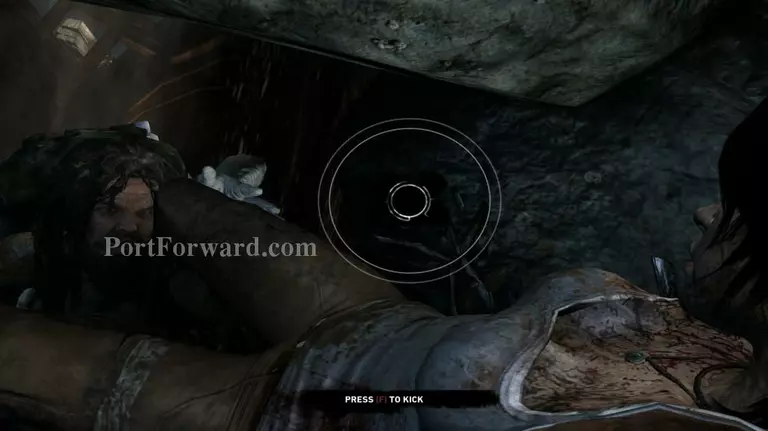
This time you'll have to kick him off of you. A circle will appear on your screen, wait for the smaller ring to get near the center then press F to kick him.
Once you break free from the hermit keep on running until you get near the small stream and jump towards it. It's a little far, but you'll make it.
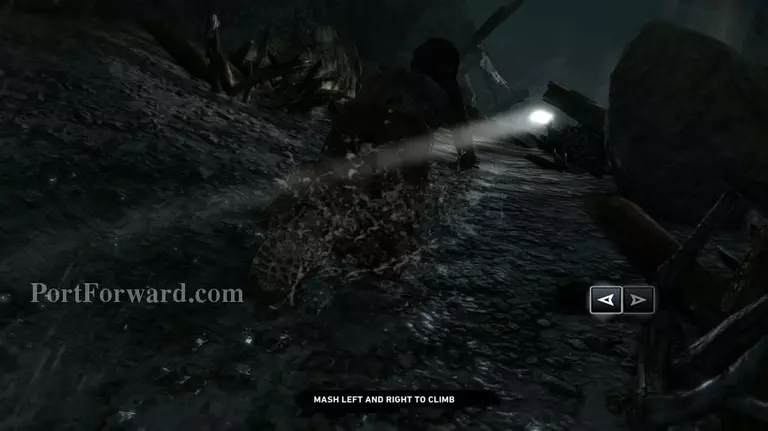
Another action sequence will appear afterwards, mash left and right to make Lara climb up.
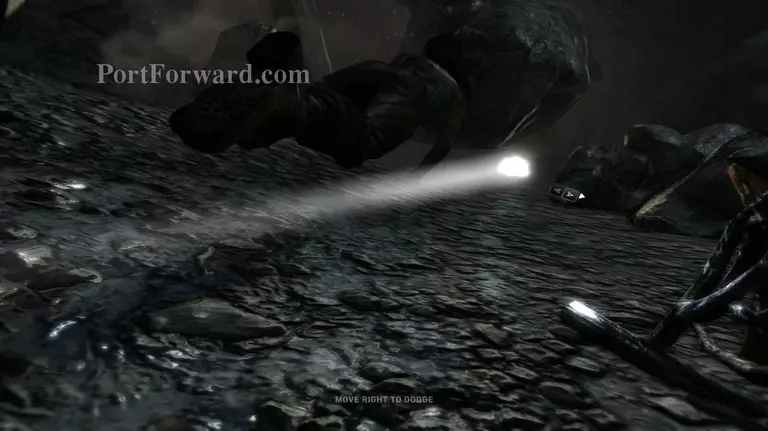
Boulders will occassionally come falling down on you. Well it will only fall twice. To avoid the first one you'll need to press left. For the second on you need to press right.
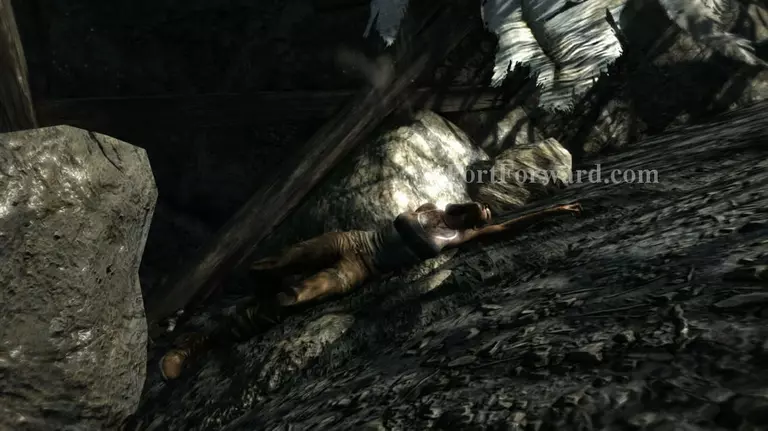
After dodging both of the boulders just keep mashing left and right to get out of the caverns.

You know a game will be intense when it just started and your character already looks like this.
More Tomb Raider Walkthroughs
This Tomb Raider walkthrough is divided into 25 total pages.