
This Tomb Raider walkthrough is divided into 25 total pages.
You can jump to nearby pages of the game using the links above.
Chasm Monastery
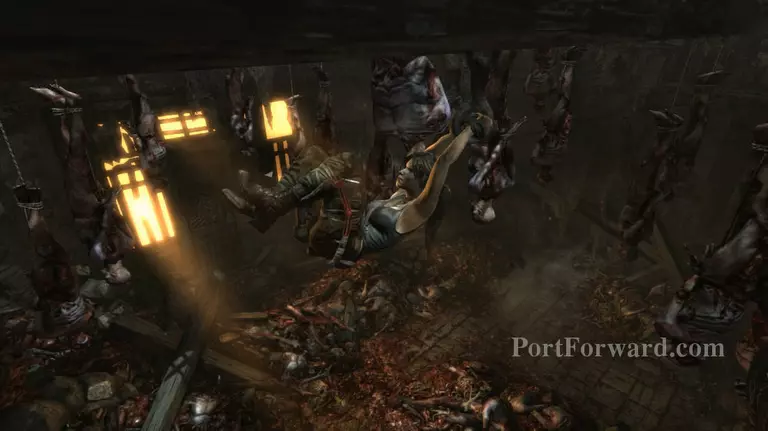
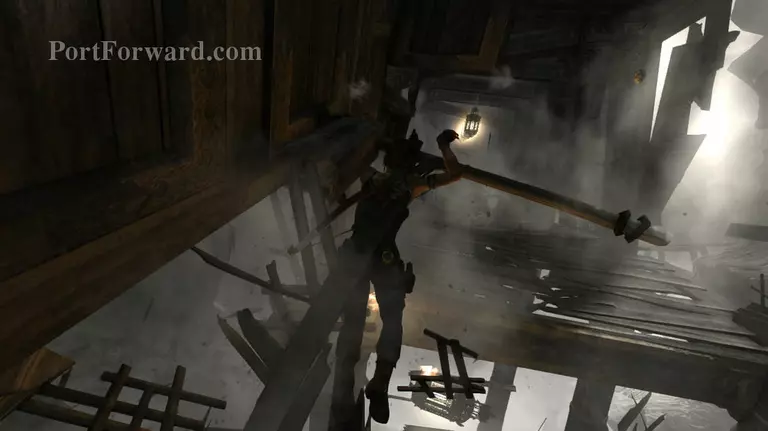
As soon as Lara wakes up start pressing left and right to make her swing. There's a rhythm here so you can't just spam the key. The trick is to push the next key when she gets to the middle.
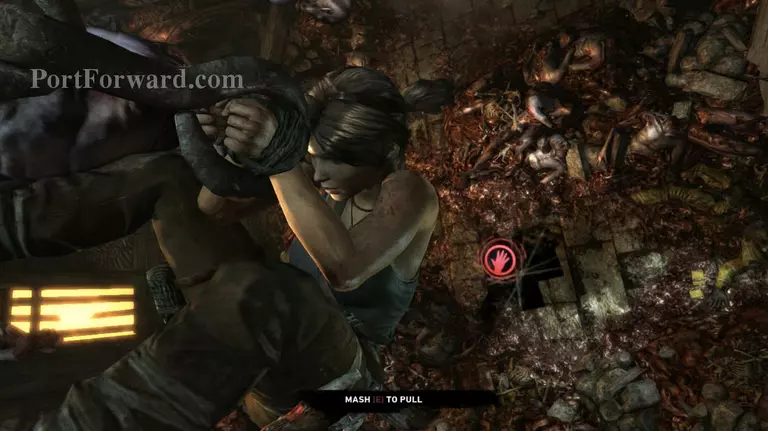
Once gets enough momentum she'll be able to step on the roof. Mash E to break the wraps on her hands and you'll fall down the floor.
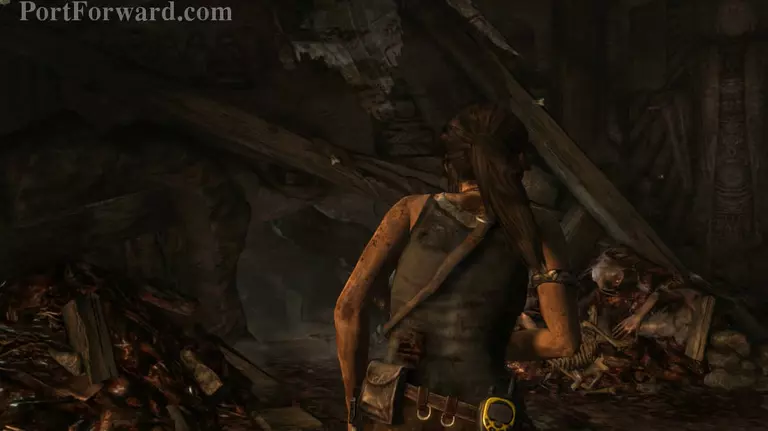
Once you regain balance head over to the path on the right and enter into the hole. A small cutscene will play before you're able to proceed down the tunnel.
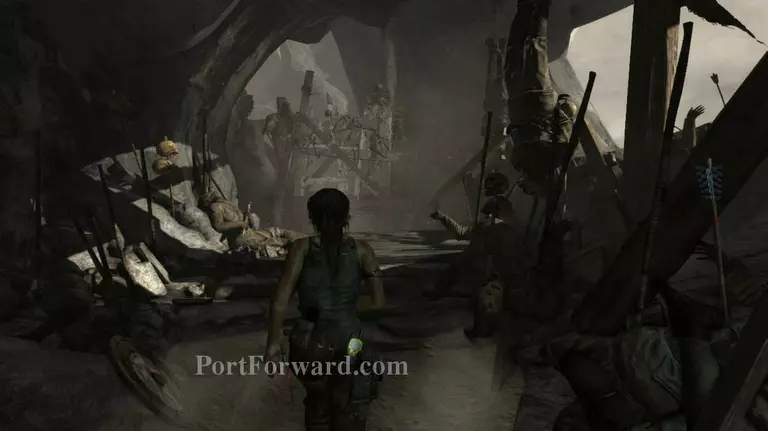
Follow the path and head up the stairs. You'll find a soldier holding a shotgun. Approach him and you'll acquire the shotgun.
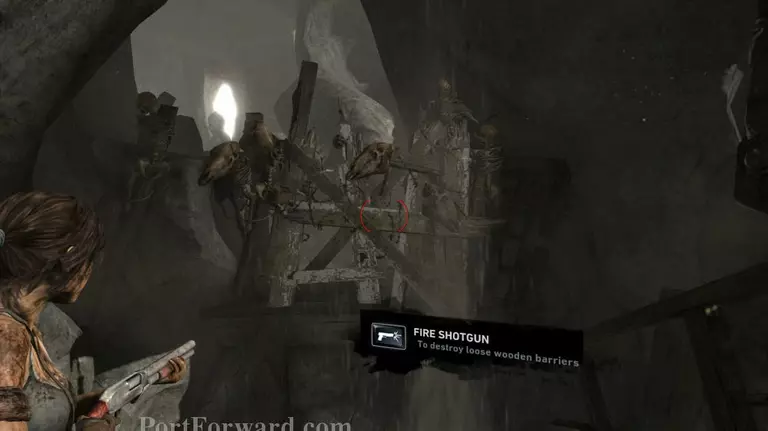
Aim the shotgun at the barricade and shoot it. The shotgun is capable of destroying wooden barricades like the one that you just shot.

Jump across the gap and keep walking until you get near the wall. Look to your left and you'll see a vent on top of the wooden plank. Jump on the plank to reach the vent and enter through it. A cutscene will play once you get inside.
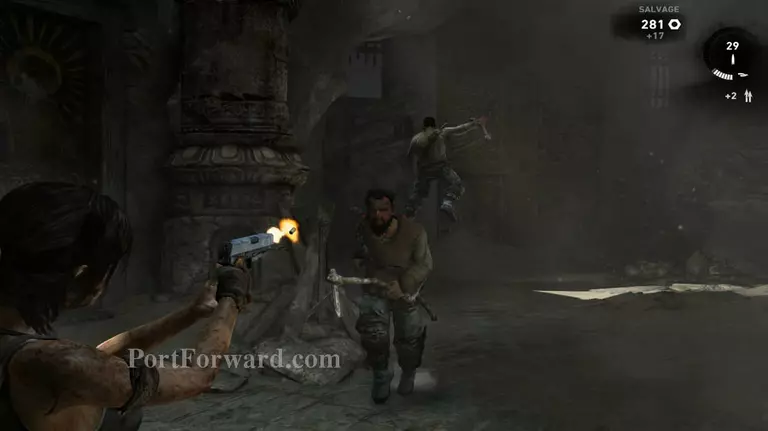
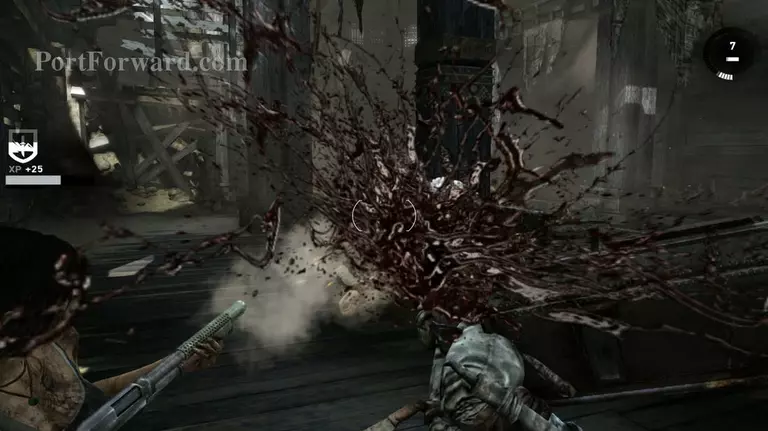
After the cutscene some bandits will find you and you'll have to defend yourself. Luckily they're all melee types and you can equip your pistol and start shooting at them. It shouldn't be too hard to kill all of them, just make sure to dodge their attacks if you need to.
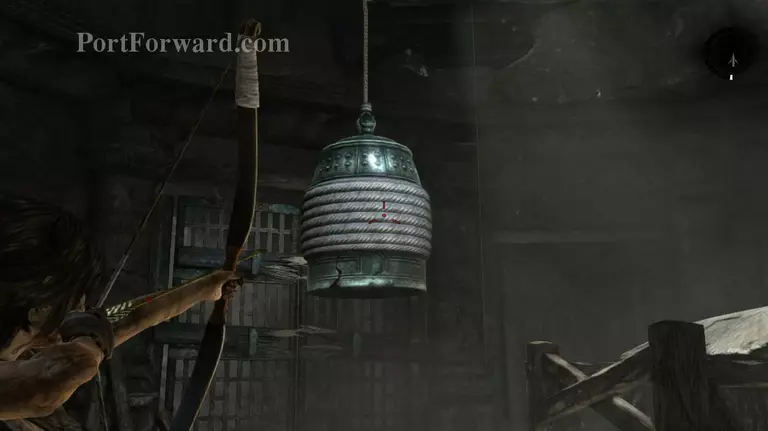
Equip your bow again and aim it at the bell. Use your rope arrow to pull the bell towards you and it will come back and hit the wooden bars that are holding the doors shut.
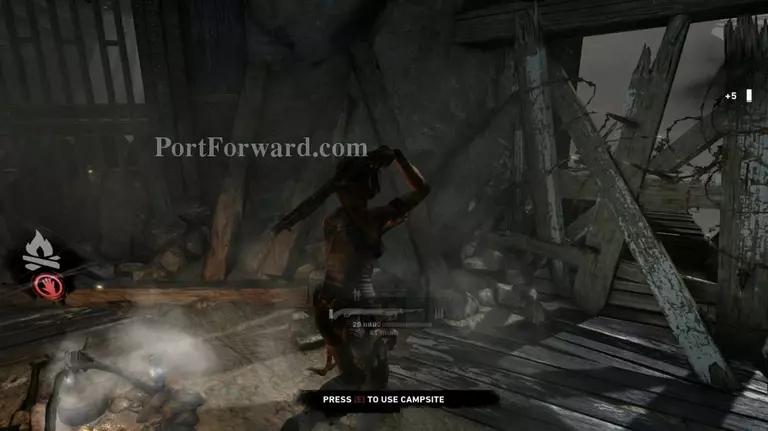
Go through the door and towards the tunnel. Keep going until you see the campsite and do what you need to do. Then look around and you should see a small barricade. Use your shotgun to destroy it.
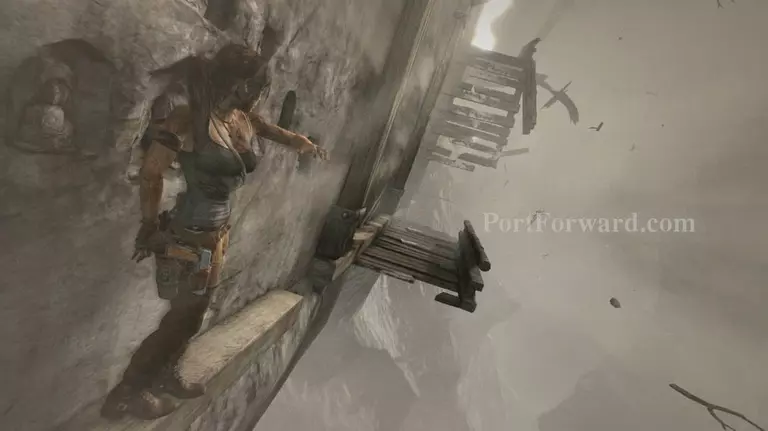
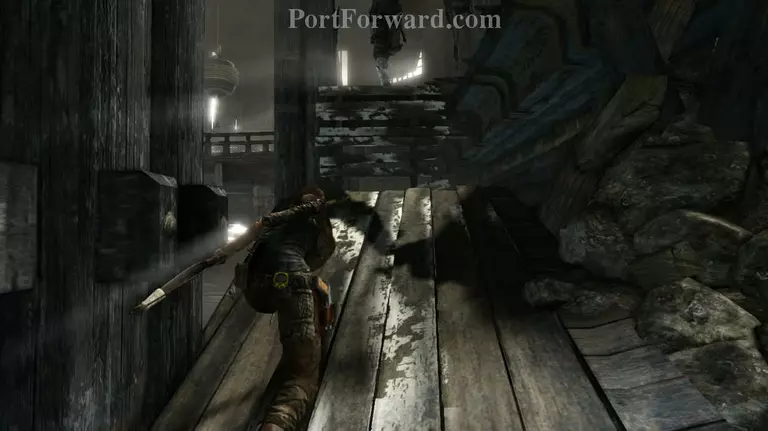
The path will fall as soon as you step on it. You'll have to make your way across by using the narrow wood at the side of the wall. Jump towards the platform at the end and climb up the wooden floor that's fallen down to get up to the higher area.
After climbing to the top, go forward then look to your left as soon as you get to the end of the path. Jump towards the hole in the wall to get inside the shrine.
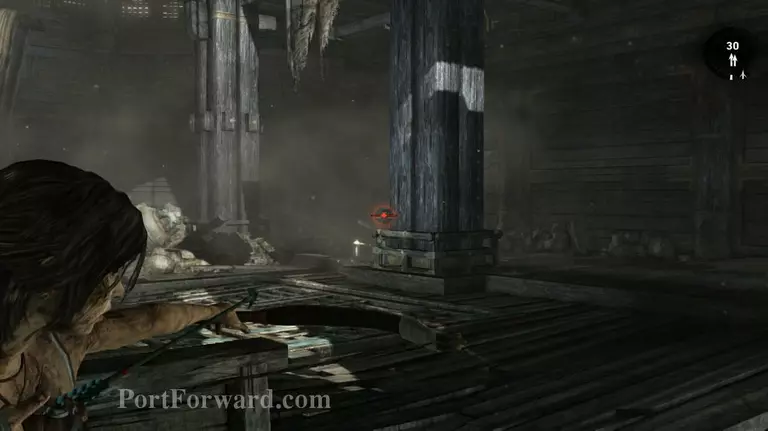
Take cover behind the wooden panel. The bandits will try to reason with you. Don't bother with them, they'll just attack you anyways. Aim your bow at the guy behind the pillar on the right side and shoot his head.
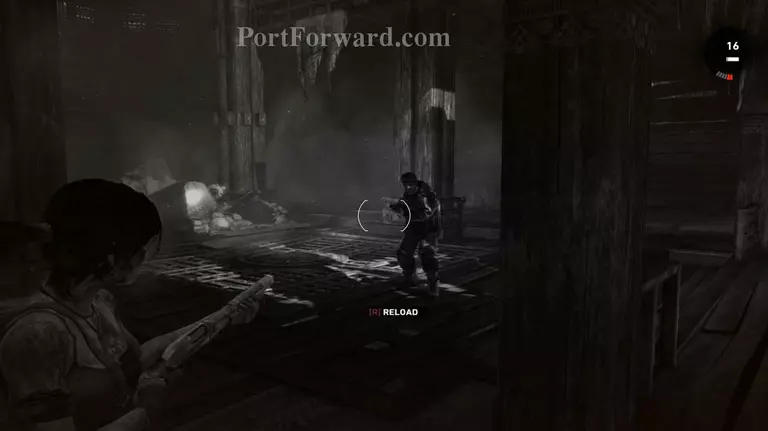
Take care of the guy with the Submachine gun first before you kill the machete guy and the shilded one. He'll come in the room late so you may miss him.
For the guy with the shield equip your shotgun. Dodge his attack towards the left and wait for the shotgun to auto aim. Once it does shoot him and he'll go down quickly.
Equip your bow again and head up the ramp on the far left corner of the room. Climb up and you'll be attacked by a machete guy. If you have a fully upgraded recurve bow then you can one hit an enemy provided that he doesn't have an armor and you fully charged your arrow.
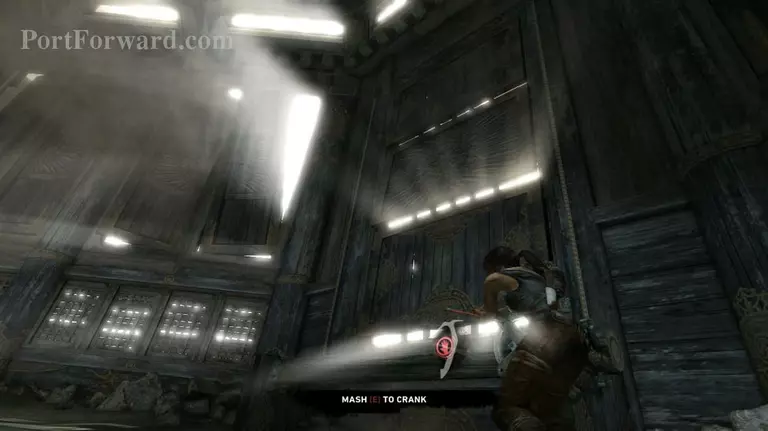
Now head up to the second floor and use the climbing axe to get the window open.
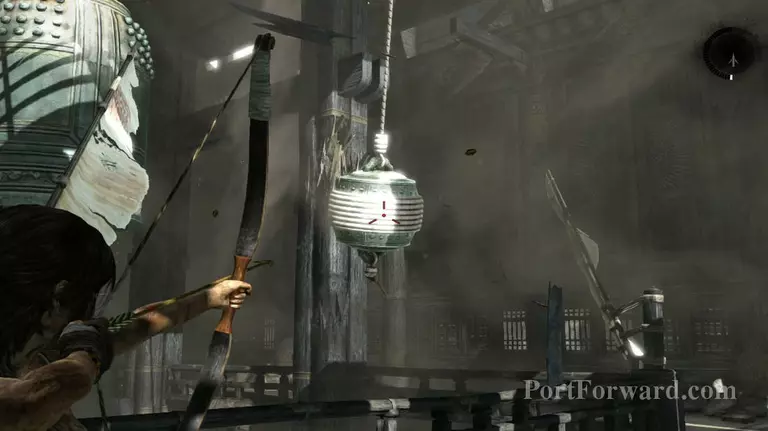
You'll notice that the metal ball that's hanging from the ceiling is being swept by the wind. Now draw your bow and use the rope arrow to pull it back.
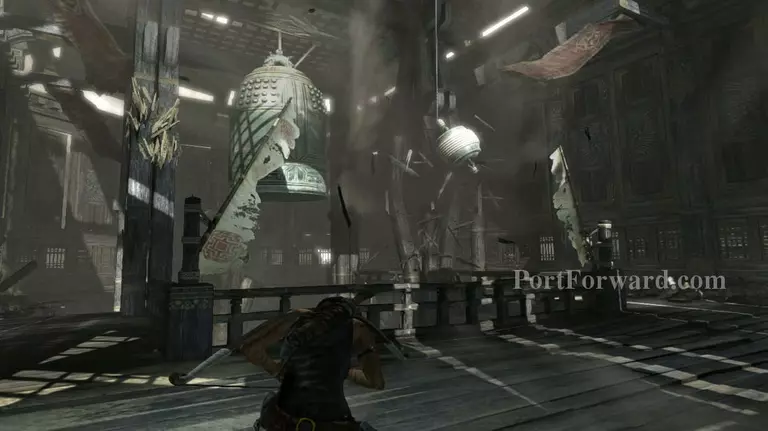
The wind will then push it forward and destroy the pillar. After the pillar is destroyed head back to the window and close it again.
Now do the same to the window on the left side, but this time don't close the window after you destroy the pillar. More bandits come to attack you.

The first one to attack you will be the armored spearman. Equip your shotgun and blast him as close as you can possibly get without getting attacked. It should take around 2 shots to bring him down.

Then take care of the guys with machetes. There's 2 of them and an archer. You can kill them off easily once you get rid of the armored guy.

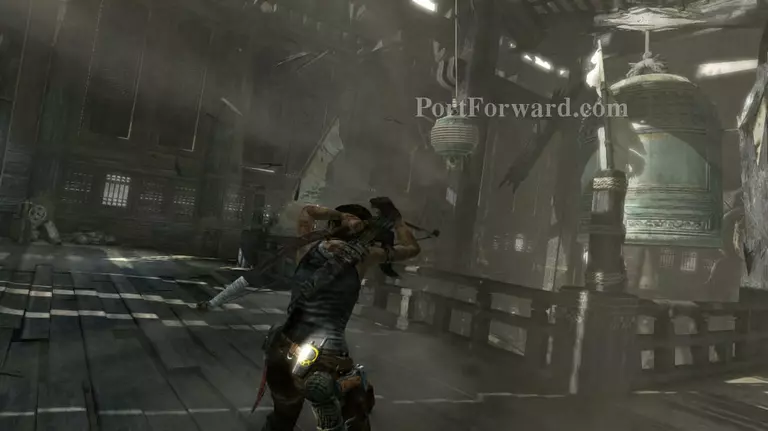
After you've killed all of the bandits get back to the window on the left side and open it up again. The winds from the opposing sides will make the metal ball hang in the middle.
Stand in the middle of the 2 windows and use your rope arrow to pull it back and the wind will do the rest. A short cutscene will also play afterwards.
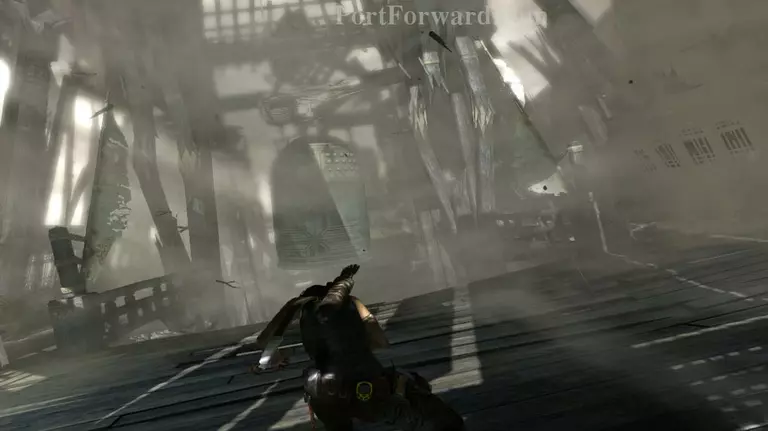
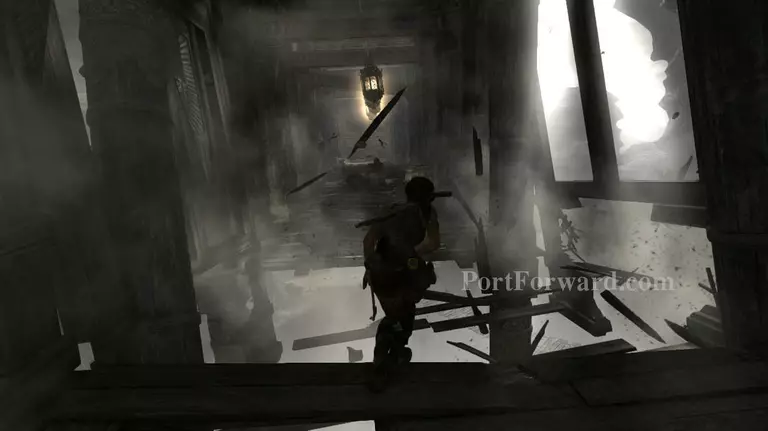
When the cutscene ends listen to the bandit's advice and run for your life. The first jump is easy enough to do.
After the first jump keep close to the left wall and jump towards the metal rod to cross the gap.
Soon after landing from the second jump you'll have to be careful since you the floor in front of you will fall off very quickly and you'll have to make an instictive jump.
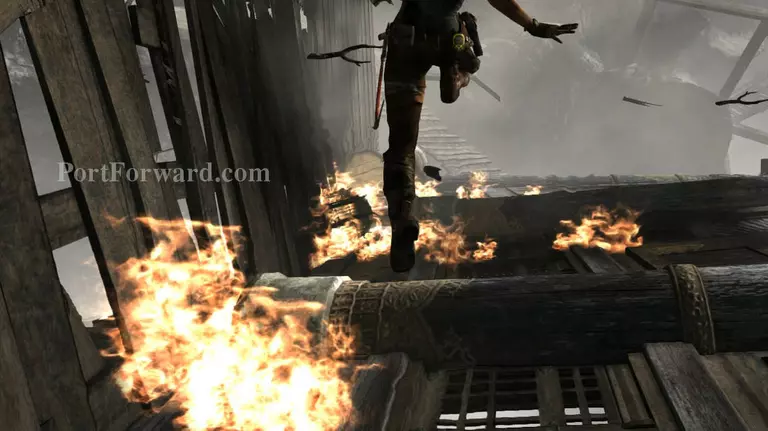
After the hall flips around jump across the circular pillar and towards the end of the path.
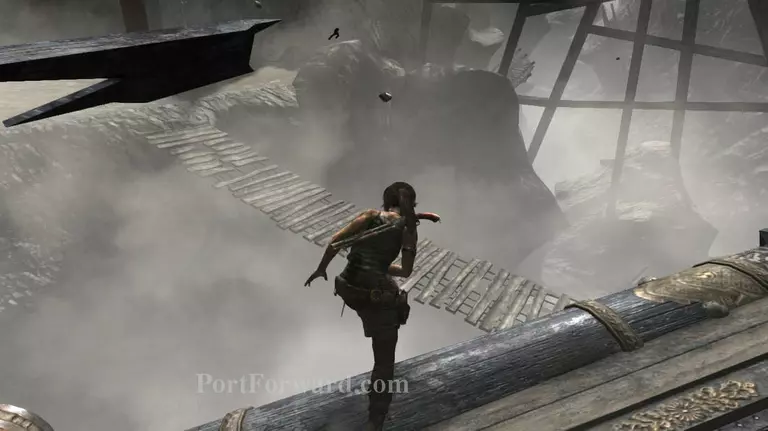
At the end you'll have to make a jump towards the hanging bridge. Don't worry you'll make it.
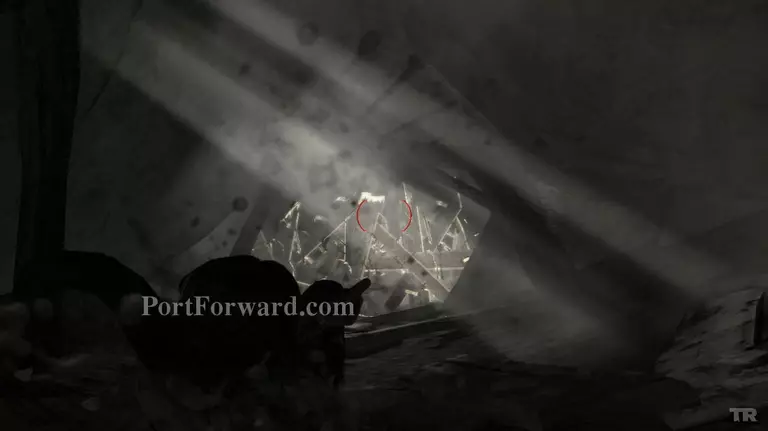
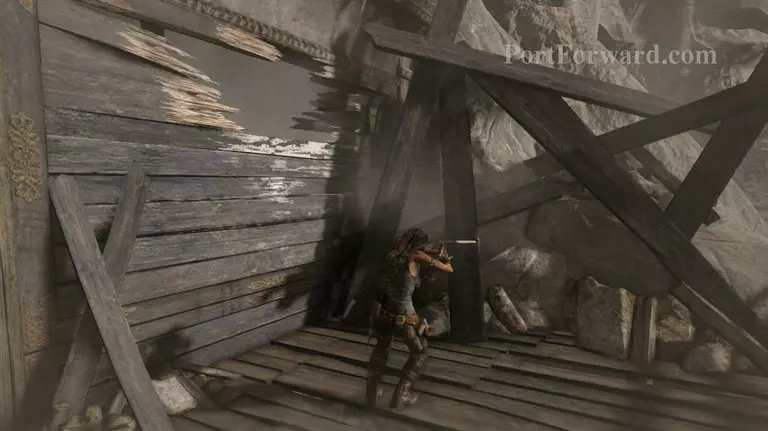
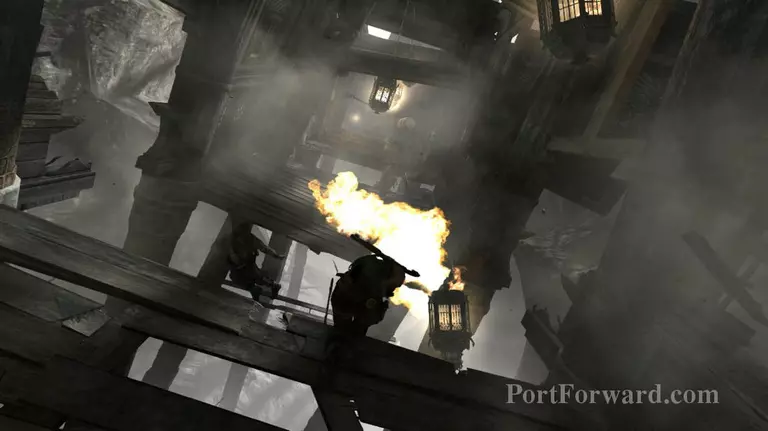
And of course the bridges won't take the force of your fall and you'll fall down further into a tunnel. Survival insticts will kick in and slow you down enough that you can shoot the barricades that will kill you if you hit it.
More Tomb Raider Walkthroughs
This Tomb Raider walkthrough is divided into 25 total pages.


