
This Trine walkthrough is divided into 16 total pages.
You can jump to nearby pages of the game using the links above.
Dragon Graveyard
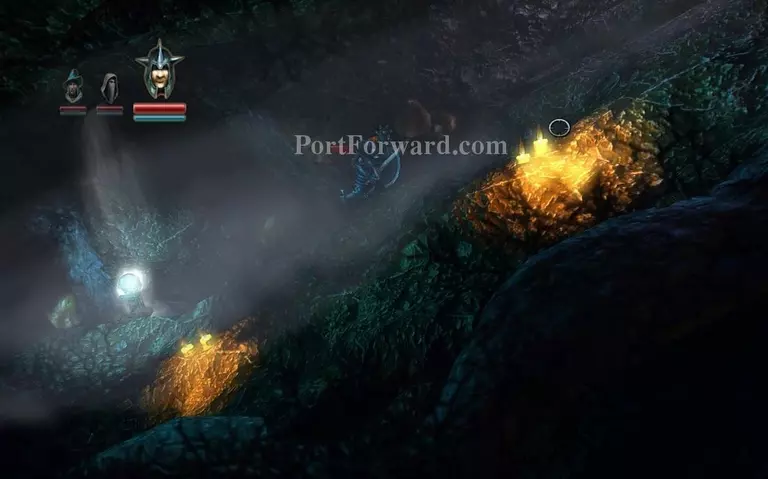
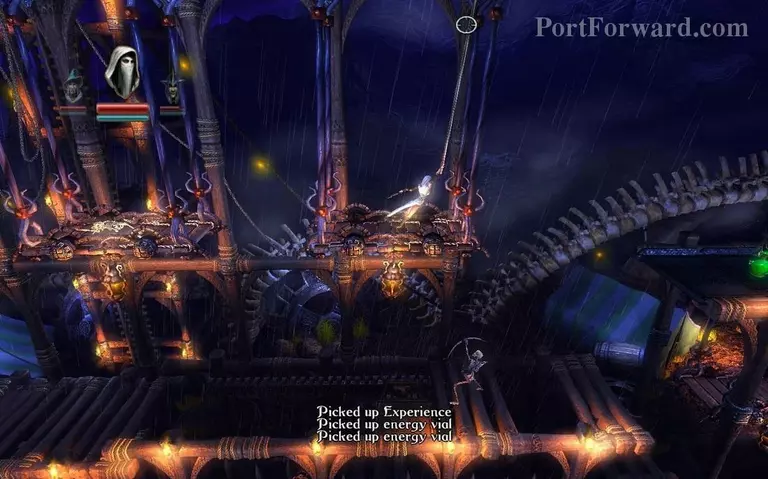
You start off at the Dragon Graveyard, you go up a steep hill.
Once you're out, jump over to the left to grab the experience vial.
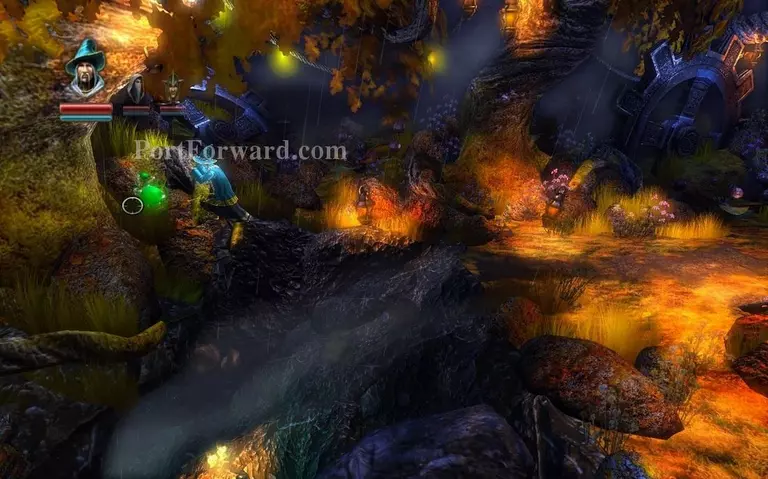
Next one is a bit forward down the road, ontop of a box, sling left and right with the hook to reach it or push over the box with the wizard.

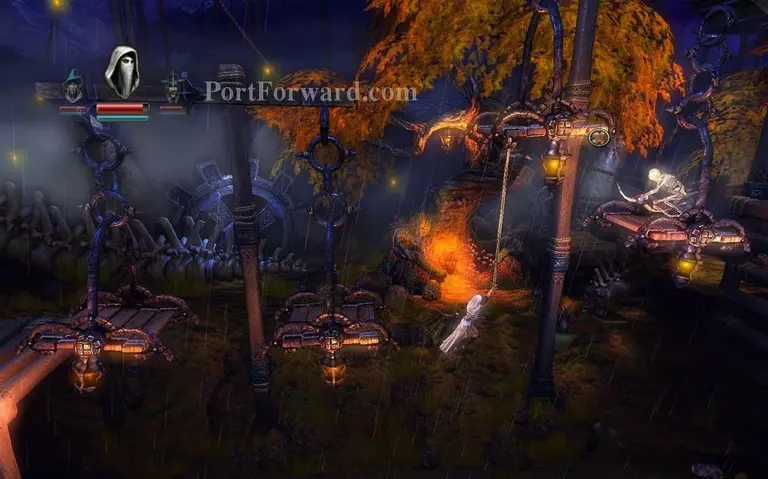
After that you will reach a pit with spikes, just use your grappling hook like so to jump across.
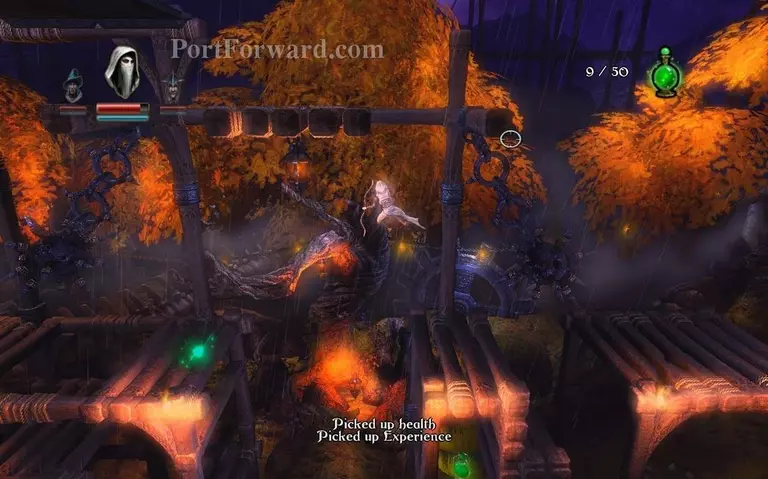
Once you're up on the wooden platform you will see a bunch of experience vials, navigate around with the thief to pick them up.
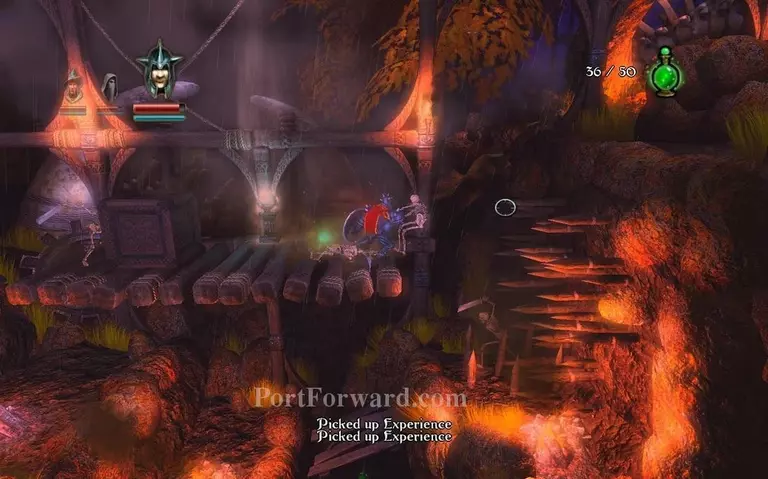
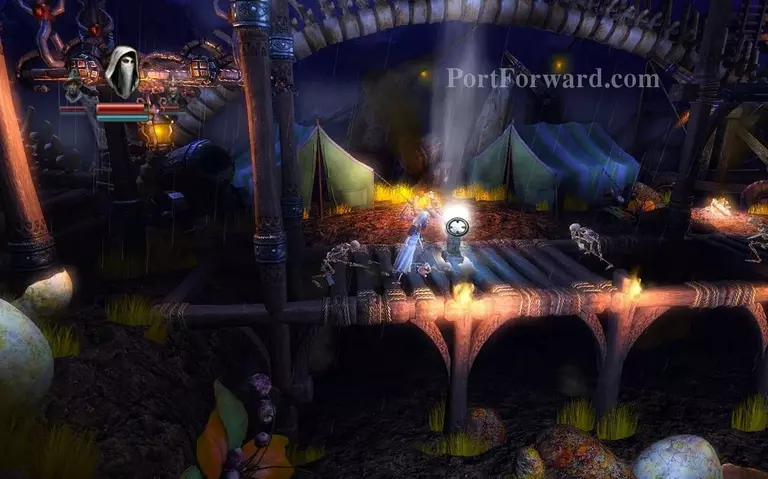
Jump to the right and fight off some skeletons to reach a checkpoint and a spike wall.
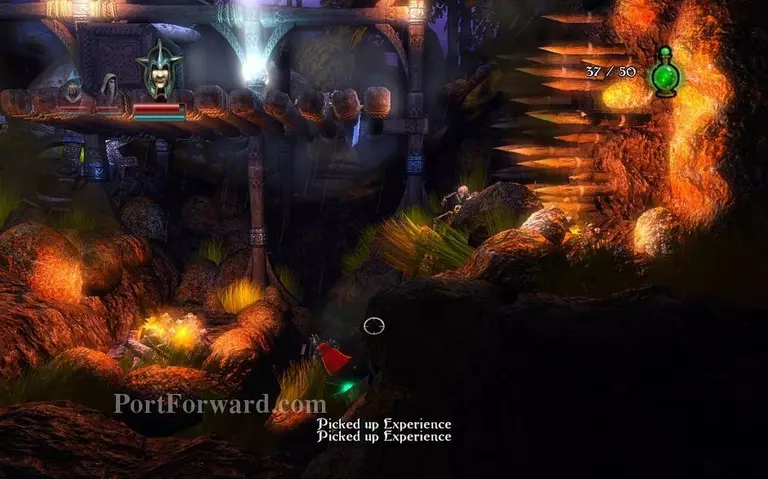
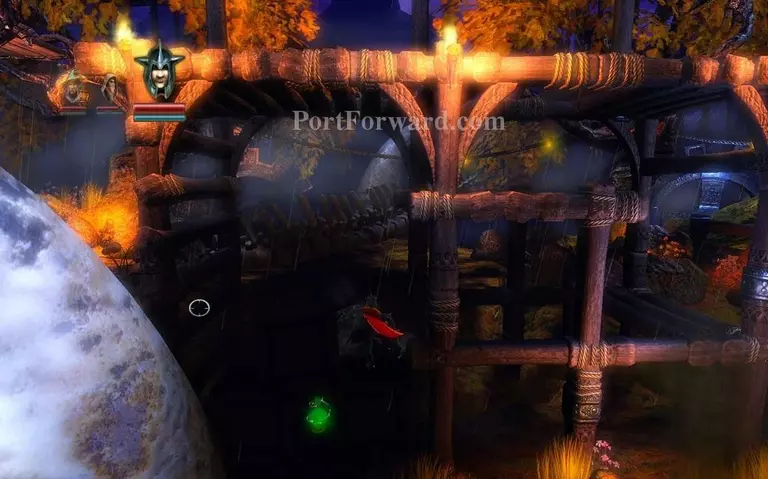
Down to the left of it there's an experience vial in a hole.
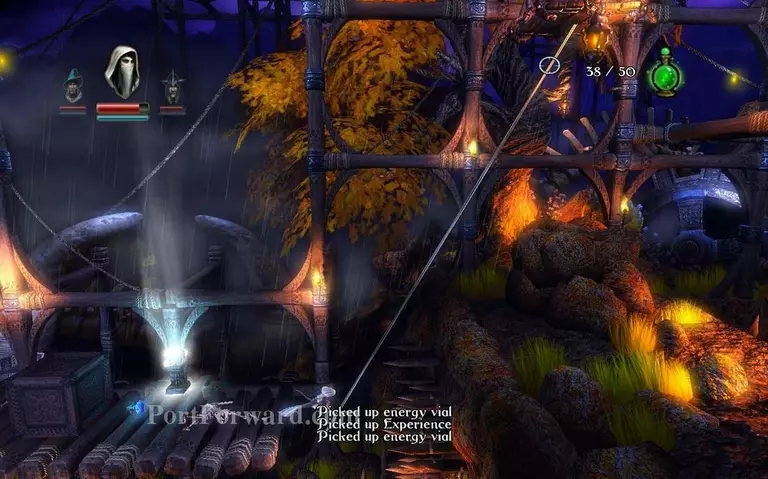
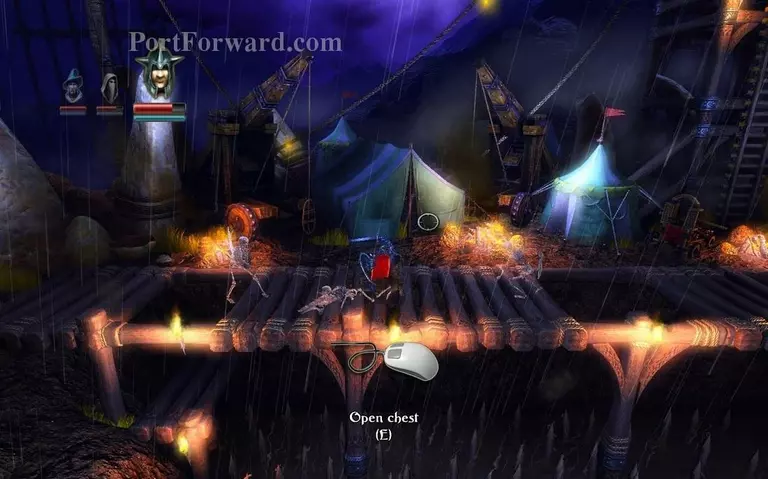
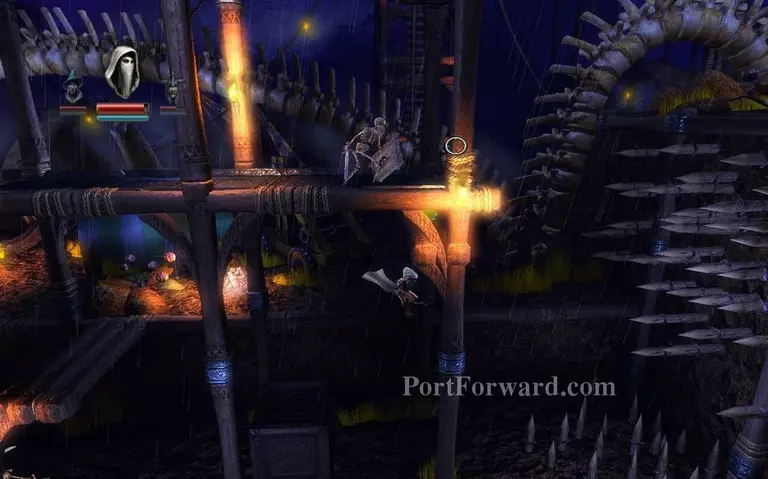
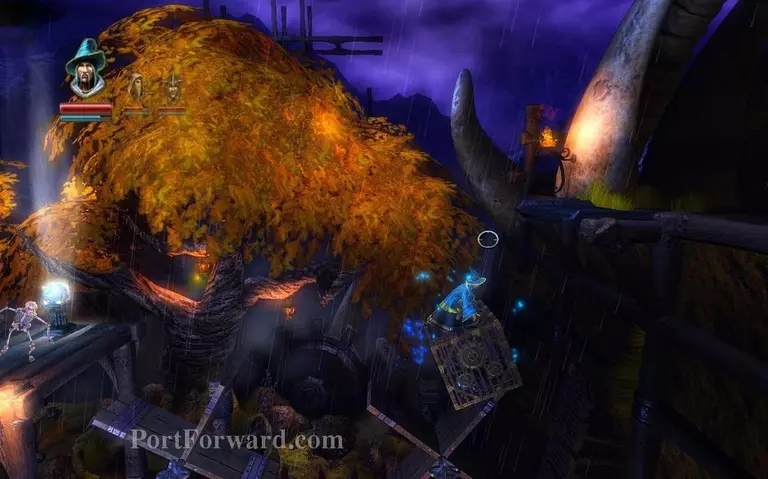
Here you don't even need to use a box or something with the wizard, shoot your grappling hook on this exact space.
Pull yourself to it, then hook onto the cart above to get 3 experience vials and a chest.

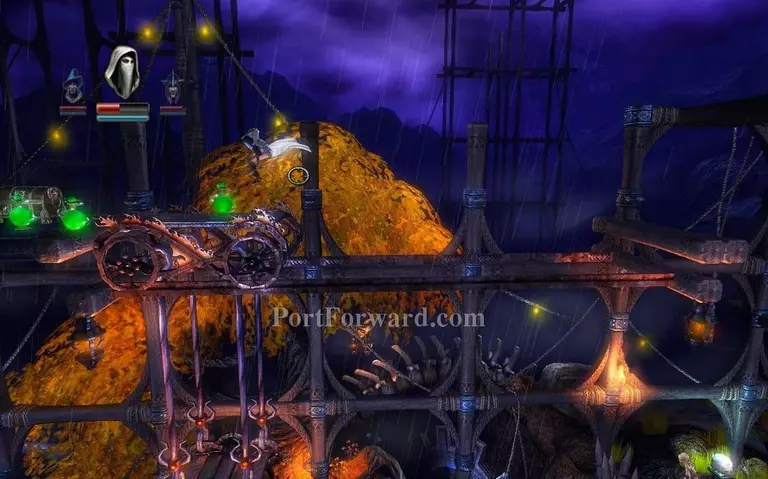
Continue forward until you reach a checkpoint, on these swaying platforms just use grappling hook underneath to move faster.
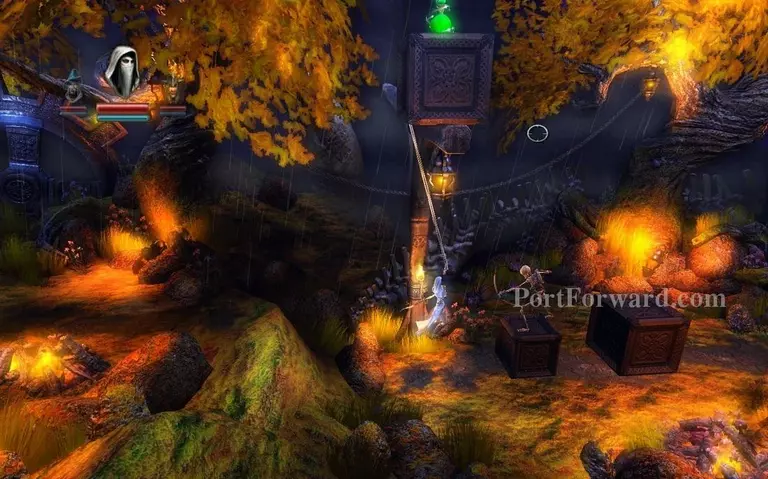
Here you'll find another chest that teaches you how to use Planks for Wizard.
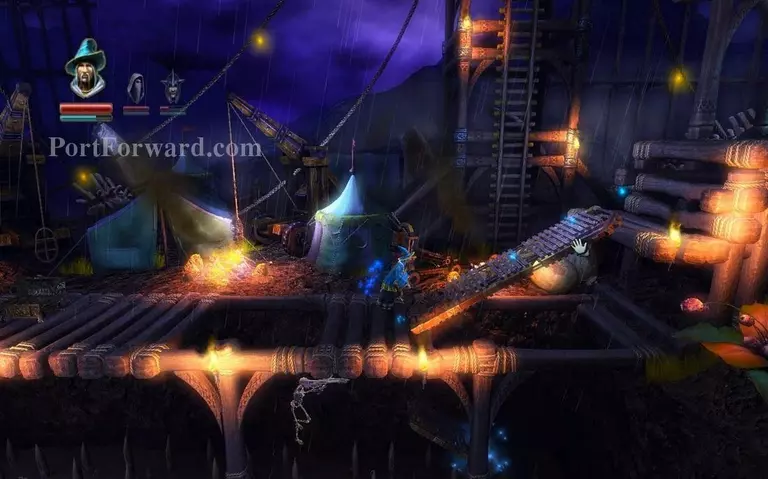
Use one like so.
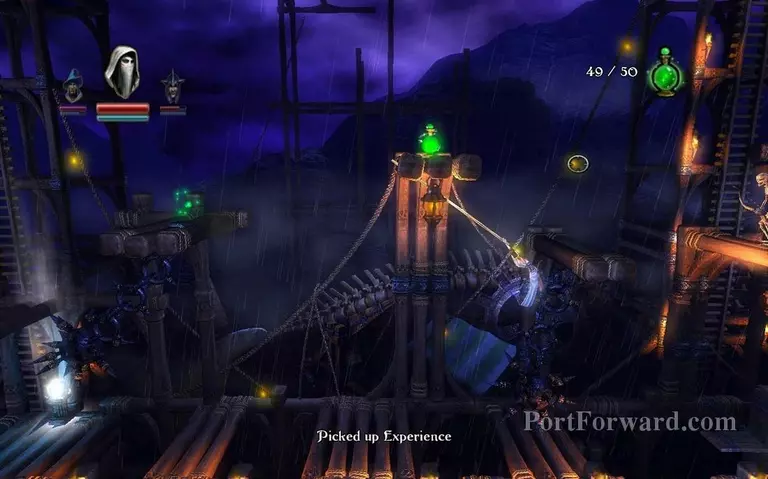
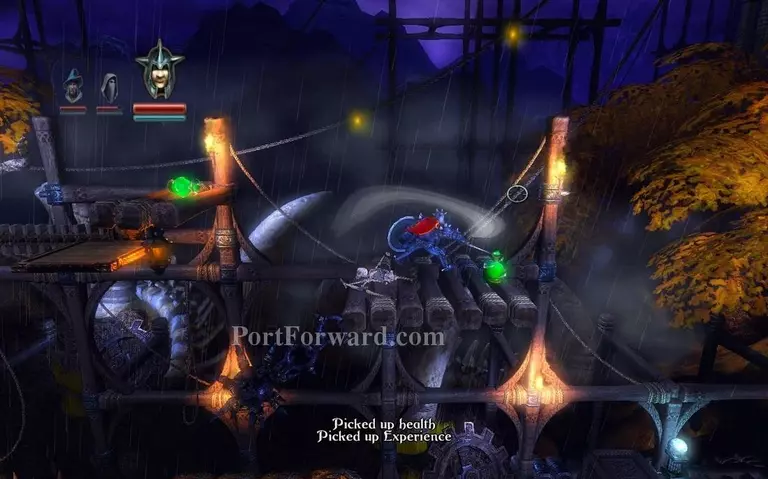
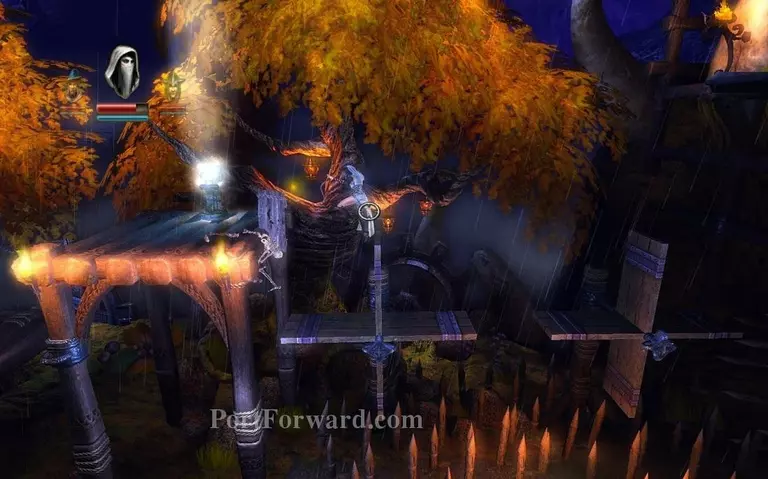
Next checkpoint, use grappling hook to grab the experience vials, there's a bunch of skeletons and two metal spike balls so be careful.
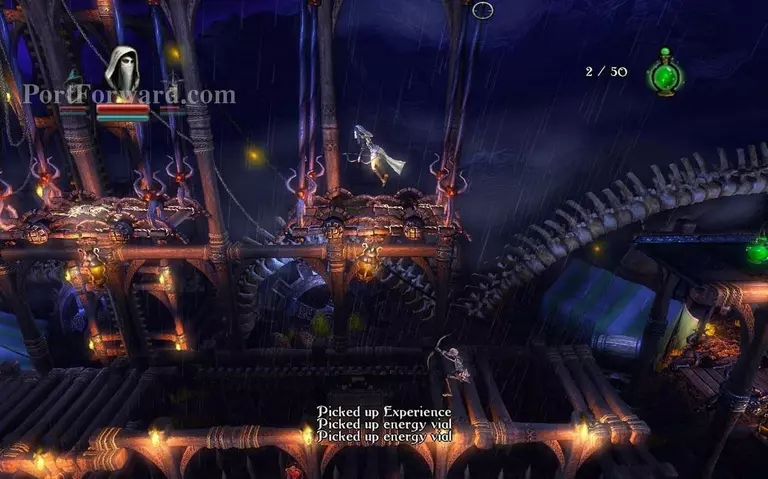
You reach another set of swaying platforms, a few skeletons to kill and a lot of spikes on the ground.
Use your grappling hook on this spot, hooking the wooden beam on top of the platform and swinging onto the one on the right, finding an experience vial and a chest.
Drop down and you reach a checkpoint.
Once you reach here, you need to go ontop where the skeleton is and go on the platform thats connected to the cart and levitate it across.
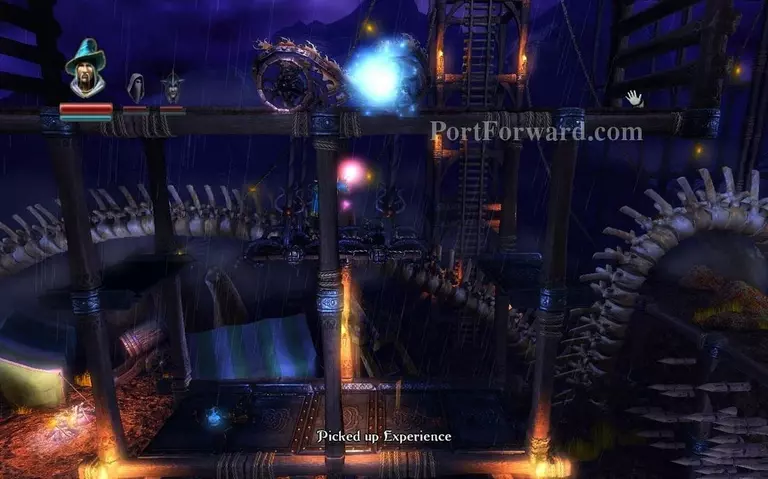
Like so.
Grapple hook from these platforms instead of trying to jump across, it's way easier.
In this portion of the chapter there's a lot of experience vials, 1 on top 2 on bottom.
One is in the far left bottom corner, just push around the 3 stacked boxes.
Then go back to the far right, reaching 2 spinning platforms, jump over to the right one.
Put a box or a plank on it the end of it and jump up, that should be the end of the Chapter.
More Trine Walkthroughs
This Trine walkthrough is divided into 16 total pages.


