
This Trine walkthrough is divided into 16 total pages.
You can jump to nearby pages of the game using the links above.
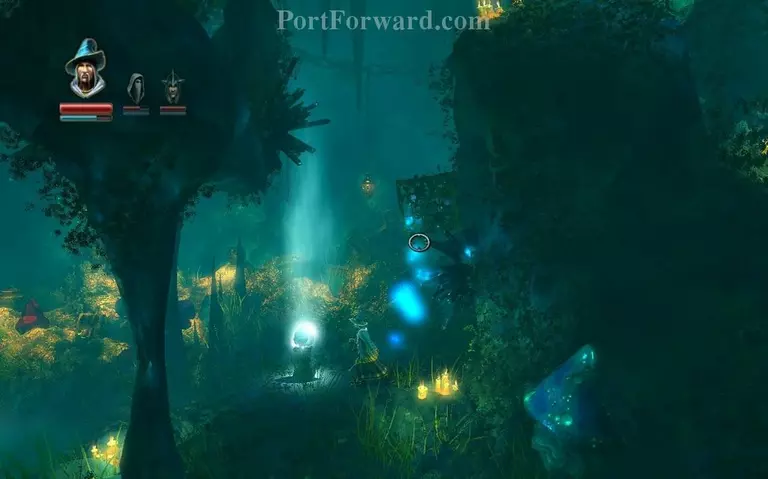
Crystal Caverns

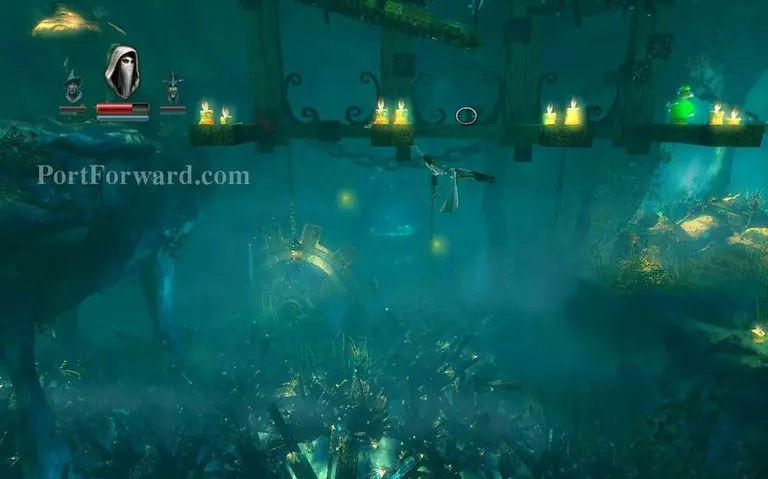
You enter the crystal caverns.
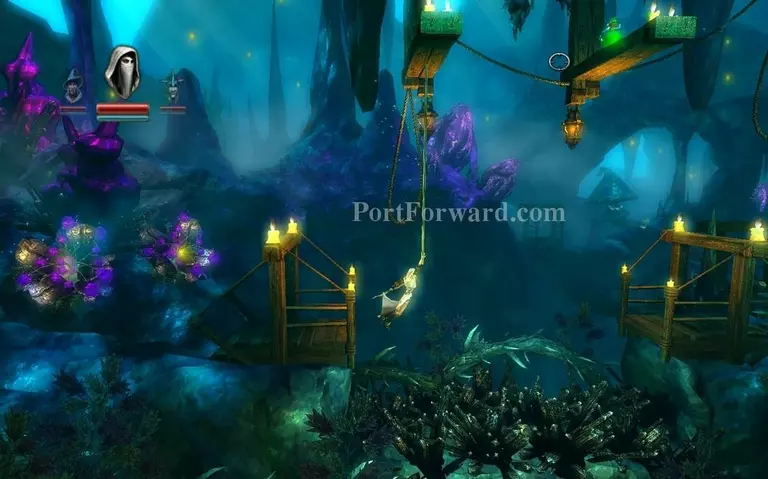
As soon as you go to the right you will be faced by this gap with a crystal spike trap in it, jump over it using the wooden beams ontop.
Next jump, you need to switch to knight and defend yourself from the falling crystals from the ceiling.
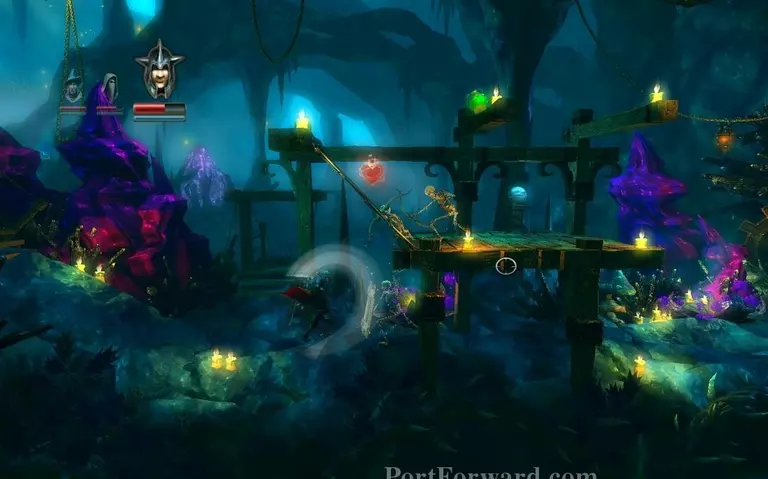
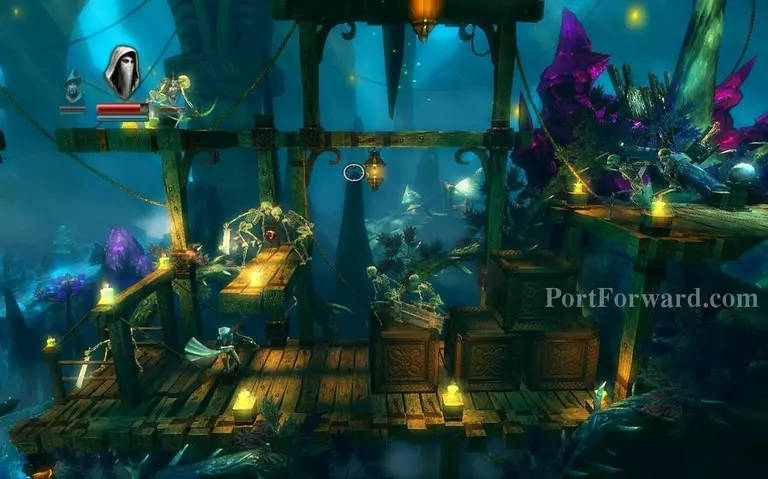
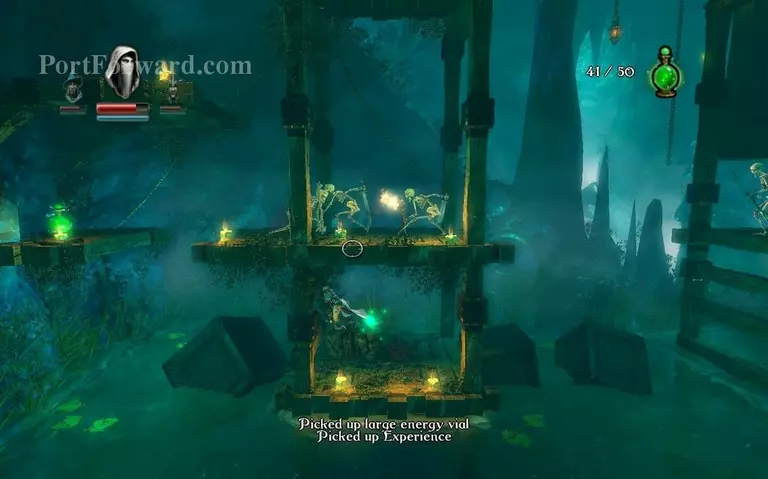
Afterwards, you go down stairs and you will be faced by a bunch of skeletons right before the checkpoint.
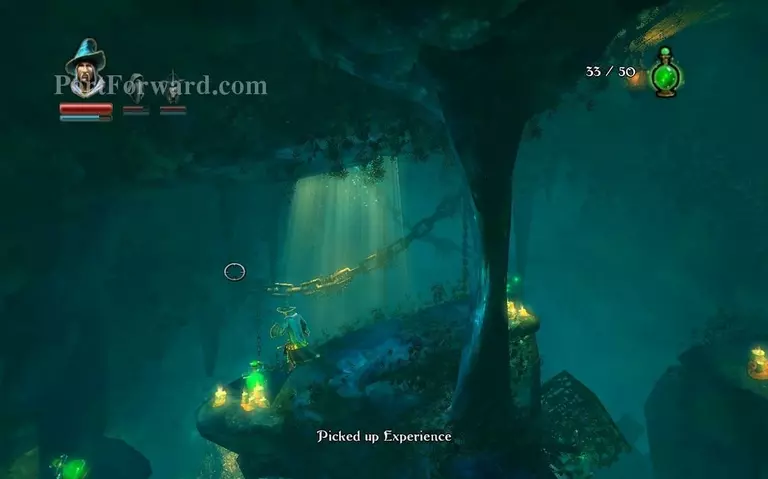
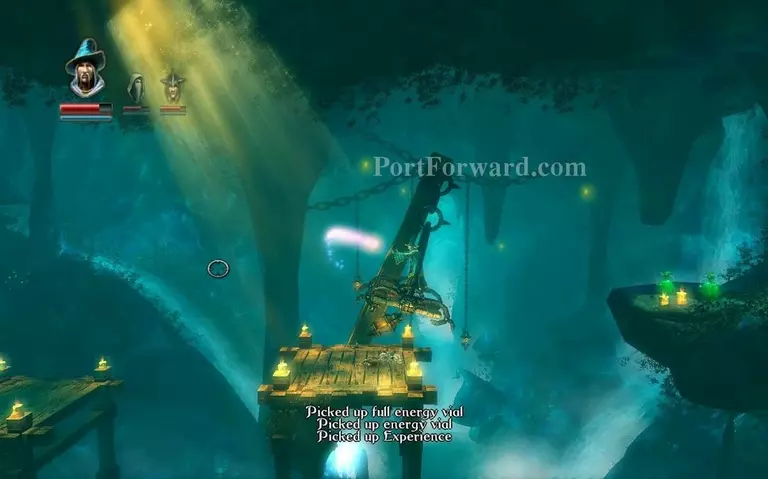
Kill them off then shoot the rope connected to the stone fist hanging from the ceiling with the archer.
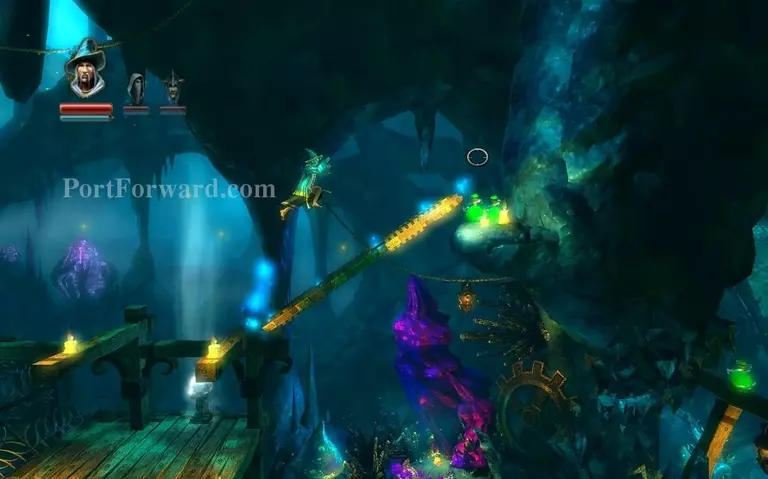
Then build a plank like so in mid-air and run across before it falls to the ground, picking up the experience vials.
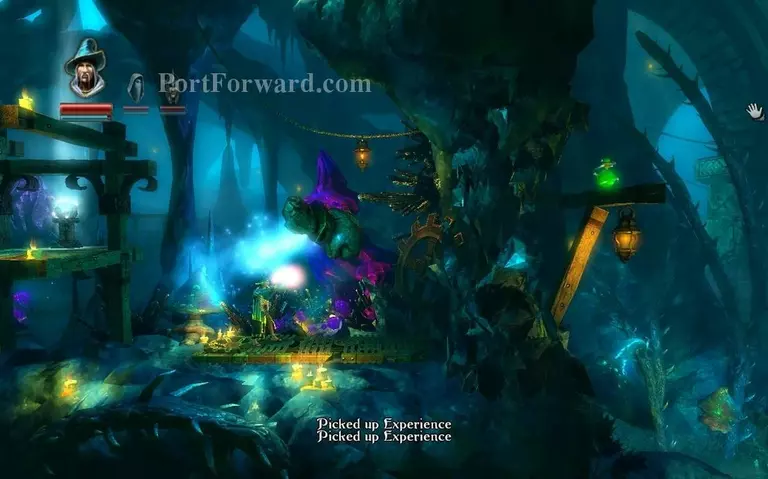
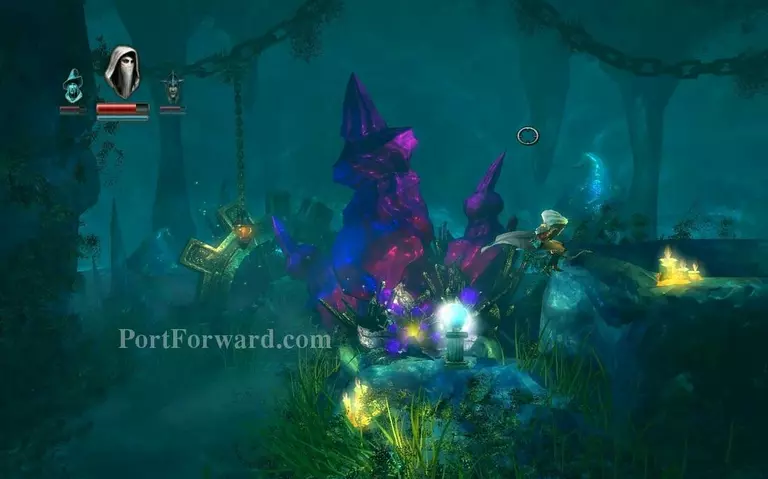
Pick up the fist with the wizard and destroy the big crystal wall on the right.
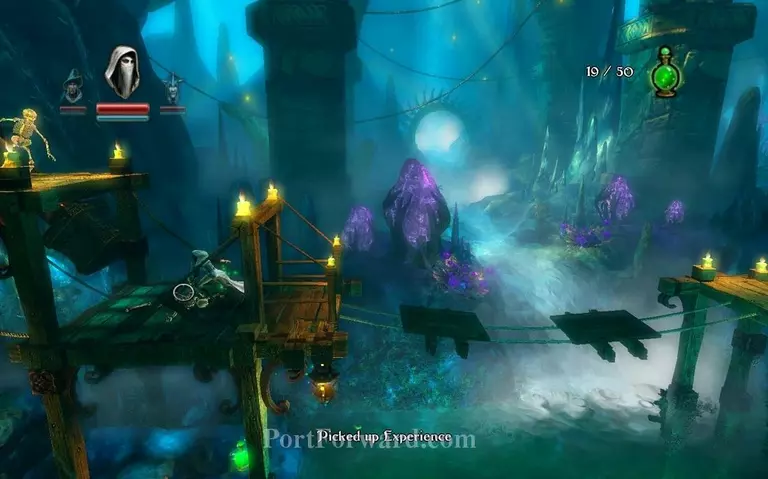
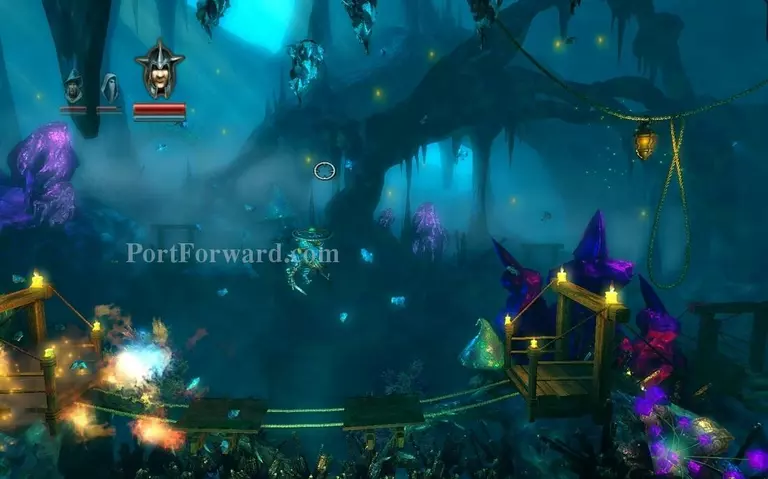
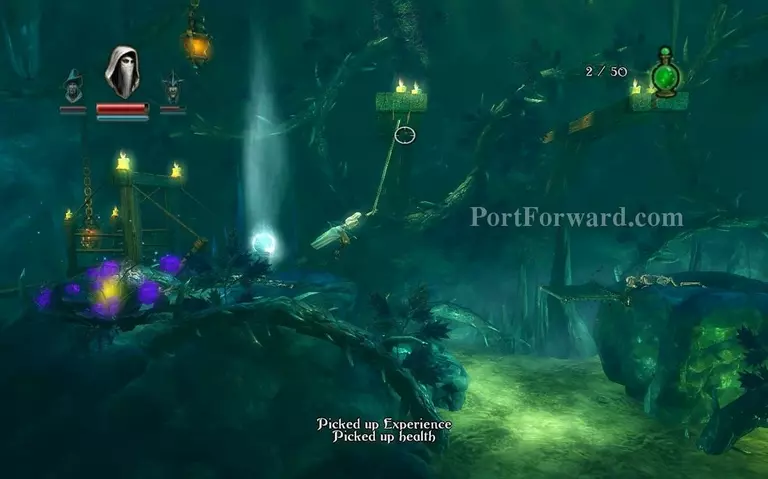
To the right you will be greeted by a few skeletons, there's an experience vial below and a big gap filled with water, just jump across the wooden platforms connected to ropes to the right.
Keep jumping across the gaps, fighting off skeletons.
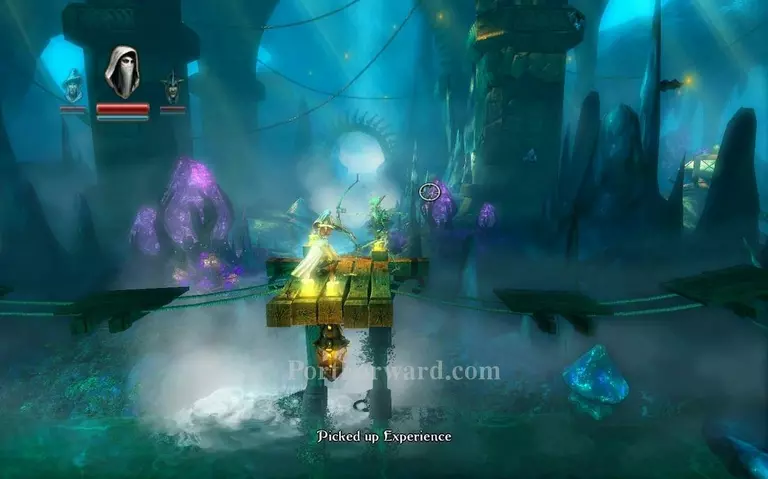
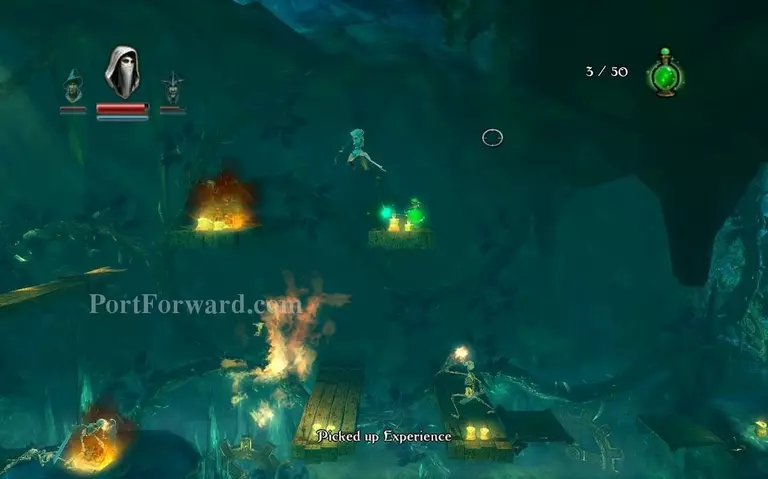
Once you're on the ground, you wil see even more skeletons, it's a big fight so be careful.
Afterwards to the left , you will find two experience vials up here, use a plank and a box like so to reach them.
Fight them off at the checkpoint, then grapple to the crate above and across the gap.
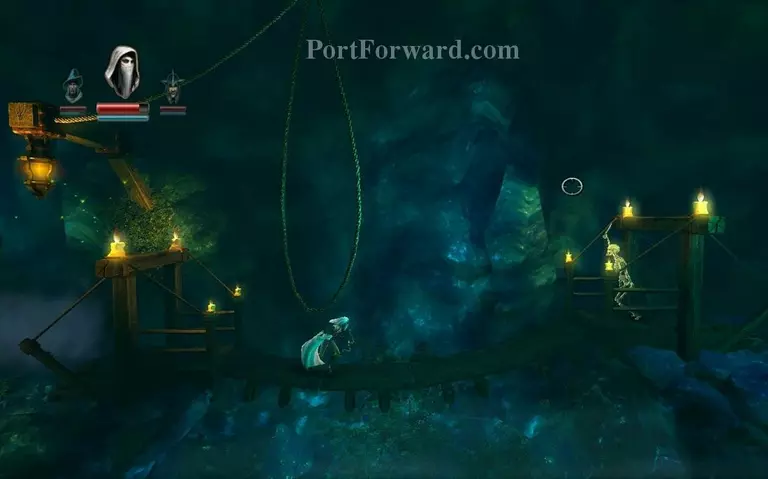
Try to run across the bridge, but the skeleton will cut it down.
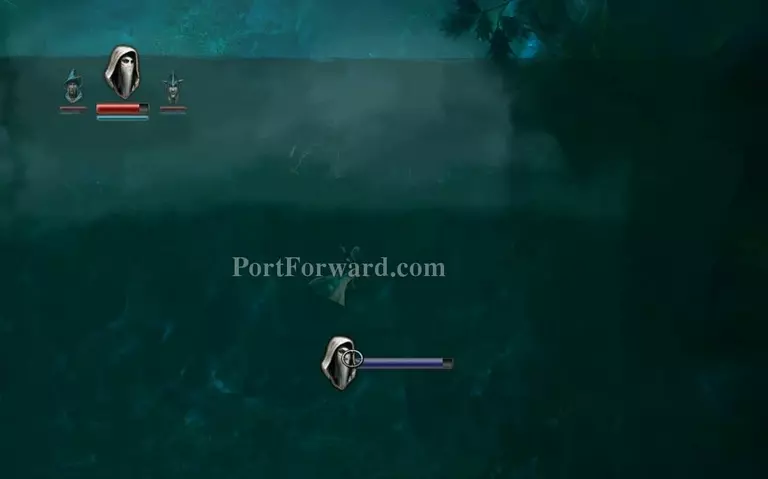
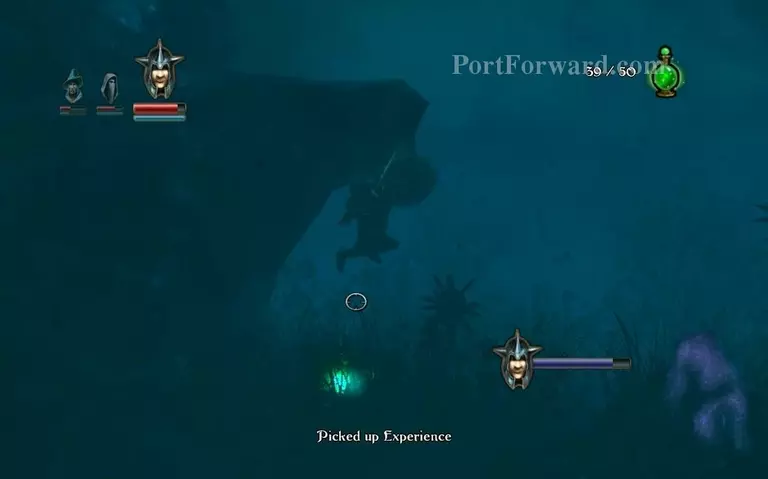
You drop in water, swim down.
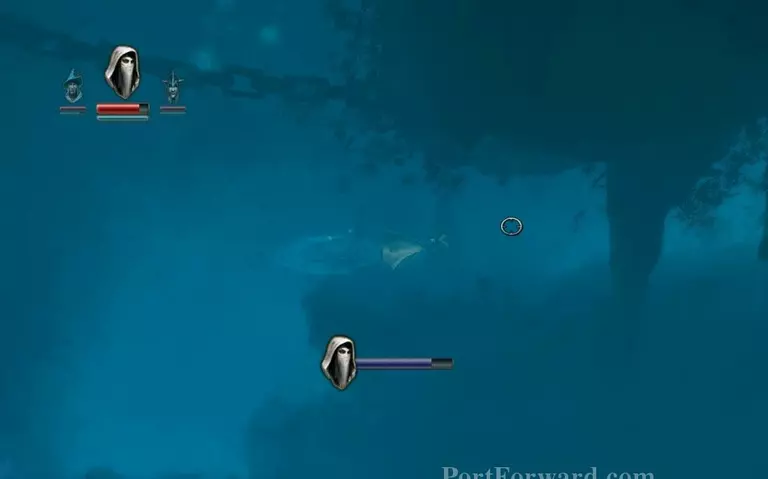
Swim to the right once you almost reach the bottom, you will see the entrance.

You should be out of the water soon.
You get out of the water and reach a checkpoint, here you want to put boxes on the spikes on the walls and jump on them.
To the left of that there's two experience vials, pick them up.
Here instead of jumping on top of the beams just use them as platforms for your thief and grapple hook from below, so you dont stab yourself on the spikes on the ceiling.

Go far right and use a plank to get across to this chest.
Then drop in the water, theres another experience vial to the left.
Swim across and reach a checkpoint.
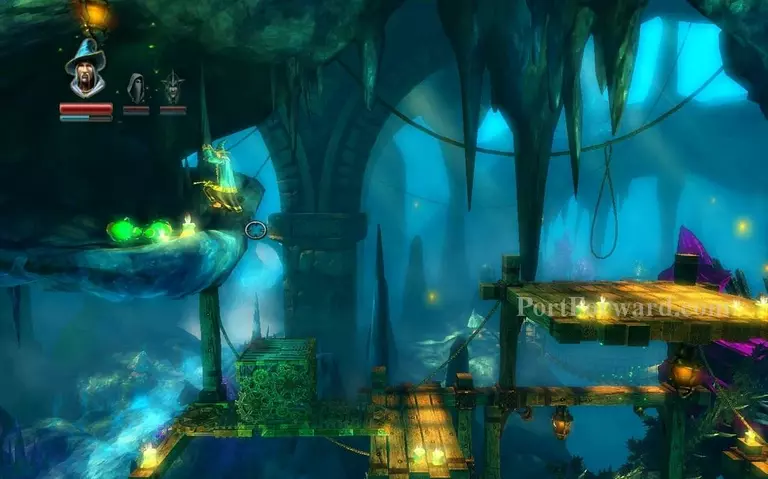
In this room there's a bunch of skeletons and experience vials. Jump around with the Thief picking up stuff and killing stuff.
You want to get on top and get on the platform connected to the metal square, levitate it around and jump off to the right to get two more exp vials.

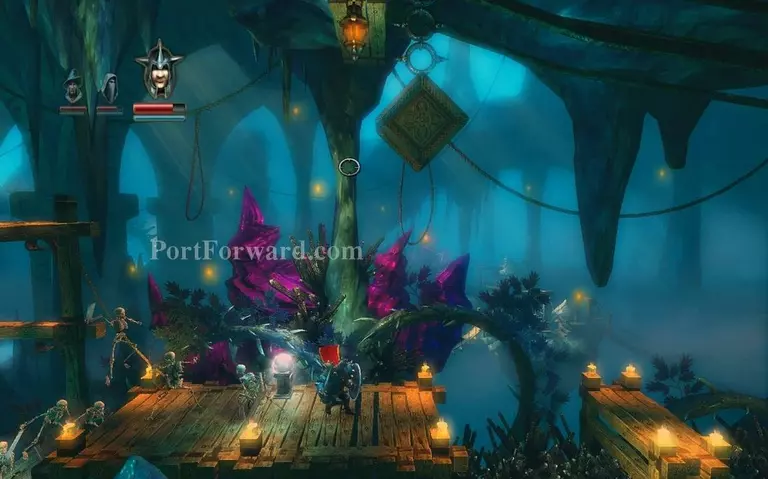
Later you'll reach another bridge with crystals falling from the ceiling, switch to Knight and use the shield, but stand still, even if you block them when you jump across from platform to platform you will be shoved down.
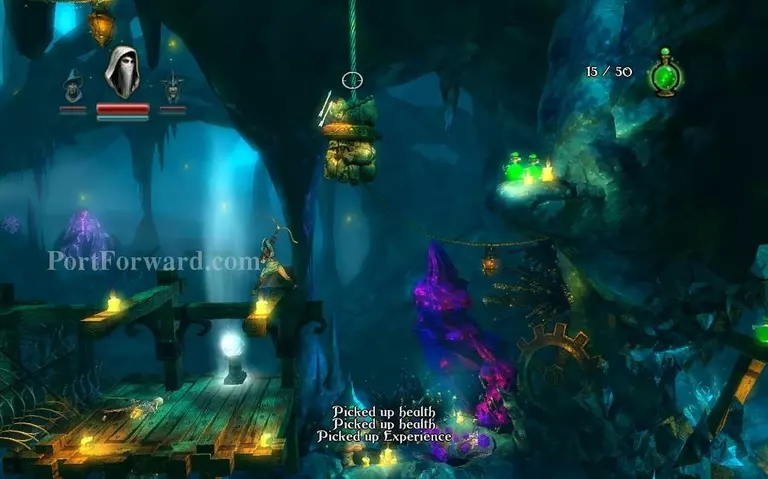
Once you're across, you reach a checkpoint, use the platform above it to grapple across the acidic pool.
Jump up and grab the exp vial.
More Trine Walkthroughs
This Trine walkthrough is divided into 16 total pages.


