
This Trine walkthrough is divided into 16 total pages.
You can jump to nearby pages of the game using the links above.
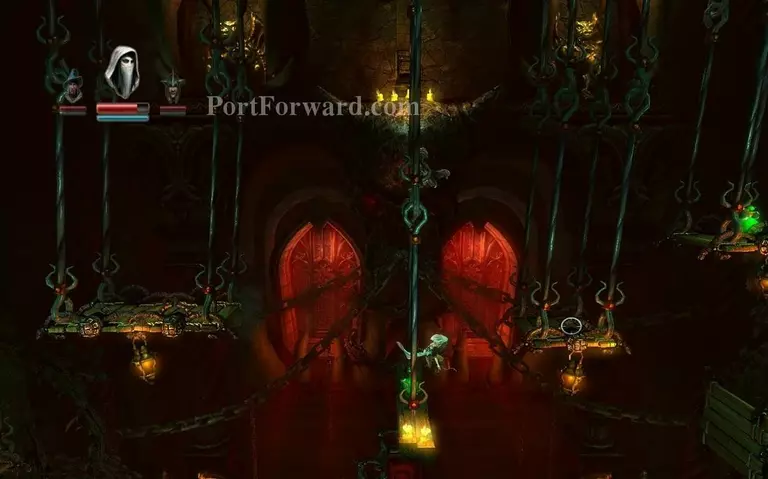
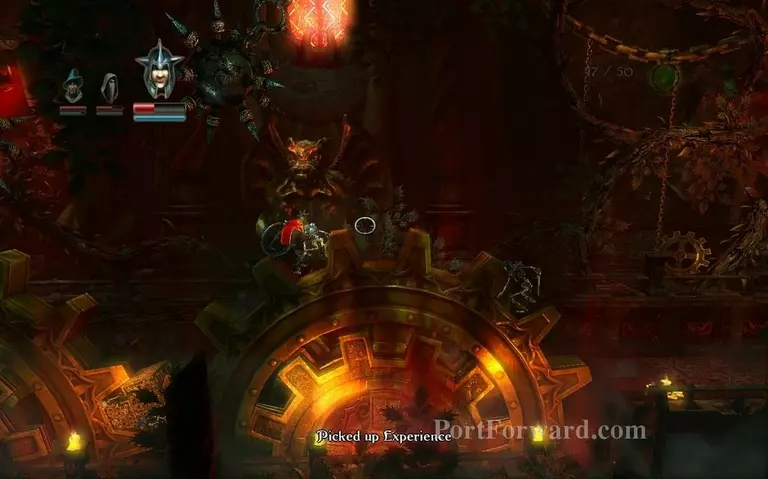
Throne of the Lost King
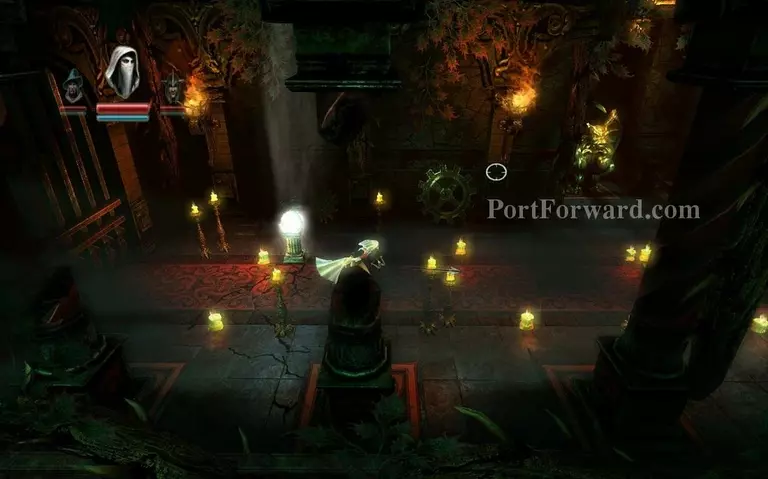
You enter the Throne of the Lost King.
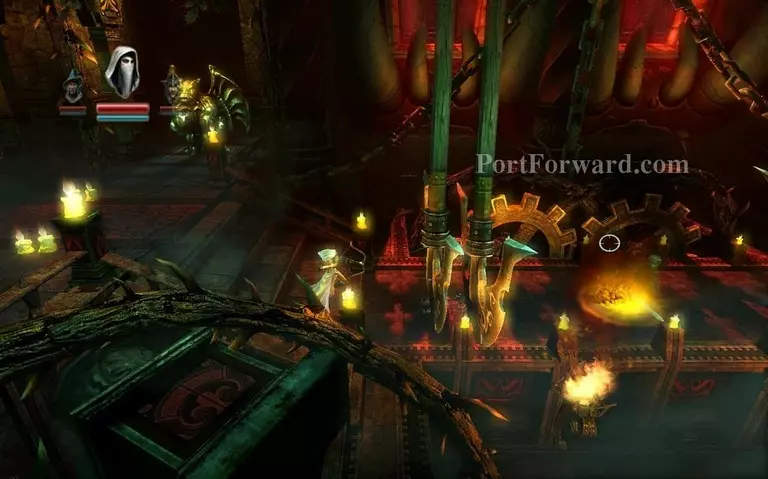
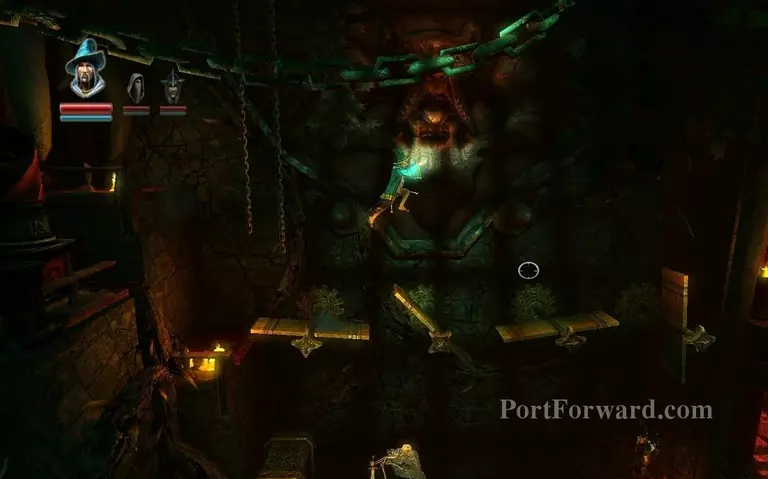
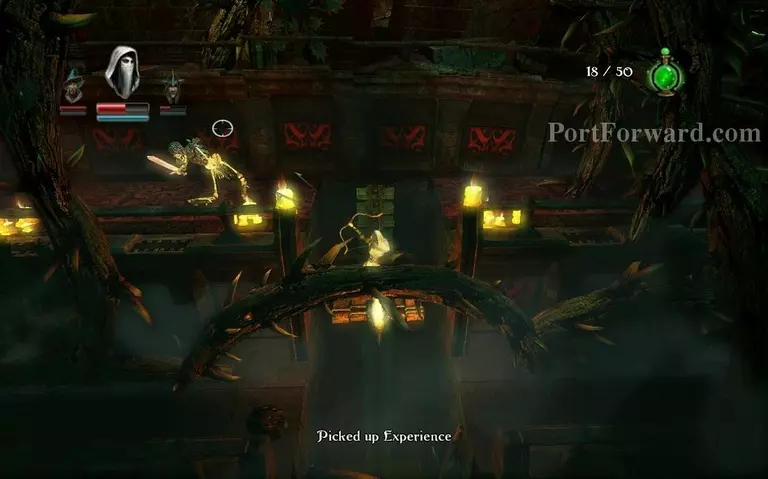
Go to the right and you will go down a staircase that leads you to a deathtrap, kill the skeletons and doge the swinging axes.

Afterwards jump over these wooden platforms, careful as they can tip over and you will fall on a spike trap.
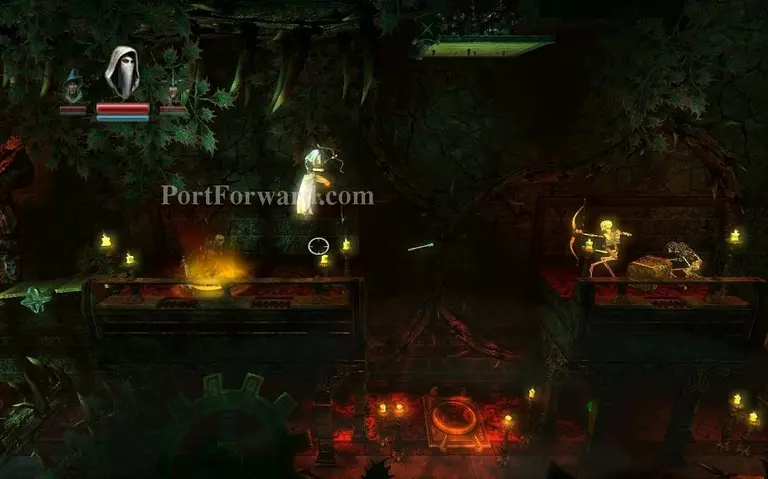
After that you end up in a room with a button on the bottom of it, if you press the button the spike balls will drop from above, just run past it.
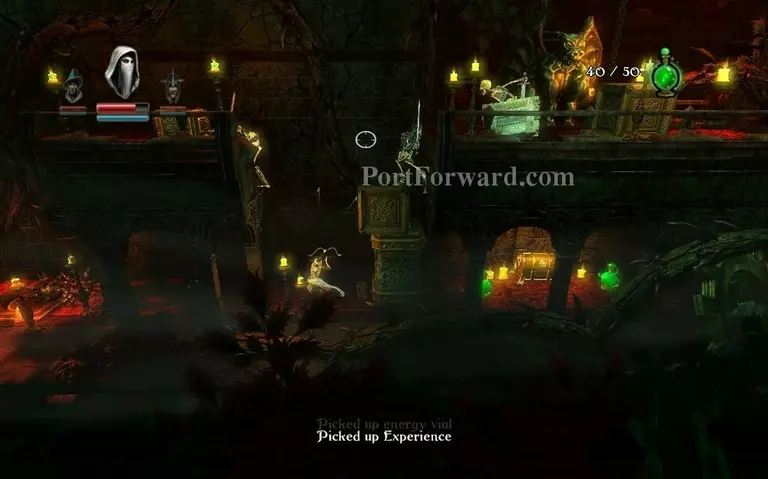
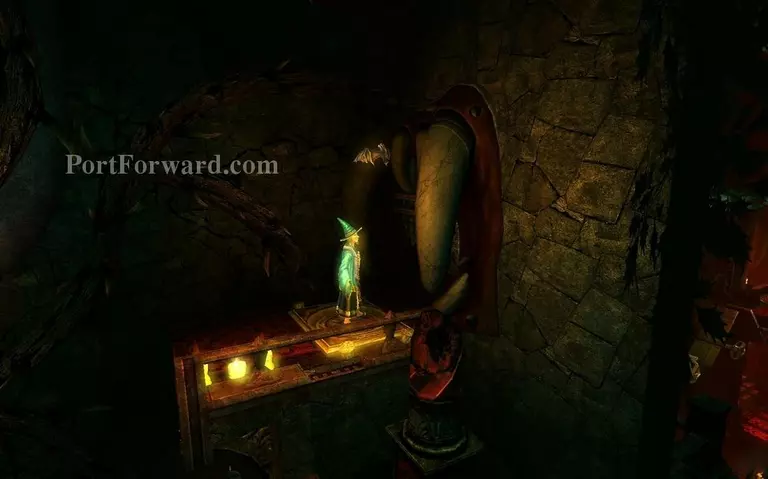
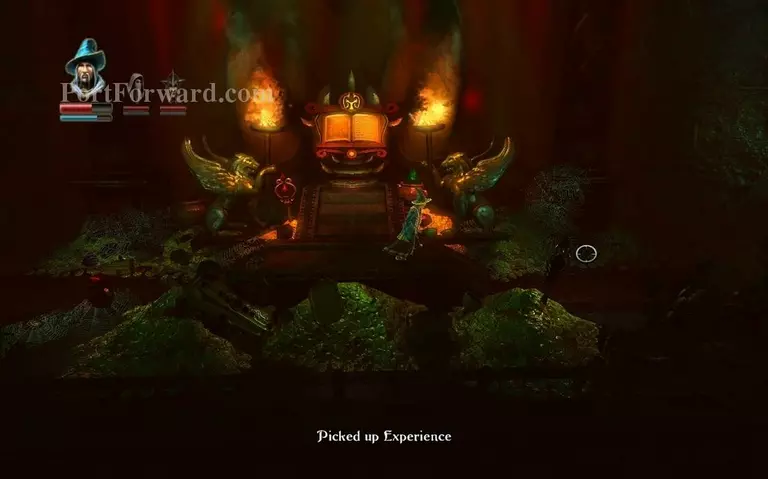
On the lower level of it there are two boxes on top of each other, move them away with the wizard and get the experience vials and the chest behind. Then jump up and progress right.
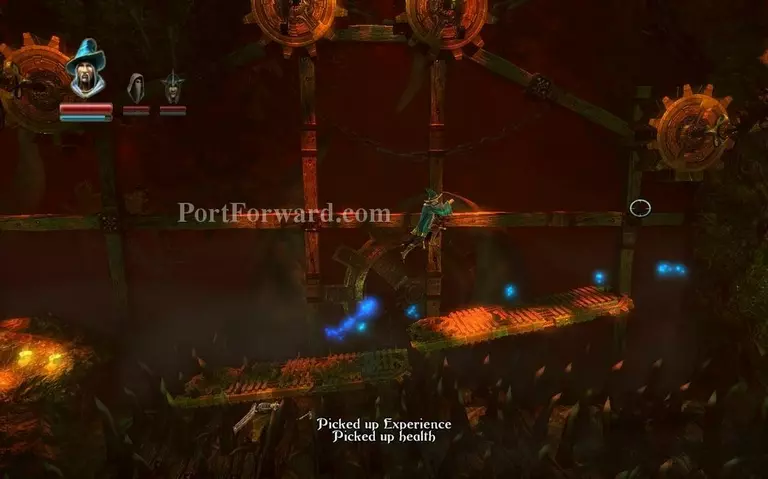
Here just keep jumping to the right from platform to platform.
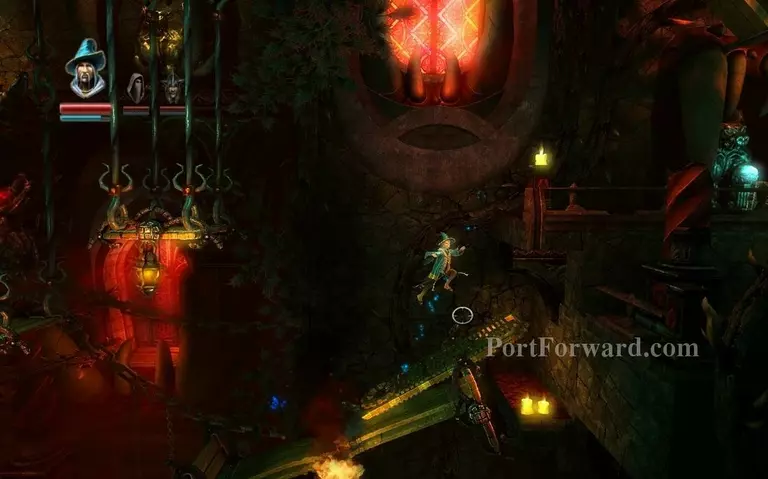
Once you drop down on this platform, balance it somewhat, then draw a line with the wizard to make a plank and jump up the ledge.
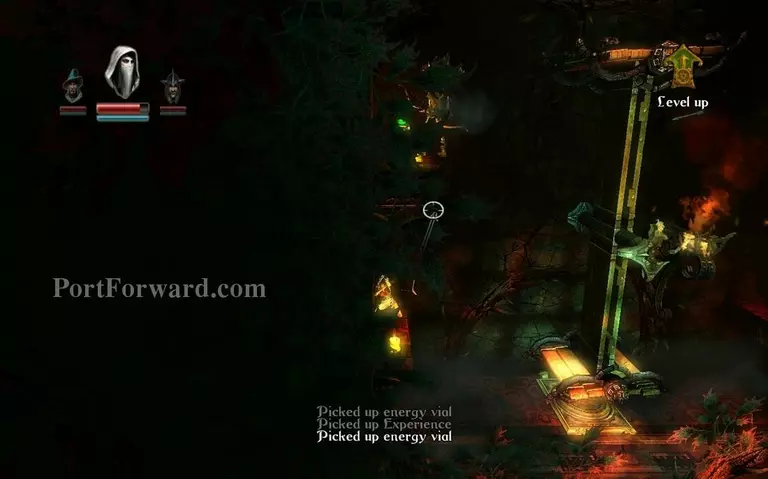
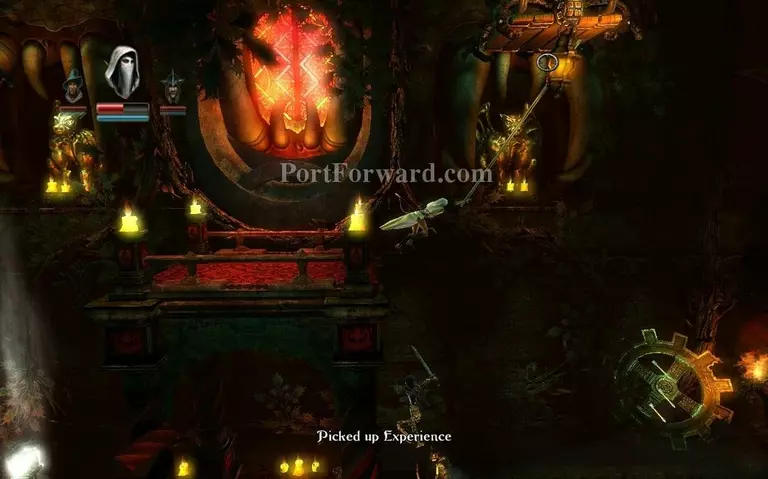
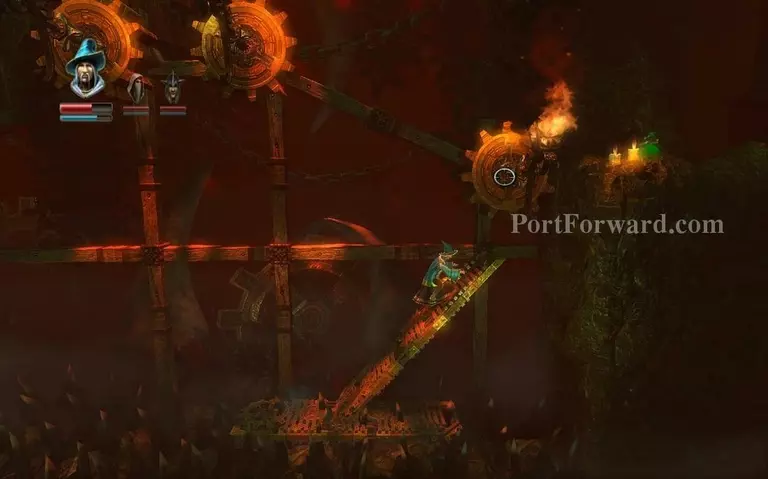
In this room you want to put a box on the button on the ground, then get on one of the sides of the rotating construction and levitate it until you reach the upper right corner of the room. Then step on the button.
Like so.
Just jump across these platforms.

Another death trap here, above the next checkpoint , be careful when swinging across.
Swing from this platform to the right to jump over the metal door.
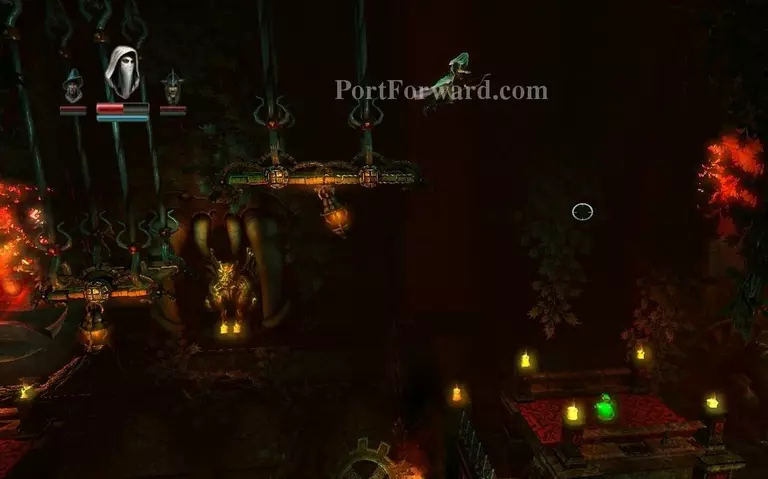
You will land on top of the other side.
There's a checkpoint after that.

Progressing with the chapter, you will face a huge spiked ball, avoid it.
You can use the knight to block off its damage.
You reach a wooden elevator, jump on top of it and it will bring you down.
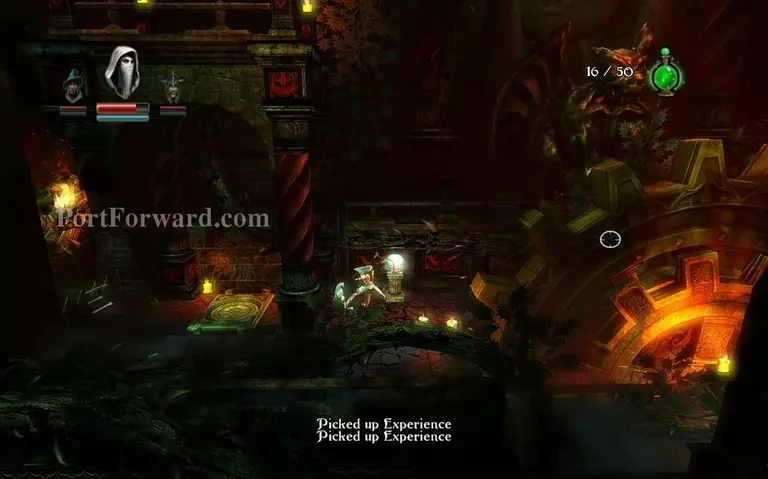
When you reach a room filled with cogs and spikes, just cover the spiked ground with planks and move over to the right.
Then climb up like so.
You jump up the ledge and you reach the end of the chapter.
More Trine Walkthroughs
This Trine walkthrough is divided into 16 total pages.


