
This Trine walkthrough is divided into 16 total pages.
You can jump to nearby pages of the game using the links above.
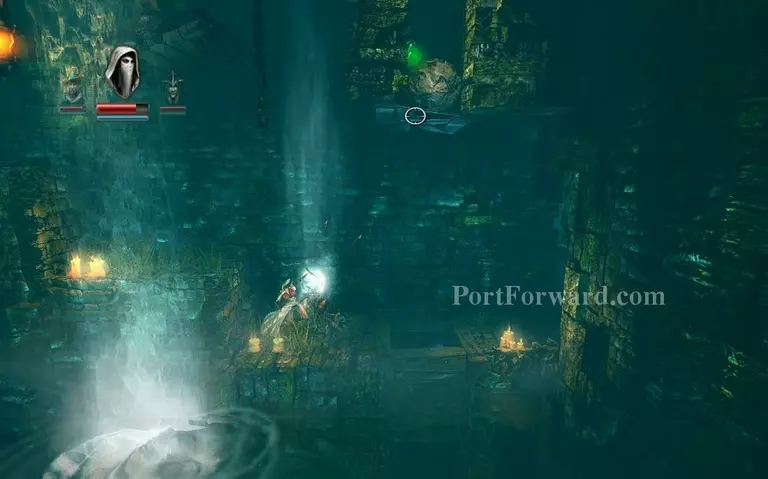
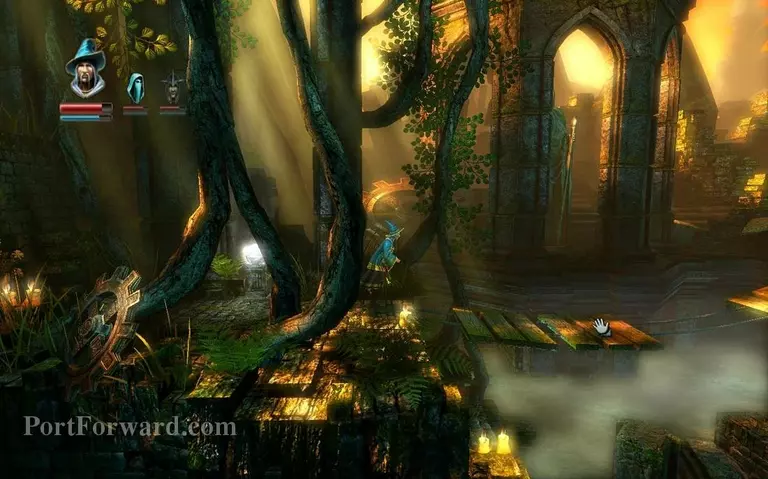
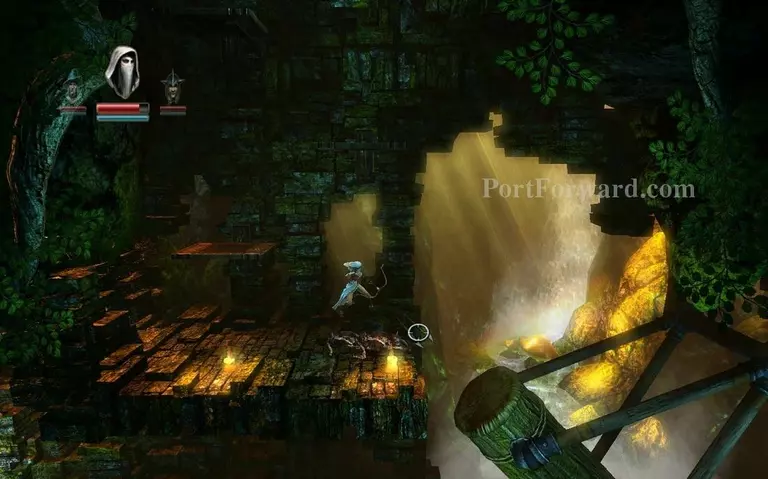
Ruins of the Perished
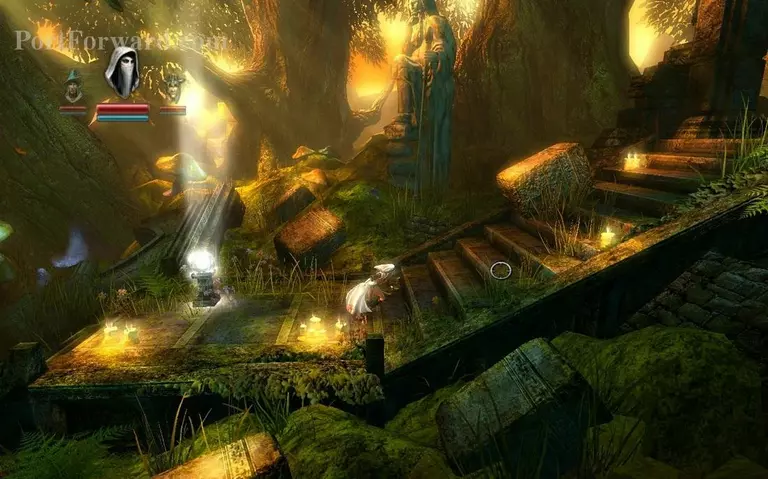
Welcome to the Runs of the Perished. Probably one of the longer chapters there are.
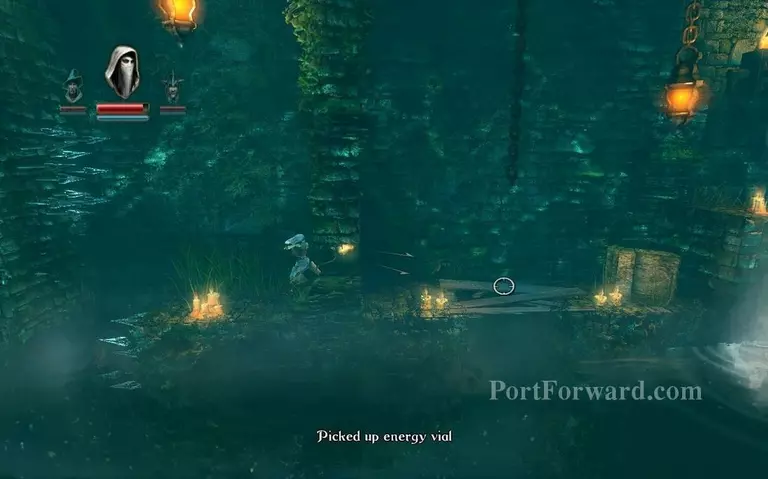
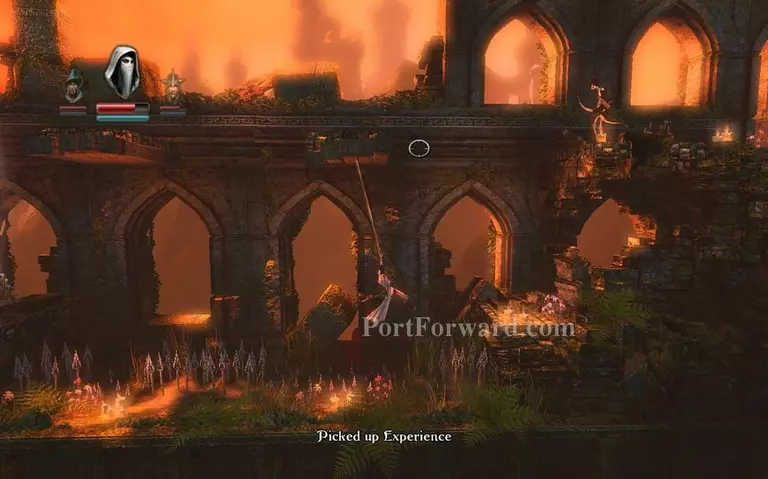
Go up the stairs and drop down on the left to get an experience vial but be careful for the spikes.
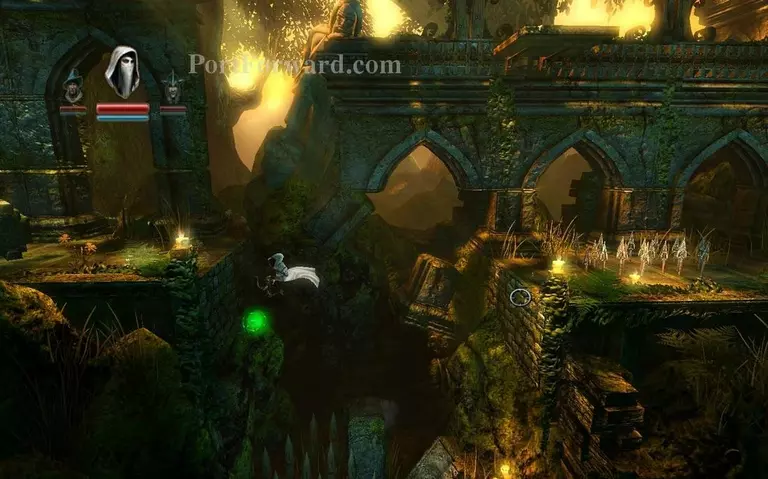
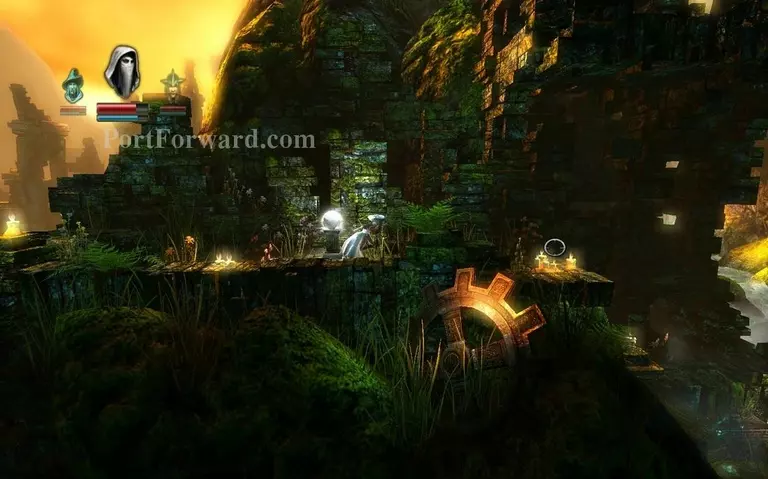
Afterwards jump across and you can just time your sprint to run over these spikes coming out of the ground unharmed.

Jump up this wall and kill the skeleton.
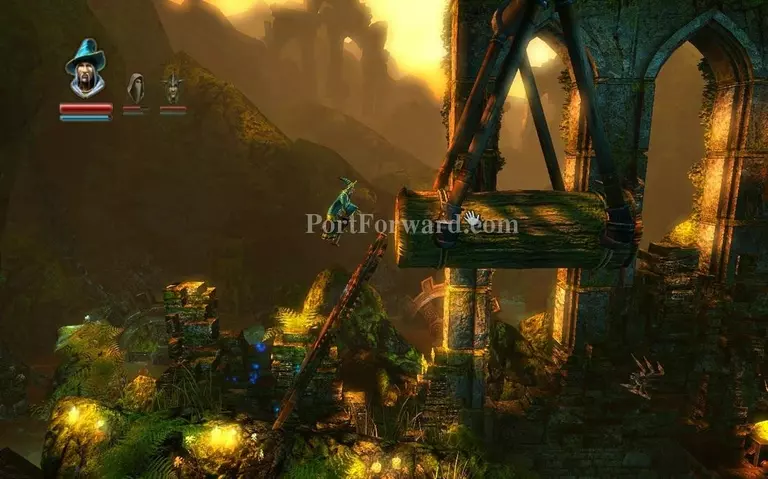
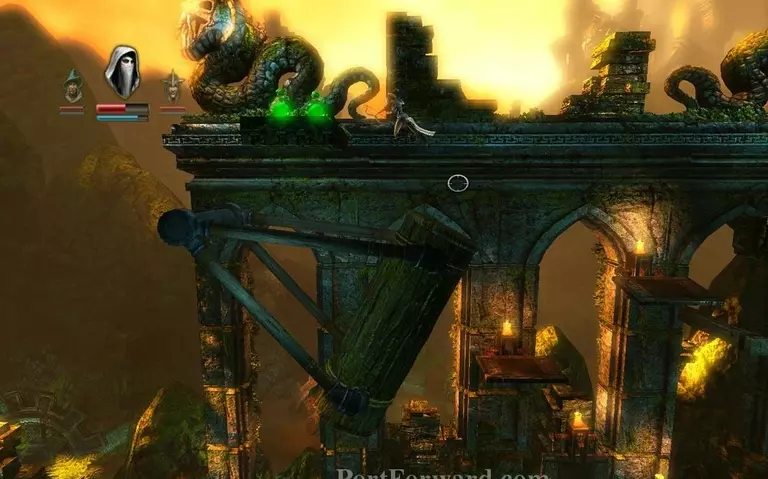
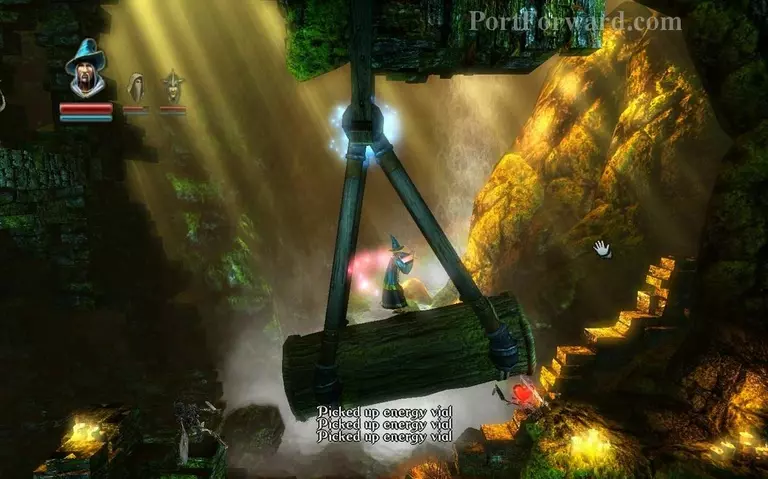
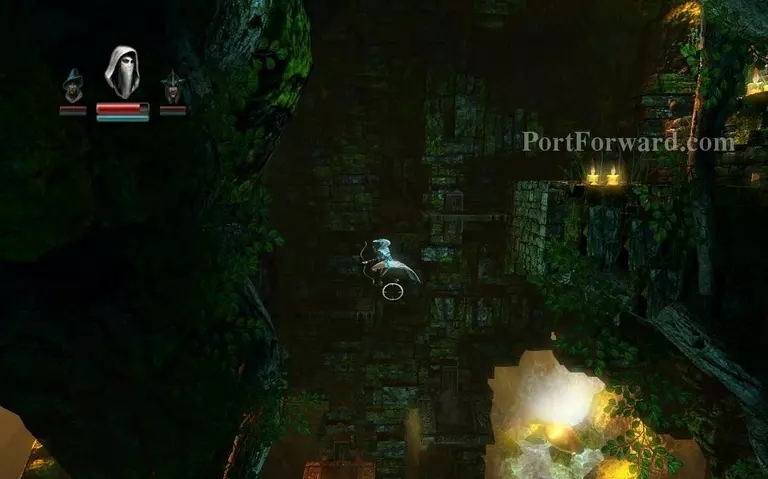
Get ontop of the log and swing it to the right with the wizard until you can just jump over.
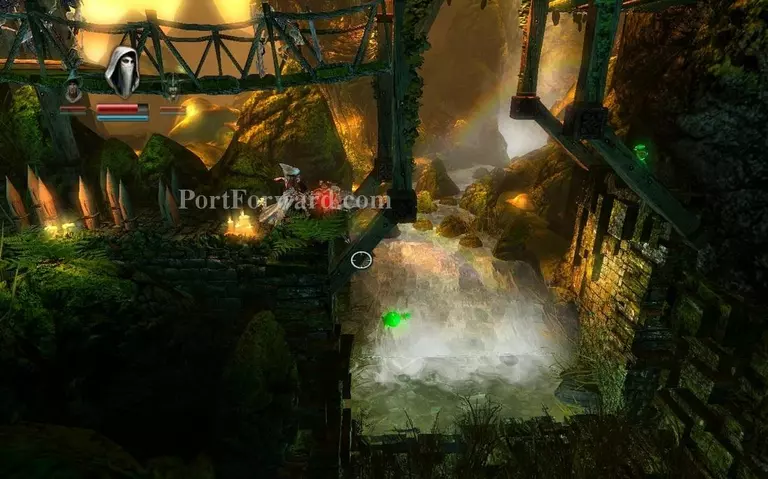
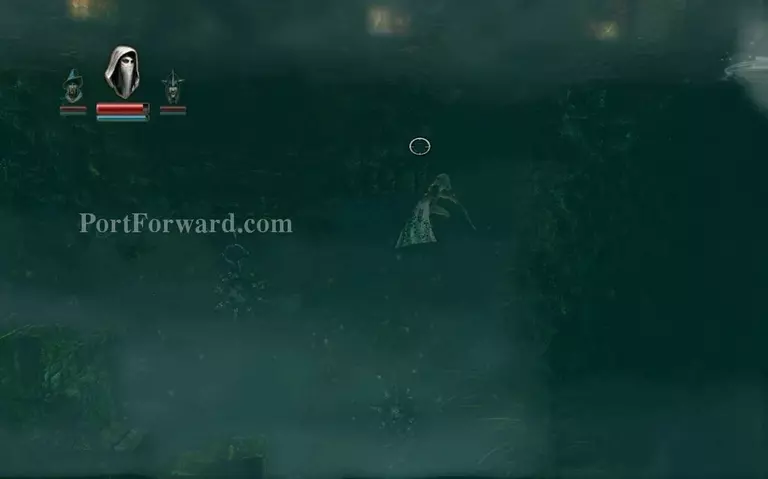
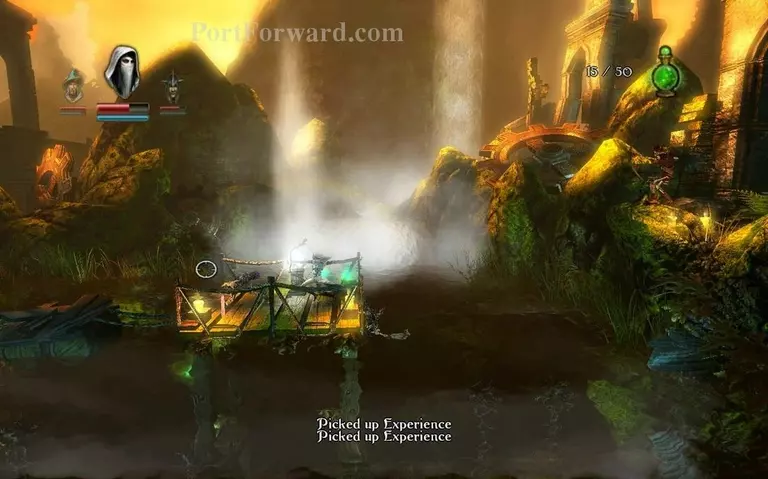
You jump over and you reach a waterfall. Jump down.
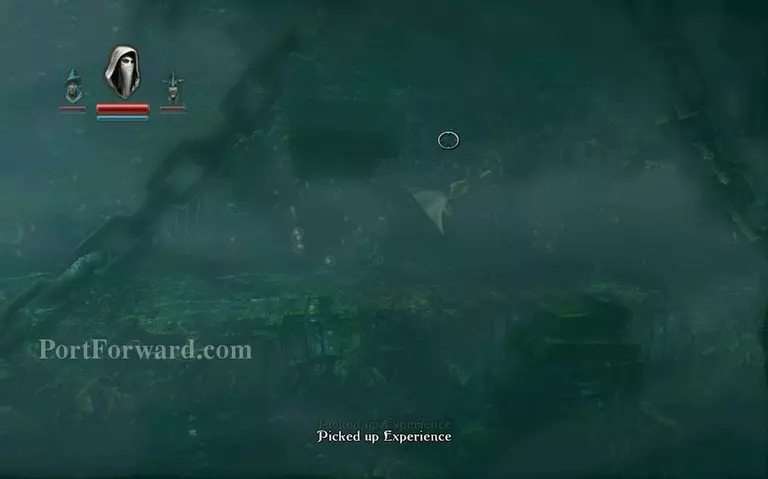
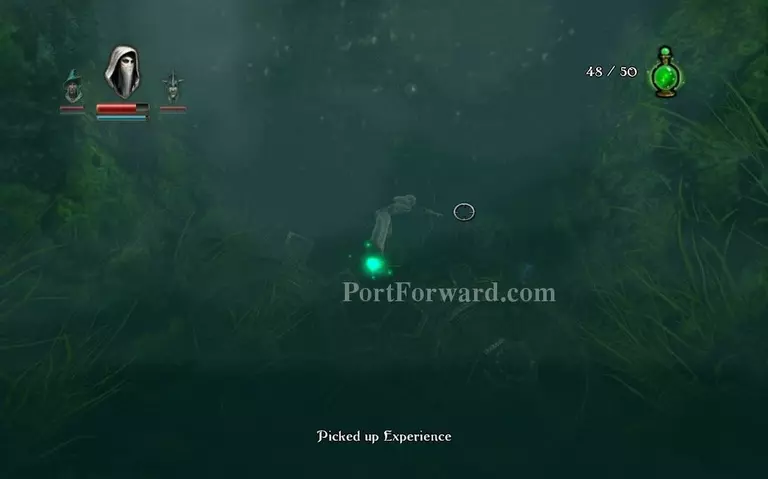
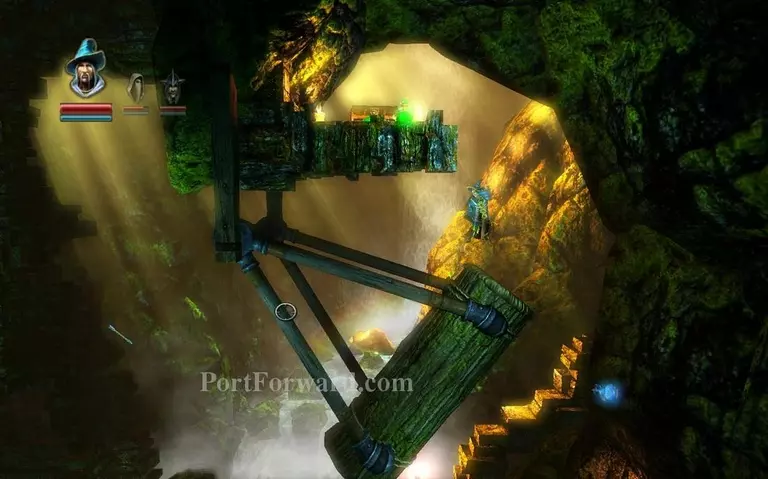
You jump into the water, just swim to the right until you reach a dead end. Then swim up.
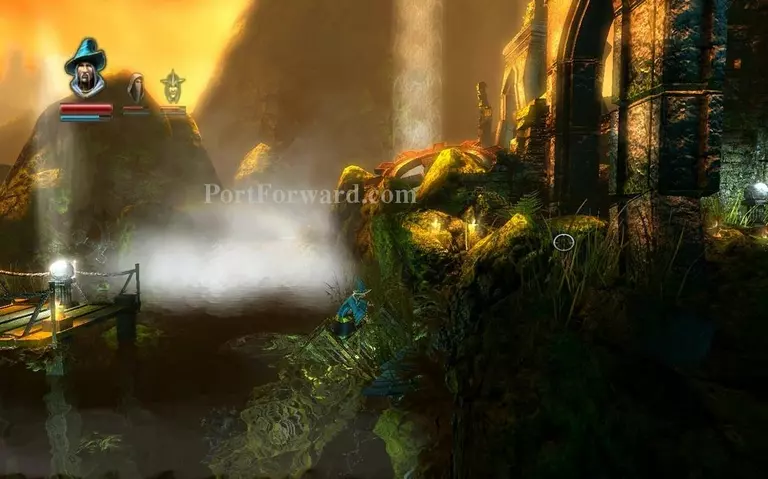
You swim up and you reach a checkpoint.

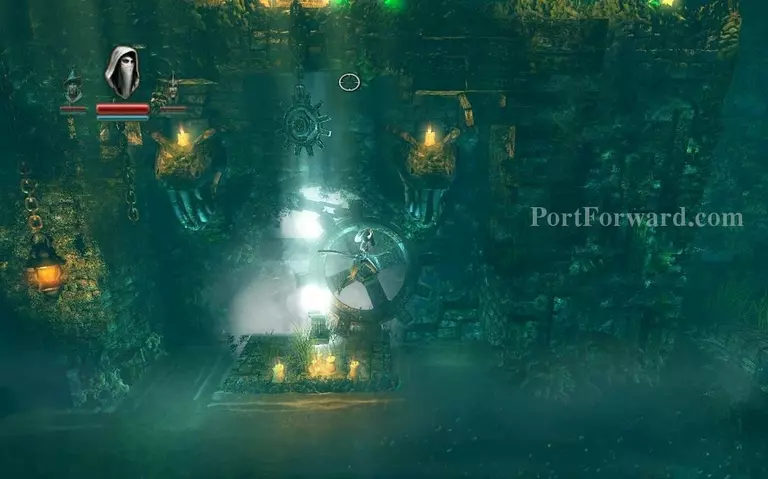
Go down into the water again and swim up the spike walls.
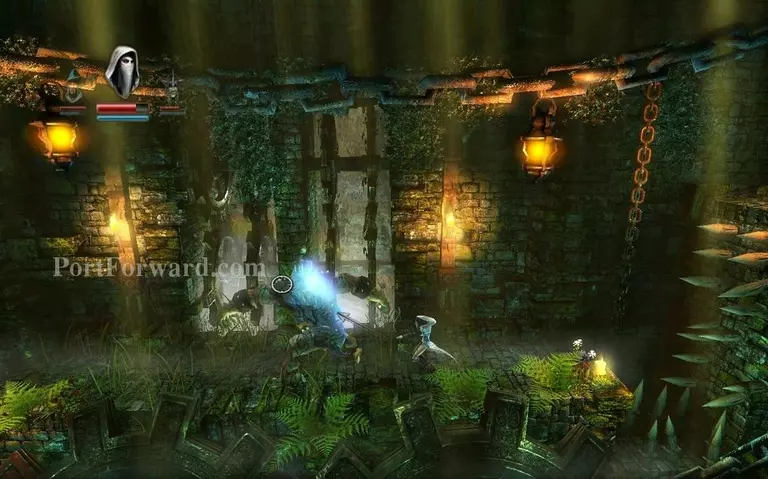
Change to fire bow here and destroy these planks, then go back into the water.
Swim a bit more to the right then go up out of the water where you destroyed the planks.
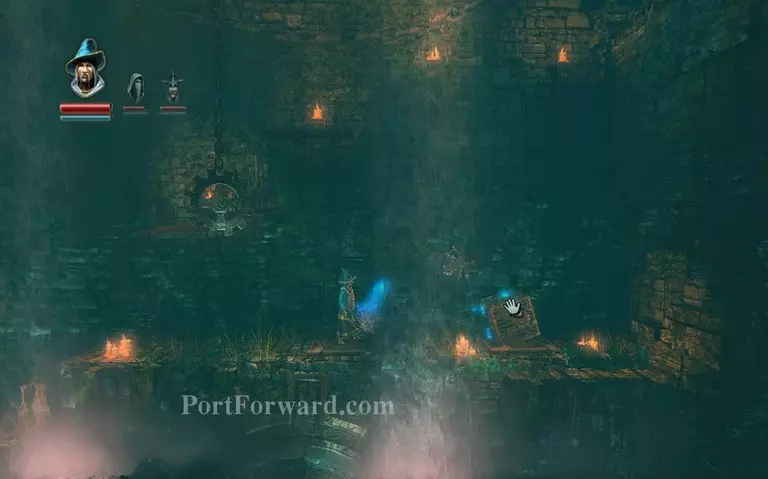
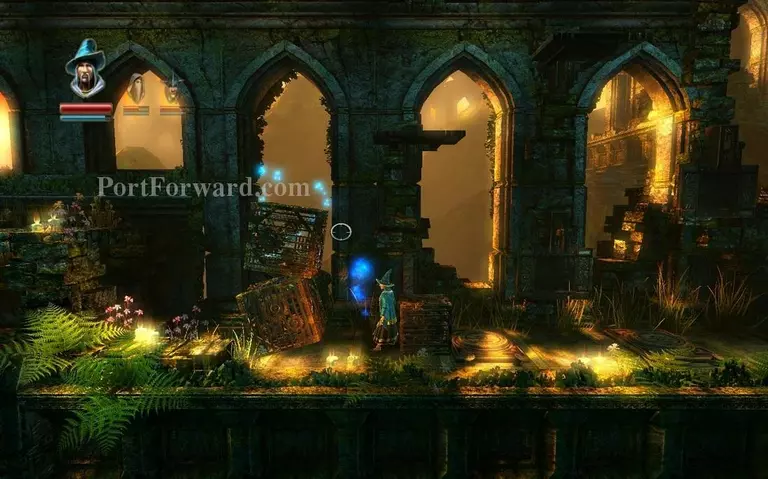
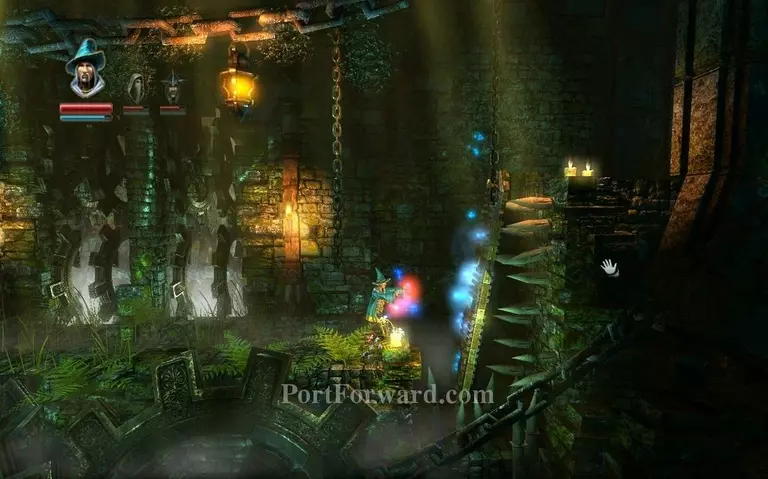
Put another box on this button, get on the first platform then remove the other box.
Jump up the platforms before they drop.
Once you're across levitate this platform and rotate it unti l you can get the experience vial here, then drop down.
You drop down and you reach a checkpoint, use fire bow again and shoot off these planks to make the boulder drop.
It drops down and you go into the water, swim up to the right.
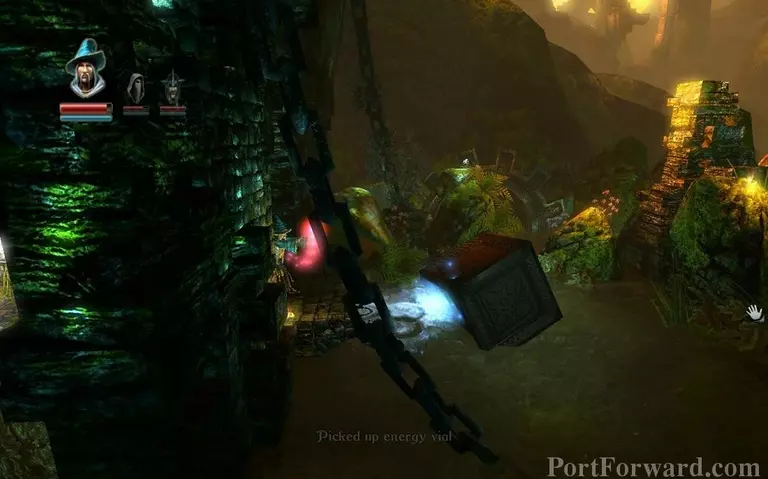
Jump out and levitate the box to the right until it reaches the wall, then jump up the ledge using it.
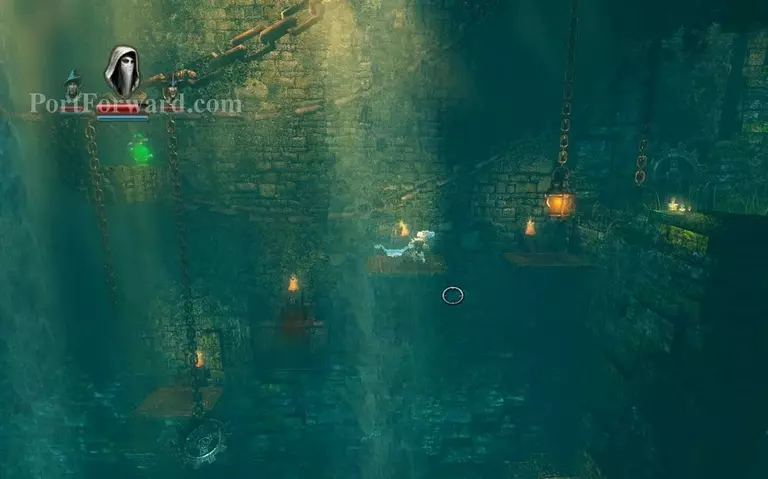
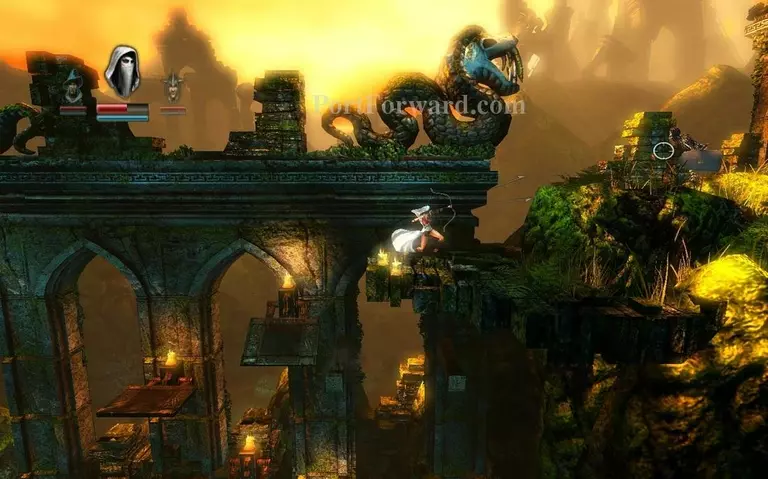
Once you're up use a plank to climb onto the swinging log, then swing it left and right.
Use it to jump up to these experience vials.
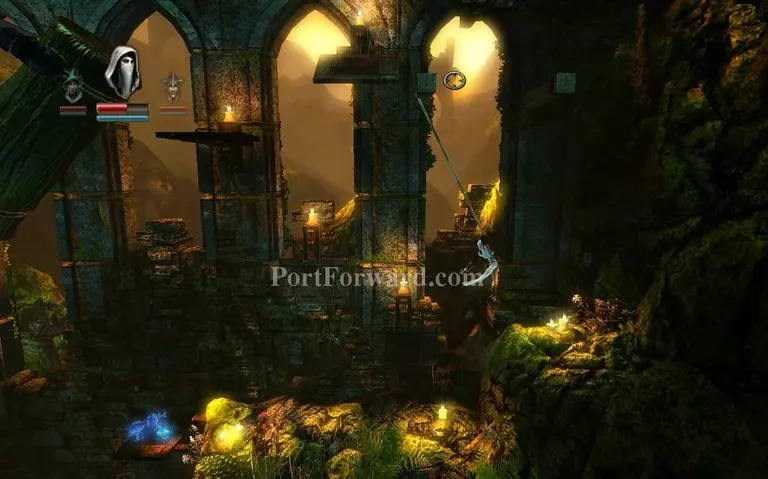
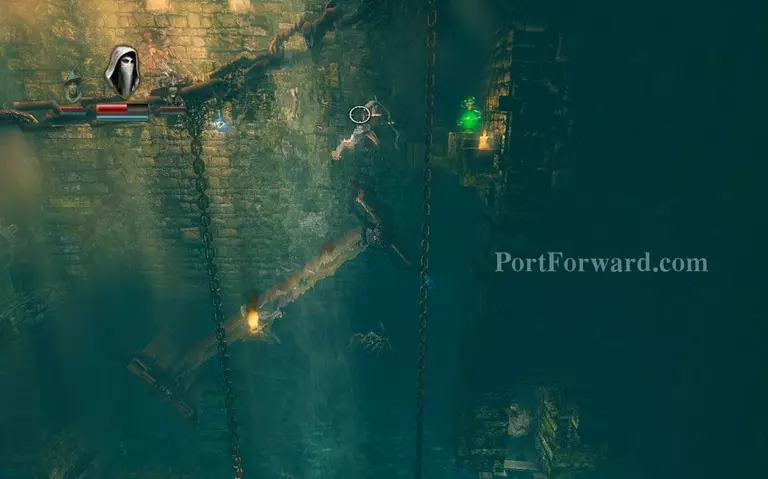
Once you're here you can just skip this puzzle by grappling onto this wooden plank.
Jump up to this ledge and kill the shielded skeleton.

Then progress to the right and the doors will close on you. You need to fight off skeletons here.
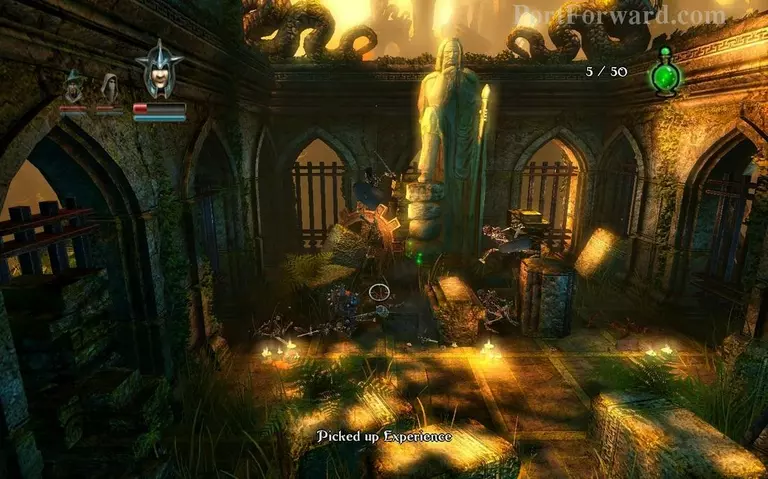
They keep spawning so the best weapon to use is the hammer for the knight.

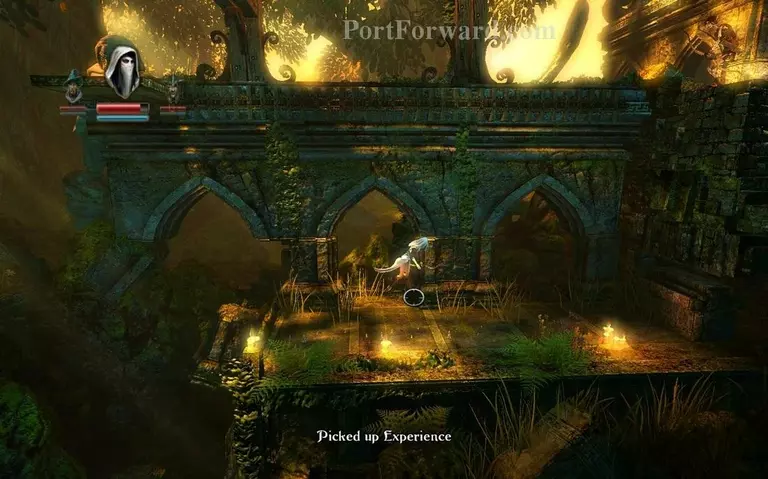
Once you kill them all the door opens up again and you can progress, getting the checkpoint and an experience vial.
Jump over these spikes like so.
A really easy way to get across without being bothered with this puzzle is to put two boxes ontop of eachother here once these two platforms are up. Just press the buttons around until they are up.

Then jump up and onto the ledge with experience vials on it.
Then use a plank to jump across to these platforms and get across.
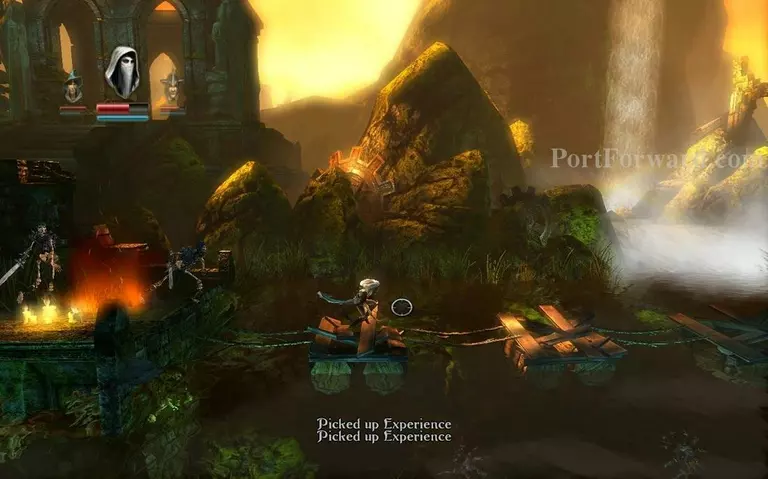
Take the next set of experience vials and get across this bridge.
Take the checkpoint and fight off the skeletons here.
Use a few planks/ boxes and jump up here.
Fight off this enemy.
Then put a plank on the spike wall and jump up.
You reach another checkpoint, follow the bridge to the right.
Until you reach another checkpoint again.
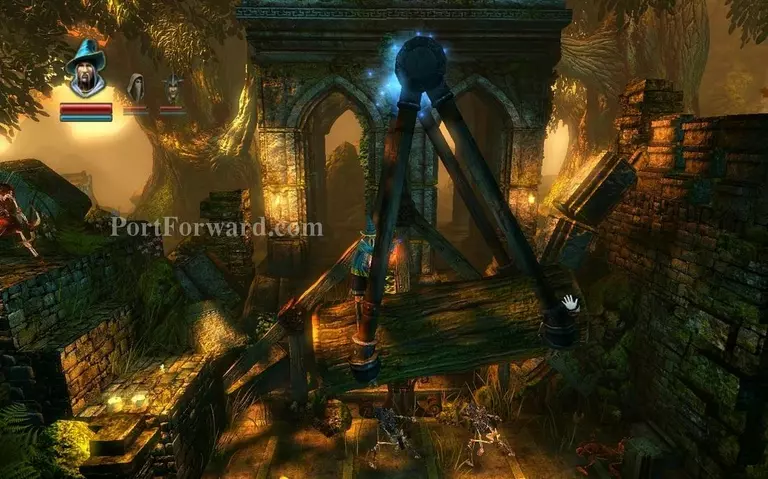
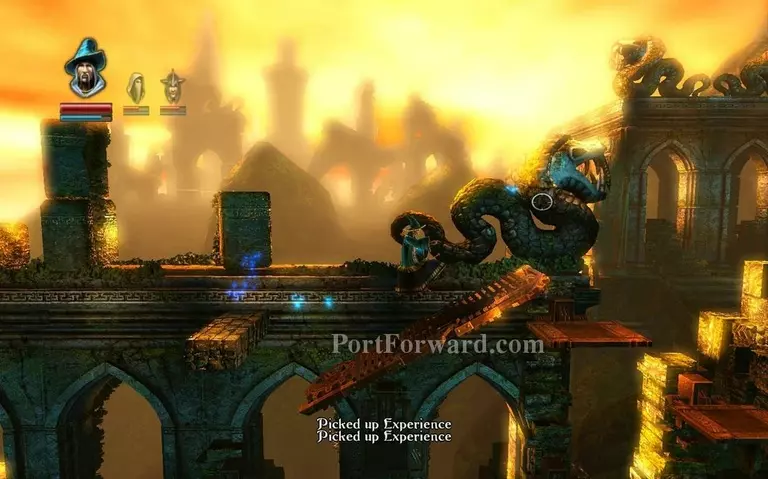
Here jump on this log and sway it around.
When it reaches this point jump up to the chest on the right.
Then go back on the log and jump to the left platform.
Quickly jump up these platforms before they drop.

Go up the stairs, then down and you reach the end of this chapter.
More Trine Walkthroughs
This Trine walkthrough is divided into 16 total pages.


