
This Trine walkthrough is divided into 16 total pages.
You can jump to nearby pages of the game using the links above.
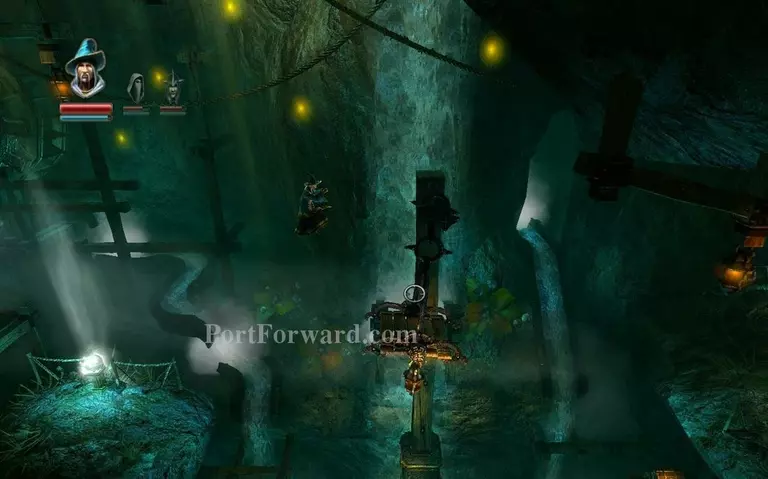
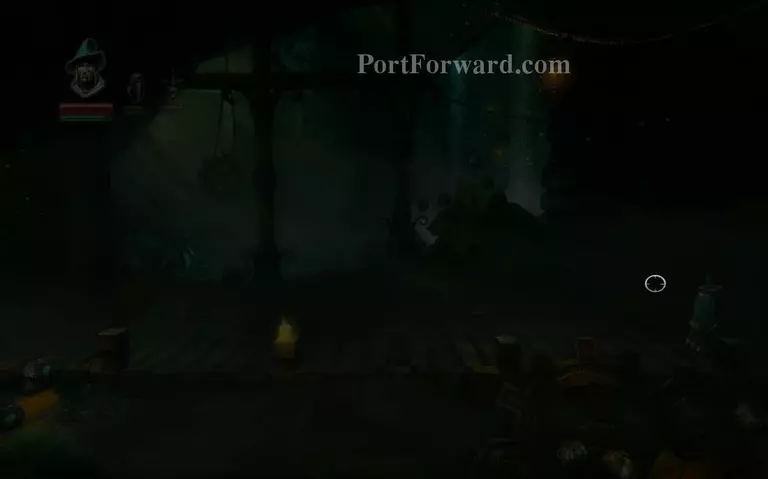
Heartland Mines
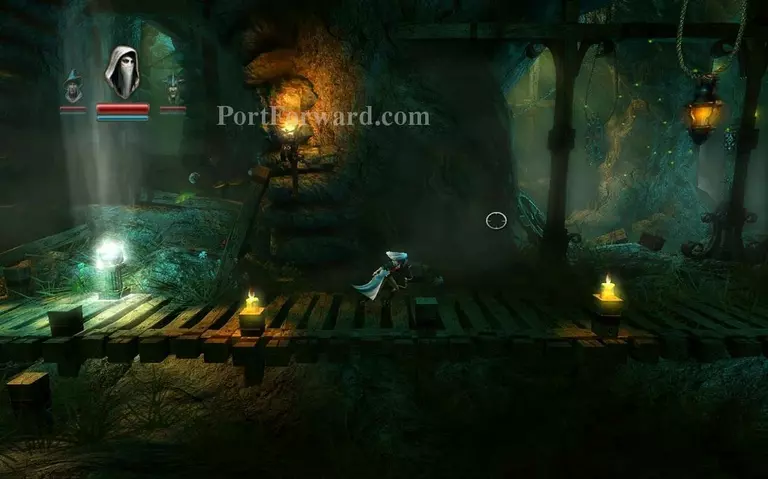
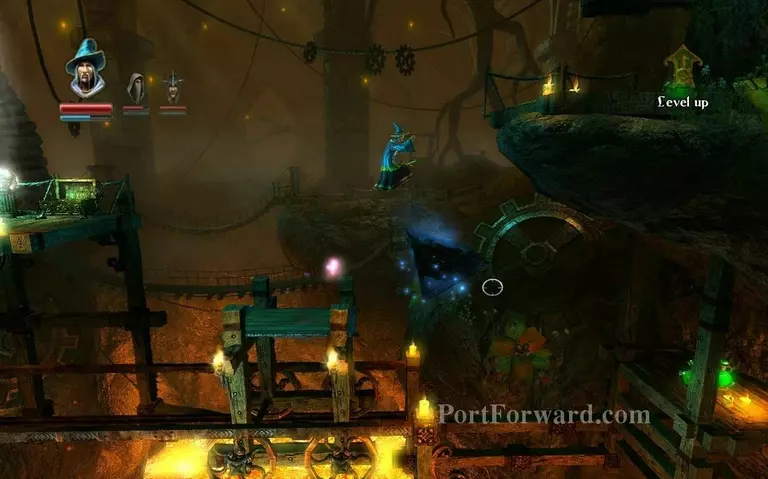
You're in the Heartland Mines.
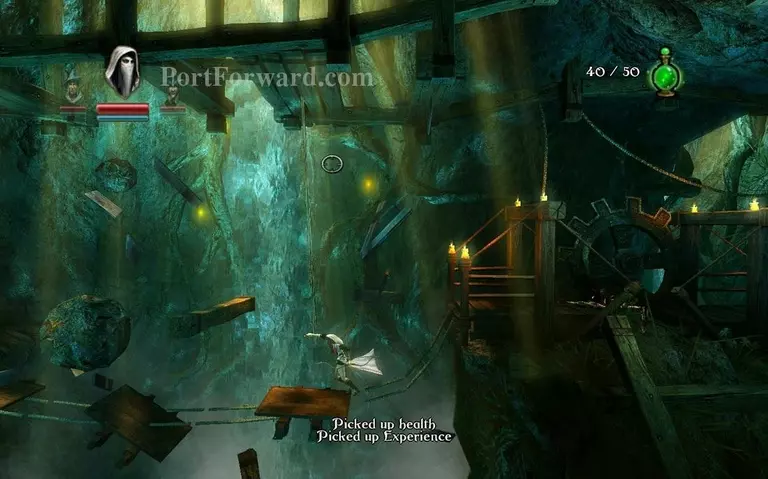
Go to the right and step on the elevator. It will take you down.
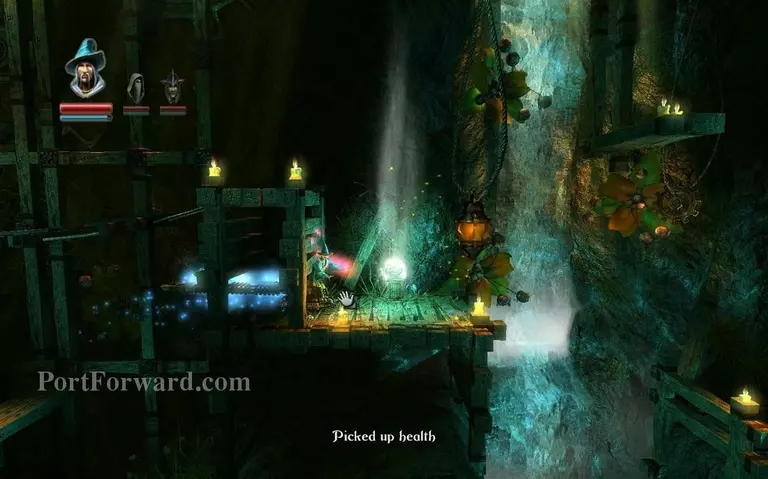
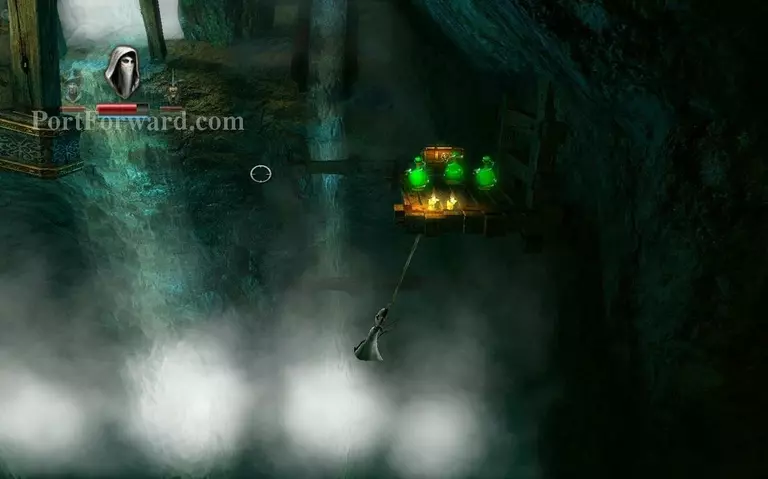
Jump to the right and grab these two vials.
After you get the checkpoint grab this vial here by grappling on the plank underneath it.
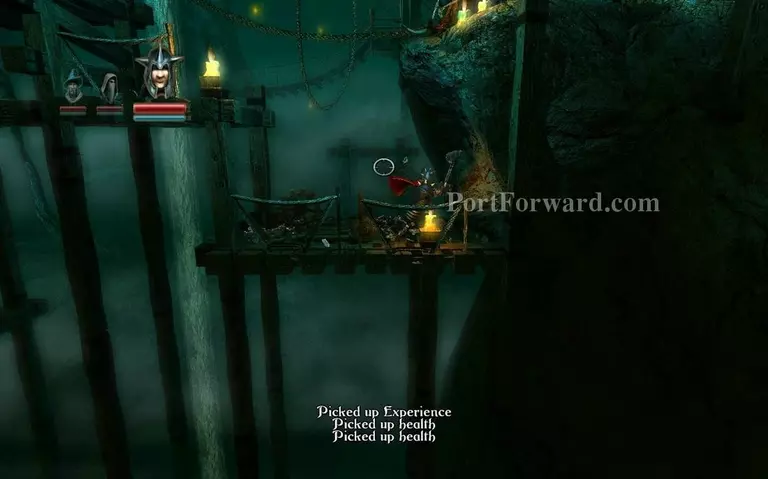
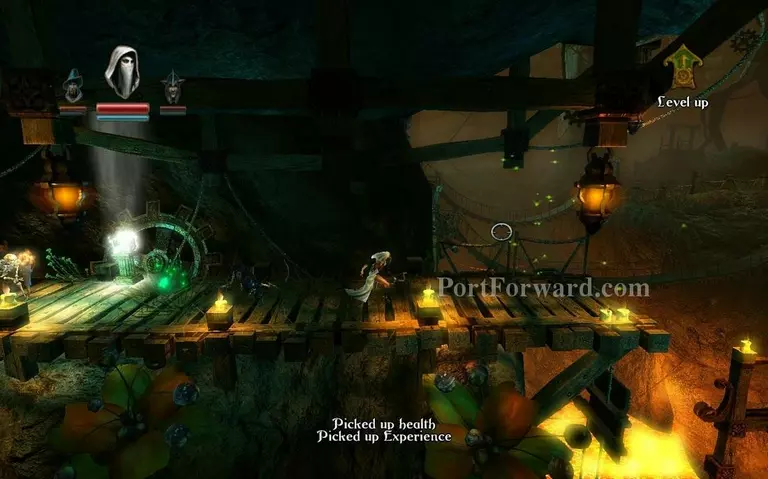
Then fight off all the skeletons in this room.
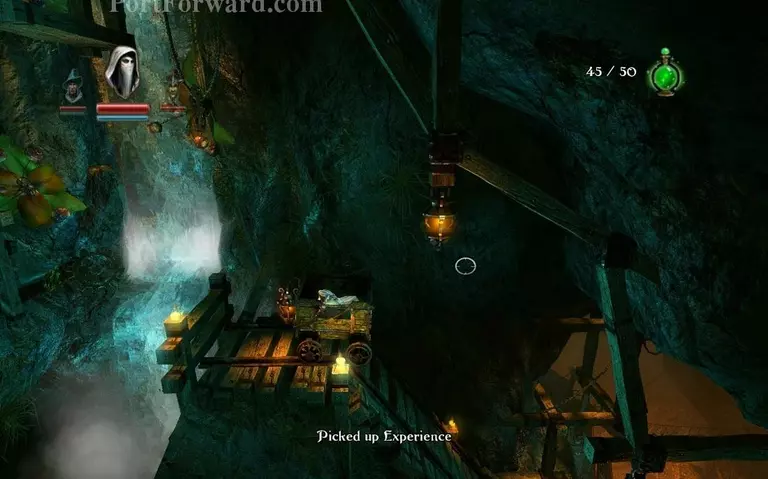
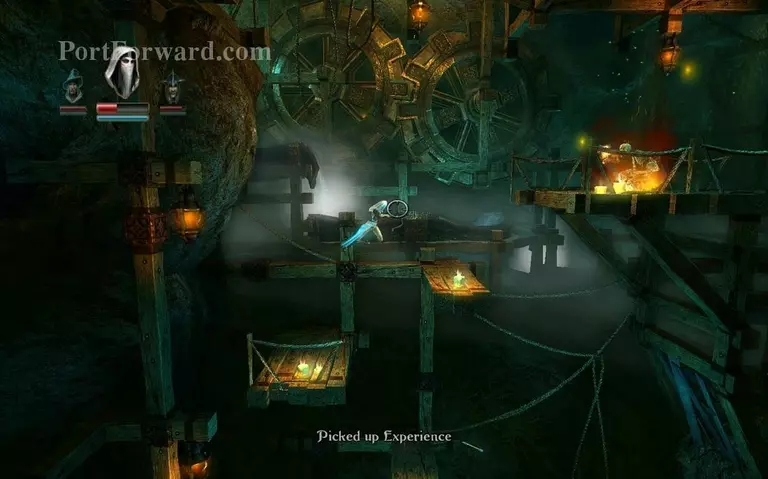
Once you're done, go to the far left and push the log over to fall onto the button underneath it, you will even reveal an experience vial you can pick up.
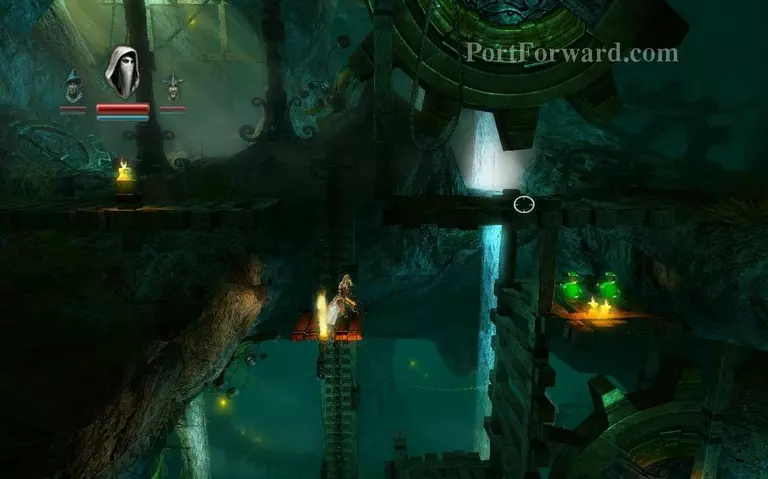
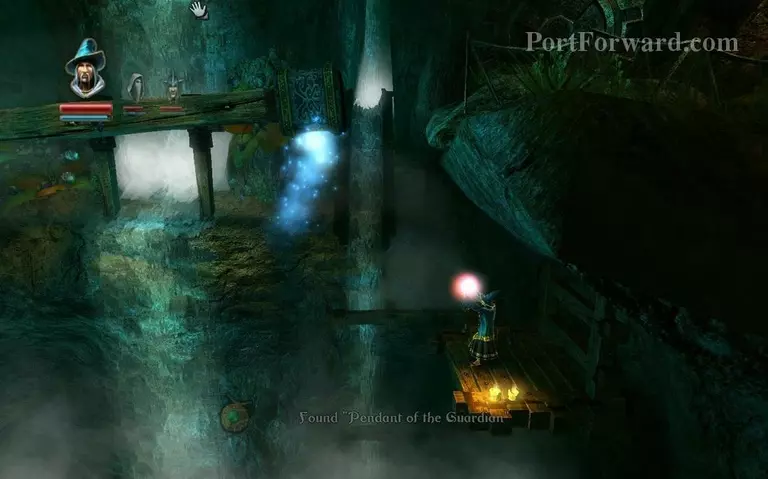
Pick it up and go to the door that opened on the right, you reach a checkpoint.
You can just grapple instead of jump across this bride if you want to be safer.
As the bridge crumbles.
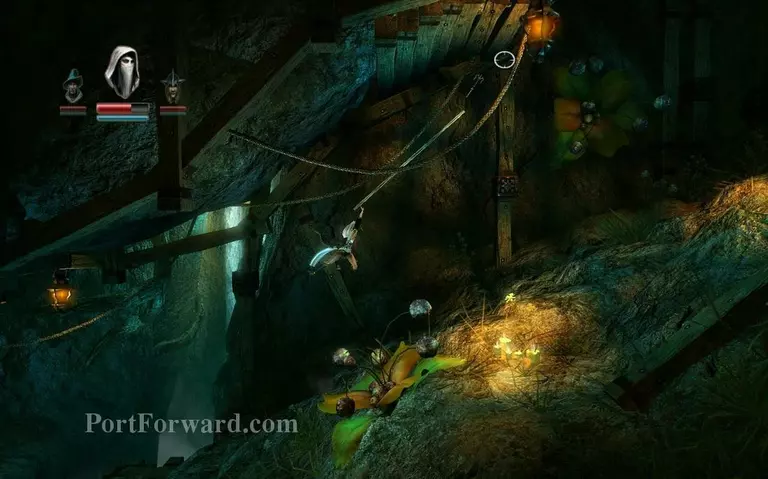
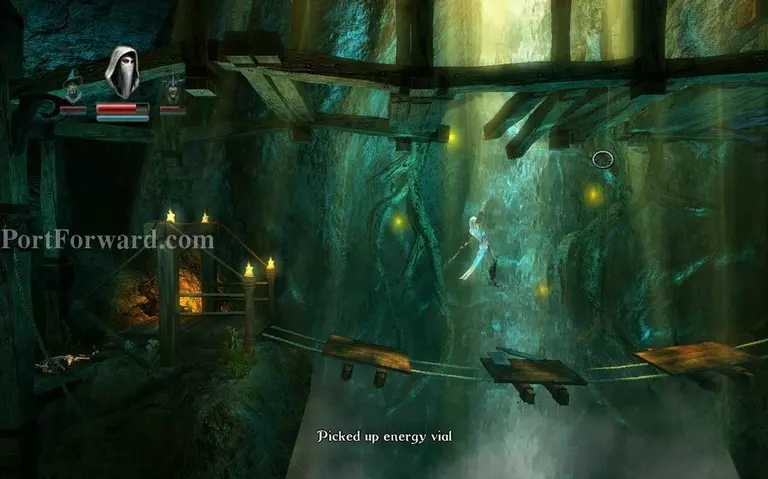
Just keep moving while grapping onto the roof while you're out of there.
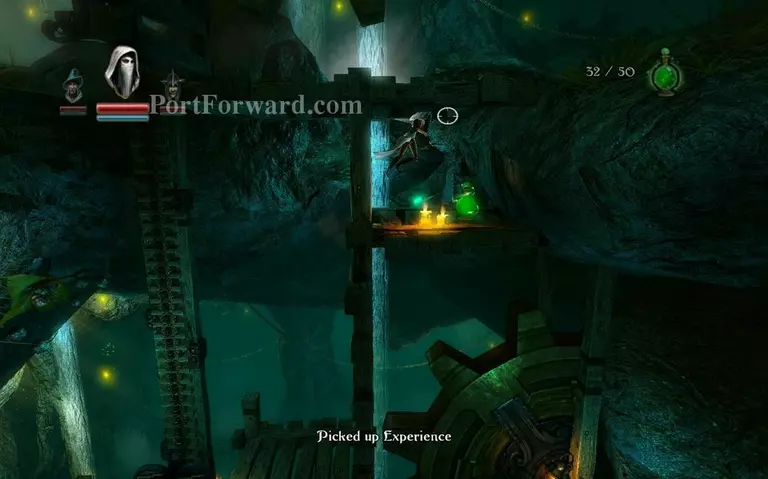
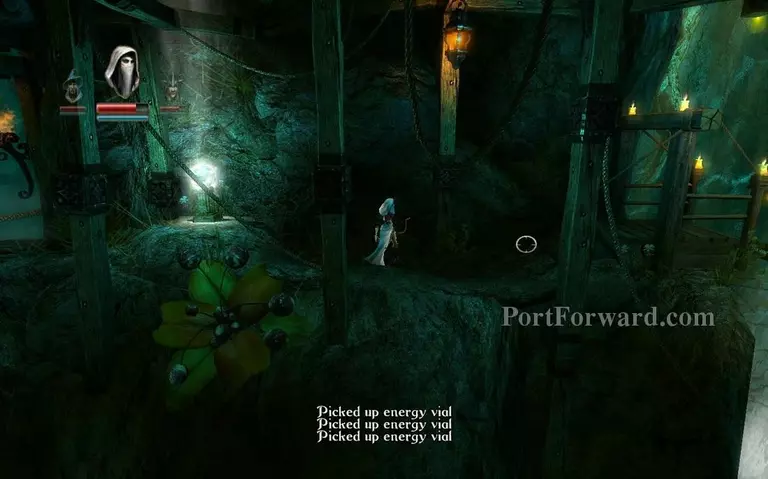
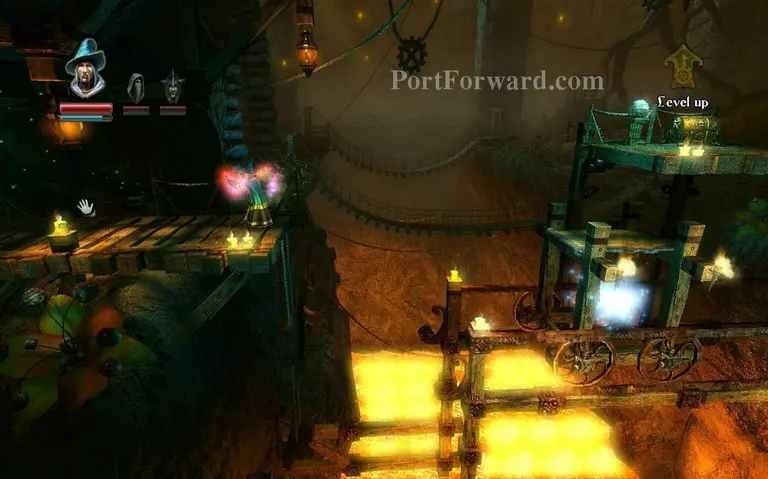
In this room all you have to do is use your hook to keep going up.
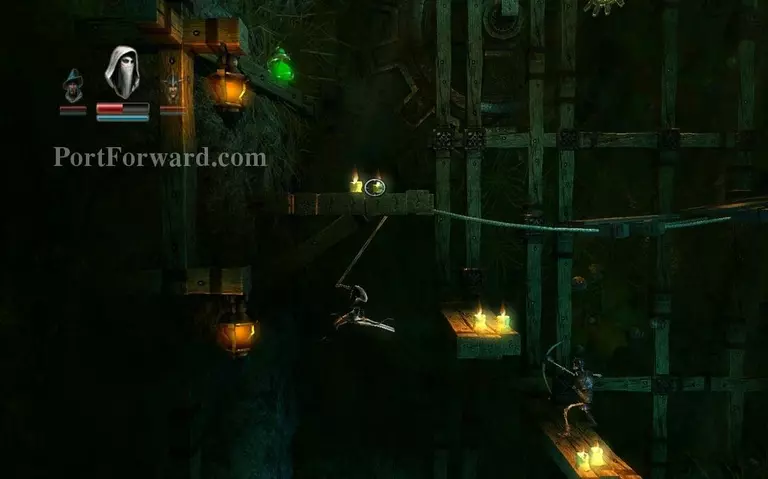
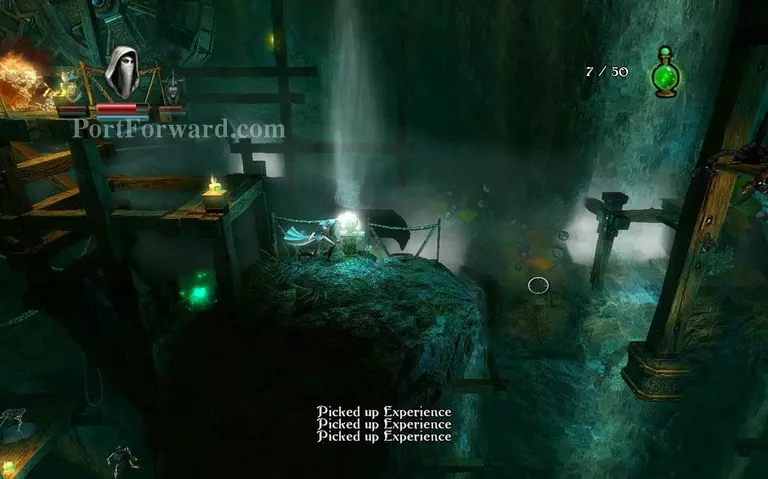
Grab the experience vials here and watch out for the spikey ball.

Jump across and you reach a checkpoint.
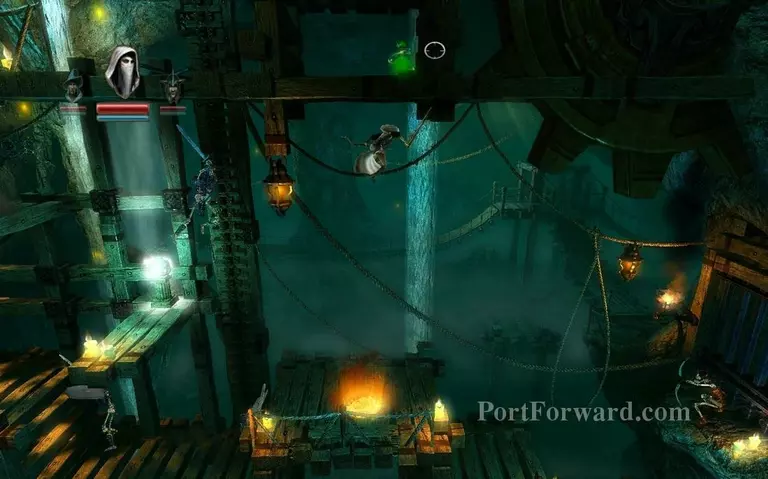
You can take that experience vial if you create a plank and push the vial out with it into you.
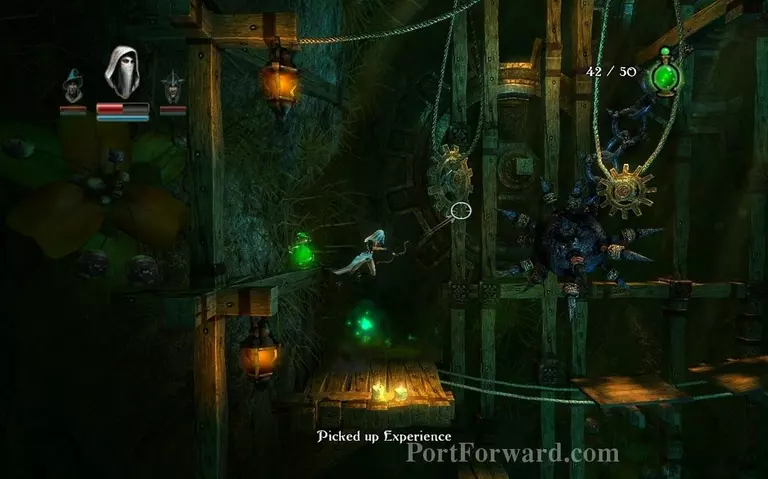
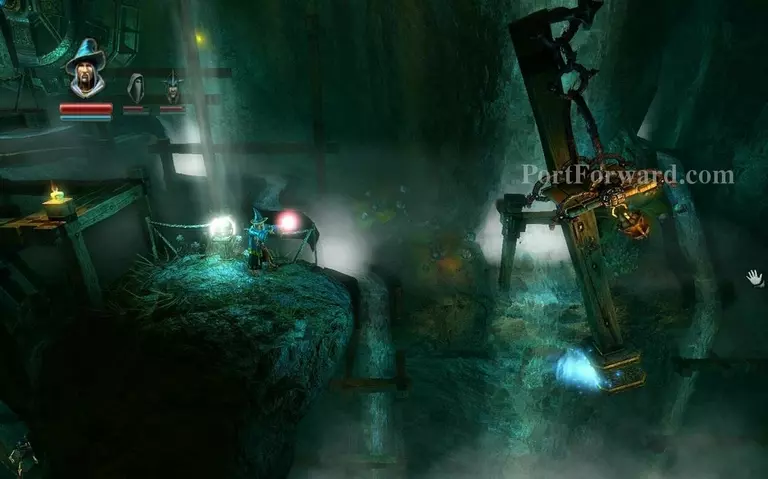
Jump in the cart and indiana jones out of there.
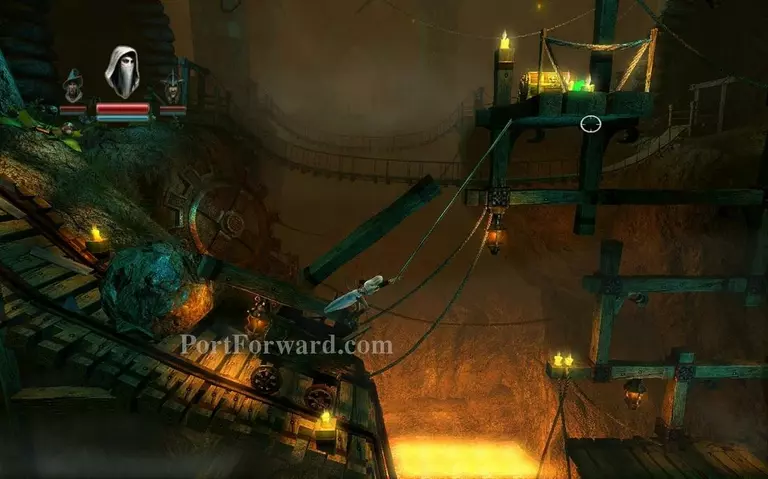
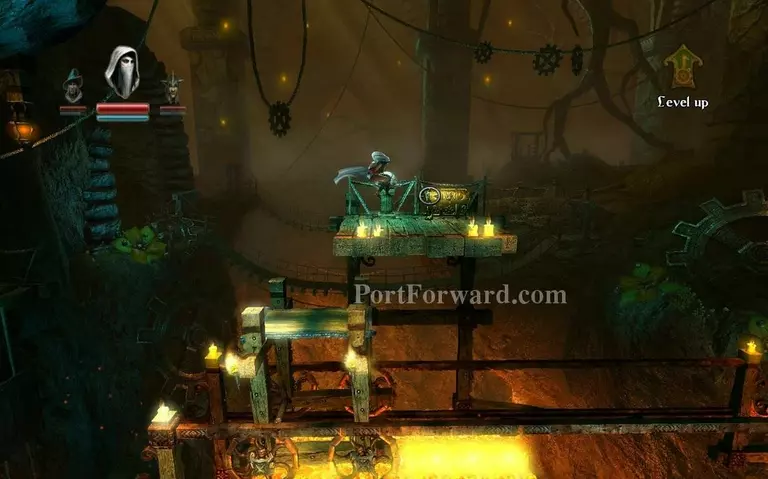
Right as the cart is about to fall, jump out and grapple up to the chest there.
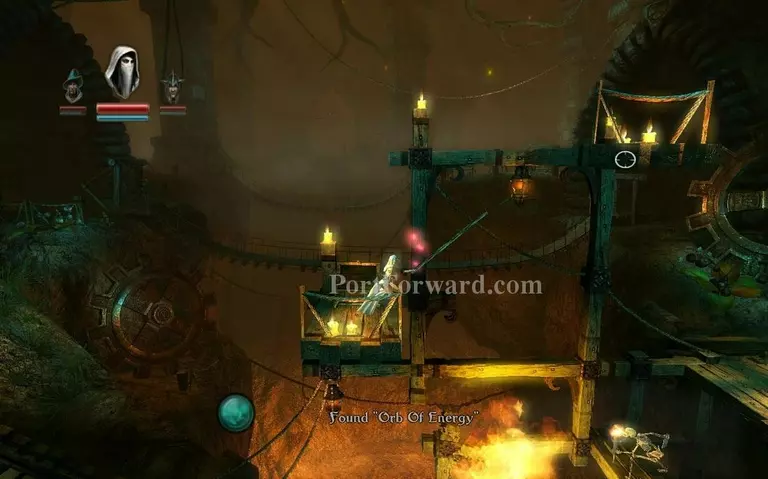
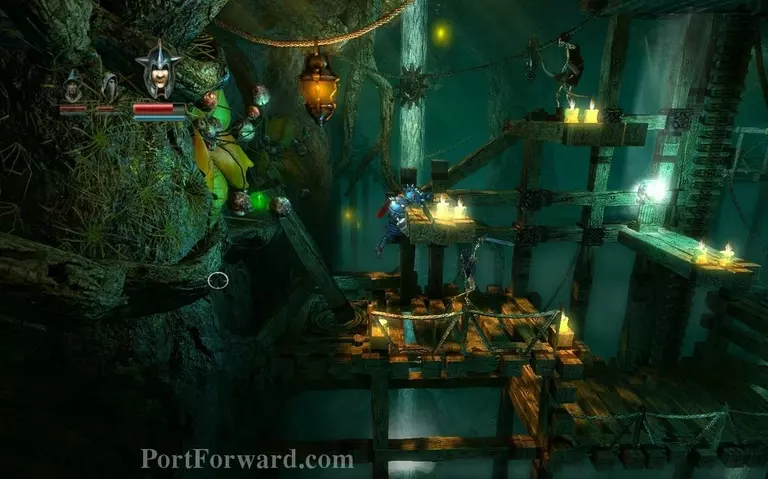
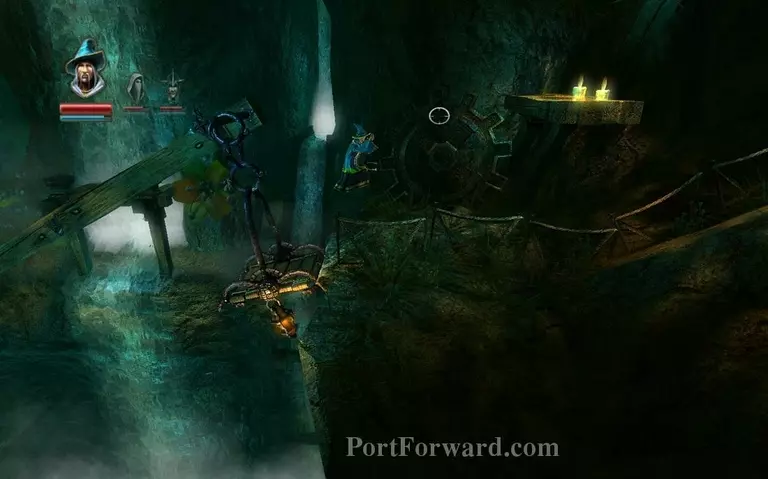
Afterwards use this platform to jump across.

Jump from cog to cog progress to the right but be careful as they push you off.
You reach another checkpoint.
Move this cart to the left with the wizard so you can jump on it.
Jump on it and grab the chest.
Then jump down and use it to move to the right.
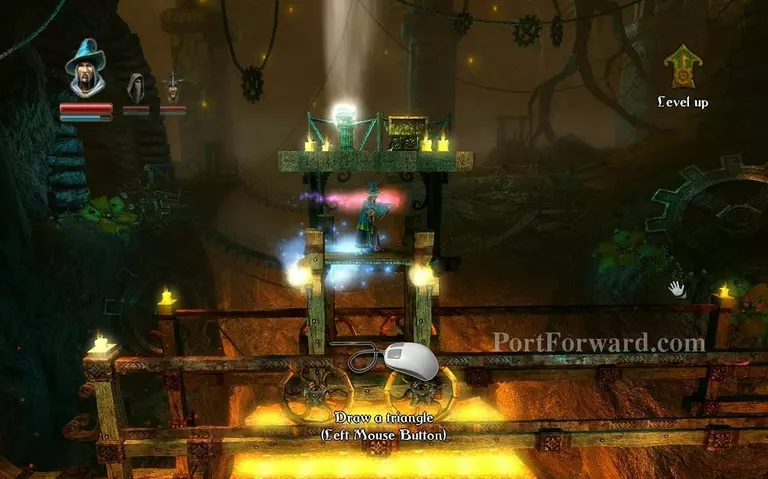
Here you want to draw a triangle in mid-air infront of the cart and jump up to the ledge.
Keep going up.
Once you reach the top, go to the right and grab the checkpoint.
Now you want to grab onto the stone side of this contraption and levitate it until the platform you can step on reaches you.
Jump on it and levitate it until you can reach the chest.
You can grapple onto the platform underneath to reach it easier or use a triangle infront of it while you're on the platform above it.
Grab it then levitate again until you can get back up.
Jump on it and it will shoot you up, jump off right here.
Move to the right and you reach the end of this Chapter.
More Trine Walkthroughs
This Trine walkthrough is divided into 16 total pages.


