
This Trine walkthrough is divided into 16 total pages.
You can jump to nearby pages of the game using the links above.
Tower of Sarek
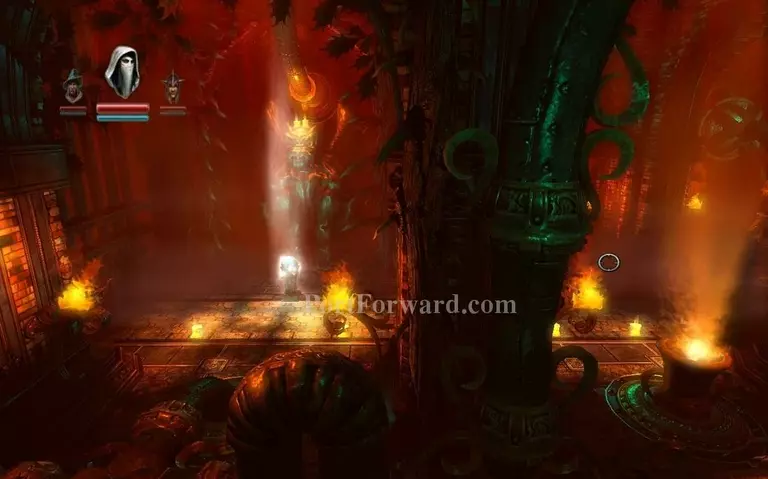
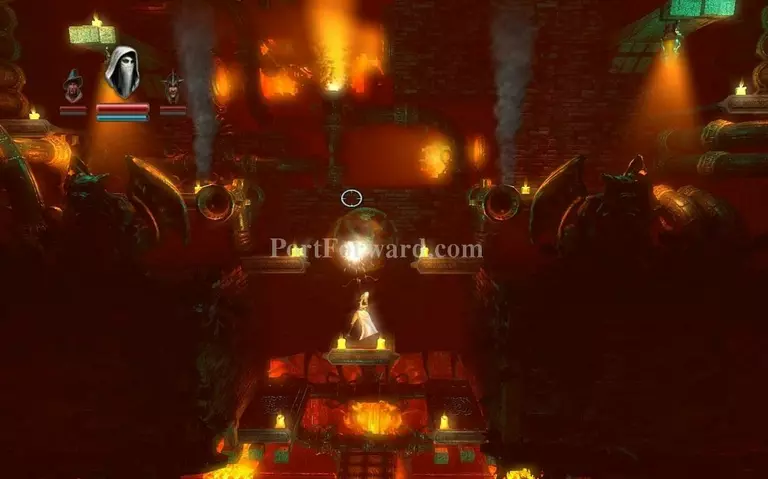
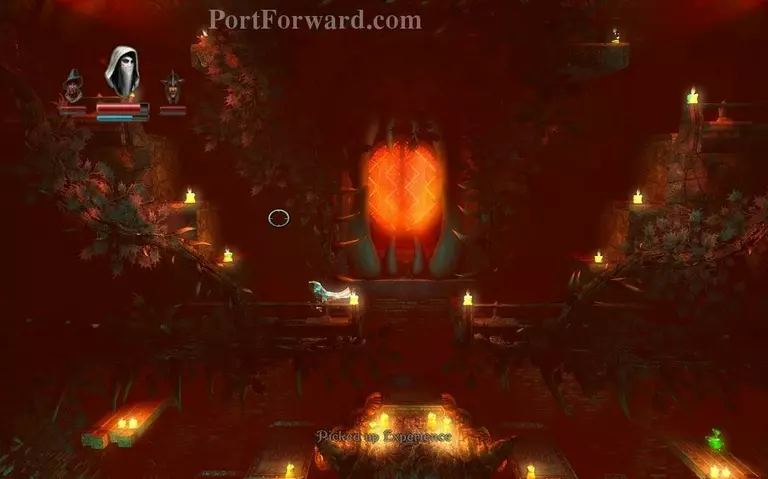
Welcome to the last chapter. It might seem hard but it is fairly simple.
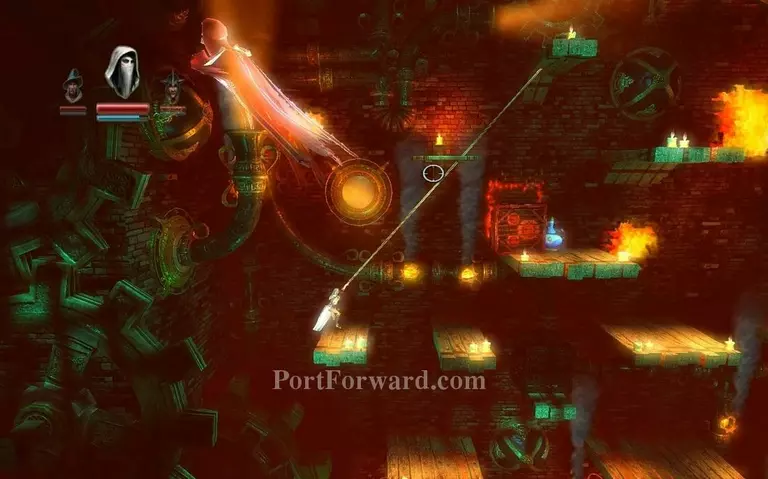
You are greeted by the Skeleton Wizard. You cannot damage him, all you want to do is run to the right across the bridge.
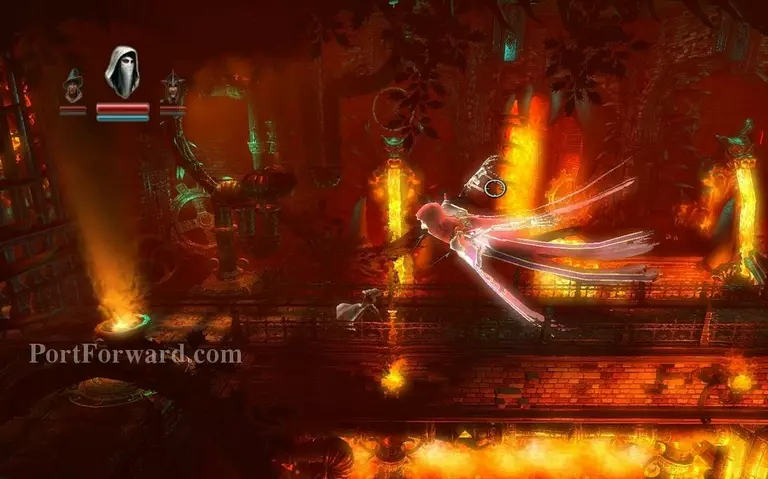
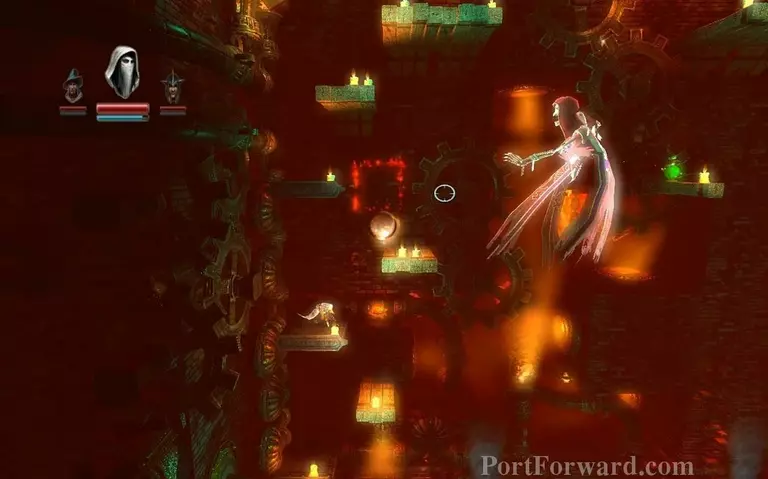
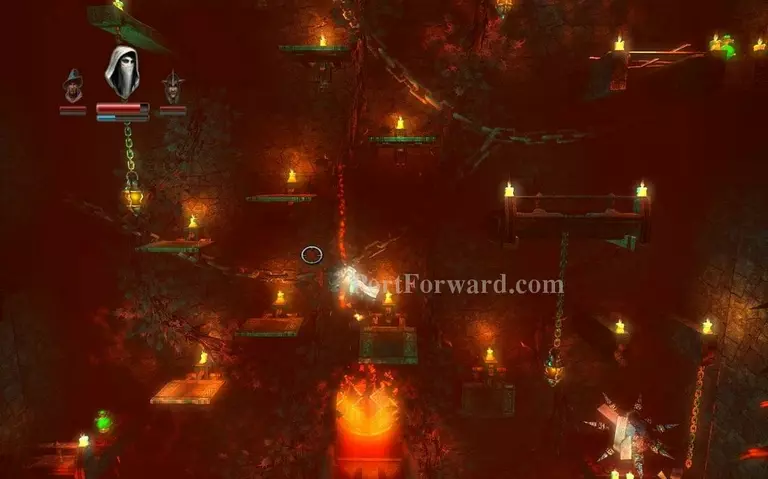
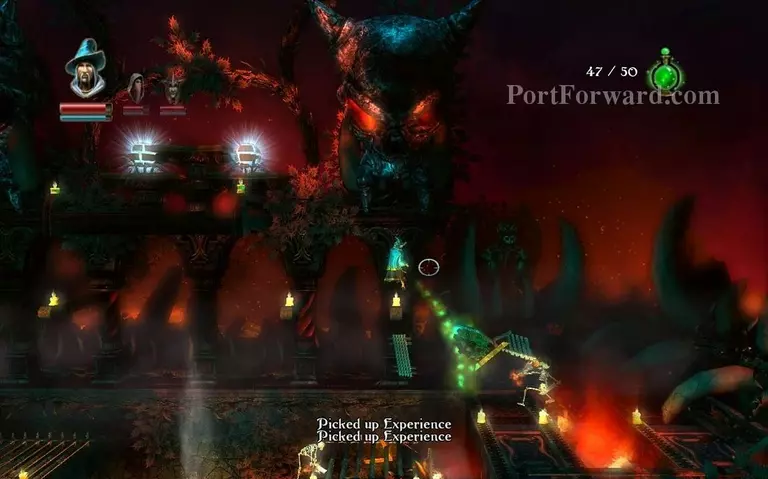
Once you reach these platforms switch to Fire Bow as the Archer and start grappling.
The Skeleton Wizard summons evil planks and boxes so you want to shoot them off as soon as he does that, go as fast as you can.
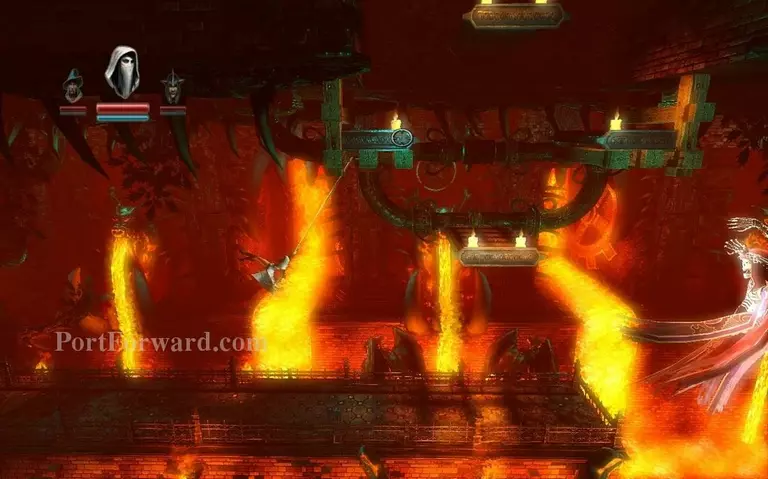
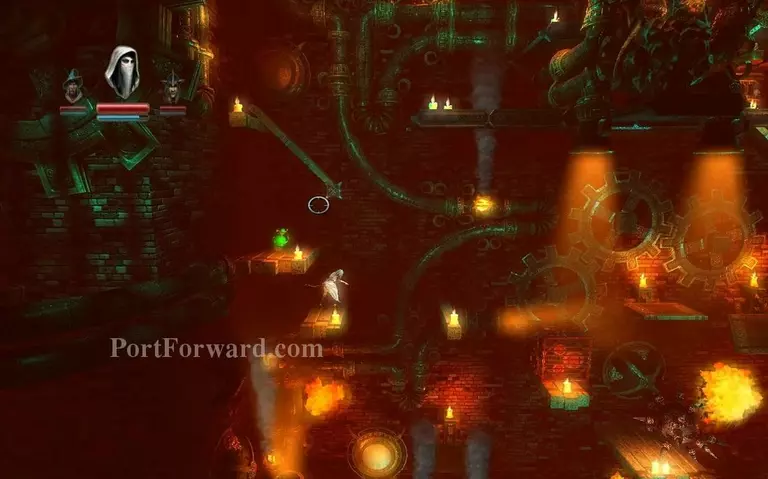
Shoot this plank and proceed to the left.
If you jump in the lines before they've spawned, they wont spawn and hinder your progress.
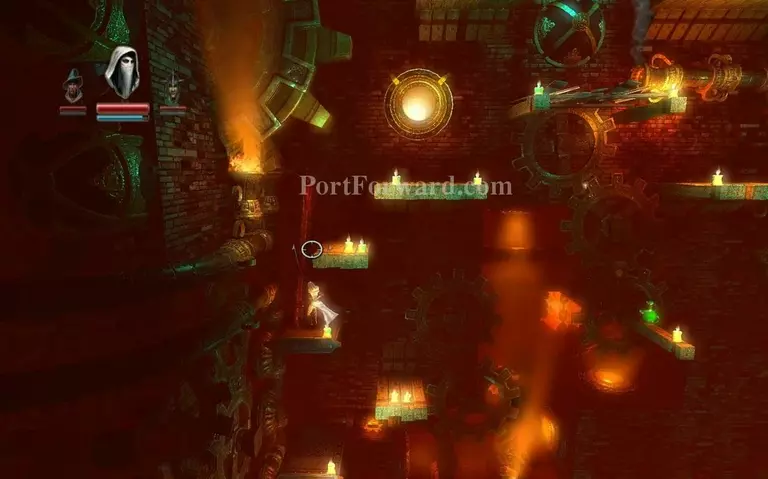
Shoot off the plank and keep going up.
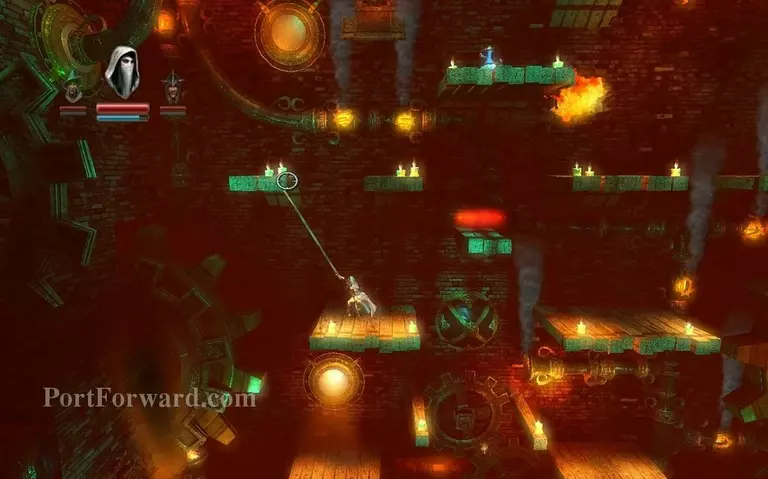
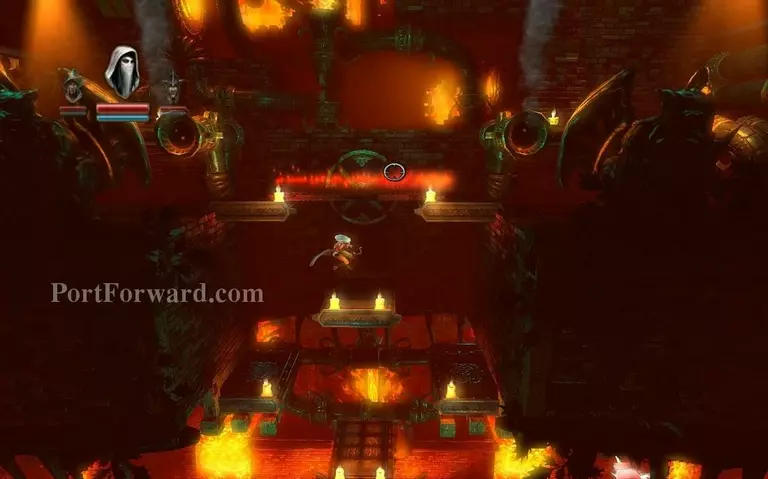
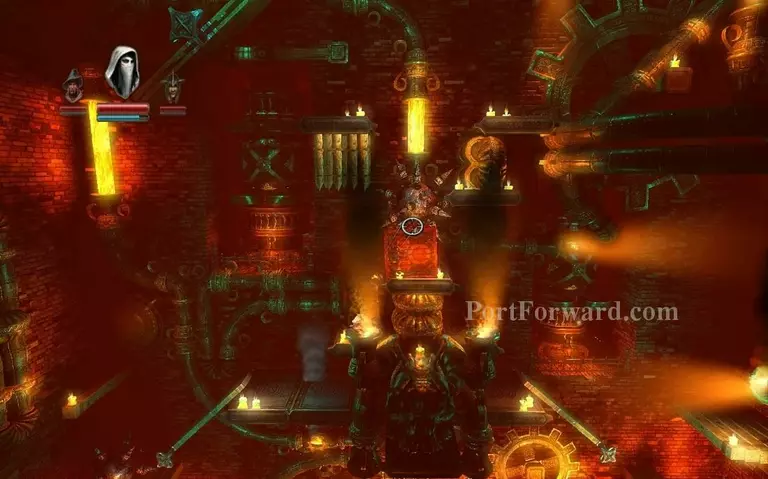
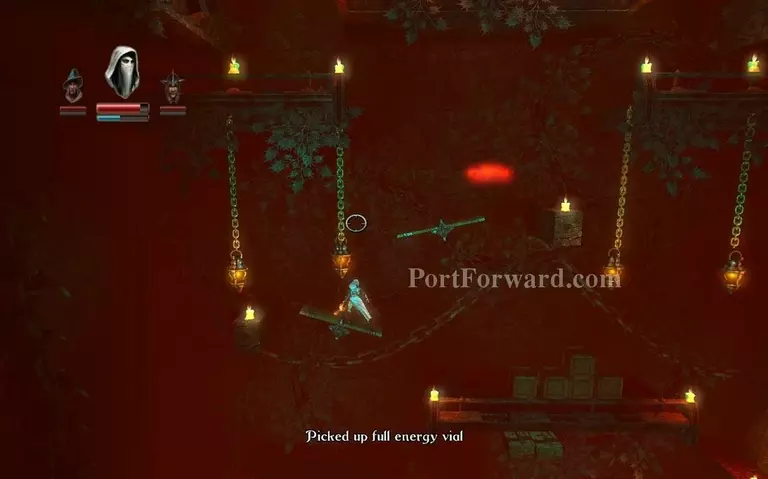
Grapple on this and go to the left of it.
Then grapple to the highest log you see here and just jump up on it.
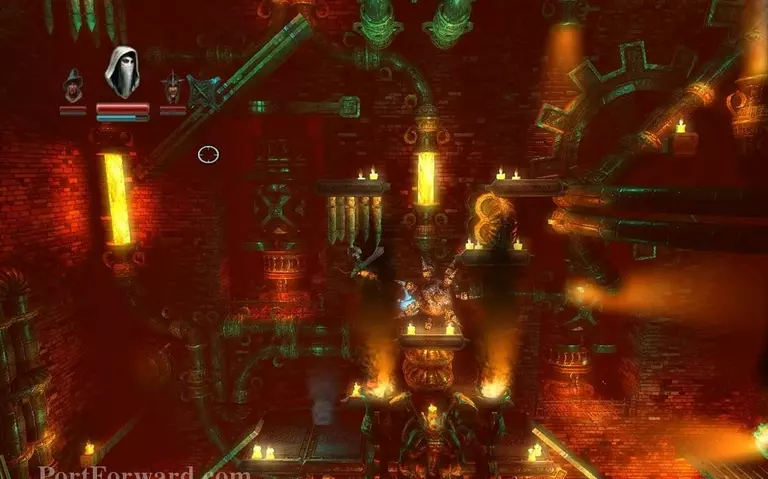
Move to the left, switch to wizard and push the plank over with Levitate.
Destroy this box and watch out for teh spike ball.
Jump to the left and grapple on the rotating platform above you, then swing to the right.

From there jump on the rotating platform and go left.
You're almost at the top, take the right path and shoot off the two boxes he spawns while you're jumping up the steps.

Move across this platform to the right.
Jump across to the left while the platforms are dropping. Use the trick where you go fast enough and planks won't be able to stop you.

Go to the right, be carefuil for the spike ball.
You jump up these two platforms to the left.
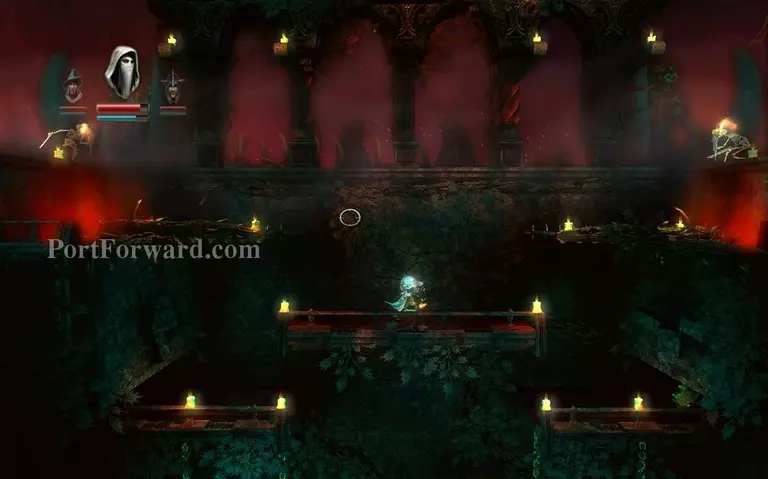
You reach the top and you are greeted by a few enemies, you can just ignore them.
Jump to the right and build a plank to land on this wooden long. Then build another plank and jump ontop of the tower where you find two artifacts.
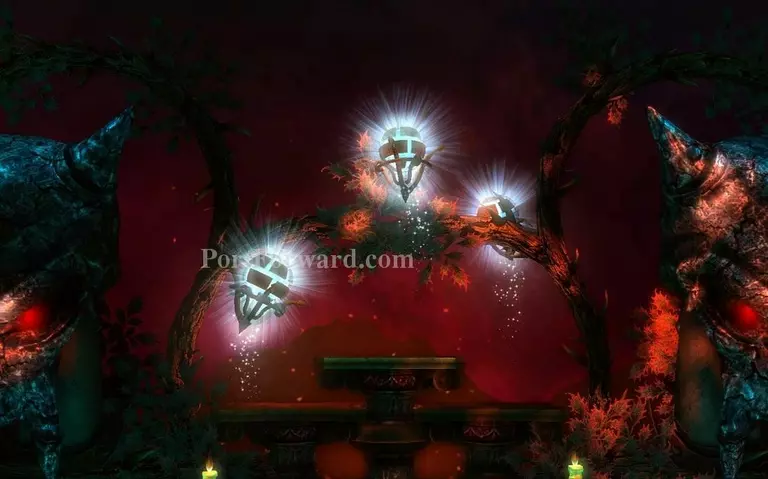
This is where your journey ends.
More Trine Walkthroughs
This Trine walkthrough is divided into 16 total pages.


