
This Trine walkthrough is divided into 16 total pages.
You can jump to nearby pages of the game using the links above.
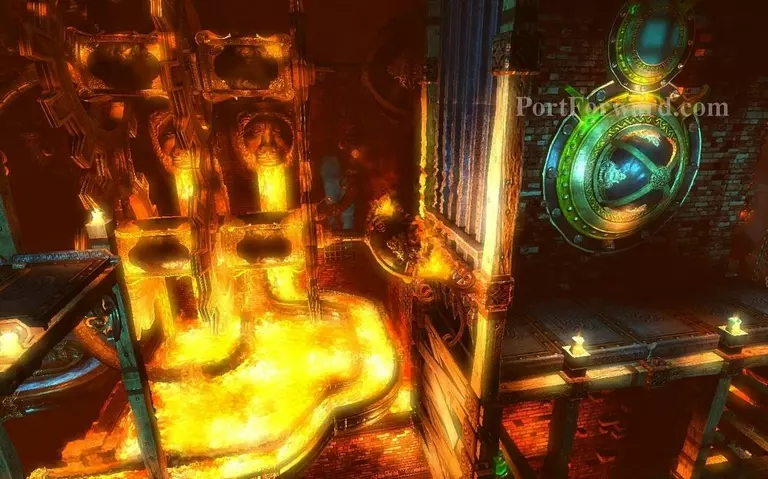
Iron Forge
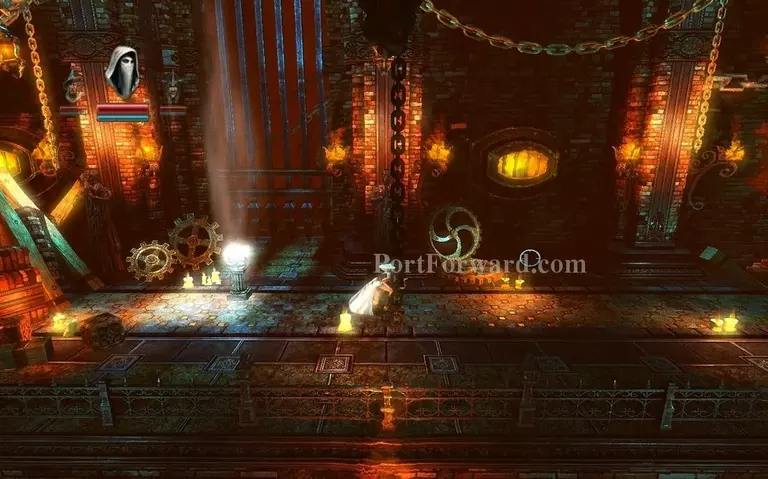
The next chapter begins.
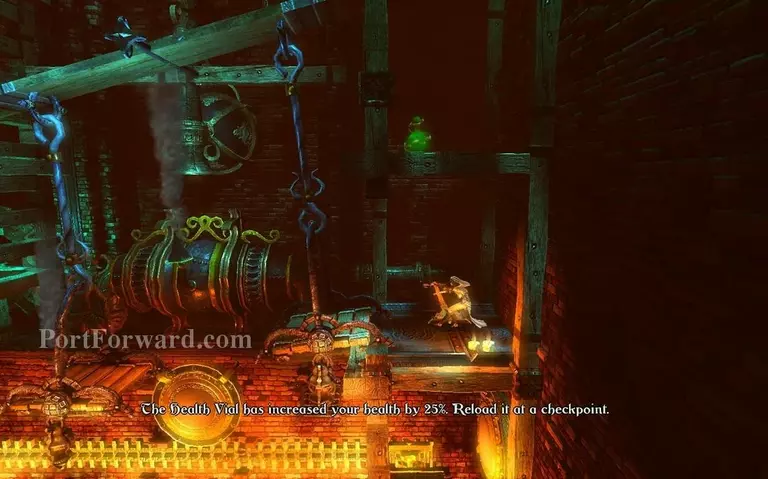
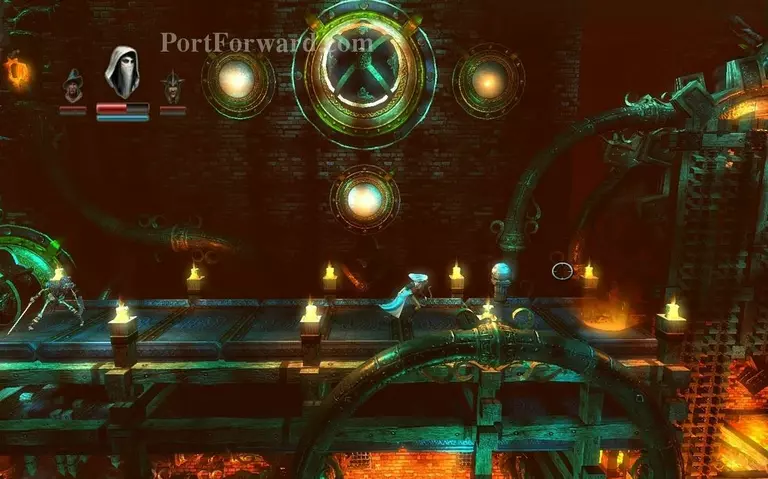
Go down the stairs of the Iron Forge.
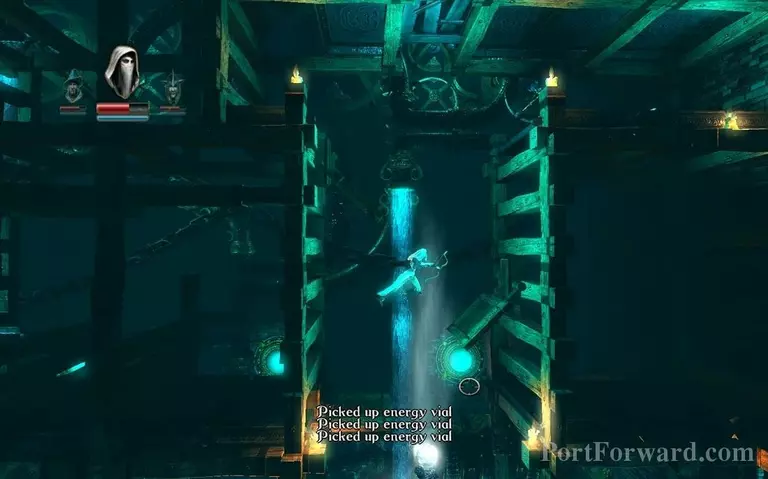
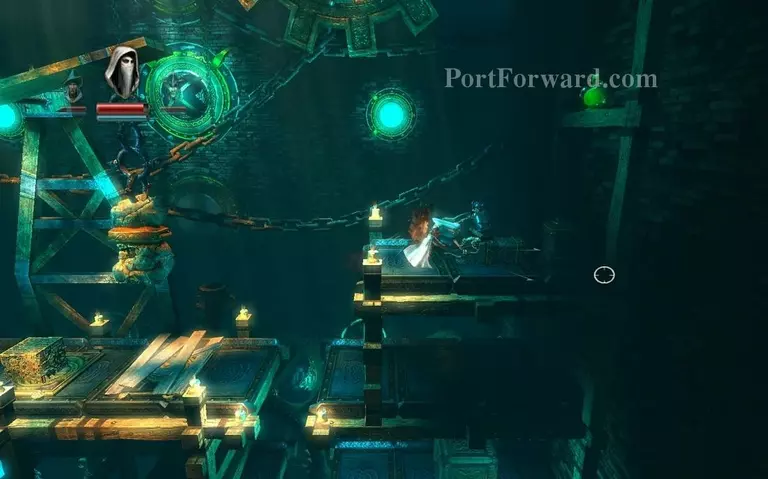
Hook onto the platform you see above the spikes at the end of the stairway and jump across.
You can hook from platform to platform here, just avoid the spike balls.

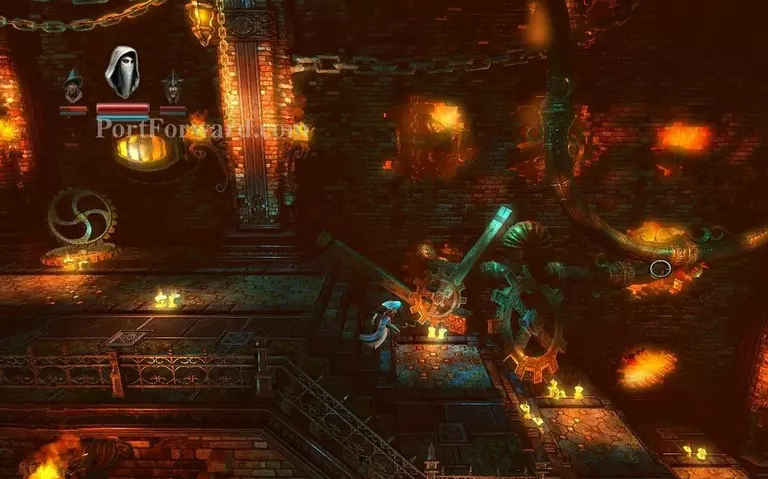
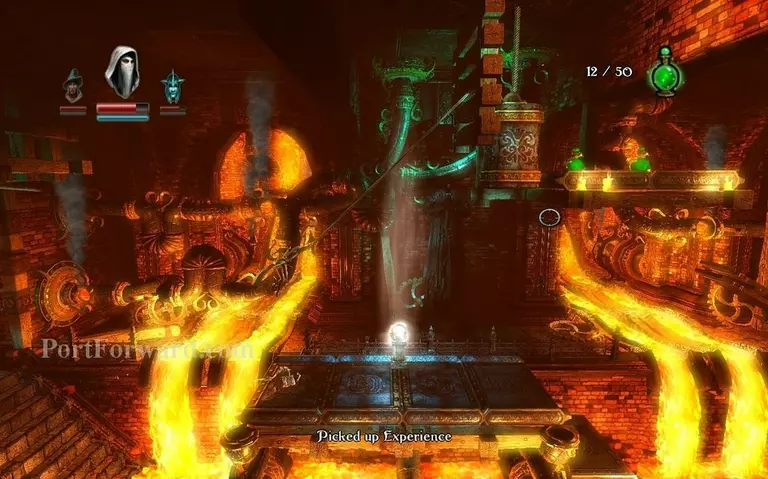
Grapple up here and go to the right.
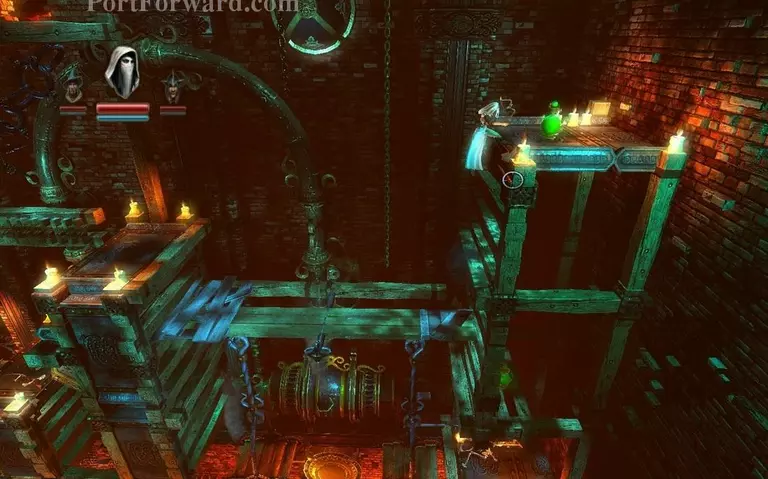
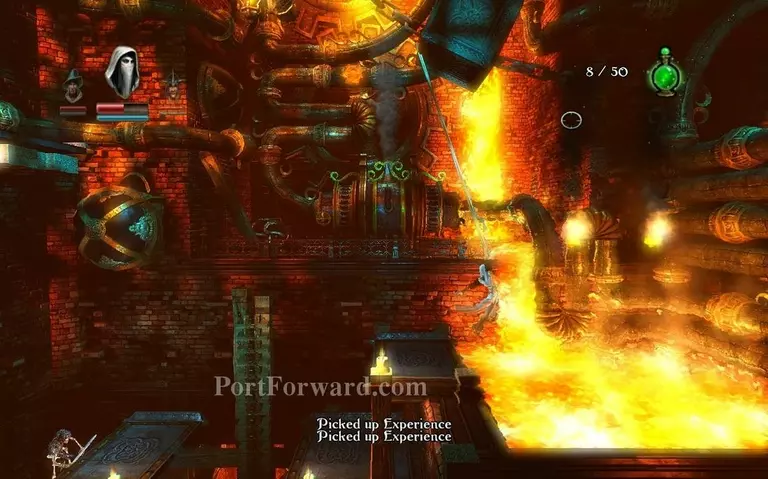
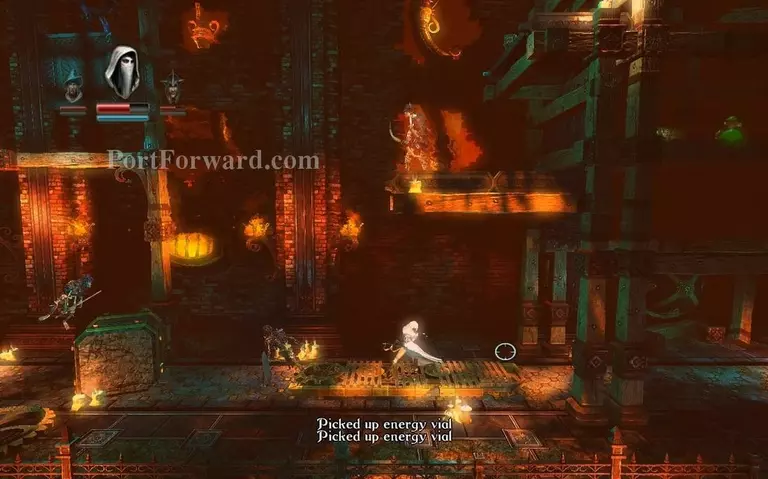
You find two experience vials here.
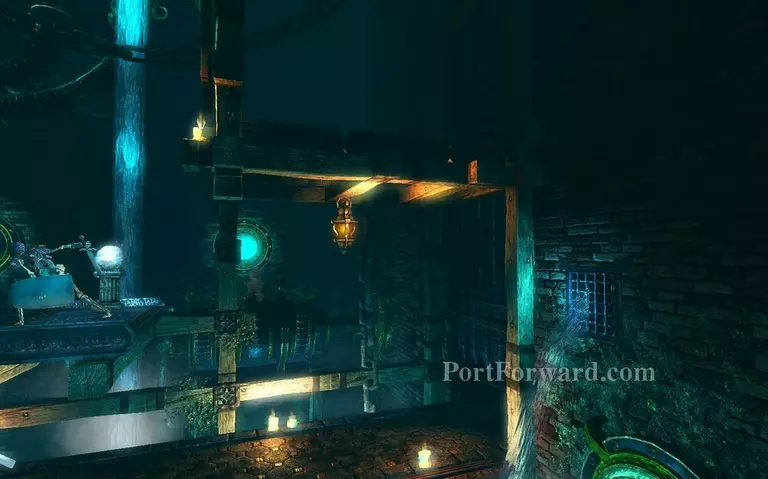
Break off this wooden plank.
Move away the metal block and drop down.
Grapple onto these scaled platforms.
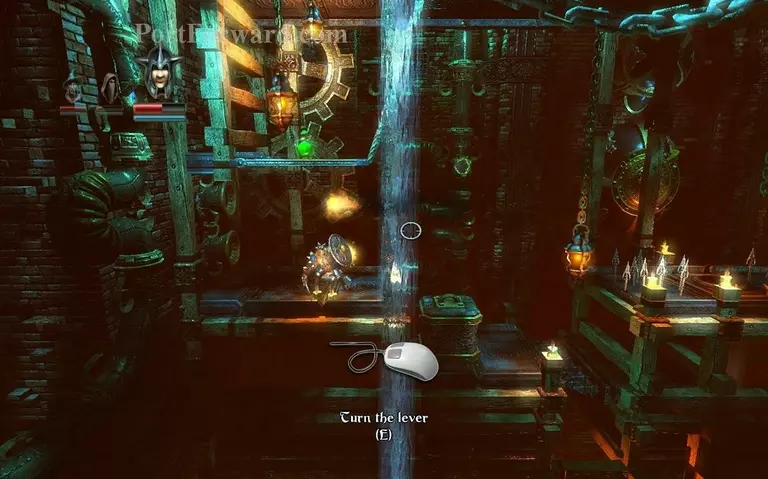
Jump on the right and use the lever, then pick up the experience vial.
This door you were at a second ago will open, you can go there and grab the checkpoint now.
Go all the way back to the left through the door you just opened and grab the checkpoint.
Then go all the awy up on the left grabbing the experience vials.
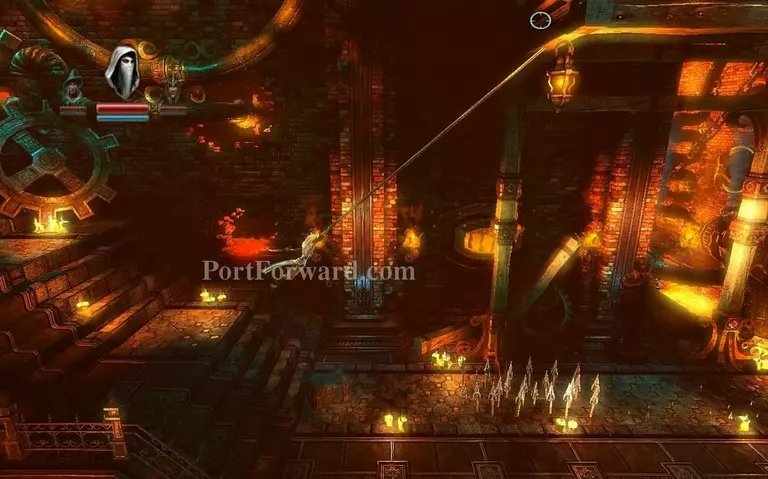
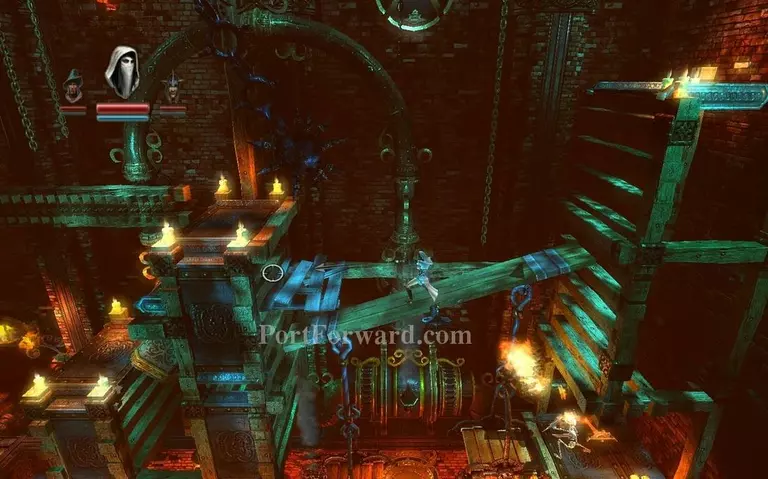
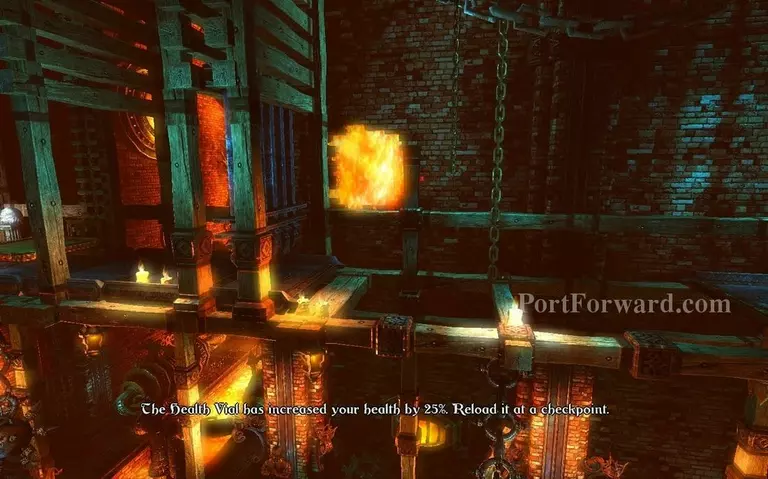
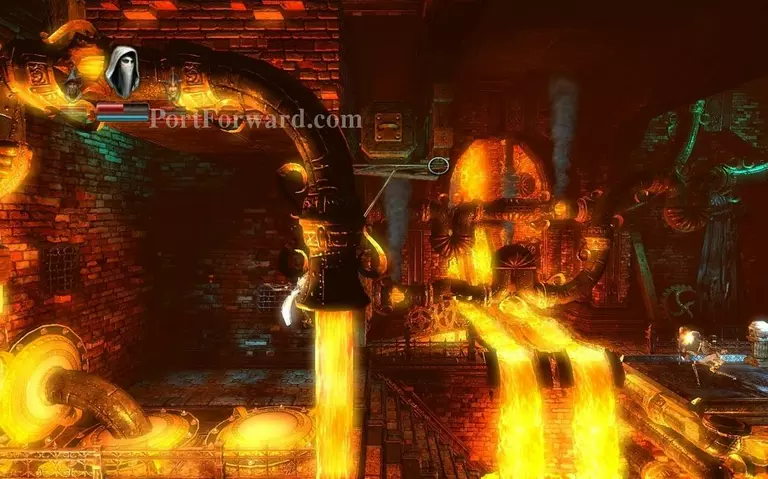
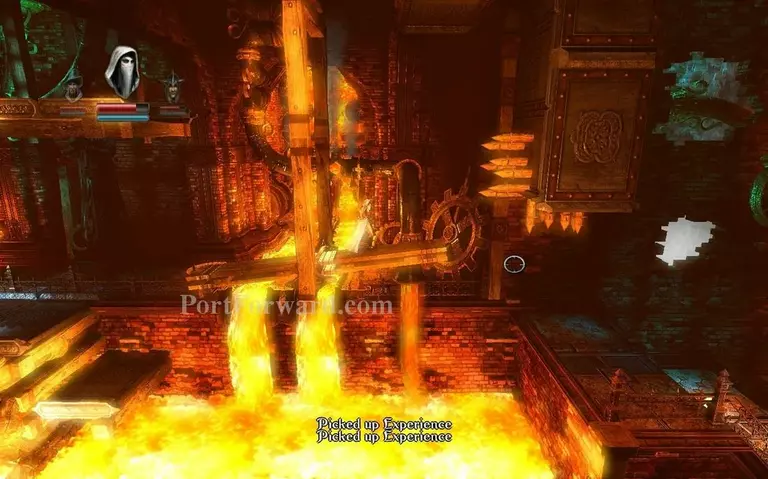
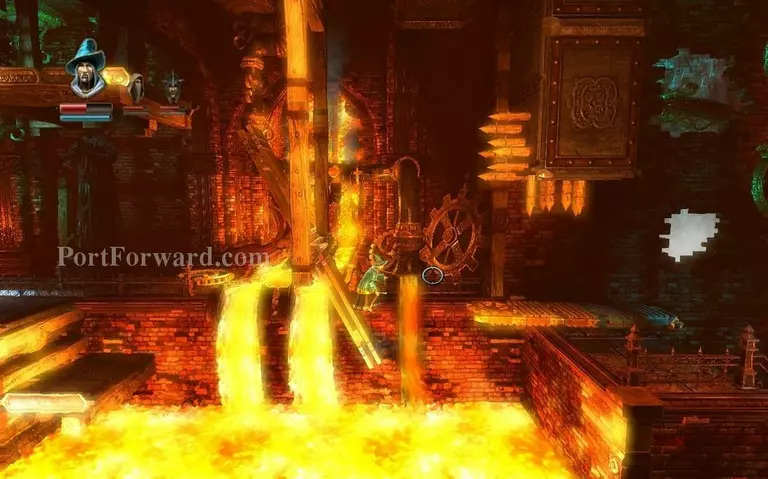
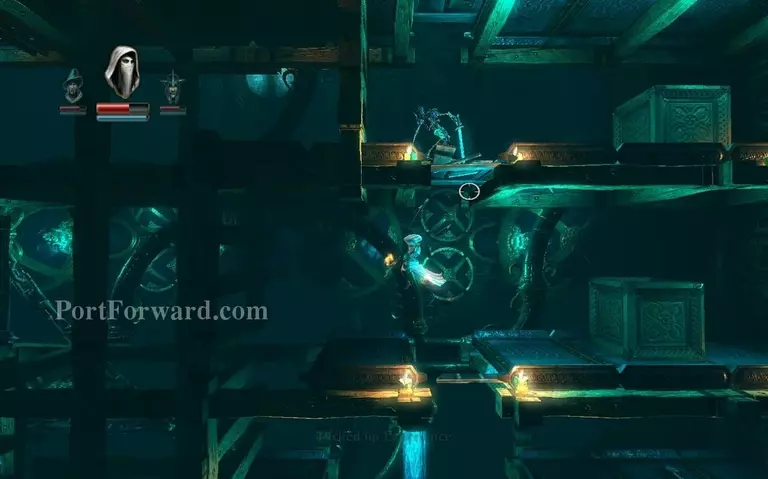
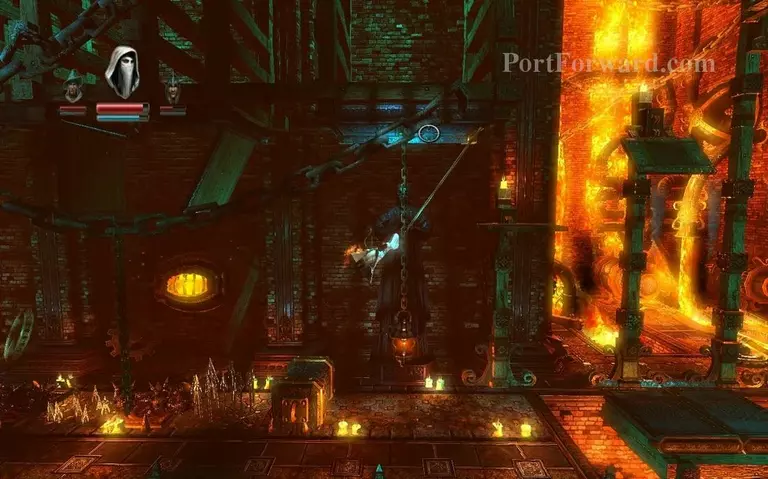
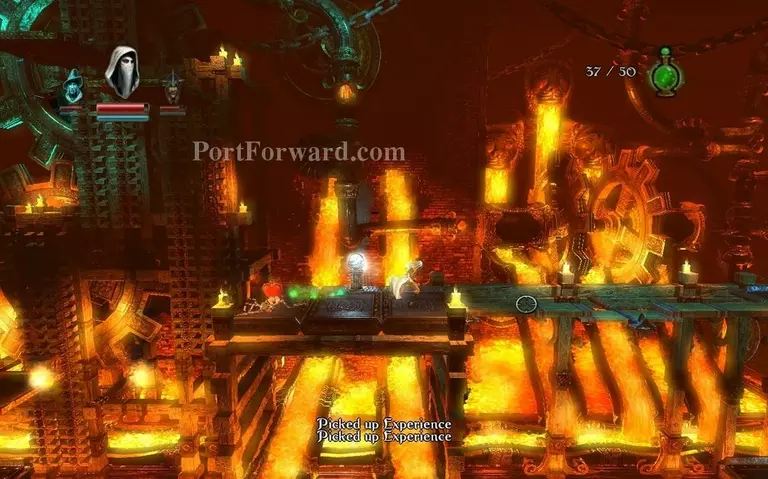
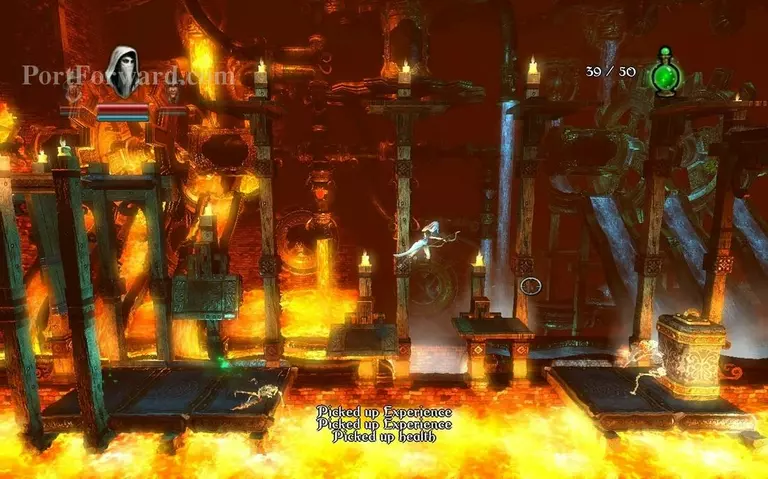
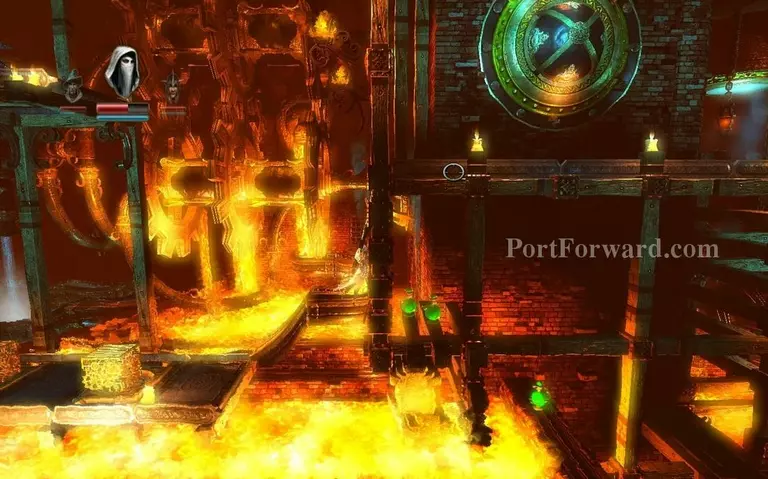
Grapple onto this box and jump across the lava pit.
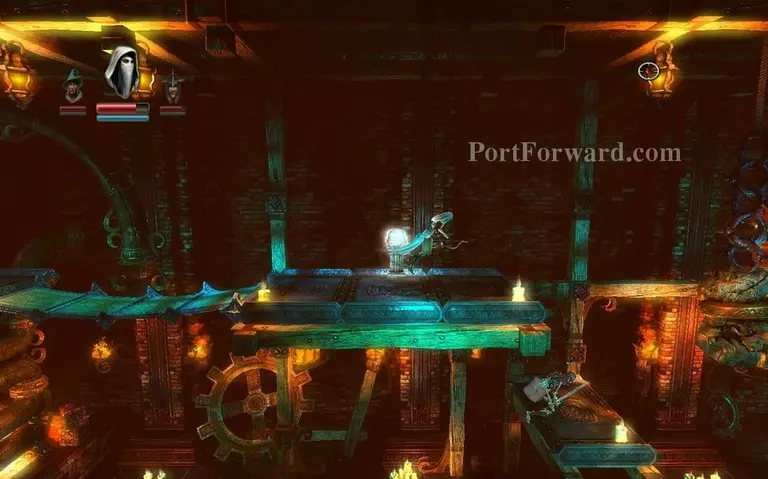
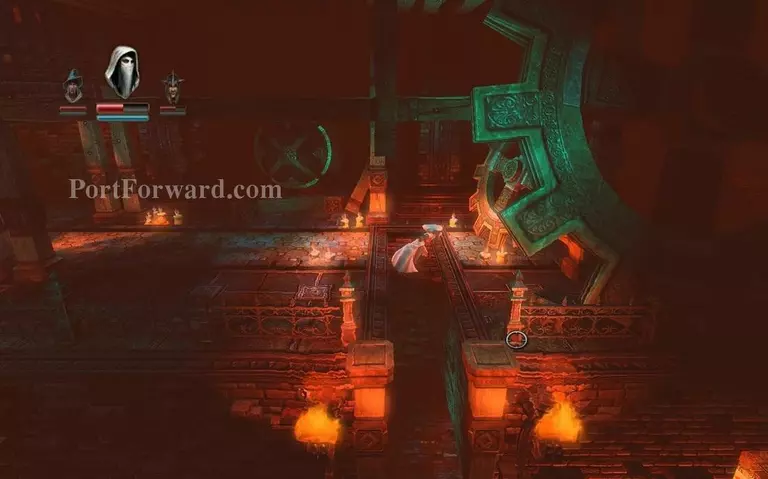
You run across a small bridge and reach the next checkpoint.
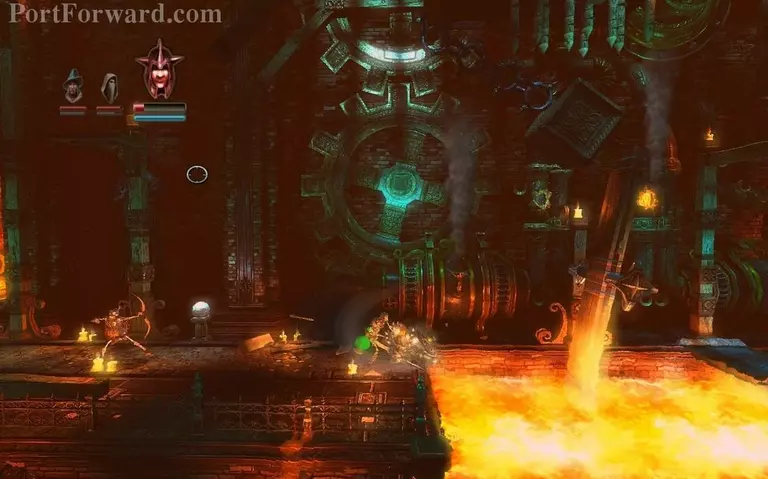
Fight off all the enemies in this room.
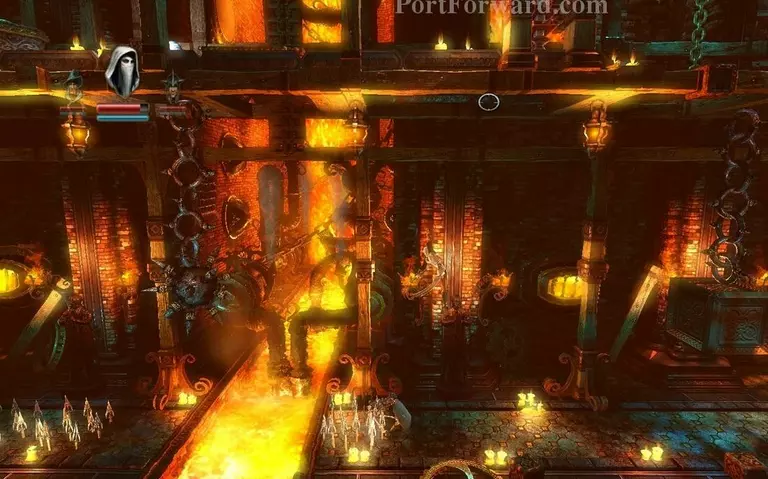
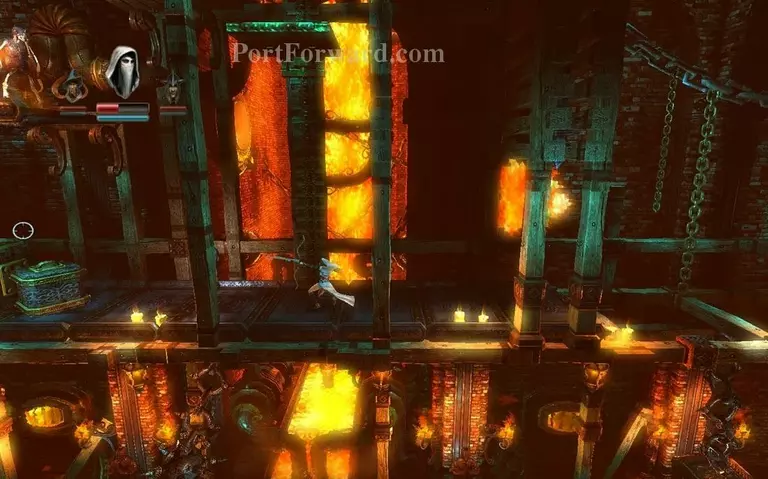
After you're done, go all the way up and place a plank on these spikes.

Jump across and move to the left, be carefuil with stepping on spikes or switches on the ground, you can grapple onto the wooden ceiling.
Fire shoots from the walls aswell. At the end of the path to the left you reach a lever. Turn it.
Afterwards drop down in the opening right infront of you and go all the way to the right to find out you've opened the gate you were at a moment ago.
Drop down here.
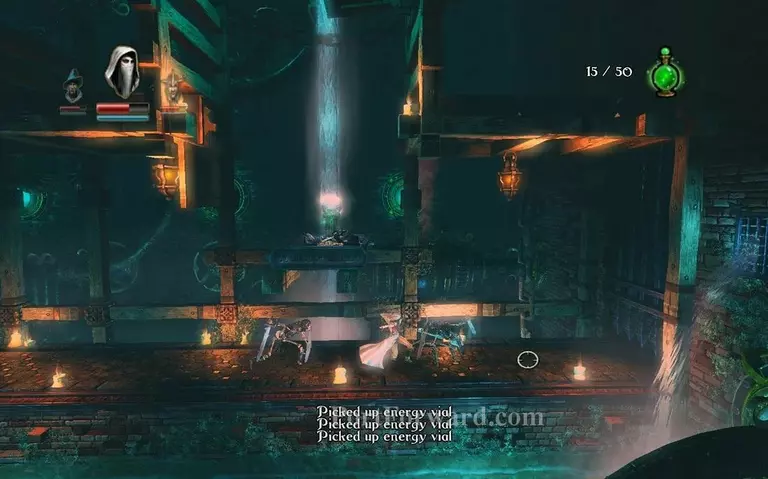
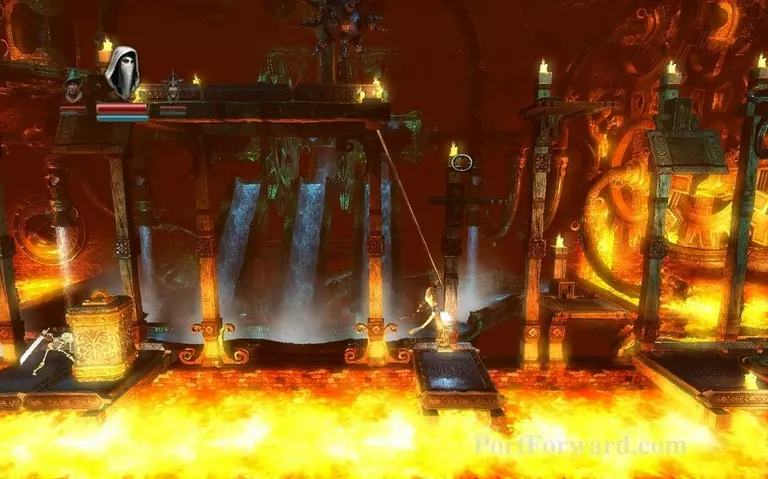
Grapple on these destroyable wooden planks and jump across to the next checkpoint over the lava pit.
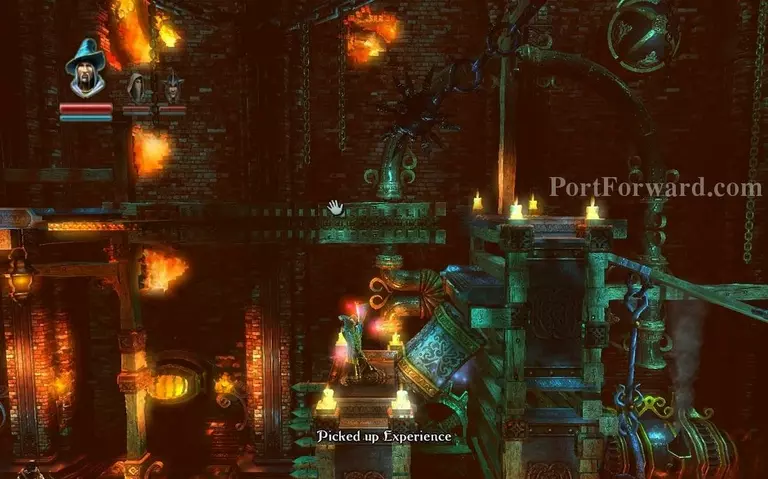
Grapple onto this wooden wall and jump across on the platform to reach the experience vials.
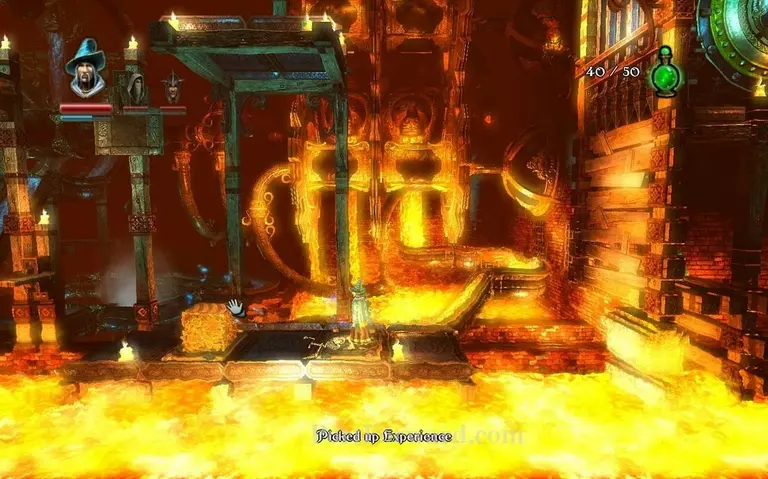
Then go back on the platform and walk across to the right.
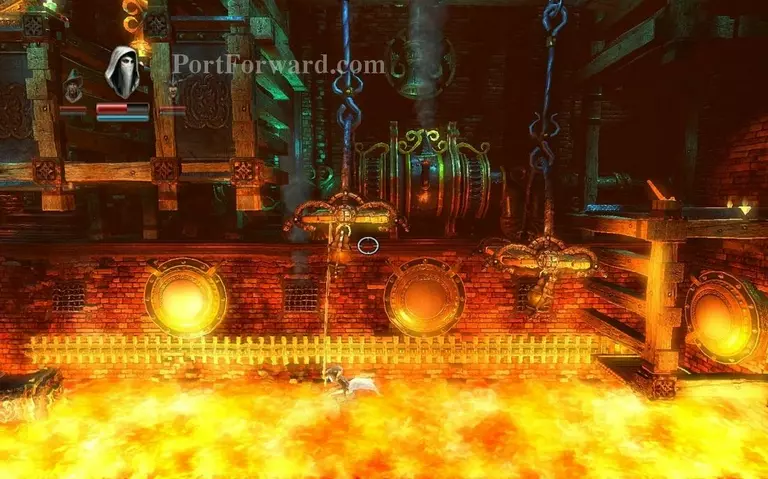
You can put down a plank like this so you don't fall in lava.
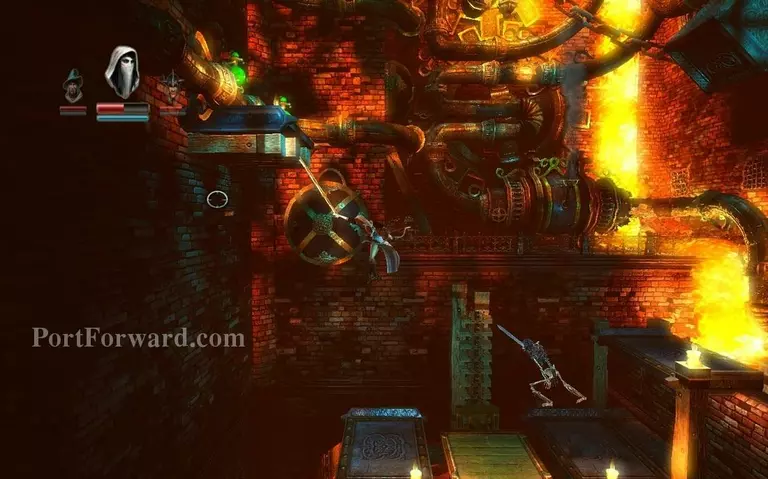
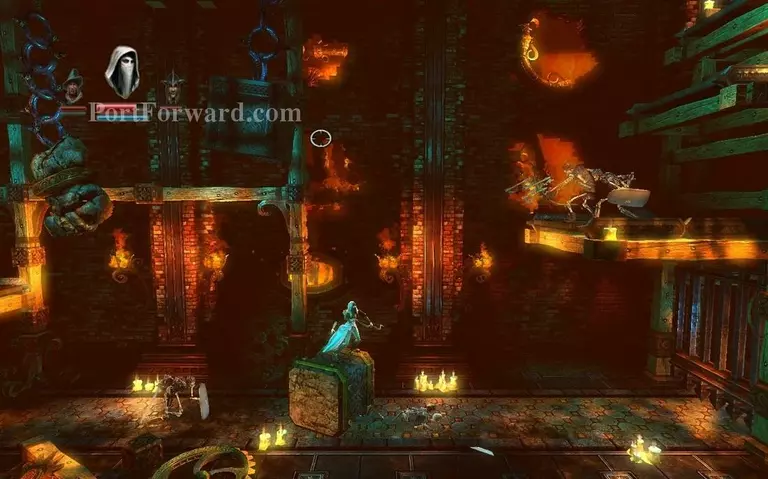
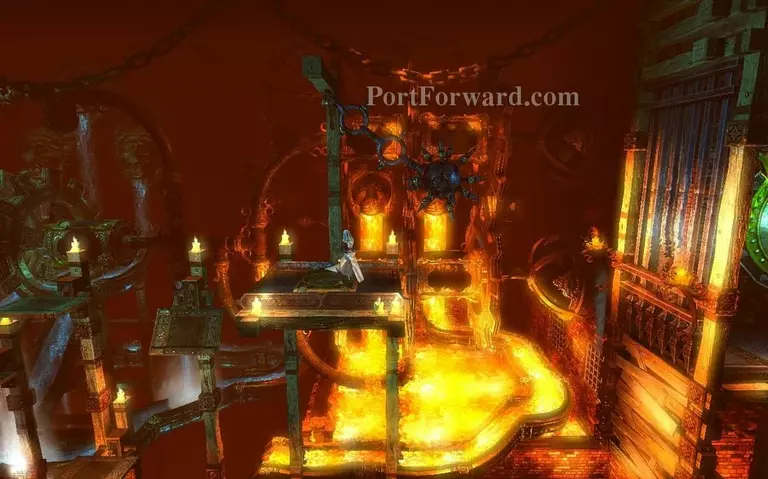
Keep walking to the right and you end up in a room filled with armored skeletons. There's a checkpoint and a locked door. Kill off the skeletons.
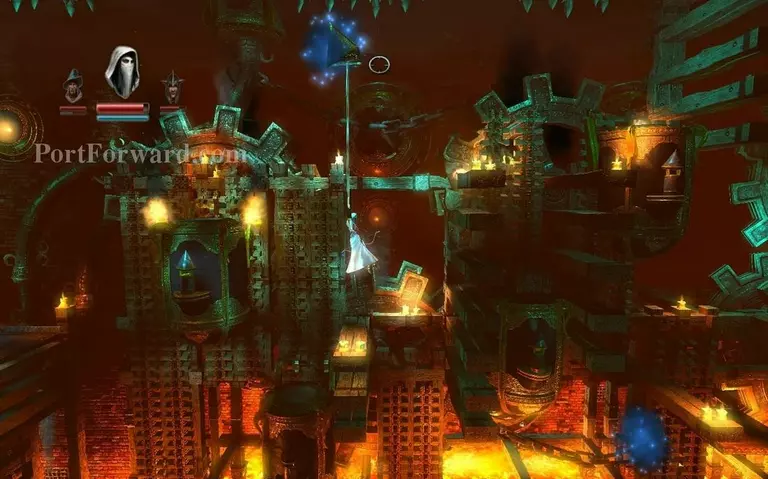
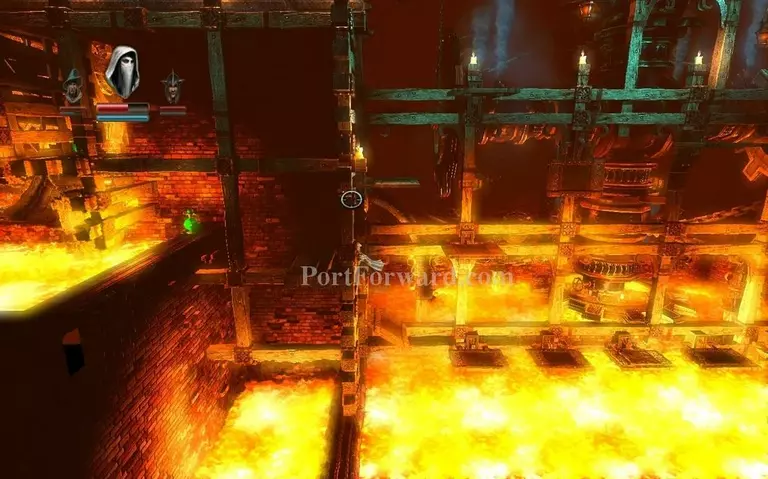
Then move up jumping from platform to platform popping from the walls.
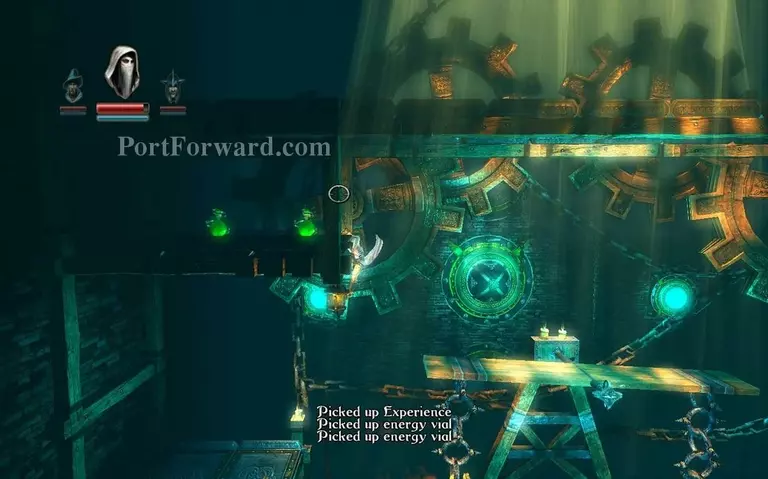
Switch to fire bow and destroy all the planks above you, then grapple up.
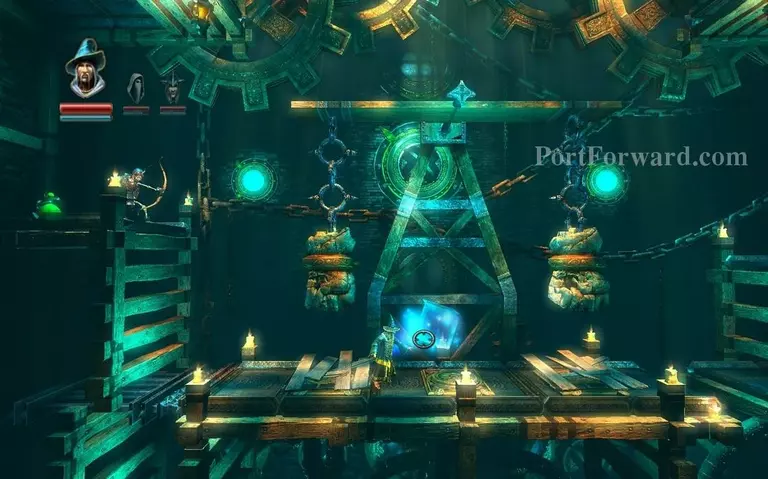
You end up in a room that has two stone fists on a scale. Destroy the planks on the ground and put boxes on them.
Pick up all the experience vials in this room.
As there's a bunch.
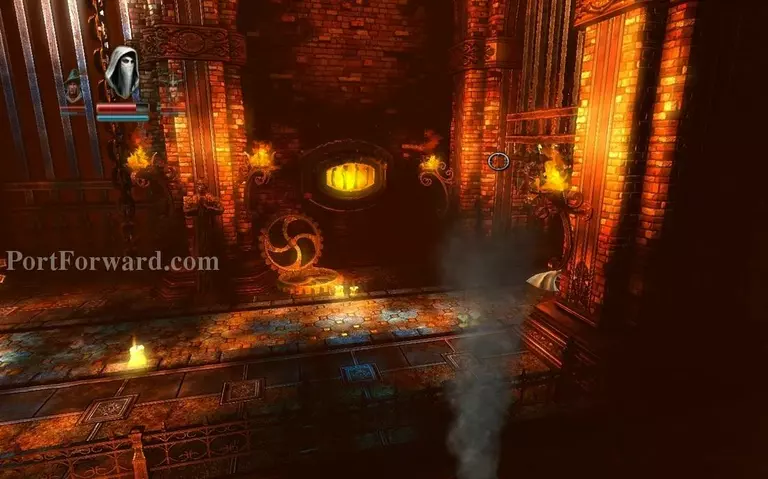
After you put boxes on every button this door opens.

You go behind the door you just opened.There's a bunch of traps here so try not to step on the buttons or the spikes coming out of the ground.
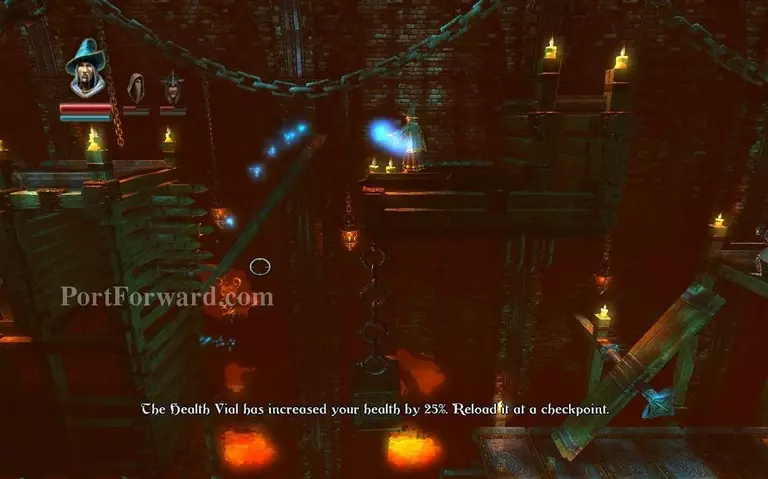
Grapple onto this then jump on the falling platforms to the right.
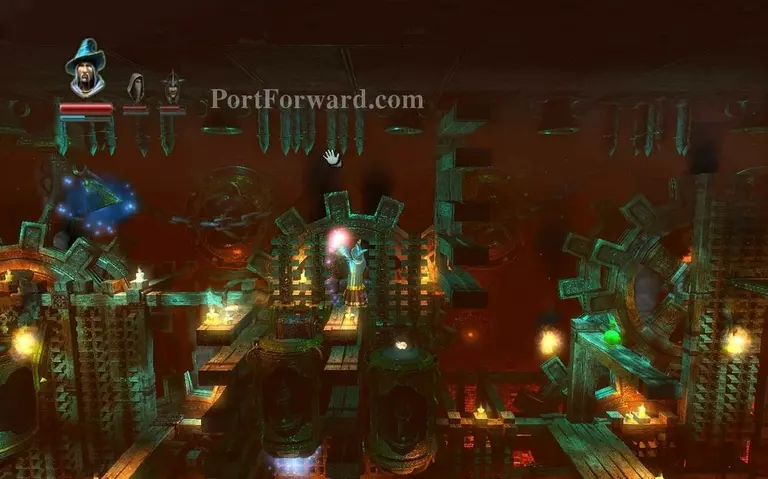
Move to the right onto a checkpoint and fight off the monsters.

Grapple up here as you jump across the rotating wood.
You jump to the right and you reach another checkpoint.
Put a triangle up here and grapple onto it, if you can't just put a triangle infront of yourself and jump on it.
Jump to the right and lower these platforms with levitation to proceed.
You get through the maze of scaling platforms and you get another checkpoint.
Jump across these platforms from the lower side.
Then grapple onto here to jump across.
Put two boxes on these buttons down here, then grapple on the platform above you.
And step on the button ontop of it.
The door on your right opens.
Grapple onto the wooden wall and jump up.
Drop down here to grab a bunch of experience vials.

Then go back up jumping from platform to platform. If you fail a jump just grapple onto one of the wooden logs above you.

Once you reach the right end grapple onto this and jump up.

Here you just want to go right.
You reach the end of the chapter.
More Trine Walkthroughs
This Trine walkthrough is divided into 16 total pages.


